A Free Download for Crochet Tag Wraps

tagwrappin02.jpg

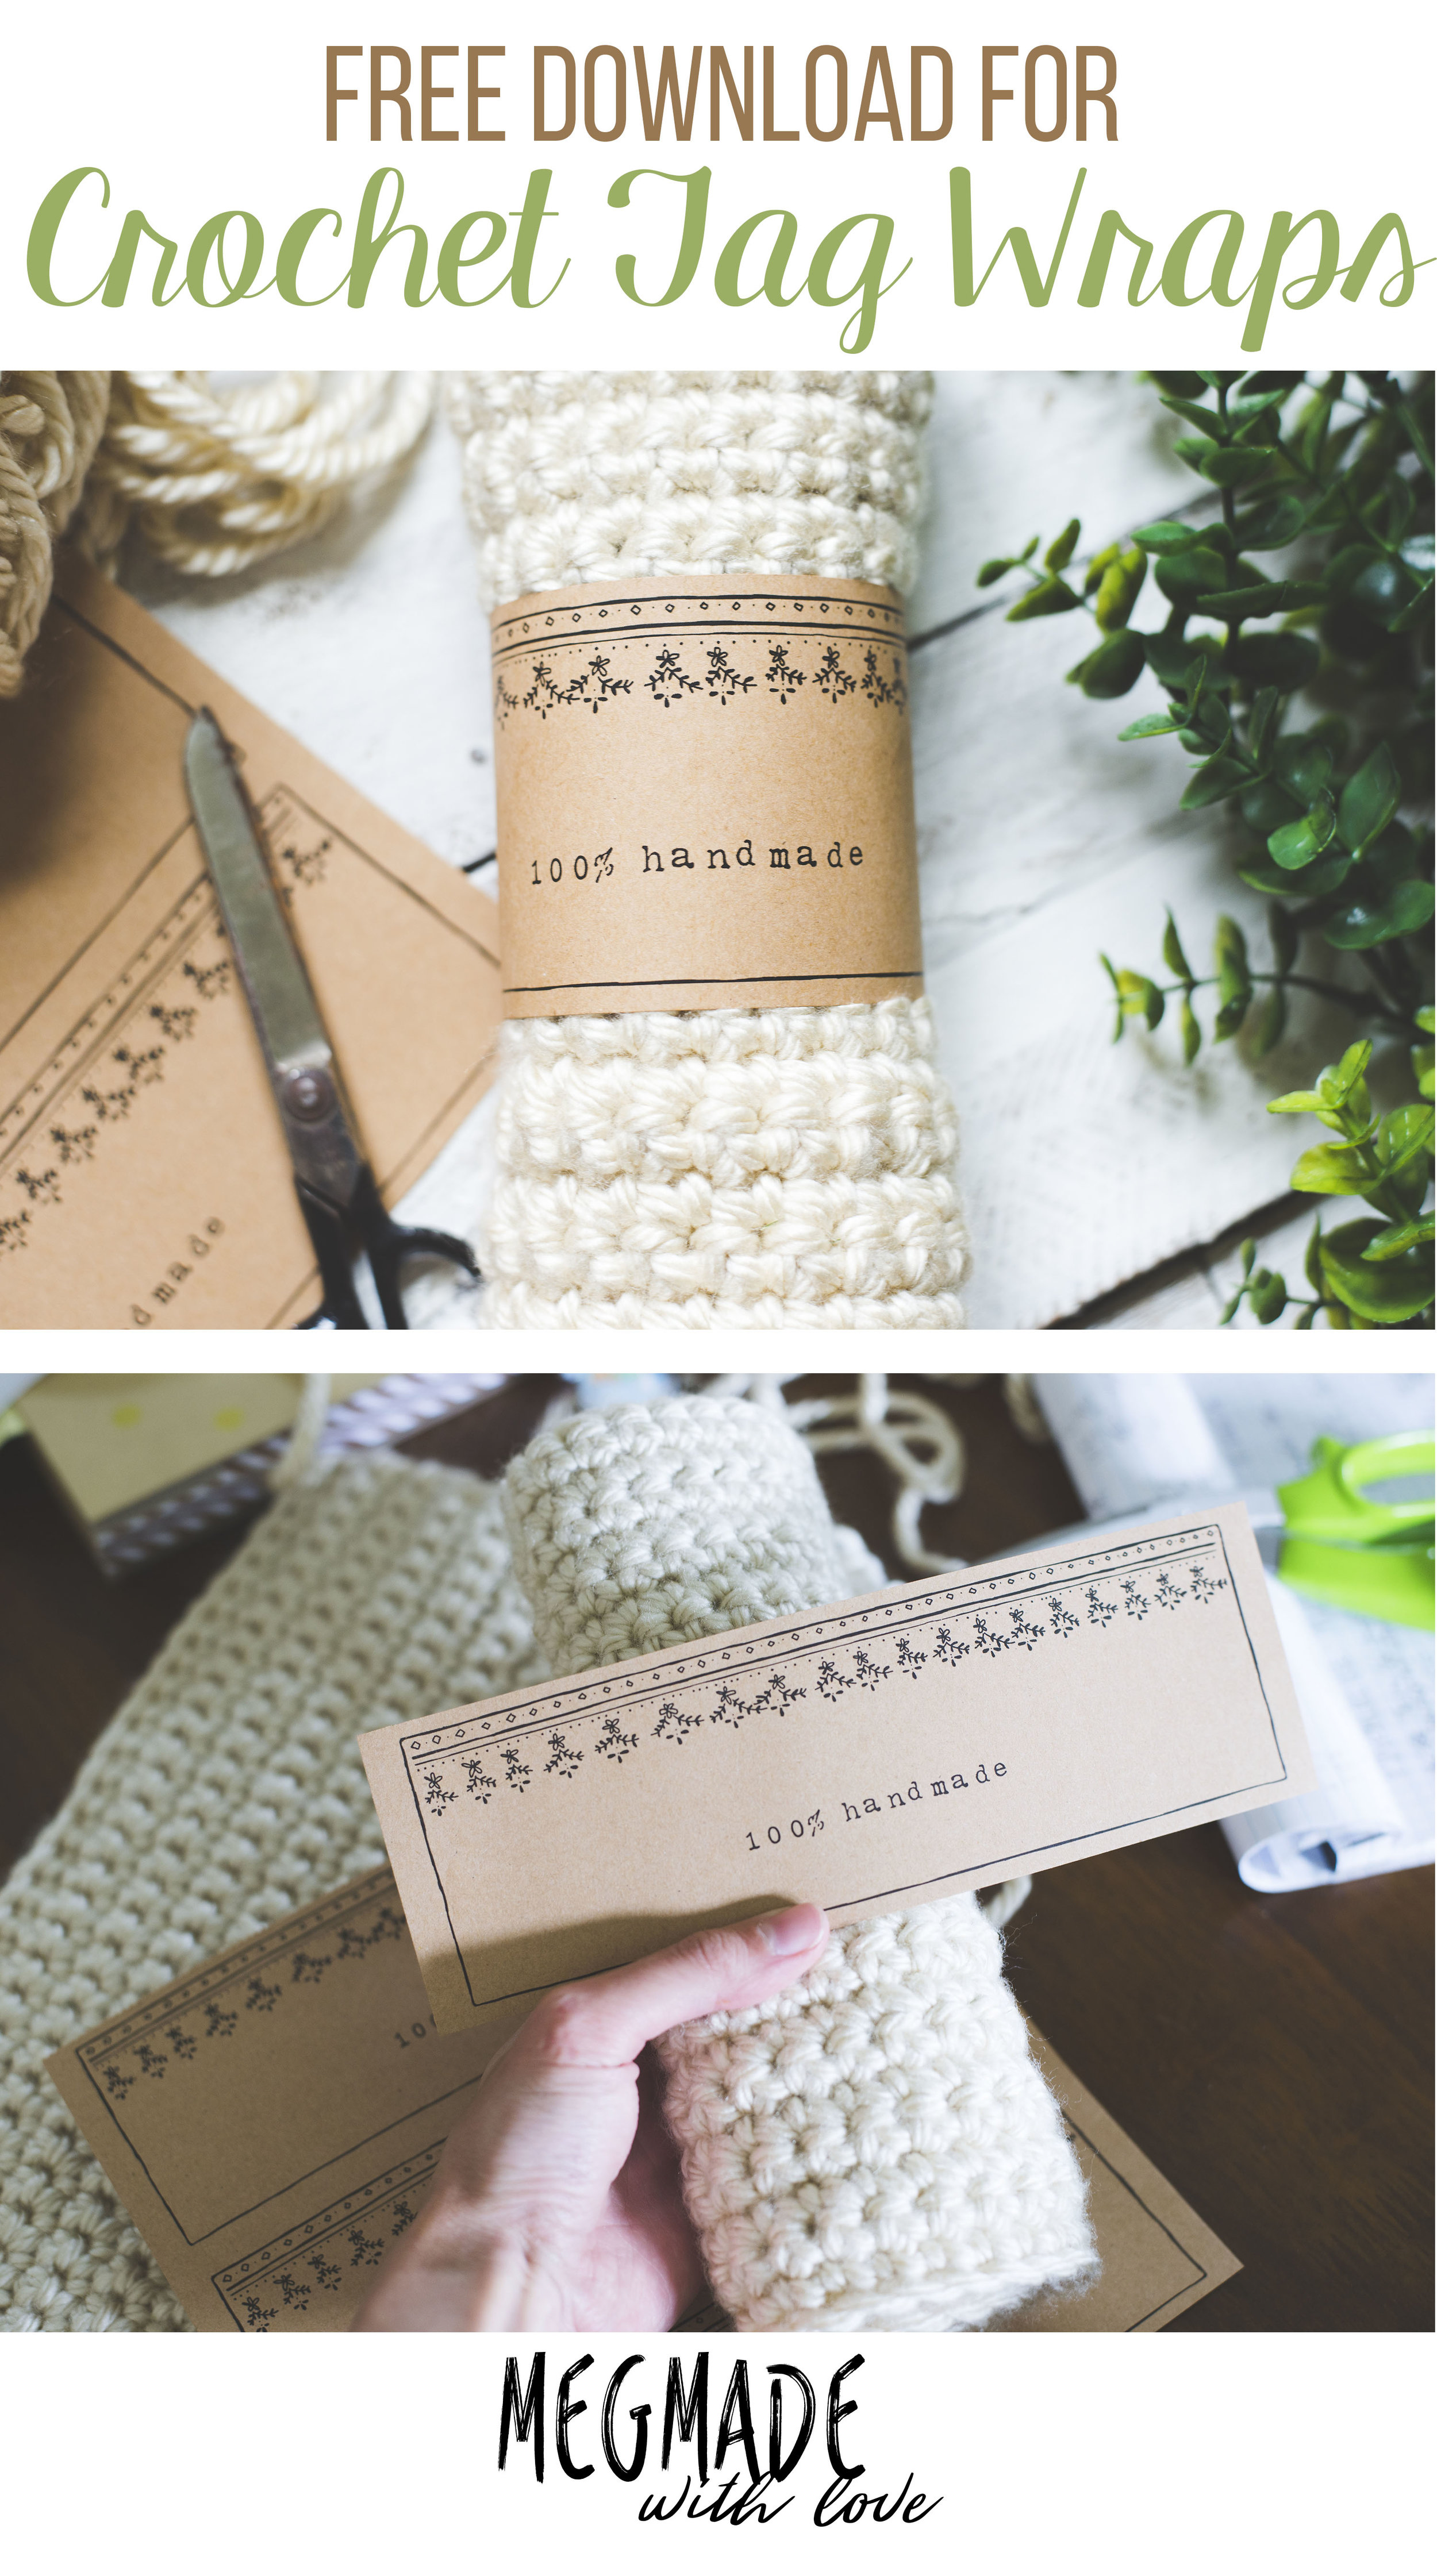
Hi there! I'm happy to bring to you this lovely download for the 100% Handmade tags, perfect for your smaller crochet projects.

I'm in LOVE with how they look printed out on this brown cardstock. Just be sure to change the settings on your printer to thick paper!

Also, another idea. If you have access to a printer that offers large prints, like 11x17 then you could print them on them on those if you needed them to be bigger.

I just got my brown card stock for cheap at Wal Mart and printed it out at our library, as we ran out of ink at our house. 

I cut them outside the lines, just for the extra space. I thought they looked nice that way...

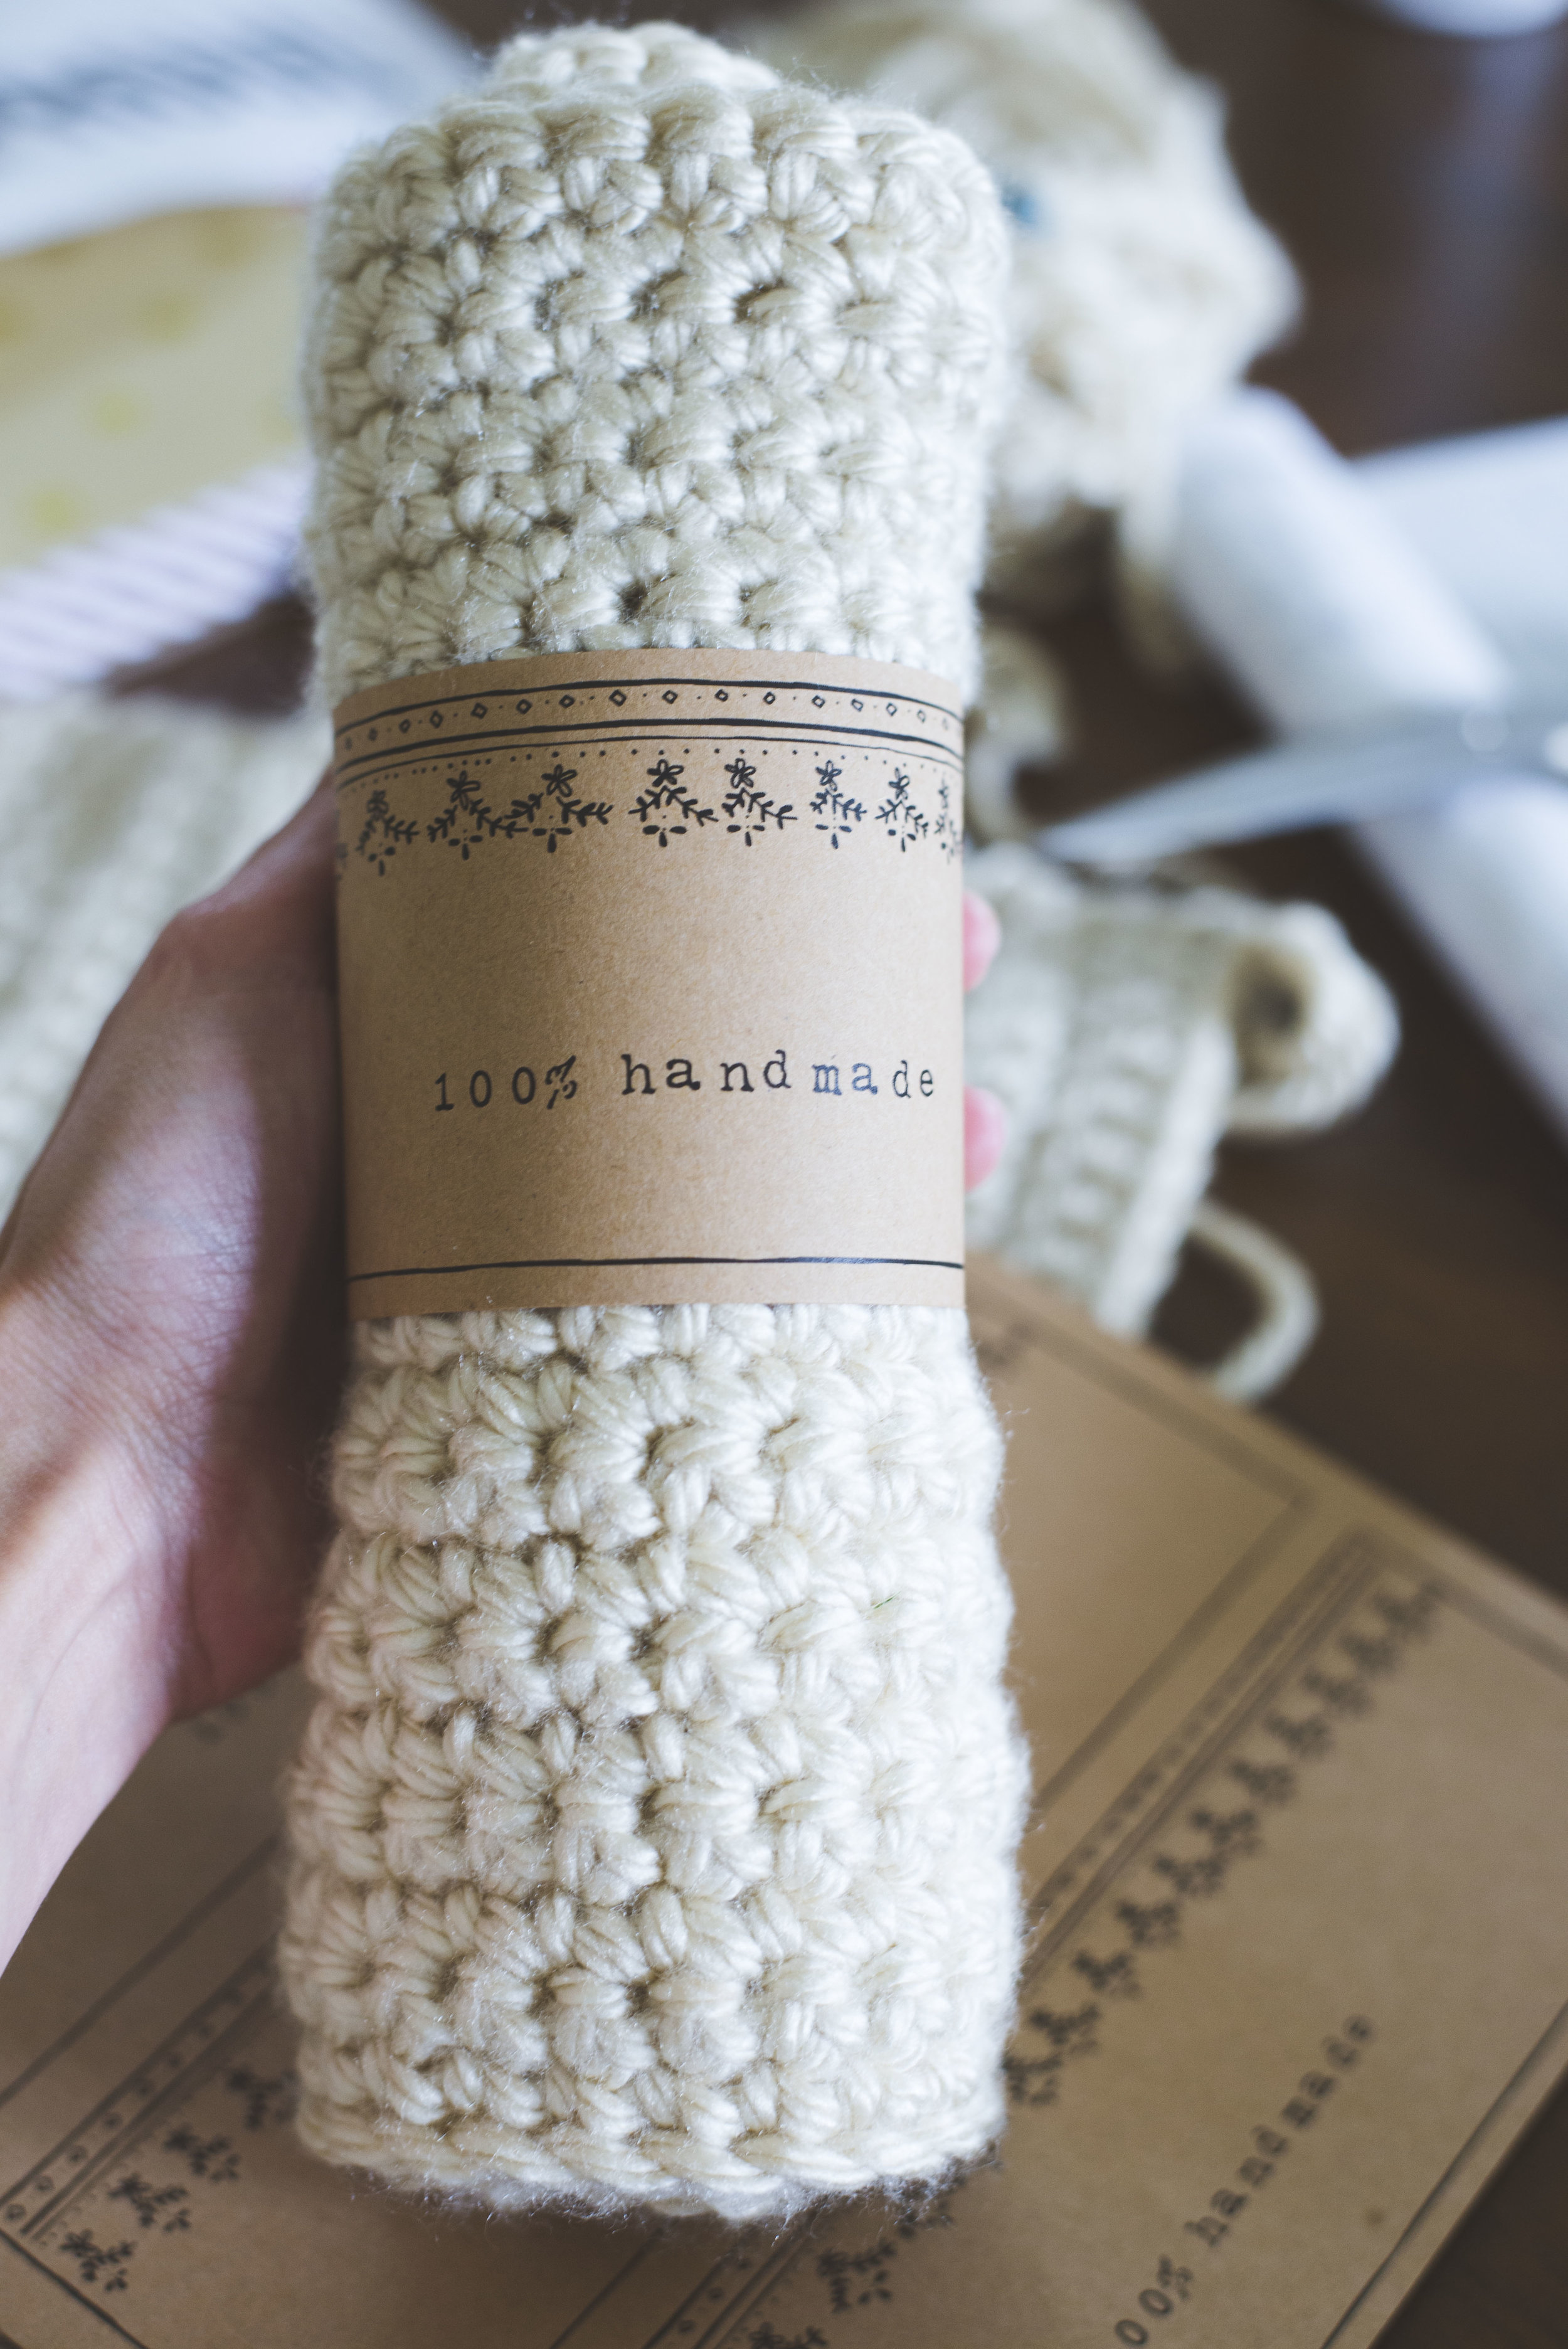
And then I wrapped them around my project, and slapped a piece of clear tape on the back! These would be great for gifts or even little items you sell at craft shows!

To get your tags, just click the link below! I hope you enjoy these cuties! If you're interested in more tags, you can find three more free downloads here.

A Free Farmhouse-Inspired Jute Wreath Crochet Pattern

***You can find the PDF version of this pattern in my shop by clicking here. Great for easy printing!***

Hello, hello...

I'm bringing you the second installment of the Farmhouse-Inspired series (you can find the first one, the Farmhouse Washcloth here), with this super easy and rustic-y (haha that's a word in my books) wreath. All you've got to know how to do is chain and single crochet, because you're making a simple rectangle shape! Well, you'll also have to sew it around the wreath form, but hey- this thing is simple!

I made this jute with a 3-ply jute string, probably the one you most commonly see in craft stores. Working with the jute is definitely not as easy as a soft strand of yarn, but once you get the hang of it, it's not so bad. Plus this project works up fairly quick, because it's pretty thick and you're using a larger hook.

To finish off my wreath I put on some faux boxwood and cotton stems I found at Hobby Lobby. And if you go when their floral stuff is on sale you can get it for cheap! I also put on a white burlap ribbon as well as adorned it with some raffia here and there. The raffia is probably my favorite part about it-- it makes it look kinda beautifully messy. Which, side note: I totally took a curling iron to the raffia. Ha! 

And I attached it all with a good ol' glue gun! It even looks good inside-- I put it on an old window we have in our living room, and it looks fab.

What you'll need:
1 LB of jute string, 3 ply (it was about 4-5mm wide.. I used one .5 lb roll then half of another.)
Size 9mm Hook
14 inch, approx. 2 inch diameter styrofoam wreath (I got mine from Walmart)
yarn needle

Abbreviations:
ch=chain, st(s)=stitch(es), sc=single crochet

Notes:
Before crocheting the full pattern. I would double check your crochet would fit around the diameter of your wreath after you complete the first row. Just because jute string can vary. If it's not big enough to wrap around your wreath then go back and add another chain to your base chain, then double check again. Same goes for if it's too big, just go back to your base chain and take one or two away depending on how much bigger it was.

This also goes for length of your crochet piece. I would double check that it would fit around the length of the wreath by wrapping it around the outside of the wreath then joining the two short edges. Depending on if it's short or long you can add or take away rows.

So those things being said, you could choose any type of wreath size you wish, and could customize the crocheted rectangle to your size.

Pattern:
ch 15
1) sc in 2nd ch from hook, and across (14)
2-98) ch 1, turn, sc across row (14)
when you finish the last row, it could be helpful to just leave a verrrry long tail that you use for sewing

Assembly of the wreath:
To attach your crochet to the styrofoam, you'll start by wrapping it around, starting on one of the short ends of your crochet piece (see below). 

Then you will take your long piece of jute and your needle and begin to sew up the long edges of your crochet piece using a running stitch. I worked on the very edges so they would line up nicely. It may also be helpful to you to pin the project around the wreath, but I didn't find it necessary.

Continue sewing along the edges until you get to the other end of your piece.

Then you will do the same thing with the short ends-- pull them together and sew those together using a running stitch.

Then after your ends are all tucked away, your jute wreath is complete. Just waiting to be personalized by you!

There you have it! A super simple rusitc-chic wreath pattern.. If you have any questions whatsoever, leave a comment below and I will get back with you ASAP. Also, keep an eye out for another pattern coming soon featuring jute as well! 

Happy making,
Meg