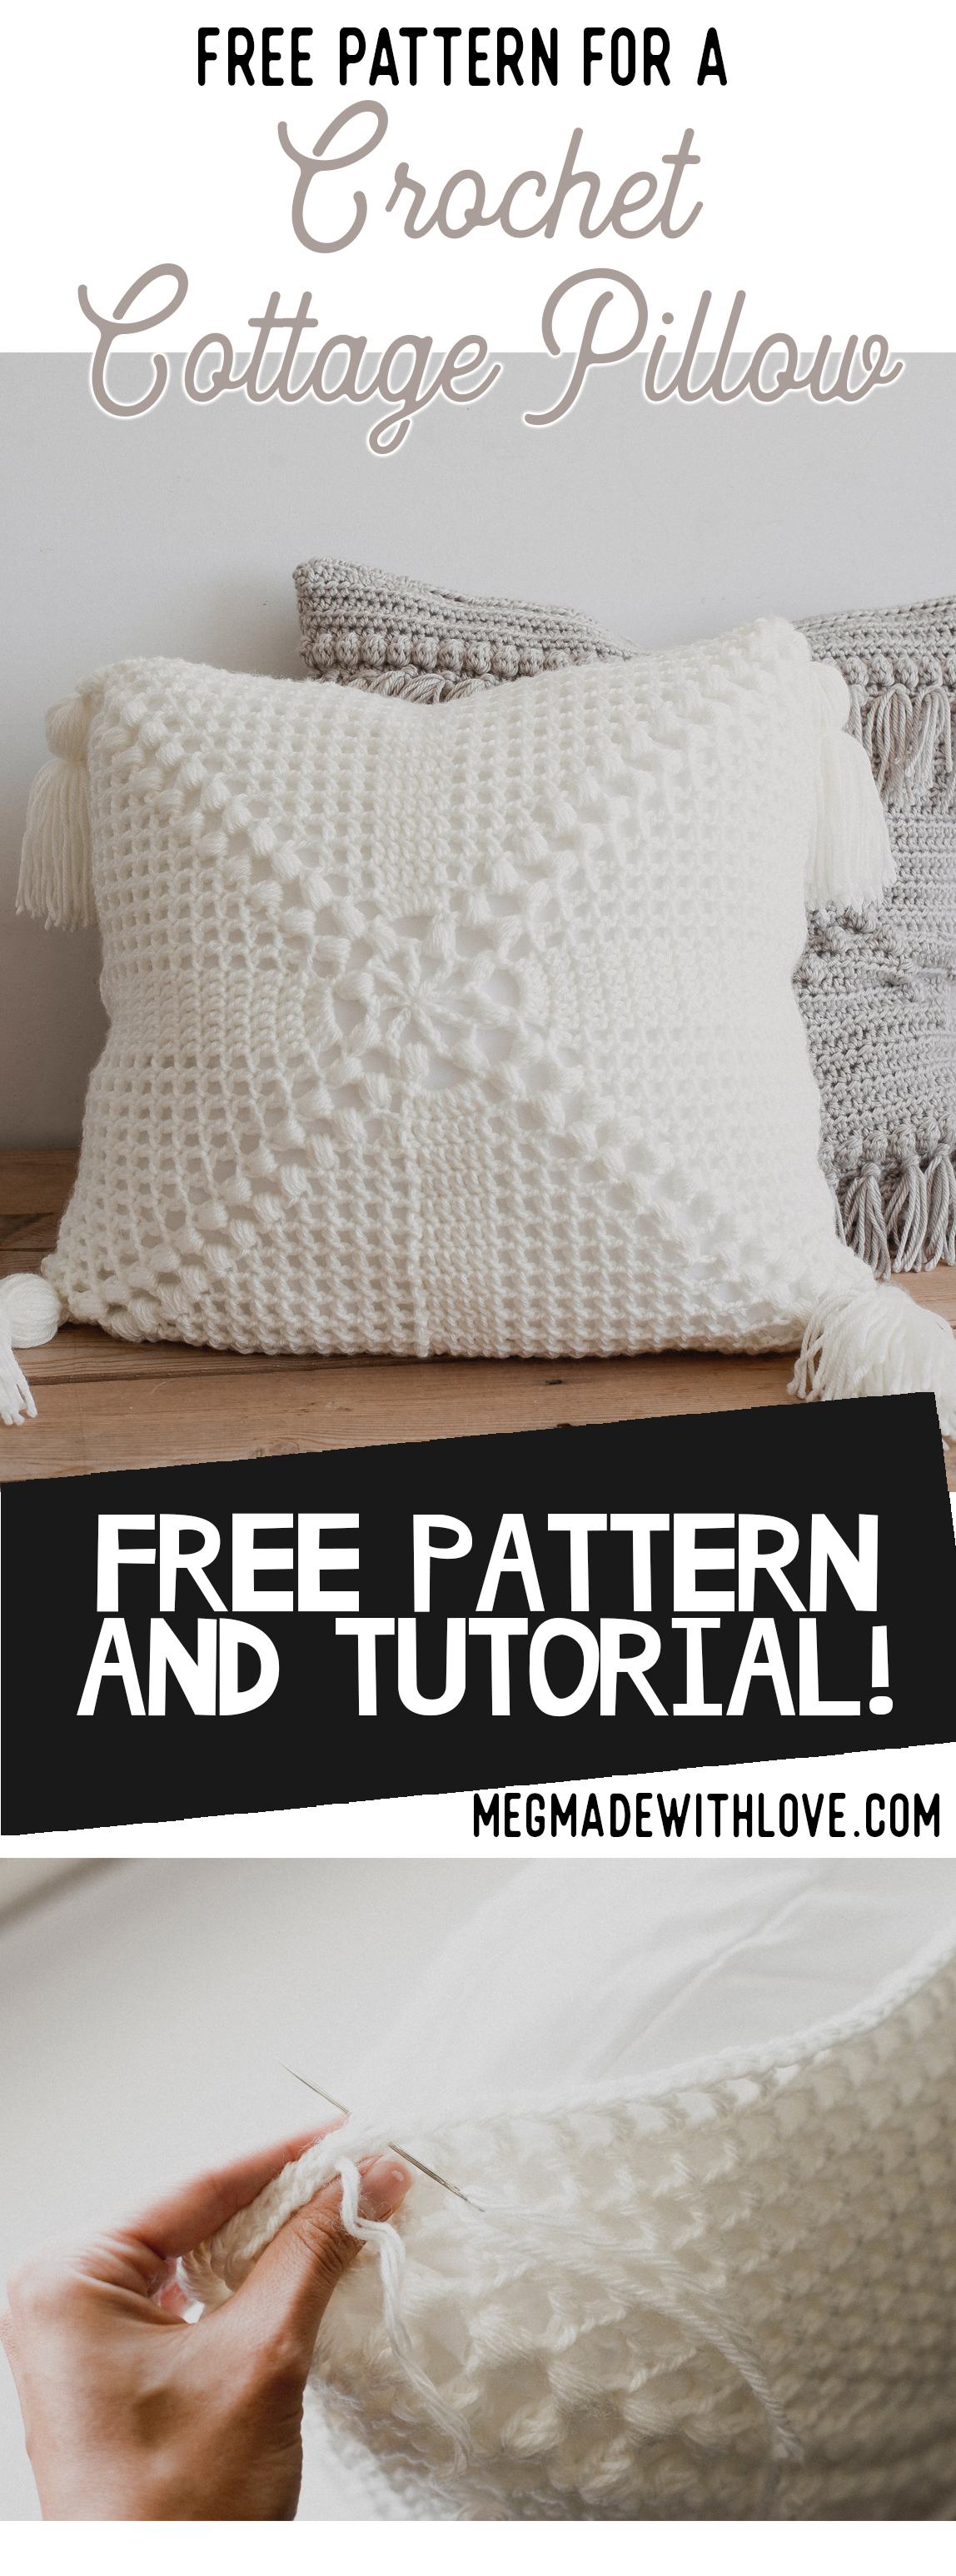
Free Pattern for the Crochet Cottage Pillow
/
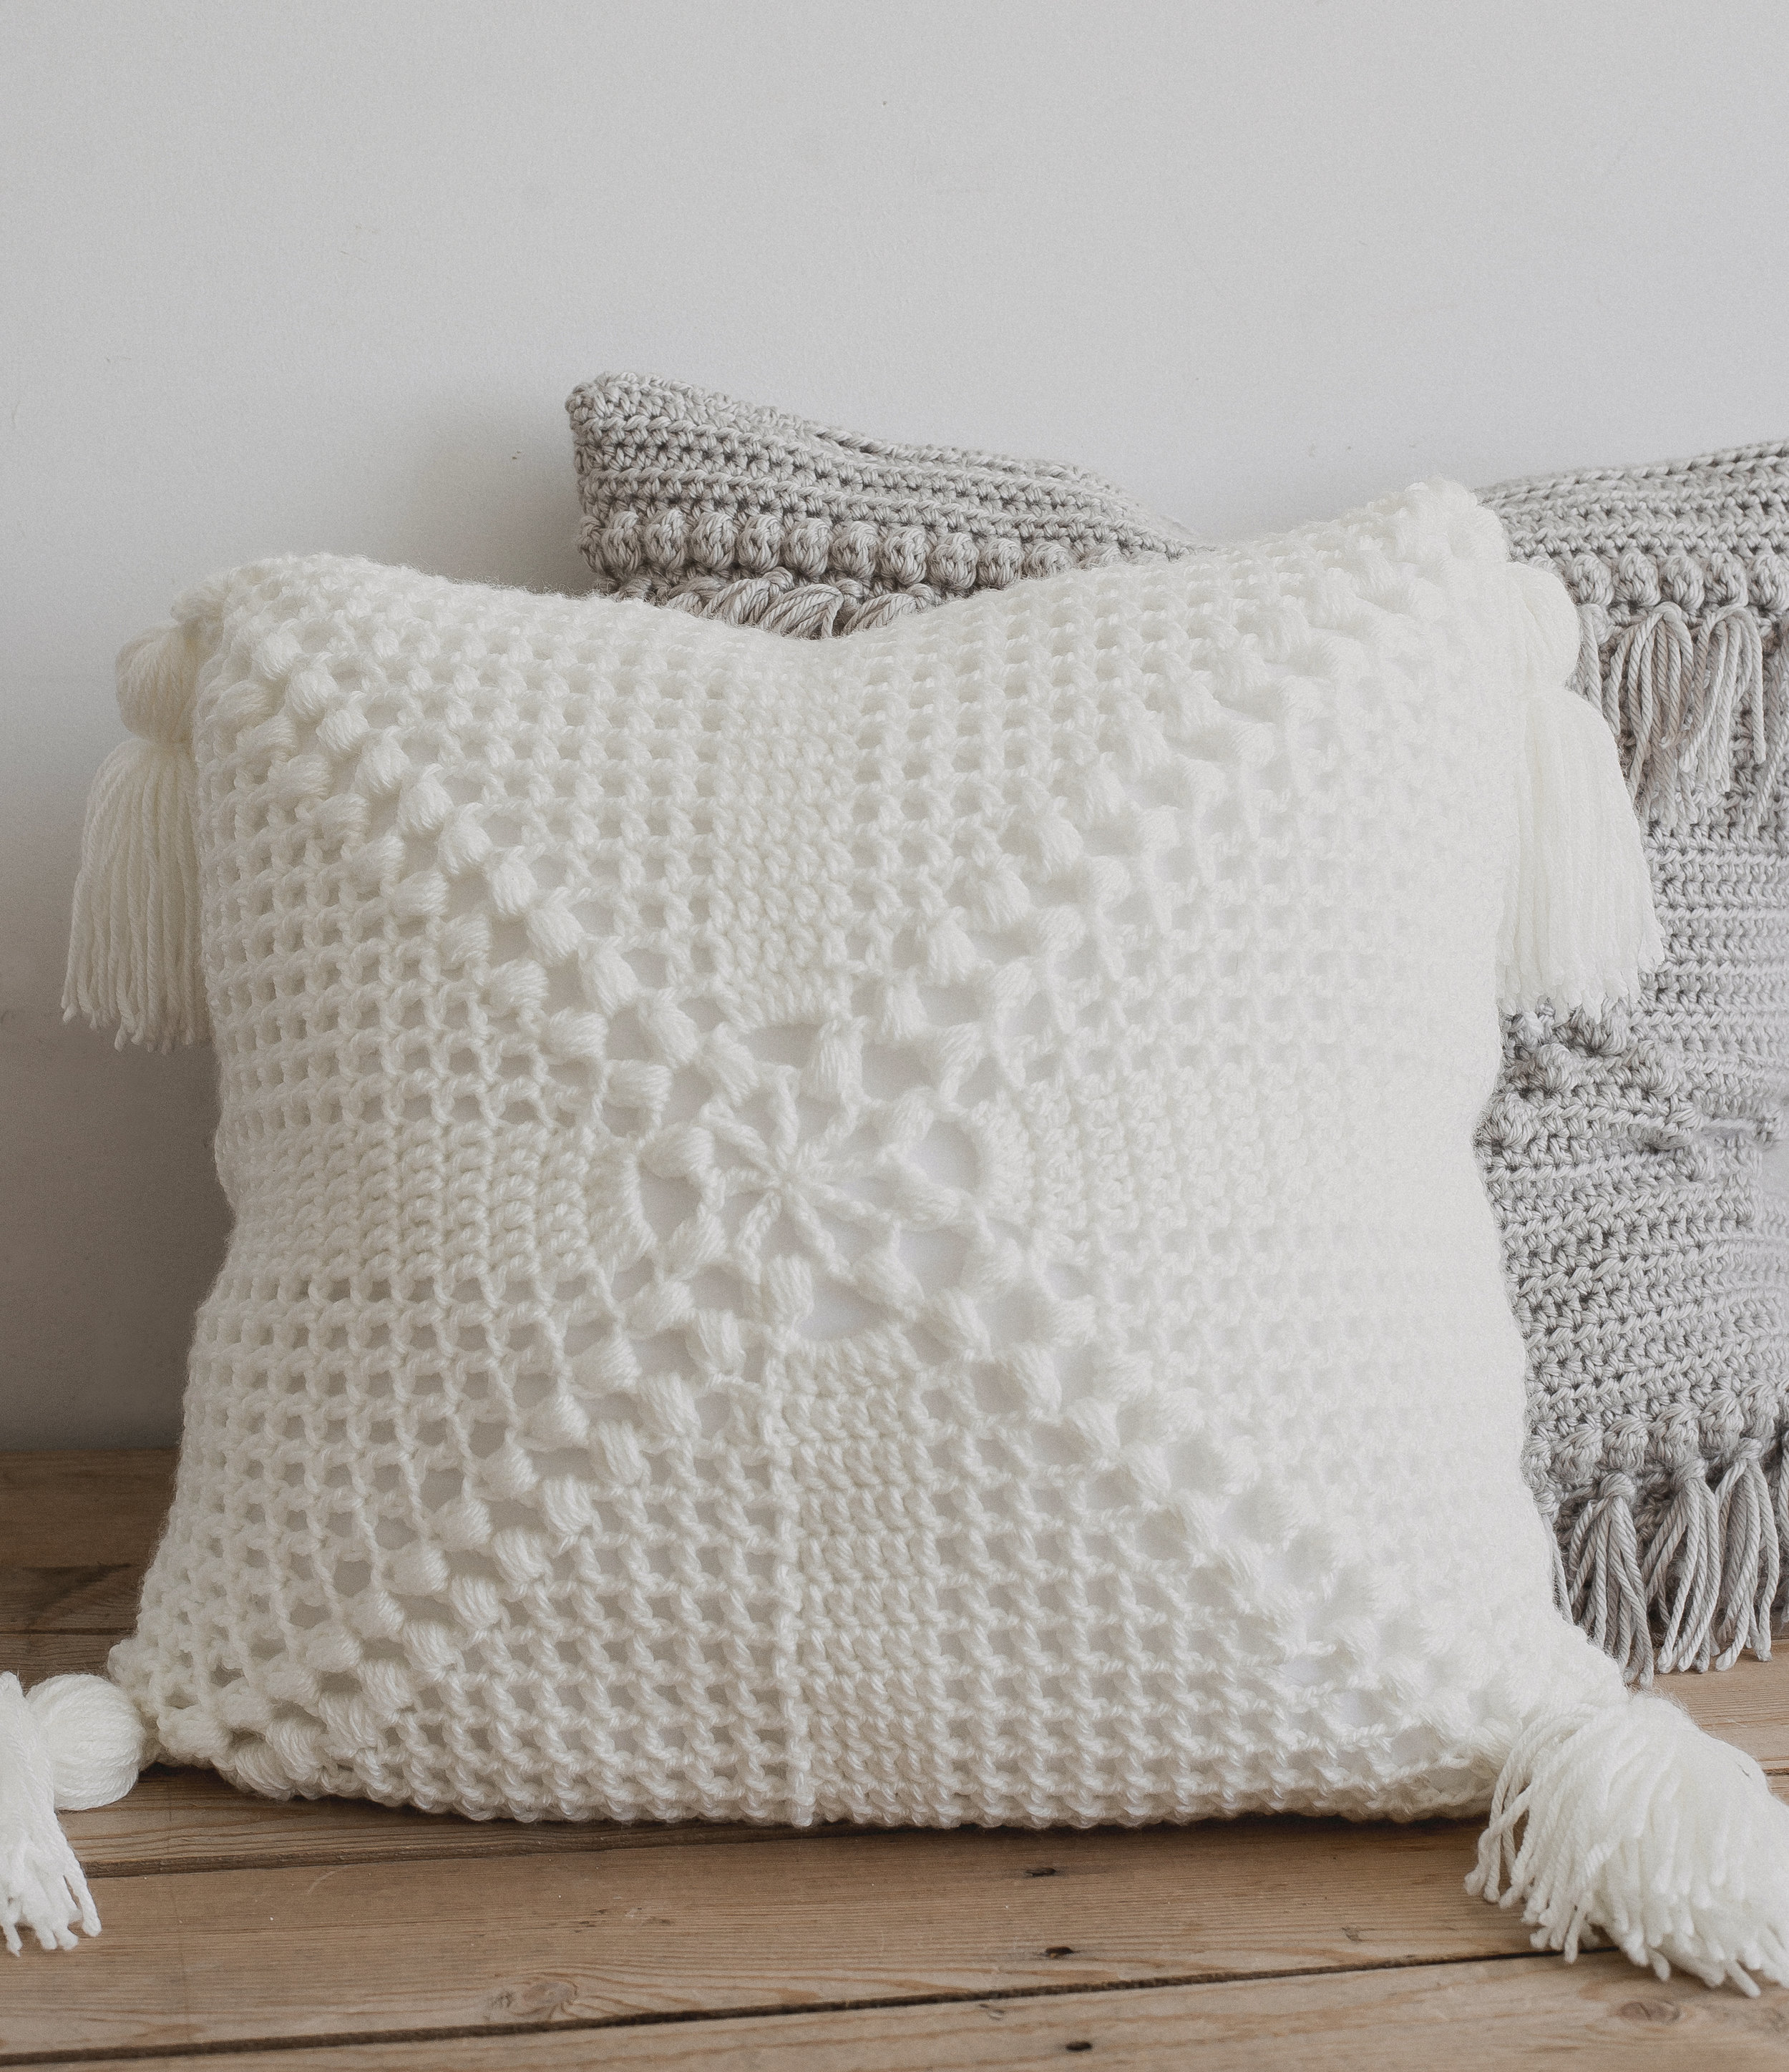
The second installment of the pillow series I'm doing this month is heeeere!! The Crochet Cottage Pillow is a simple and elegant design, that was actually inspired by a pillow from Home Goods I saw. It offers lovely texture, plus lacy detail to reveal the color of your pillow insert--I thought it'd even be pretty cool to play with contrasting colors.
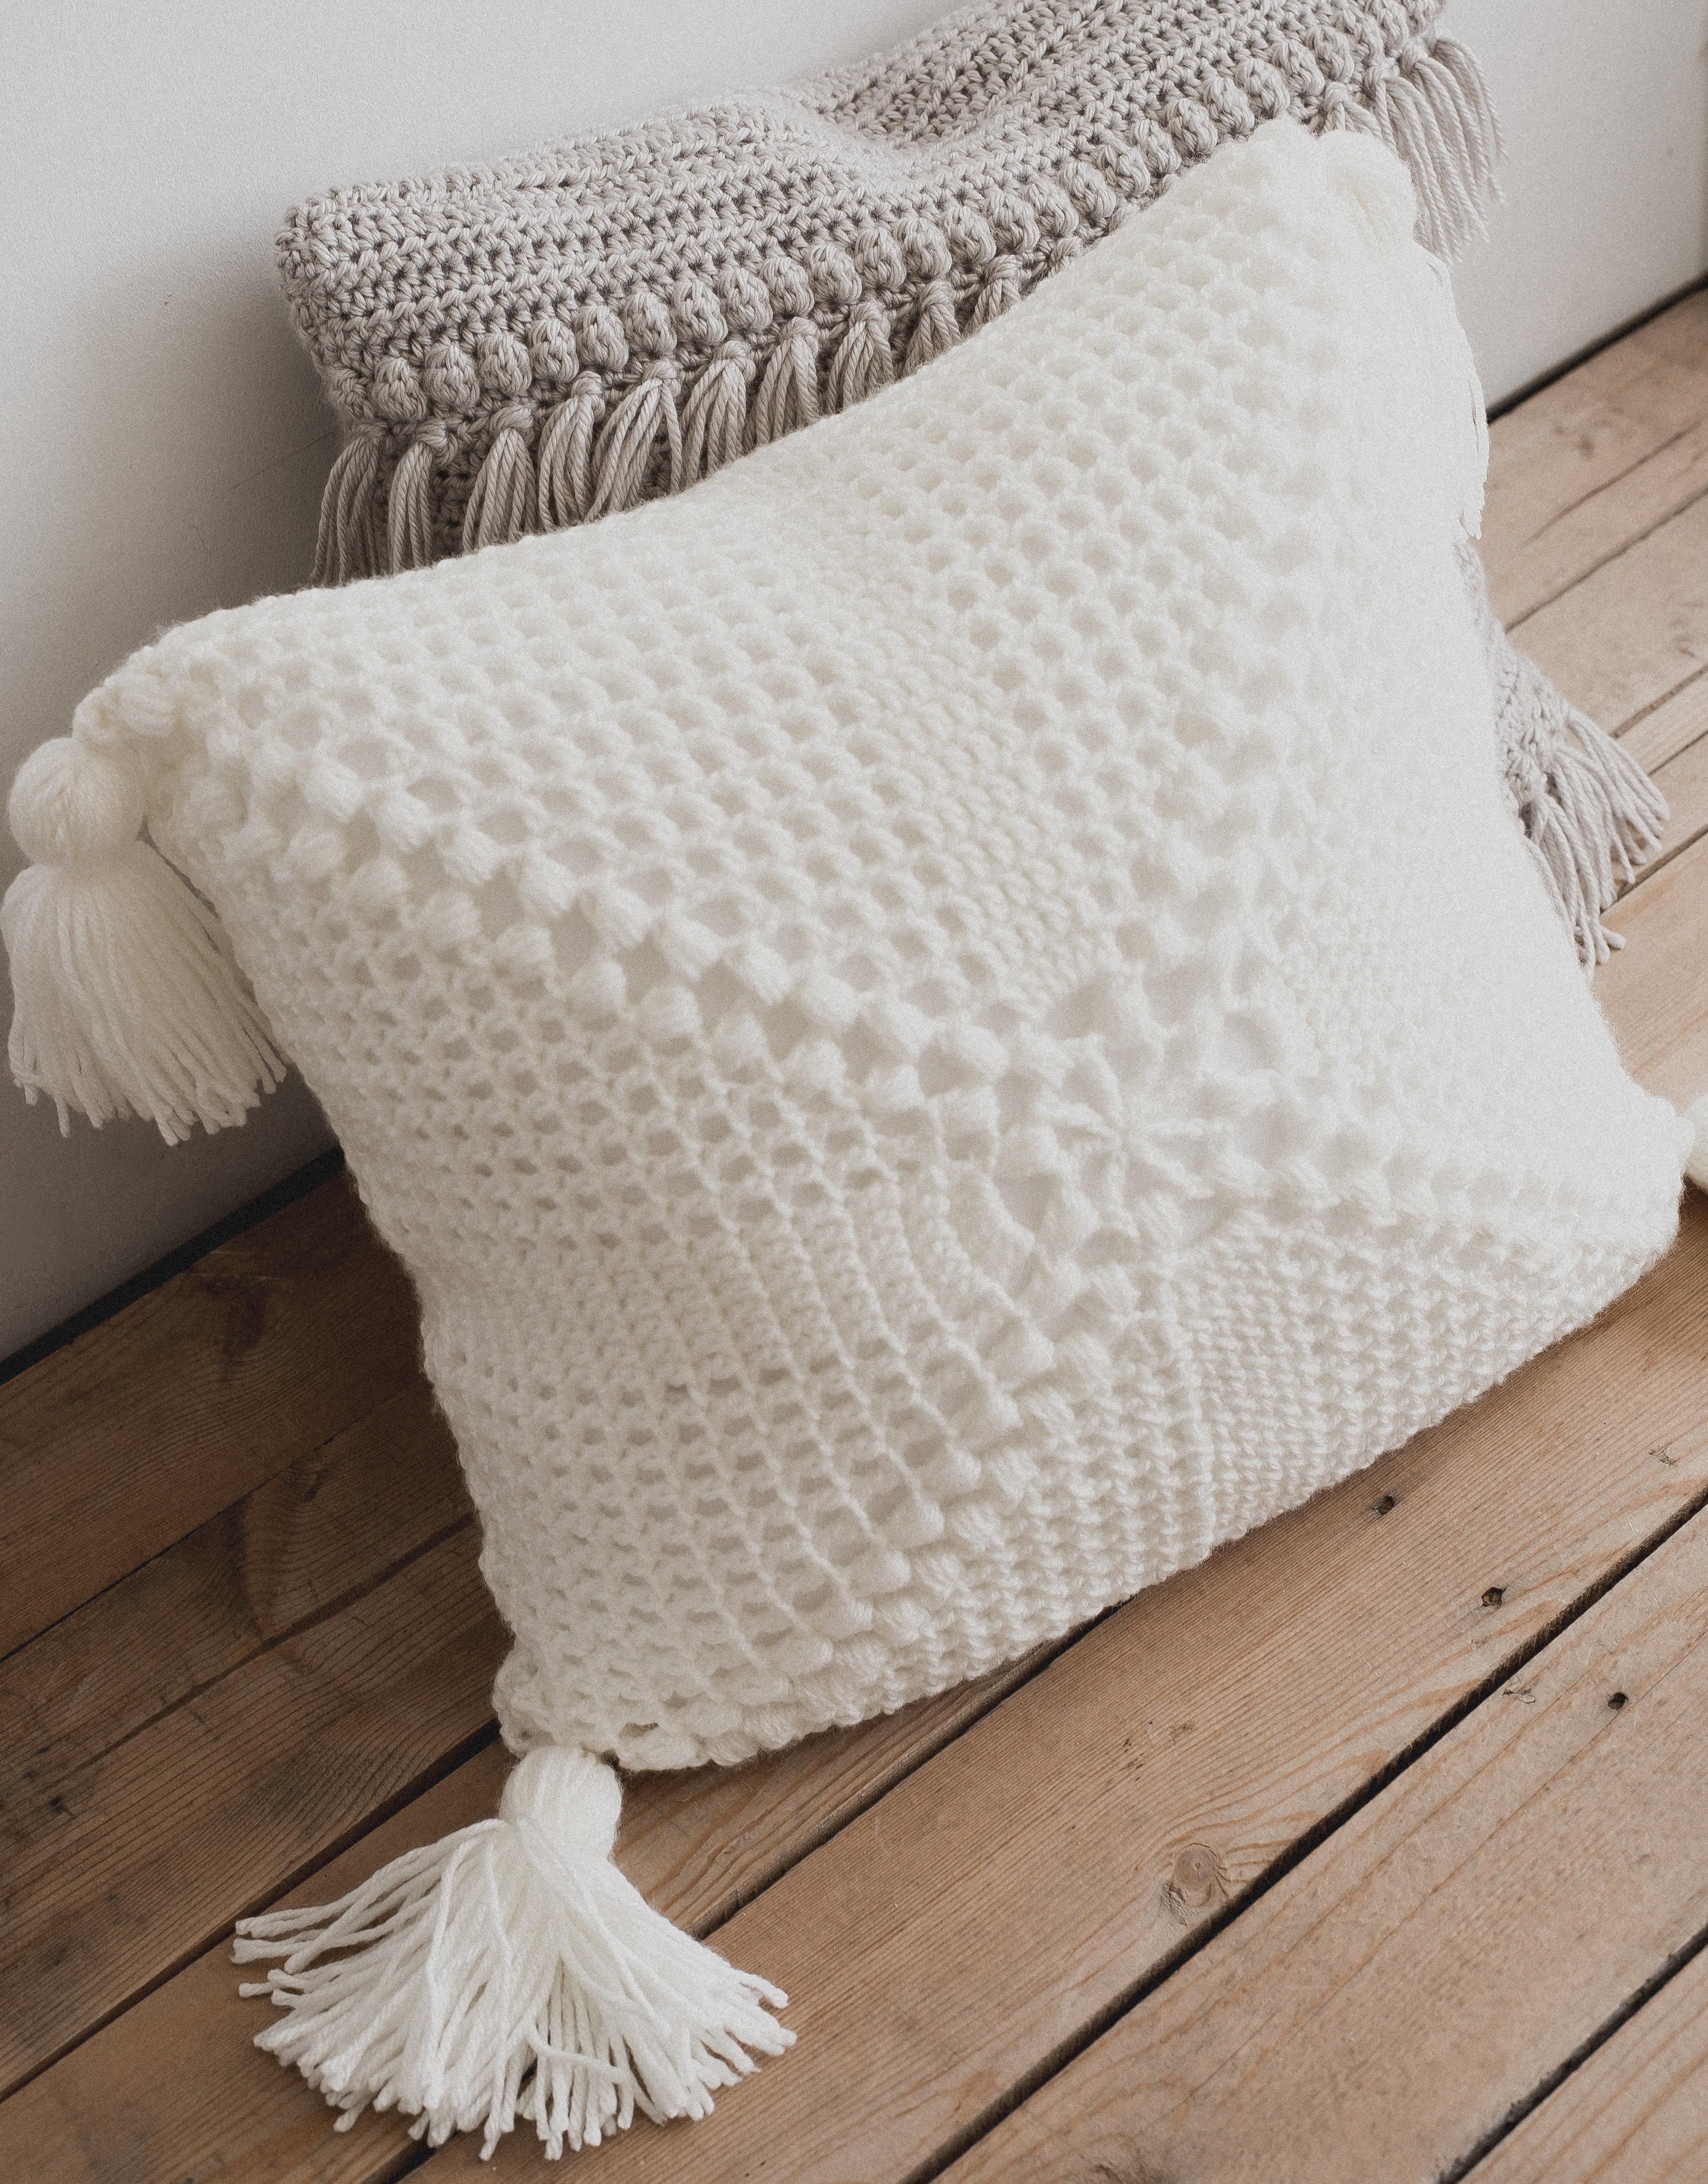
The pillow is worked in two panels, in the round.. and I found once you get the hang of the repeat, you can totally just absentmindedly work on this project while watching a movie/show-- score! I chose to put big ol' tassels on each corner, but any little add-on would be cool. Maybe even some fringe on two sides? Mini tassels?

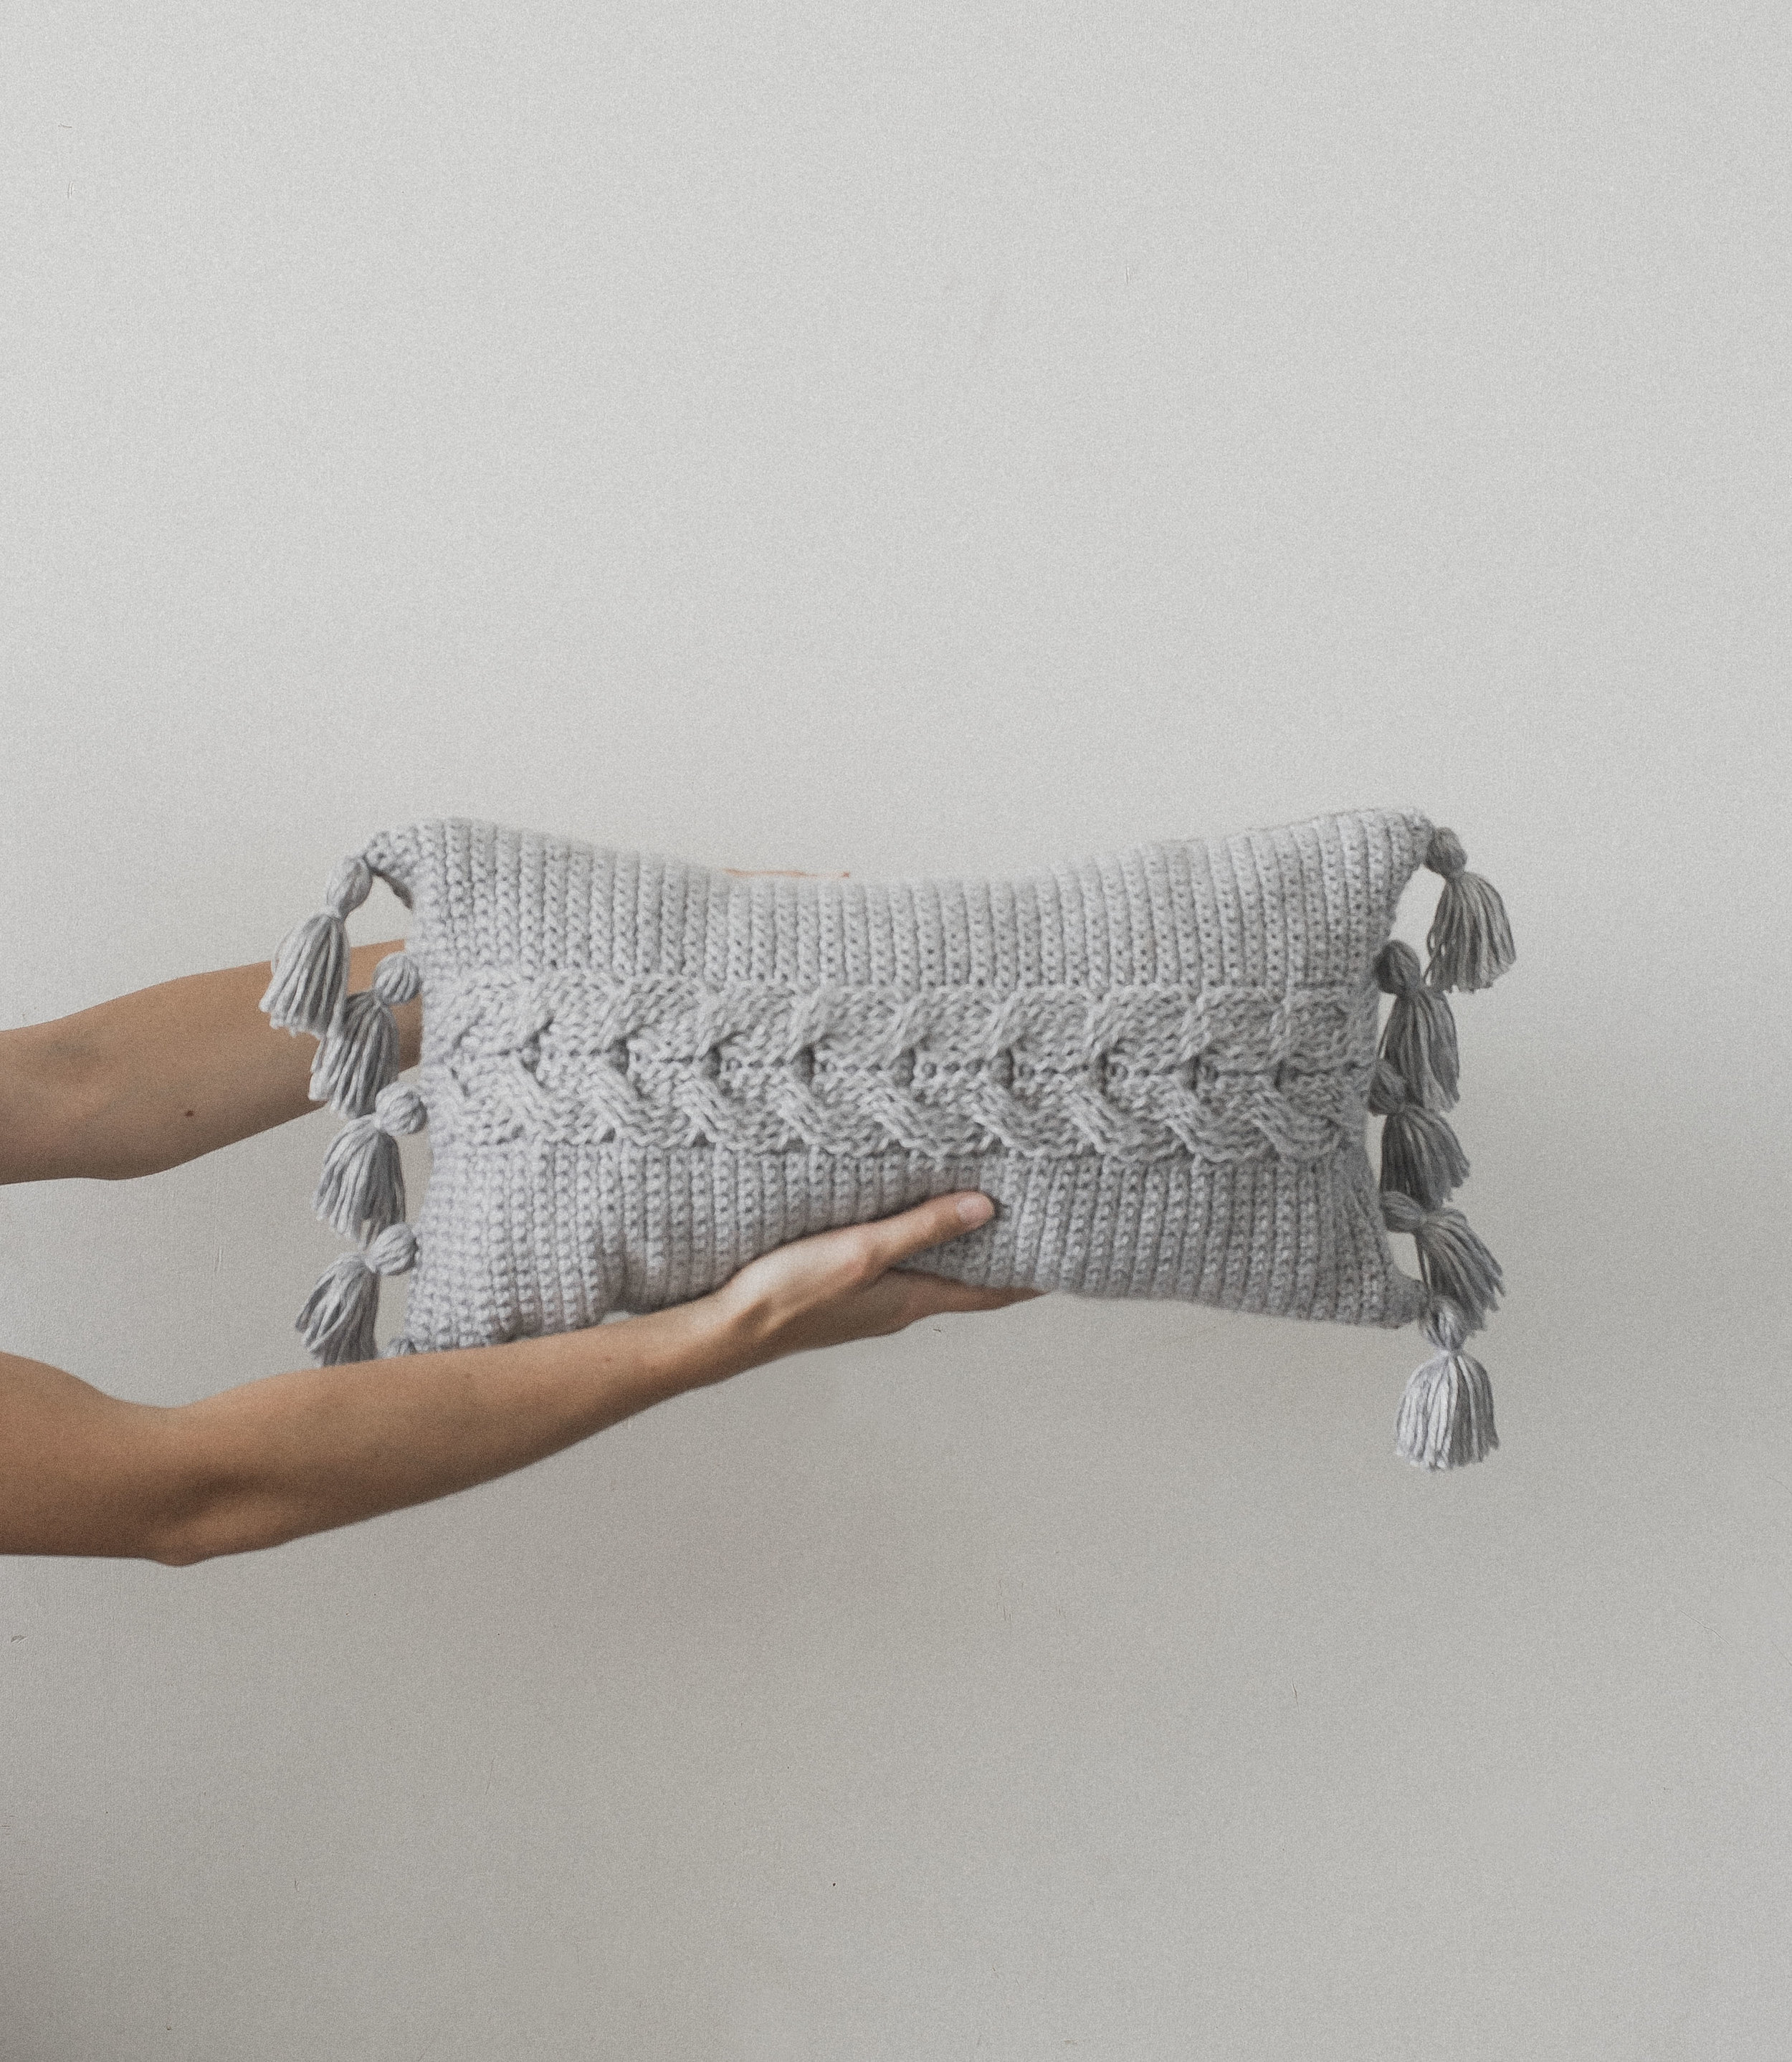
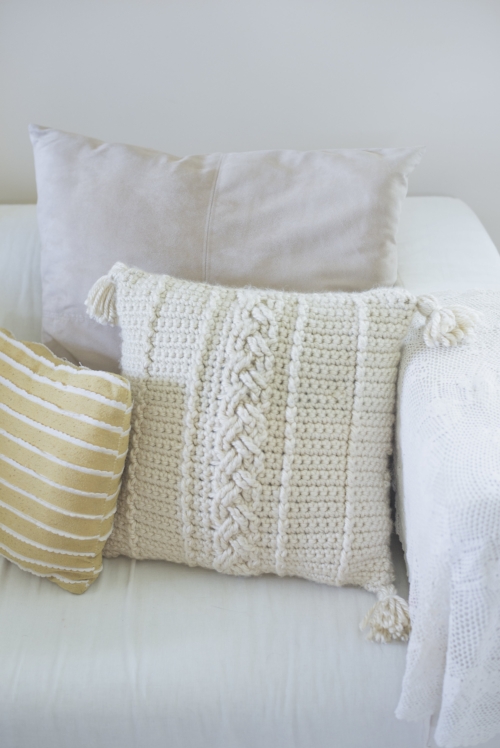
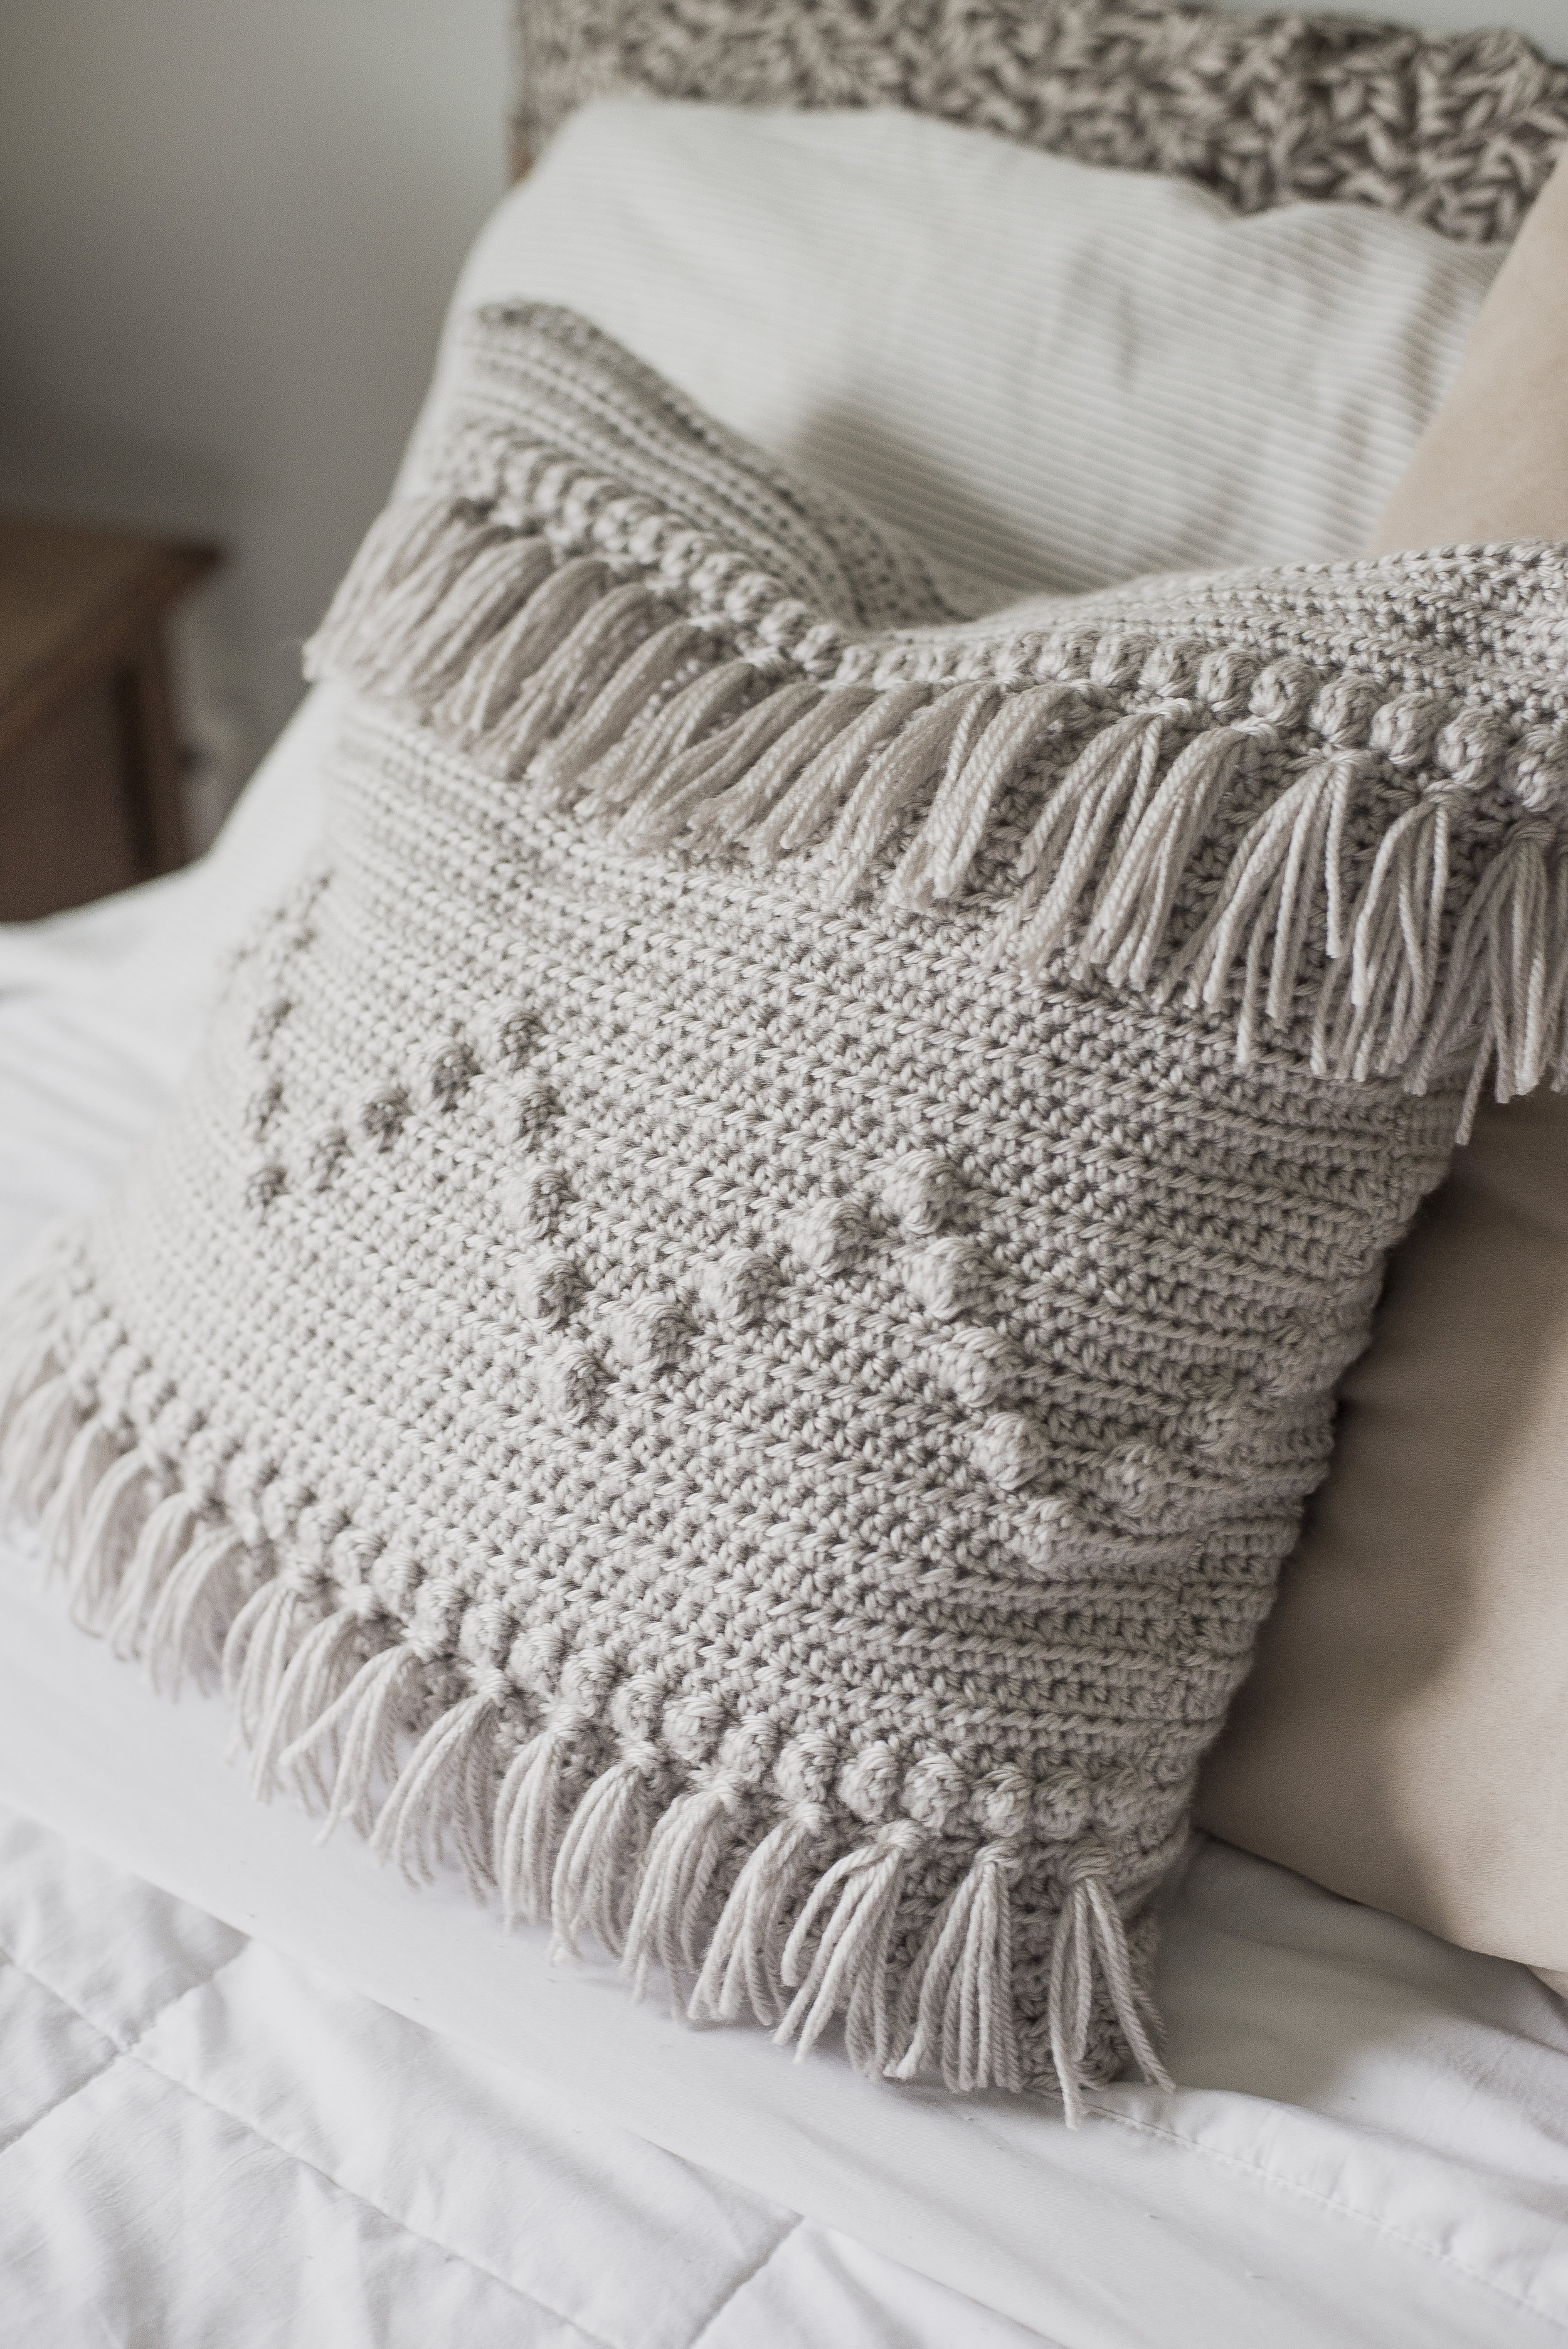
The Crochet Cottage Pillow compliments the first pillow of the series (find it here) better than I could have expected. Both were designed using the Main Street Yarns Shiny + Soft yarn from loveknitting.com, and I've loved using it. I've got one more pillow coming using this yarn-- and talk about a great yarn to work with.. affordable and so darn soft and fluffy!

This pillow would make super cute throw pillows for your bed or even on an entryway bench. Actually, I think it's down-to-earth elegance would bring a great, soft touch to any room!

What you'll need:
-approximately 450 yards of worsted weight yarn (I used 2 skeins of Main Street Yarns, Shiny + Soft in "Off White")
-h hook (5 mm)
-yarn needle
-18 x 18 inch pre-made pillow
Dimensions:
finished pillow measures approx 18 x 18 inches
Abbreviations:
mc=magic circle, ch('s)=chain(s), st(s)=stitch(es), tr=treble, beg=beginning, sl=slip, ps=puff stitch (explanation in notes), sp=space, dc=double crochet, sk=skip, sp('s)=space(s)
Gauge:
14 dc by 8 rows equals a four-inch square
Notes:
Difficulty: Intermediate
-I will specify in the pattern if ch's count as stitches or not
-pillow is worked in rounds from the center-- made of two panels that are sewn together.
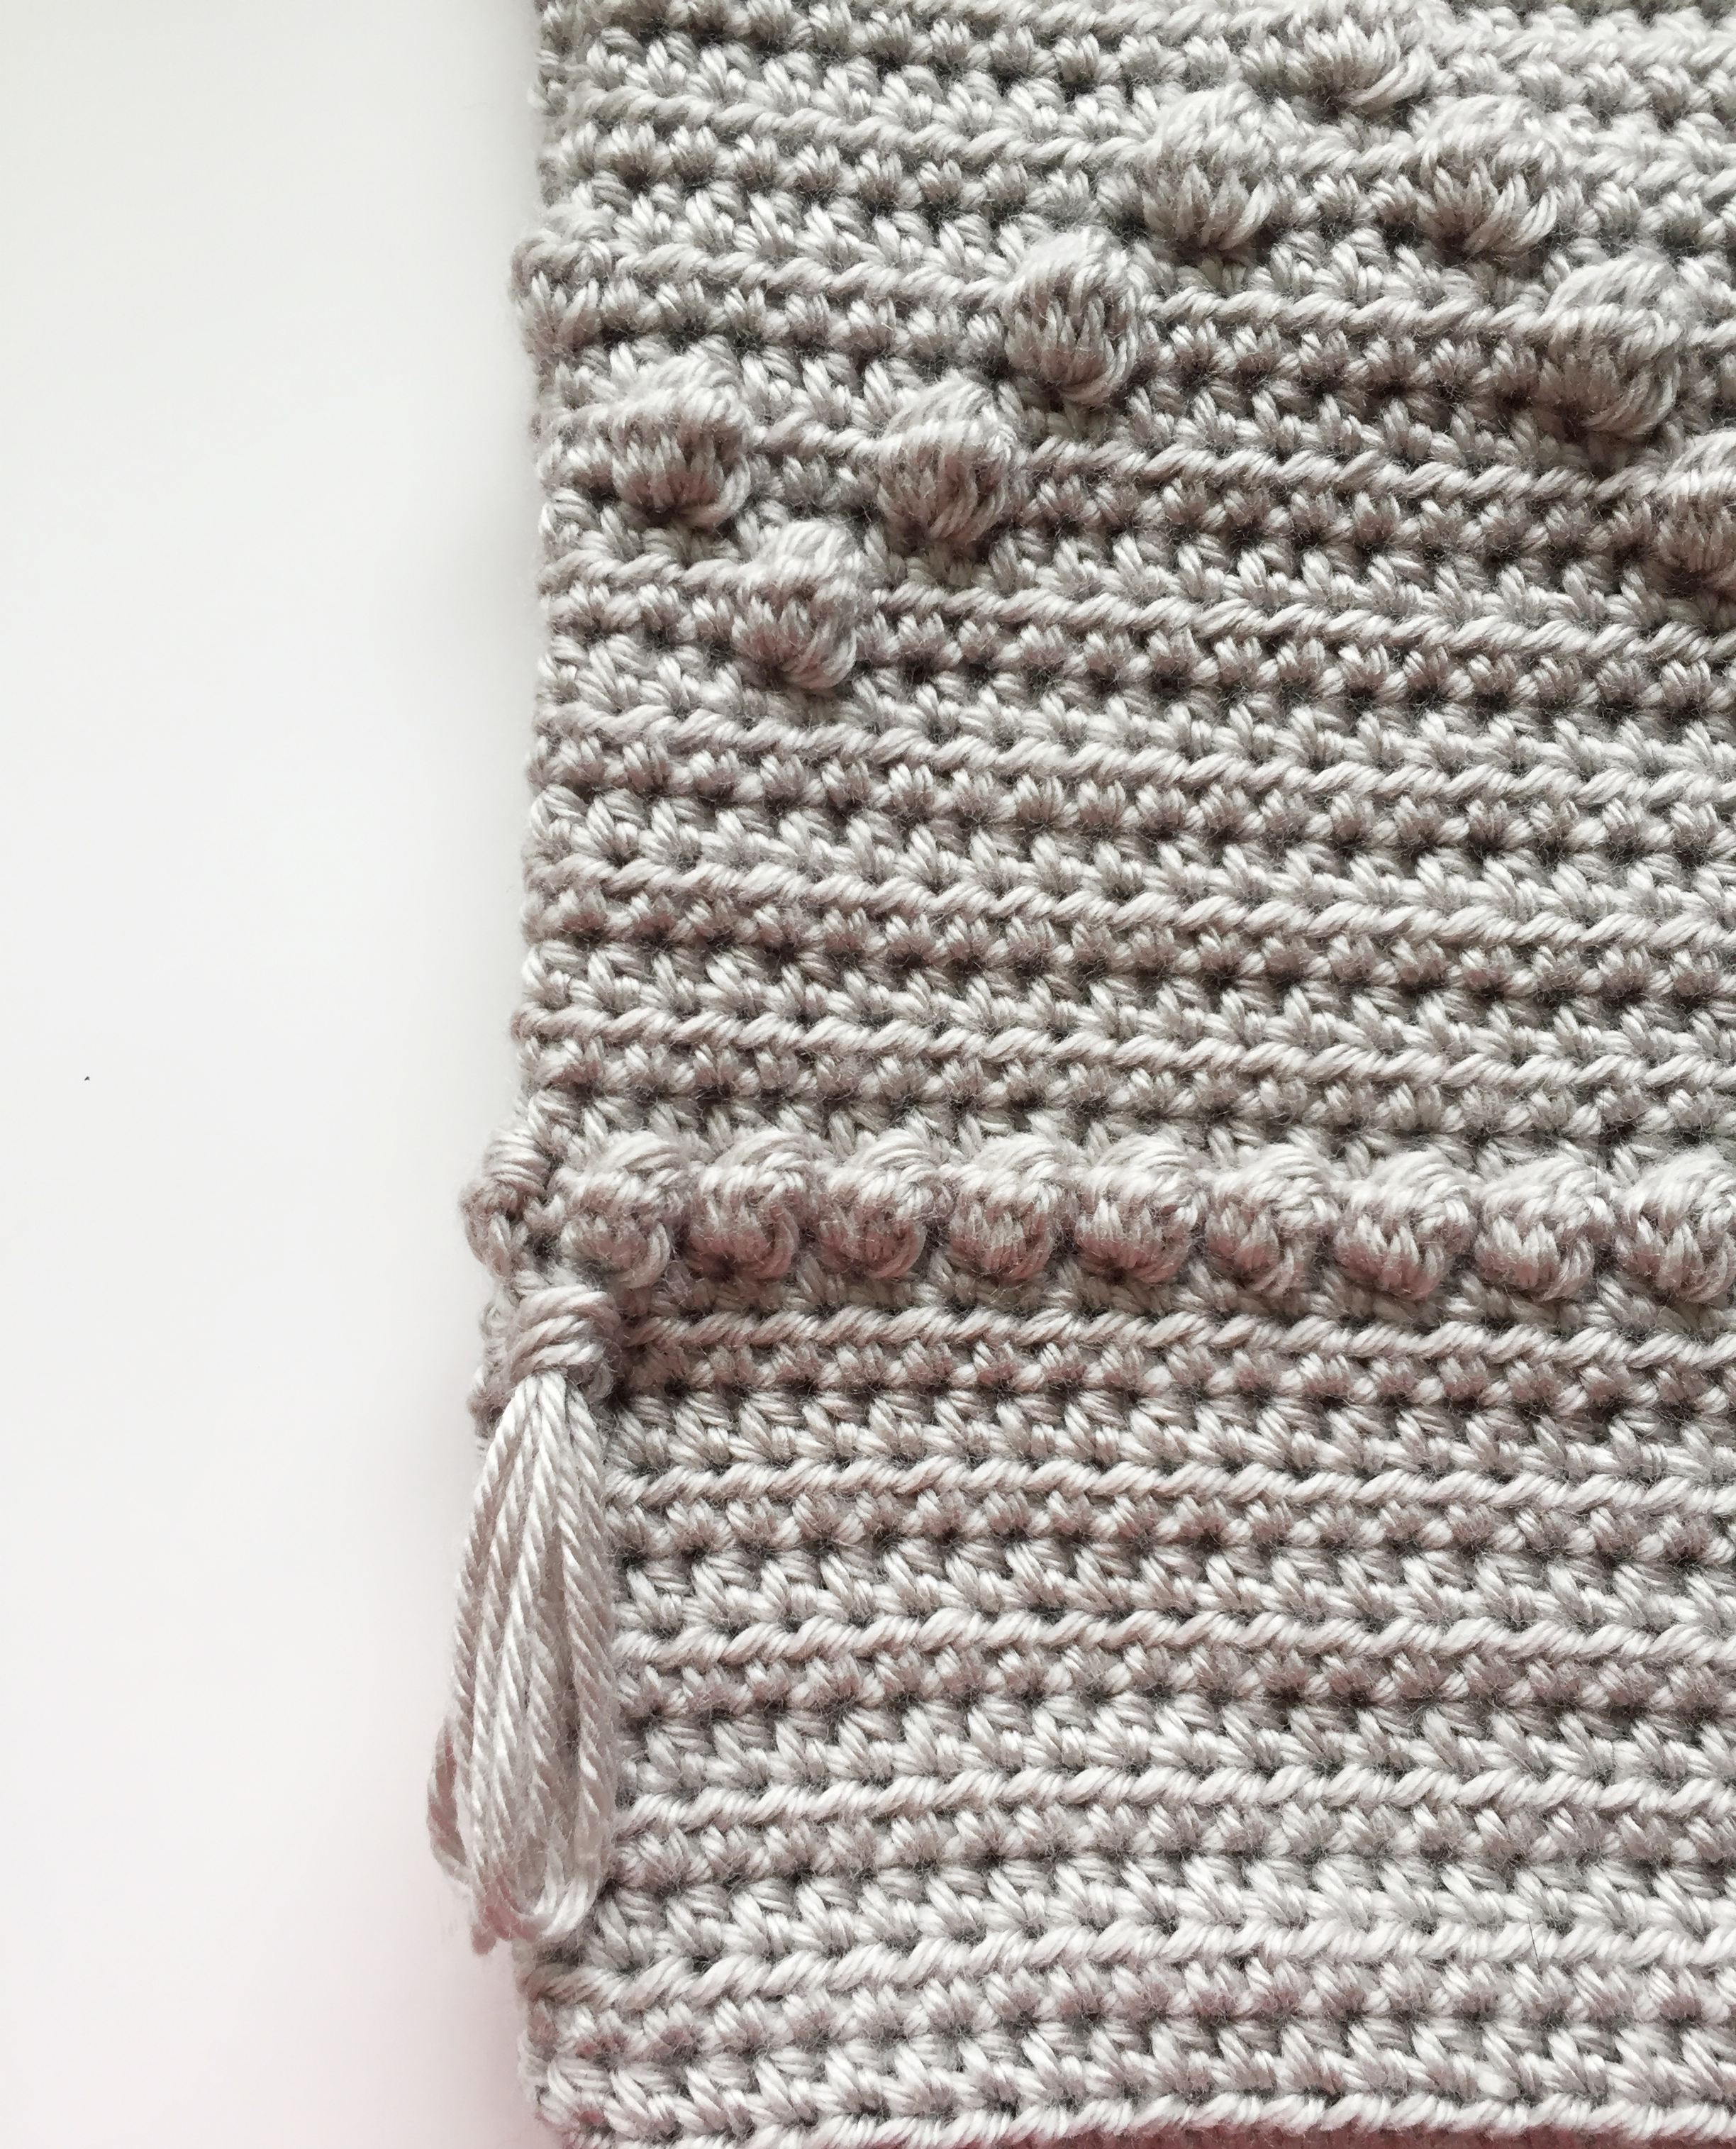
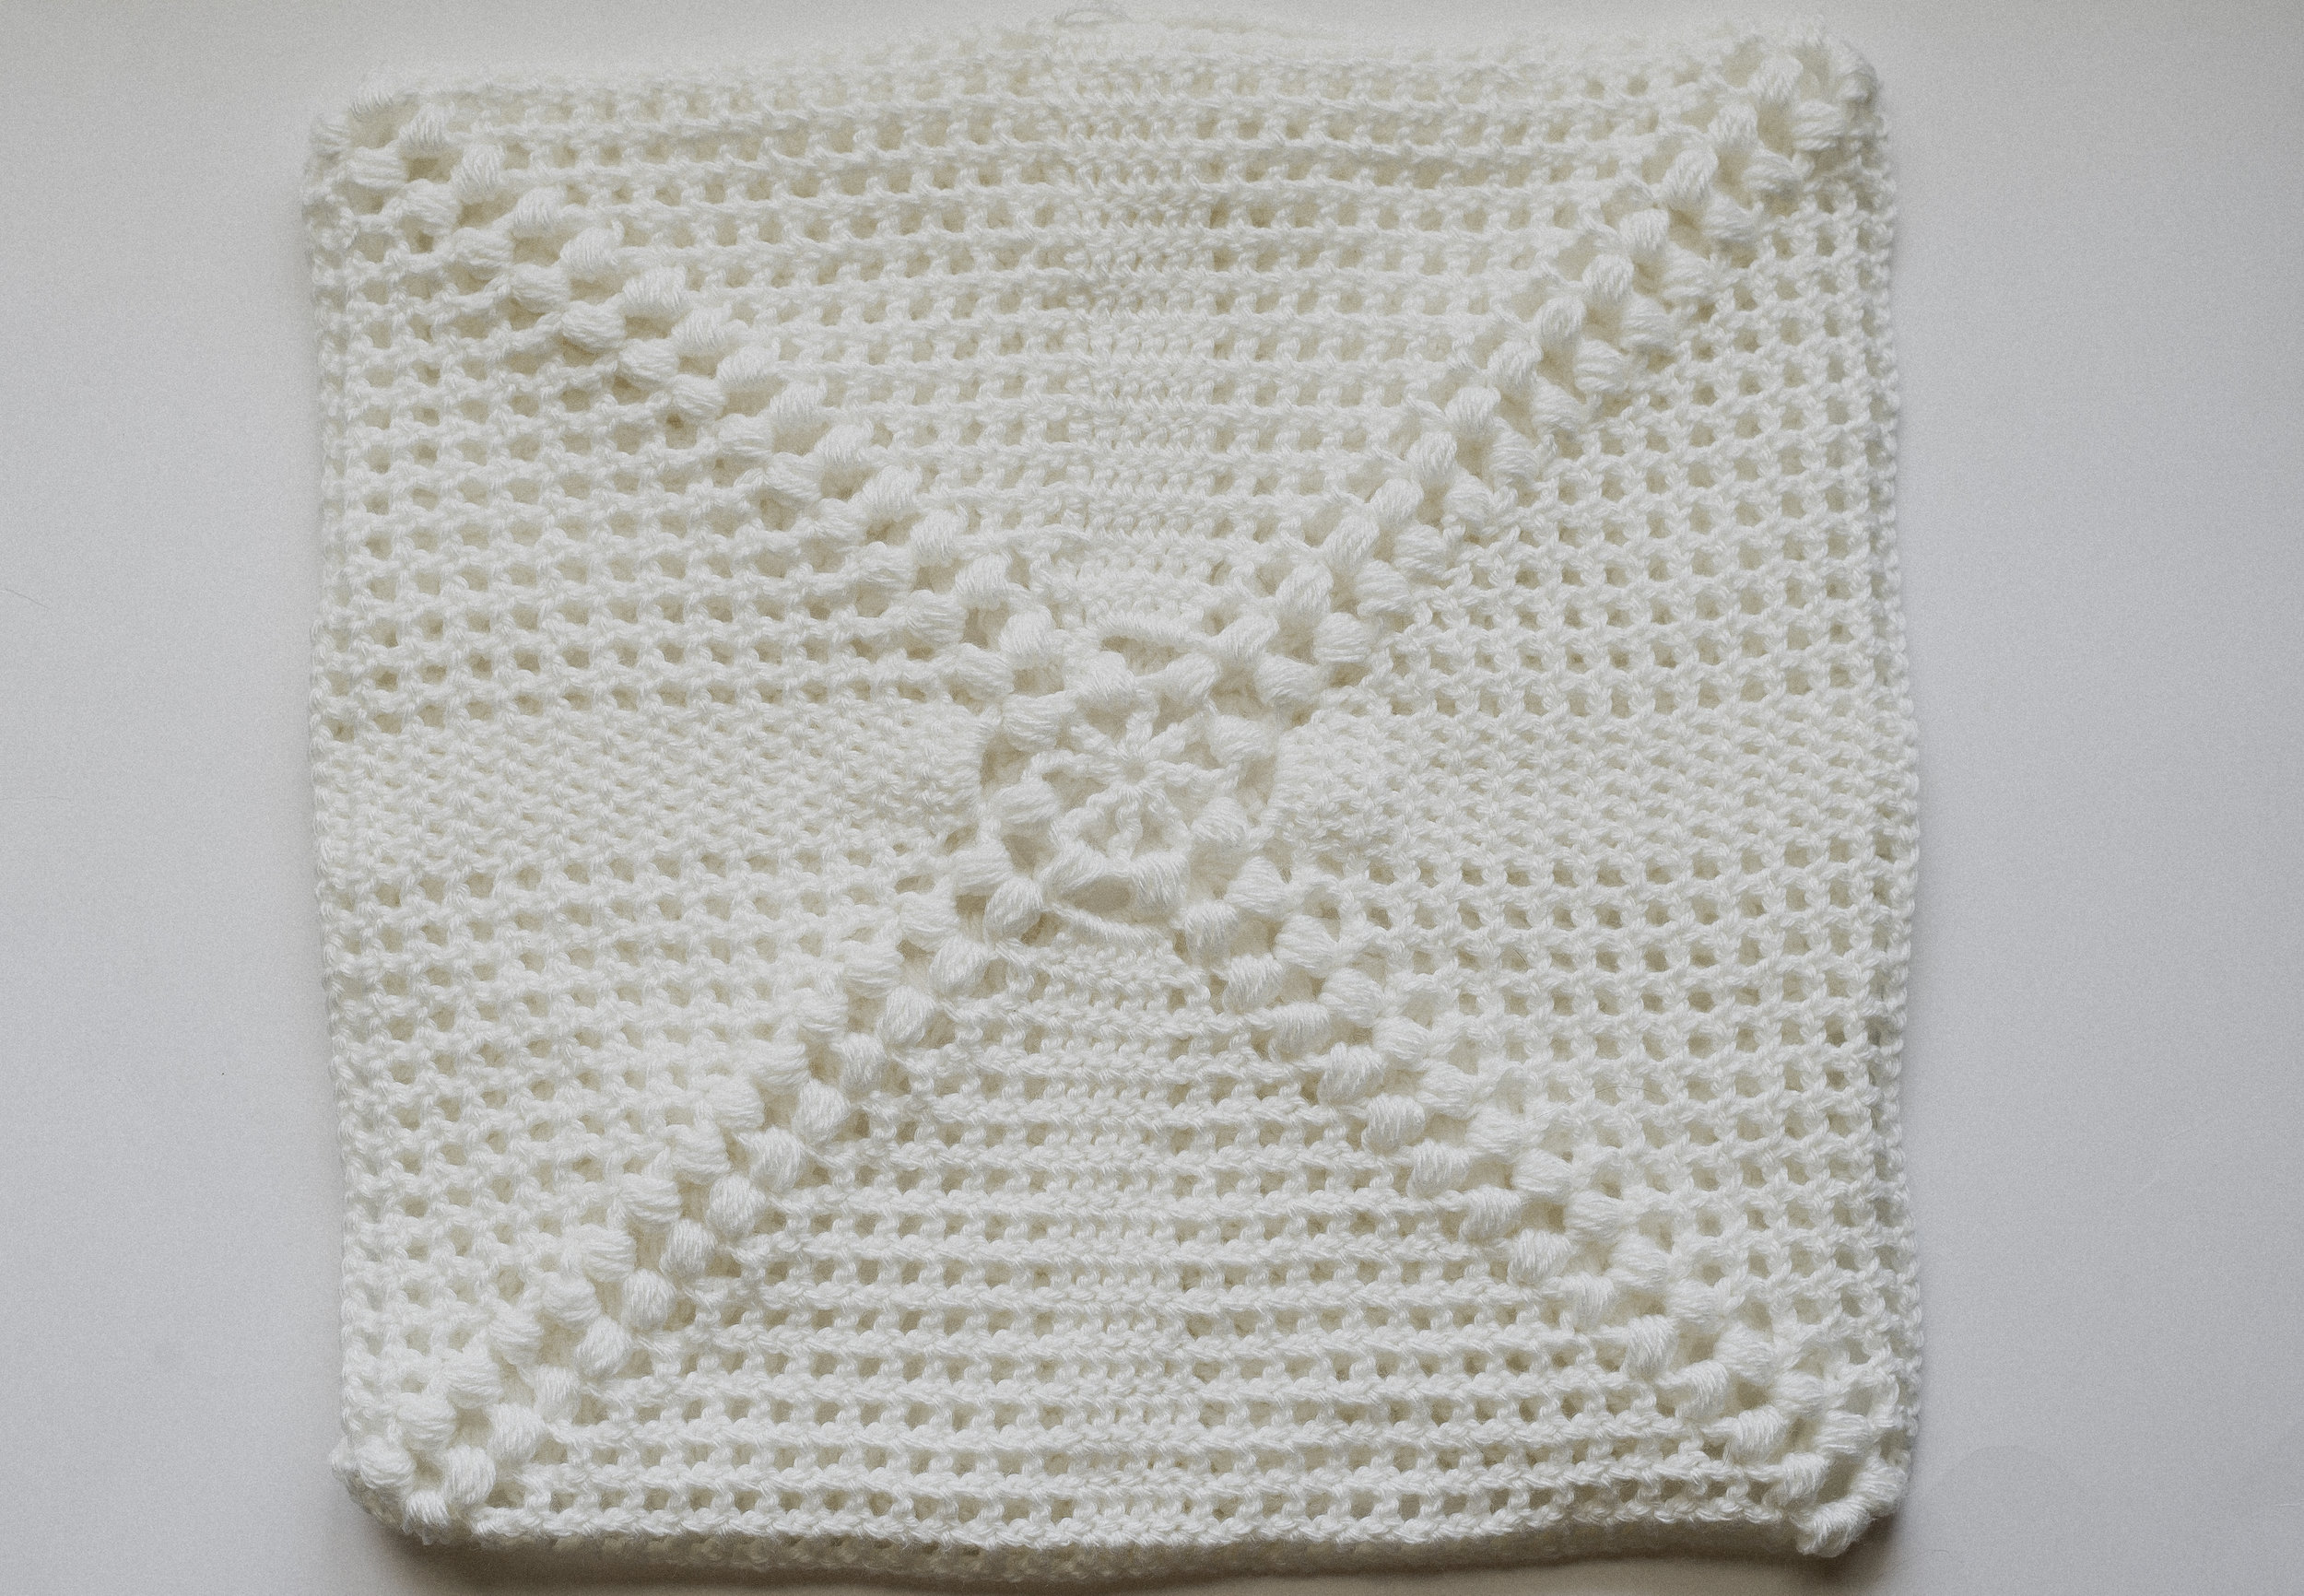
-I wrote out every round's instructions, but there is a repetitive pattern that increases each row. Below is a photo showing you that all the "netted" sections that have an "x" on them are what's being increased each row. You are increasing by one (dc + "ch 1", sk 1) in each of these sections. I say this to hopefully make things easier for you, so that eventually you won't even need to follow the pattern and just know how to increase.

puff stitch: 1) yarn over, insert hook in the stitch, yarn over, draw the yarn through the stitch 2)Repeat the previous step three times- you will have nine loops on the hook. 3) Yarn over and pull through all nine loops
-this pillow pattern is not solid-- meaning you will see through some of the "holes" to the pillow you insert into it. I think it'd be fun to play with contrasting colors!
-below is a photo showing where to work the first dc after rounding a corner:
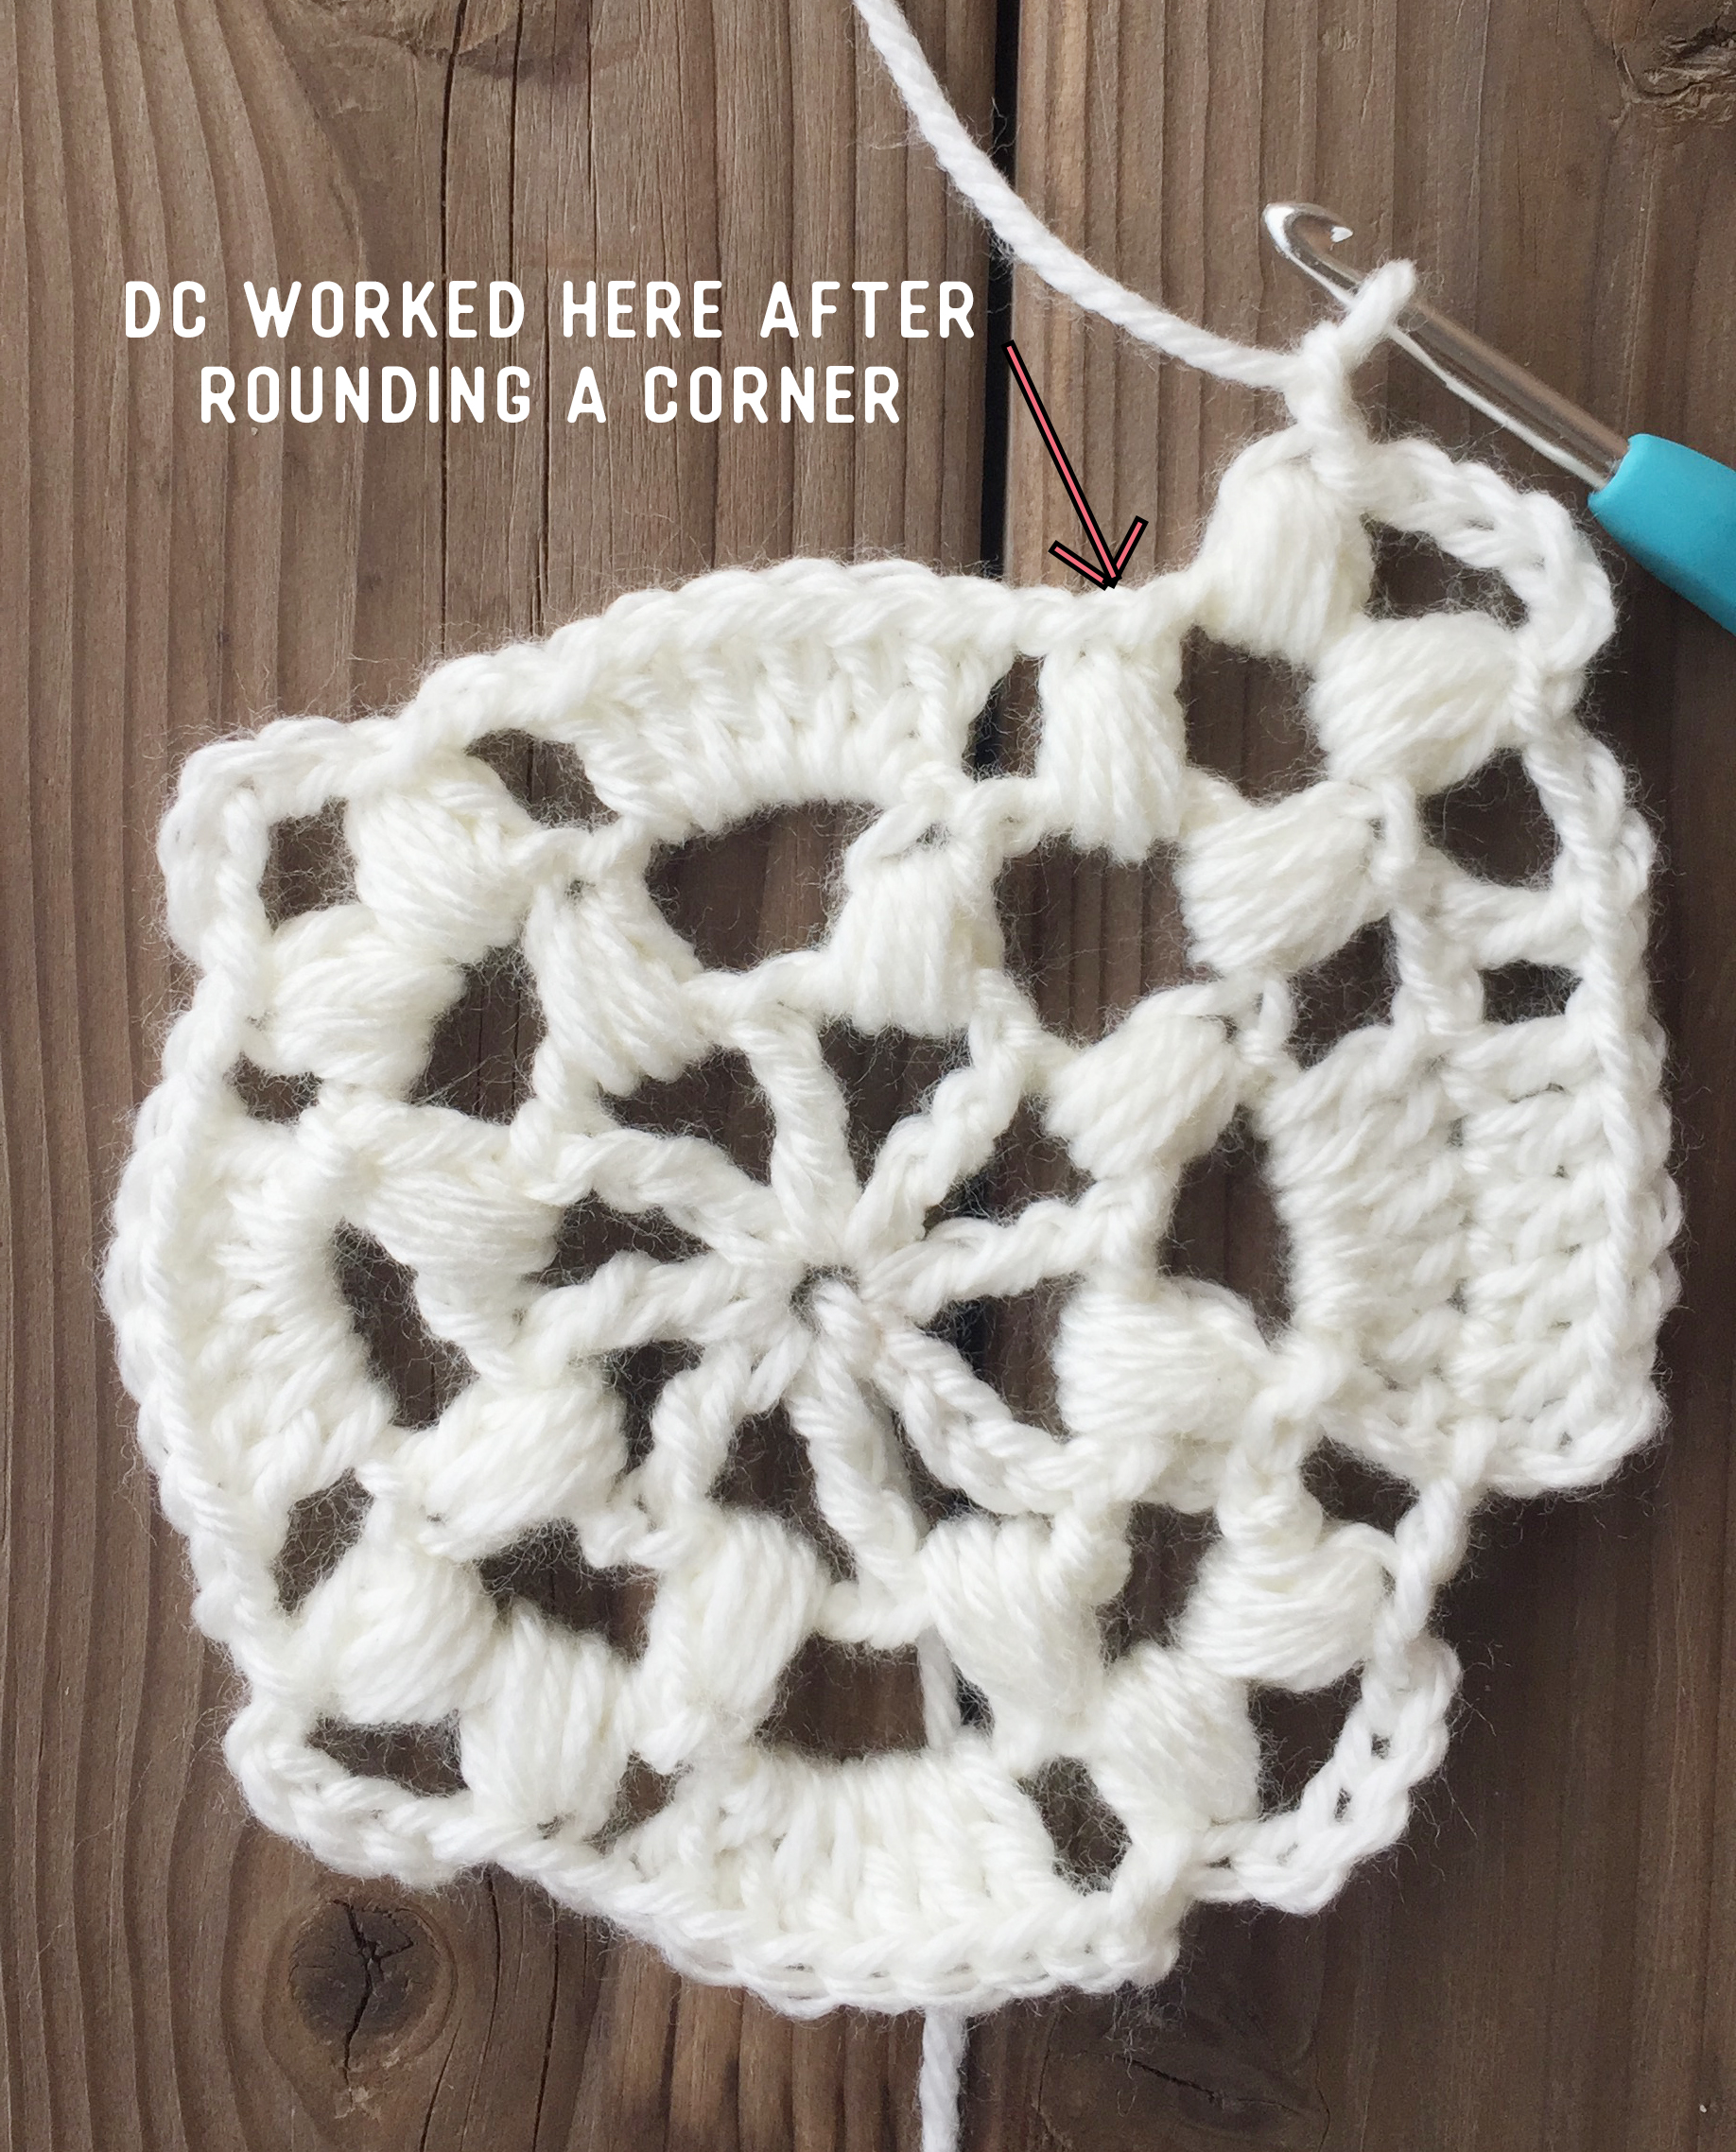
-below shows the dc worked in the spot:

Pattern:
Make two:
Round 1) mc, ch 7 (counts as tr + ch 3), [tr into mc, ch 3] 7 times, join to 4th chain from beg of round with sl st (total 8 tr, 8 "ch 3" sp's)
Round 2) sl st into the 1st "ch 3" sp, ch 2 (does not count as st), ps into same "ch 3" sp, ch 5, [ps in next ch 3 sp, ch 5] 7 times, join to 1st ps with sl st (total 8 ps, 8 "ch 5" sp's)
Round 3) sl st over to 1st "ch 5" sp, ch 3 (counts as dc), work 5 dc in same "ch 5" sp, ch 2, all in next "ch 5" sp: (ps, ch 5, ps), ch 2, [work 6 dc in next "ch 5" sp, ch 2, all in next "ch 5" sp: (ps, ch 5, ps), ch 2] 3 times, join to 3rd ch from beg of round with sl st (total 24 dc, 8 ps)
Round 4) ch 3 (counts as dc), dc in next 5 sts, ch 1, sk next ch, dc, ch 2, all in next "ch 5" sp: (ps, ch 5, ps), ch 2, dc into ch on top of next ps from prev round (see pic in notes for where this st is worked), ch 1, [dc into next 6 sts, ch 1, sk next ch, dc, ch 2, all in next "ch 5" sp: (ps, ch 5, ps), ch 2, dc into ch on top of next ps from prev round, ch 1, sk next ch] 3 times, join to 3rd ch from beg of round with sl st (total 32 dc, 8 ps)
Round 5) ch 3 (counts as dc), dc in next 5 sts, [ch 1, sk next ch, dc] 2 times, ch 2, all in next "ch 5" sp: (ps, ch 5, ps), ch 2, dc into ch on top of next ps from prev round, ch 1, sk next ch, dc, ch 1, sk next ch, [dc into next 6 sts, (ch 1, sk next ch, dc) 2 times, ch 2, all in next "ch 5" sp: (ps, ch 5, ps), ch 2, dc into ch on top of next ps from prev round, ch 1, sk next ch, dc, ch 1, sk st] 3 times, join to 3rd ch from beg of round with sl st (total 40 dc, 8 ps)
Round 6) ch 3 (counts as dc), dc in next 5 sts, [ch 1, sk next ch, dc] 3 times, ch 2, all in next "ch 5" sp: (ps, ch 5, ps), ch 2, dc into ch on top of next ps from prev round, (ch 1, sk next ch, dc) 2 times, ch 1, sk next ch, [dc into next 6 sts, (ch 1, sk next ch, dc) 3 times, ch 2, all in next "ch 5" sp: (ps, ch 5, ps), ch 2, dc into ch on top of next ps from prev round, (ch 1, sk next ch, dc) 2 times, ch 1, sk st] 3 times, join to 3rd ch from beg of round with sl st (total 48 dc, 8 ps)
Round 7) ch 3 (counts as dc), dc in next 5 sts, [ch 1, sk next ch, dc] 4 times, ch 2, all in next "ch 5" sp: (ps, ch 5, ps), ch 2, dc into ch on top of next ps from prev round, (ch 1, sk next ch, dc) 3 times, ch 1, sk next ch, [dc into next 6 sts, (ch 1, sk next ch, dc) 4 times, ch 2, all in next "ch 5" sp: (ps, ch 5, ps), ch 2, dc into ch on top of next ps from prev round, (ch 1, sk next ch, dc) 3 times, ch 1, sk st] 3 times, join to 3rd ch from beg of round with sl st (total 56 dc, 8 ps)
Round 8) ch 3 (counts as dc), dc in next 5 sts, [ch 1, sk next ch, dc] 5 times, ch 2, all in next "ch 5" sp: (ps, ch 5, ps), ch 2, dc into ch on top of next ps from prev round, (ch 1, sk next ch, dc) 4 times, ch 1, sk next ch, [dc into next 6 sts, (ch 1, sk next ch, dc) 5 times, ch 2, all in next "ch 5" sp: (ps, ch 5, ps), ch 2, dc into ch on top of next ps from prev round, (ch 1, sk next ch, dc) 4 times, ch 1, sk st] 3 times, join to 3rd ch from beg of round with sl st (total 64 dc, 8 ps)
Round 9) ch 3 (counts as dc), dc in next 5 sts, [ch 1, sk next ch, dc] 6 times, ch 2, all in next "ch 5" sp: (ps, ch 5, ps), ch 2, dc into ch on top of next ps from prev round, (ch 1, sk next ch, dc) 5 times, ch 1, sk next ch, [dc into next 6 sts, (ch 1, sk next ch, dc) 6 times, ch 2, all in next "ch 5" sp: (ps, ch 5, ps), ch 2, dc into ch on top of next ps from prev round, (ch 1, sk next ch, dc) 5 times, ch 1, sk st] 3 times, join to 3rd ch from beg of round with sl st (total 72 dc, 8 ps)
Round 10) ch 3 (counts as dc), dc in next 5 sts, [ch 1, sk next ch, dc] 7 times, ch 2, all in next "ch 5" sp: (ps, ch 5, ps), ch 2, dc into ch on top of next ps from prev round, (ch 1, sk next ch, dc) 6 times, ch 1, sk next ch, [dc into next 6 sts, (ch 1, sk next ch, dc) 7 times, ch 2, all in next "ch 5" sp: (ps, ch 5, ps), ch 2, dc into ch on top of next ps from prev round, (ch 1, sk next ch, dc) 6 times, ch 1, sk st] 3 times, join to 3rd ch from beg of round with sl st (total 80 dc, 8 ps)
Round 11) ch 3 (counts as dc), dc in next 5 sts, [ch 1, sk next ch, dc] 8 times, ch 2, all in next "ch 5" sp: (ps, ch 5, ps), ch 2, dc into ch on top of next ps from prev round, (ch 1, sk next ch, dc) 7 times, ch 1, sk next ch, [dc into next 6 sts, (ch 1, sk next ch, dc) 8 times, ch 2, all in next "ch 5" sp: (ps, ch 5, ps), ch 2, dc into ch on top of next ps from prev round, (ch 1, sk next ch, dc) 7 times, ch 1, sk st] 3 times, join to 3rd ch from beg of round with sl st (total 88 dc, 8 ps)
Round 12) ch 3 (counts as dc), dc in next 5 sts, [ch 1, sk next ch, dc] 9 times, ch 2, all in next "ch 5" sp: (ps, ch 5, ps), ch 2, dc into ch on top of next ps from prev round, (ch 1, sk next ch, dc) 8 times, ch 1, sk next ch, [dc into next 6 sts, (ch 1, sk next ch, dc) 9 times, ch 2, all in next "ch 5" sp: (ps, ch 5, ps), ch 2, dc into ch on top of next ps from prev round, (ch 1, sk next ch, dc) 8 times, ch 1, sk st] 3 times, join to 3rd ch from beg of round with sl st (total 96 dc, 8 ps)
Round 13) ch 3 (counts as dc), dc in next 5 sts, [ch 1, sk next ch, dc] 10 times, ch 2, all in next "ch 5" sp: (ps, ch 5, ps), ch 2, dc into ch on top of next ps from prev round, (ch 1, sk next ch, dc) 9 times, ch 1, sk next ch, [dc into next 6 sts, (ch 1, sk next ch, dc) 10 times, ch 2, all in next "ch 5" sp: (ps, ch 5, ps), ch 2, dc into ch on top of next ps from prev round, (ch 1, sk next ch, dc) 9 times, ch 1, sk st] 3 times, join to 3rd ch from beg of round with sl st (total 104 dc, 8 ps)
Round 14) ch 3 (counts as dc), dc in next 5 sts, [ch 1, sk next ch, dc] 11 times, ch 2, all in next "ch 5" sp: (ps, ch 5, ps), ch 2, dc into ch on top of next ps from prev round, (ch 1, sk next ch, dc) 10 times, ch 1, sk next ch, [dc into next 6 sts, (ch 1, sk next ch, dc) 11 times, ch 2, all in next "ch 5" sp: (ps, ch 5, ps), ch 2, dc into ch on top of next ps from prev round, (ch 1, sk next ch, dc) 10 times, ch 1, sk st] 3 times, join to 3rd ch from beg of round with sl st (total 112 dc, 8 ps)
Round 15) ch 3 (counts as dc), dc in next 5 sts, [ch 1, sk next ch, dc] 12 times, ch 2, all in next "ch 5" sp: (ps, ch 5, ps), ch 2, dc into ch on top of next ps from prev round, (ch 1, sk next ch, dc) 11 times, ch 1, sk next ch, [dc into next 6 sts, (ch 1, sk next ch, dc) 12 times, ch 2, all in next "ch 5" sp: (ps, ch 5, ps), ch 2, dc into ch on top of next ps from prev round, (ch 1, sk next ch, dc) 11 times, ch 1, sk st] 3 times, join to 3rd ch from beg of round with sl st (total 120 dc, 8 ps)
Round 16) ch 3 (counts as dc), dc in next 5 sts, [ch 1, sk next ch, dc] 13 times, ch 2, all in next "ch 5" sp: (ps, ch 5, ps), ch 2, dc into ch on top of next ps from prev round, (ch 1, sk next ch, dc) 12 times, ch 1, sk next ch, [dc into next 6 sts, (ch 1, sk next ch, dc) 13 times, ch 2, all in next "ch 5" sp: (ps, ch 5, ps), ch 2, dc into ch on top of next ps from prev round, (ch 1, sk next ch, dc) 12 times, ch 1, sk st] 3 times, join to 3rd ch from beg of round with sl st (total 128 dc, 8 ps)
Finish off (make two). You can leave an extra long tail to sew the edges together on one of them.
Assembly:
**IMPORTANT! Before you sew up your pillow-- weave in all ends. Because you're sewing it closed, and won't be able to get to them. To assemble, place the panels together, one on top of the other, lining everything up.
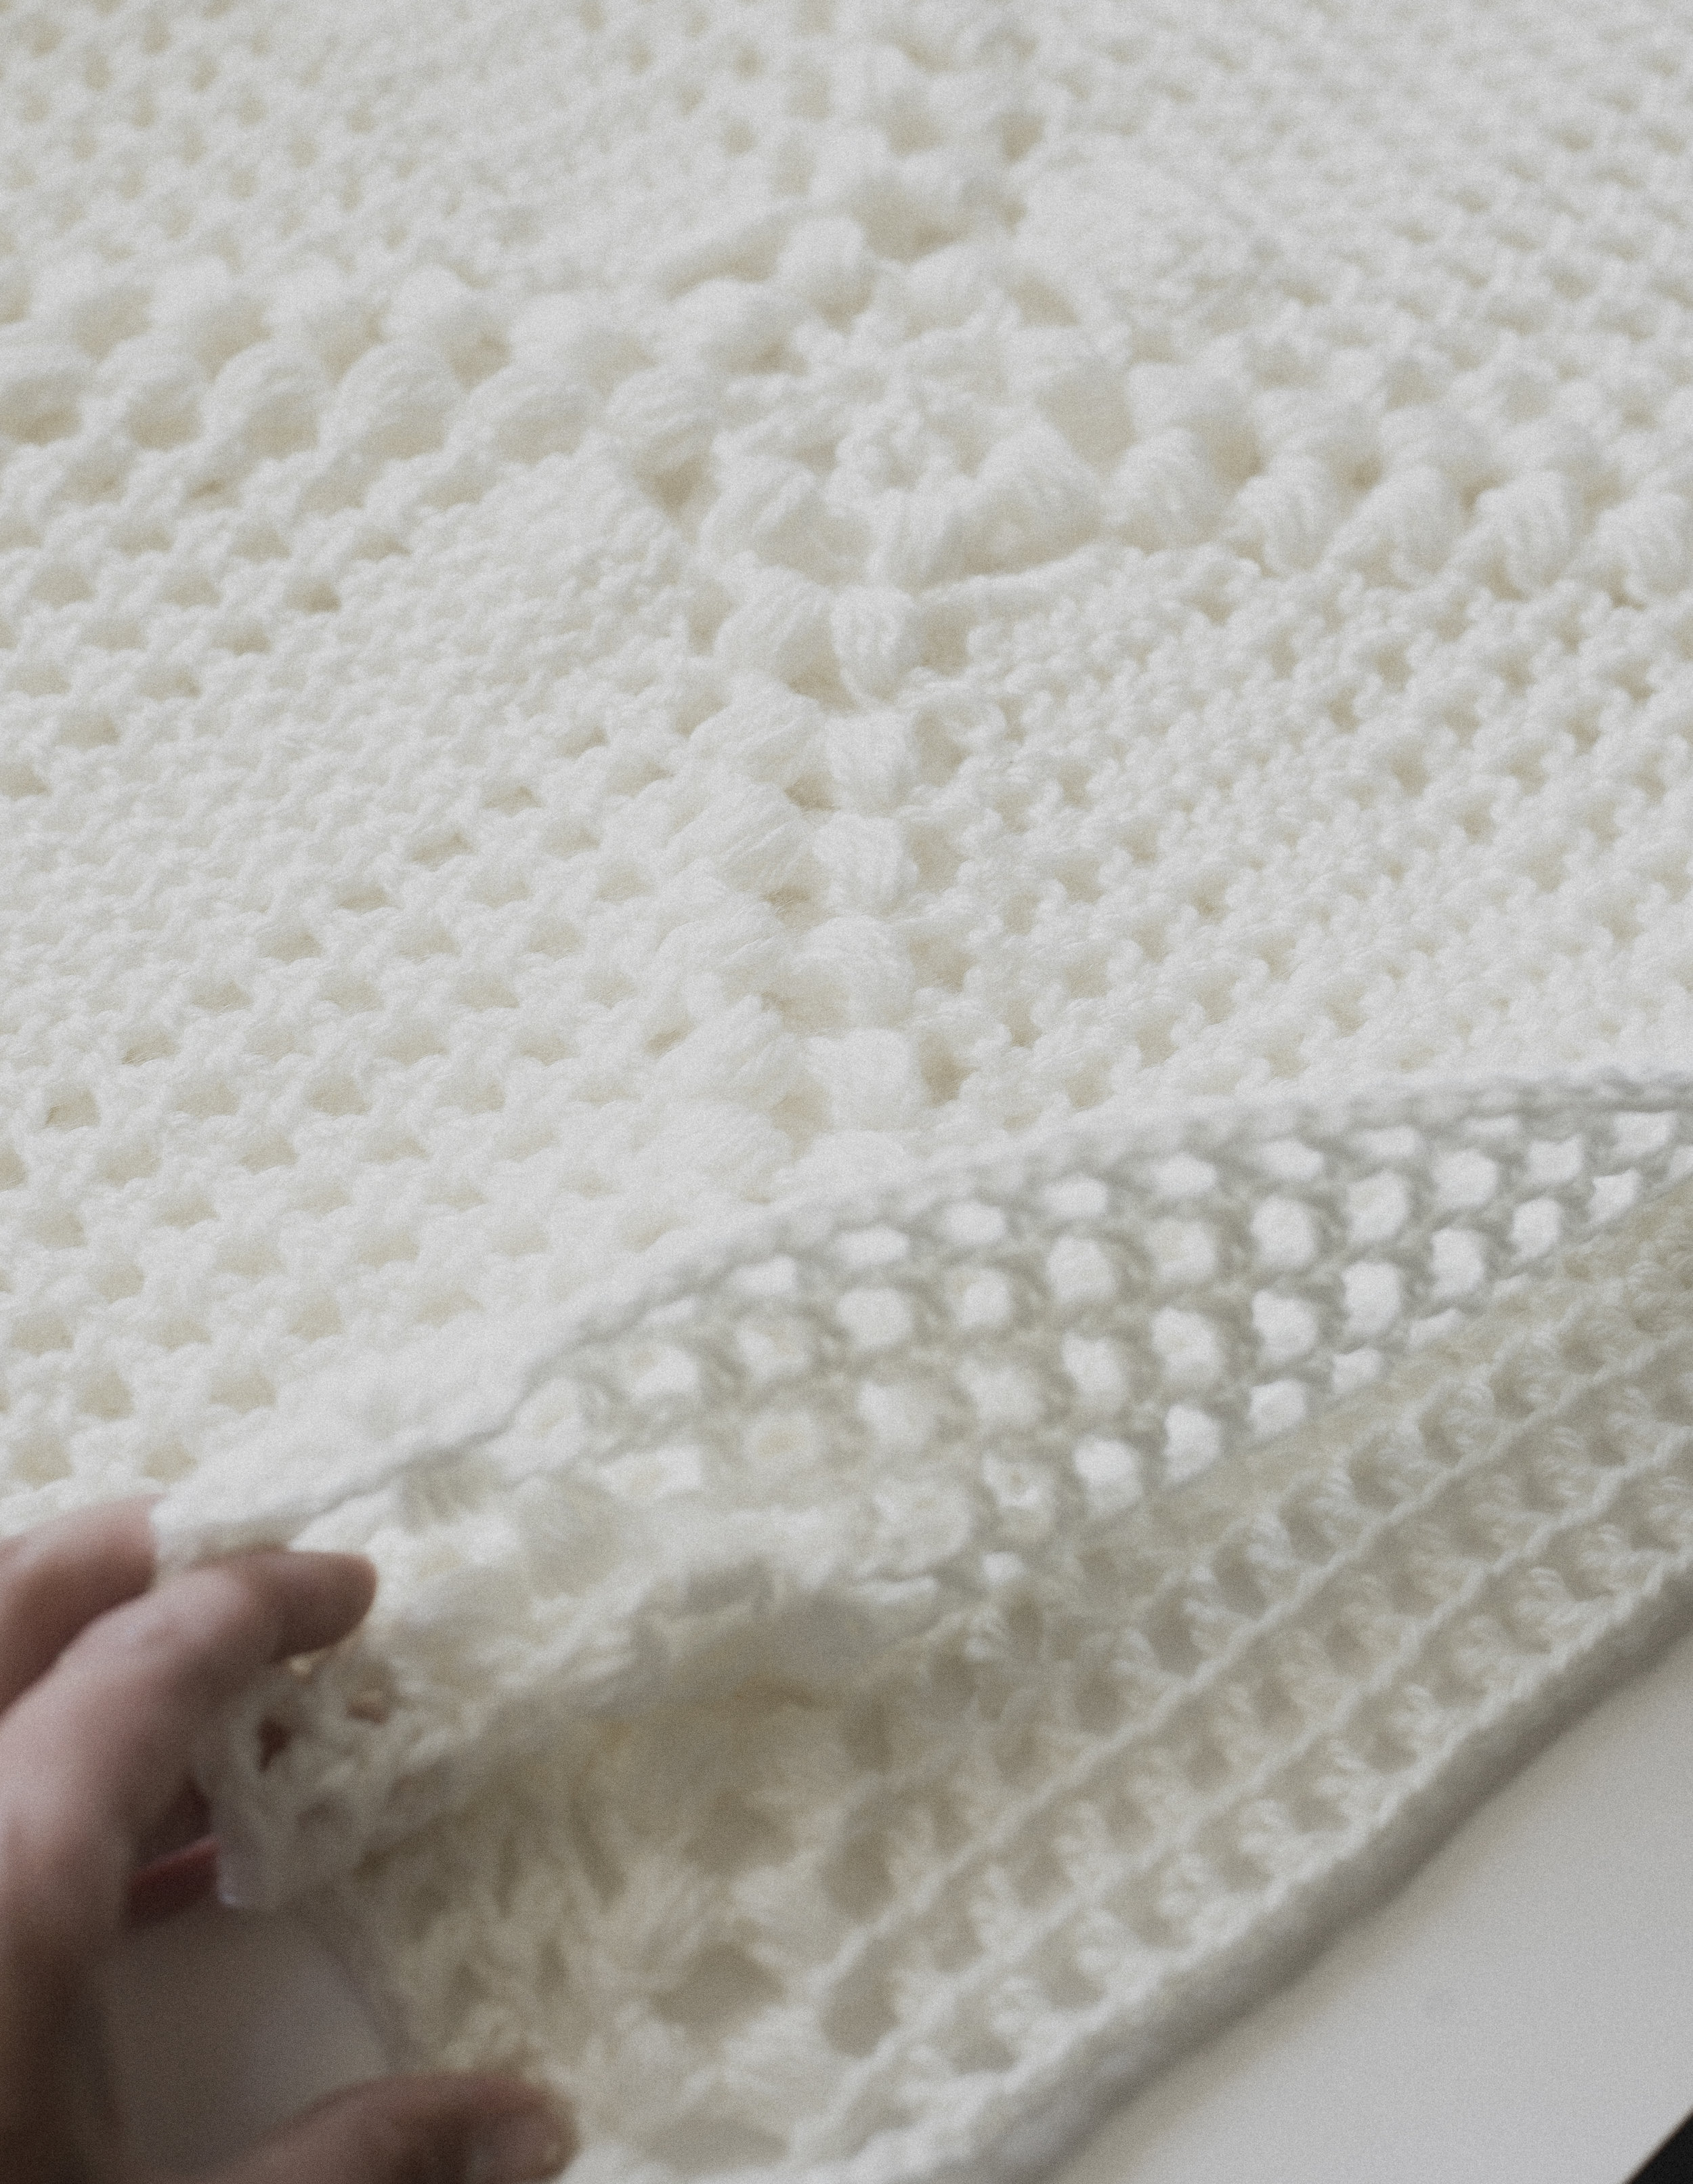
Decide which side you'd like to be the "right" side, then place the right sides together (the back side of your panels will show the puff stitches a little more pronounced... but in my opinion both sides look great, and it doesn't really matter). You may choose to pin them together to hold while sewing. Then using yarn needle and long yarn tail, sew around the perimeter of the two panels using a whip stitch along the very edges-- STOP when you get to the last side of the pillow so you can put your pillow into the crocheted panels.

If you chose a specific side to be the "right side", turn your crocheted piece right side out. Then you'll stuff in your pillow...

You can now sew up that last side to enclose your pillow using the same whip stitch you were using for the rest of the sides.
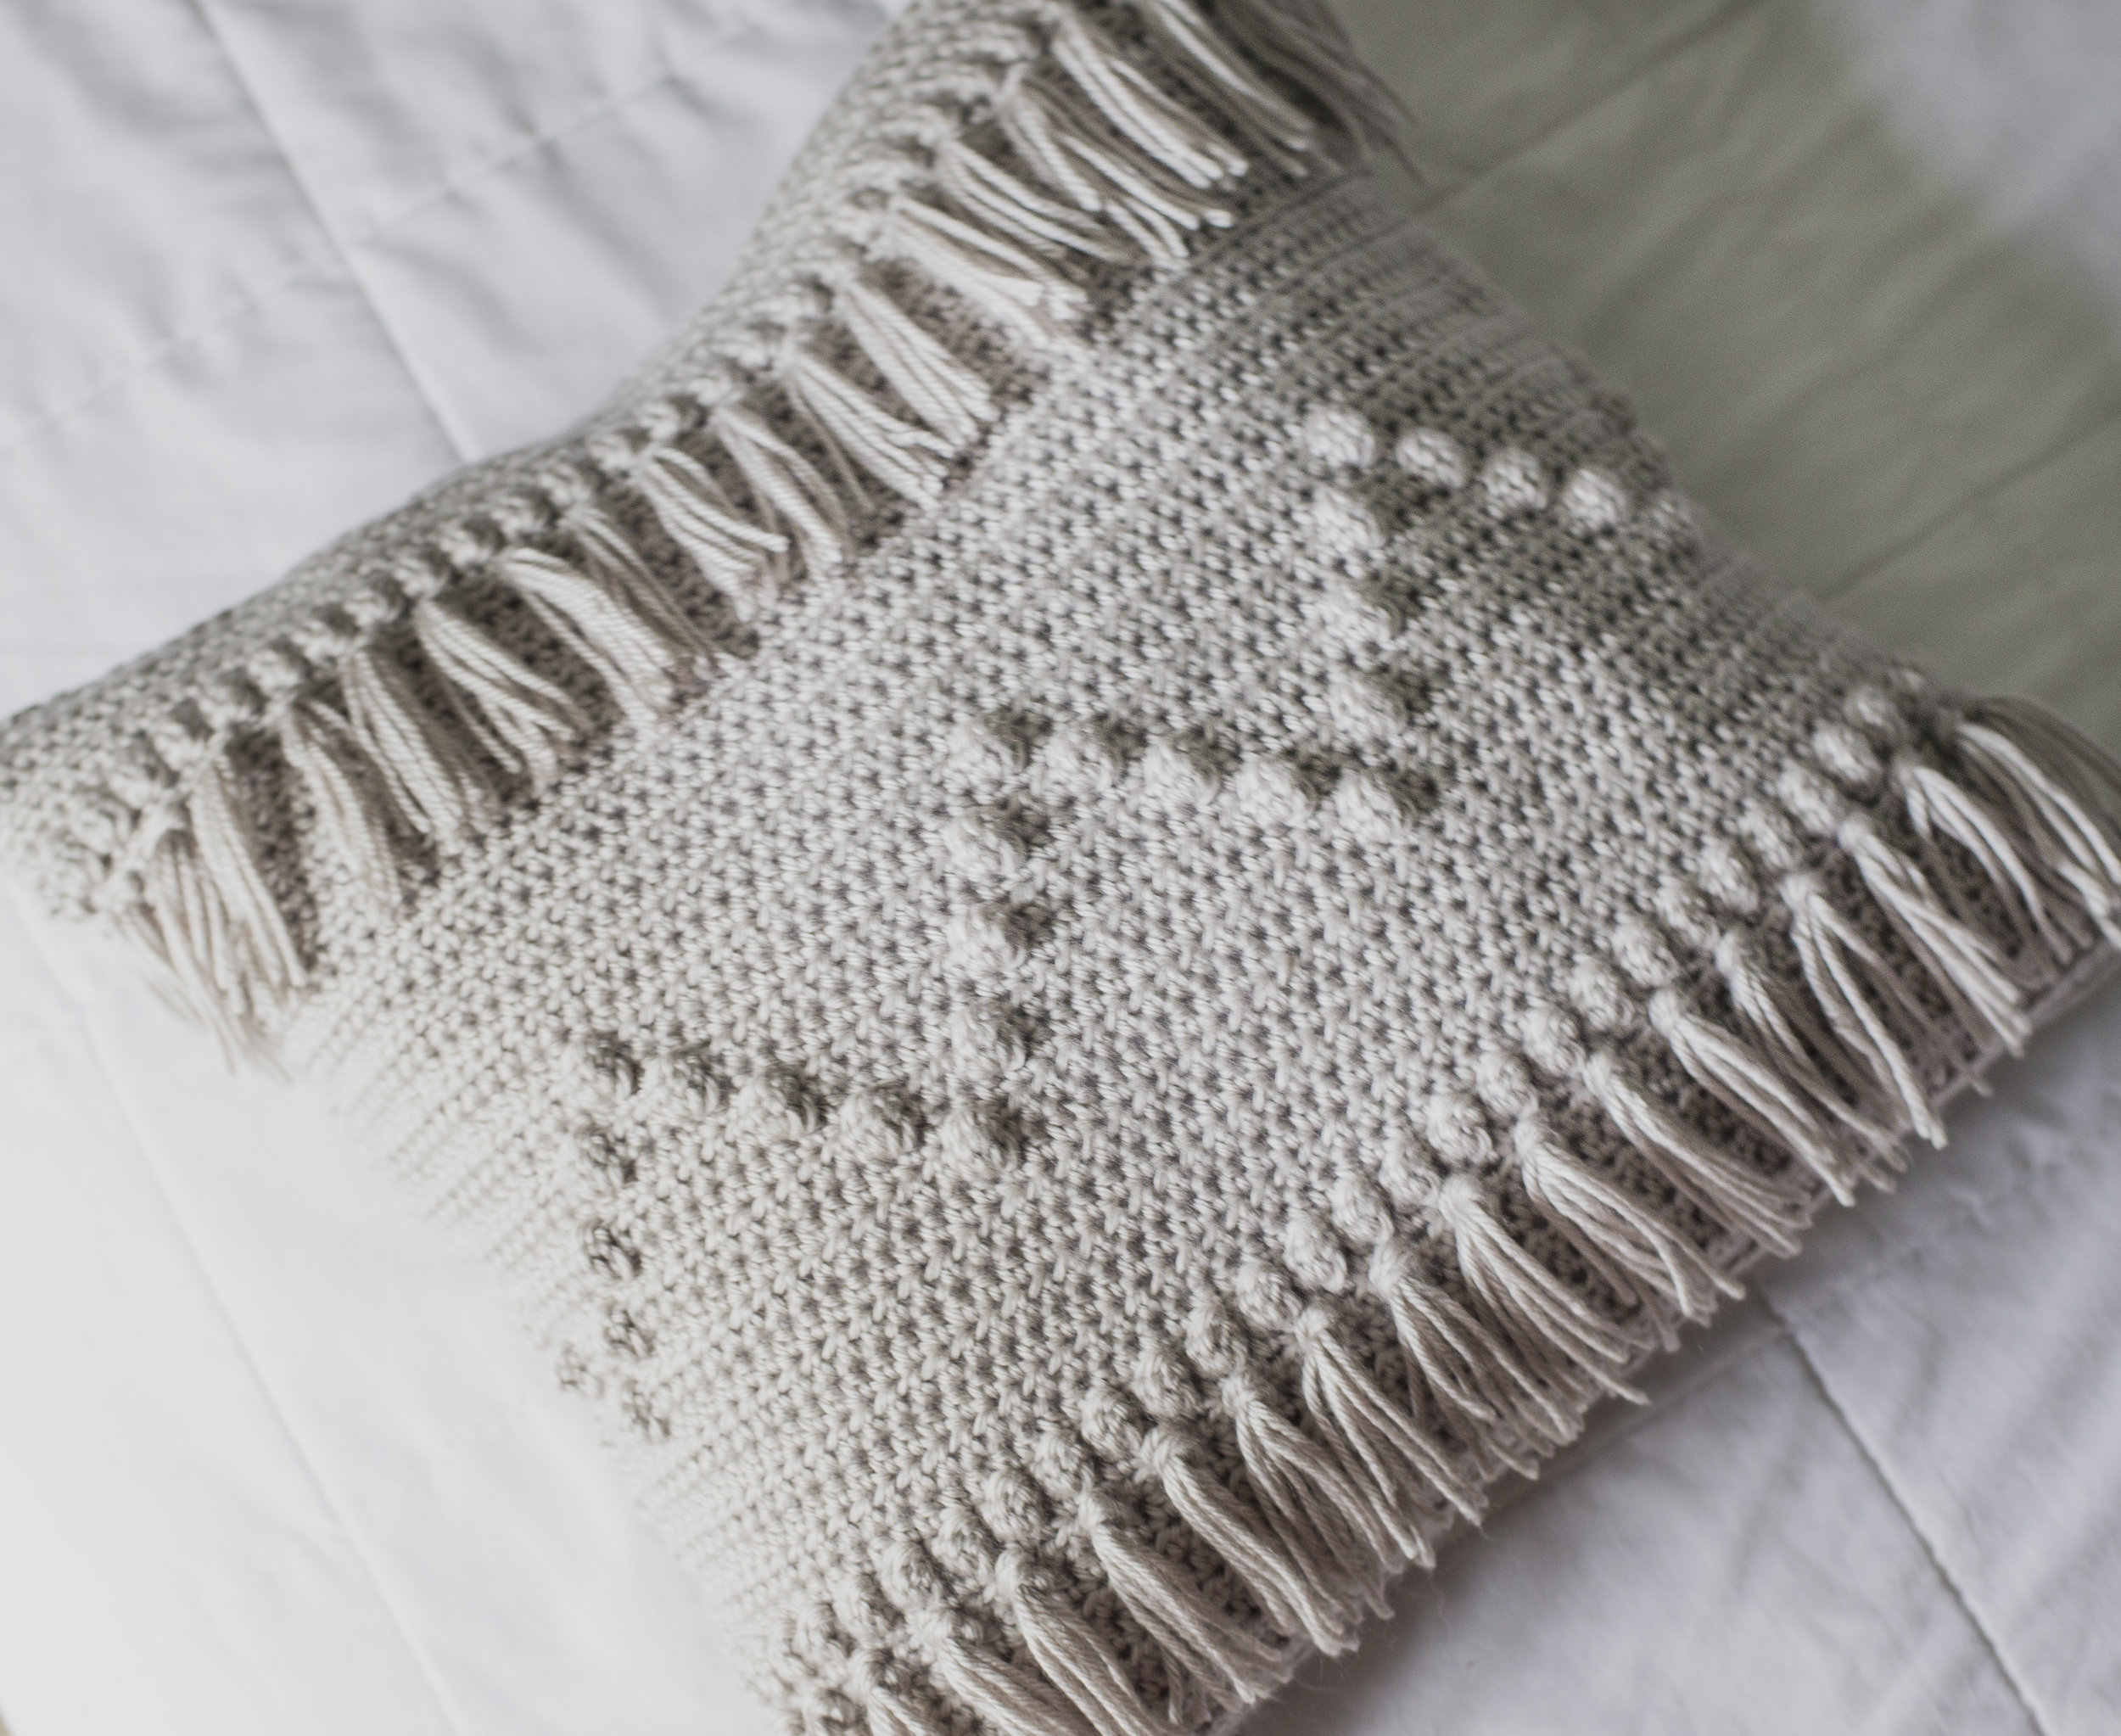
Finish off, and weave in your end. Add tassels/poms/fringe to your hearts content to finish off your pillow! Or leave it plain.. it totally looks good that way too.

I hope this pillow fulfilled all your cozy cottage desires, I know it did for me! If you make one of your own, do please tag me over on Insta, because I'd love to admire it. :) The last pillow of the series should be up in a week, so keep an eye out.. I've really had so much fun with these-- if you have another series idea you'd like me to do, do share! I'd love to hear it...
Take care!
Meg