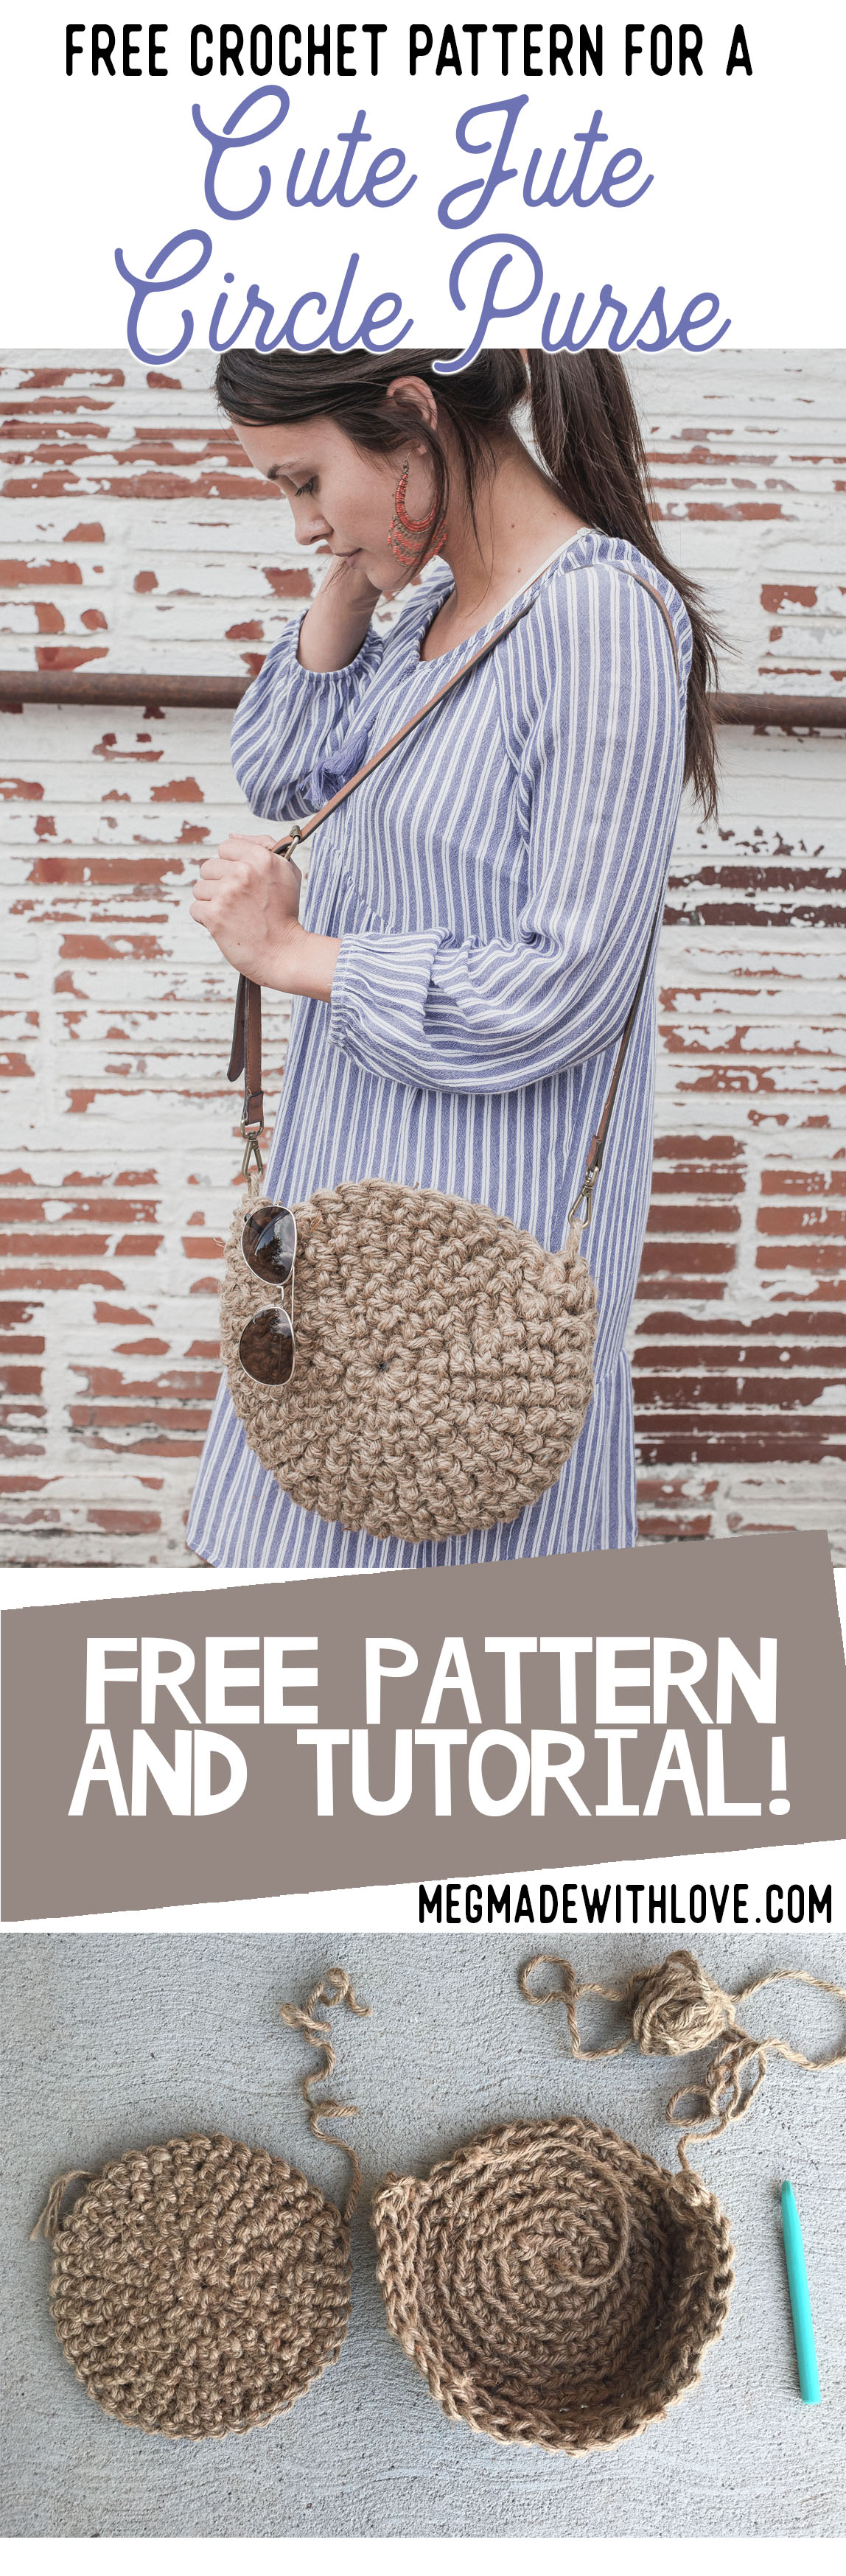
Free Crochet Pattern for The Cute Jute Circle Purse
/
***You can find the PDF version of this pattern in my shop by clicking HERE. Great for easy printing!***
The jute is baaaaackkkkk! And today it's in the form of a cute little circle purse. For some reason I like to put my hands through torture by working with jute, but every time it is 100% worth it because the results are so rustic and unique! I think you GOTTA make this summer staple :)
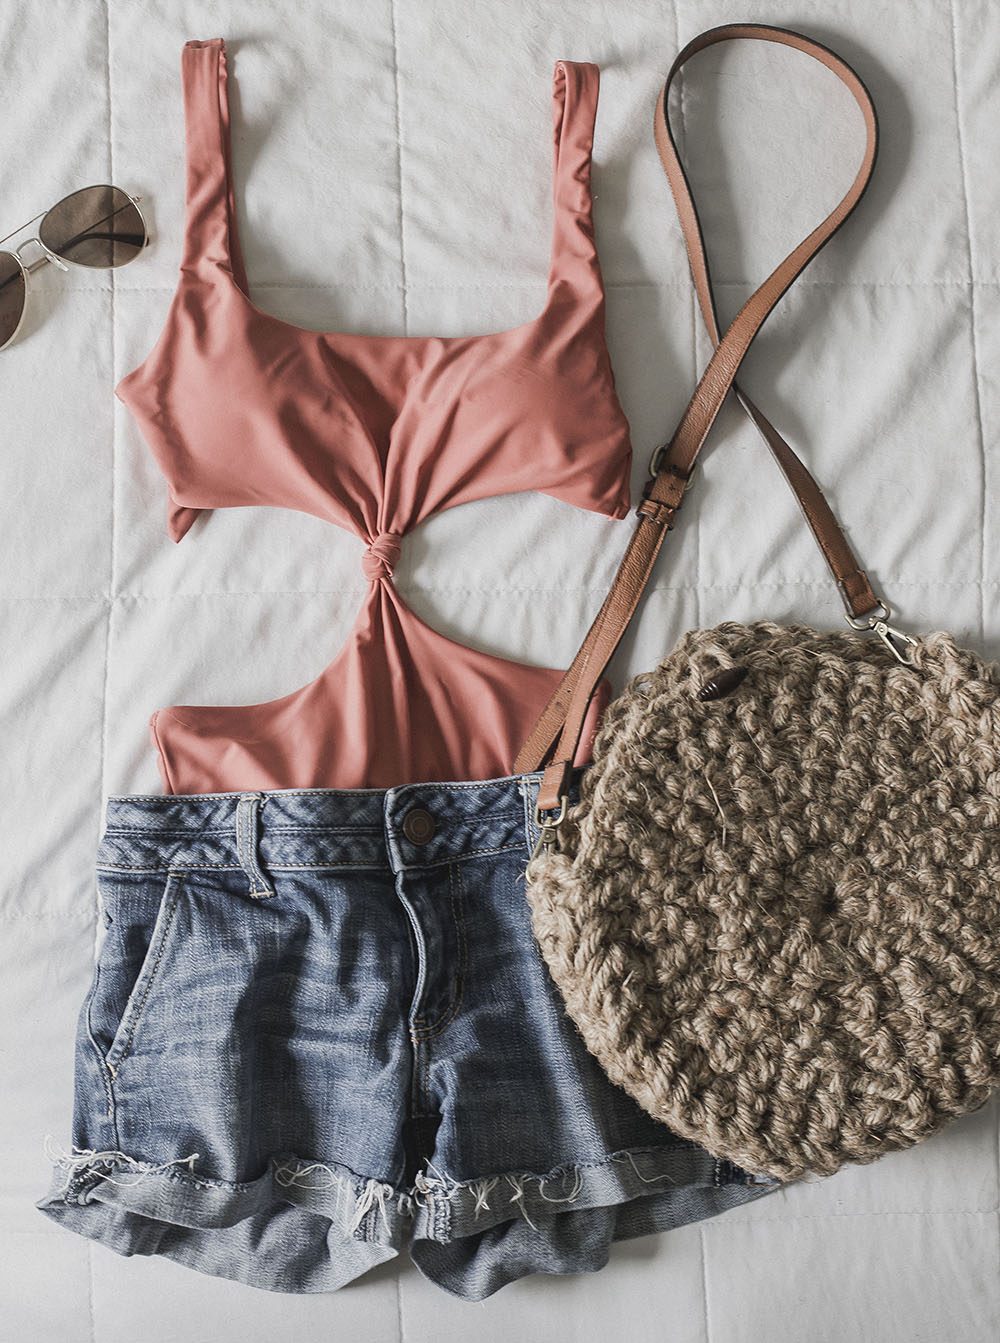
I'm sure you've seen all the cool straw-like circle bags circulating the internet recently-- they're really in style this summer! And it makes me happy because they look so cute with any outfit. Especially paired with a swimsuit, shorts and your favorite sunnies. :) If you're anything like me, this is the perfect bag because you can just toss the essentials in, like your wallet and keys (and of course a snack for your toddler haha), and you're set.

Since this pattern calls for such thick jute, it makes for a very easy, weekend project. And I chose the 5mm jute because I wanted a really structured bag (even though it still has some "move" to it). I chose to spray it with heavy starch to add a little extra stiffness to it-- I talk about this in the pattern below.
It's worked up in two circles, plus a bottom-- it also features a button-closure on the top that is simple and cute! The cross body handle was actually recycled from an older purse, but you could totally find some unique straps at a thrift store-- or even crochet your own! Craft stores also sell lots of options.

Since jute can be such a pain to work with, I thought I'd leave a few tips below on how to make working with it a bit easier...
A few tips for working with jute:
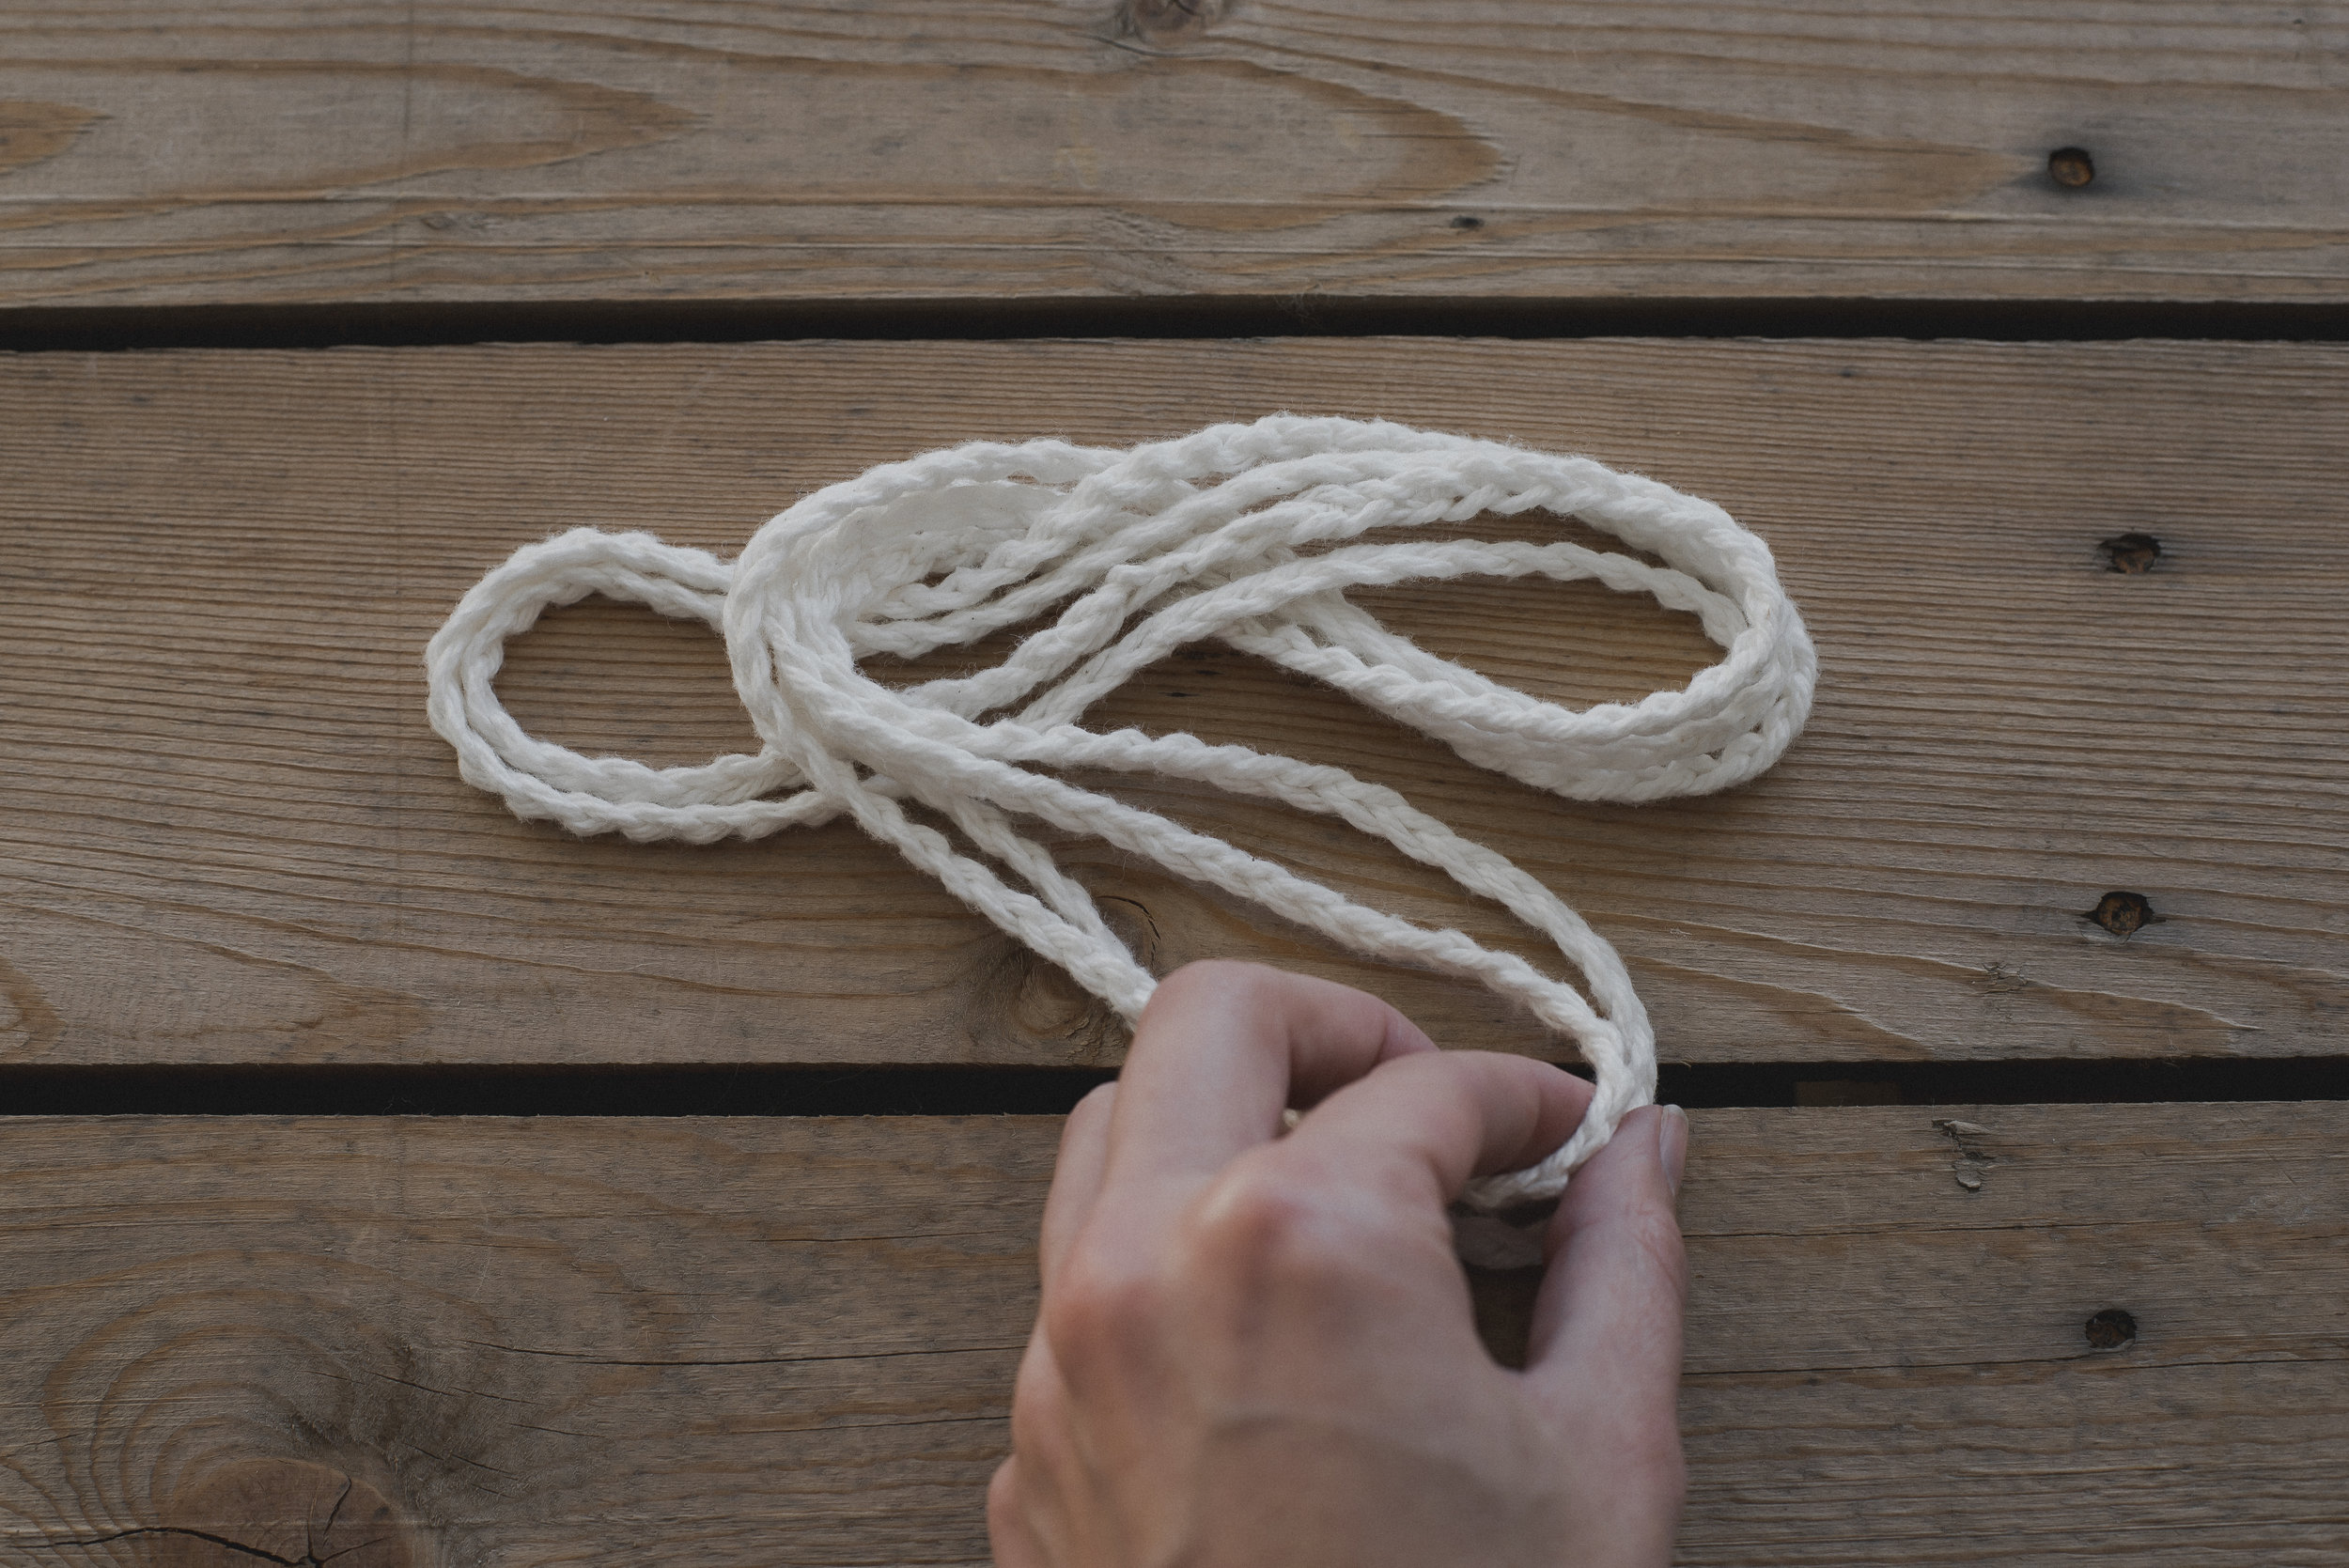
-try holding the yarn a different way for more comfort. For some reason, it's easier for the jute to glide through my hand when it's wrapped around my pointer finger as opposed to my pinky-- which is how I usually hold it. I'd just suggest trying different ways of holding it to see what feels best to you. I held it very loosely because it was too much on my hands to have a tight grip.
-I've had some people say they've used gloves while working with it. It's worth a shot if your skin is sensitive!
-take breaks. I usually have to take breaks to give my hands a rest after working with jute for awhile.
-jute can be messy-- leaving little particles of the fibers when you work with it. Just be aware of that, in case you work with it in a place you'd rather not get messy.
Overall: yes, jute is hard to work with-- but the way it looks all worked up is so cool to me. I feel like it's worth it! But that's just my opinion :) Now for the jute purse pattern...

(PDF version HERE)
What you'll need:
-5 mm thick jute (This is a very thick jute-- I used this 900 ft roll of Natural Jute from Hobby Lobby [link here], use a 40% off coupon!)
-15mm crochet hook
-button for top closure (I would suggest using a "shank" type button)
-purse handles (I just used some I already had off an old purse-- they had clip-on clasps that I just attached to the sides. You could sew some on or even crochet your own! Also consider thrifting an older purse and taking off the handles.)
-needle and thread
-heavy starch (I used "Faultless" brand)
Dimensions:
Circle circumference is about 11.5 inches
Abbreviations:
ch=chain, st(s)= stitch(es), sc=single crochet, BLO=back loop only, FLO=front loop only, sl=slip, 2sc= work two single crochet in one stitch
Notes:
-jute can be really rough on the hands, and hard to work with. Since this project is so small, I found it was worth the little bit of struggle!
-chains at beginning of rounds/rows do not count as stitches
-first st of each round is worked into the same sc you joined to in the previous row with a sl st
-you will crochet the purse in two pieces-- two circles, and one of them will have the purse bottom. The circles have two sides that look different, I thought they both looked cute, but decided to face the "rougher" side out!
-I wove in all my ends with a crochet hook since the jute was so thick, just a tip!
Pattern:
-First Circle-
Round 1) Make magic circle, ch 1, work 10 sc into circle, join to back loop of first sc with sl st (10 total sts)
Round 2) ch 1, work 2 sc into BLO of each st around, join to back loop of first sc with sl st (20 total sts)
Round 3) ch 1, sc into BLO of each st around, join to back loop of first sc with sl st (20 total sts)
Round 4) ch 1, (2sc, sc) into BLO of each st around, join to back loop of first sc with sl st (30 total sts)
Round 5) ch 1, sc into BLO of each st around, join to back loop of first sc with sl st (30 total sts)
Round 6) ch 1, (2sc, sc, sc) into BLO of each st around, join to back loop of first sc with sl st (40 total sts)
-finish off
-Second Circle-
Rounds 1-6) repeat instructions from first circle
-do not finish off, you will now start working the purse bottom, you're working it attached to this second circle
-Purse Bottom-
7) ch 1, sc into BLO of 28 sts (you could easily customize this number to how far up you'd like the purse bottom to come) (28 total sts, and for the remainder of purse bottom)
8) ch 1, turn, sc into FLO of 28 sts just worked in previous step
9) ch 1, turn, sc into BLO of 28 sts just worked in previous step
-finish off and leave a very long end to sew the two pieces together.
**At this point, I decided to starch my two pieces. I did so by lying them flat on the cement outside and sprayed both sides generously and then let them dry outside (still on a flat surface). This really helped stiffen them up so the bag would be more structured. Keep spraying and letting them dry until they are to your desired stiffness. You will also need to decide which side you would like to be the outside of your purse, and adjust your purse bottom accordingly. I decided to go "bumpy" side out, as opposed to the side with the rings on it (below photo shows the two different sides).

Above is a photo of the two circles complete-- the one on the right has the purse bottom attached. After you've starched them to your liking you are ready to sew them together.
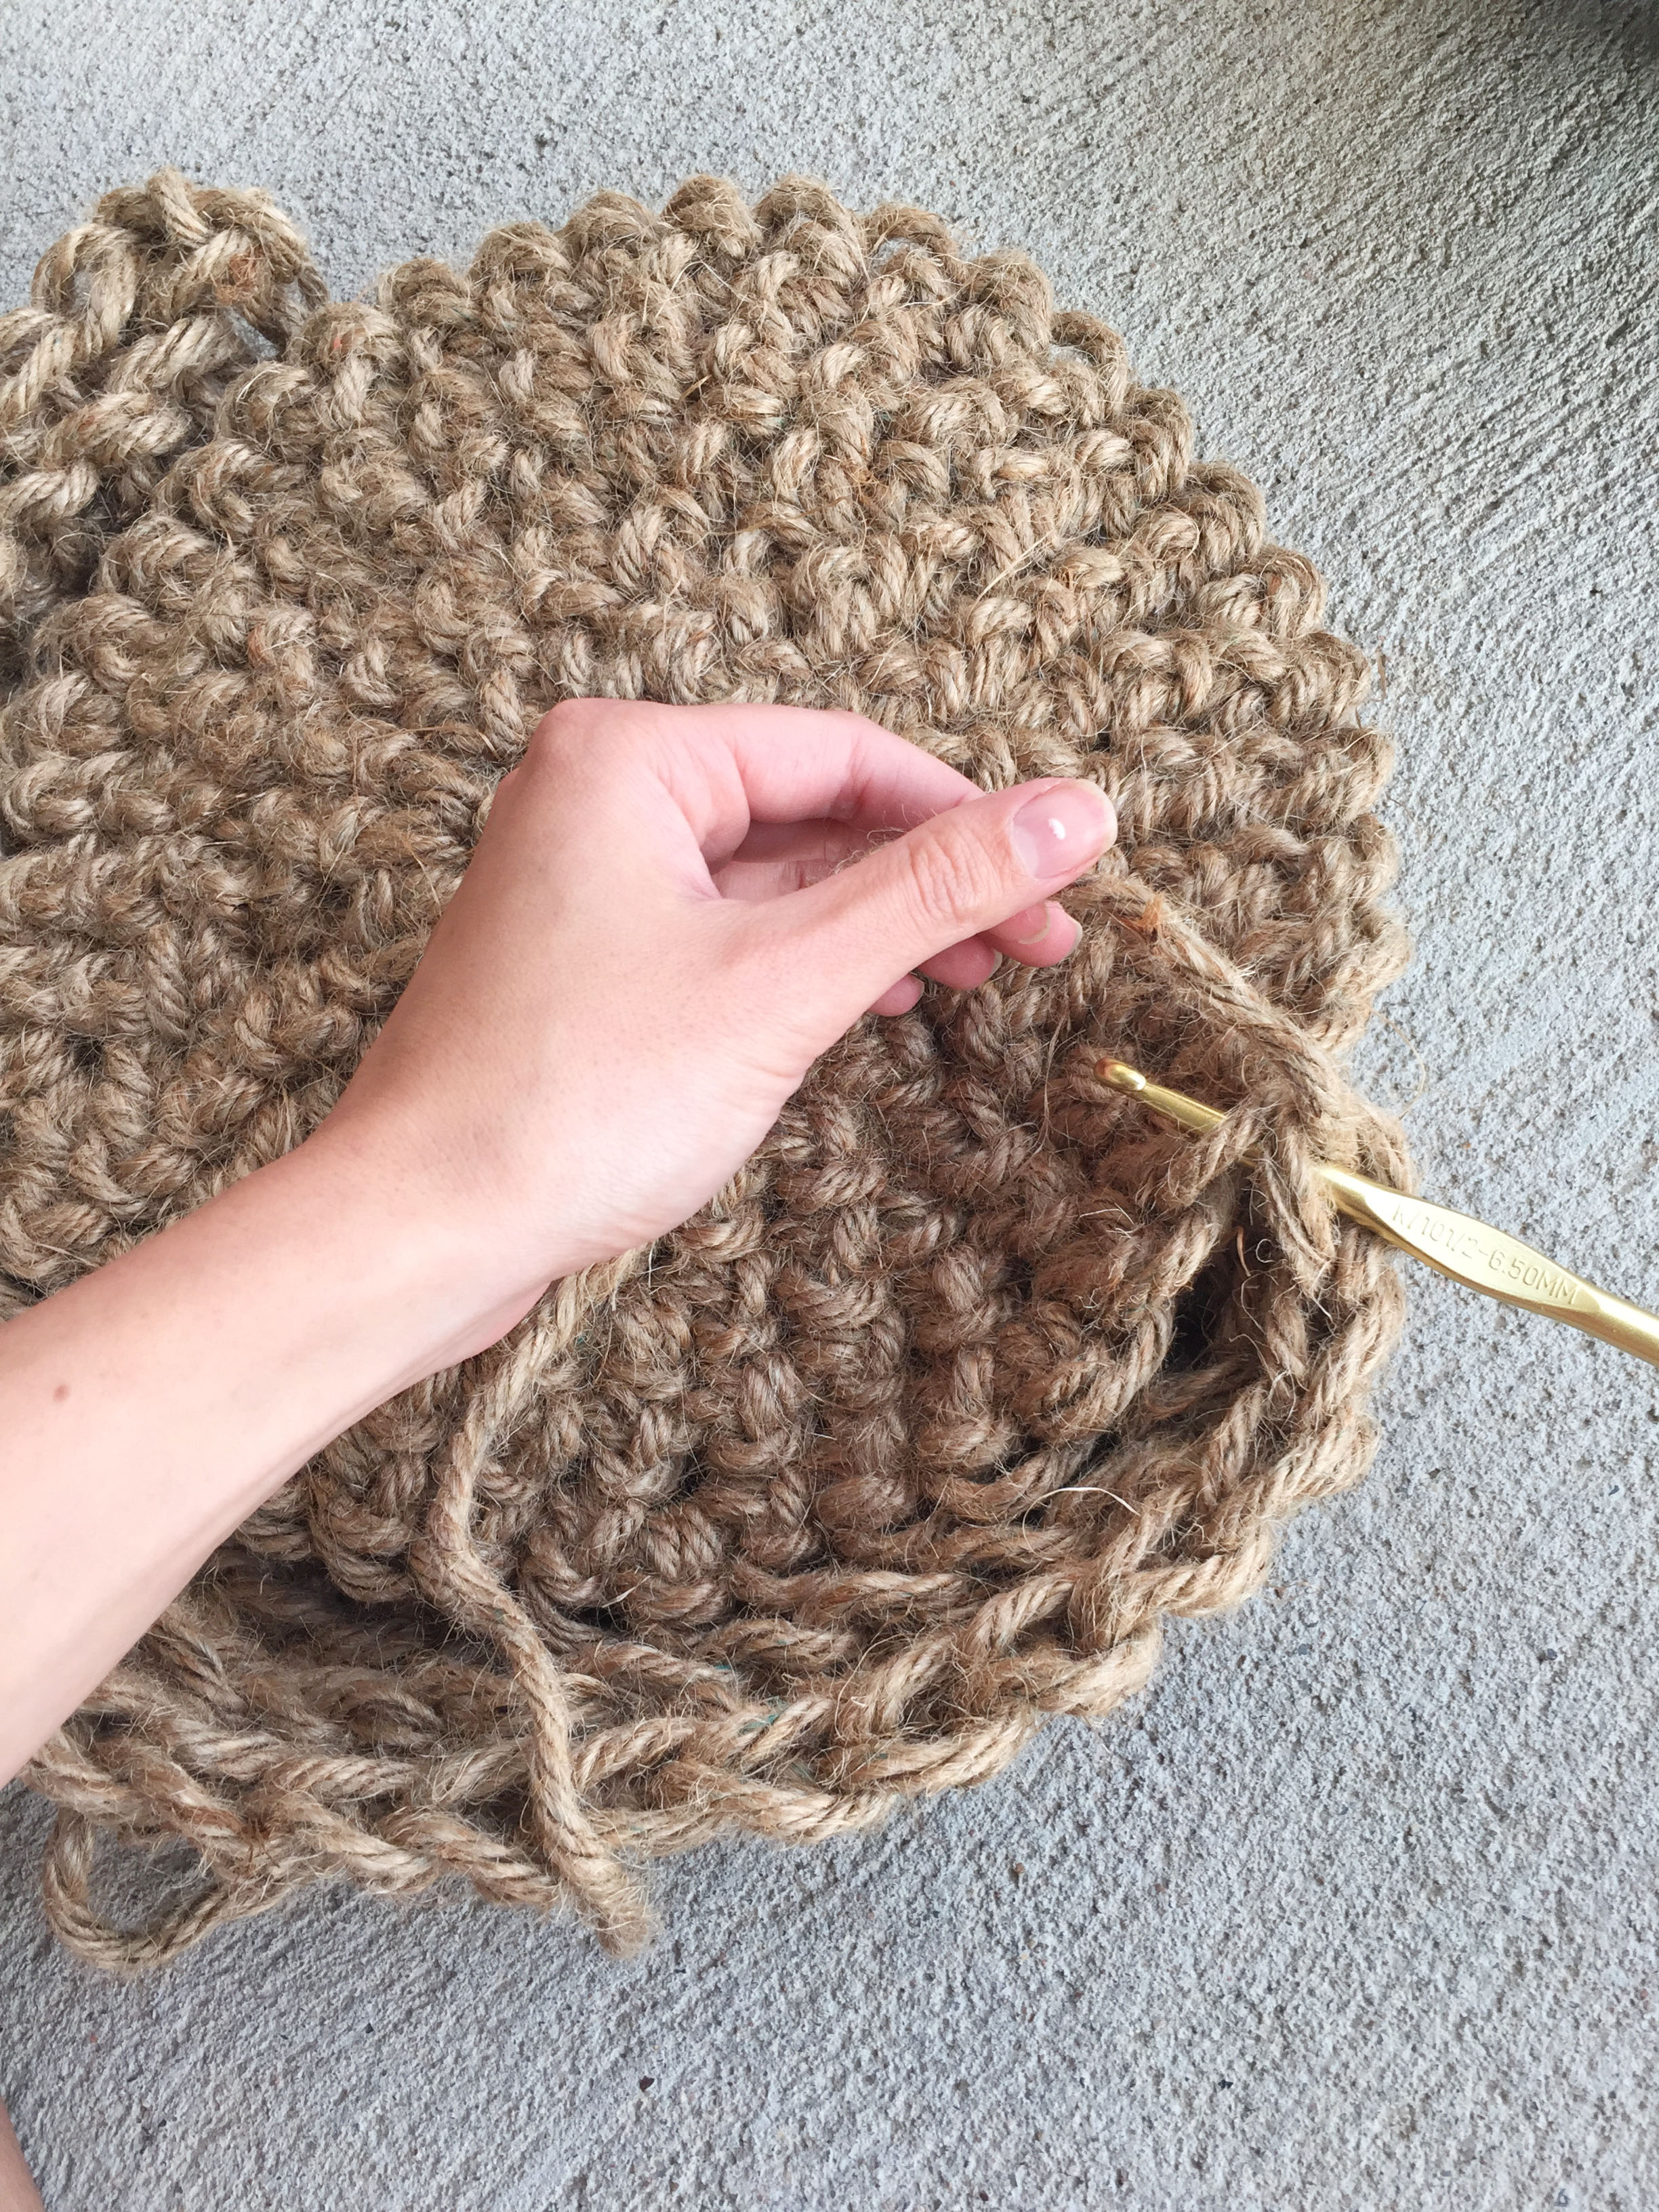
Since this jute is so darn thick, I chose to "sew" them with a crochet hook. Using the extra long tail from your circle, whip stitch the edge of the first circle to the open edge of the purse bottom.

Continue all the way along the purse bottom until you reach the other side, and then finish off and weave in your ends.

Now you're ready for the button closure of the purse. I used these cool wood beads I saw at Walmart-- I wanted something simple and rustic looking.
Sew on your button onto the very top middle of your purse with needle and thread. I put mine about 3/4 inch from the top.

Next for the closure, cut a piece of jute that is 6 inches long, depending on how big your button is and where you place it, you may need to adjust the length. This will go on the INSIDE of the other circle, and will loop around your button to secure the top of your purse.
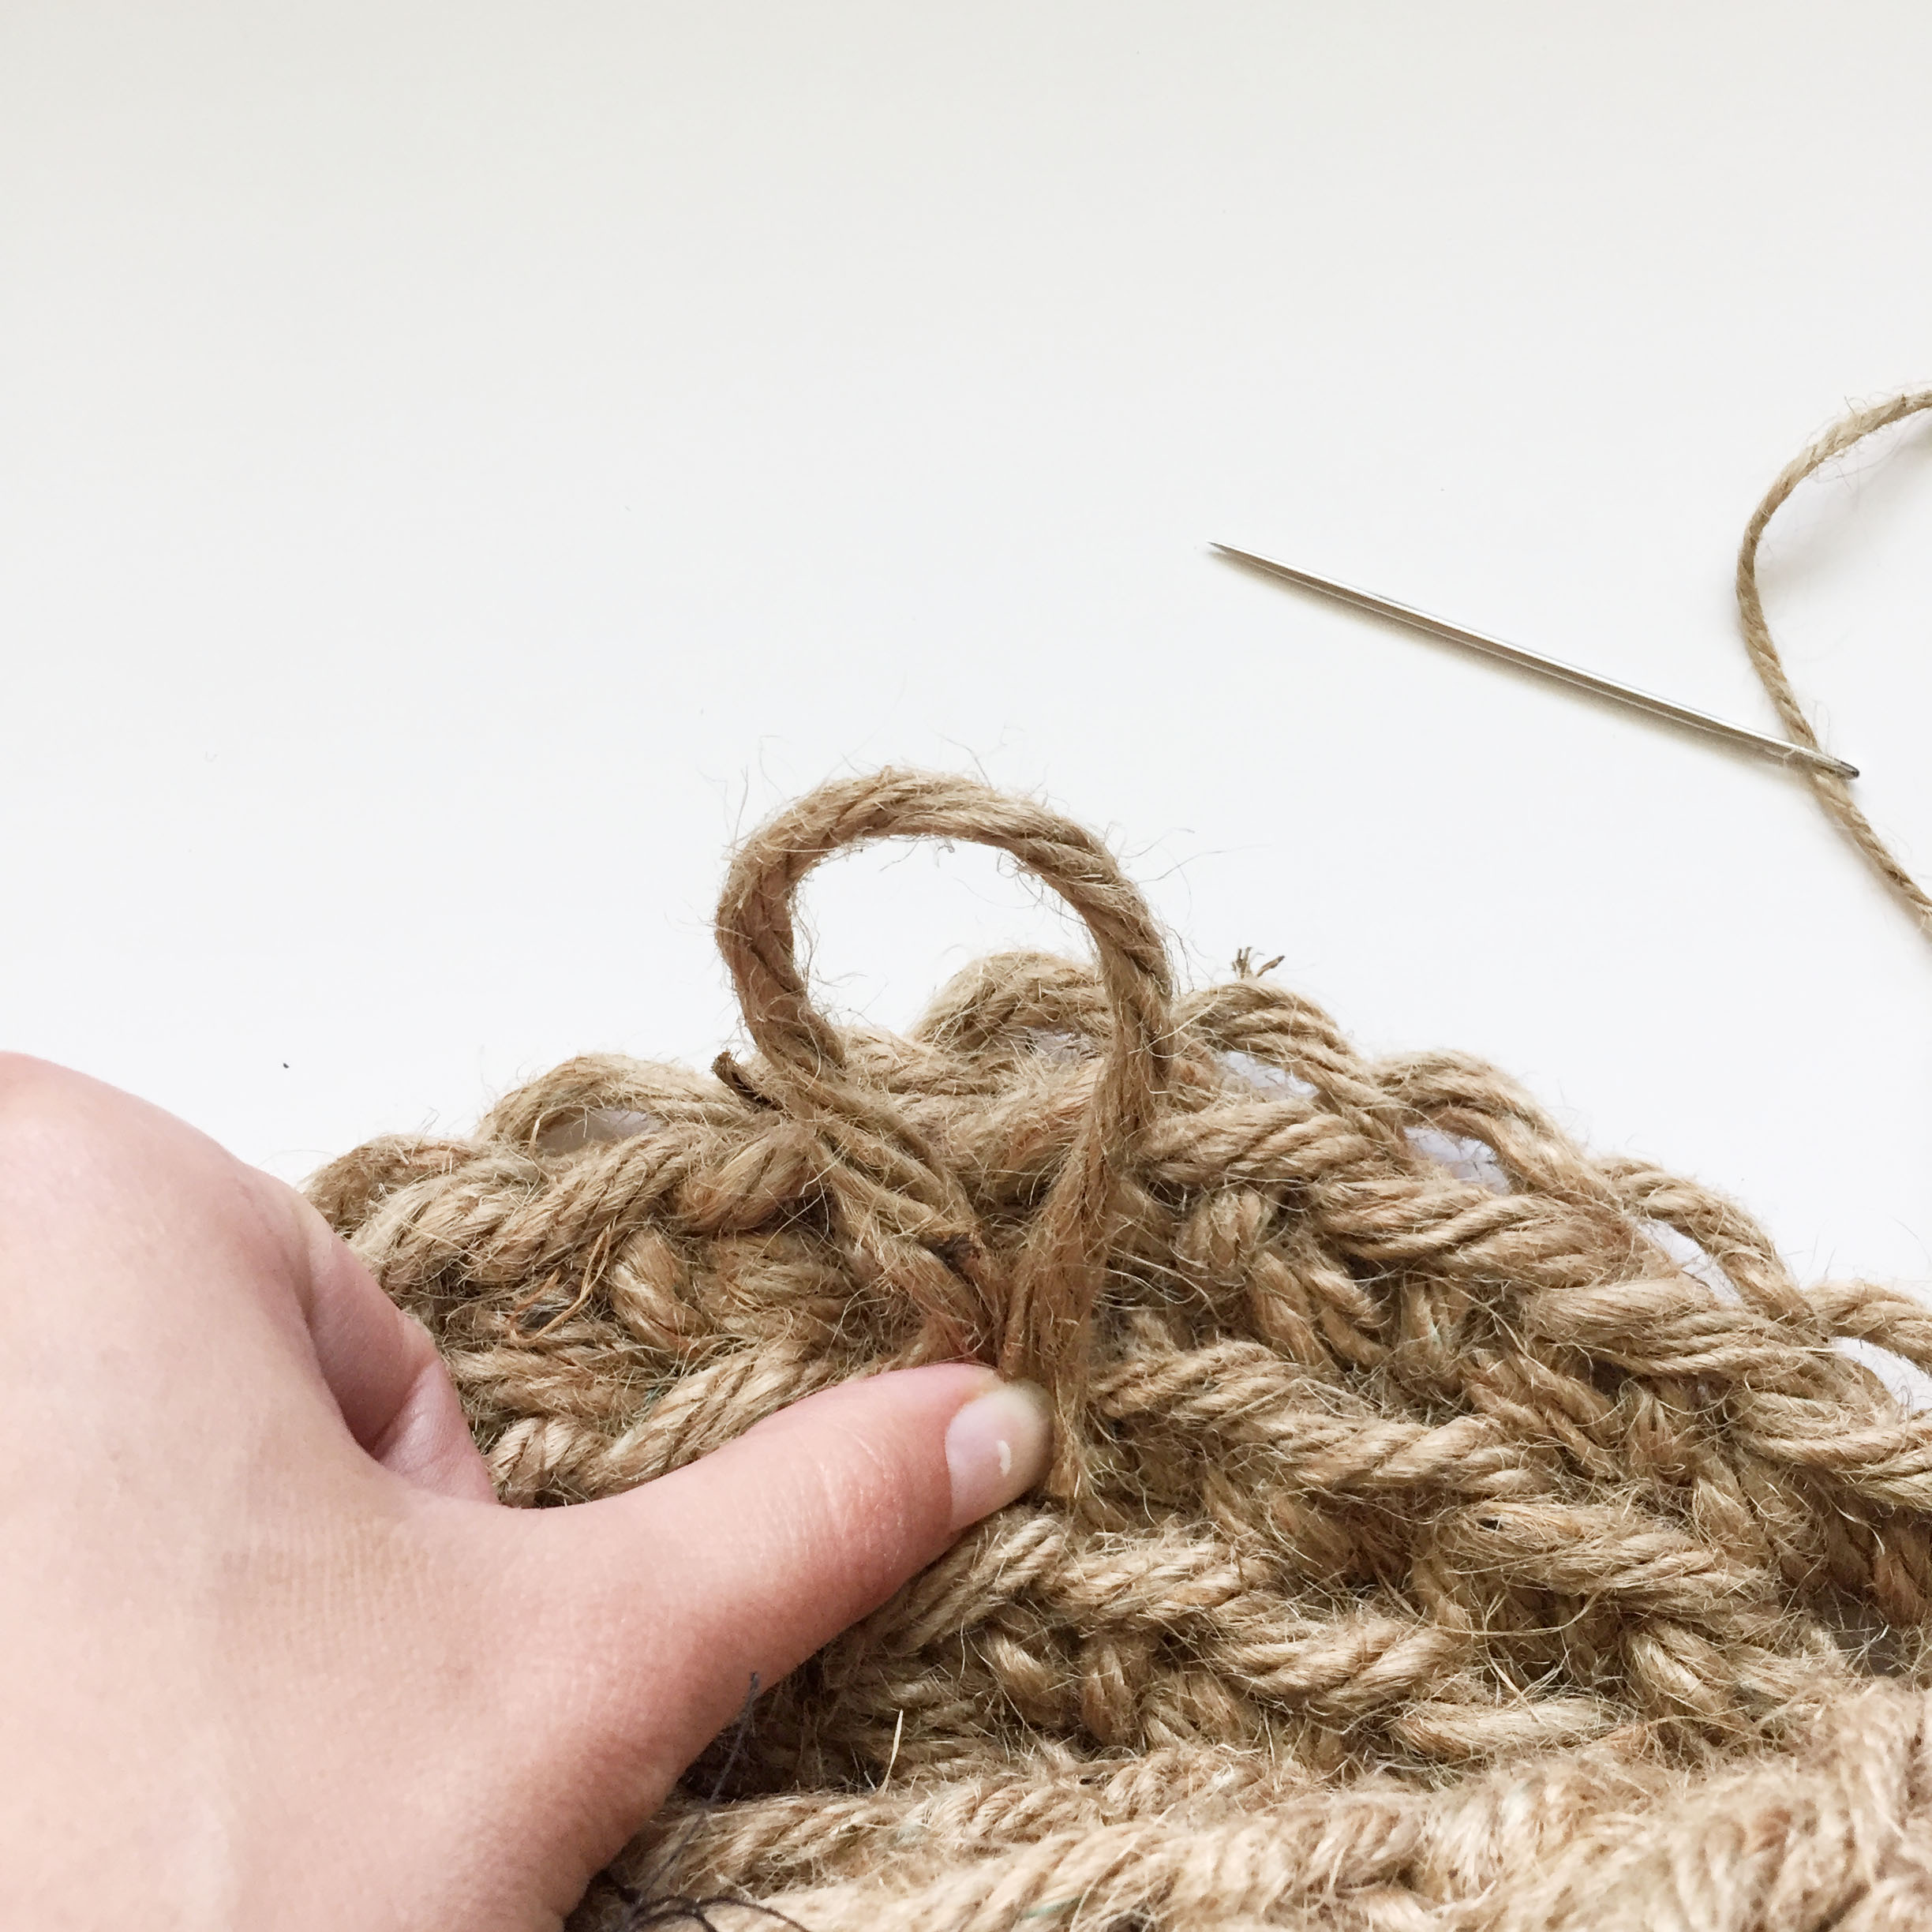
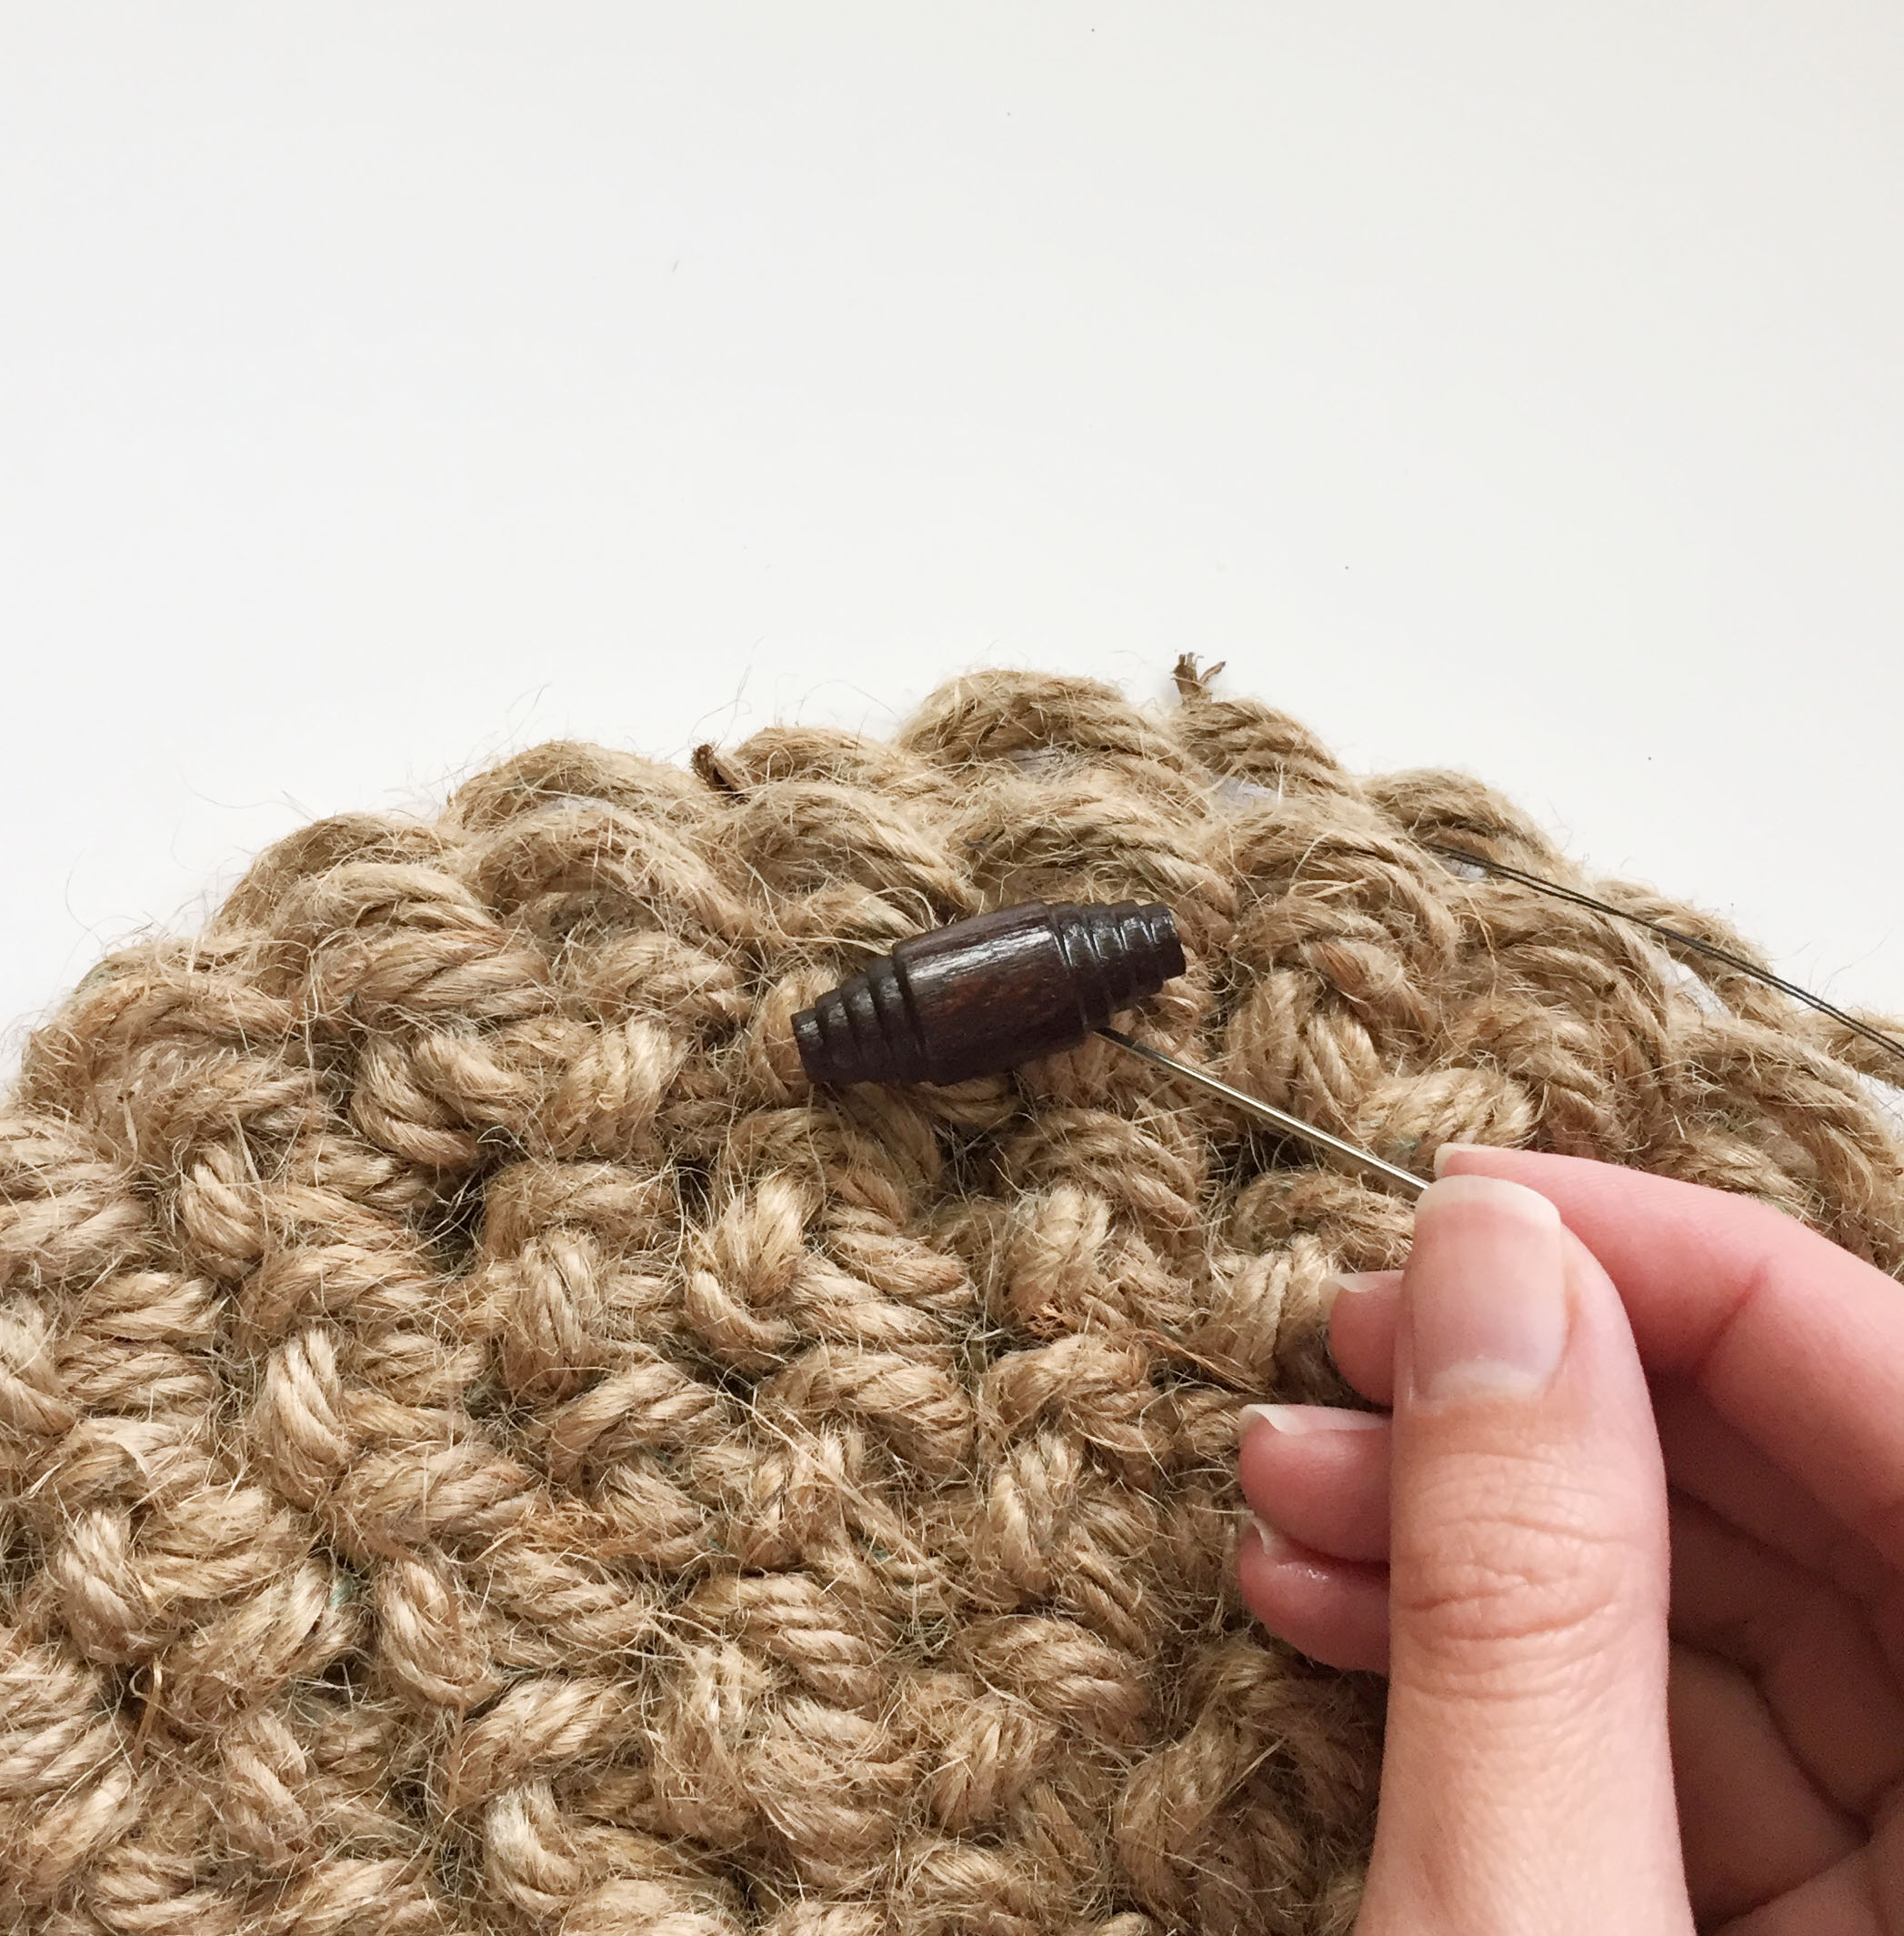
Fold the little piece of jute in half to create a loop. Like previously mentioned you are placing it on the inside of the other circle, at the top middle. Adjust it until it fits snugly around your button and to your liking.
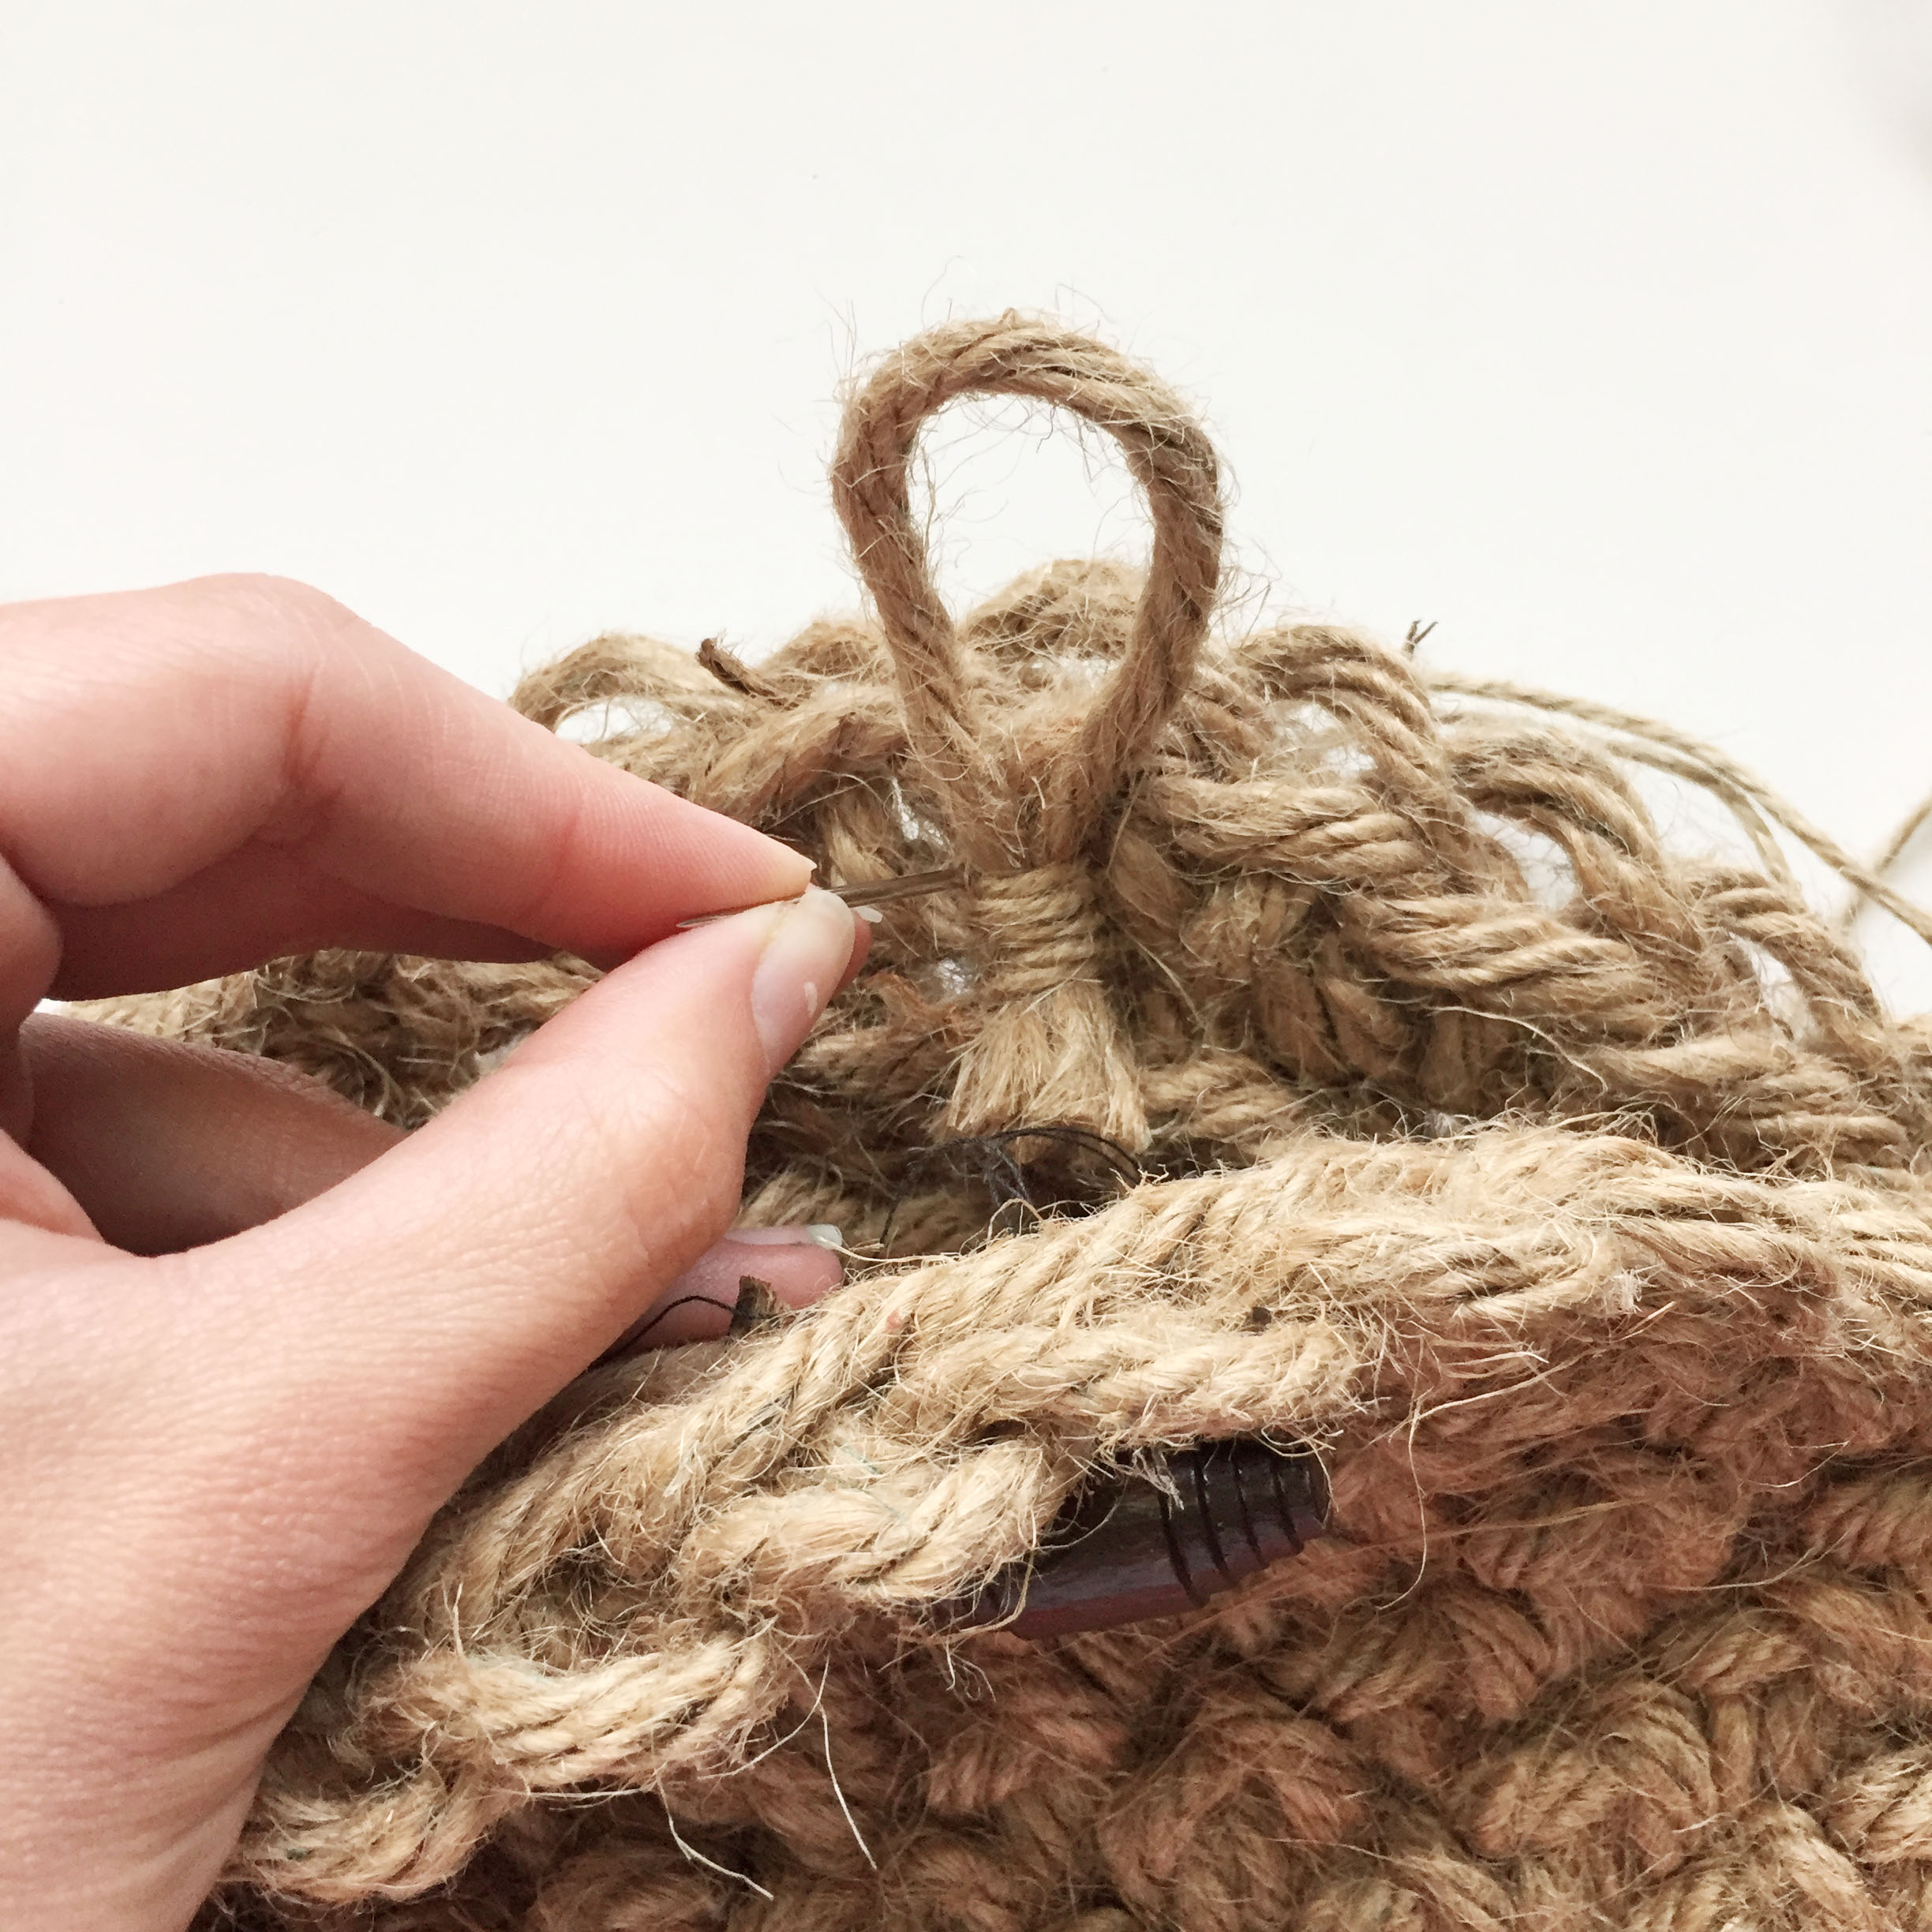
Then you will sew the two ends to the purse, wrapping around them (see photo above). For this part I decided to use a thin jute string because I didn't want string to show on the opposite side. Continue sewing until your loopy-piece is extra secure. You could super glue ends to prevent fraying if you wanted to!
After your closure pieces are sewn on, all you need to do is attach your handles and your cute jute purse is complete :)

Do please share with me over on Insta if you make one of these for yourself! I think it'd be perfect for your summer vacay :)
As always, happy hookin' friends,
Meg