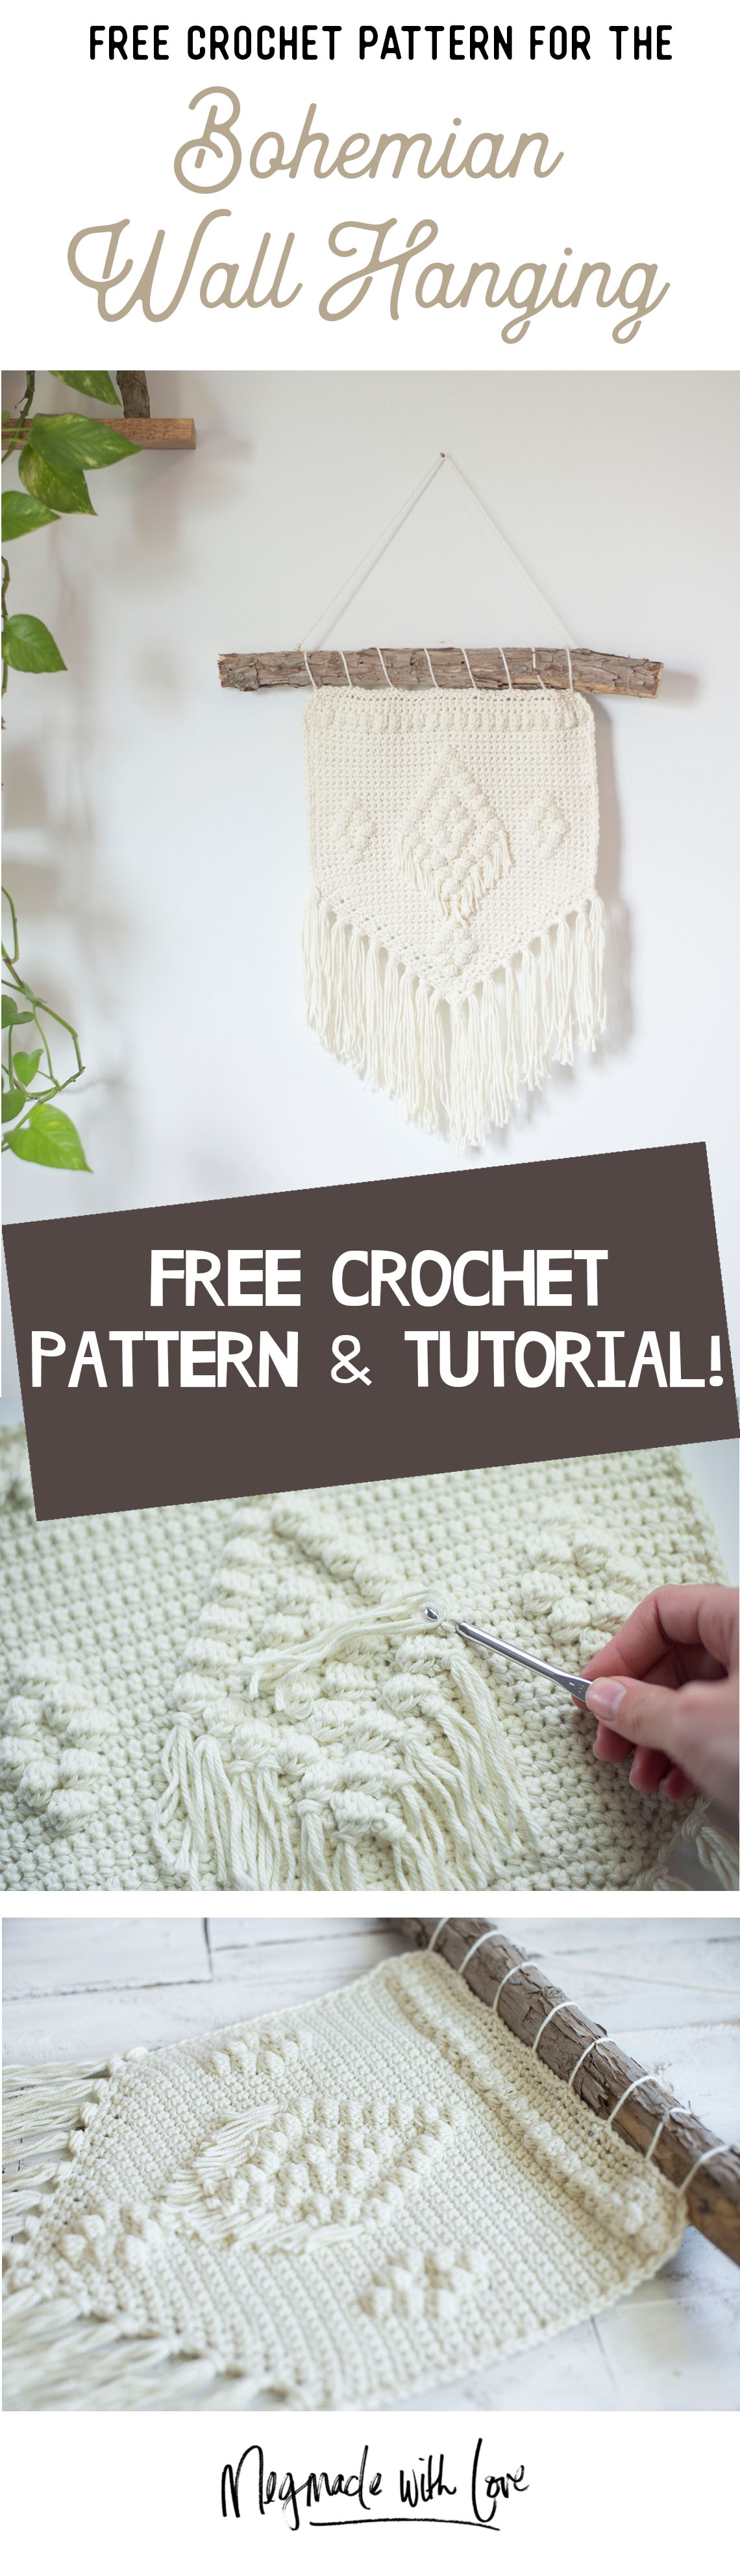
Free Crochet Pattern - The Bohemian Wall Hanging
/
***You can find the PDF version of this pattern in my shop by clicking here (great for easy printing!)***
Today I'm bringing you a pattern dear to my heart.
It's been a pattern I've had in my shop exclusively for sale, but the other day I was thinking... that it would be pretty darn swell if I moved all of my patterns over to the blog. Meaning they'd be all available for free! 😱
(All the PDF's will still be over in my shop, but the price on those will decrease!)
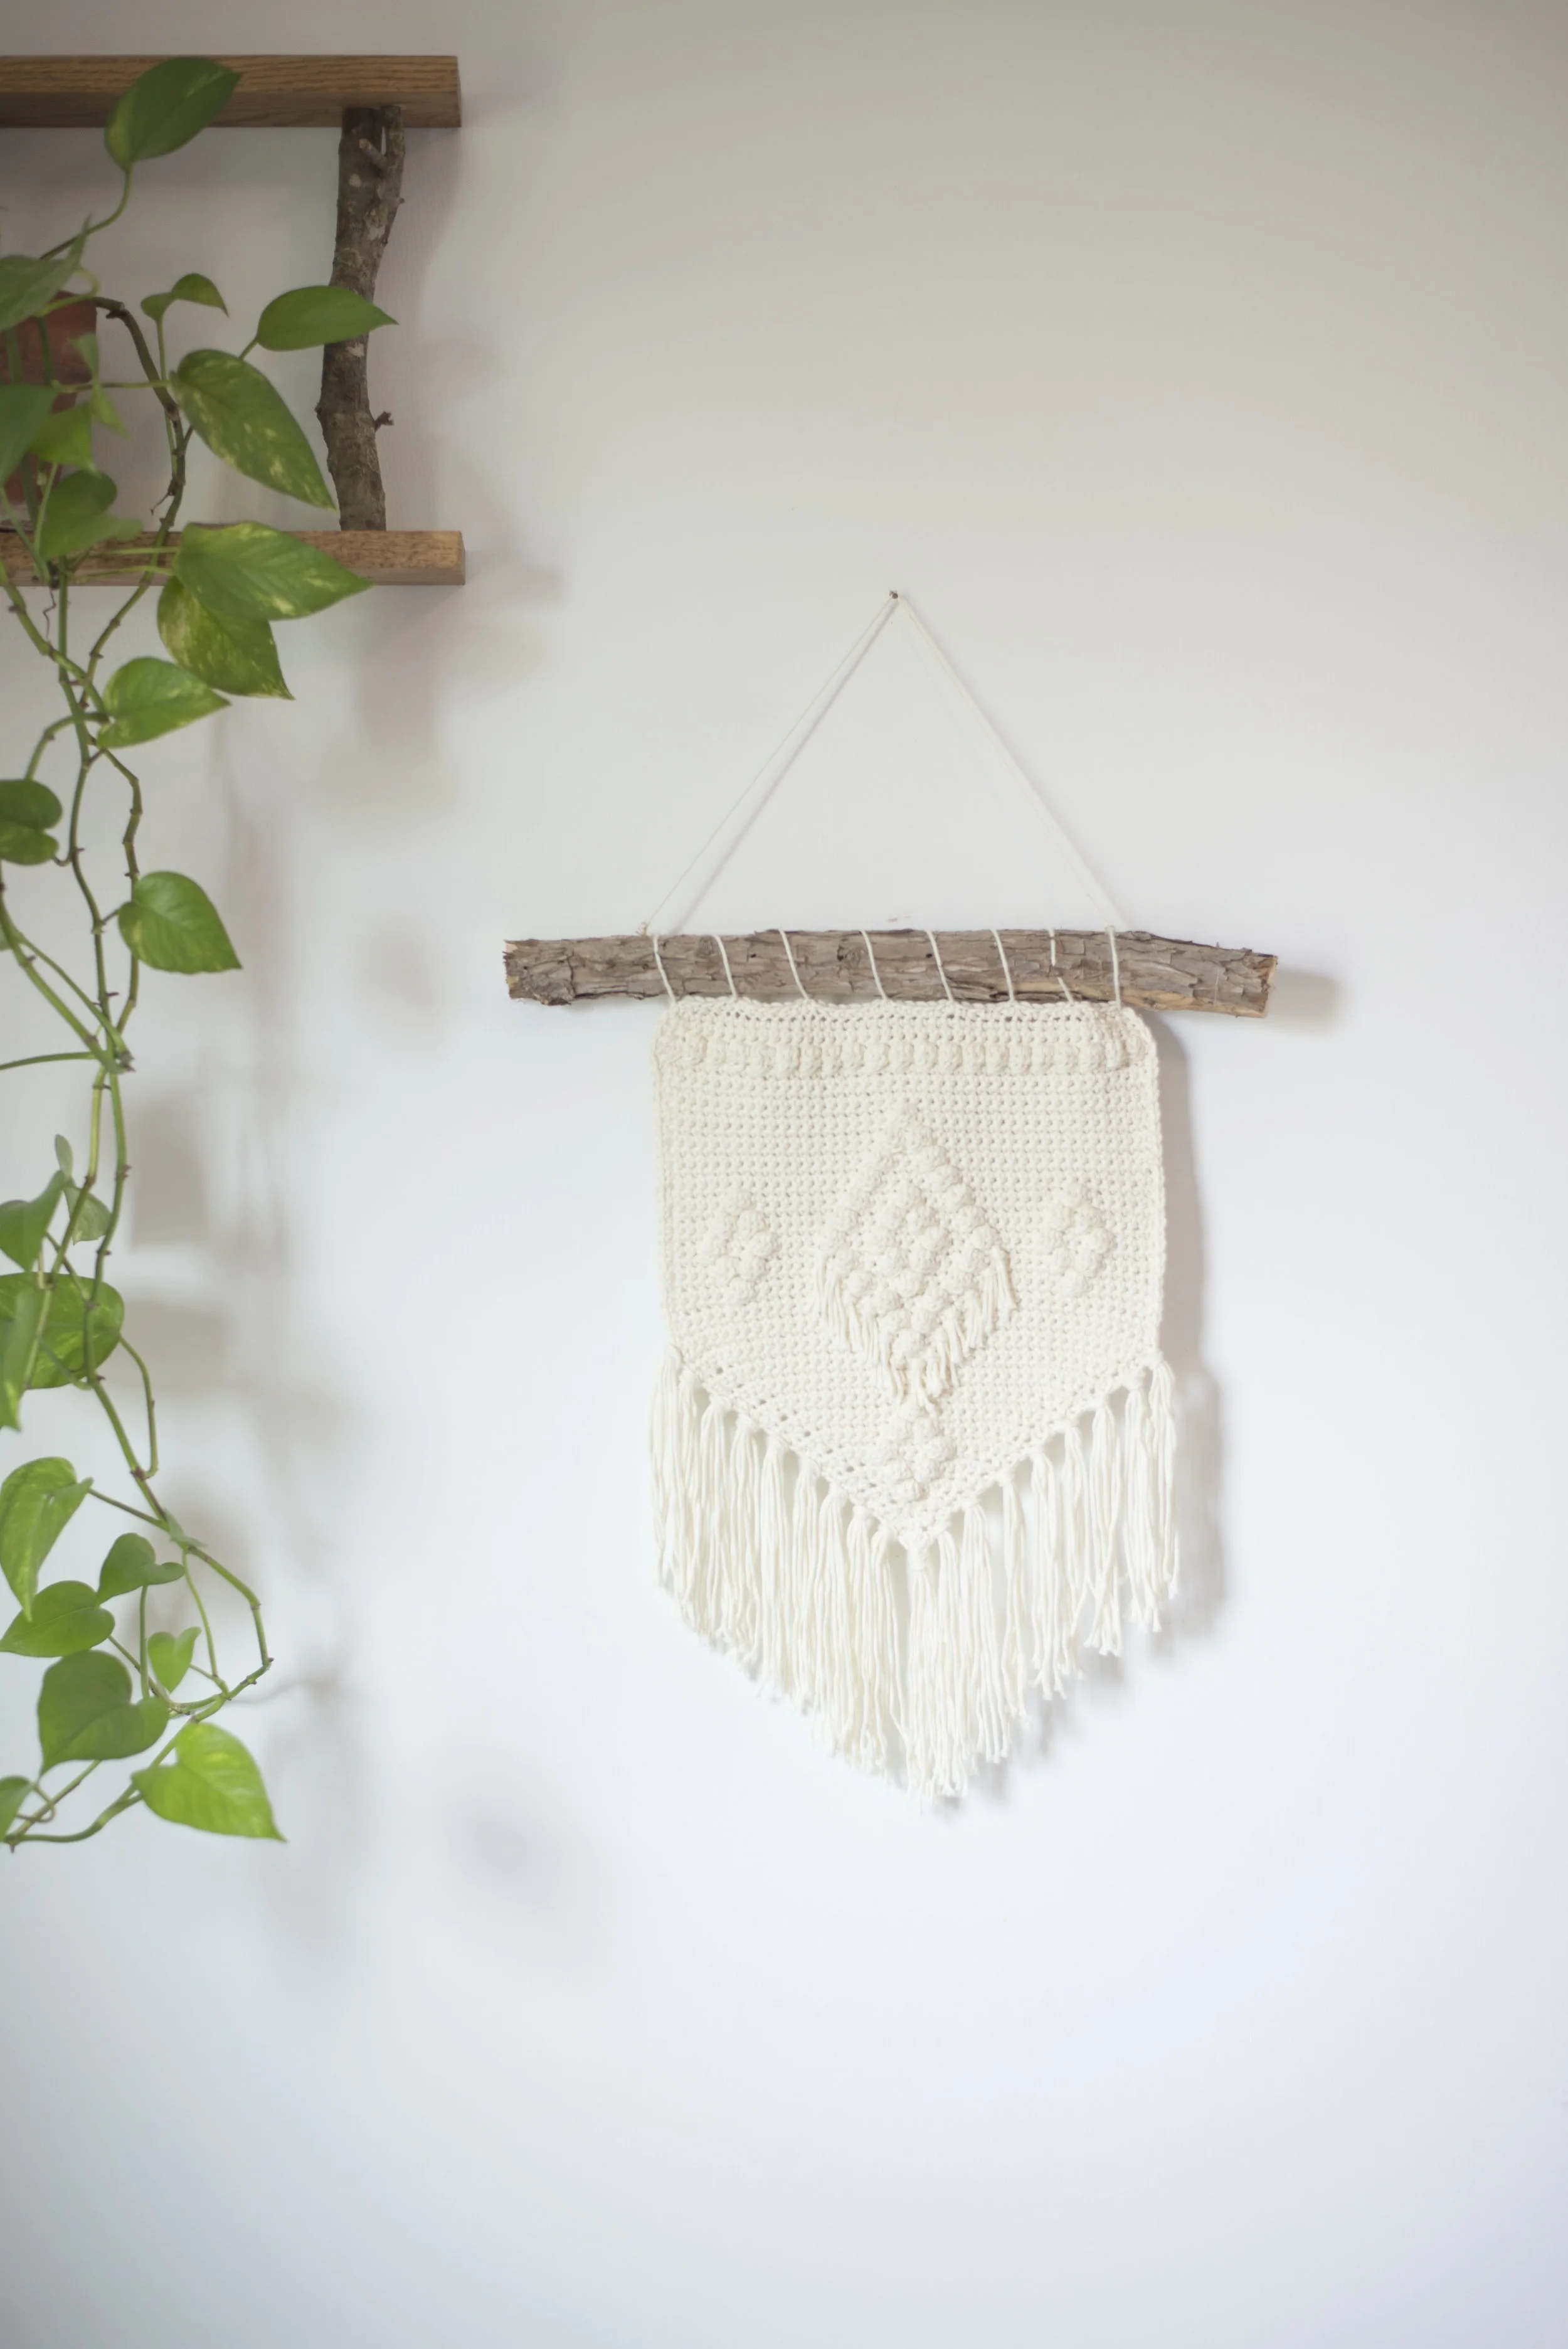
So here I am, presenting you a super dreamy wall hanging I designed this summer (some of you may have snagged this up already by signing up for the newsletter!). I just love the texture and simplicity of it. Also, I am always 100% for anything that you stick on a tree branch. No brainer.
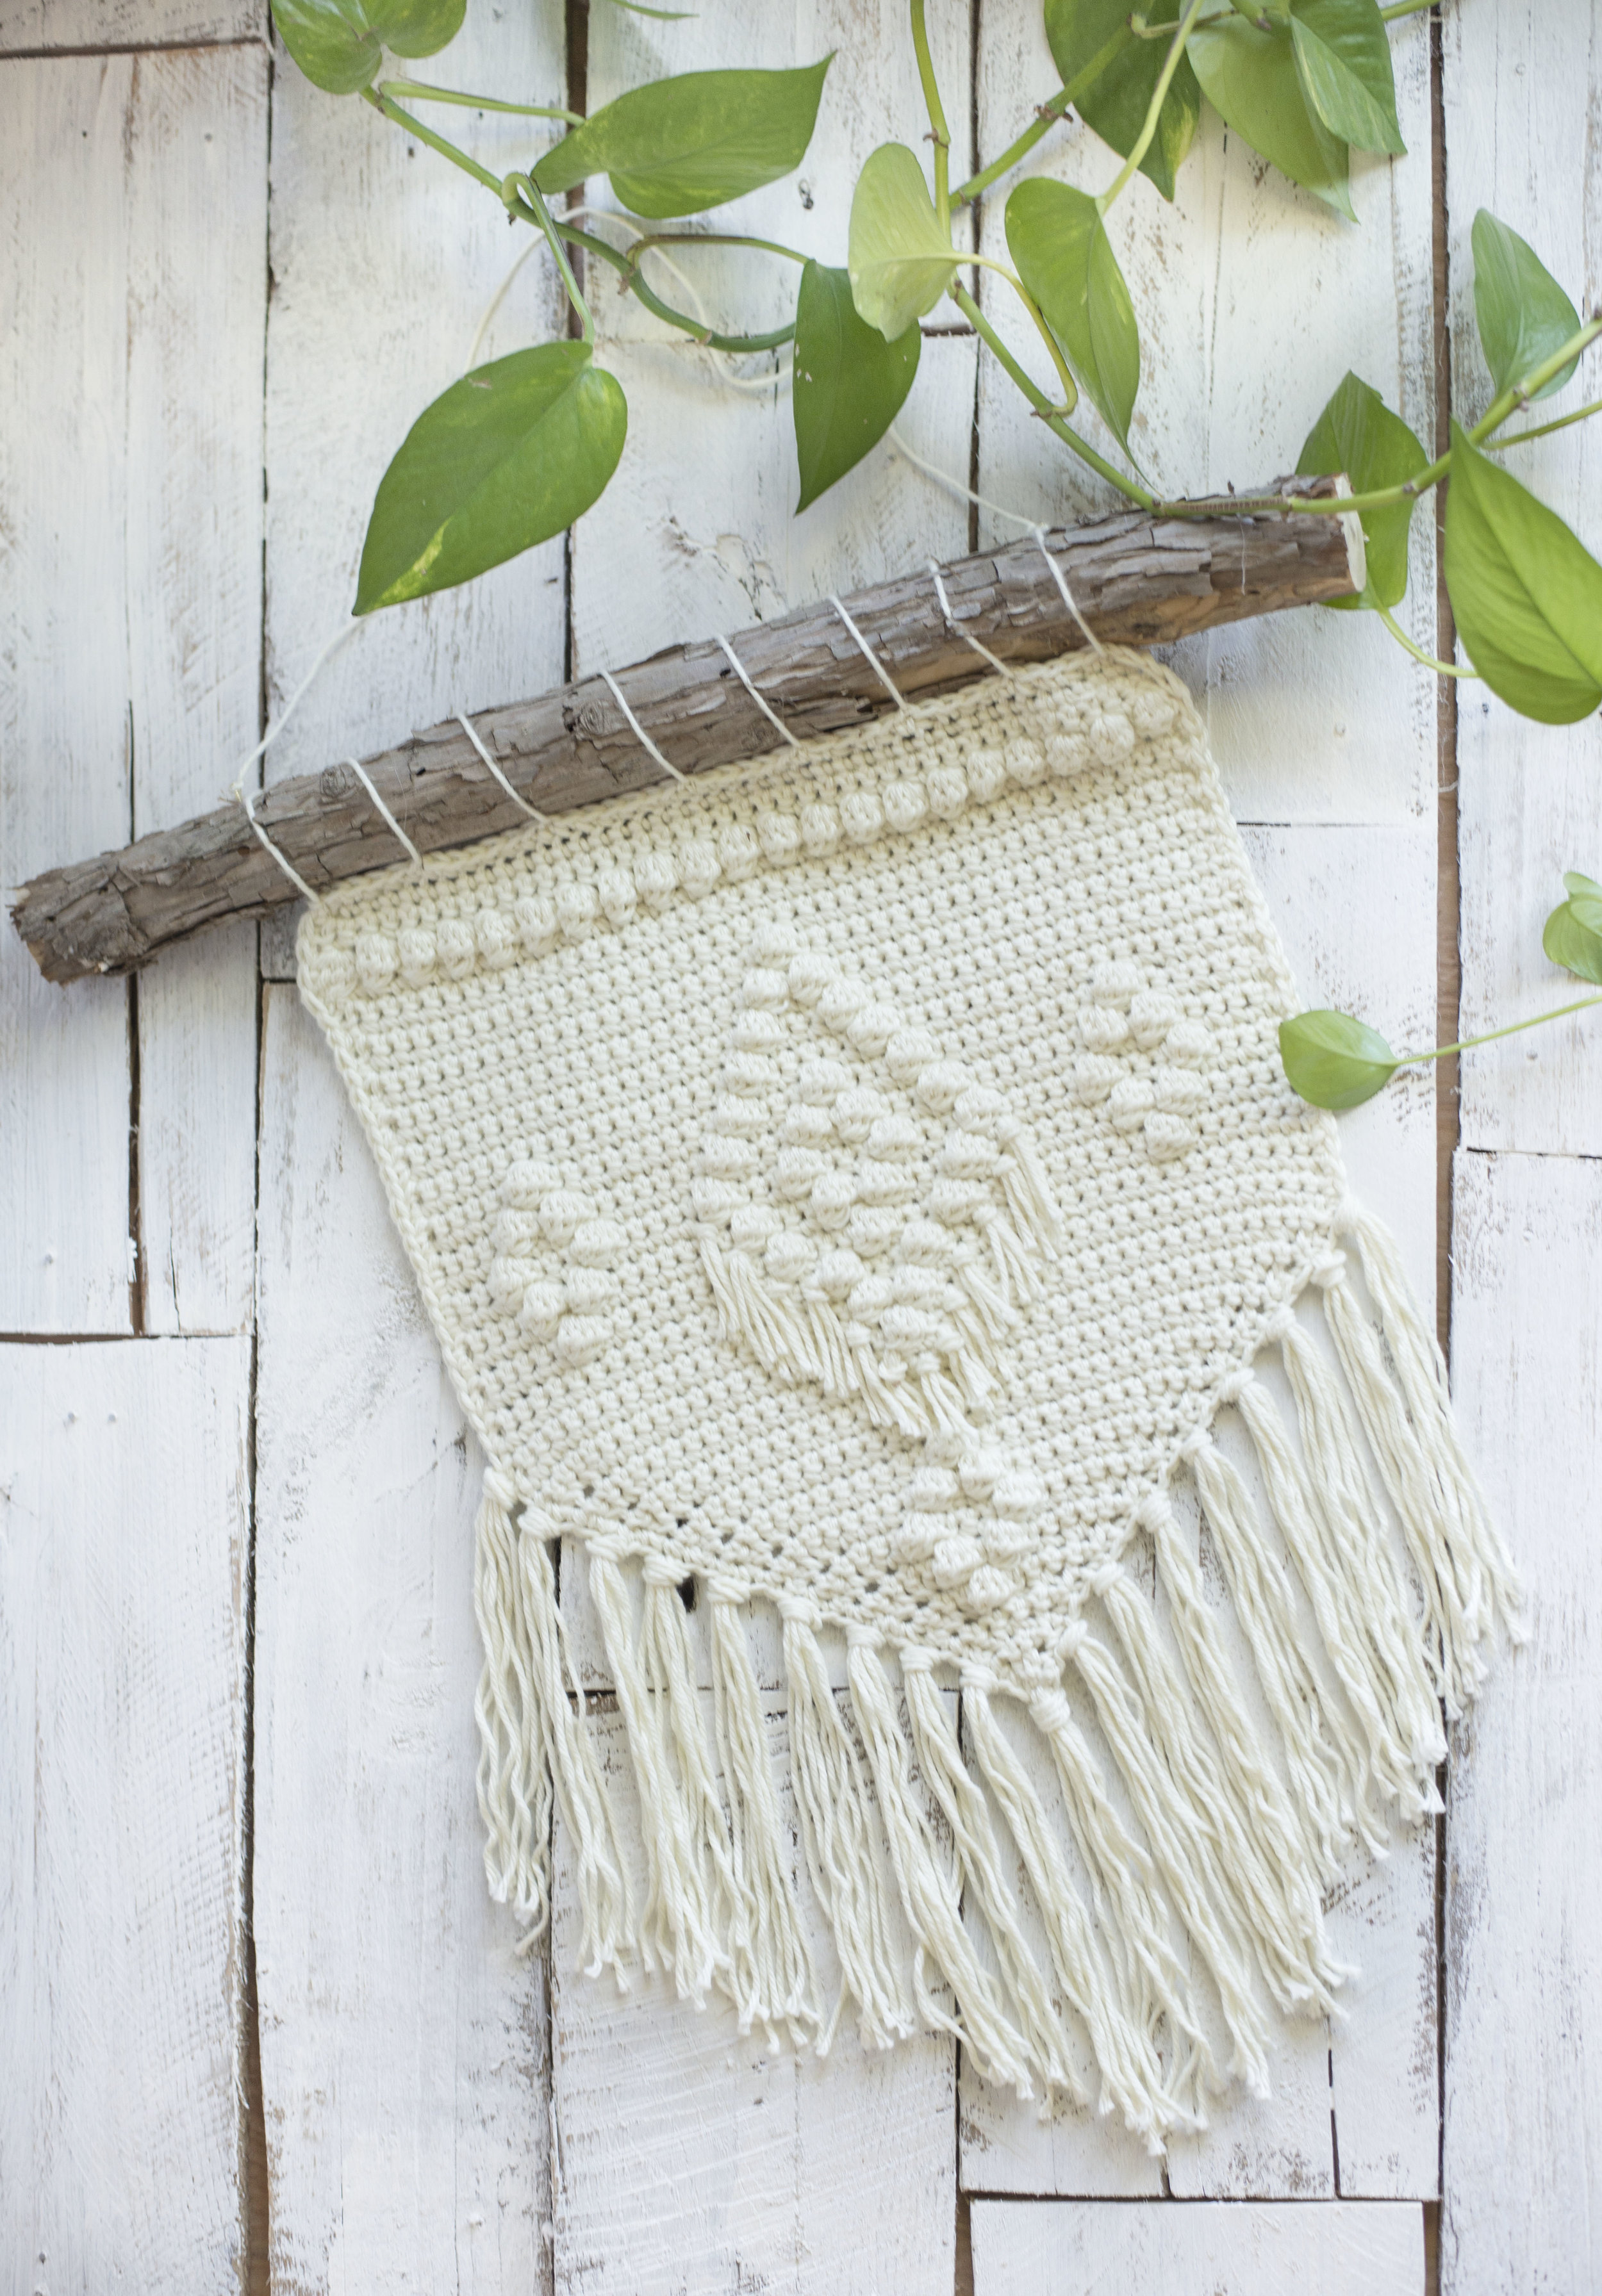
This pattern is pretty easy. Single crochet, bobbles and decreasing!

I love the little diamond details it offers... To provide additional help I put together a little diagram below so you can visualize how they the shapes are made.

What you'll need:
-worsted weight yarn of choice (I used one skein of I Love This Cotton in Ivory)
- size H hook (5 mm)
- 17” stick/branch or wooden dowel
-Yarn needle
Dimensions:
Approx. 11x12 inches (excluding fringe)
Abbreviations:
st(s)=stitch(es), sc=single crochet, ch=chain, bob=bobble, sc2tog= single crochet two together, sc3tog=single crochet three together, yo=yarn over
Gauge:
15 sc and 18 rows equals a four-inch square (The worsted weight yarn I used, I Love This Cotton, is thinner than many other yarns it’s weight. Keep this in mind because this may affect the size of your project.)
Notes:
- ch 1 at the beginning of rows does not count as stitch
- I made my bobble stitches a little smaller than usual, you can see the explanation of how I worked them below
- I worked sc2tog in the front loop only - to make them look less visible
bobble= (yo, insert hook into st, yo, pull back through) 3 times, yo pull through all 7 loops on the hook
sc2tog= insert hook into st, yo, draw back through, insert hook into next st, yo, draw back through, yo, draw through all 3 loops on the hook
sc3tog= insert hook into st, yo, draw back through, (insert hook into next st, yo, draw back through) 2 times, draw through all 4 loops on the hook
Pattern:

ch 42
1) sc in 2nd ch from hook, and sc across (41 total sts and until row 33)
2-3) ch 1, turn, sc across
4) ch 4, (bob, sc) across the row, ending with a bob
5-9) ch 1, turn, sc across
10) ch 1, turn, sc in 20 sts, bob, sc in 20 sts
11) ch 1, turn, sc across
12) ch 1, turn, sc in 19 sts, bob, sc, bob, sc in 19 sts
13) ch 1, turn, sc across
14) ch 1, turn, sc in 18 sts, bob, sc in 3 sts, bob, sc in 18 sts
15) ch 1, turn, sc across
16) ch 1, turn, sc in 17 sts, bob, sc in 5 sts, bob, sc in 17 sts
17) ch 1, turn, sc across
18) ch 1, turn, sc in 6 sts, bob, sc in 9 sts, bob, sc in 3 sts, bob, sc in 3 sts, bob, sc in 9 sts, bob, sc in 6 sts
19) ch 1, turn, sc across
20) ch 1, turn, sc in 5 sts, bob, sc, bob, sc in 7 sts, bob, sc in 3 sts, bob, sc, bob, sc in 3 sts, bob sc in 7 sts, bob, sc, bob, sc in 5 sts
21) ch 1, turn, sc across
22) ch 1, turn, sc in 4 sts, bob, sc in 3 sts, bob, sc in 5 sts, bob, sc in 3 sts, bob, sc in 3 sts, bob, sc in 3 sts, bob, sc in 5 sts, bob, sc in 3 sts, bob, sc in 4 sts
23) ch 1, turn, sc across
24) repeat row 20
25) ch 1, turn, sc across
26) repeat row 18
27) ch 1, turn, sc across
28) repeat row 14
29) ch 1, turn, sc across
30) repeat row 12
31) ch 1, turn, sc across
32) repeat row 10
33) ch 1, turn, sc2tog, sc2tog, sc in 33 sts, sc2tog, sc2tog (37)
34) ch 1, turn, sc across (37)
35) ch1, turn, sc2tog, sc2tog, sc in 29 sts, sc2tog, sc2tog (33)
36) ch 1, turn, sc across (33)
37) ch 1, turn, sc2tog, sc2tog, sc in 25 sts, sc2tog, sc2tog (29)
38) ch 1, turn, sc across (29)
39) ch 1, turn, sc2tog, sc2tog, sc in 21 sts, sc2tog, sc2tog (25)
40) ch 1, turn, sc in 12 sts, bob, sc in 12 sts (25)
41) ch 1, turn, sc2tog, sc2tog, sc in 17 sts, sc2tog, sc2tog (21)
42) ch 1, turn, sc in 9 sts, bob, sc, bob, sc in 9 sts (21)
43) ch 1, turn, sc2tog, sc2tog, sc in 13 sts, sc2tog, sc2tog (17)
44) ch 1, turn, sc in 6 sts, bob, sc in 3 sts, bob, sc in 6 sts (17)
45) ch 1, turn, sc2tog, sc2tog, sc in 9 sts, sc2tog, sc2tog (13)
46) ch 1, turn, sc in 5 sts, bob, sc, bob, sc in 5 sts (13)
47) ch 1, turn, sc2tog, sc2tog, sc in 5 sts, sc2tog, sc2tog (9)
48) ch 1, turn, sc in 4 sts, bob, sc in 4 sts, (9)
49) ch 1, turn, sc2tog, sc2tog, sc, sc2tog, sc2tog (5)
50) ch 1, turn, sc across (5)
51) ch 1, turn, sc2tog, sc, sc2tog (3)
52) ch 1, turn, sc across (3)
53) ch 1, turn, sc3tog (1) ch 1, and sc around the entire border of the piece, working 2 sc in the corners
Assembly:
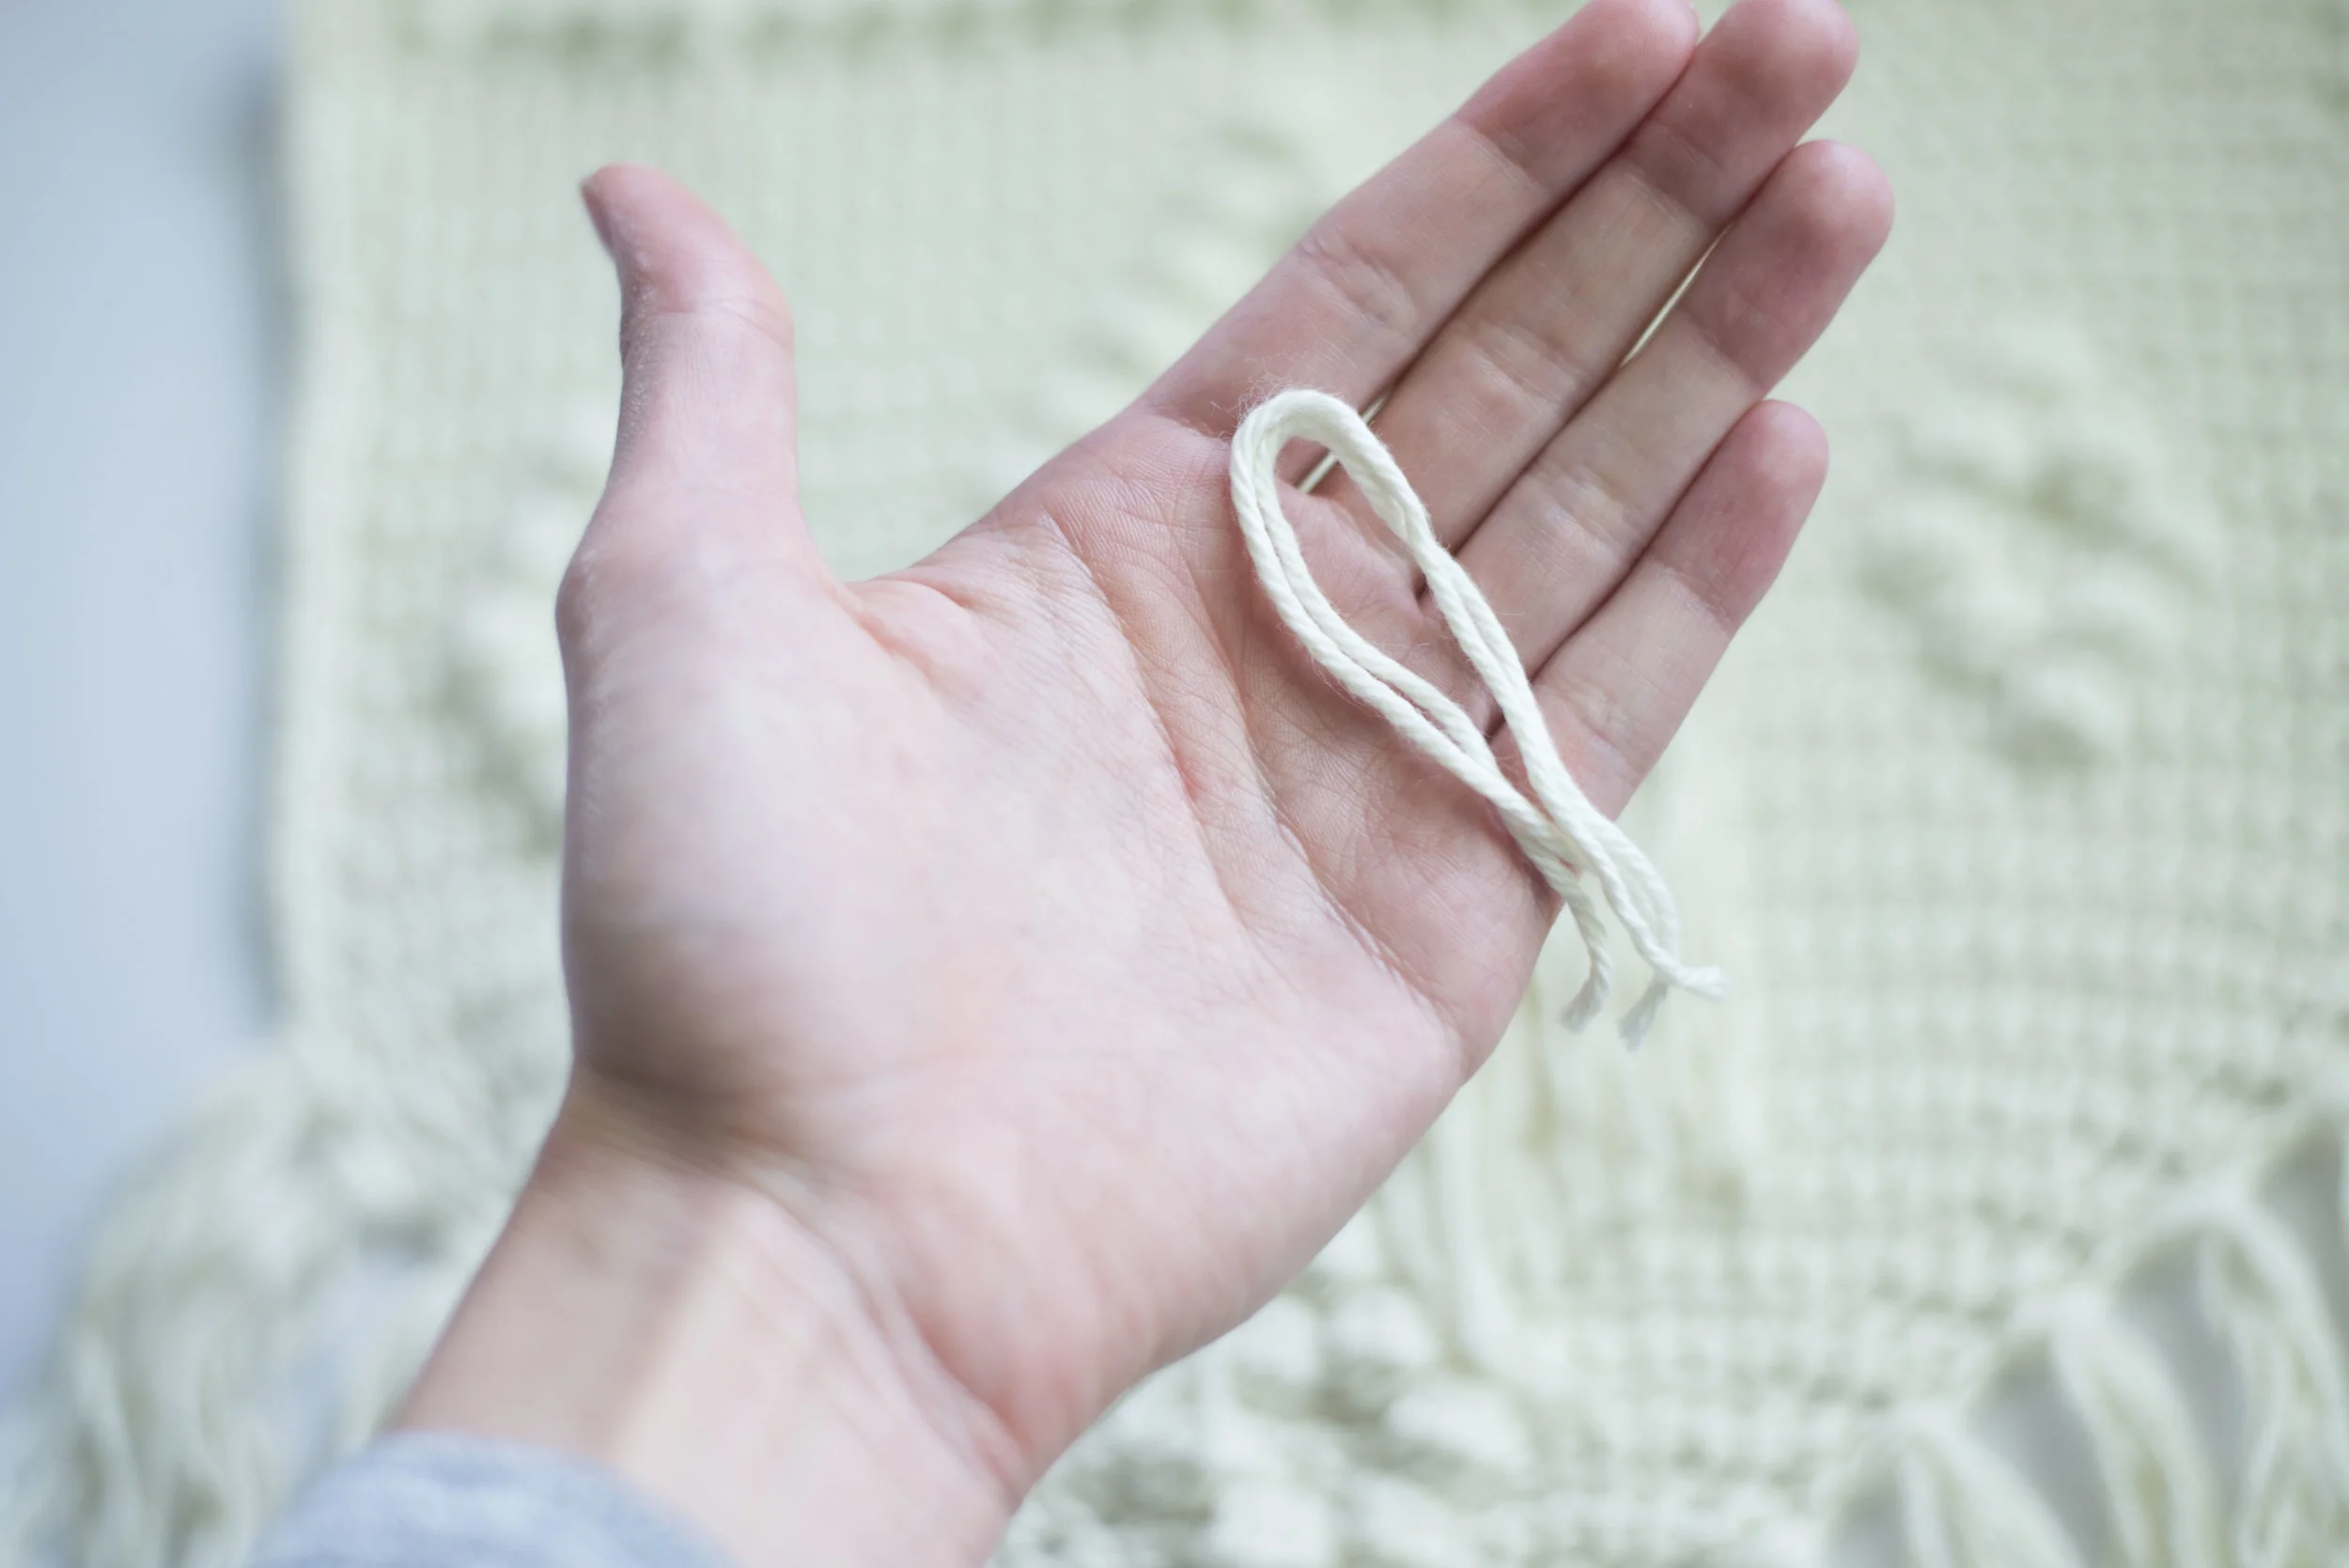
For the fringe on top, you will cut twenty six 5-inch pieces of yarn. You will group them into two’s. As for the bottom fringe, you will cut seventy two 14-inch pieces of yarn. You will group them into four’s. For both the top and bottom fringe you will attach them as instructed below:
Fold your group of yarn pieces in half.

Using your crochet hook, draw the folded side through where you’d like to place the fringe- do not pull all the way through.

Put all the end pieces in through the folded side, and pull down. Space the groups of yarn pieces evenly on the under side of the bobble diamond and on the bottom of the crochet piece. Cut them if needed to even them out, and you could iron/block them to make them straight if desired.
To attach the crocheted piece to your branch/dowel, you will need your needle and a long strand of yarn. Lay out your piece underneath the branch, lining it up where you’d like it to be. Starting on one side of your piece and coming from the back: insert your needle/yarn and pull through until you’ve got about 6 inches left behind your work. Go over the branch with your needle and back into your crochet piece from the back side again but this time about 5 or so stitches away from where you first put your needle in. You will repeat this process, of inserting your needle about 5 stitches away from the back of your piece and then up over the branch until you get to the other side. When you get to the last stitch on the other side of your piece, you will go over the branch, and back through the back side into the same stitch you just worked into. Work your yarn back onto the back side, tie a couple of knots, then weave in your ends. Do this also for your 6 inch strand you had at the beginning.
You can tie a piece of yarn or jute string to the branch for hanging (my piece was about 20 inches long) After you’ve woven in your ends, you’ve got yourself a super chic and oh-so-boho wall hanging for your home!!
There you have it, a super simple and lovely wall-hanging-- that you made with all your DIY super powers! Hope you enjoyed this one. :) If you end up making it, feel free to tag me over on Instagram-- I'd love to see!
Oh, and also keep an eye out in the next few months for "premium" patterns to transition over to the blog for free!!
Have a beautiful day, you...
-Meg