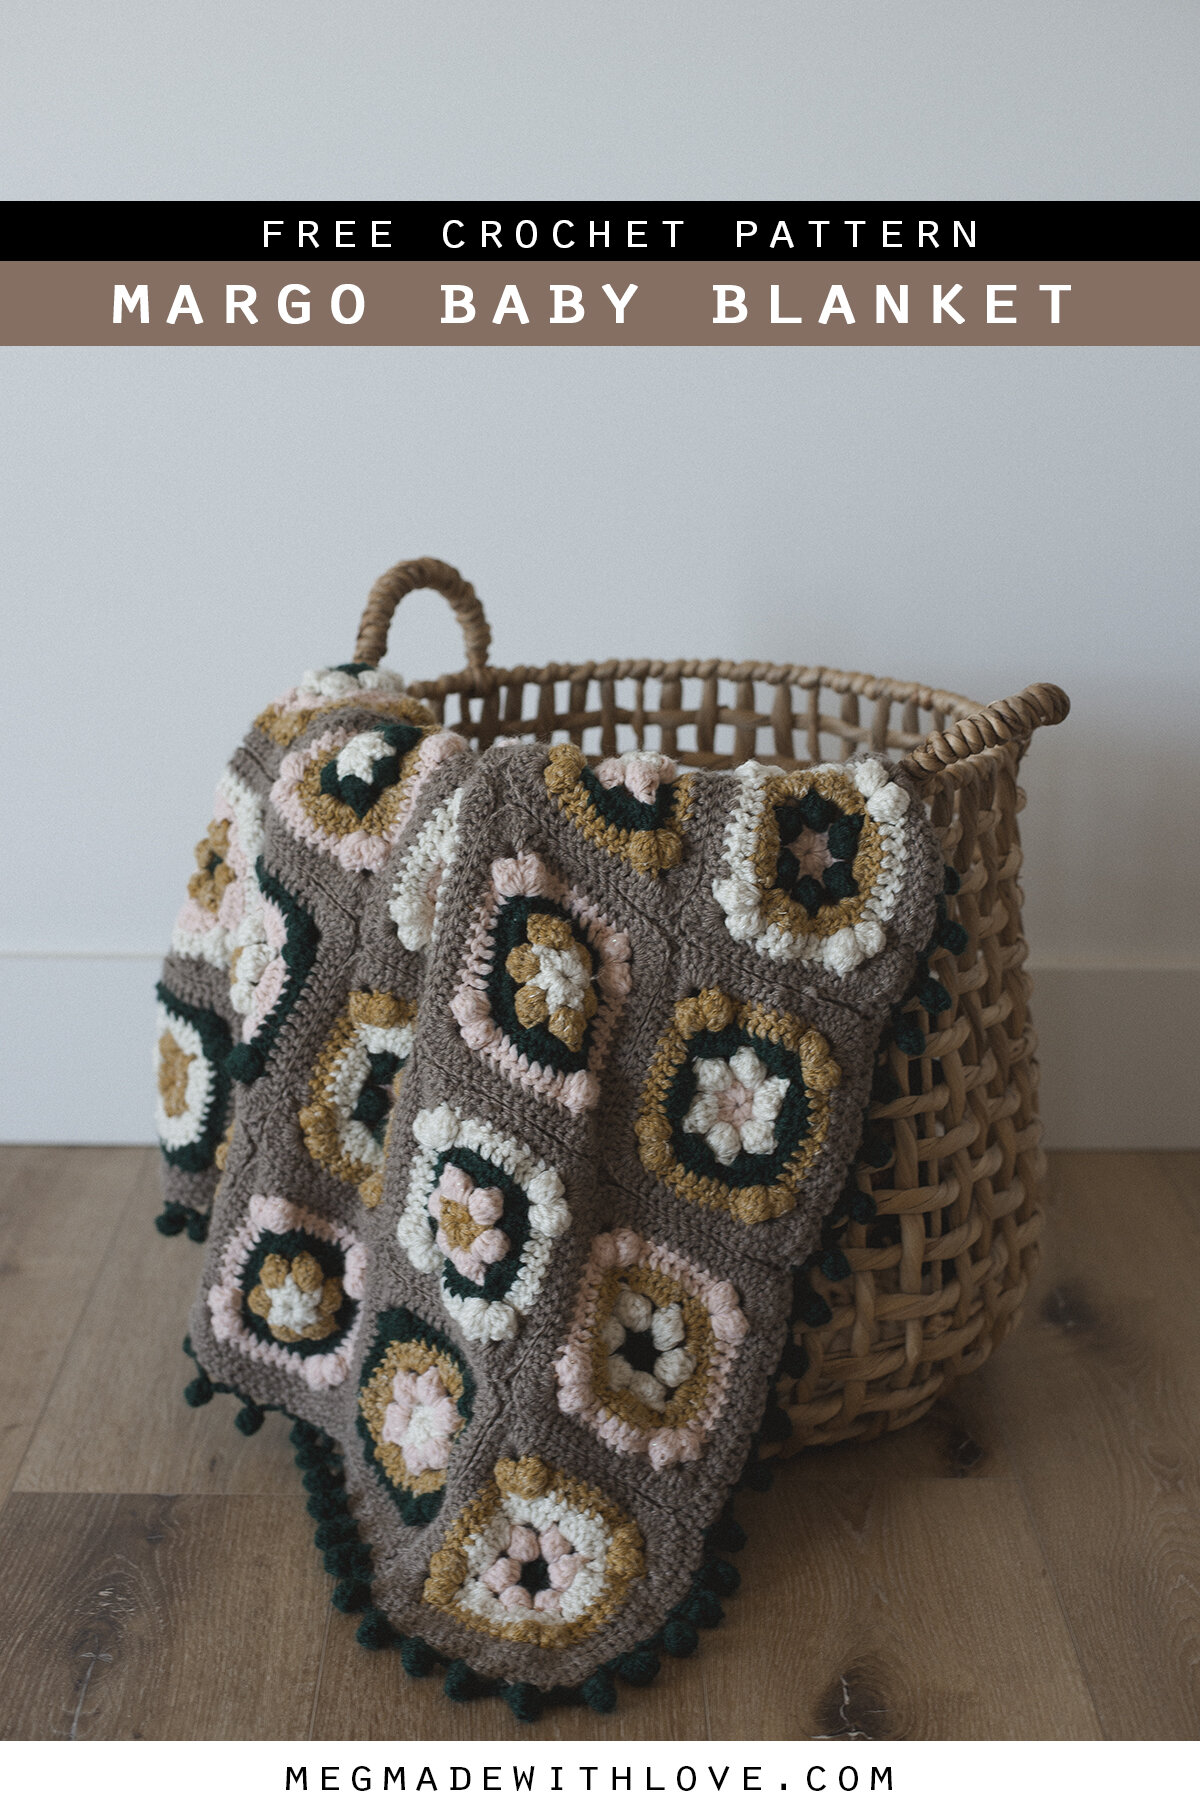
Margo Baby Blanket - Free Crochet Pattern

Margo Baby Blanket Free Crochet Pattern - Megmade with Love

***You can find the PDF version of this pattern by clicking HERE. Ad-free, and printer-friendly! For the free version, scroll down within this post.***

Hey ya’ll! It’s so nice to be back and running with another pattern here on the blog after taking a break during the latter part of my pregnancy and to focus on newborn and family life! It’s been a magical time, despite all the crazy crap going down in the world right now, I’m happy to be able to pour into my family and home :) I’ve got a fun blanket pattern for you that was made for our newest addition, Novah. It’s a quant vintage-inspired blankie perfect for the little one in your life.

Margo Baby Blanket Free Crochet Pattern - Megmade with Love

The blanket is made up of little squares, that actually work up pretty quickly since they consist of mostly double crochet. I like the little pops of bobble throughout each square for the perfect amount of texture.

Margo Baby Blanket Free Crochet Pattern - Megmade with Love

This blanket would be perfect for using up your scraps and odd ends of yarn. I had a lot of fun playing around with the colors I had lying around in my stash. I just used As long as it’s a 3-5 weight yarn you should be good!

Margo Baby Blanket Free Crochet Pattern - Megmade with Love

To join the squares, I used a slip stitch method joining rows together. Really any method you prefer would work to join, I just like how this one looked the best, after trying multiple ways.

Margo Baby Blanket Free Crochet Pattern - Megmade with Love

Oh, and a fun note on the name… I fought HARD for our baby’s name to be Margo my entire pregnancy. It was a struggle, because my husband was not a fan of the name, but I was dead set on it, even after she was born. But ultimately he couldn’t get on board with it and we finally made the decision on Novah right before we left the hospital (after some hormonal tears haha). So I thought I’d honor the name that never was through this blanket! Now that Novah’s been around for 3 months I can’t imagine any other name for her tho :)

Margo Baby Blanket Free Crochet Pattern - Megmade with Love

Margo Baby Blanket Pattern

***You can find the PDF version of this pattern by clicking HERE. Ad-free, and printer-friendly! The free version is right below***

What you’ll need:

-various colors (I used five different colors) of worsted 4 weight yarn (could probably get away with weights 3-5) The yarns I used were Lion Brand Pound of Love in Taupe, Brava Sport in Hunter(this yarn feels like a 3 weight to me), Red Heart Hygge Charm in Meteor and Starlight, and Yarn Bee Rustic Romantic in Okie Wheat

-5.5 mm hook (or size needed to obtain gauge)

-yarn needle

Gauge:

14 dc by 8 rows equals 4 inch square

Abbreviations:

ch=chain, sl= slip, st(s)=stitch(es), dc=double crochet, sp=space, 2dcl=two double crochet cluster—aka dc2tog, bo=bobble (see notes for more info)

Notes:

-ch’s at beginning of rounds do not count as sts unless otherwise stated

-each square measures about 5.5 by 5.5 inches. I made the blanket 6 squares by 6 squares measuring about 33 inches without border. You could easily add or take away squares to adjust the size to your liking, or make it a rectangle

-like mentioned earlier, you could get away with using some yarn that are weights 3-5, it just may affect the size of the squares slightly

-I chose to use the same color (the taupe) for the last round 5, and switched up the colors on all the squares for rounds 1-4 for visual interest

-2dcl: (aka dc2tog) [yarn over, insert hook into designated st, draw up loop, yarn over, draw through two loops on hook] do this 2 times, yarn over, draw through all loops on hook to finish

-bo st: (this is a 5 st bo) [yarn over, insert hook into designated st, draw up loop, yarn over, draw through two loops on hook] do this 5 times, yarn over, draw through all loops on hook to finish

Pattern:

Margo Blanket Square Pattern:

ch 4, join to 1st ch with sl st to form circle

Round 1) ch 2 and work dc in circle (this will count as 2dcl) ch 1, [2dcl in circle, ch 1] 5 more times, join to 1st dc with sl st (total 6 2dcl, 6 ch)

Round 2) *change color* sl st into 1st ch 1 sp, ch 2, bo in same ch 1 sp you sl st into, ch 3 [bo in next ch 1 sp, ch 3] around, join to 1st bo with sl st (total 6 bo, 18 ch)

Round 3) *change color* sl st into 1st ch 3 sp, ch 2, work 6 dc in same ch 3 sp, [work 6 dc into next ch 3 sp] around, join to 1st dc with sl st (total 36 dc)

Round 4) *change color* ch 2, [dc in 8 sts, in next st: bo, ch 3, bo] around (be sure to lookout for the 1st st worked after bo, ch 3, bo sequence because it can get hidden), join to 1st dc with sl st (total 48 dc, 8 bo, 12 ch)

Round 5) *change color* ch 2, dc in 9 sts, [work 8 dc in next ch 3 sp, dc in next 10 sts (be sure to lookout for the 1st st worked after the 8 dc because it can get hidden)] 3 times, work 8 dc in last ch 3 sp, dc in last st, then join to 1st dc with sl st (total 72 dc)

finish off

***for the blanket I made 36 squares (6x6). And then join them however you prefer.

HOW I JOINED THEM: I put right sides of two squares together, and slip stitched working in the OUTSIDE loops only all the way across one side, then brought on two more squares that were sandwiched right sides together and continued slip stitching— essentially joining two rows together (see first pic below) . I liked how this method made the seams look on both sides. On one side (the wrong side) you’ve got a cool raised texture of the slip stitches, on the other side the squares are lying flat and butted up against one another— a very neat look. I’m a fan of this method, but any method would do of course!

YOU CAN SEE VIDEO BELOW FOR EXACTLY HOW I JOINED THEM

Crochet Blanket Megmade with Love

I began joining two rows together by slip stitching two at a time together and across (see video above for more assistance). I seamed them right sides together and inserting hook into only the outside loops.

Crochet Blanket Megmade with Love
Crochet Blanket - Megmade with Love

Once the two rows were joined together, I began to add on a third row, one square at a time. I did it with the same method— right sides together, and inserting hook into outside loops. Note that I’m only seaming one way first (vertically in photo). You will keep on adding squares row by row until all rows are added.

Crochet Blanket - Megmade with Love

Next I seamed the blanket going the opposite way, rights sides together and working in outside loops all the way across each row.

Crochet Blanket - Megmade with Love

Above is a close up of me seaming the opposite way, putting right sides together and inserting hook into outside loops and slip stitching all the way across.

Once the seams are done you can add additional rows and border around the outside. I decided to add a row using the same taupe yarn around the entire edge using double crochet. In each corner I added FOUR extra dc’s so they’d lay flat.

HOW I DID MY BORDER:

Crochet Baby Blanket - Megmade with Love

To do the bobble edging I drew up my yarn where I left off on previous round, then…

[ch 6, insert hook into 3rd ch from hook and work bo st, ch 3, sk 3 sts, sl st in next st] repeat around edge of blanket. Once all the way around, sl st in place you drew up yarn in the beginning of the edging round and finish off.

And just like that, you’re done with your fancy schmancy baby blanket! Hope you enjoy this one :)

Happy hooking,
Meg

Margo Baby Blanket Free Crochet Pattern - Megmade with Love

Grande Chevron Blanket - Free Crochet Pattern

Grande Chevron Blanket - Free Crochet Pattern - Megmade with Love

***If you’d like the printable, PDF version of this pattern, click HERE. For the free version scroll down into the post***

So not trying to freak out too much but I FINISHED MY VERY FIRST BLANKET. In over 15 years of crocheting I never, not once, had the desire to complete a blanket. They seemed like way too much time, plus I get bored easy. But I did it. And I’m here to share the pattern with YOU. Hope you like this one, I’m not going to lie I think it’s the dopest blanket in all the land.

Grande Chevron Blanket - Free Crochet Pattern - Megmade with Love

I thought it’d be super cool if I put a spin on the traditional chevron blanket, to make it oversized—and with some trial and error it came to life! I think the chevron aspect is what kept me interested in finishing this blanket… It’s a lil somethin’ special without being over the top.

Grande Chevron Blanket - Free Crochet Pattern - Megmade with Love

I found that after I did a row, I didn’t need to even follow the pattern or count , you just kinda learn where you need to put the increase and decrease stitches. So if you’re wondering, YES this is the perfect project to work on while you watch that new series you’ve been eyeing on Netflix (I watched “In the Dark” while making this).

Grande Chevron Blanket - Free Crochet Pattern - Megmade with Love

The size of the blanket I made was a “throw” size, measuring about 65”x48”. I did include in the notes section instructions for making different sizes. Plus I think you’ll be really pleased with the feel of this blanket. Especially if you use the yarn I did, Yarn Bee Soft Secret. It’s so unbelievably soft, and that sheen it’s got…. woo-wee!

Grande Chevron Blanket - Free Crochet Pattern - Megmade with Love

There’s also a tutorial included in the pattern, showing how I made and attached the monstrous tassels. It may or may not involve one of my son’s books. ;)

Grande Chevron Blanket - Free Crochet Pattern - Megmade with Love

I hope if you’re anything like me, and feel leery of taking on a blanket, that you give this one a try. It’s simple enough to be a beginner blanket, and also has enough texture and interest to not be boring.

Grande Chevron Blanket - Free Crochet Pattern - Megmade with Love

***If you’d like the printable, PDF version of this pattern, click HERE. For the free version scroll down***

Grande Chevron Blanket

What you’ll need:

-2,100 yards of category 4 (worsted) weight yarn, 300 extra yards for big tassels (7-8 skeins of Yarn Bee Soft Secret in color “Mushroom”)
-size k (6.5 mm) hook, or size needed to obtain gauge
-yarn needle
-book, or 6” flat object to make tassel
-hot glue gun
-scissors

Gauge:

15 dc in BLO by 7 rows equals a four inch square

Abbreviations:

ch=chain, dc=double crochet, st(s)=stitch(es), BLO=back loop only, dc3tog=double crochet three together

Notes:

ch’s at the beginning of rows do not count as sts

the pattern for this blanket measures 48” x 65”. You can customize the width by adding or taking away multiples of 80. Each multiple of 80 equals about 16 inches. And to customize the length all you need to do is add or take away rows. Below is a handy chart from Good Knit Kisses to give you the average measurements of each blanket size.

Blanket Sizes - Good Knit Kisses

Pattern:

ch 242

Row 1) work 3 dc in 3rd ch from hook, [dc in next 36 ch, 3dctog, 3dctog, dc in next 36 ch, work 3 dc in next two ch] repeat [ ] one time, dc in next 36 ch, dc3tog, dc3tog, dc in next 36 ch, work 3 dc in last ch (240 total sts)

Rows 2-68) *ALL STS WORKED IN BLO: ch 2, turn, work 3 dc in first st, [dc in next 36 sts, dc3tog, dc3tog, dc in next 36 sts, work 3 dc in next two sts] repeat [ ] one time, dc in next 36 sts, dc3tog, dc3tog, dc in next 36 sts, work 3 dc in last st (240 total sts)

finish off, weave in ends

Making and attaching the tassels:

Grande Chevron Blanket - Free Crochet Pattern - Megmade with Love

To make the jumbo tassels, I grabbed a book of my son’s to wrap yarn around. It measured about 6 inches wide. You could cut a 6” wide piece of cardboard also. I wrapped the yarn around, (not too tight) spanning a couple of inches wide.

Grande Chevron Blanket - Free Crochet Pattern - Megmade with Love

To prevent the tassel from shedding I used hot glue. So every now and then I’d line the top with a thin line of hot glue, then wrap it over it before it cooled. I did it a couple more times each tassel, making sure the hot glue was covered before finishing wrapping the yarn.

Grande Chevron Blanket - Free Crochet Pattern - Megmade with Love

Once the tassel was my desired thickness, I cut off the yarn and slid a long piece under, through the middle of the wrapped yarn (like shown in the photo), and tied a knot. You’ll use this piece of yarn to attach the tassel to the blanket.

Grande Chevron Blanket - Free Crochet Pattern - Megmade with Love

Then I slid the yarn off the book, and tied the knot tighter on top so it’d be secure.

Grande Chevron Blanket - Free Crochet Pattern - Megmade with Love

Then I took another long strand of yarn and tied it around the outside of the tassel, about an inch down. I made sure it was extra tight. Then I wrapped it around the tassel a couple more times and tied another tight knot.

Grande Chevron Blanket - Free Crochet Pattern - Megmade with Love

Then to finish the tassel, you will cut the bottom loops, and trim it up to be even.

Grande Chevron Blanket - Free Crochet Pattern - Megmade with Love

I created 7 tassels for the blanket, one for each point on both ends.

Grande Chevron Blanket - Free Crochet Pattern - Megmade with Love

Using the top piece of yarn on the tassel, thread through your yarn needle and sew to each point on the blanket. You’ll pass through the very end of the blanket…

Grande Chevron Blanket - Free Crochet Pattern - Megmade with Love

Then insert the needle through the top of the tassel. Pass through the blanket and tassel as many times as it takes for a secure join. Once it was secure, I tied a double knot to the other strand of yarn from the tassel then weaved them into the blanket. Repeat for each tassel, then your beautiful blankie is complete!

Chevron Crochet Blanket - Megmade with Love

And cheers to finishing blankets! I hope this one converts you like it did me. You may have to look out for more blanket patterns in the future, because I’m hooked. Hehe pun intended.

Happy hooking,
Meg

Grande Chevron Blanket - Free Crochet Pattern - Megmade with Love