The Classic Beret Cap - Free Crochet Pattern
/***You can find the PDF version of this pattern by clicking HERE. Ad-free, and printer-friendly! For the free version, scroll down within this post.***
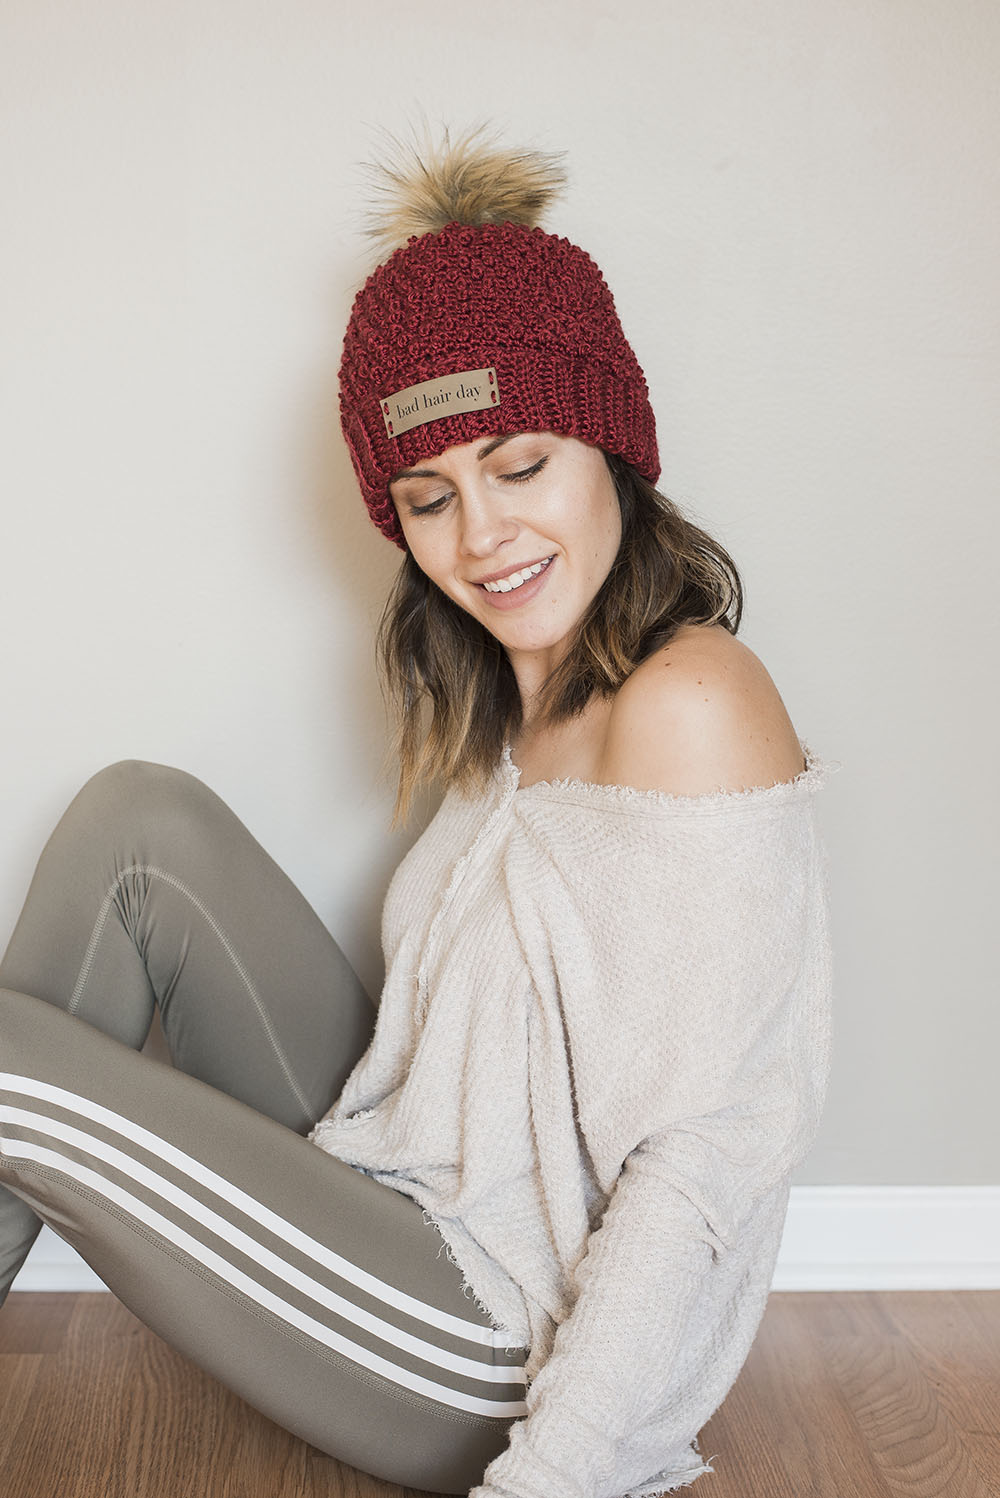
You gotta love a good classic, right? I know I do, ya know… black and white… jeans and a tee… a good red lip… oh and THIS NEW BERET CAP. 🙌 It’s part newsboy, part fashionable beret, and it’s just plain cute!
I was gifted a couple of balls of We are Knitters Petite Wool, and I instantly knew upon squishing the yarn that it should become a hat. I’ve always wanted to create a hat with a bill, and I love how it worked out with one.
It features a really pretty textured even moss stitch that is simple enough to create… along with a decorative strap and oh so cute buckle (found mine on a 99 cent thrift store belt!).
It’s designed in one size— adult women’s. I’ve also taken some pics as usual to assist with assembly. I’d say a beginner could tackle this one!
I think it’s the perfect, chic finish to a basic outfit, because lets be real— all my outfits are basic as a work at home mom. Just pop it on and you can pretend you actually put in some real effort into getting ready! Wink wink..
Hope you enjoy this free pattern… It was a pleasure to design and create!
Classic Beret Cap Pattern
***You can find the PDF version of this pattern by clicking HERE. Ad-free, and printer-friendly! The free version is right below…***
What you’ll need:
150-175 yards of The Petite Wool in Spotted Beige , 1-2 balls (on the website they claim this yarn to be worsted/aran—I’d just check gauge to be sure if using a different yarn)
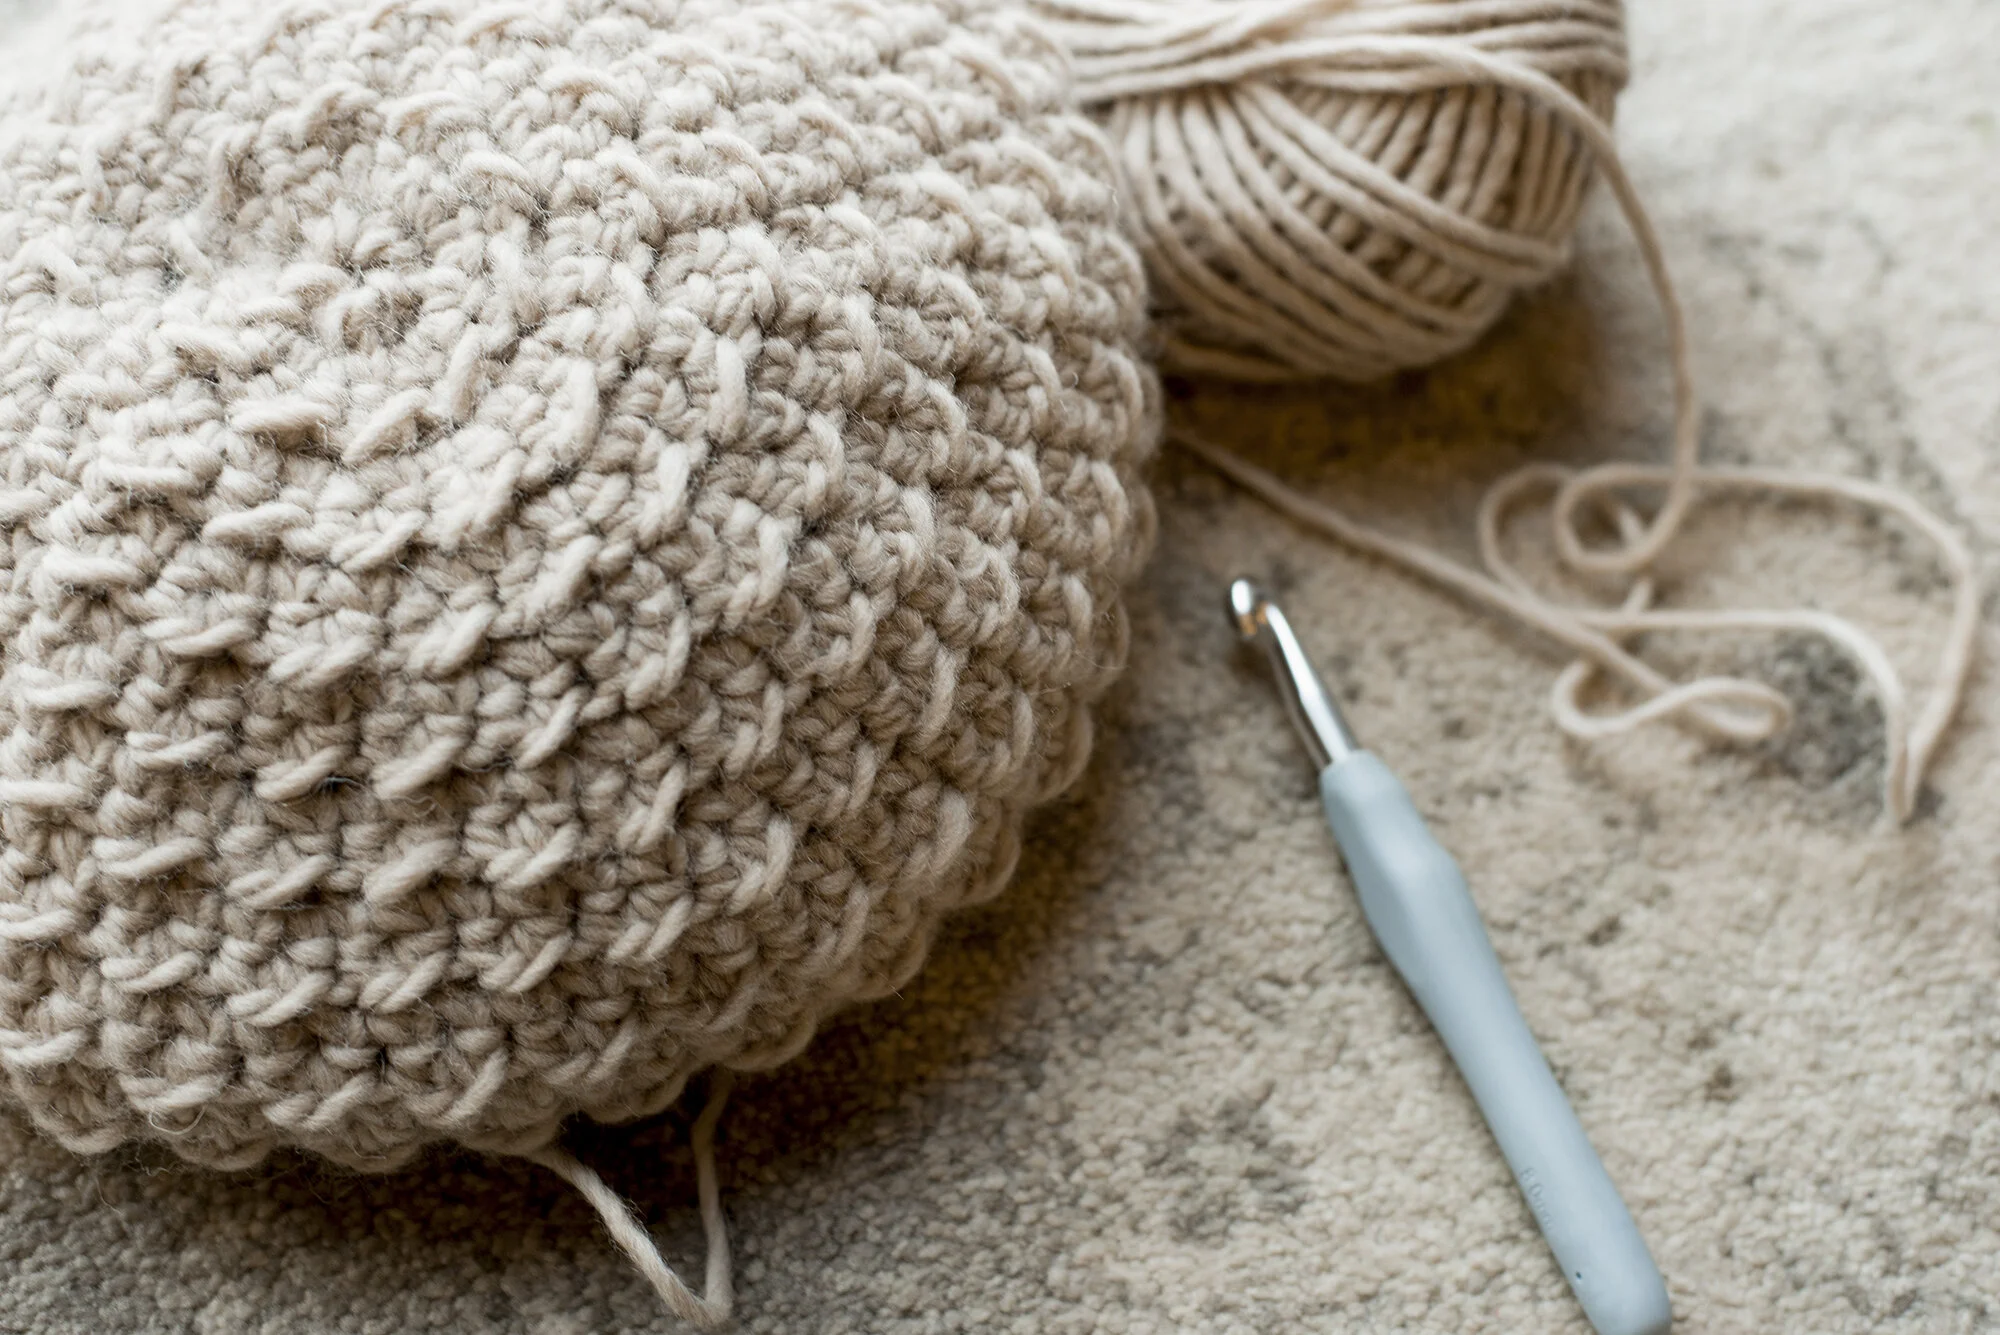
8 mm crochet hook
1-2 inch buckle (I found mine on a thrift store belt)
yarn needle
Gauge:
11 sc by 13 rows equals a four inch square
Abbreviations:
ch=chain, hdc=half double crochet, sl=slip, st(s)=stitch(es), sc=single crochet, 2 sc= work two single crochet in designated stitch, sc2tog=single crochet two together, fsc=foundation single crochet
Notes:
-ch’s at beginning of rounds/rows do not count as sts
-this hat fits an average adult women’s size head, the back side is a slouchy-beret style, with a bill front and decorative strap/buckle
-the textured effect shows up on the back side of your work
-hat is worked from top-down
Pattern:
Round 1) make magic circle, ch 1, work [hdc, sl st] 5 times into the circle, join to first st with sl st (10 total sts)
Round 2) ch 1, work 2 sc in each st around, join to first st with sl st (20 total sts)
Round 3) ch 1, [hdc, sl st] around, join to first st with sl st (20 total sts)
Round 4) ch 1, [2 sc, sc] around, join to first st with sl st (30 total sts)
Round 5) repeat round 3 instructions (30 total sts)
Round 6) ch 1, [2 sc, sc in next two sts] around, join to first st with sl st (40 total sts)
Round 7) repeat round 3 instructions (40 total sts)
Round 8) ch 1, [2 sc, sc in next three sts] around, join to first st with sl st (50 total sts)
Round 9) repeat round 3 instructions (50 total sts)
Round 10) ch 1, [2 sc, sc in next four sts] around, join to first st with sl st (60 total sts)
Round 11) repeat round 3 instructions (60 total sts)
Round 12) ch 1, [2 sc, sc in next five sts] around, join to first st with sl st (70 total sts)
Round 13) repeat round 3 instructions (70 total sts)
Round 14) ch 1, sc around, join to first st with sl st (70 total sts)
Round 15) ch 1, [hdc, sl st] around, join to first st with sl st (70 total sts)
Rounds 16-21) repeat rounds 14 & 15 consecutively (70 total sts)
Round 22) ch 1, [sc2tog, sc in next five sts] around, join to first st with sl st (60 total sts)
Round 23) ch 1, [sc2tog, sc in next four sts] around, join to first st with sl st (50 total sts)
Round 24) ch 1, [sc2tog, sc in next three sts] around, join to first st with sl st (40 total sts)
Round 25) ch 1, sc around, join to first st with sl st (40 total sts)
***now moving onto the bill, do not finish off, just continue where you left off in round 25
Row 1) ch 1, sc in 14 sts
Row 2) ch 1, turn, sc across (14 total sts)
Row 3) ch 1, turn, sc2tog, sc across row until last two sts—sc2tog in last 2 sts (12 total sts)
Row 4) ch 1, turn, sc across (12 total sts)
Row 5) repeat row 4
Row 6) ch 1, turn, sc2tog, sc across row until last two sts—sc2tog in last 2 sts (10 total sts)
***finishing off the hat:
ch 1, and work sc’s all the way around the bottom edge of the hat— going down the left side of the bill where your hook ended row 6, all the way around the back side of the hat, then up the other side of the bill, and across the front of the bill, then join to the first sc worked around the hat edge with a sl st
———Strap———
Row 1) work 72 fsc (I used fsc so the strap wouldn’t be so tight, since it offers more stretch than working ch’s. if you’d rather you can ch 73, then work sc in 2nd ch from hook and across)
Row 2-??) ch 1, turn, sc across row (72 total sts) ***I put ?? in as the amount of rows because the width of your strap will vary on how big your buckle is. Just have the buckle handy while working the strap to see how many rows you will work. I ended up working 3 rows total.
-finish off, and leave long tail to sew the strap on
Assembly:
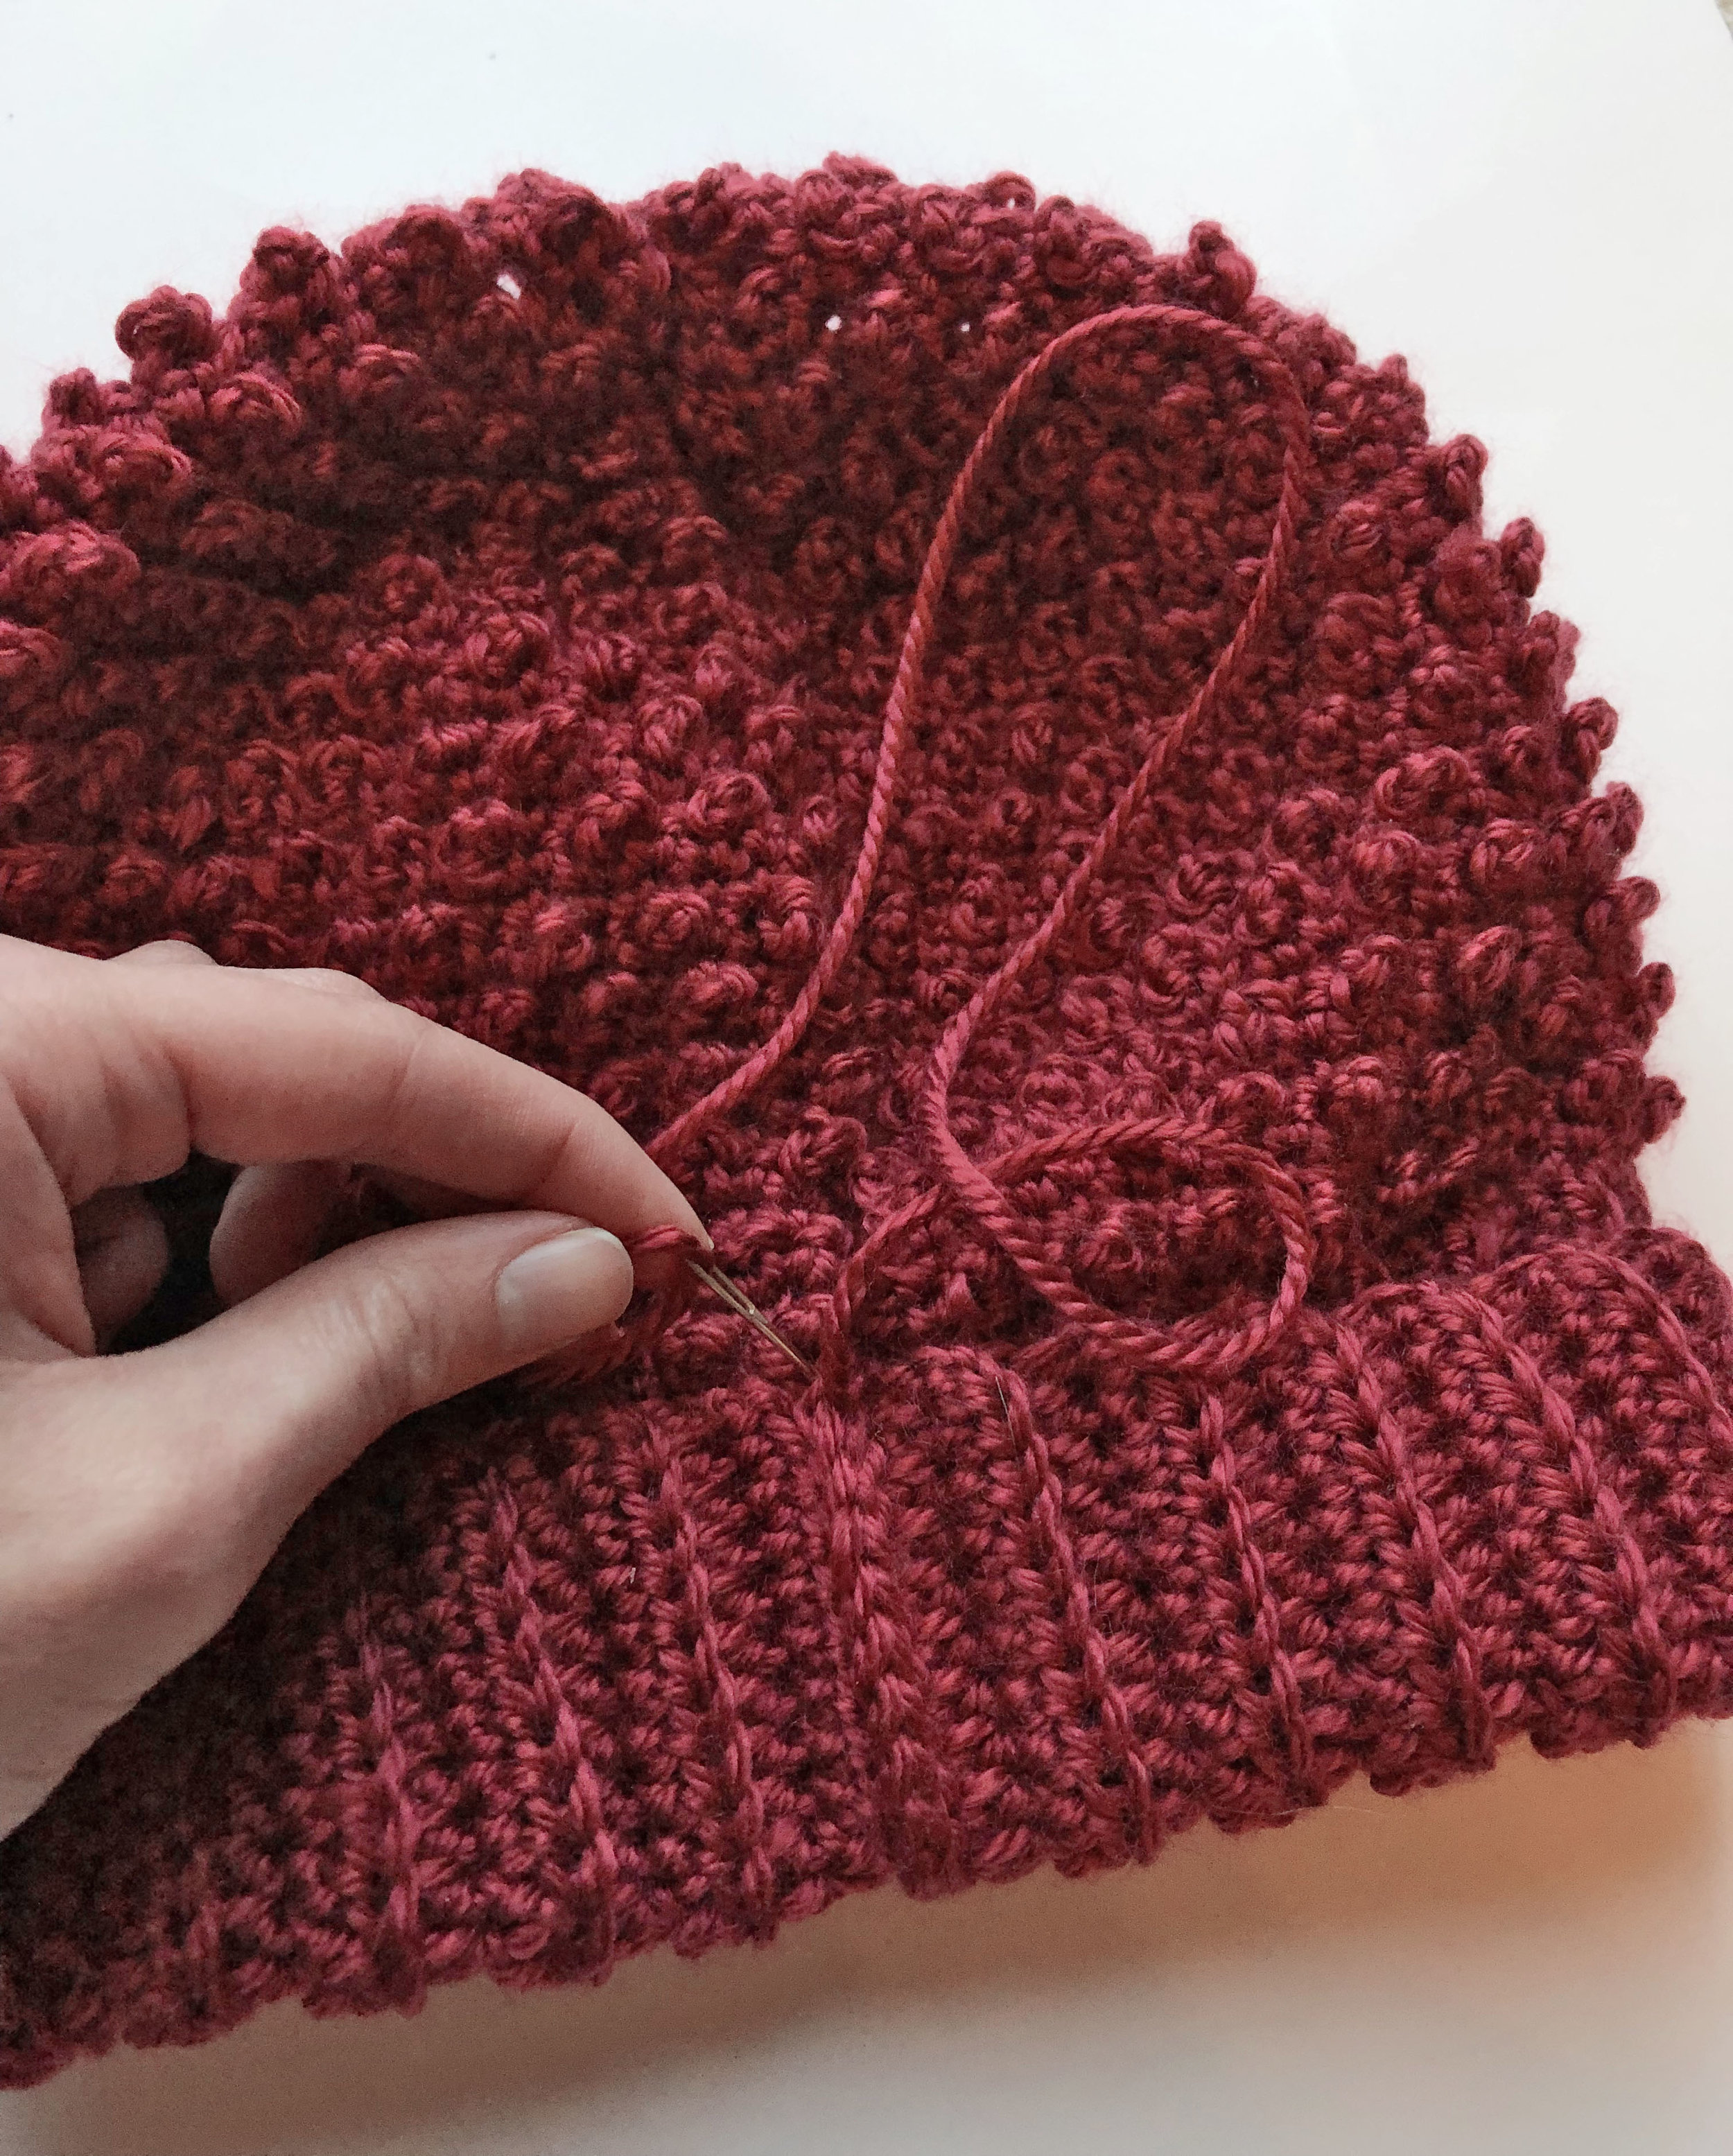
To begin assembly, grab your hat, strap and buckle— plus your yarn needle.
You will sew one end of the strap on the side of your hat. This is where your buckle will be, so you may want to try it on and figure out where you most like the buckle. I put mine just off the edge of the bill. Also, you will be placing the strap along the very edge, I just made sure the bottom round of the hat was visible. I had the strap start on the left side, then go under the bottom side and back up around the right side to the top. Make multiple passes with yarn and needle until secure.
Then you will attach your buckle. Place it right up against the edge of the strap and sew it onto the hat, I went up and around the middle bar of the buckle multiple times to secure.
Now you will sew your strap into place all the way around the hat. I did so by tacking it down every couple of inches by making a couple passes with the needle in the middle of the strap. I didn’t overly sew it though because I didn’t want to lose the texture of the strap. The strap is entirely decorative… you could make it functional by make a few little straps (like belt loops) around the hat to hold the big strap in place.
Lastly run the other free end of your strap through the buckle. After that, weave in ends and your hat is done!
What a neat little hat! I’m a big fan of this one, and see myself wearing it a lot in the colder months. If you make one yourself, be sure to tag me over on Instagram, I love admiring your finished Megmade projects!!
Happy hookin’
Meg


