


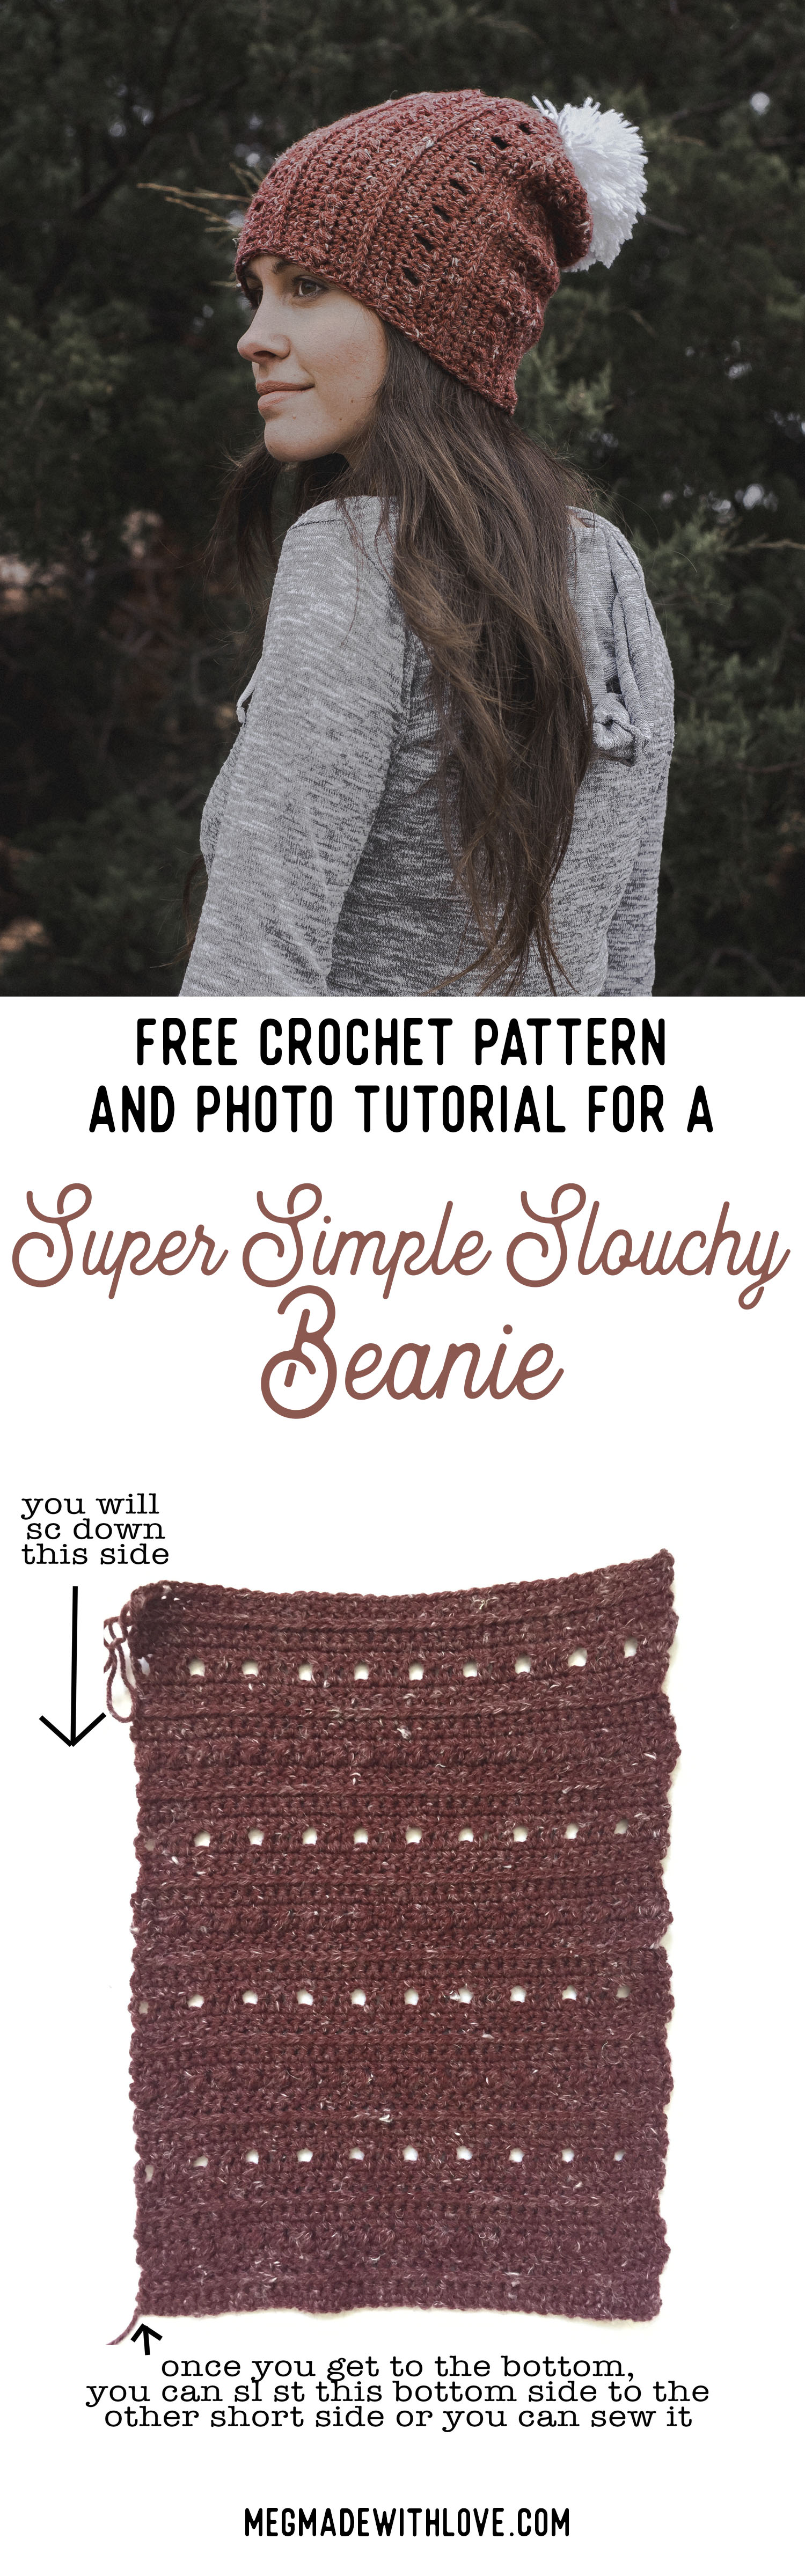
Free Crochet Pattern for a Super Simple & Slouchy Beanie
/
***You can find the PDF version of this crochet pattern in my shop by clicking here. Great for easy printing!***
I've got an incredibly simple and cute little hat pattern I'm sharing with you today!
And when I say simple, I'm not lyin'... This thing is essentially a rectangle turned into a hat by a little bit of sewing. It's kinda like magic.

It's designed to be a slouchy hat, with the option of folding a little brim if you'd rather it fit like a normal beanie.

This hat is designed to fit a women's head, but can be easily customized to fit all head shapes. You can alter the width of the hat by increasing/decreasing the amount of rows worked. And adding/taking away multiples of four sts you can adjust the length of the hat.

The yarn I used for this cap was Yarn Bee Rustic Romantic, and let me tell ya.. this yarn is the bee's knees. I was joking over on Instagram that this yarn was my spirit yarn. ha! I think the tweed aspect of it is what makes my heart go pitter patter. And the color options they have-- oh man! It's found at Hobby Lobby, click here to see the cute color options.

I'm also in love with the different textures of this beanie. In the pattern, I use a stitch I call a "mini puff stitch" which is kinda like a mini bean stitch, and it adds a unique look to the hat. I'm kinda curious to see how this hat would work up like using different yarns. Maybe another, more simple yarn may accentuate the textured stitches better. I may have to try that out!
What you'll need:
Worsted (4) weight yarn (about 200-250 yards. I used Yarn Bee Rustic Romantic in Red Roads)
Size i hook (5.5 mm)
yarn needle
Measurements:
Finished beanie without pom is approximately 10" tall by 8.5" wide
Gauge:
14 sc by 17 rows equals a four-inch square
Notes:
-ch's at beginning of rows do not count as sts
-Like I said above, you can alter the size of the beanie as follows:
add/take away sts in multiples of four to alter the length
add/take away rows to alter the width of the hat
-if you'd rather not have holes in your hat, you could always substitute those rows with the mini puff stitch rows!
-for this pattern I use a stitch, that I'm not quite sure exists, but for the sake of this pattern I'm going to call it a "mini puff stitch", or "mps". It's really just a smaller version of the puff stitch. This is how you work that stitch:
mps: yo, insert hook into designated st, yo and draw back through, yo, insert hook into same st again, yo and draw back through. Now there are five loops on the hook. Yo, and draw through all five loops on hook.
-it should also be noted that the mps show up on the opposite side of the piece as you work them.
Pattern:
Row 1) ch 41, sc in 2nd ch from hook, and across (40 total sts and from here on out)
Rows 2-3) ch 1, turn, sc across
Row 4) ch 2, turn, fpdc across
Rows 5) ch 1, turn, sc across
Row 6) ch 1, turn, [mps (see notes for description), sc], repeat [ ] across (the last st will be a sc)
Rows 7-9) ch 1, turn, sc across
Row 10) ch 2, turn, fpdc across
Rows 11) ch 1, turn, sc across
Row 12) ch 3 (one of these ch's count as a "ch 1" sp), sk first st, dc into next 3 sts [ch 1, sk st, dc into next 3 sts], repeat [ ] across (10 total "ch 1's", 30 total dc's)
Rows 13) ch 1, turn, sc across
Rows 14-49) Repeat rows 2-13 three times
Rows 50-51) ch 1, turn, sc across
Row 52) ch 2, turn, fpdc across
Row 53) ch 1, turn, sc across
Now you will sc across the side of your rectangle- the one closest to your hook. This is so the edge that will be on the bottom of your hat looks nice and neat. See pic below:
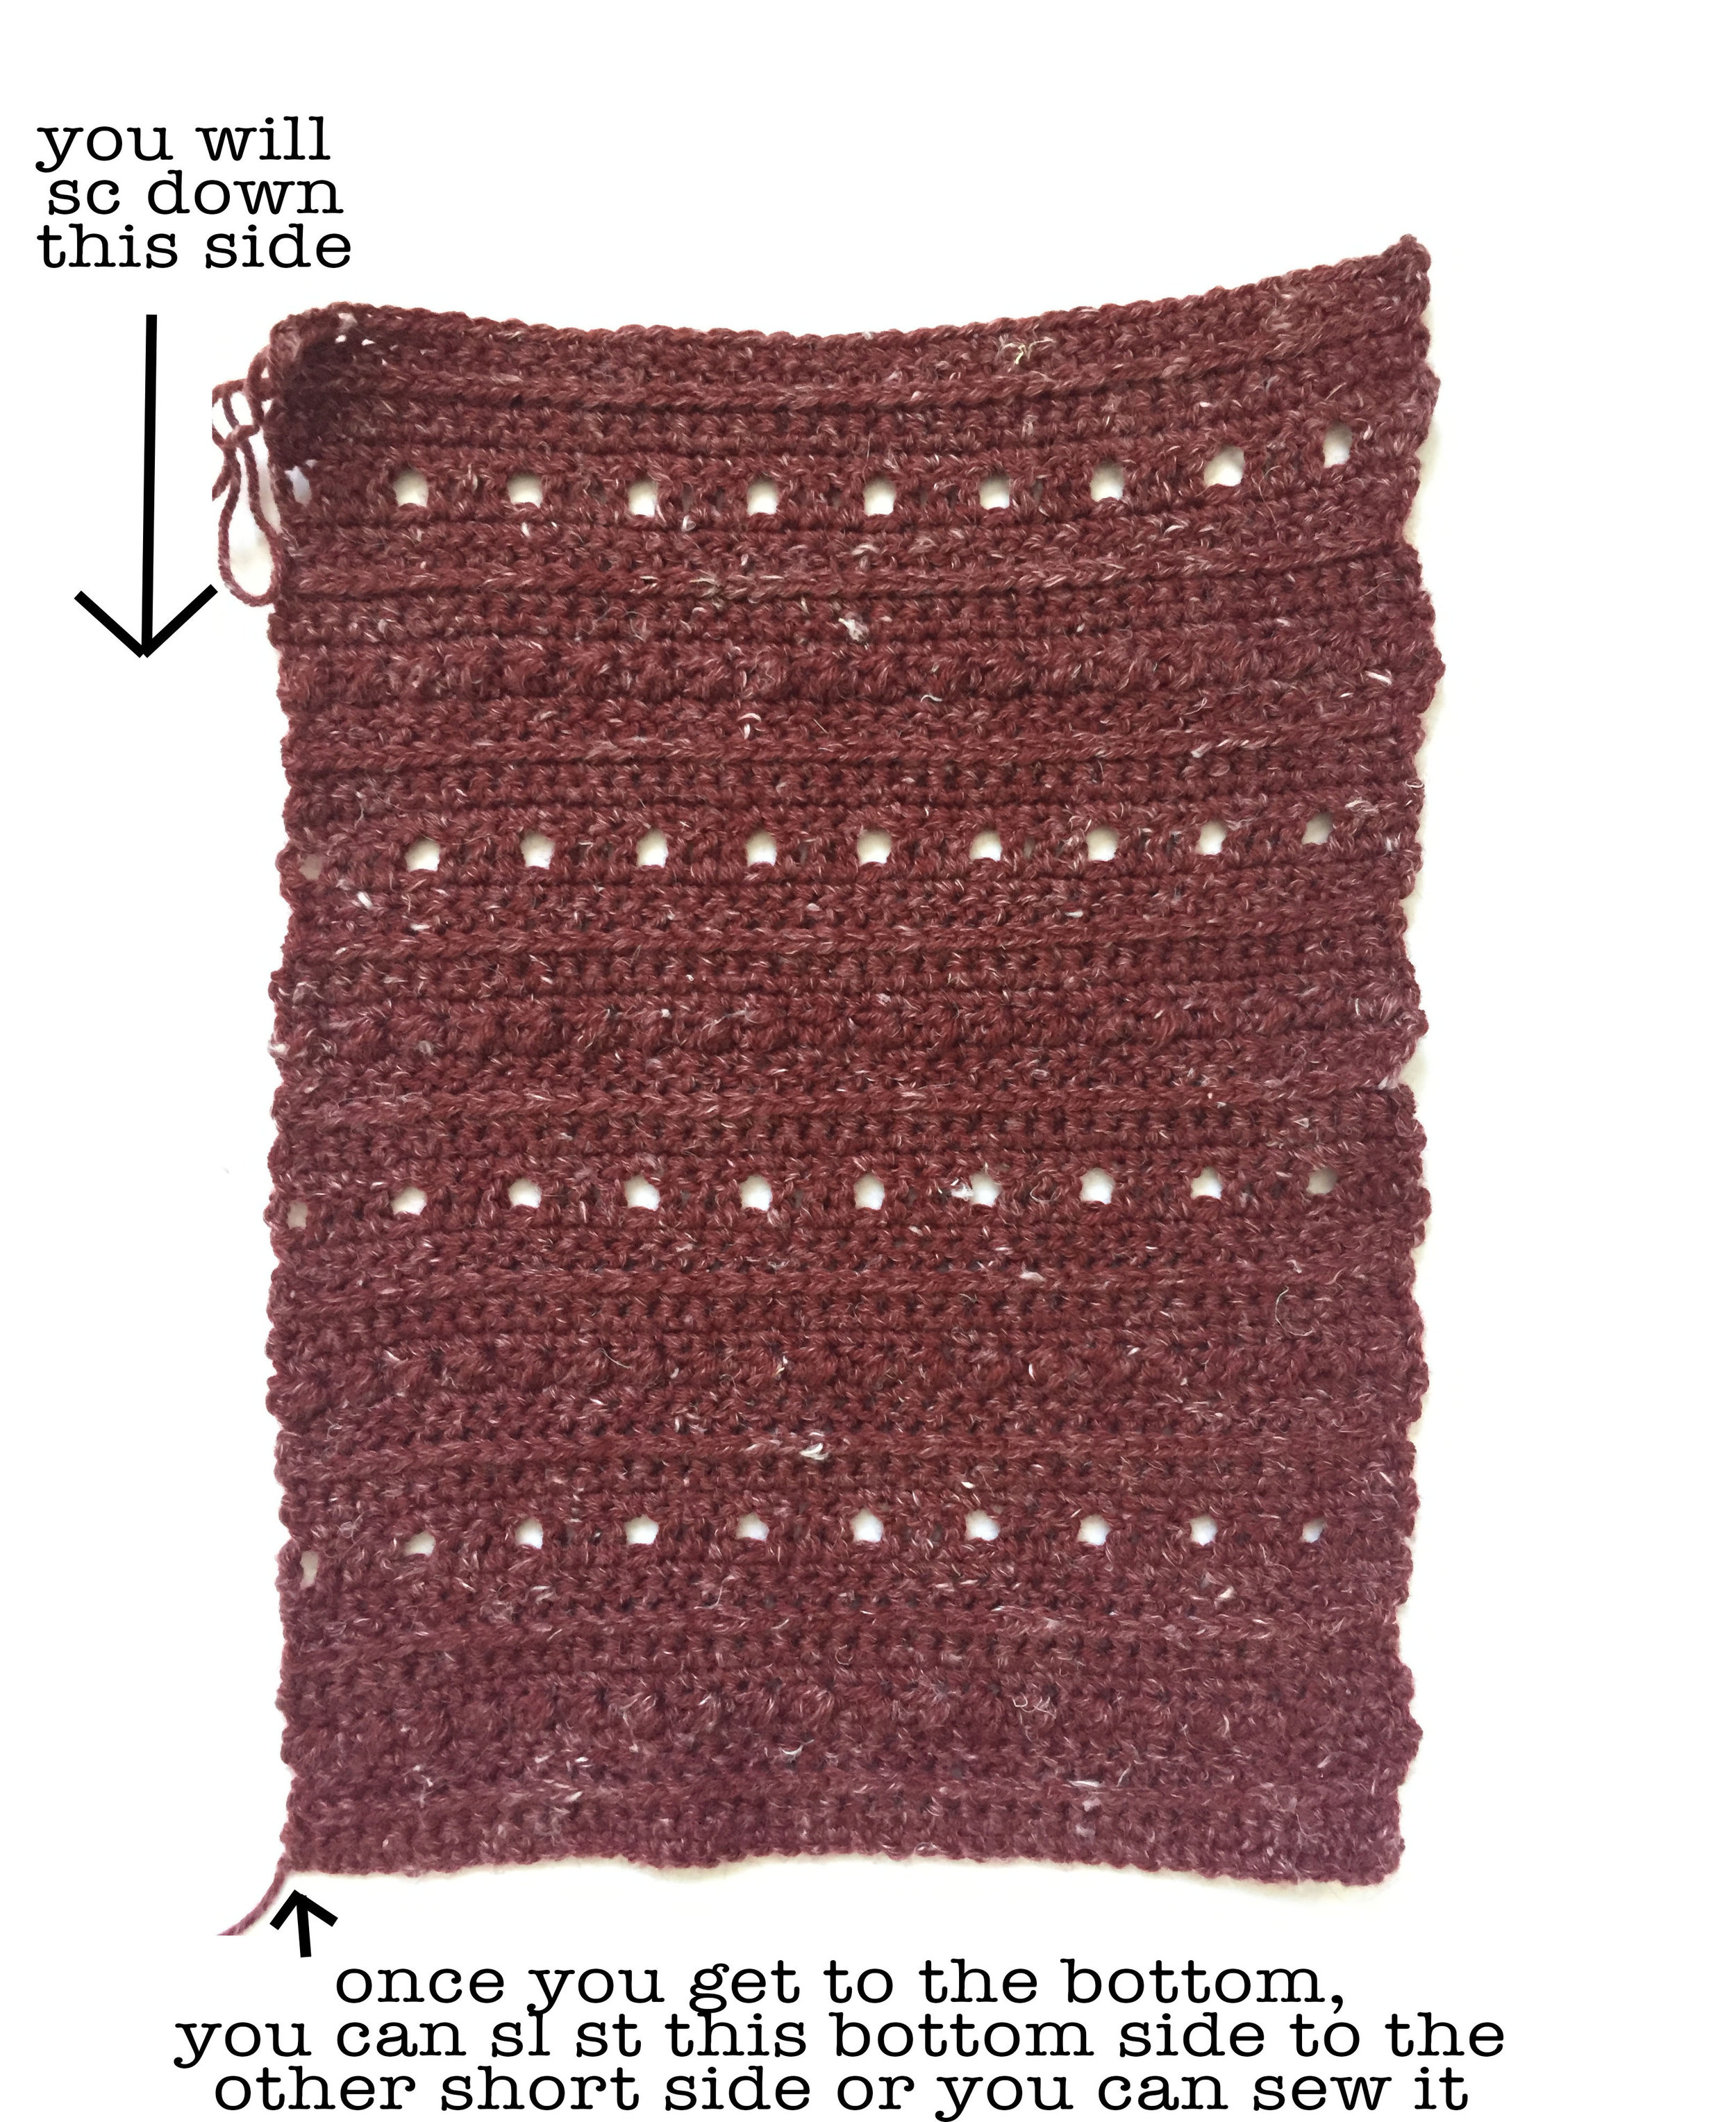
ch 1, and sc down the left side of your work. Work 1 sc into the side of each row, except on the side of the dc/ch 1 rows you will work 2 sc's.

Once you get to the bottom of the side of your rectangle, you can either finish off and sew the two short ends together with your yarn tail or you can sl st the short ends together. Make sure to fold over the rectangle with RIGHT sides on the inside.

Above is what it looks like as you slip stitch across the two short sides to connect them. You are sl st'ing row 1 to row 53.
Once those are joined, you can finish off and leave a long tail to cinch closed the top of your hat. Remember the bottom of your hat has the sc's along the side that created the even edge.
To cinch the top of your hat closed, you will take your yarn tail and yarn needle, and weave in and out along the very top, making a running stitch. Be sure to take long strides with your needle so it is easy to close the hat. You will make a loose running stitch all the way around the top of your hat.

Once you've made it all the way around the top, pull on your yarn to gather it closed!
Then you can tie a couple of knots to secure the top. You can also use this tail to sew on your pom if you'd like to add one, then weave in the ends & your beanie is complete!!
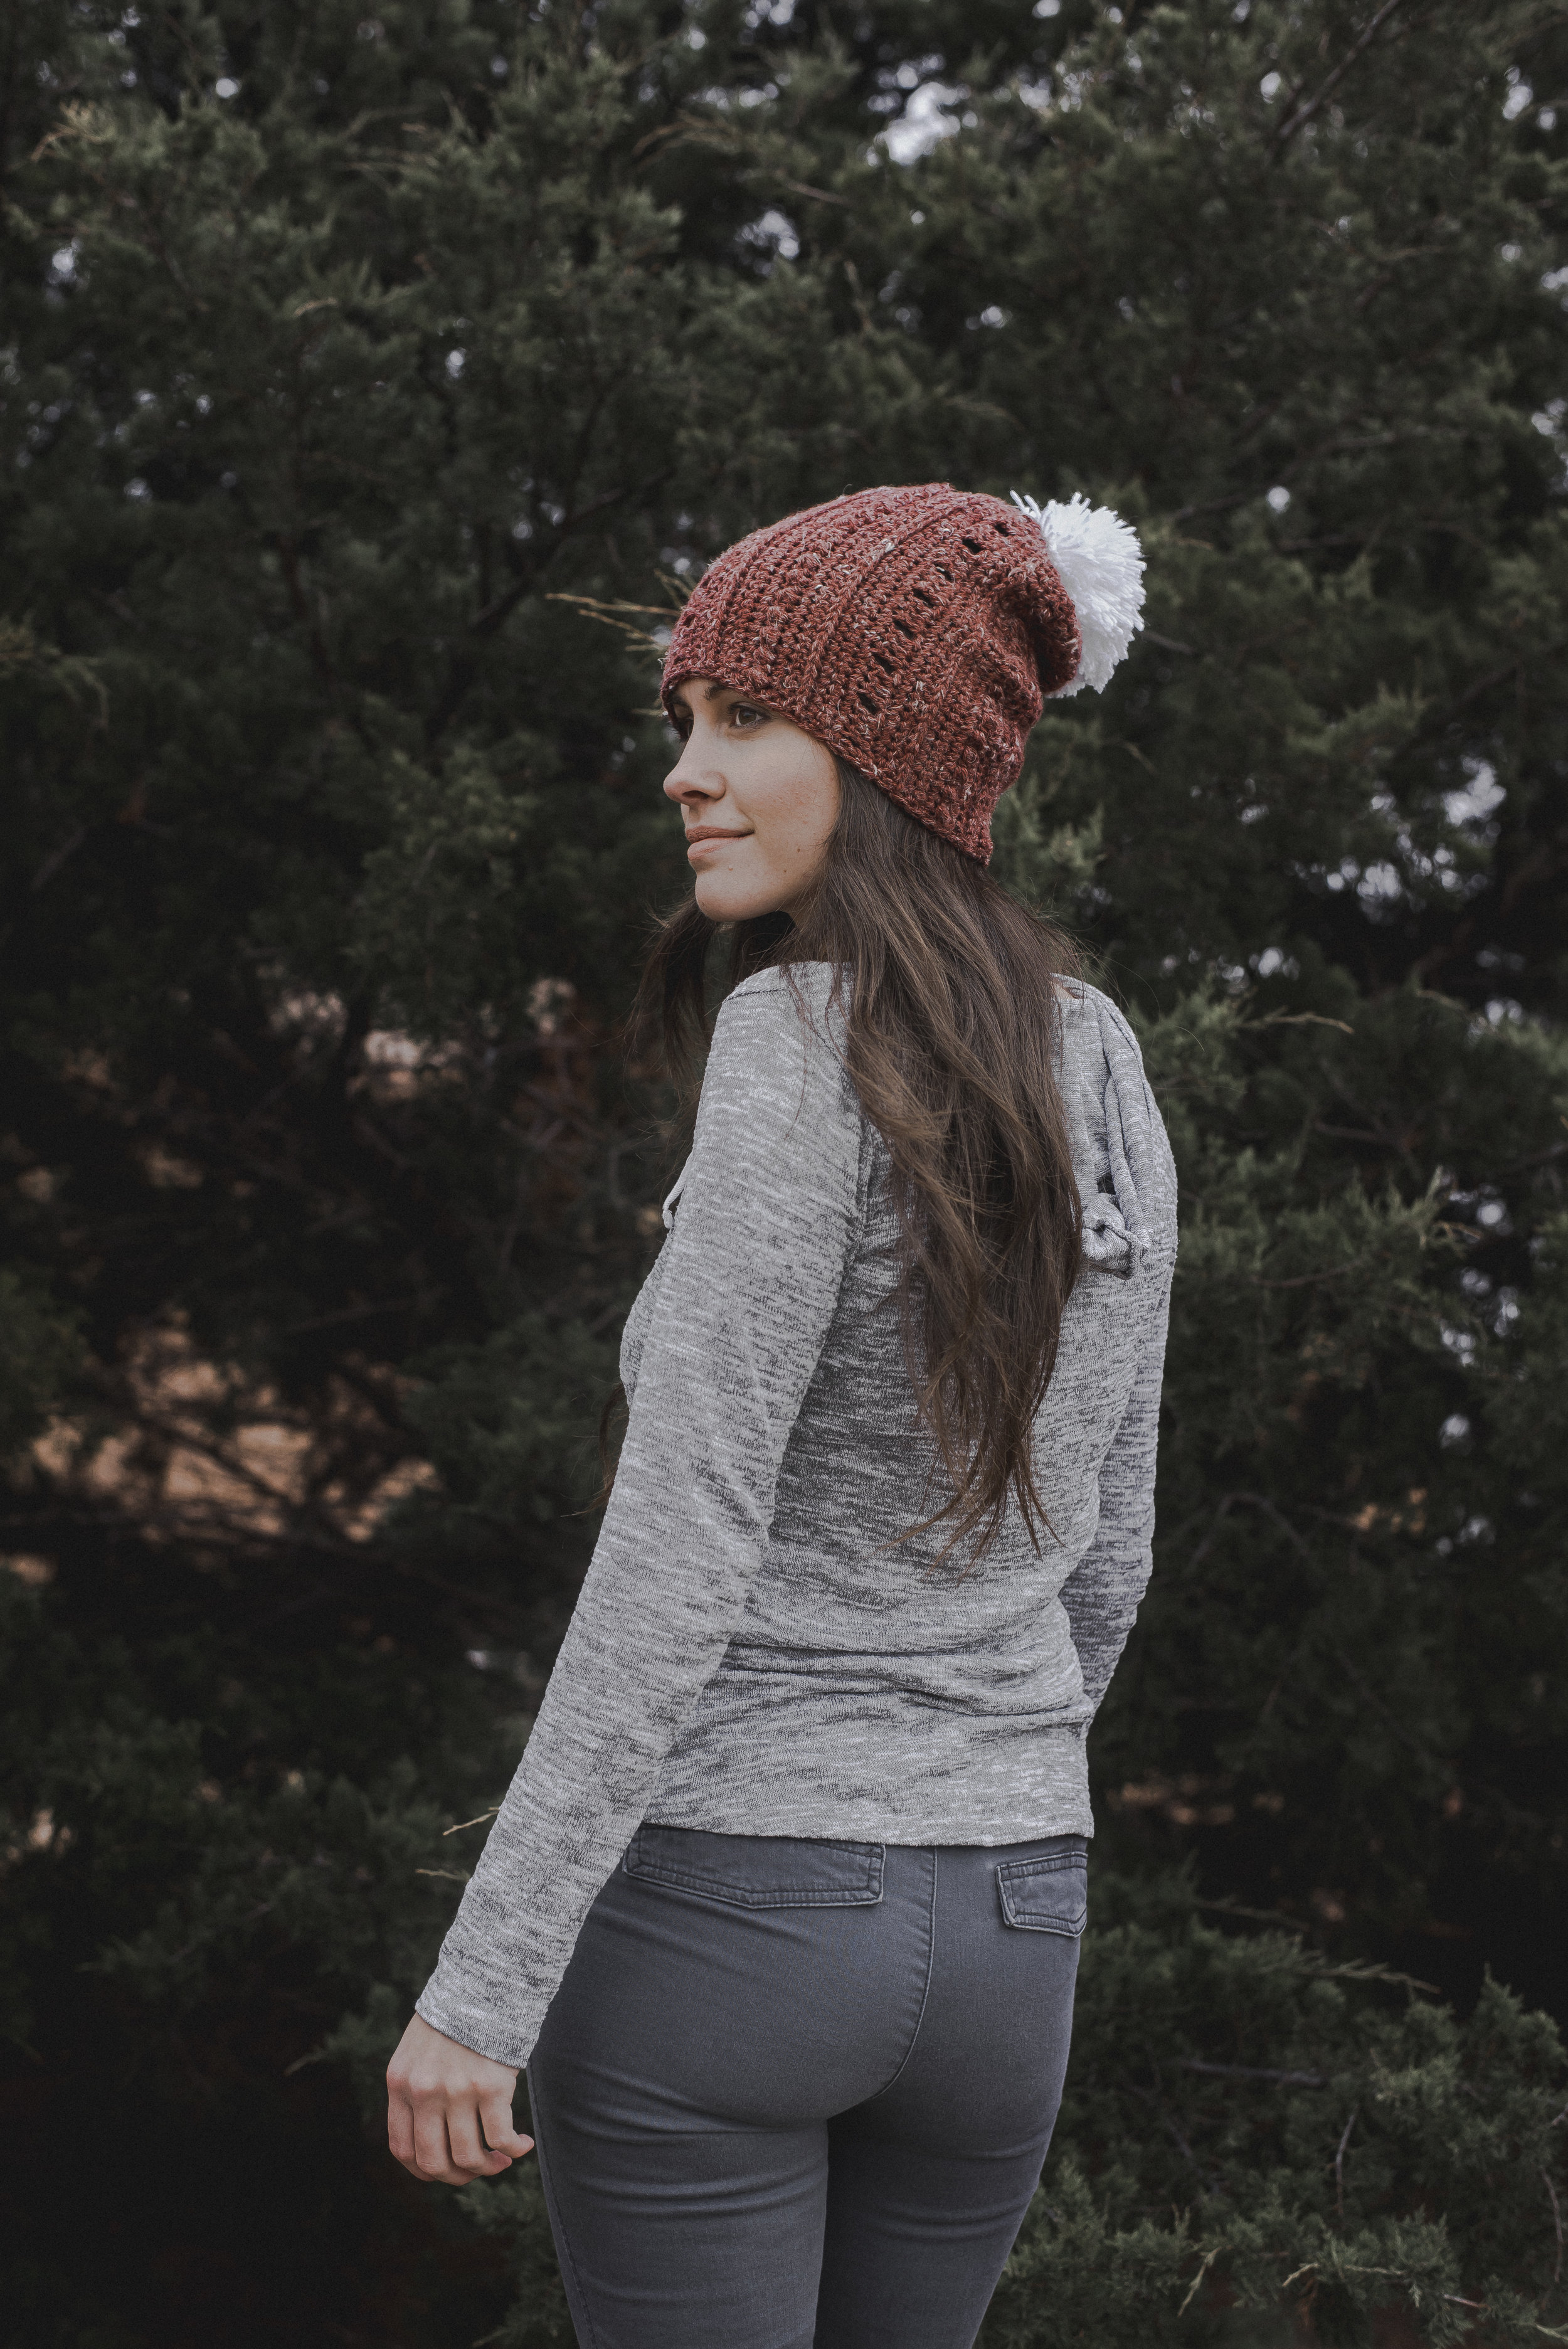
Wasn't that beanie just a piece of cake?! And oh so textured and cute.
I'd love to see your beanie if you end up finishing one.. Especially if your yarn really accentuates the texture goodness. Tag me over on Insta-- It brings me great joy to see your projects!
Happy making my friends,
Meg


