Free Crochet Pattern and Tutorial for Zippered Pouches
/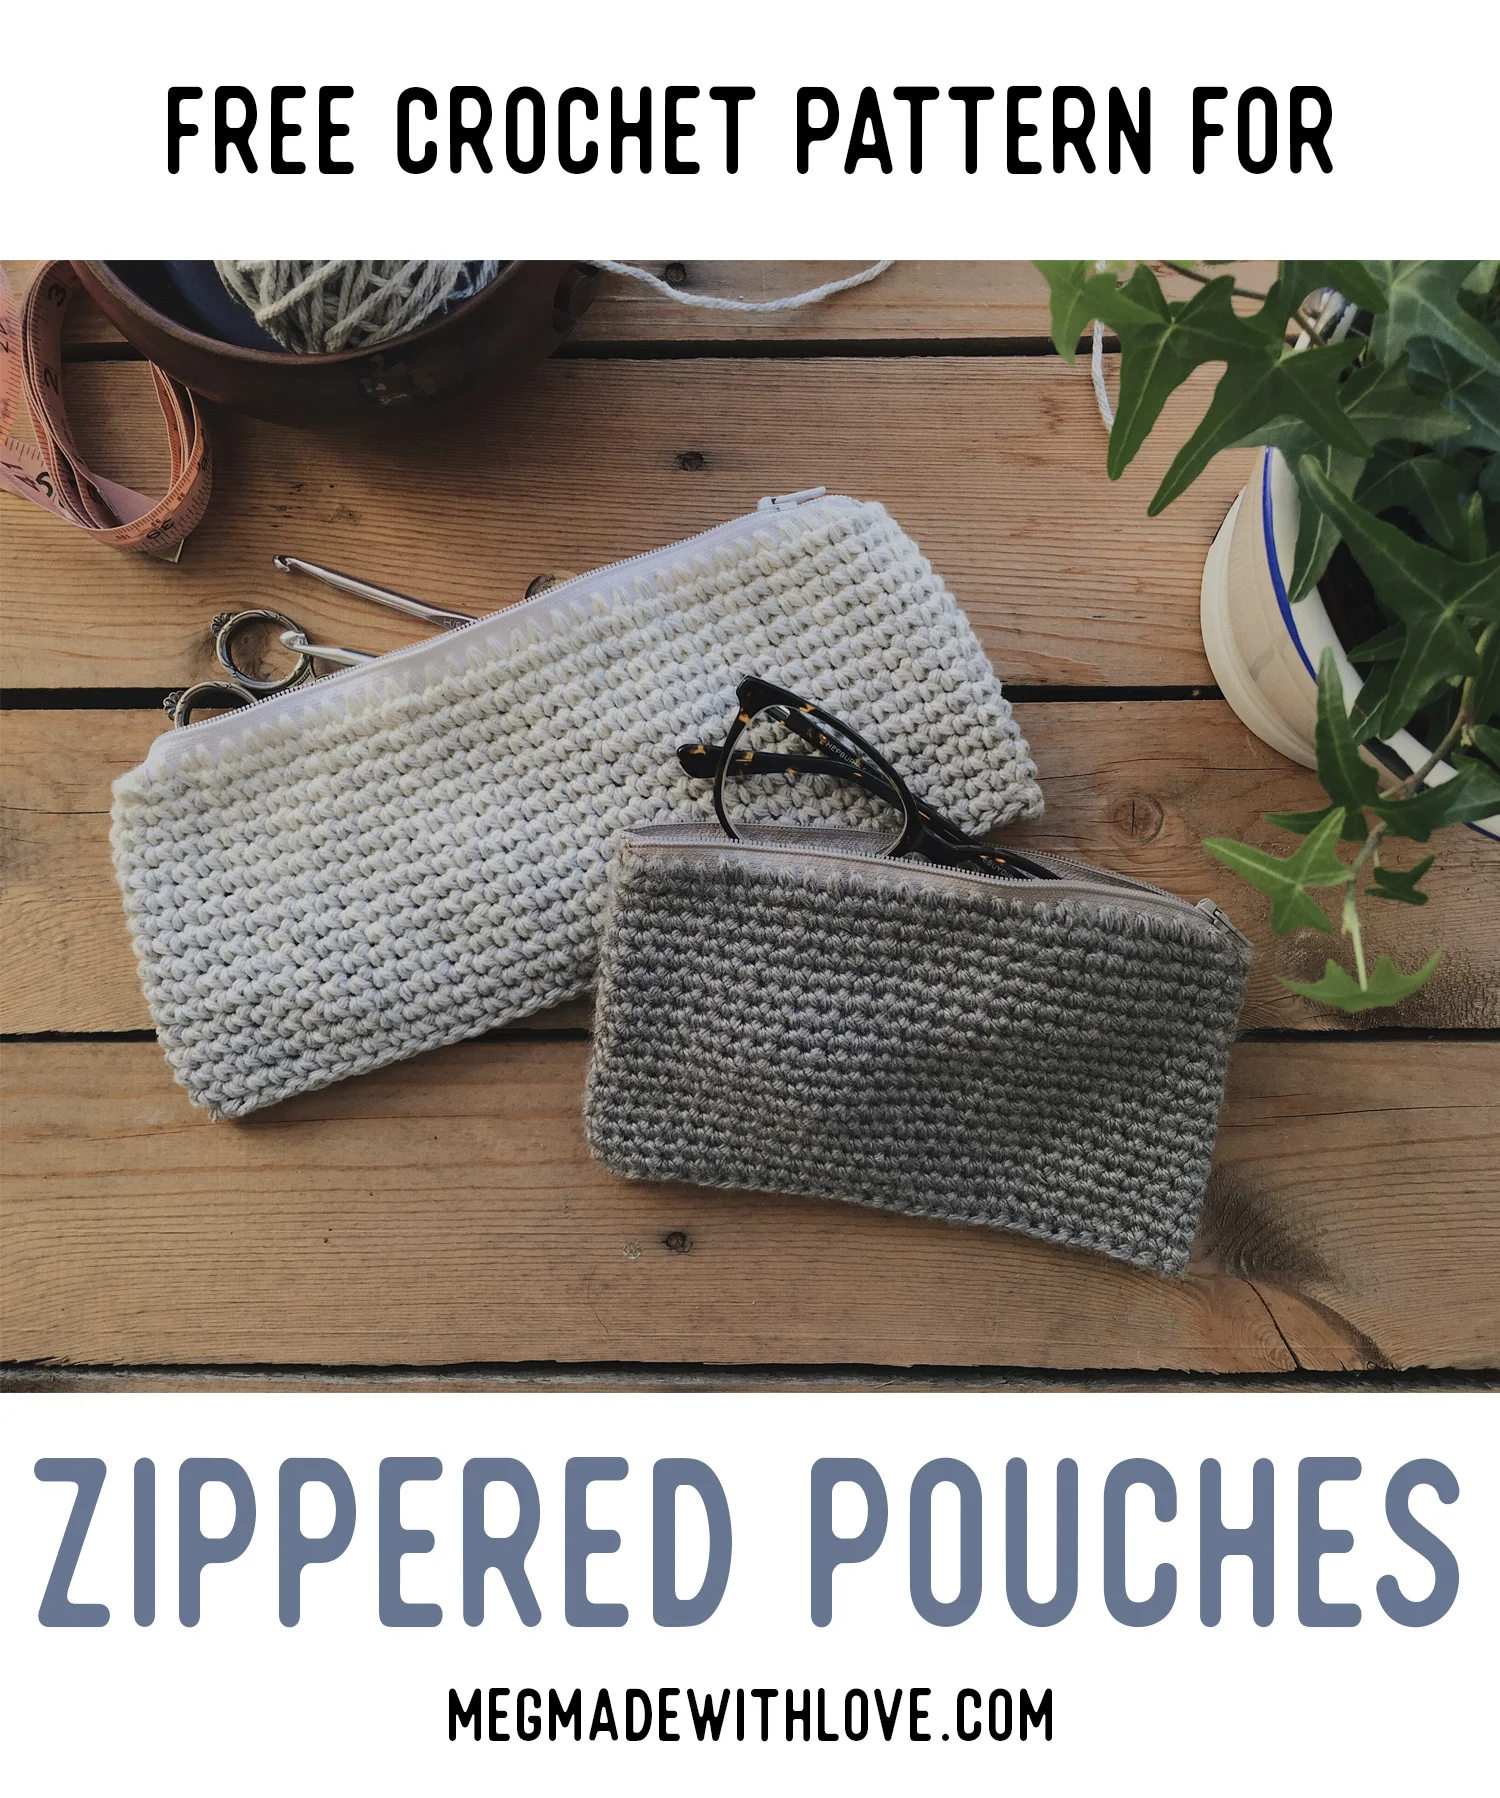
Today's pattern/tutorial is a quick and incredibly easy one. It's for a cool little pouch that zippers closed, perfect for toting around spare hooks, pencils, glasses or even for makeup. I made a couple of them using different lengths of zippers... and these things are so darn easy to customize. The pouch is worked first into the zipper, then down-- making it a piece of cake to assemble. And I took lots of photos to help you make one of these for yourself!
The first one I made was actually inspired by my cousin who visited recently. She had this really sad box of colored pencils she was toting around for her journaling that was about to completely fall apart, so I thought I'd make her some sort of pouch for her to put those in.

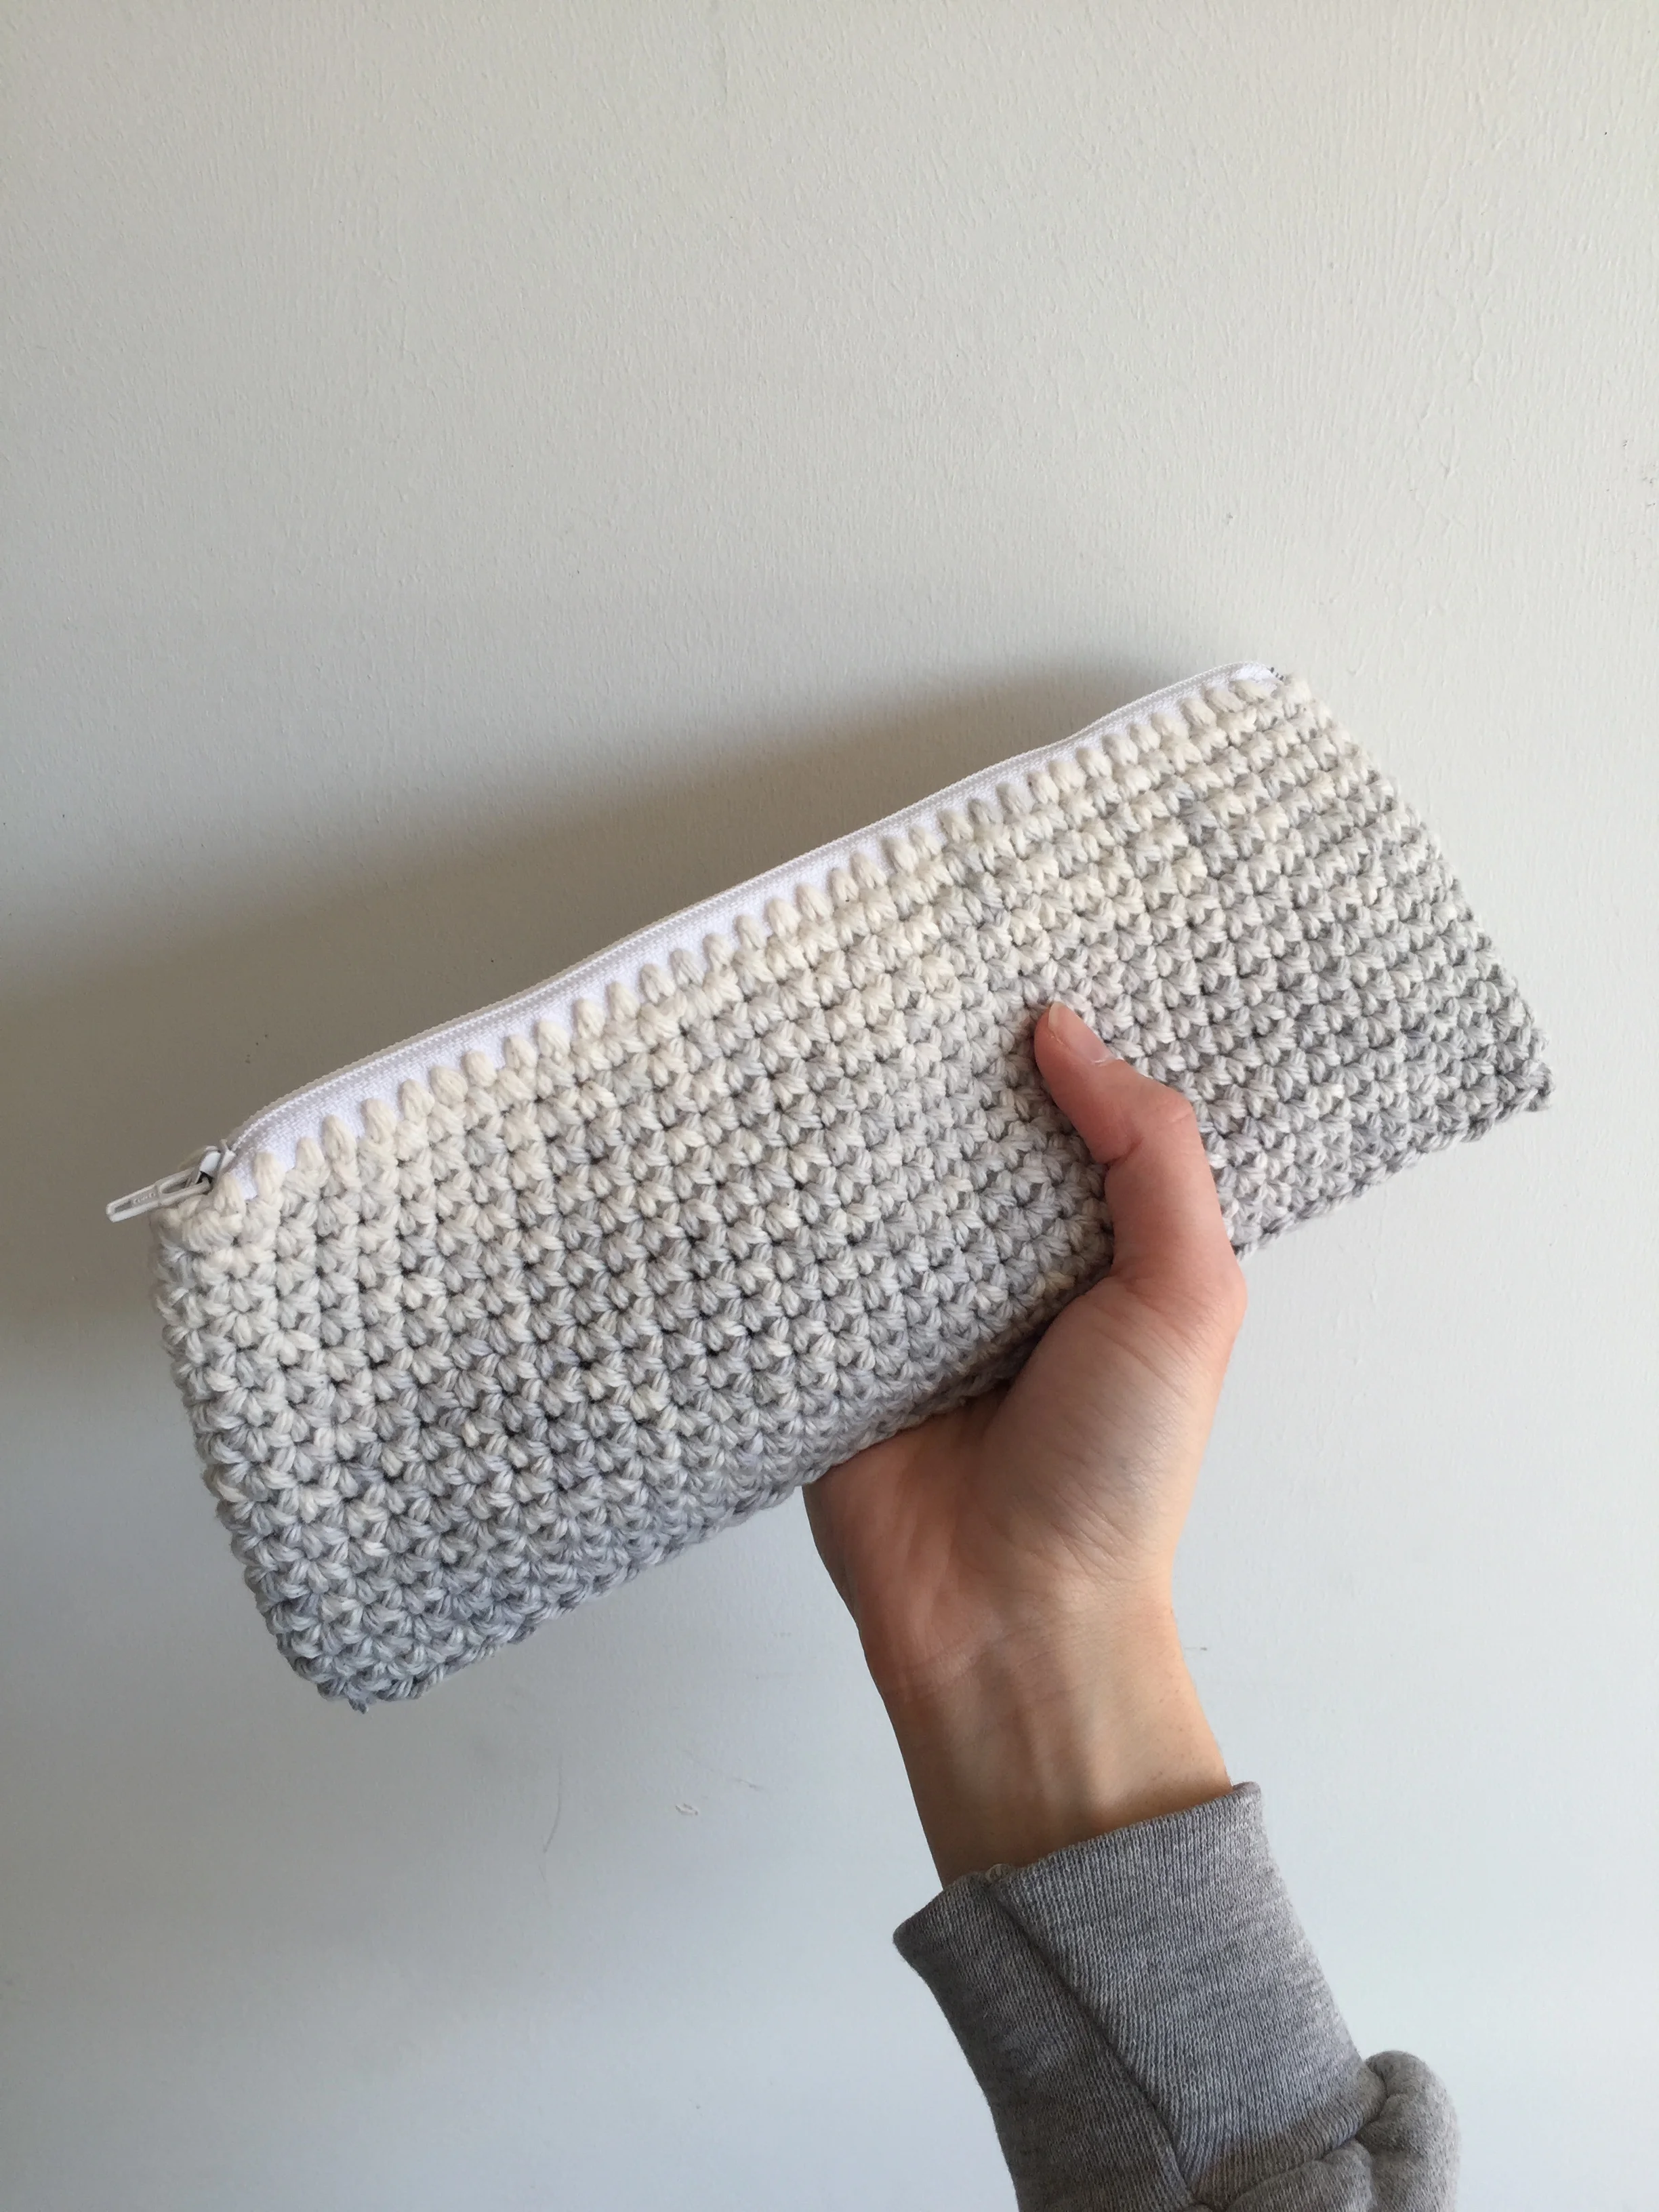
I used this yarn I made last summer that was ombre dyed with black beans (see post here). I do wish that I was able to use more of it so you could see the darker color of blue on the bottom, but I didn't want to make it too big. I'm still really happy with how it turned out though, I'm mailing it to her this week!
I was thinking on the smaller pouch I would put it in my purse for my chapstick and lip stuffs. The possibilities are endless with these bags!
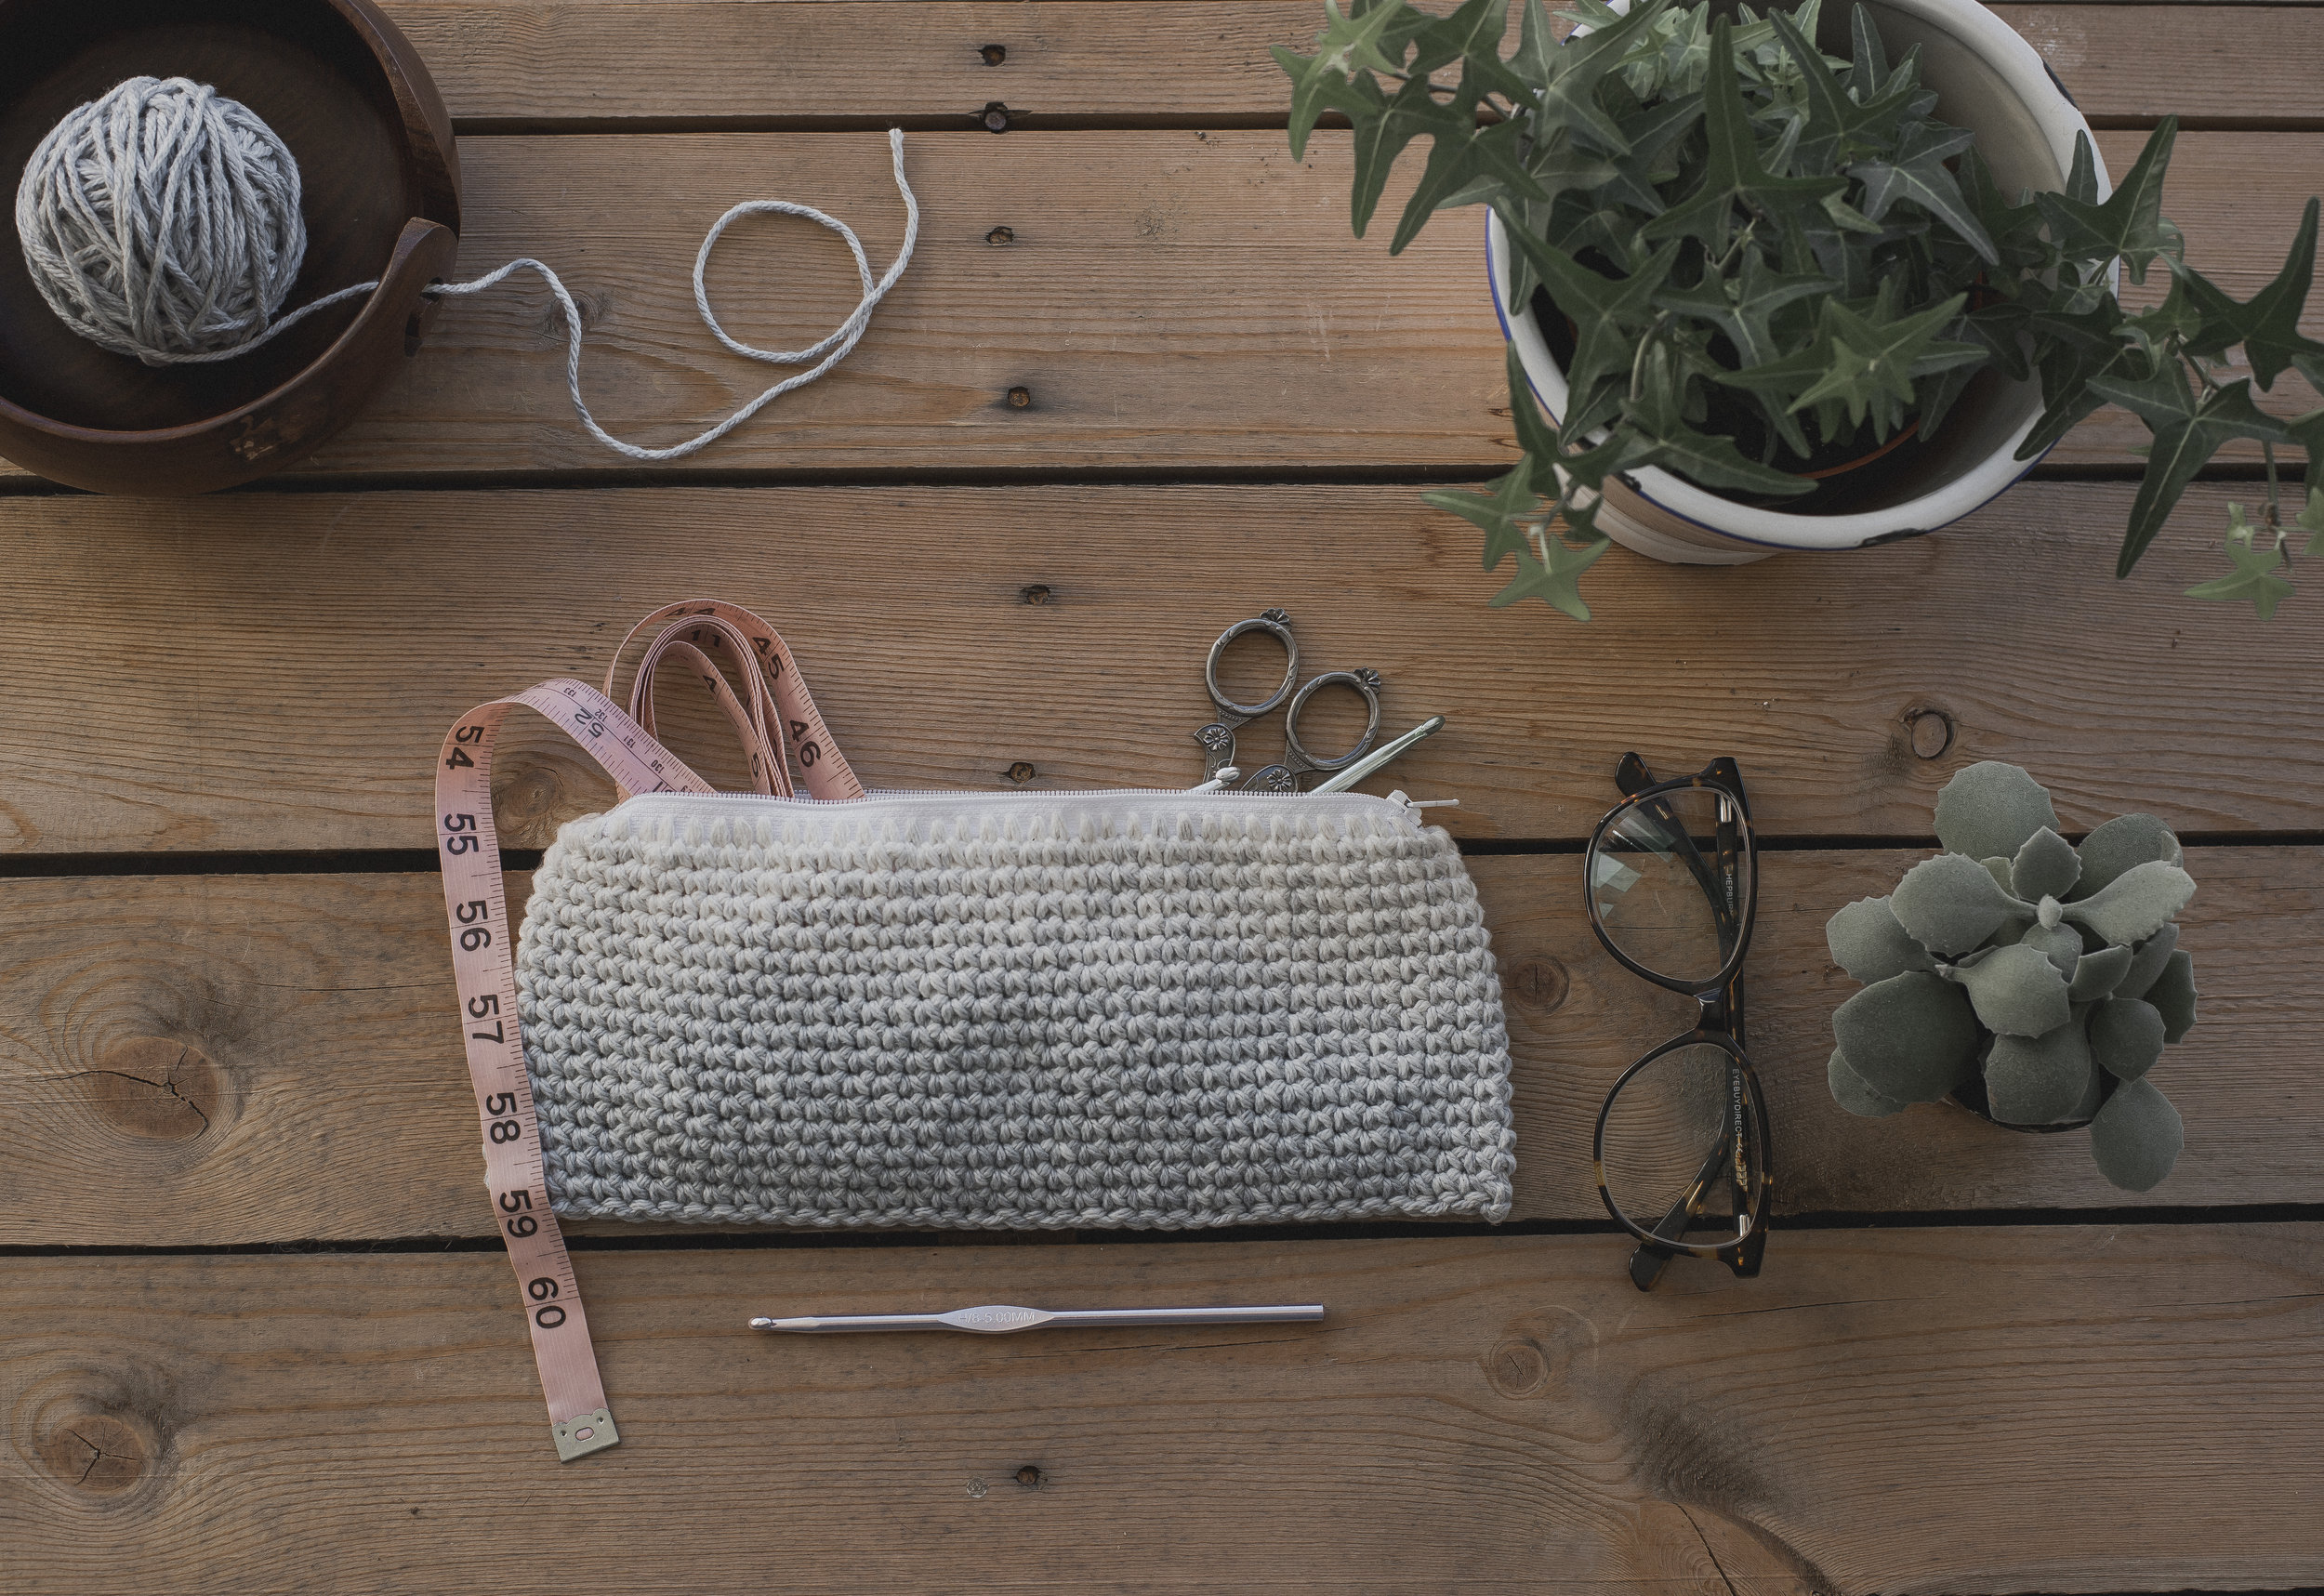
What you'll need:
-worsted weight (4) yarn (I used both cotton and acrylic but definitely preferred the cotton for this project. I used Peaches & Creme that was dyed with black beans and Caron Simply Soft in Soft Heather Gray)
-small and pointy hook to work into the zipper with. Mine was a 2 mm hook
-size h hook (5 mm)
-polyester zipper, any length will work. I used both 9 and 7 inch zipper
-pen and ruler
-stitch marker
-yarn needle
Notes:
-pouch is worked from the zipper down, making it very easy to assemble.
-the small hook needs to be pointy so it's easier to work into the fabric of the zipper
-once the initial row worked into the zipper is complete, you will work the rest of the pouch in continuous rounds.

I found my zipper at Walmart, along with the cotton yarn that was ombre dyed (see how I did that here). Like I mentioned above you can use any length of zipper you wish. It's very easy to customize these pouches to the size you'd like them to be. My ombre pouch was a 9" zipper and the gray was 7".

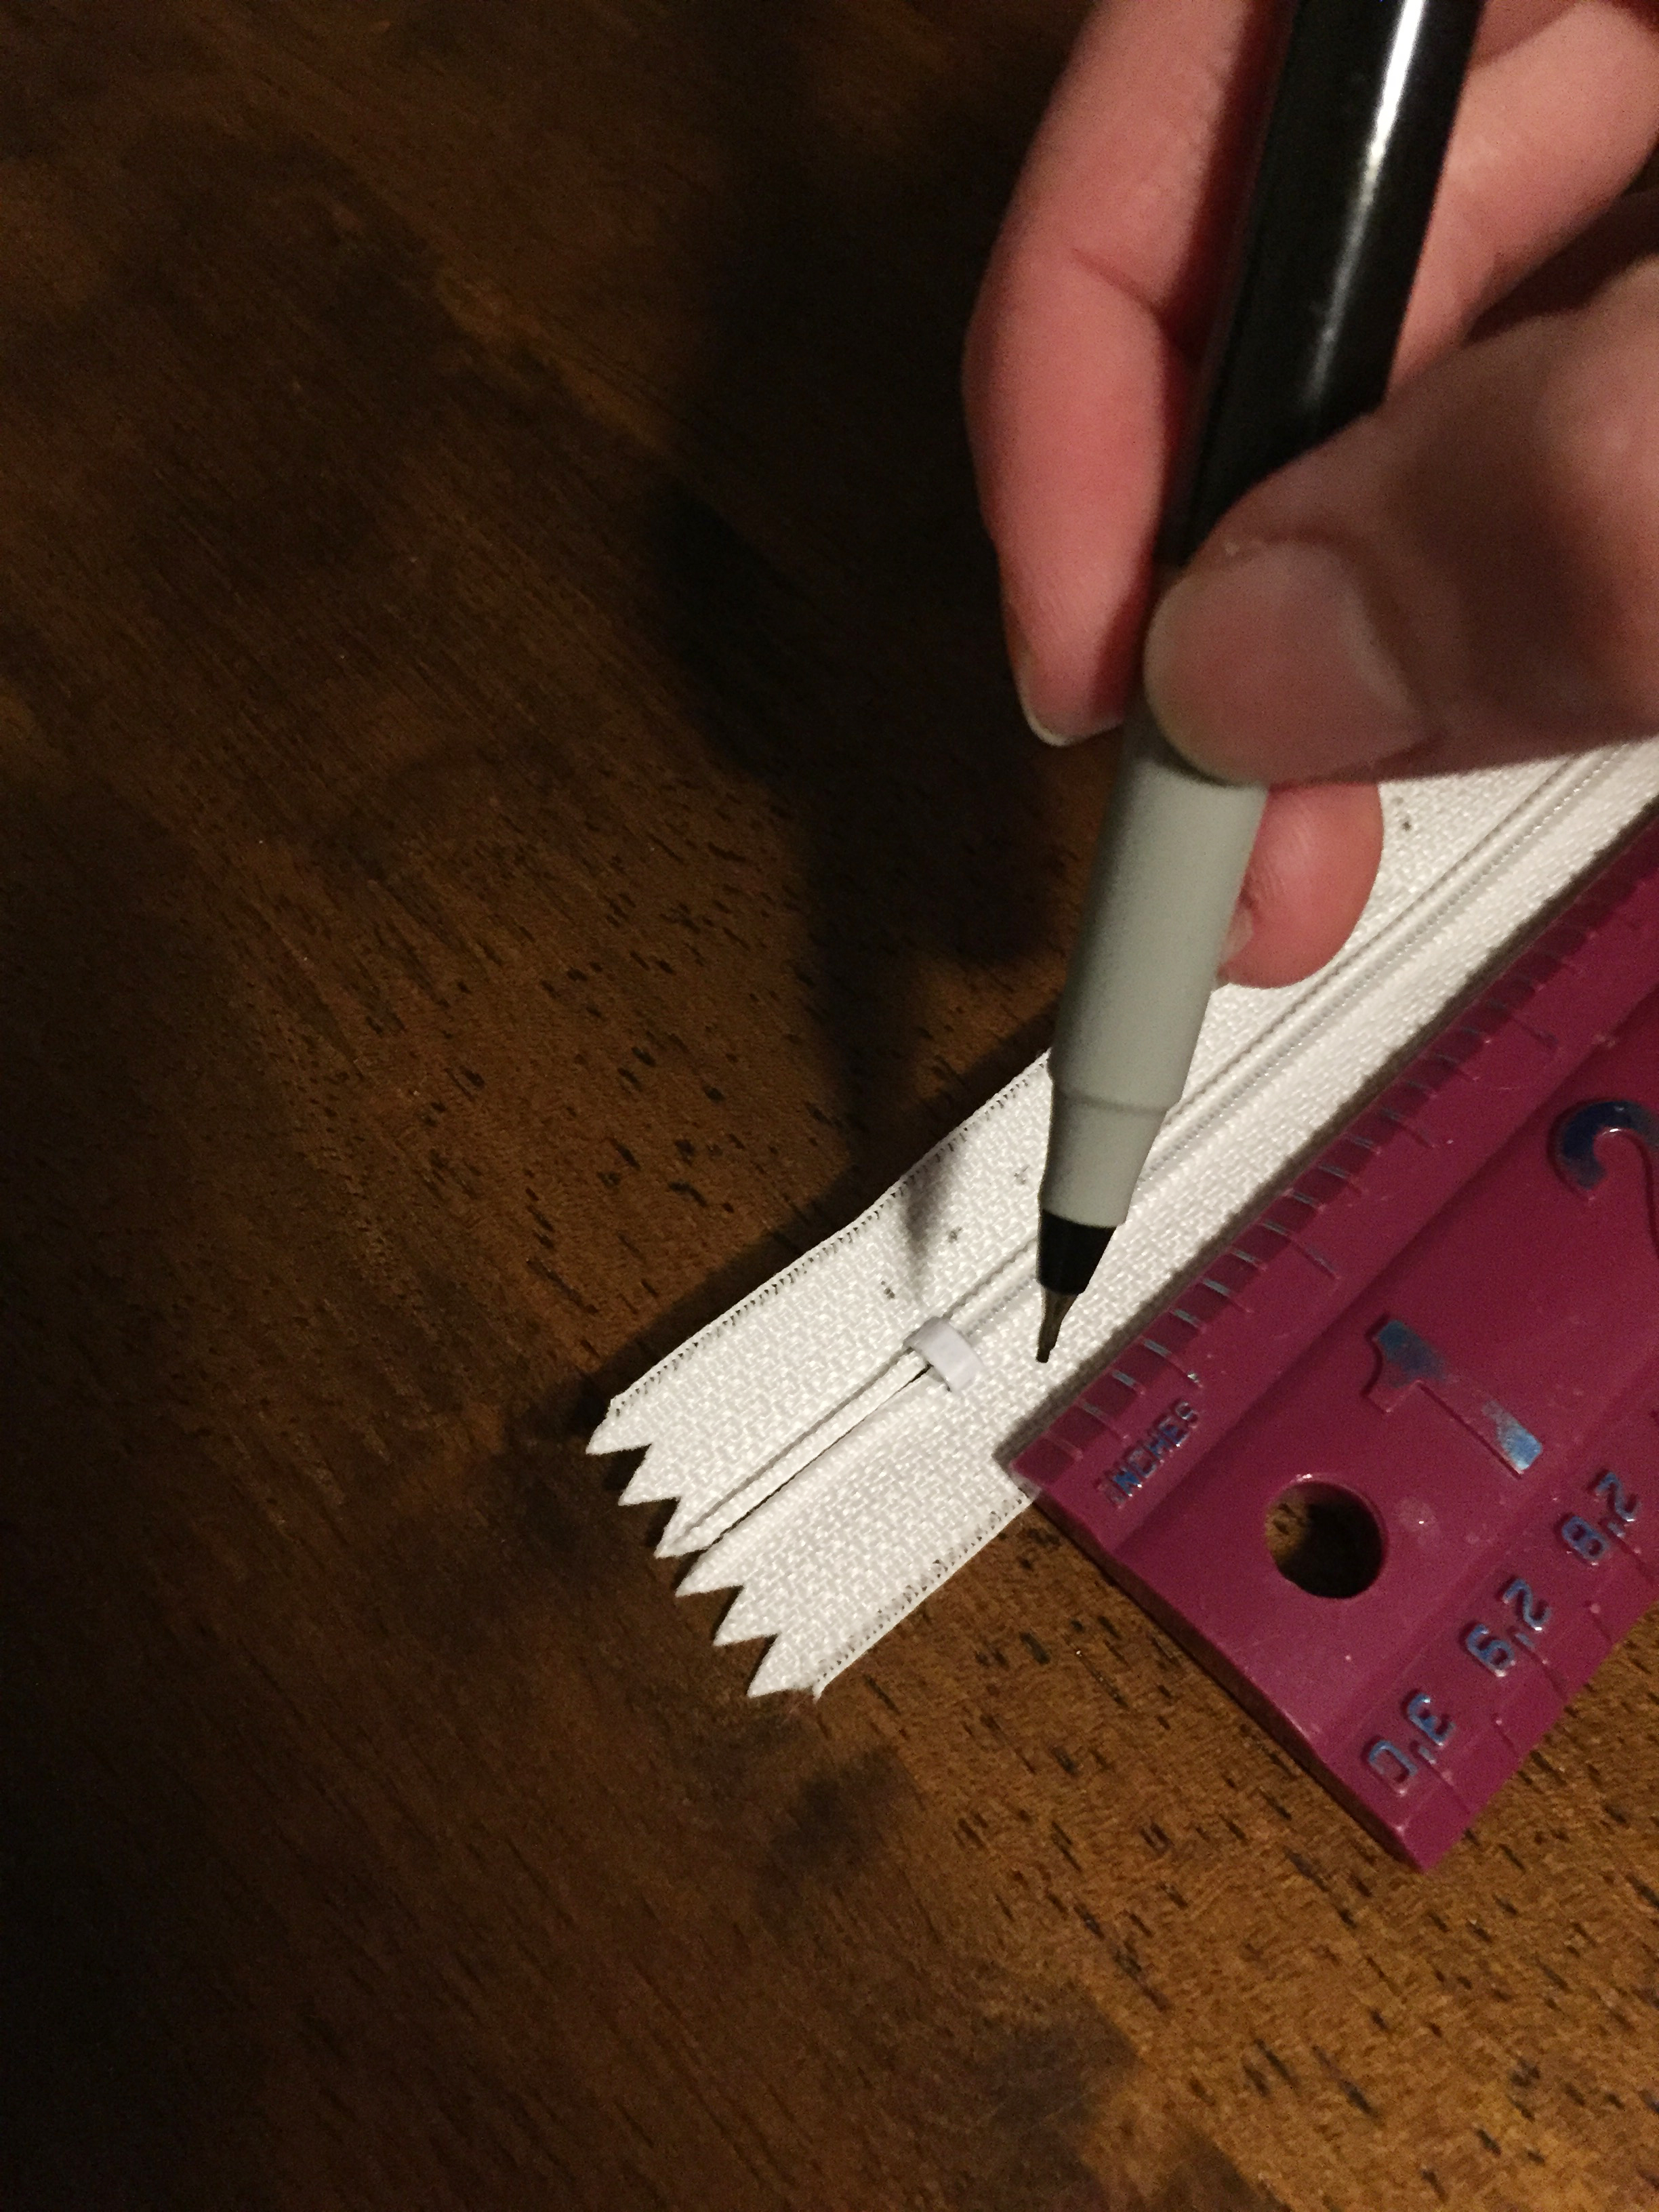
First you'll prep your zipper to be worked into. Align your ruler up to your zipper on a flat surface, you will only pay attention to the metal part of the zipper, not the excess fabric pieces at the ends. You will then make little tick marks every 1/4 inch with your pen along the metal part, you can see in the photo above how the top portion had been marked. The marks were about 1/4 inch away from the metal part of the zipper.
Continue making little marks on the bottom side of your zipper from end to end. For my zipper, since it was nine inches long, I had 36 marks on each side.

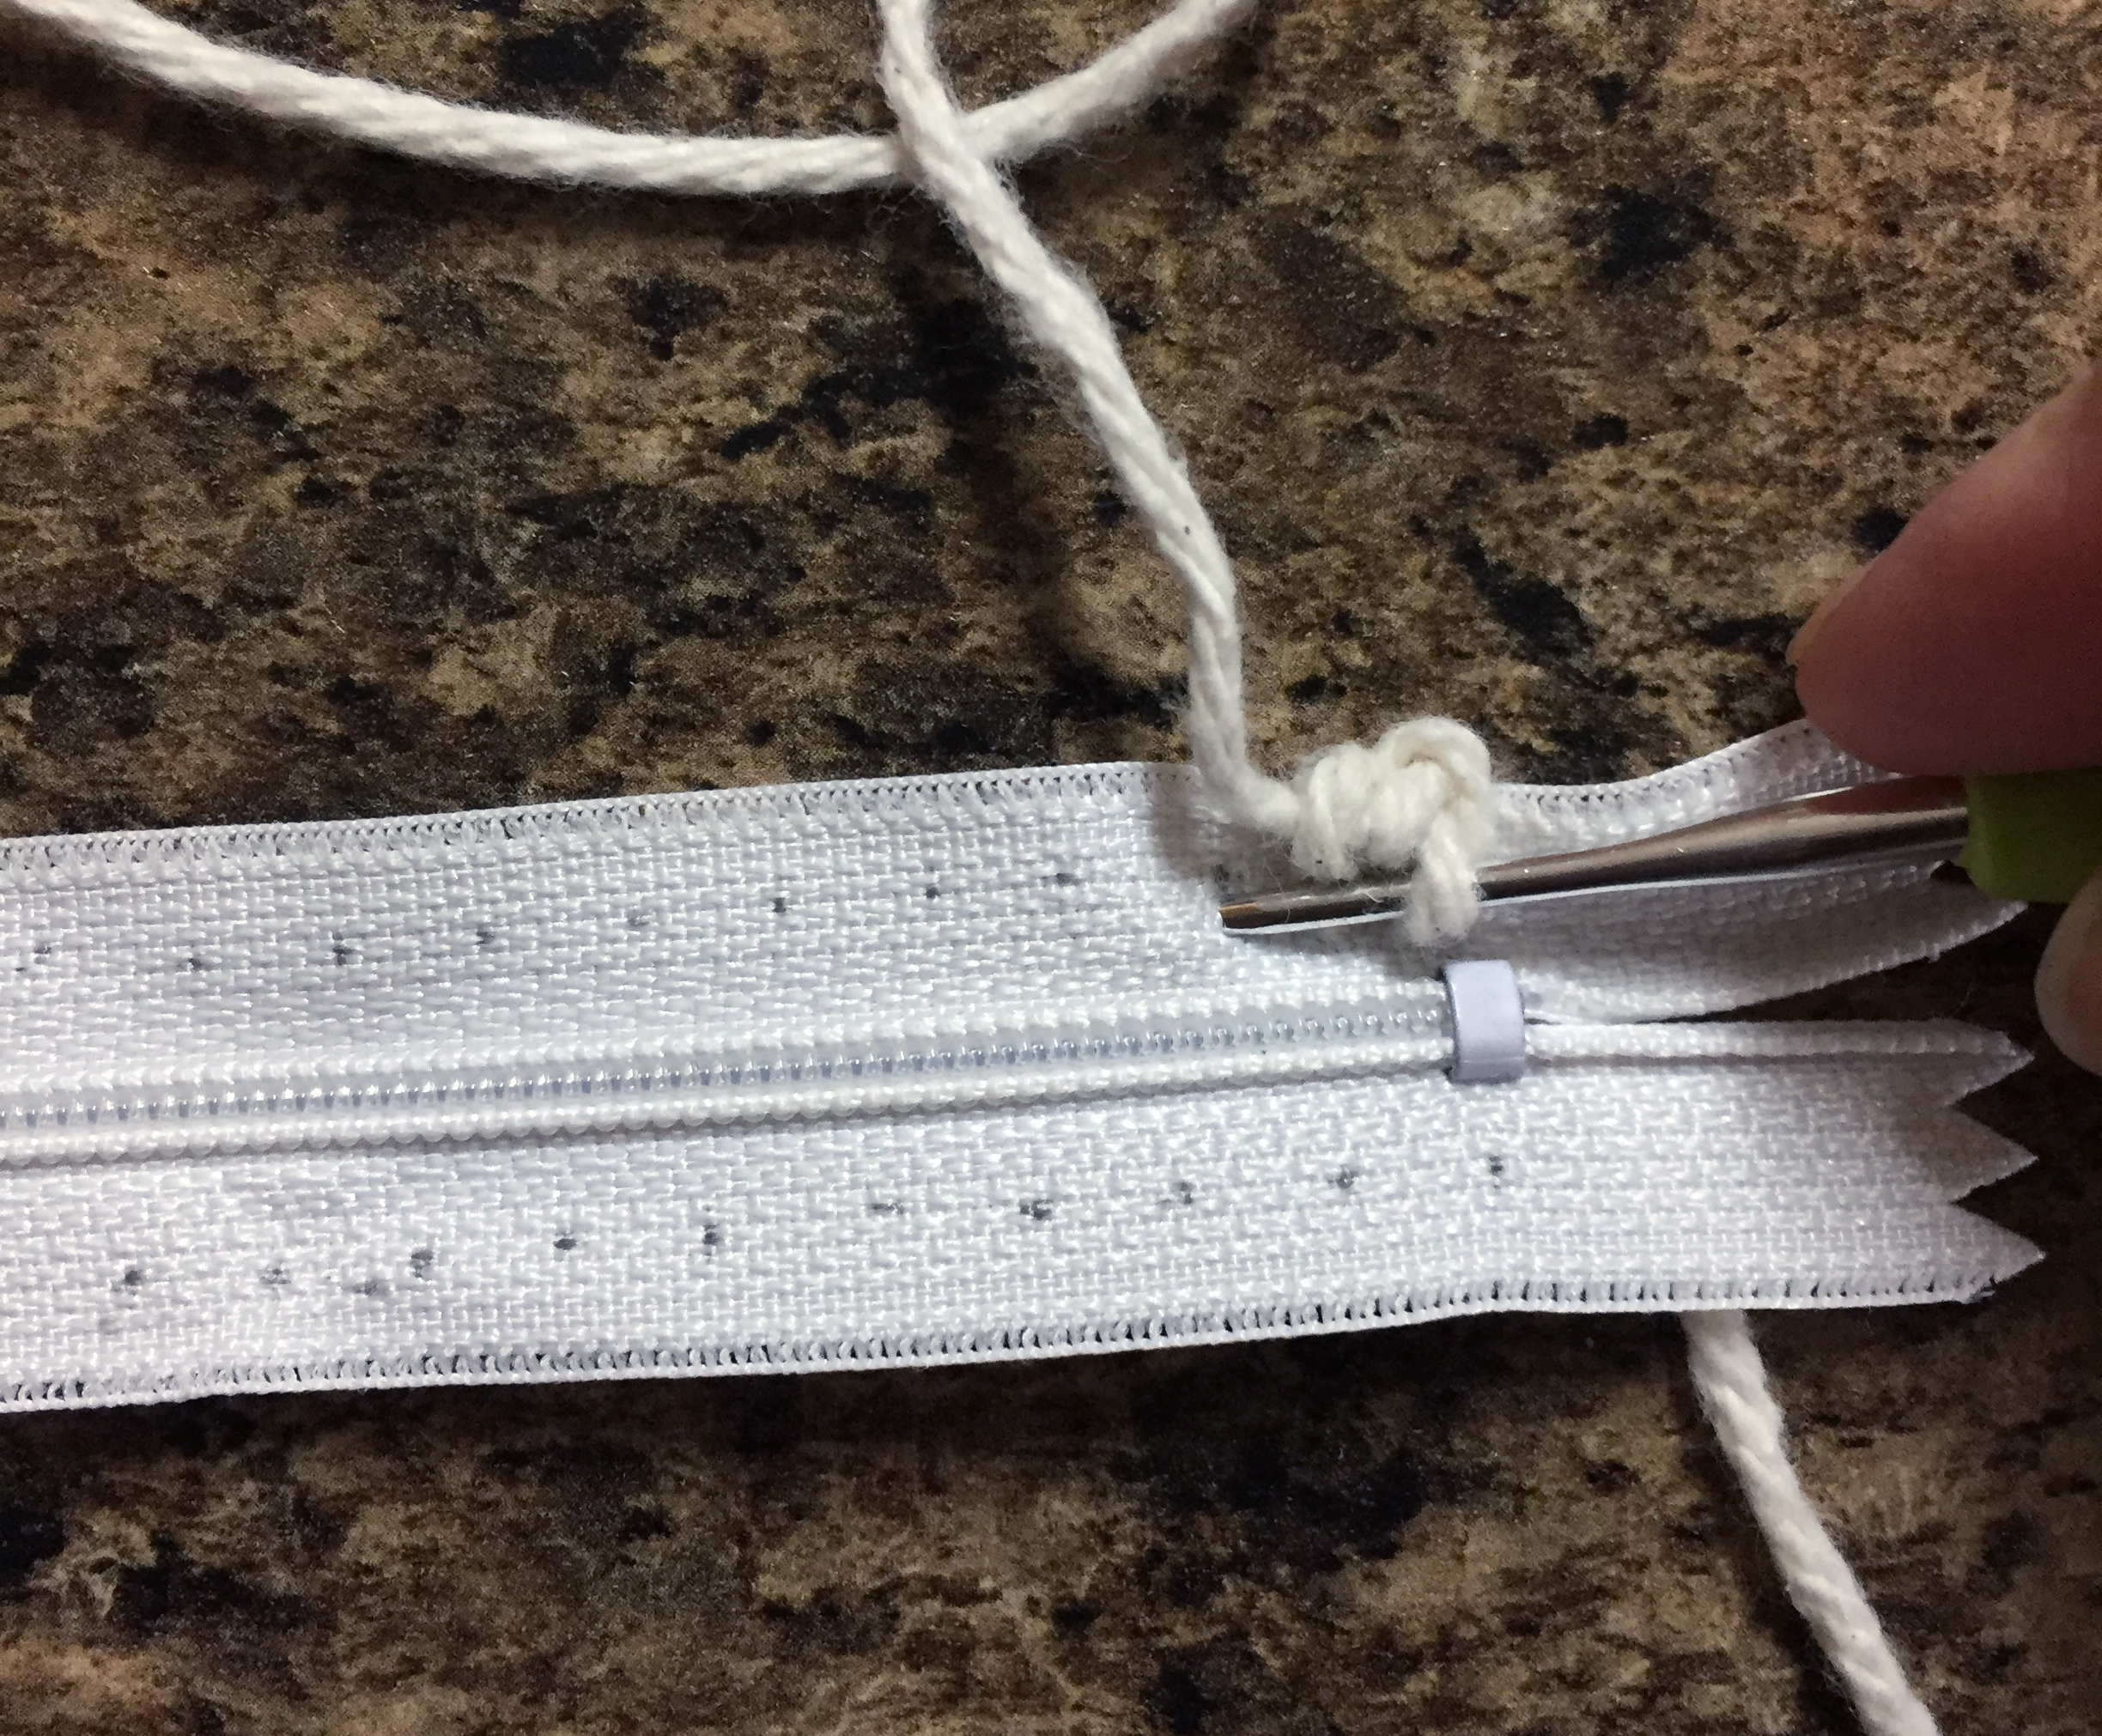
Next you'll grab your yarn and the small pointy 2mm hook to begin working into the zipper. Begin with your zipper closed. Insert your hook into the first mark, and pull your yarn through (it may take a bit of practice to get the yarn through with that small hook). Then you will ch 2 -- this will count as a sc plus a ch 1.
Then you will work a sc into the next mark on your zipper (I chose to insert my hook a little bit closer to the zipper because I didn't want much zipper showing). Ch 1, then sc into the next mark.
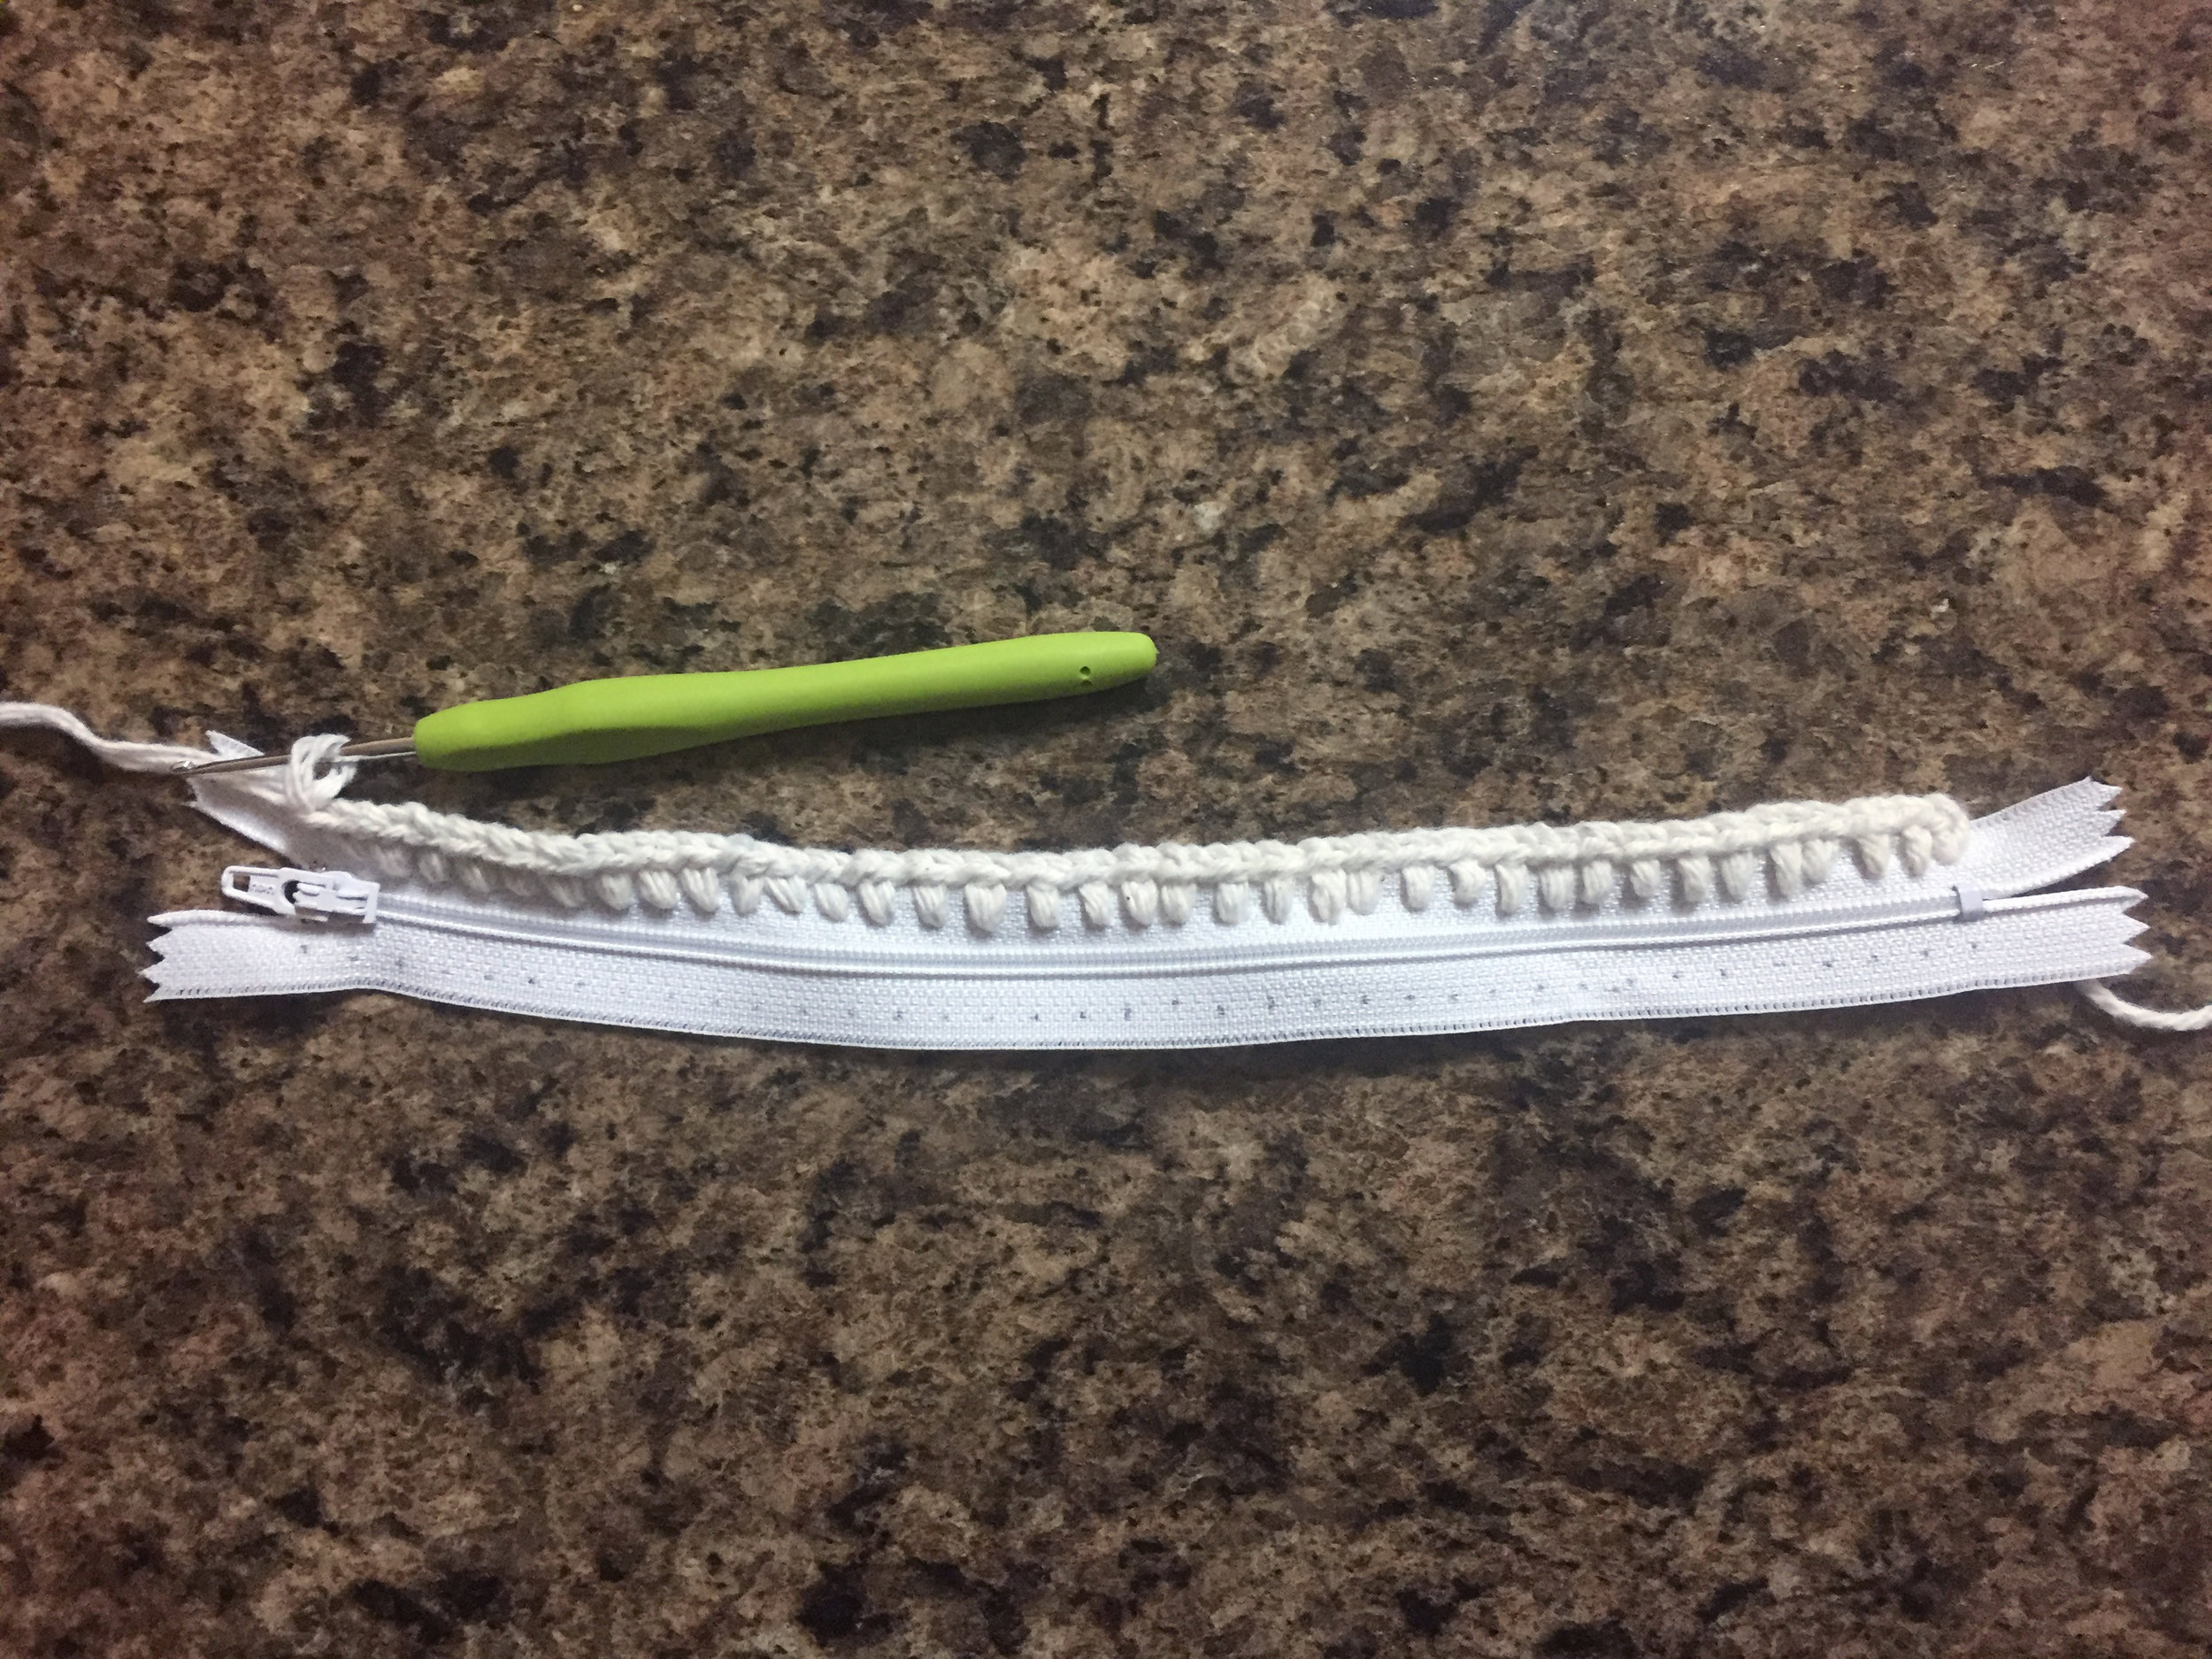
You will repeat that ch 1 and sc sequence across the top of your zipper.
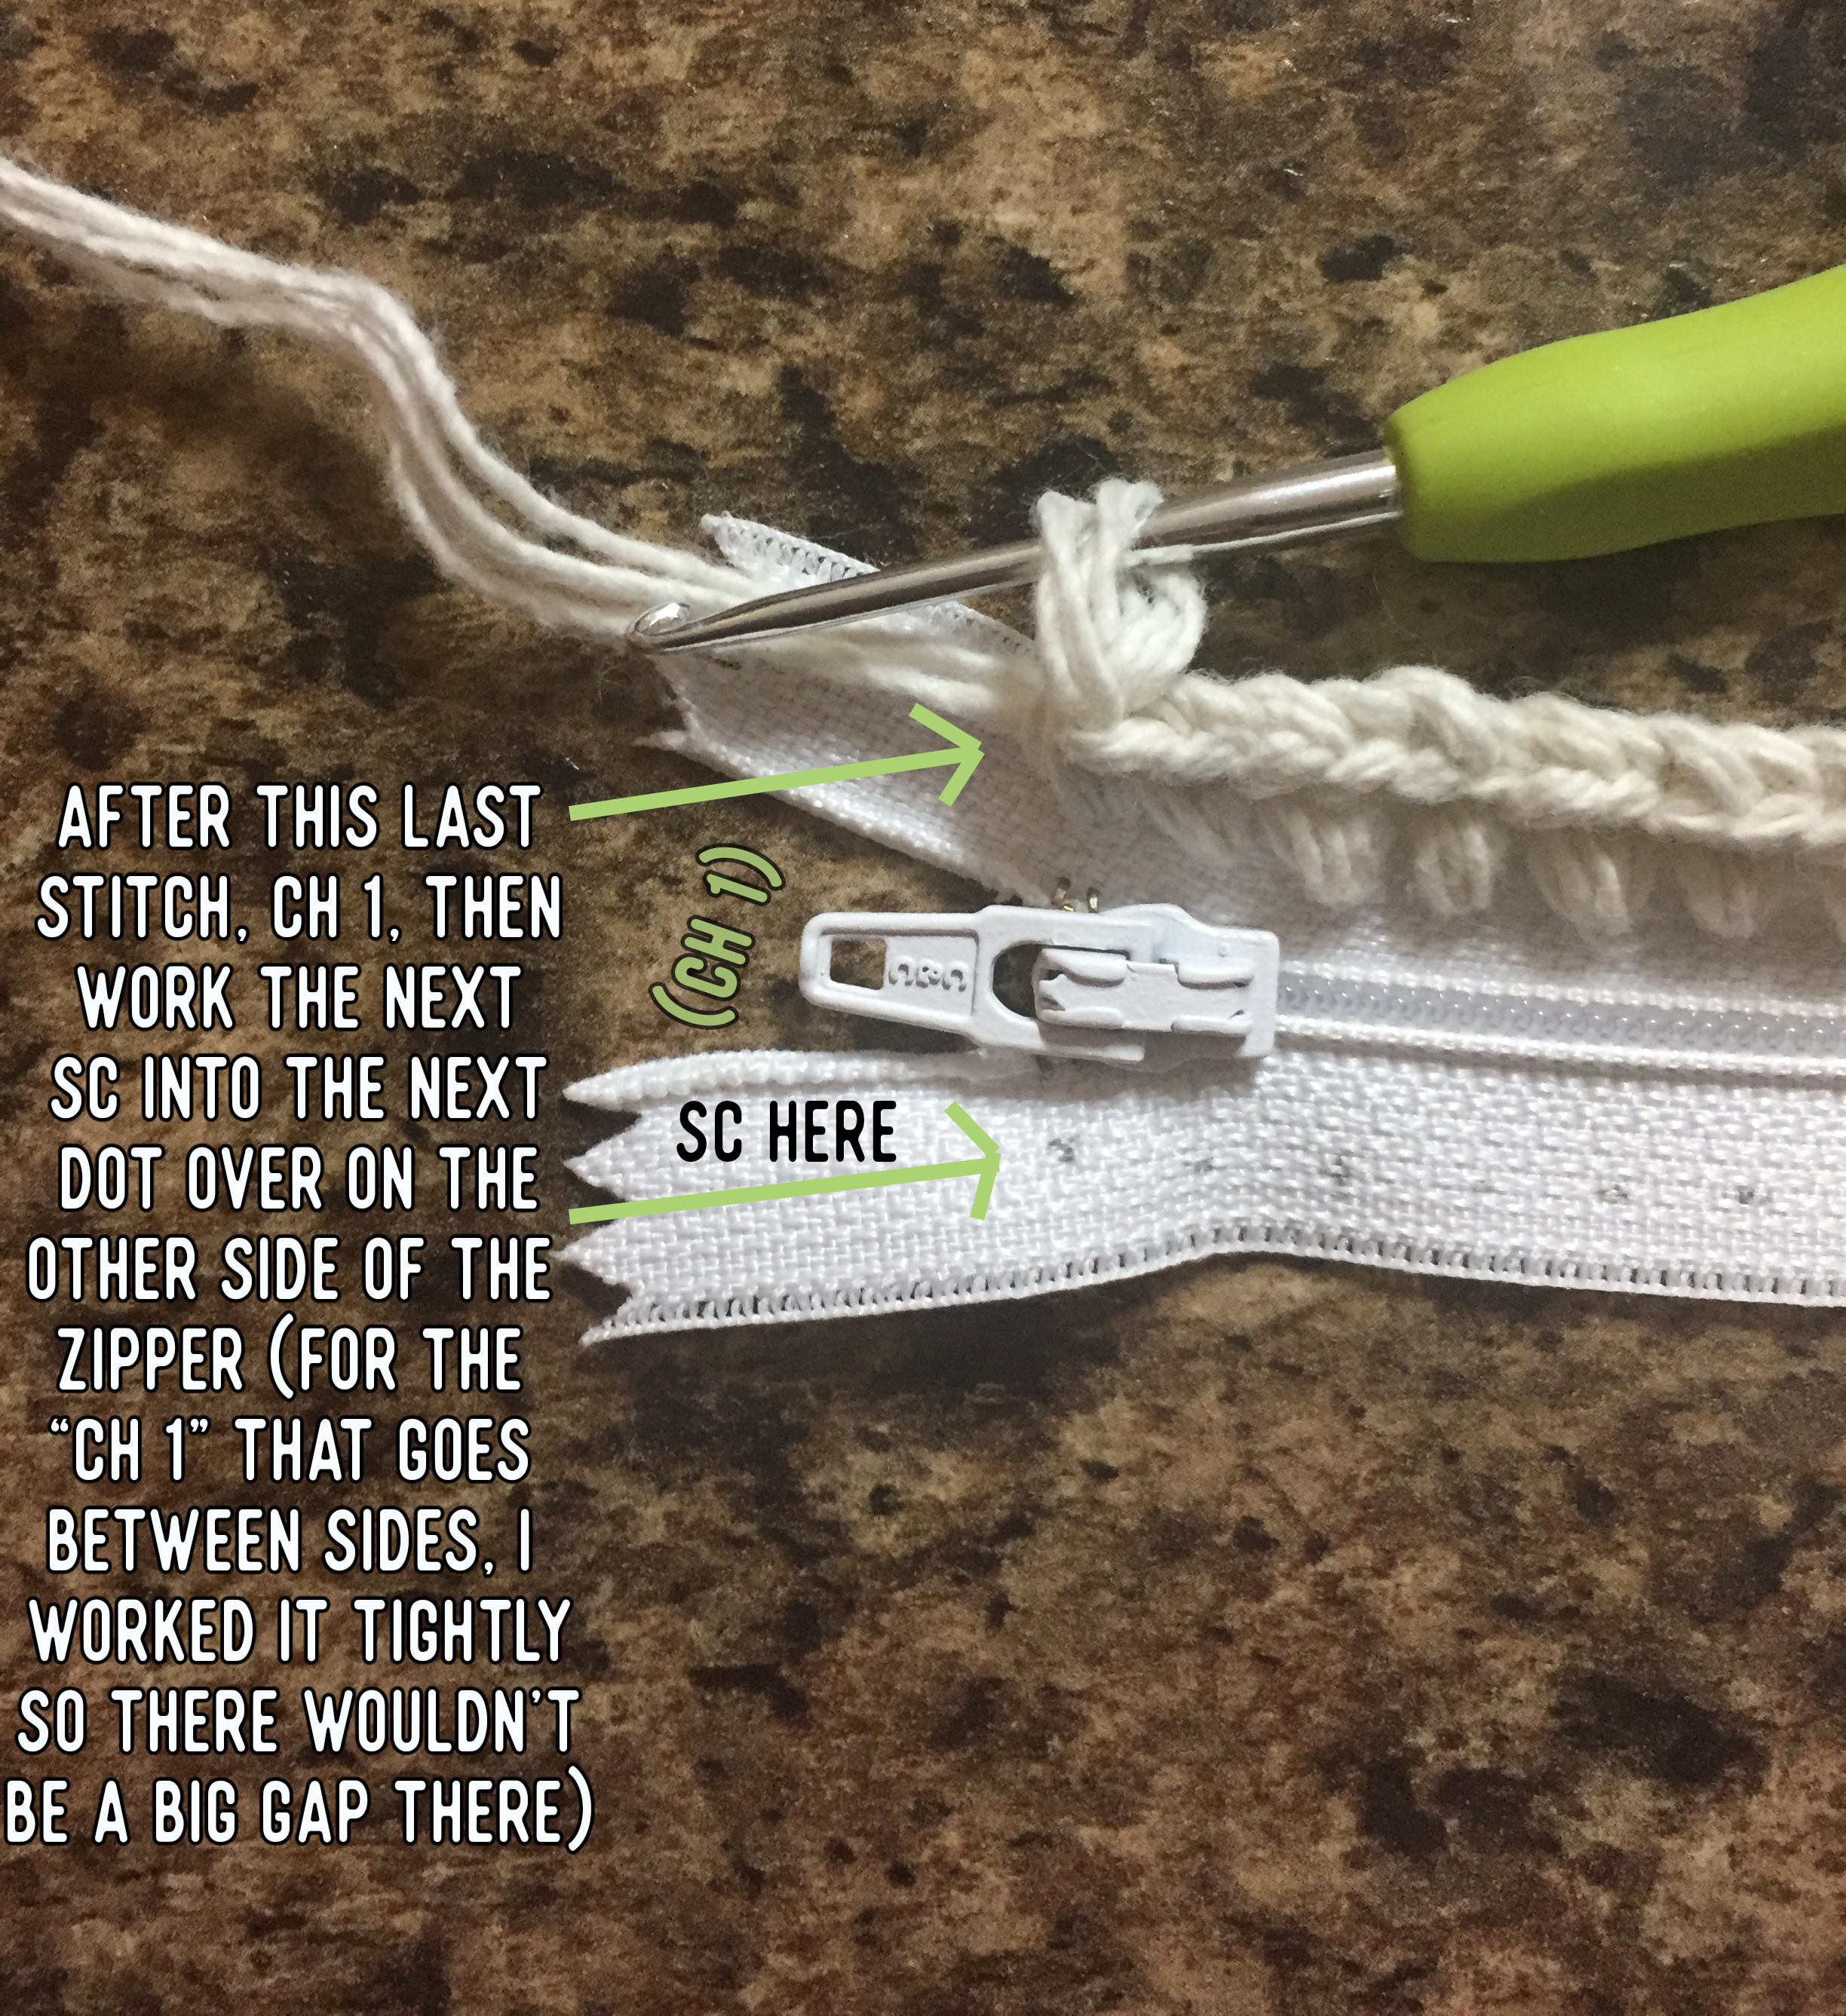
When you get to the other side of the top side of the zipper, you will sc into that last mark, then ch 1, and work the next sc into the next mark on the bottom side of the zipper (see photo above for assistance). I worked that ch 1 that connects the top and bottom pretty tightly so there wouldn't be a gap there.

Then you'll continue that sc and ch 1 sequence again along the other side of your zipper. If this first row made your zipper a little wonky, you can just tug it around a bit and stretch out the stitches to make it straight. I had to do this a bit with mine.

Once you've worked into all the marks (all the way around the zipper), after the last sc is worked, you will ch 1 again for the other end and join to the second ch (aka the "ch 1" sp) you made at the very beginning with a sl st.
***Now you will change your hook to the 5mm hook***
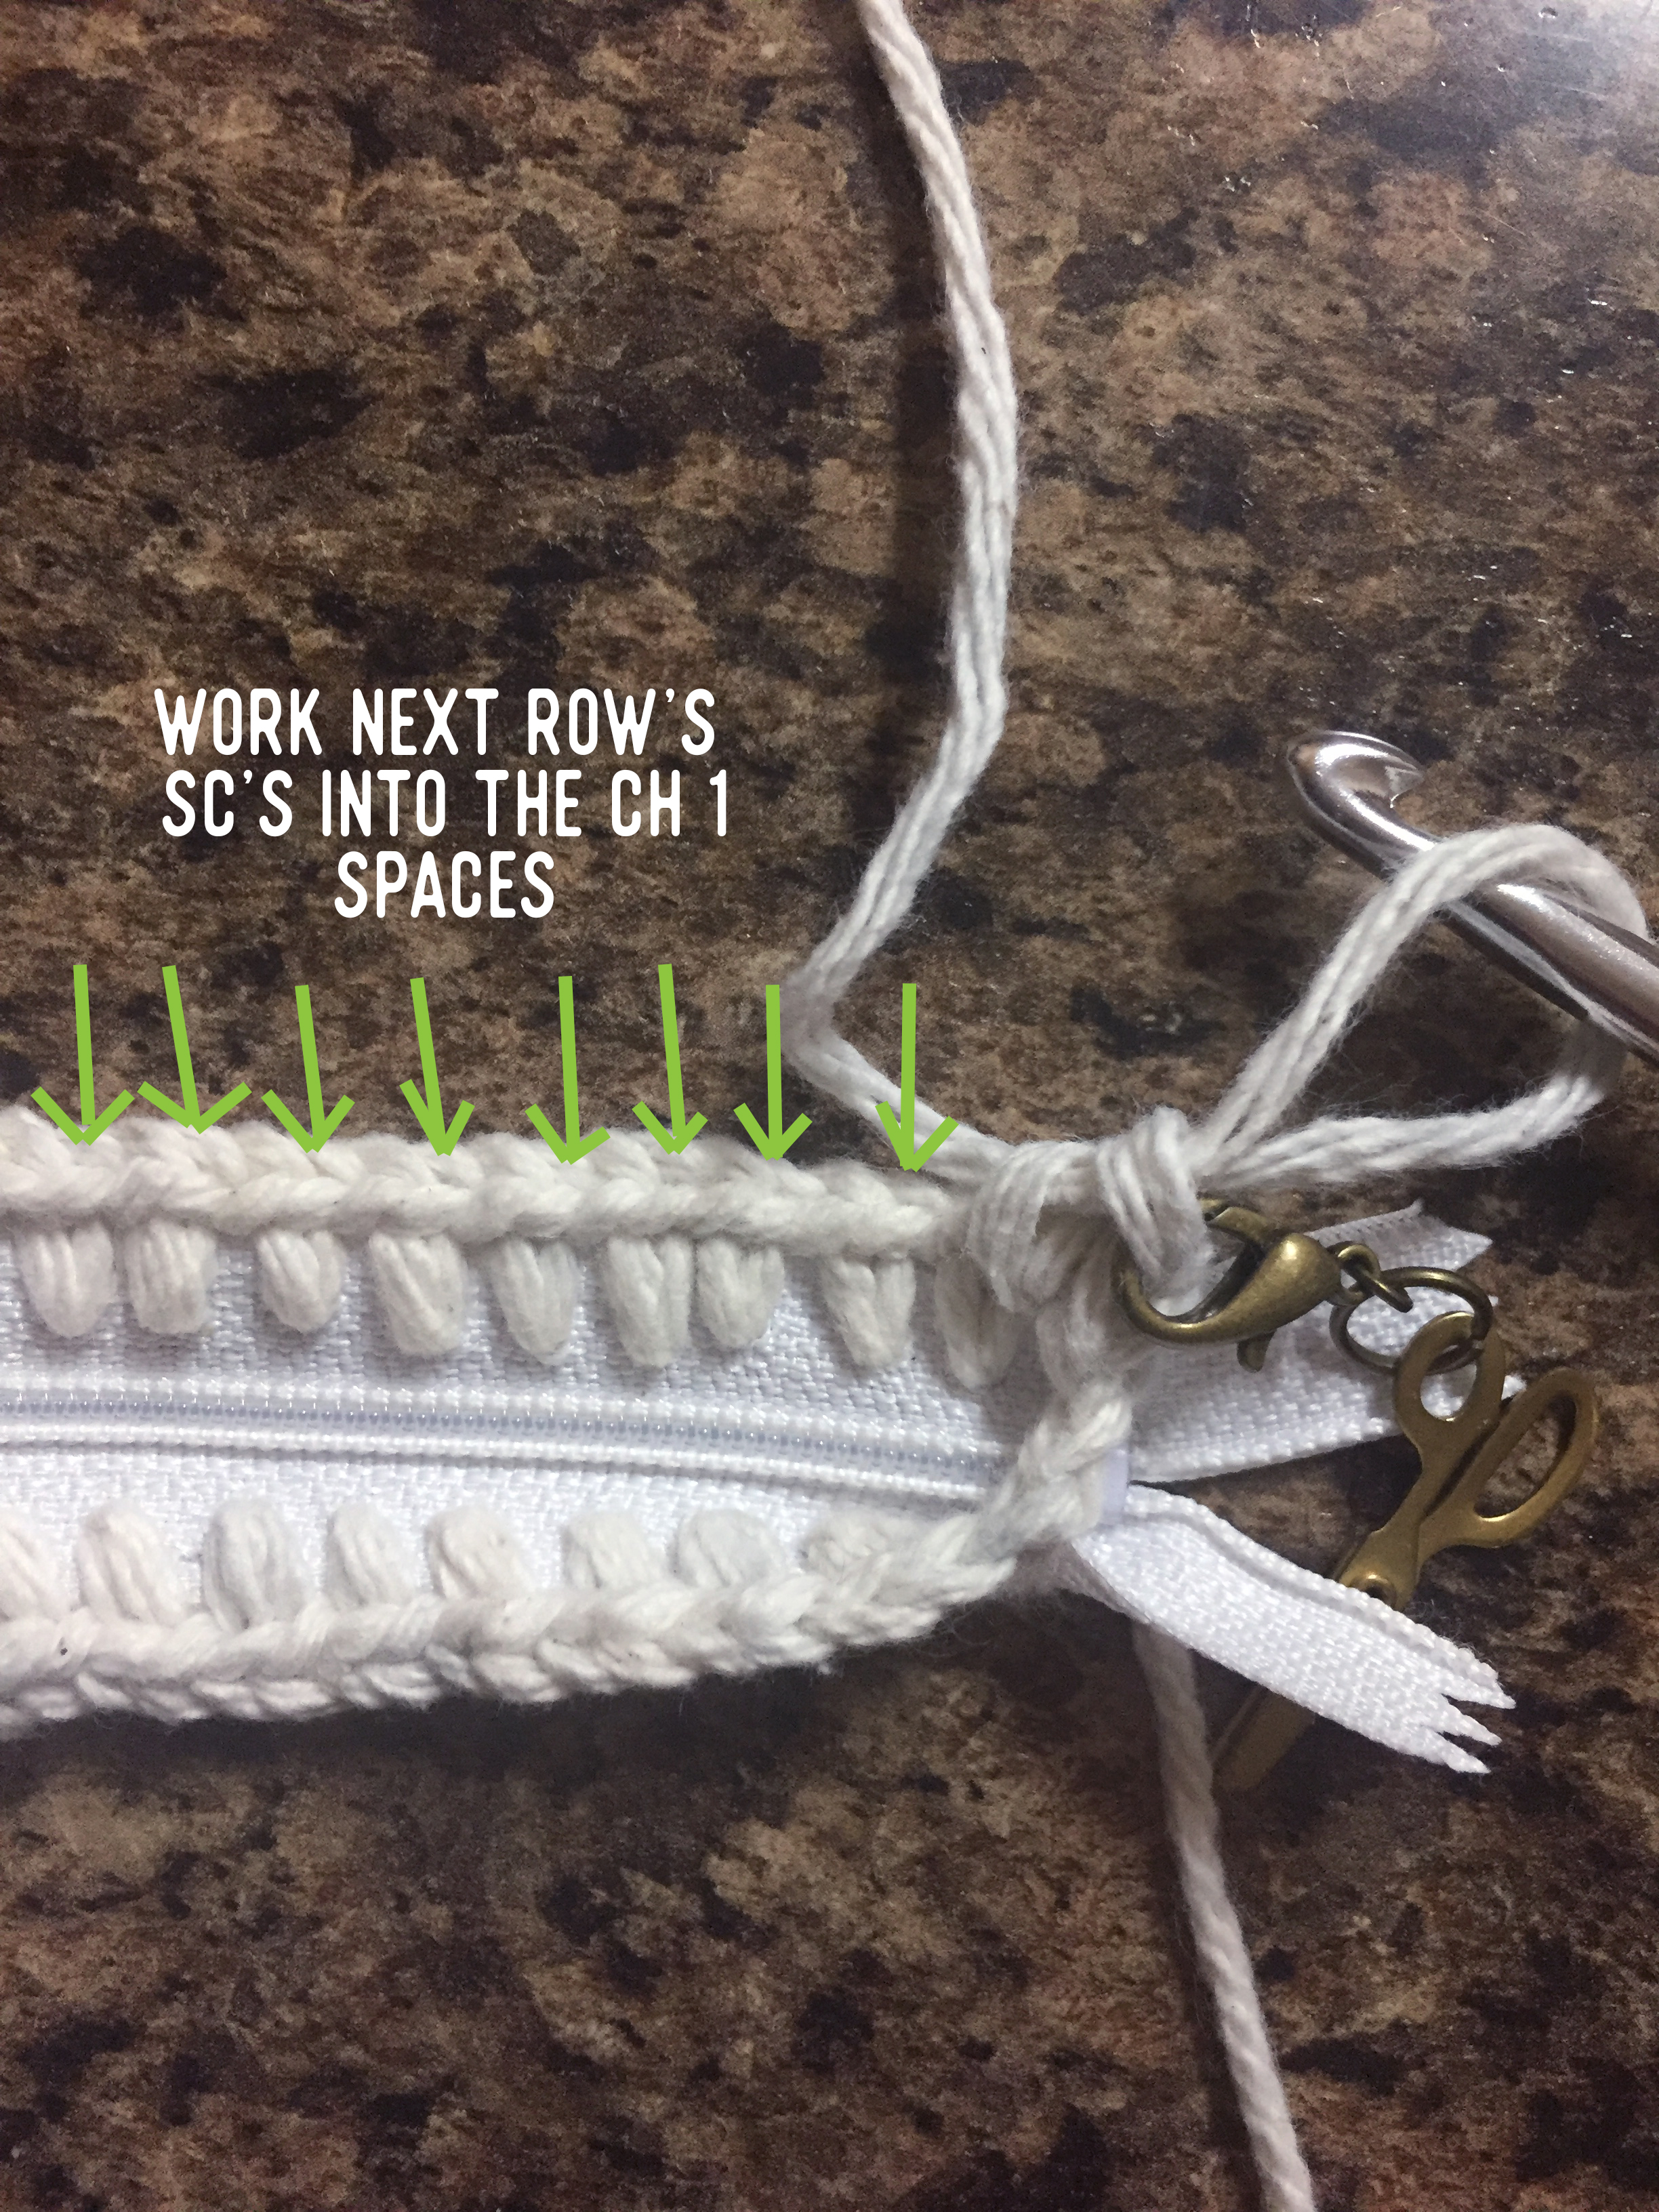
Ch 1 (this will not count as a st), then work a sc into the first "ch 1" sp (where you joined with a sl st), place a stitch marker in that sc you just worked, then work a sc into every ch 1 sp around the zipper.
Once you get all the way around, you will work a sc into that first st that has the st marker, then this begins the continuous rounds of sc's.
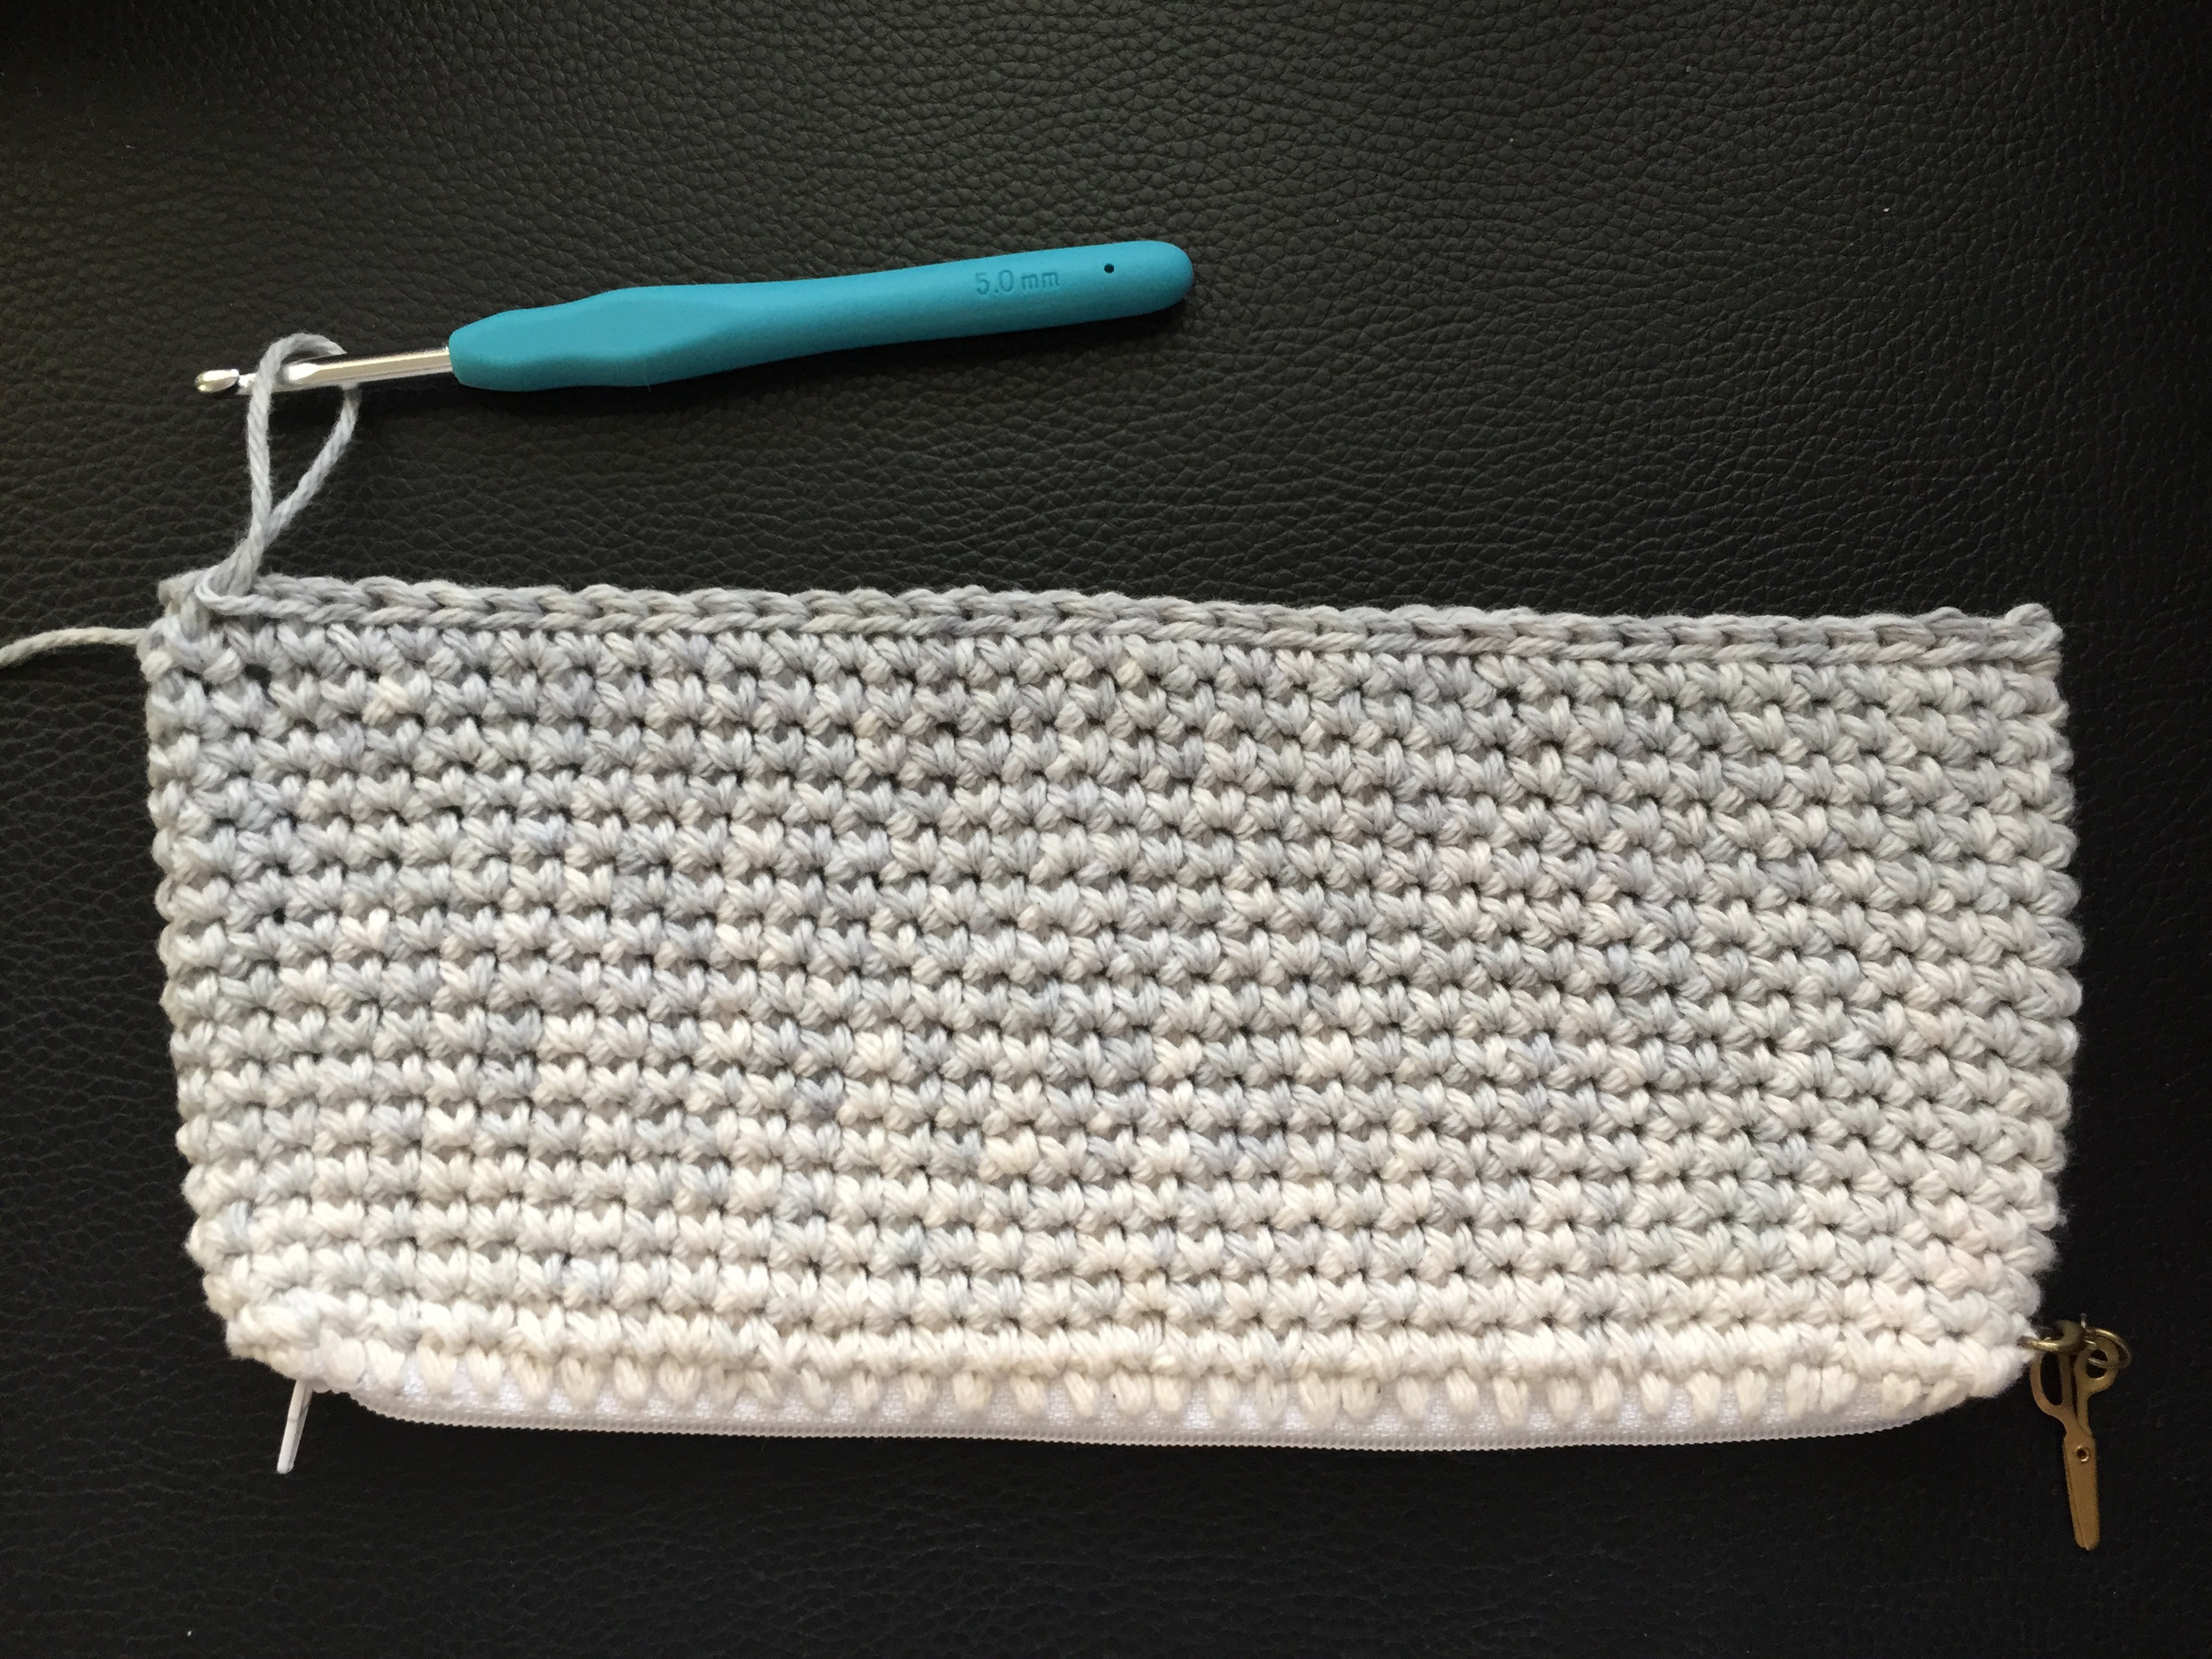
Just continue working sc's around until you reach your desired length. For my 9" zippered pouch I worked 15 continuous rounds and for the 7" one I worked 17 both about four inches deep. That's why I like making the pouch this way, you can customize it so easily as you go along.

Once desired length is reached, you will need to close the bottom of your pouch. I decided to sl st the bottom closed, but you could easily sew it closed it you preferred!

To close I just laid my pouch flat, and pinched the bottom sides together and inserted my hook through both and slip stitched across to the other end.
Once you're to the other end, you'll finish off and weave in your ends.
If you have an issue with the little pieces of fabric sticking up when the pouch is unzipped, you can sew them down onto the pouch through the inside. I had to do this on the gray one.

Voila! Your super cool pouch is complete. I loved this technique of working into the zipper.. It inspires me to possibly incorporate more zippers in my work in the future. I hope you get to make one, and that it proves to be simple and sweet for you too!
If you make one, tag me over on Instagram, I'd love to admire it :)
Until next time,
Meg