


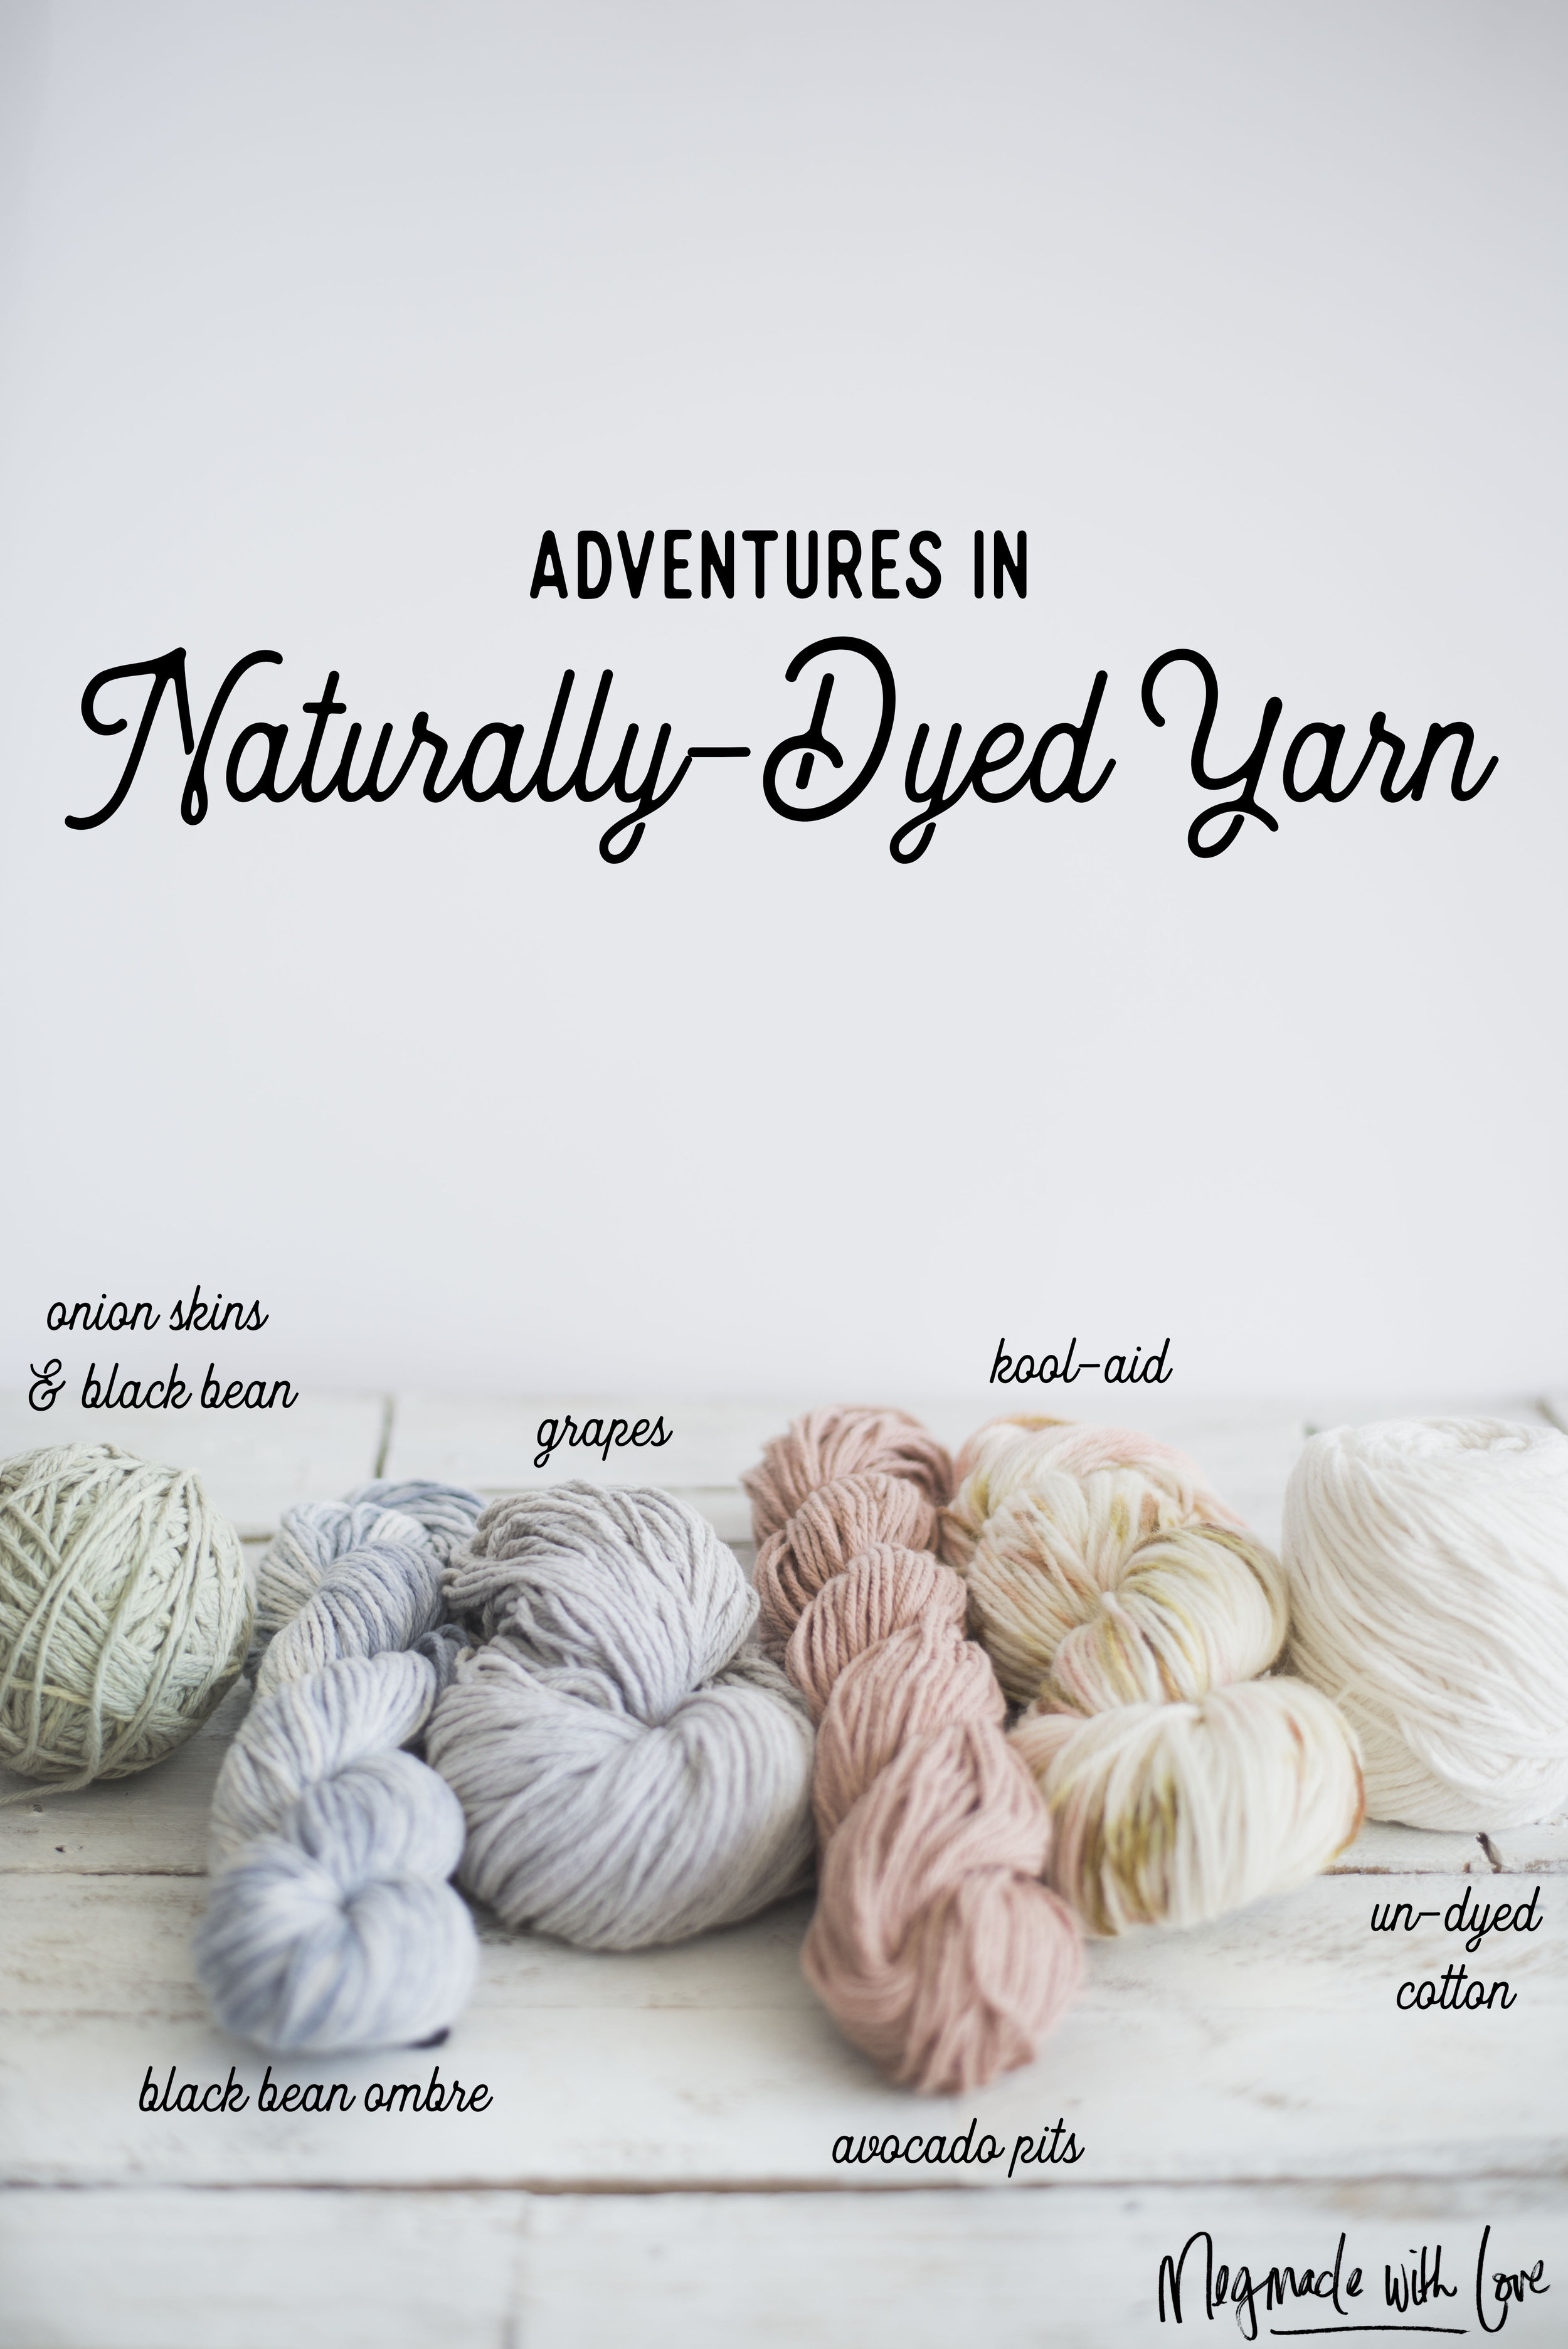
More Adventures in Dyeing Yarn - Onion Skins, Avocado Pits and Grapes, Oh My!
/
I'm back this week to talk about more of my "kitchen dyeing" experiments!
I already covered how I dyed yarn with black beans to make a beautiful ombre blue color. And now I'm going to delve into how I dyed with avocado pits, onion skins and grapes!

Black bean dye-- "ombre dyed"
For all of my experiments I talk about in this post, I used cotton yarn. I wanted to use something cheap, because I had no idea how well it would come out and I didn't want to end up ruining some good yarn, ya know?? However, supposedly cotton does not hold color as well as wool, and will not make as vibrant of a color. But I was honestly very pleased with the colors I came up with. I like a good "soft" color.

If you're wanting to do this yourself, I would recommend trying it out on some cheap cotton yarn. I found mine at Walmart, the "Peaches & Creme" brand. When dyeing with natural sources, you can only use natural fibers- like plant fibers and animal fibers. No acrylic. Although, you can see a photo below when I dyed with grapes, of a piece of acrylic yarn that took dye better than the cotton! Now I don't know if the acrylic would hold the color or what, I didn't further investigate, but it did take the purple color of the grapes better. I just found in my research on natural dyeing that you should only use natural fibers. So maybe it would interest you to do an experiment with acrylic! That's ultimately what dyeing at home is, just one big experiment. I had a ton of fun with it! And didn't get too science-y with it.

I mentioned this in the black bean post: that there are so so SO many factors that can change the way your yarn turns out. There are about a million different ways and it seemed that just about every person's account of dyeing is different in some way than another person's. So I believe you will learn the most by just diving on in and experimenting, rather than obsessing over correct measurements and whatnot. I would suggest that you do a little research, though. To get the basics.
Some important things about dyeing with natural stuffs:
-For a mordant, (which is basically what helps the dye adhere to the yarn, even after washing) I used alum. There are multiple mordants you can use, I just used this one because it was easy to find (in the spices section at the grocery store) and food-safe. Seemed like the best route. You can "pre-mordant" the yarn-- by simmering the yarn with your mordant before dyeing, during dyeing by just adding it to your dye pot or after by simmering with mordant after washing out dye. I pre-mordanted my yarn for the grape and onion skin dye. For the avocado pit yarn I put alum in with the yarn as it was dyeing. I personally could not tell any difference between when I mordanted, so I would probably just mordant during dyeing in the future, because it's easiest.
-make sure you use pots or bowls that are non-reactive. Like stainless steel or plastic. If you use something like aluminum or iron, it will alter the color of your dye.
-if using animal fibers like wool, be aware that it can felt easily when washing or if water boils.
-I'm going to tell you exactly how I dyed- feel free to do continued research!

I prepped the yarn the same for all the different dyes (except pre-mordanting some). I began by winding it around the back of my dining table chair, tying it to itself when I first started out so it wouldn't fall. Then I tied a couple of small pieces of yarn in a few places. This prevents the yarn from tangling.

Supposedly yarn has a whole bunch of junk/oils on it that can affect the way it takes dye, so washing it will help strip it. Getting it wet beforehand will also ensure even dyeing and opens up the fibers. If using wool, take caution because it could felt with too much motion.
For the avocado pits, I slowly collected pits as I ate avocados throughout the week. I eat a ton of avocados so it didn't take long! I cut them into little chunks when they were still fresh, because they can get pretty hard to cut with time. Supposedly you should freeze the pits until you are ready to dye, and that's what I did. I just kept them in a baggie, along with the skins.. because I planned on dyeing with those also.

The avocado pit dye, just started simmering-- colored the water quickly!
Then I prepared the dye by filling a stainless steel pot 1/3 of the full of water and then dropped in the cut-up avocado pits. I used 4 avocado pits for 2.75 ounces of yarn. And that was wayyy more than enough to dye that yarn.
Then I put the pot on the stove, over med heat. And simmered the pits/water for about an two hours. I actually planned on simmering for about an hour, but had other stuff going on. Supposedly, the longer you let the dye simmer or soak, the more vibrant the dye will be. After the dye had simmered I spooned out the chunks of avocado pits (after I did this, I wondered if the dye would be more vibrant if I left them in... so I put some of them back in with the yarn. I don't think this made that much of a difference. Plus it wasn't fun fishing the pieces out of the yarn. So in the future I don't think I will be leaving pieces in the pot.)
Next, I put the alum into the dye pot. I read somewhere that you should use about 1 teaspoon per 2 ounces of yarn. So I decided to use 1.5 teaspoons of alum for mordant. I also read you can use too much alum, and it will make the yarn "crunchy" so take caution with that.

The yarn when I first put it in. The dye was too orange, as I was wanting a pink color. So I put in about a tablespoon of baking soda.
Then I put the yarn (still damp from washing) into the dye pot and simmered for another hour, with the lid on. After looking at the dye, and how it was coloring the yarn, I decided it was too orange, compared to other results I've seen. And I wanted a pink color. So I figured that my water PH was off, and read somewhere that you can change that by adding baking soda to the dye.

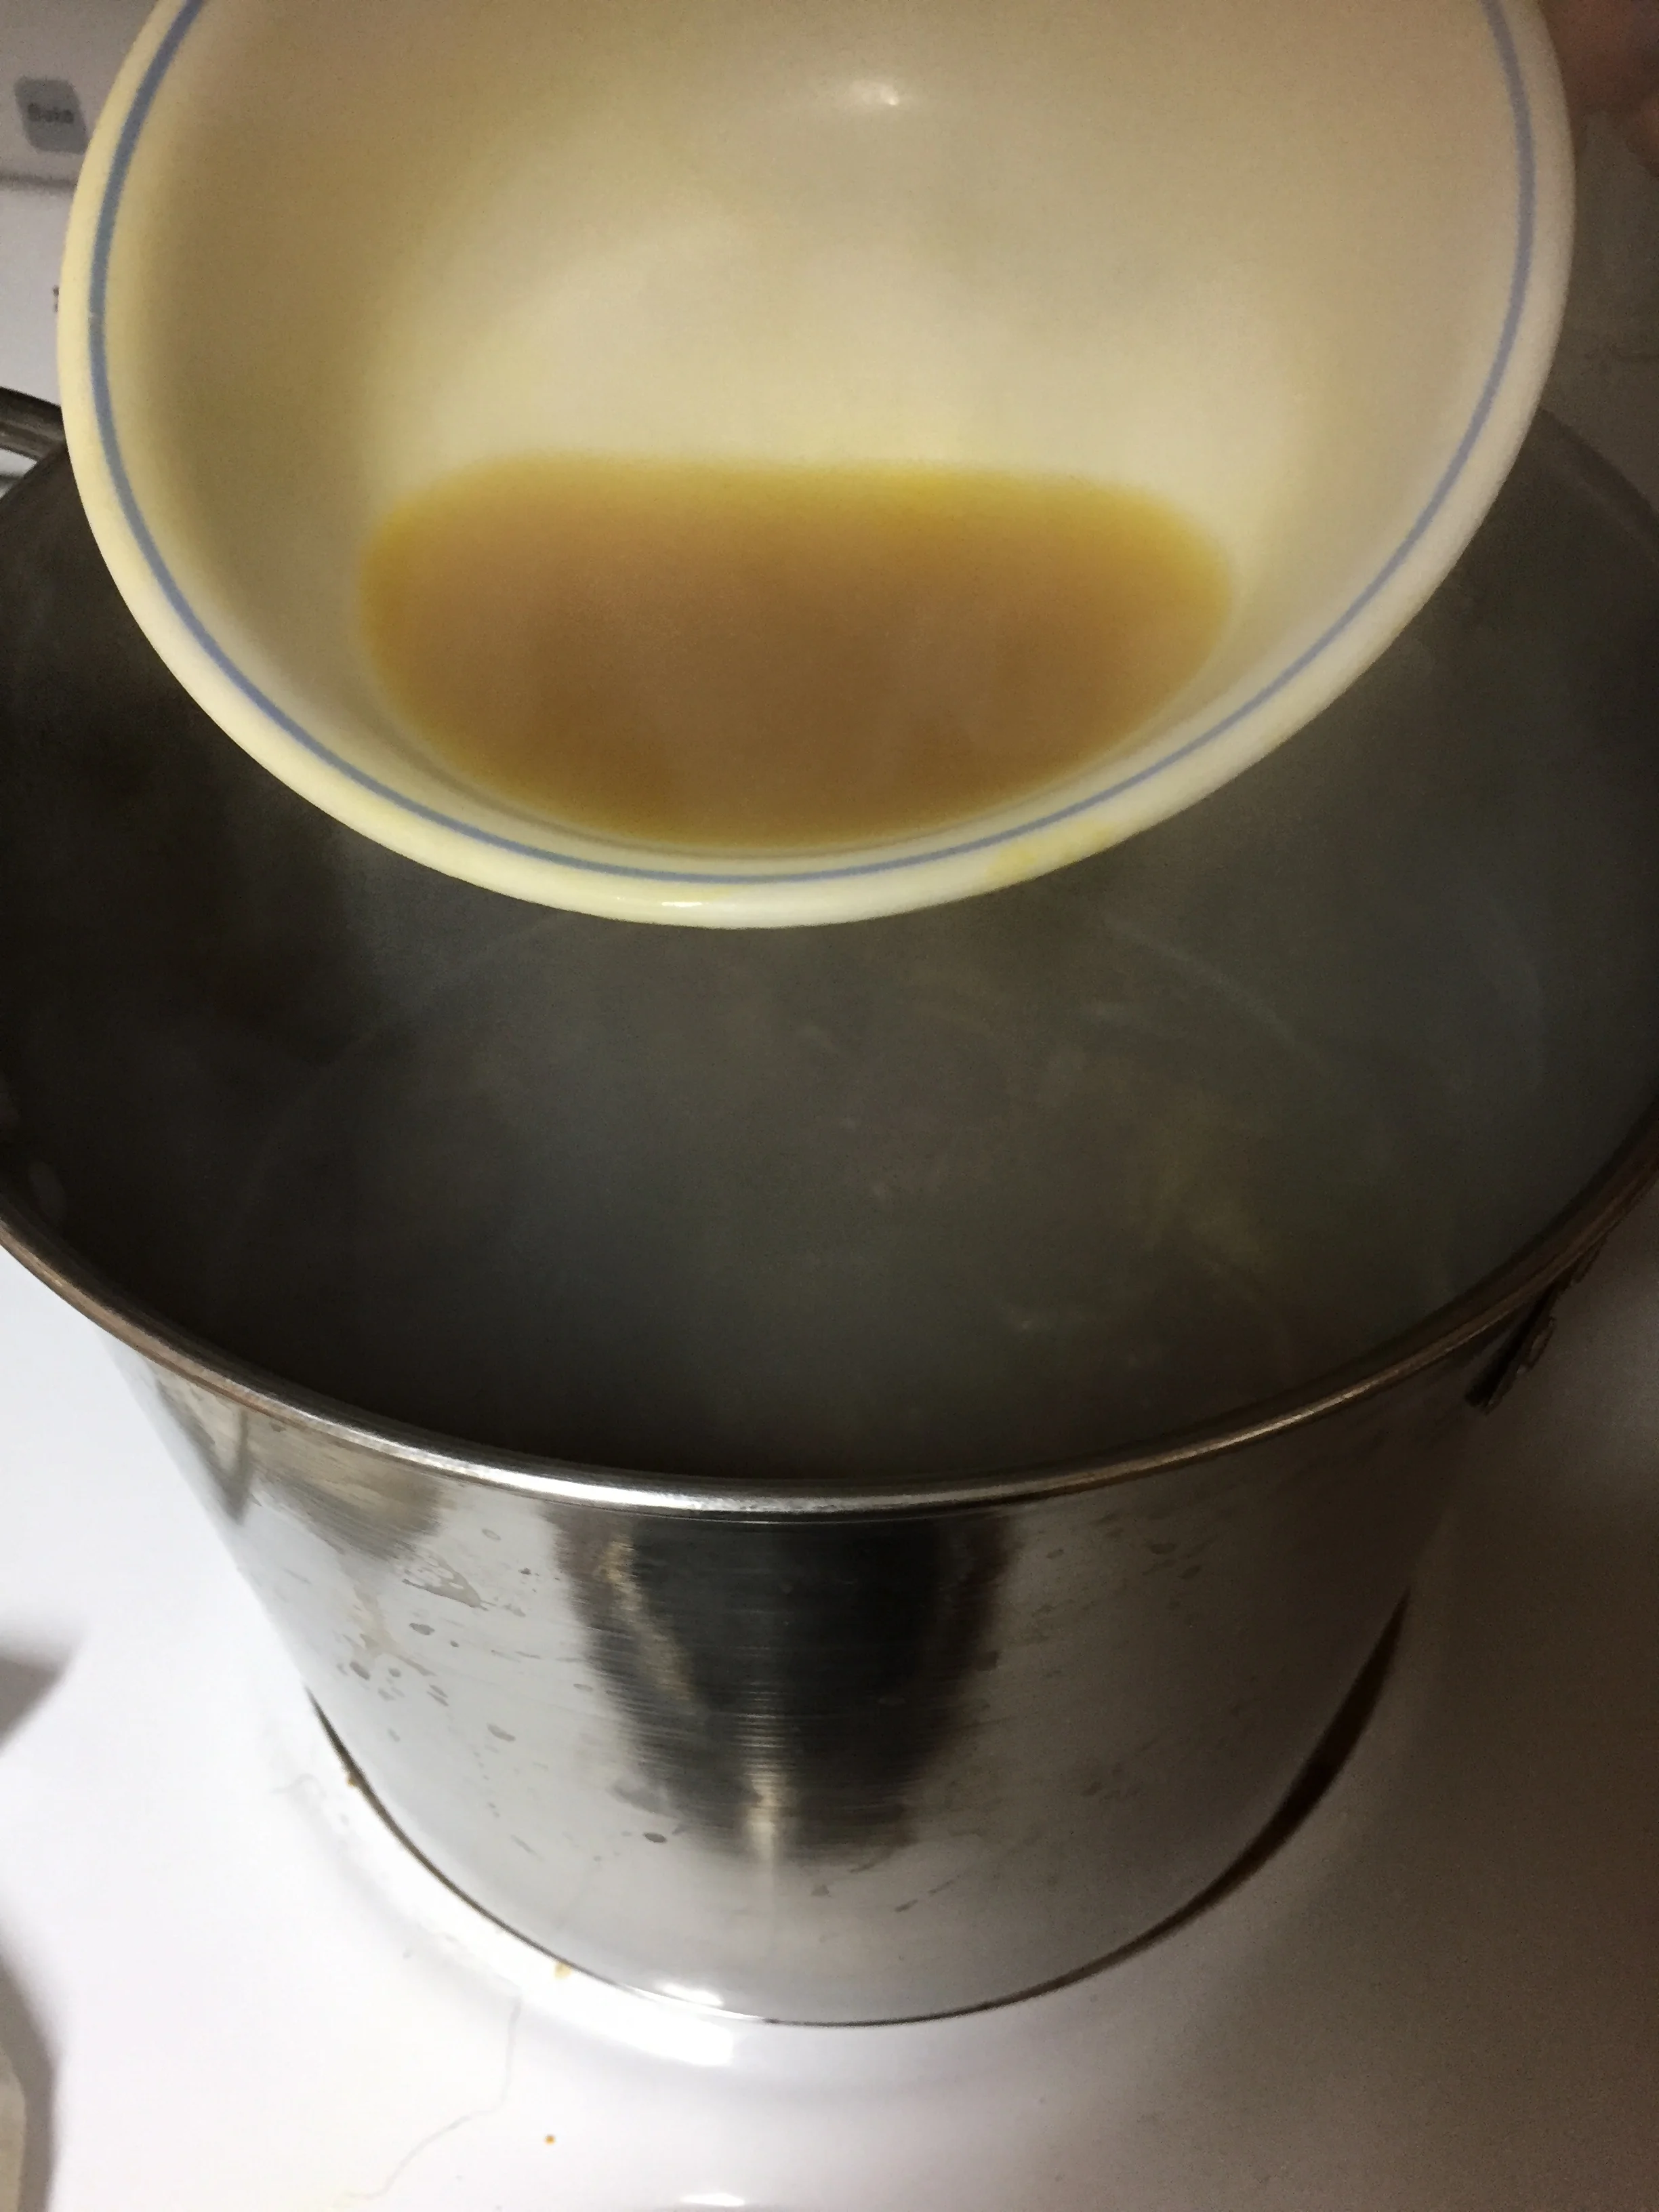
The dye bath after I added baking soda. It instantly turned pink!
So I tested a little bit that I drew from the pot into a smaller bowl, and it instantly turned pink! I felt like a witch or something brewing up potions! ha! So I then added about a tablespoon of baking soda to the dye and it turned pink- as well as the yarn! How fun.

The yarn right before I took it out. Looks like pink noodles. Mmm.
Then I decided I would leave the yarn in the dye overnight to let it really soak in the color. Total, the yarn ended up soaking in the dye for about 12 hours. And I think this made all the difference in the the vibrance of the dye. If I dye more in the future, I will most definitely let it sit overnight!

The avocado yarn in the sink after washing. Looks perfect!! Took the color well.
Then I grabbed the yarn out of the dye pot, and rinsed and washed it in the sink. You want to wash it until the water runs clear. This took forever it seemed like!

But once its all clear, you set it out to dry- not in direct sunlight, as that can bleach the color. A laundry drying rack would be good for this. But since I have absolutely no idea where ours is, I just set it out to dry on our bench outside.
For the onion skin dye, I prepped the yarn by wrapping it around the chair, washing it. But instead of adding the alum to the pot during the dyeing process, I pre-mordanted the yarn in a pot with just water and 1.5 teaspoons of water for half an hour to an hour long.

To dye the yarn I filled my stainless steel pot about half full and added the skins of about five yellow onions. This was more than enough to dye my 2.5 ounces of yarn. I simmered the skins in the water, stirring every once in awhile for about an hour.

After the dye was made, I decided the color was way too "bright yellow" for my taste. So I tried the baking soda trick to change the color. The baking soda didn't affect the color for this dye for whatever reason. I dunno why, I ain't no science expert. So I thought maybe I could achieve a "mustard yellow" by adding some avocado skins I had saved. And so I tossed in about 4 avocado skins into the dye pot and simmered some more.
This actually did darken the dye. If we're being honest, it just looked like really dark pee. ha! So I thought maybe this will look good... and tossed in the yarn and simmered it in the pot (after taking out the skins) for another hour.
After the hour, I checked on the yarn to see what color it was, and it was a pale-yellow. Then I got to thinking... I don't even care for yellow that much, what am I thinking dyeing yarn yellow?? And at this point I wished I took a picture of the yarn-- but I did not. I was just so excited to change the color again that I forgot!

So then I tossed it into my leftover black bean dye without even thinking-- with hopes of getting a green color. I let it sit in the black bean dye for a couple of hours. And in the above photo is what the yarn looked like directly after taking it out of the black bean dye.

Once I washed and dried it, though. The yarn turned out to be a beautiful light shade of green! (far left in above photo) I was pleased with that improvised dyeing experiment, no doubt!
So for the grape dye, there is a funny story that goes along with it...
The yarn that was dyed with grapes was not intended to be so. I actually started out dyeing it with petunias by trying to "eco print" the yarn and kind of create a "speckle" by placing flowers in random places.

But this particular day, was not my day. I was feeling impatient, and decided I could "hurry" the process by microwaving the yarn instead of letting it sit. And then instantly washed it (because I needed results and I needed them now!!), only to find all the color run down the sink.. wohhh wohhhh

So right after that I had to redeem myself... and I remembered I had a ton of incredibly old and forgotten black grapes in my fridge. Like these things were practically raisin-status (don't judge). So I put those into my pot and smashed them with my hands.

Then I filled the pot about half-full with water over the grapes and then simmered them for about an hour. After that I strained the grapes out with a mesh strainer and put my yarn in the dye (there was still some small pieces left in the dye).
**yarn was pre-mordanted, just like with the onion skin dye**
I simmered the dye and yarn mixture for another hour and then left the yarn in the dye overnight.

The next morning, when I checked on the yarn, I was pleasantly surprised to see a vibrant shade on the yarn! So I went to the sink to wash it out, and much to my dismay, the yarn basically lost all its awesome purple-y goodness. Sad day.

I guess the color just didn't want to stick for whatever reason, whether it was the cotton or the dye, who know. BUT I will say that I am plenty happy with how it looks-- a light gray with blue tones. I may dye over it again, who knows. :)

Above you can see a how the grape dye affected the little piece of acrylic yarn I used to tie around the cotton-- it was way more purple! So strange to me..
Whew! That was a long post..
I hope these experiments inspire you take a stab at dyeing with junk from your kitchen. Or nature. It was a blast. If you have any questions, feel free to ask below in the comments. I'll answer to the best of my abilities!
I plan on talking about "paint dyeing" with Kool-Aid next week-- should be fun!
Happy making!
-Meg


