


How I "Paint" Dyed Yarn with Kool-Aid
/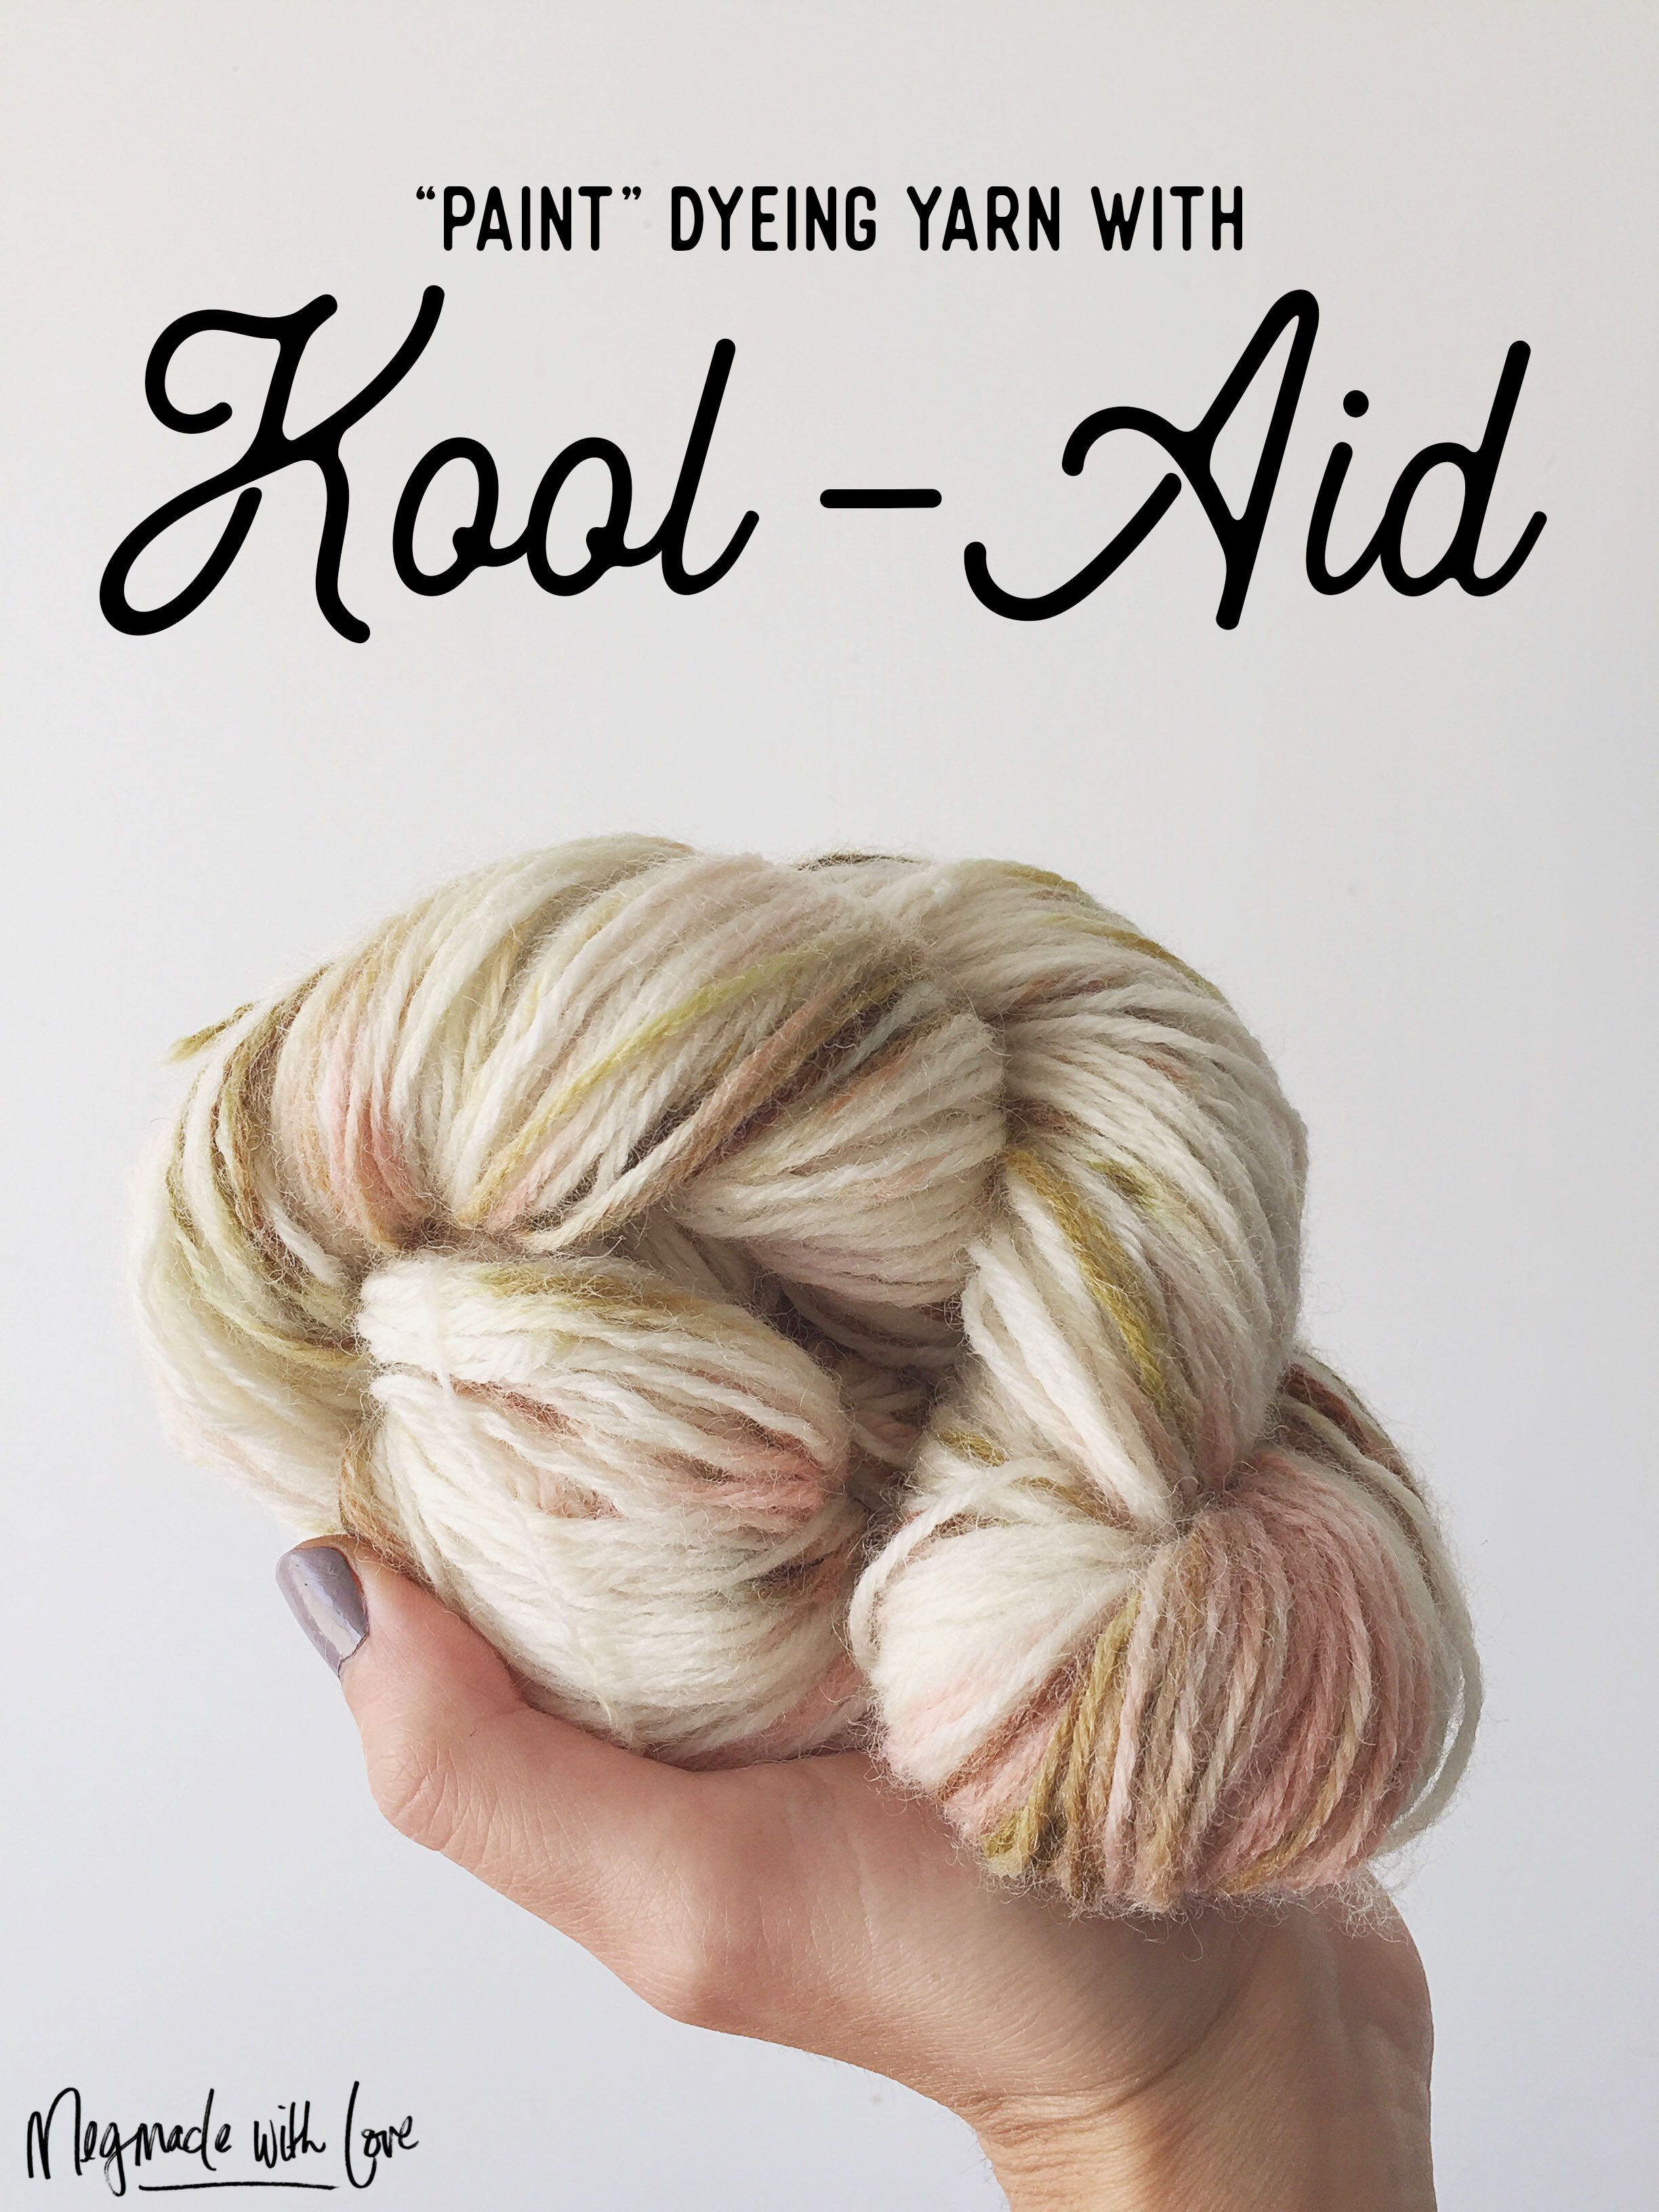
There are tons of different methods to dye yarn with Kool-Aid, but I thought I'd share my adventure, and what I learned along the way. I used a "painting" method, where I literally used a paint brush to paint on the color in some areas.
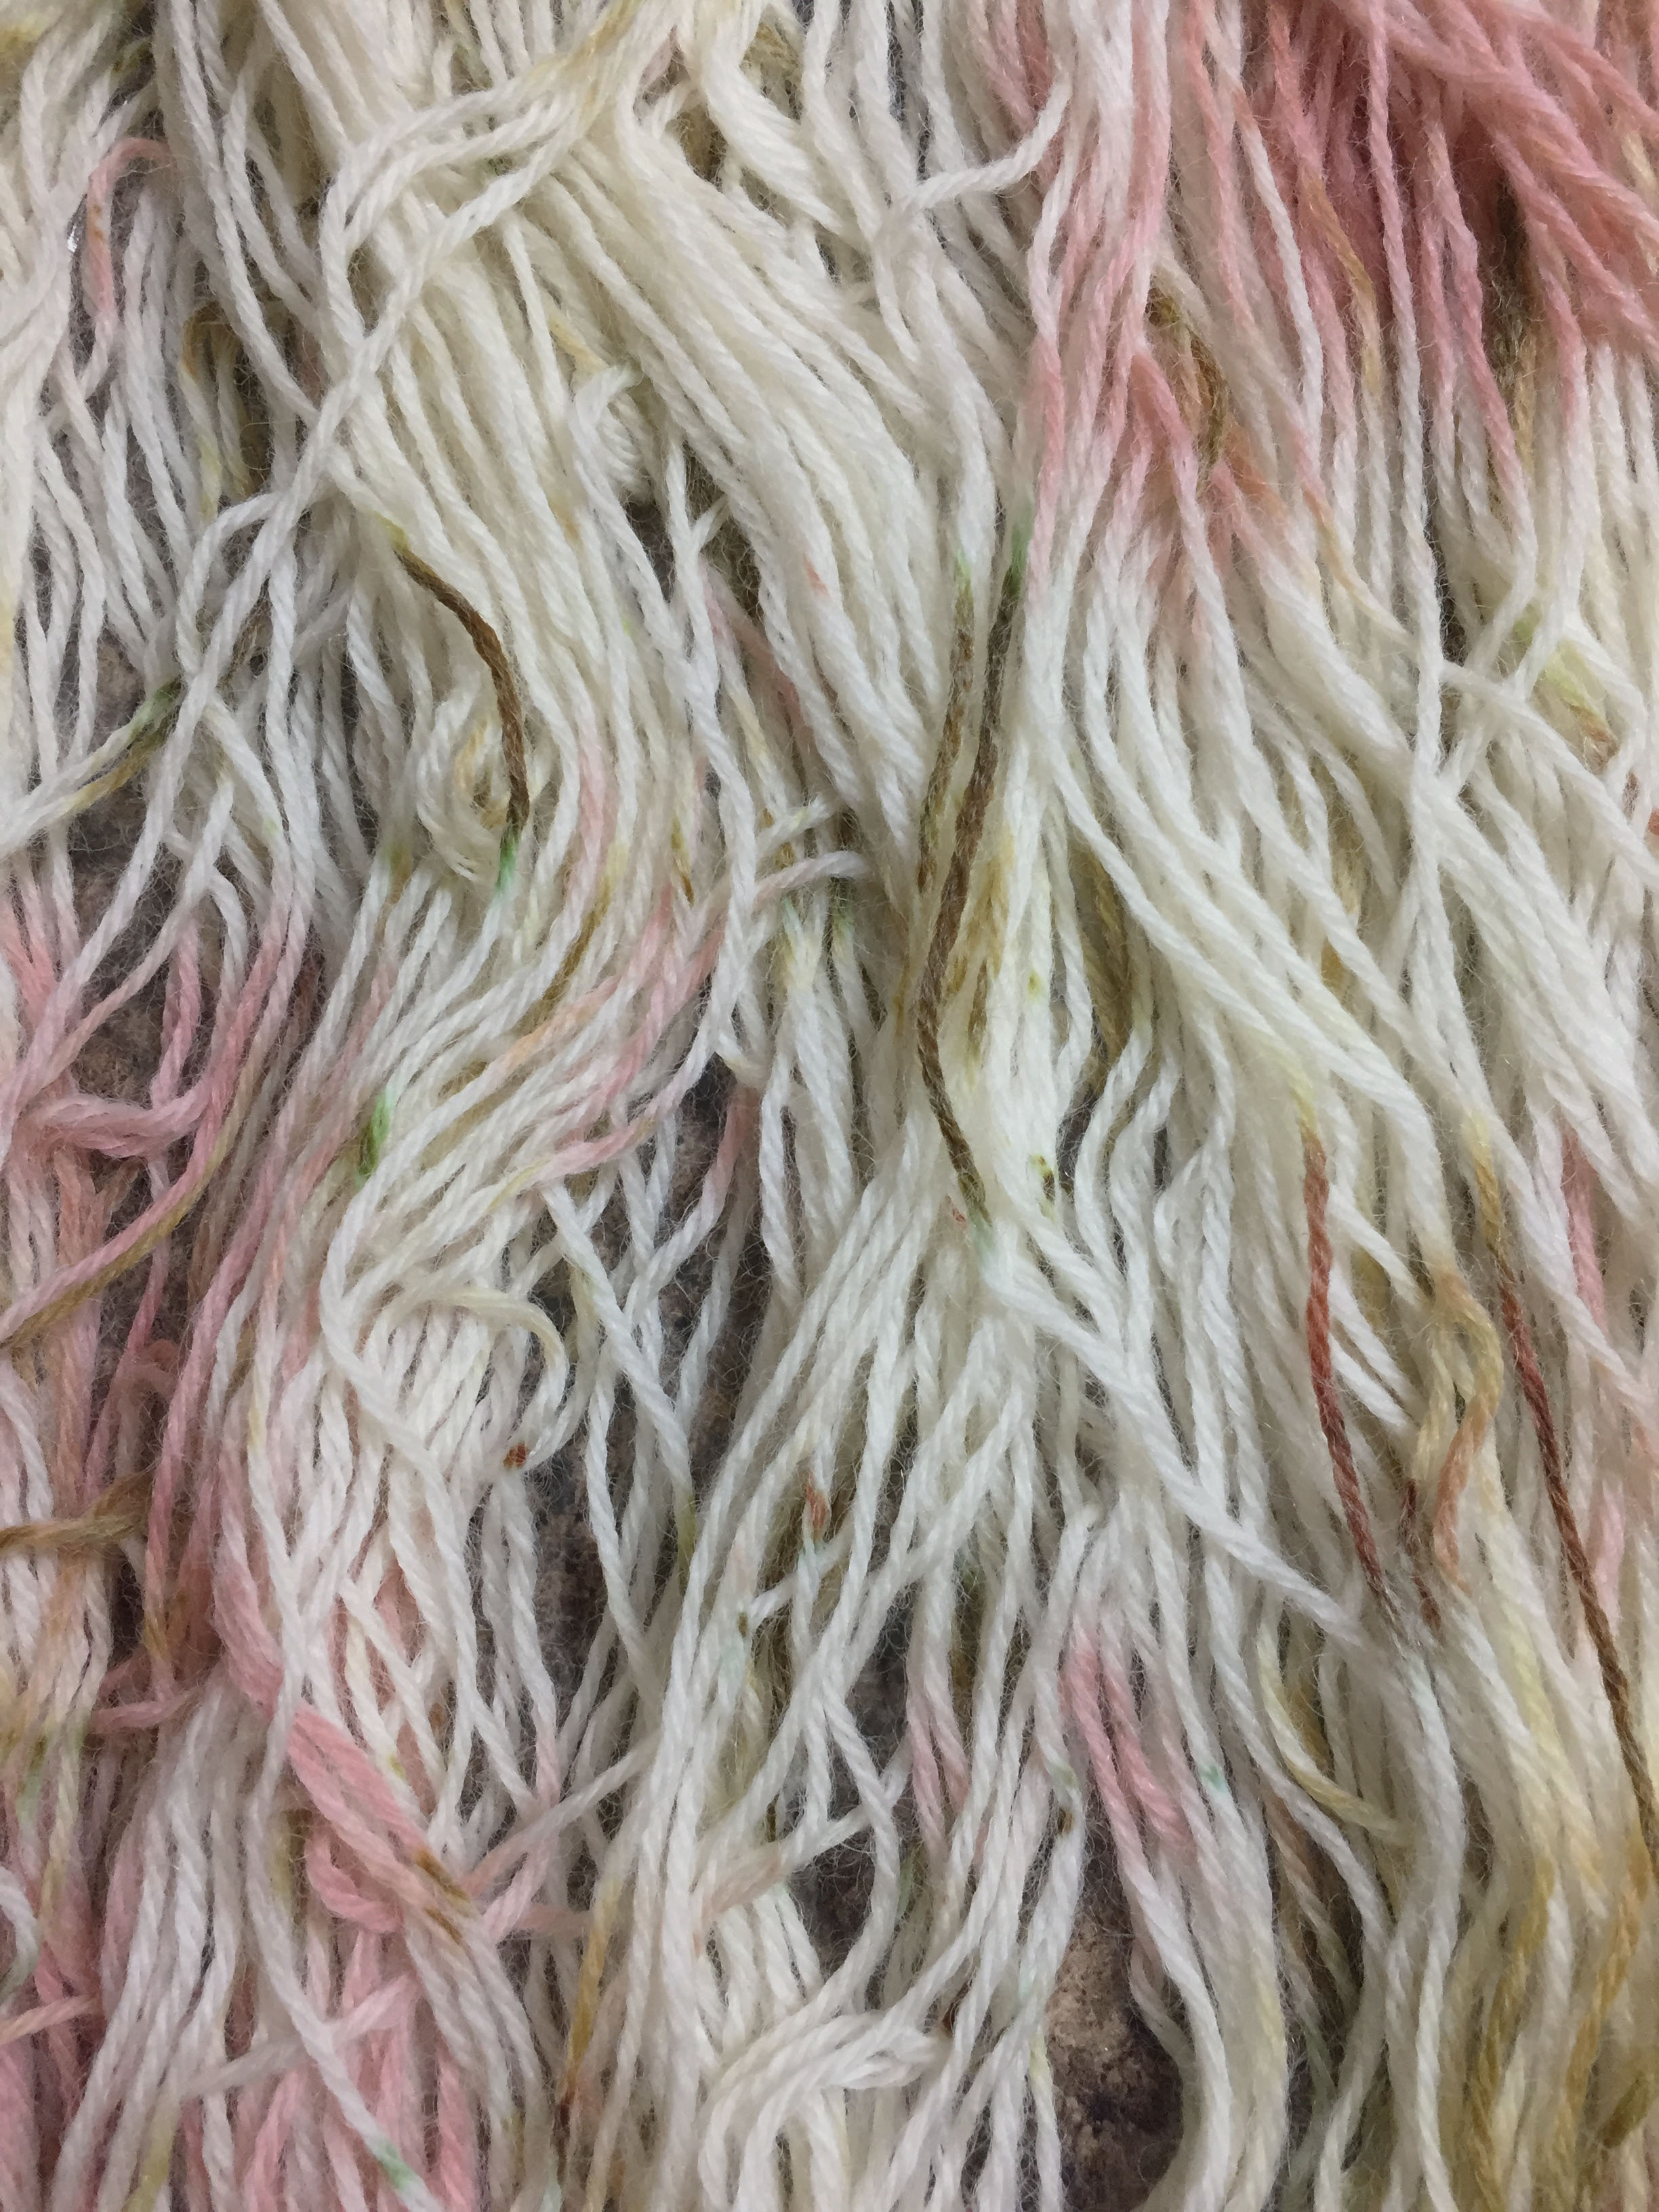
I absolutely love the way this yarn turned out, and I can't wait to see how it looks all worked up!

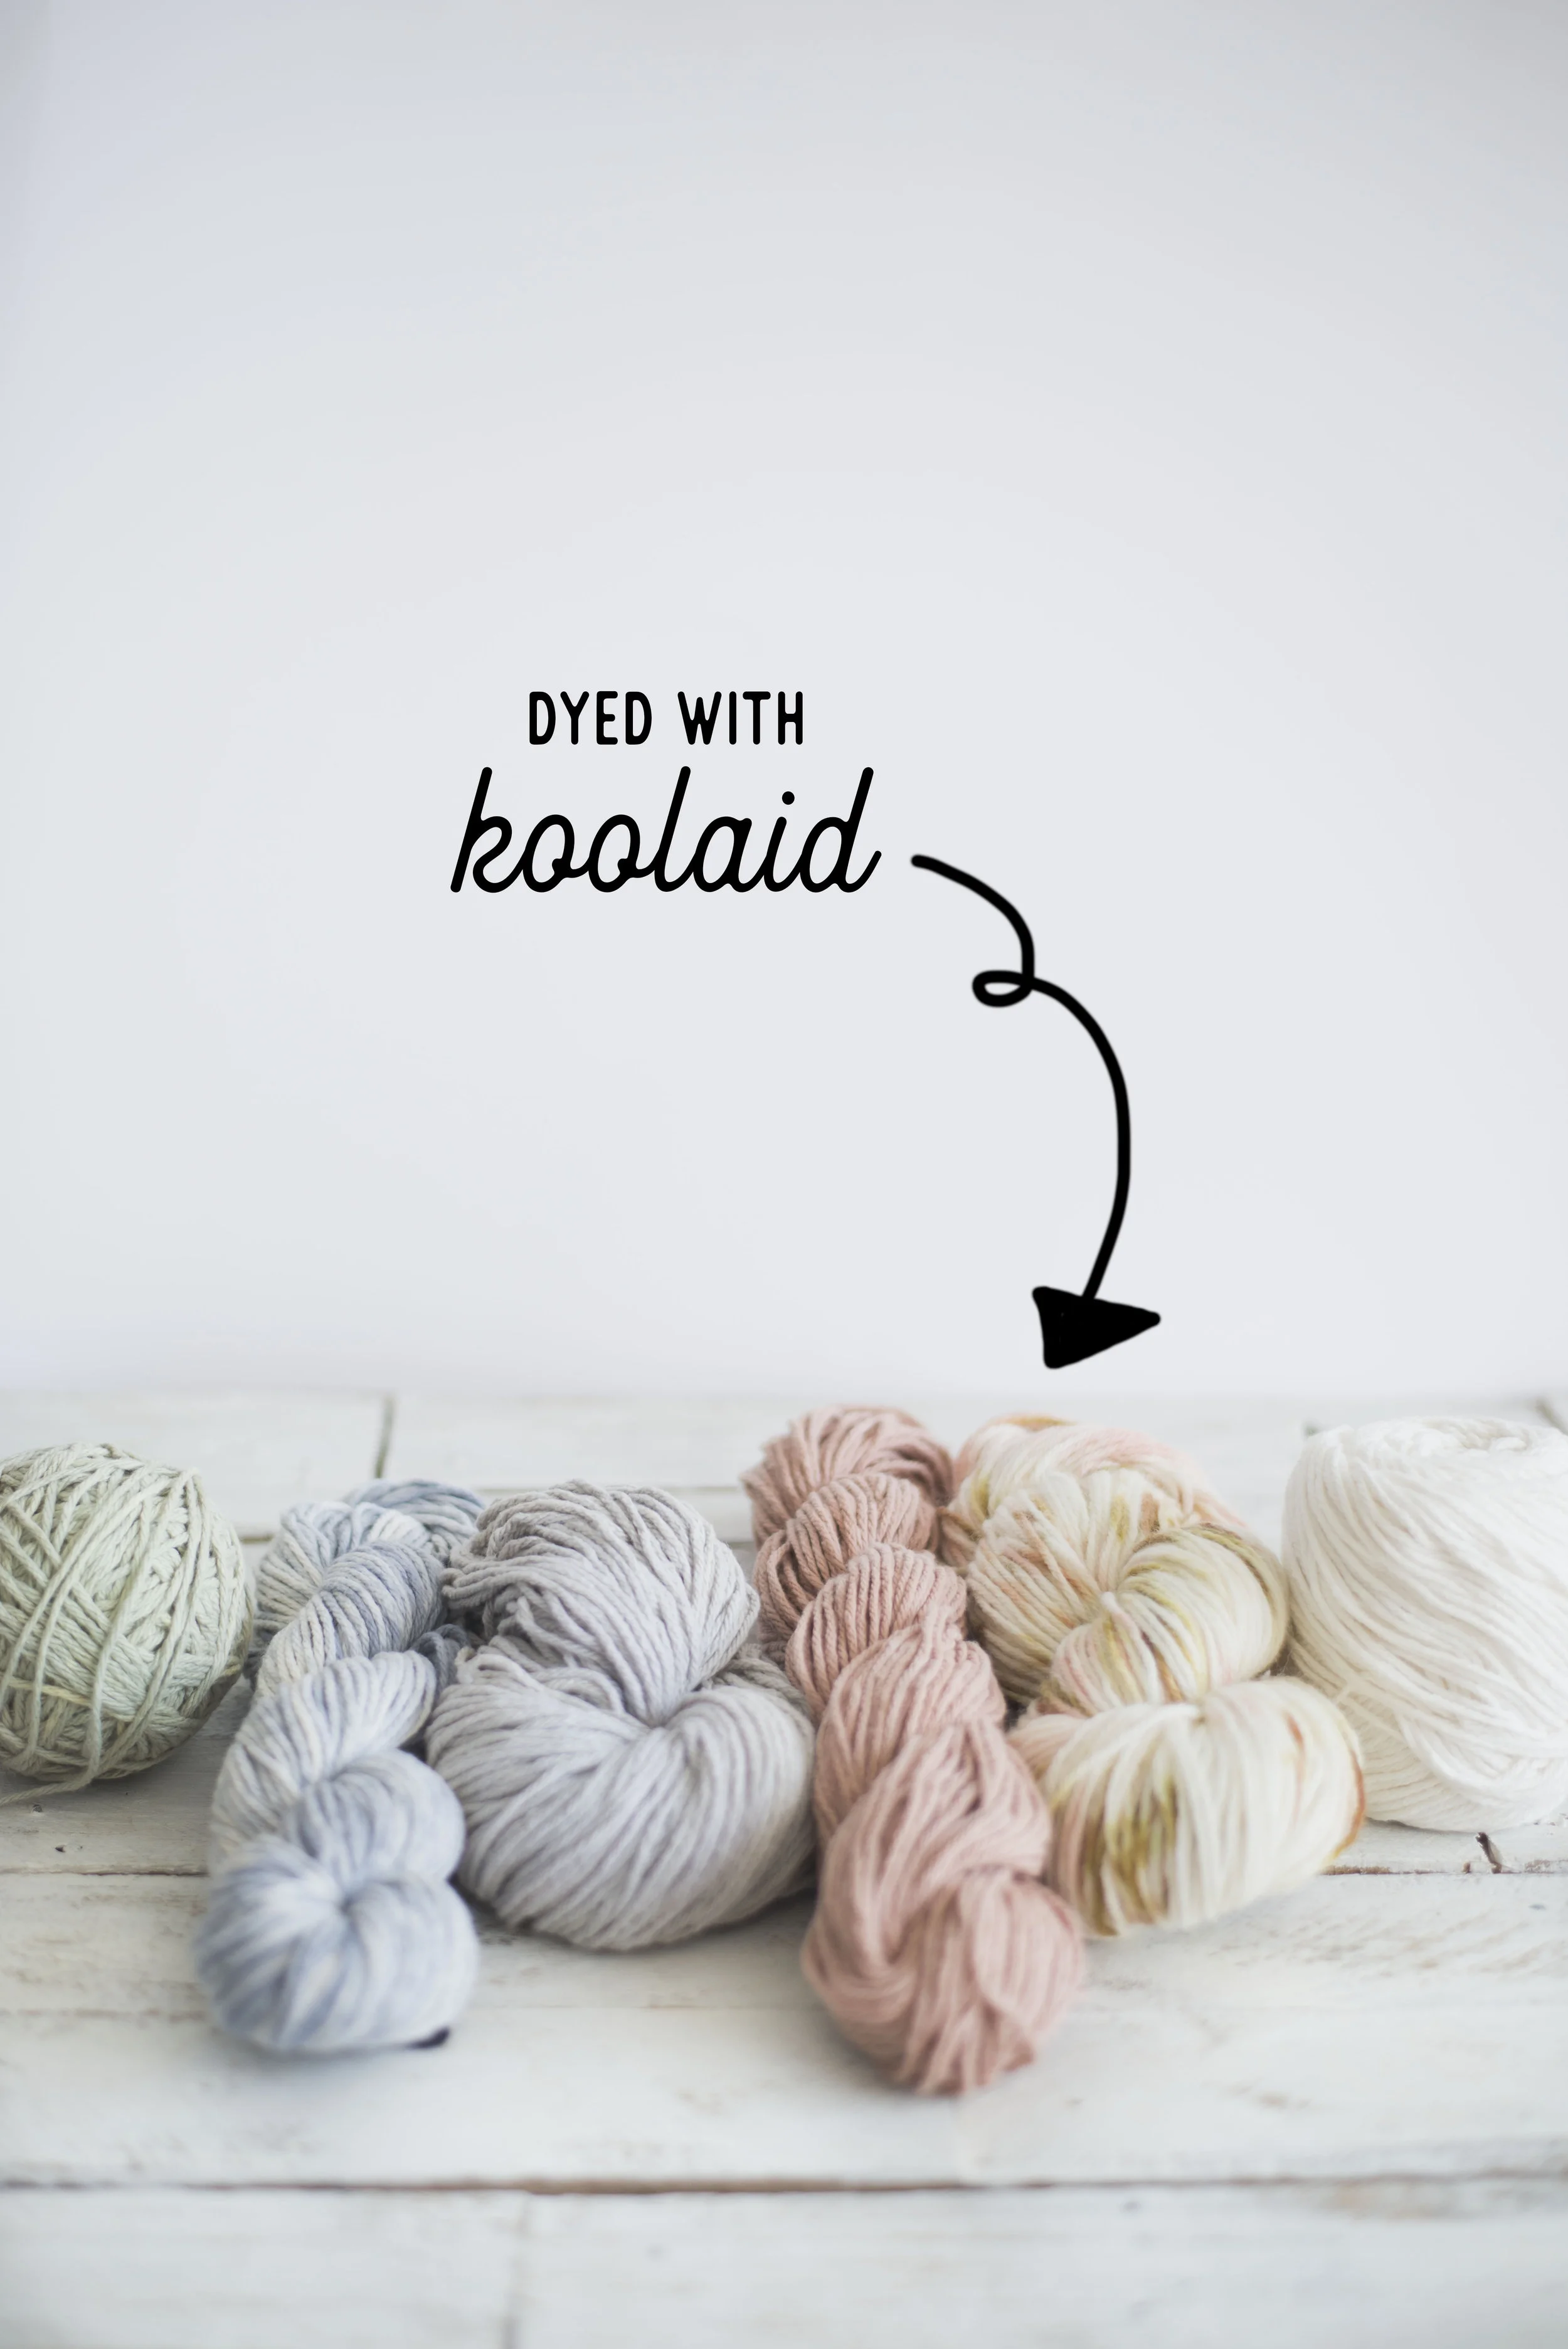
To start with a Kool-Aid dyeing experiment, you'll need wool or other animal fiber (I guess you can't even use other natural fibers like cotton). So I found some worsted-weight bare wool over at KnitPicks (found here) that worked perfectly for it! This yarn was inexpensive, I totally recommend!
First I lightly washed my yarn with a dab of dish soap, this may not be necessary, but I chose to do it! Be careful not to agitate it too much, as it will felt very easily. Then I soaked my yarn (in hank form, you can achieve this by wrapping it around the back of a chair dining room chair) in lukewarm water for one hour. I believe this opens up the fibers to accept the dye.

After the yarn was done soaking I wrung it out of all the water. I didn't want it to have much water, so the colors wouldn't spread. The wetter the yarn, the more dispersed the colors will be. Then I laid it down on my counter on top of a piece of saran wrap.
I also chose to cut a couple small pieces of yarn that I could test my colors on.

Next you'll gather your Kool-Aid! The fun part is figuring out what colors you'd like. There is this awesome website that I used to find unique colors for dyeing. They provide so many options and talk about how they achieved those colors. Click here to view the colors they provide. They also have additional instructions for Kool-Aid dyeing, if you'd rather dye the whole skein one color rather than painting. (I also enjoyed their collection of purple colors found here. Heart eyes!!)
Side note: something I wish I would have done was wear gloves, because the Kool-Aid can dye your hands. It certainly dyed mine! It does wear off, just doesn't look too pretty.

I decided for my yarn I wanted a light pink/rose color in "splotches" as well as spots of dark brown and olive.
When first trying to achieve the pink color I mixed one packet of Pink Lemonade with one packet of Lemonade with one cup of water.
That was too orange for my taste, so I added just a pink of Grape to the bowl and loved the outcome of the color! I tested both colors, and you can see how they compare in the above photo. I liked the muted color of the pink. Success!
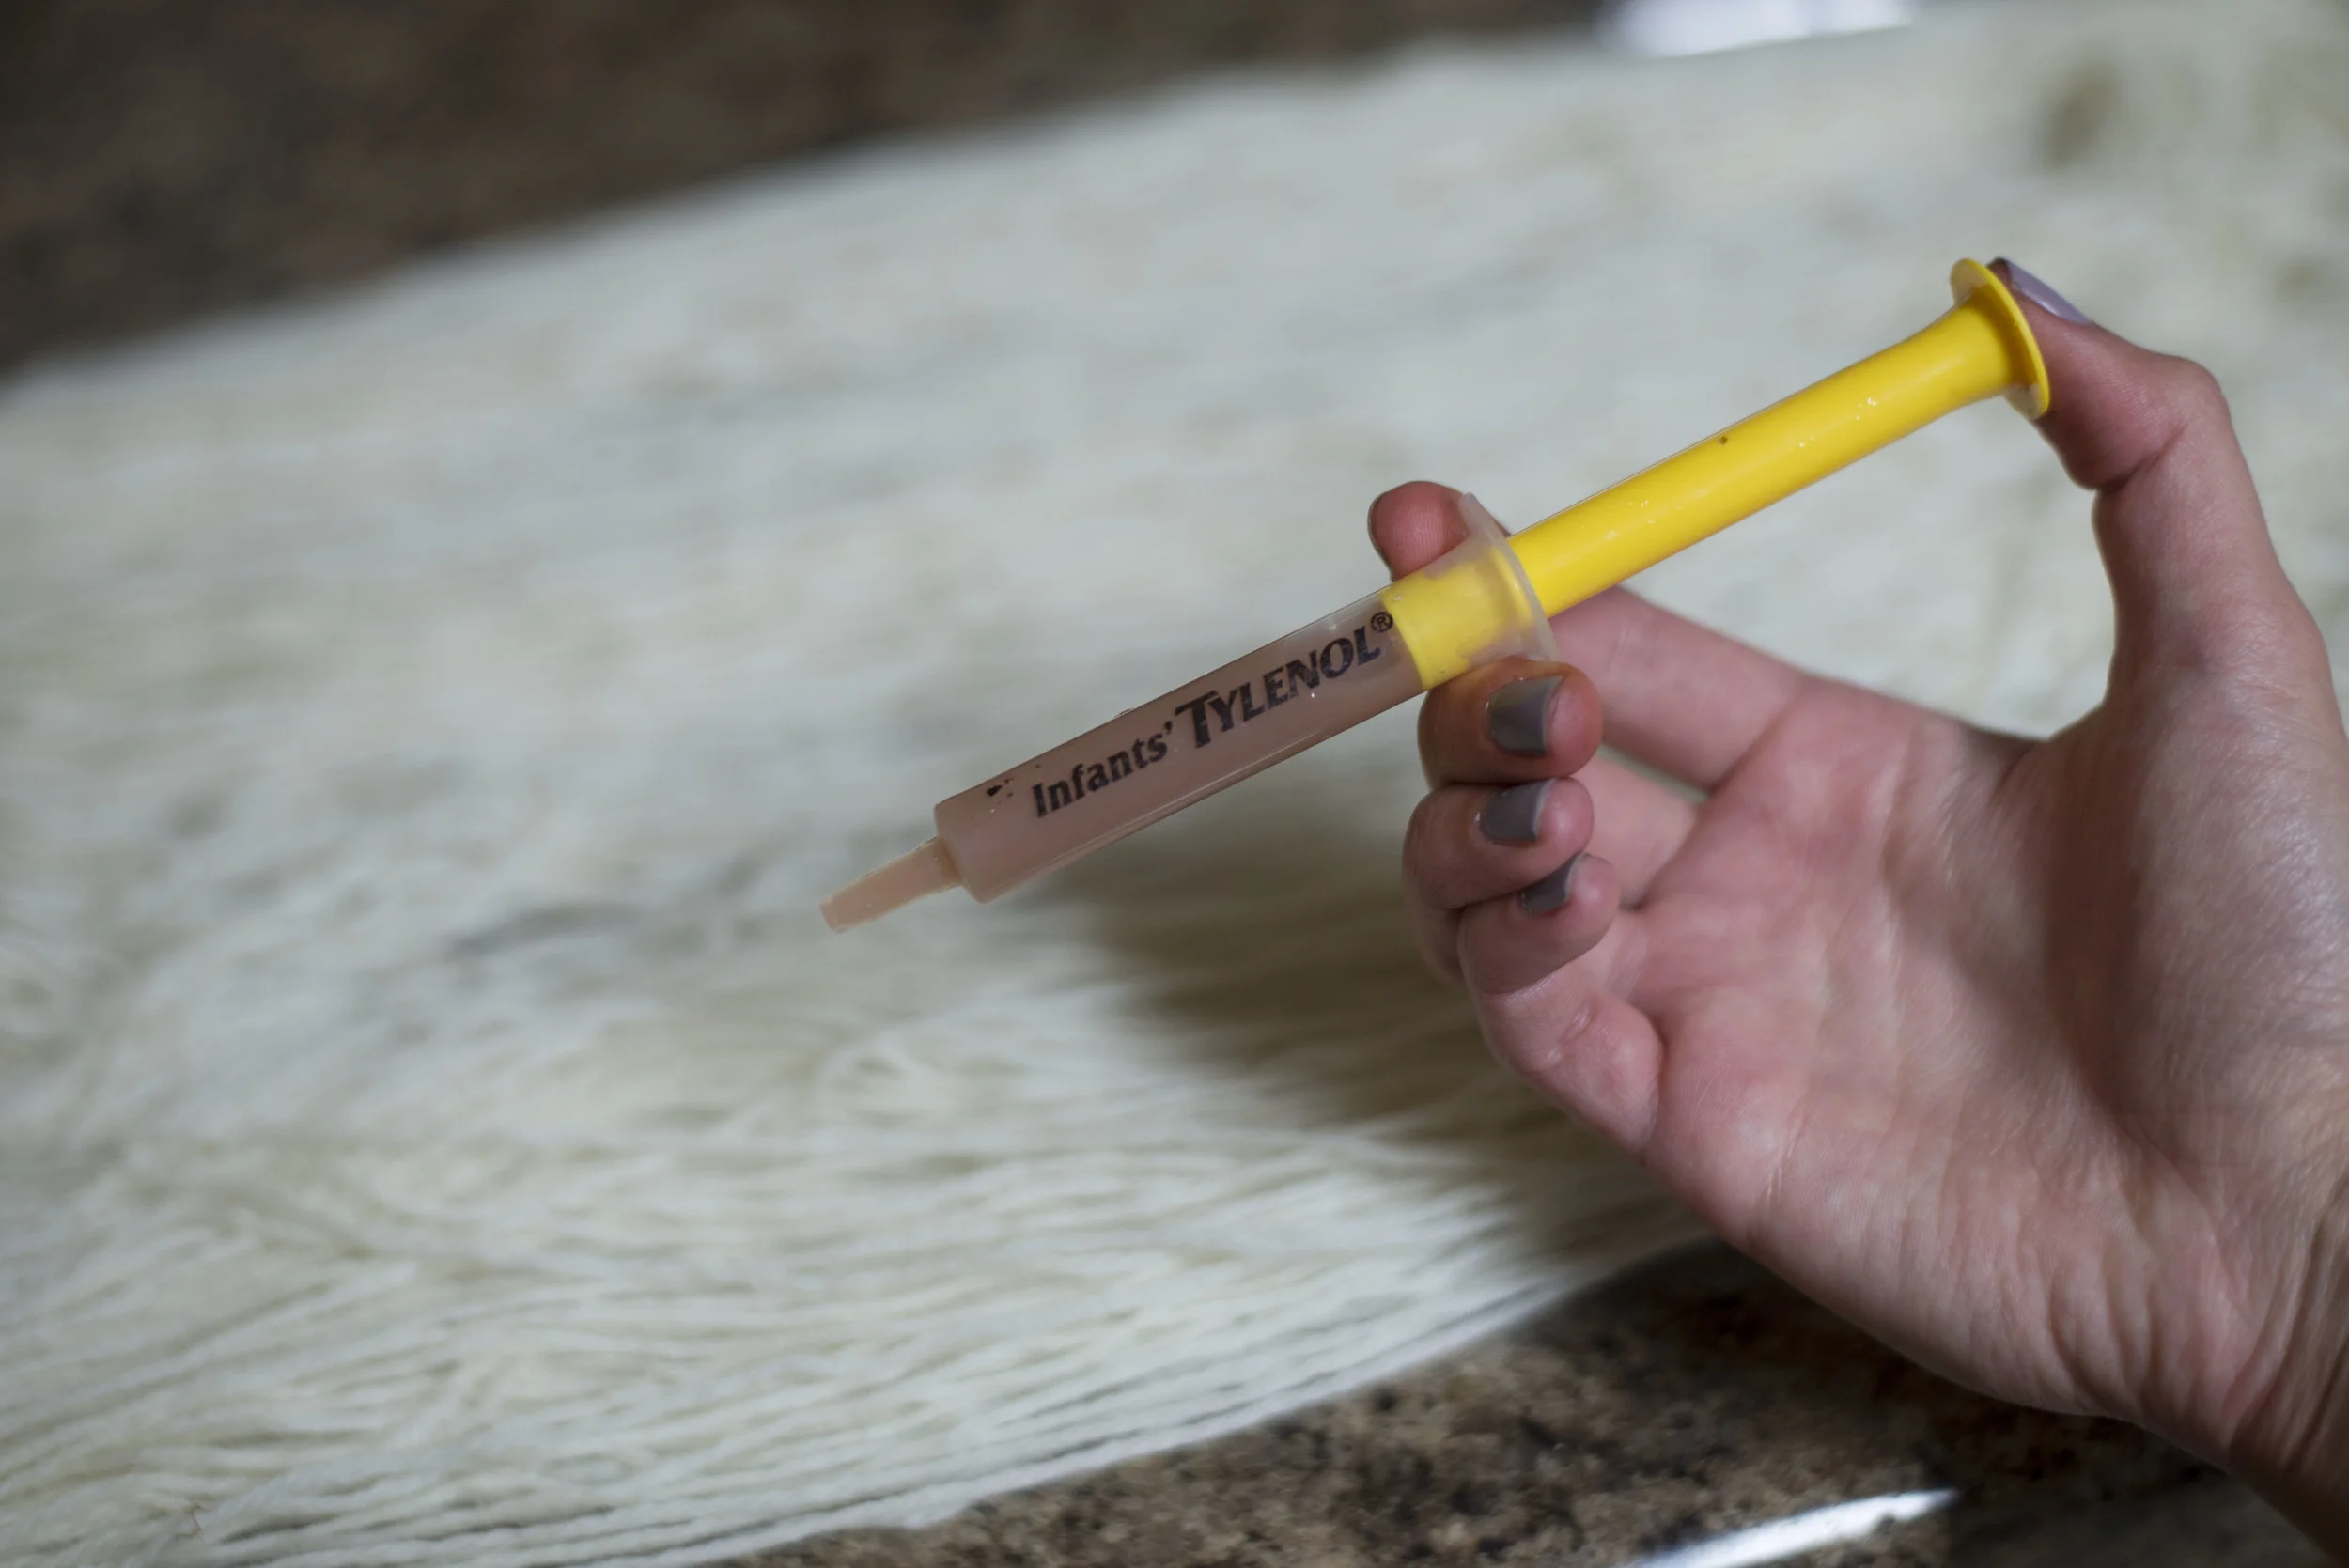
Then I grabbed a syringe- a Infant Tylenol syringe to be exact. haha! And began to squirt the pink dye in random places around my yarn. I made sure to hit the bottom side too!


I also chose to put a few speckles here and there. I just had fun playing around- not trying to make it look perfect by any means.

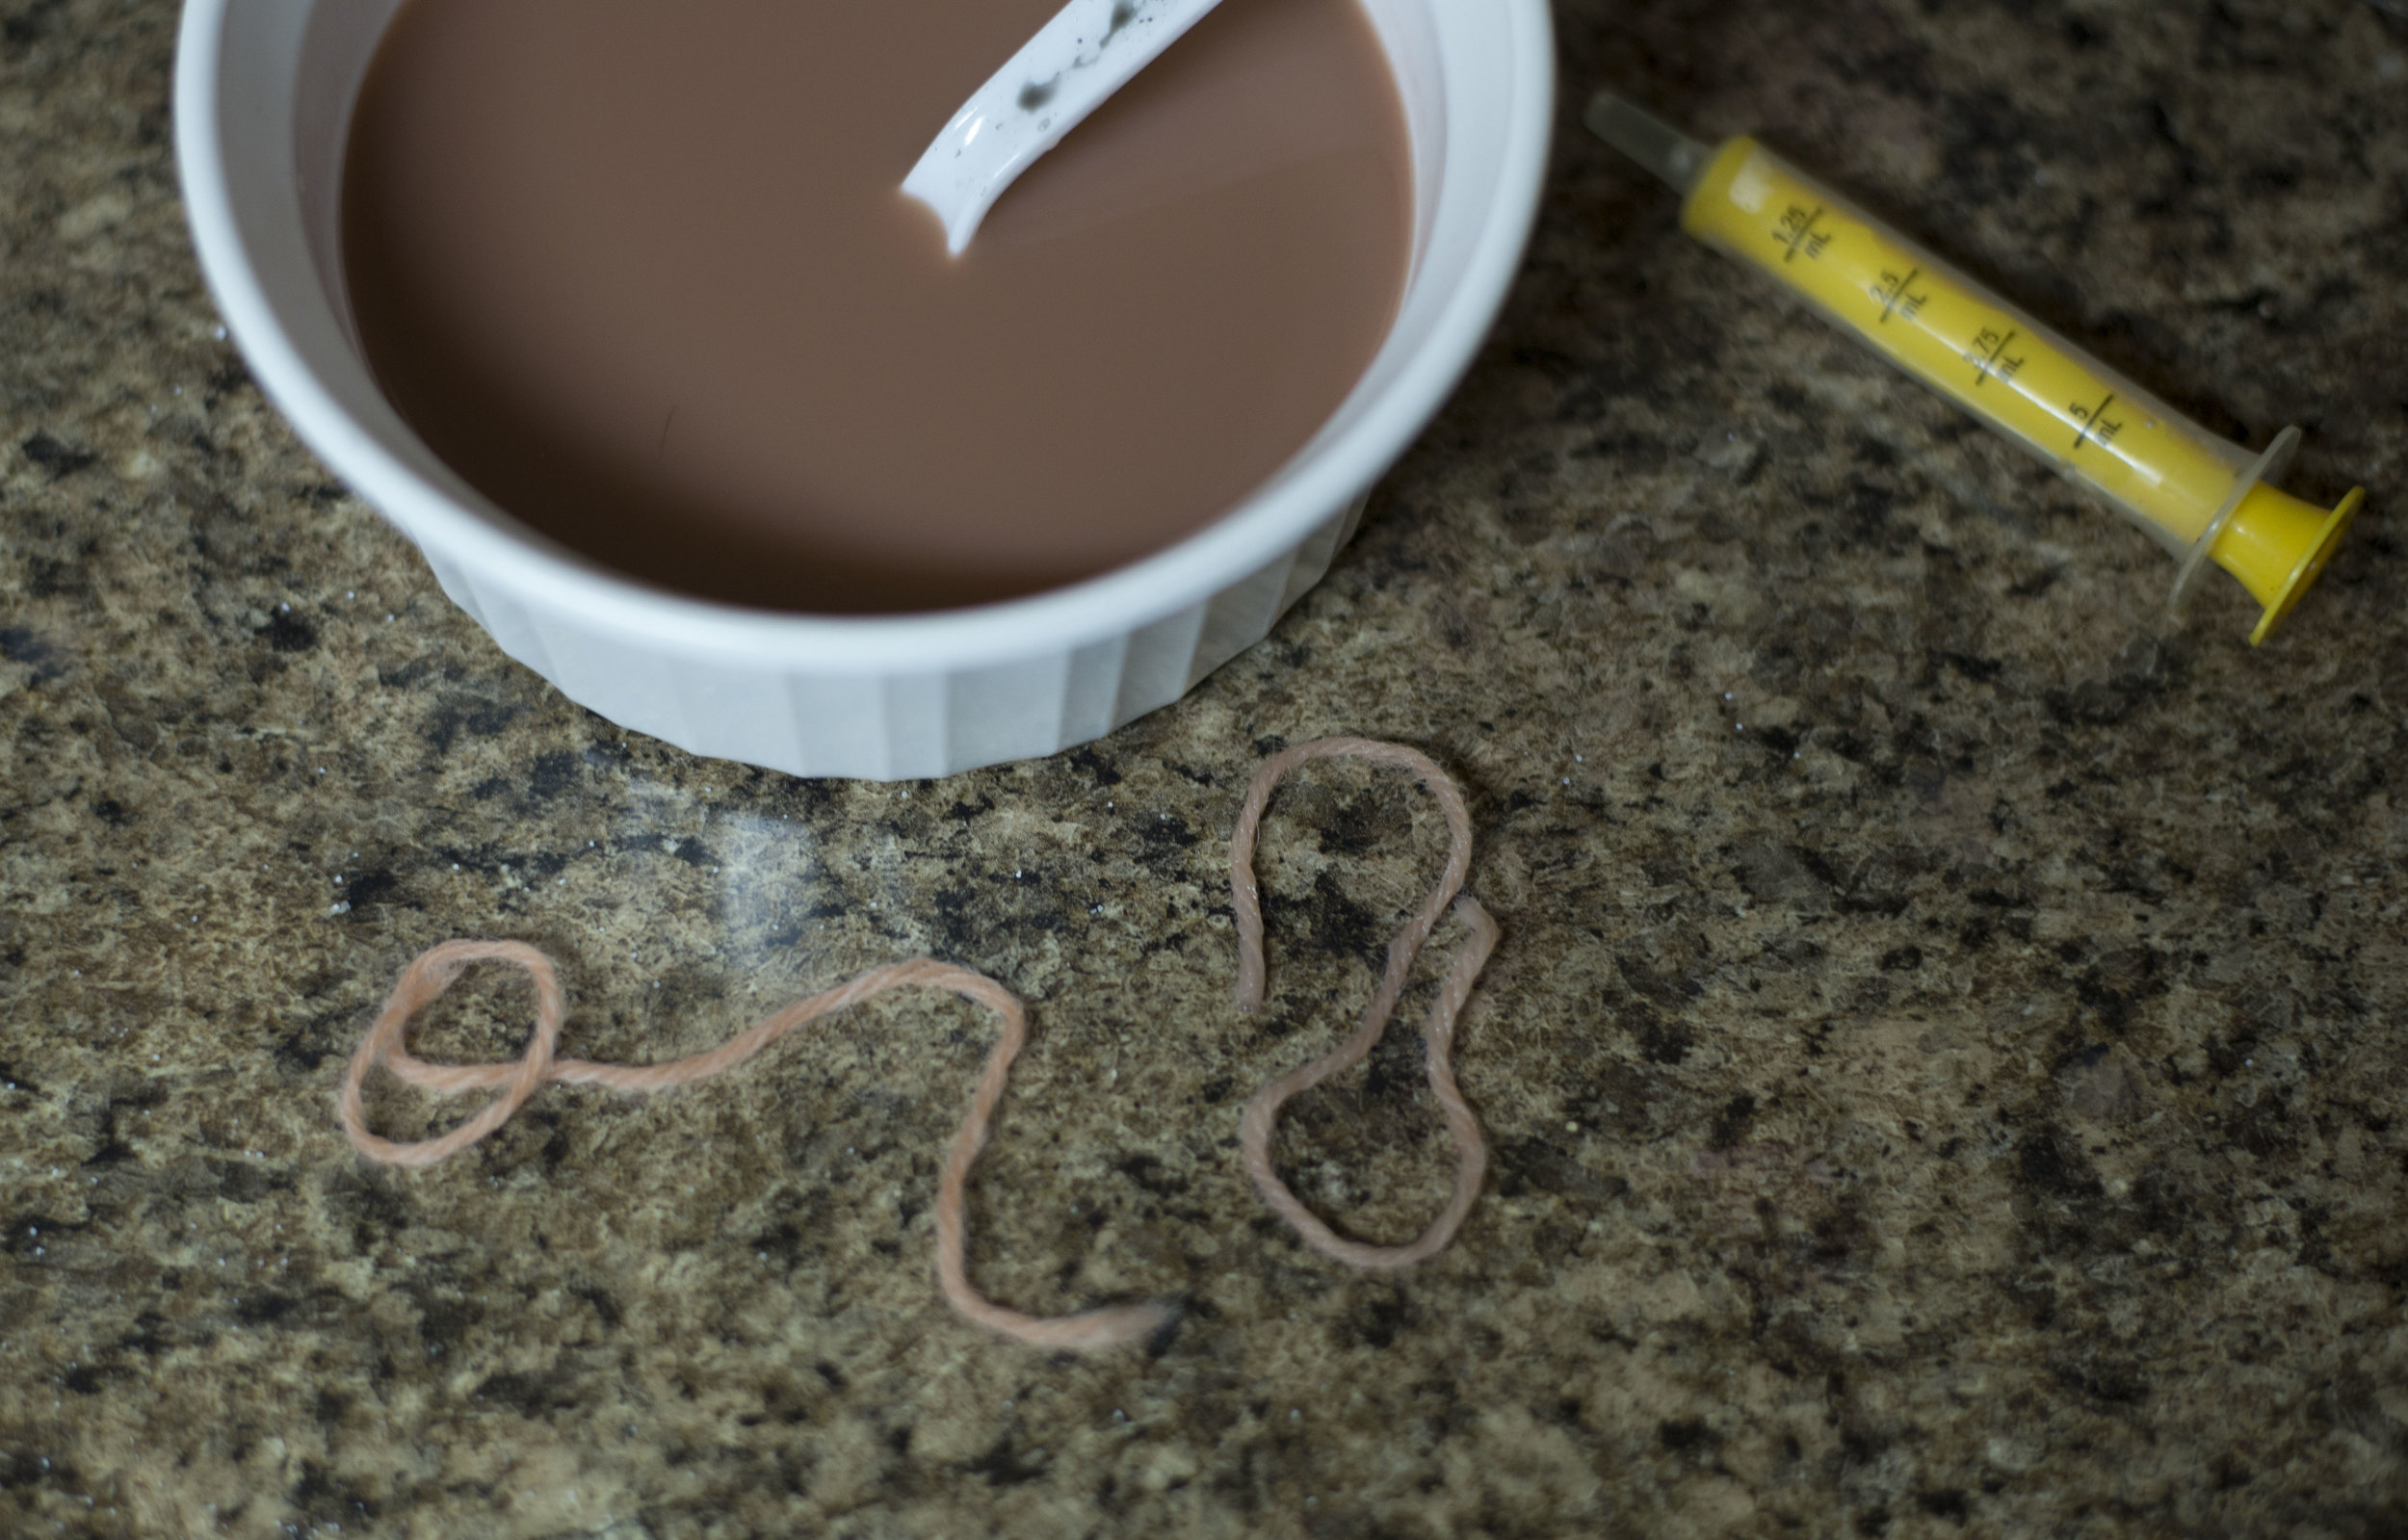
After I had all the pink I needed, I went in with my dark spots. I knew that I wanted these to be very concentrated and wanted to mix different colors, so I chose to make a paste-like substance. To achieve the dark brown color I mixed one packet of Green Apple and one packet of Watermelon in a little bowl (I actually just used a measuring cup). Then I added just a touch of water, just enough to be able to mix the substance. I didn't want too much water, or the color would disperse!
The Kool-Aid wasn't entirely dissolving so I decided to microwave it for 10 seconds, and that did the trick! It looked like chocolate. :)
Make sure the paste is mixed very well- or your dye might have the separate colors!

Then to make the olive green color I followed the same method as above, except I used one packet of Blue Raspberry Lemonade and one packet of Orange.

Before I went in with these colors, I also tested them on my little piece of yarn. I approved! The yarn took the dark color well...

To make the little spots, I actually used a fine-tipped paint brush, and dabbed it in the Kool-Aid mixture then onto the yarn. Just putting them in random places. Making sure not to forget the under side.

The above photo is what it looked like with only the olive color. For some reason I decided I thought it might look cool to have the color be dispersed a bit more, so I added some water to the little spots, but regret that decision. I think it looked better without spreading. Just a preference!
Then I went in with the dark brown color. I thought this offered a nice dark contrast!
To set the color, I chose to microwave the yarn. You can also steam it, I just didn't have a steam basket. (If you boiled it in water, the colors would disperse!)
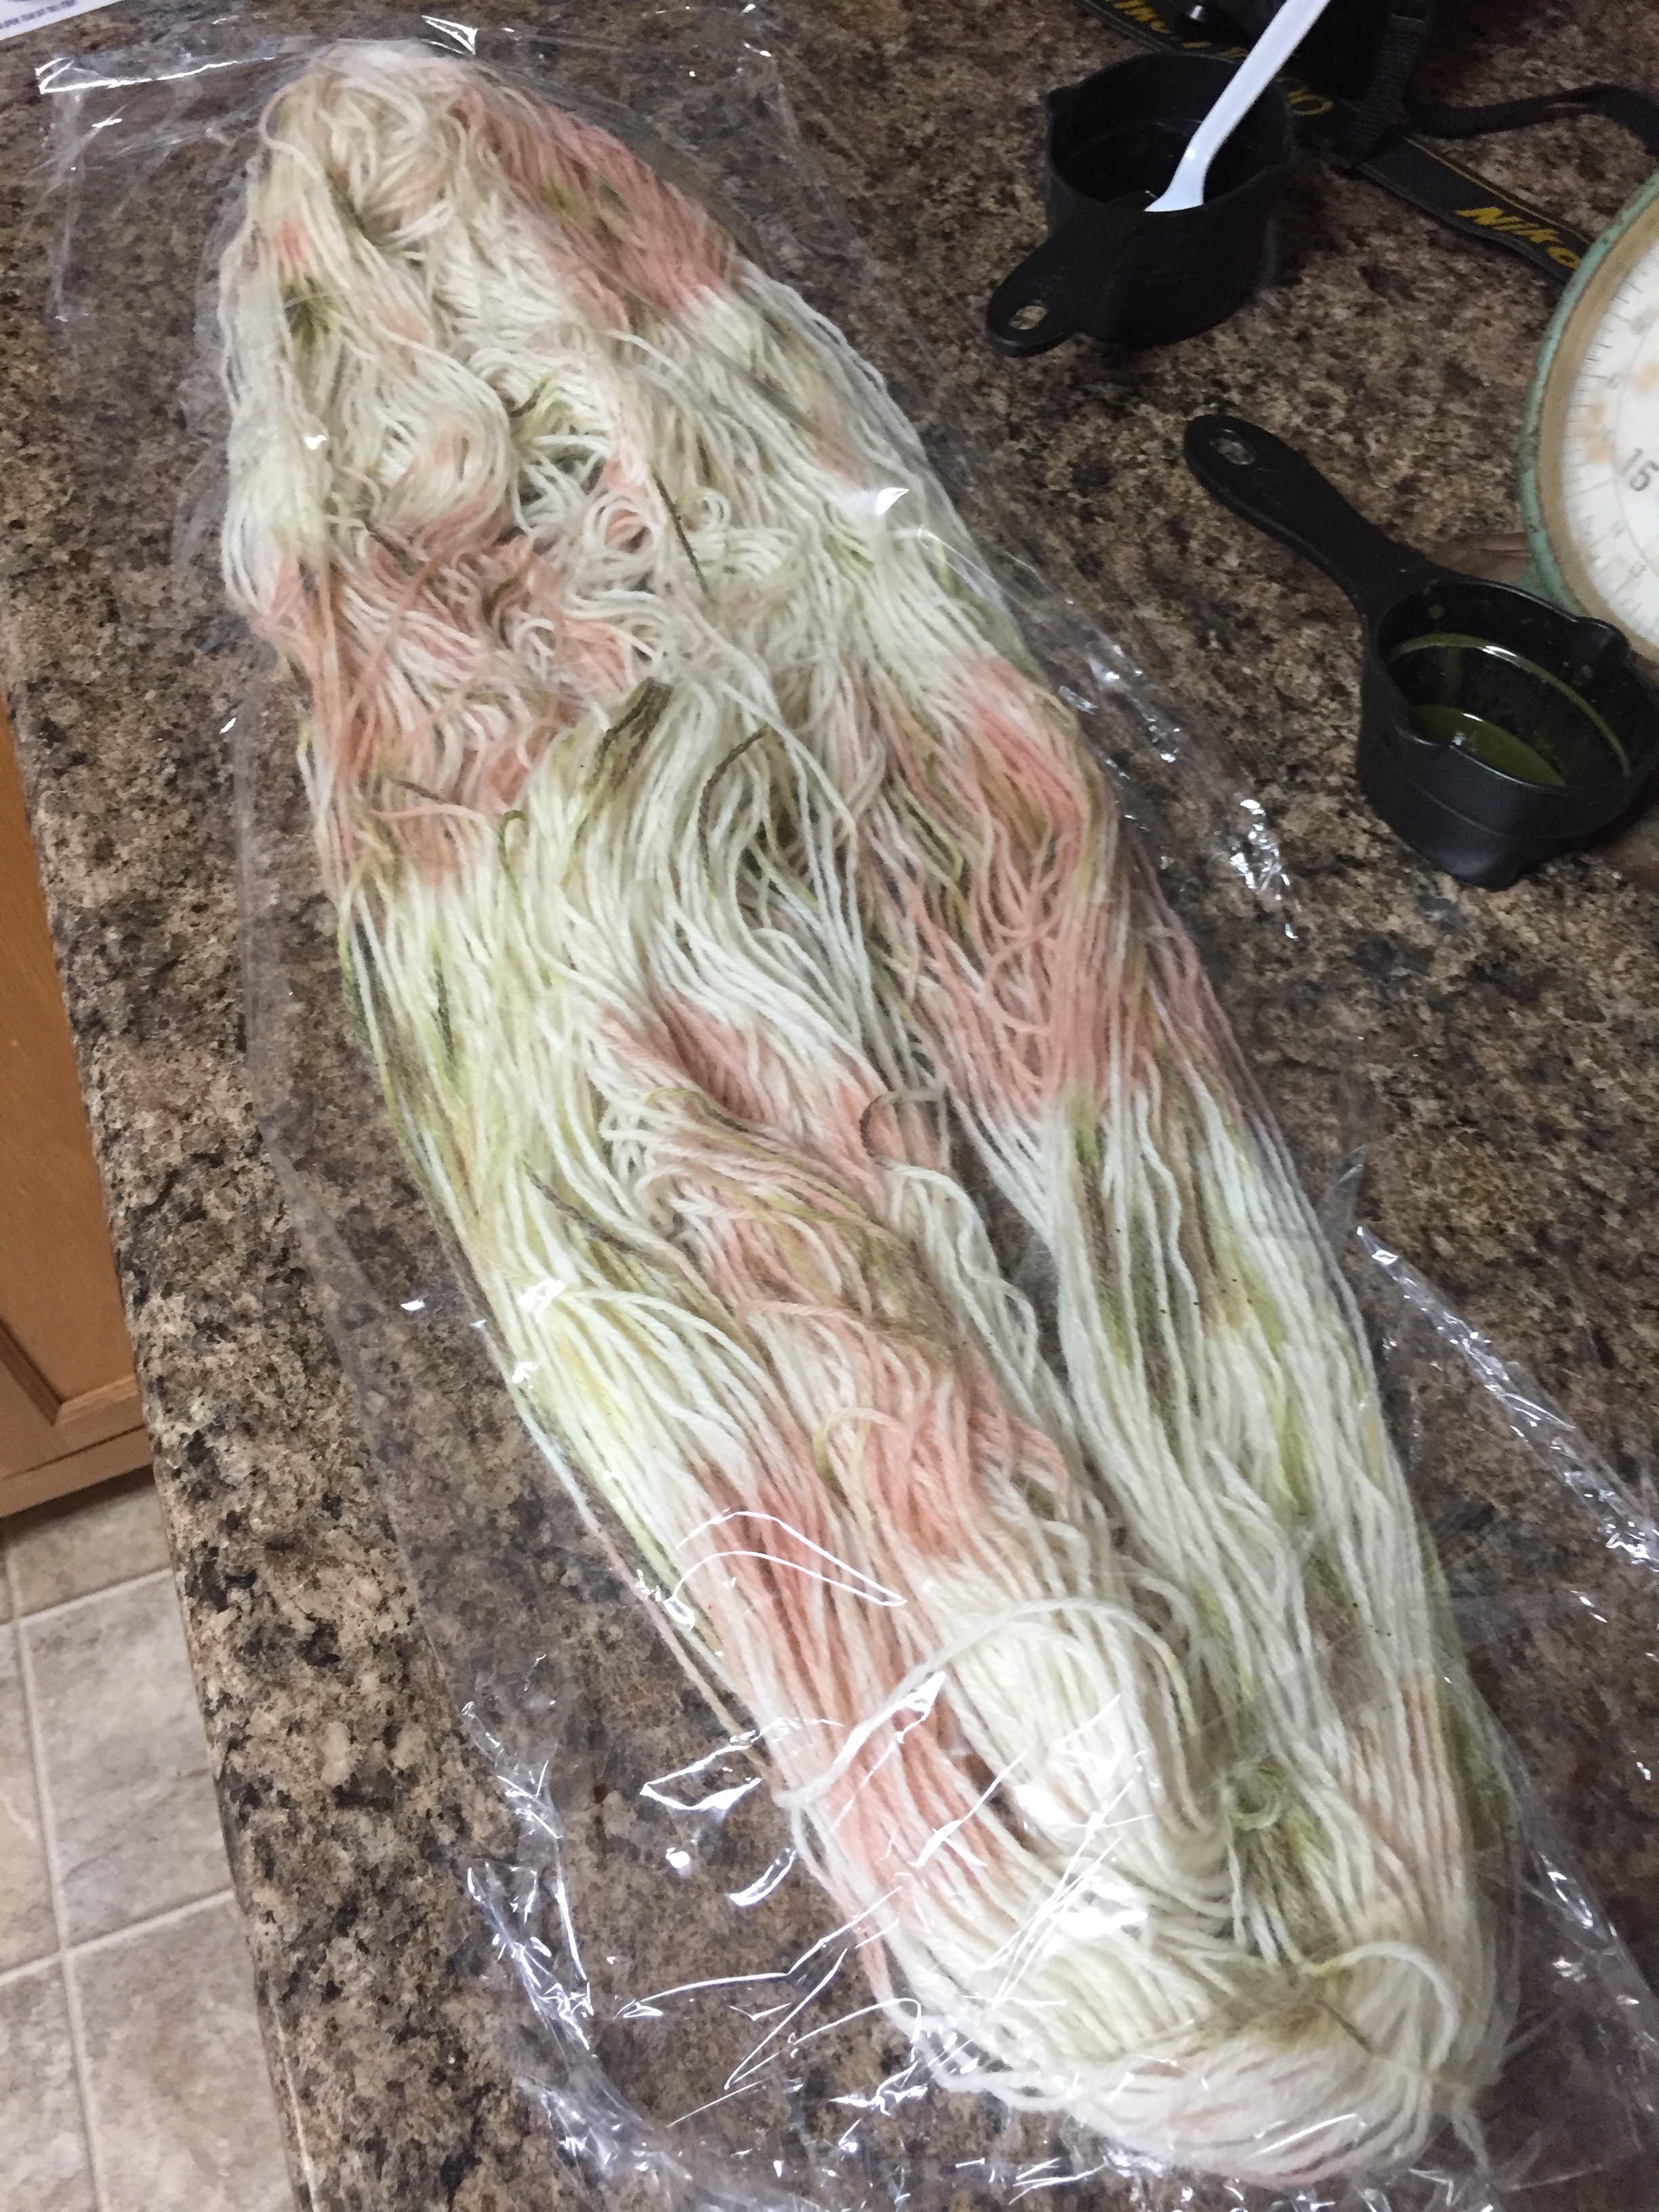
Before putting the yarn in the microwave I put another piece of saran wrap over the top of it.

Then I wrapped it so it was all covered, and folded it up (shown in above pic).
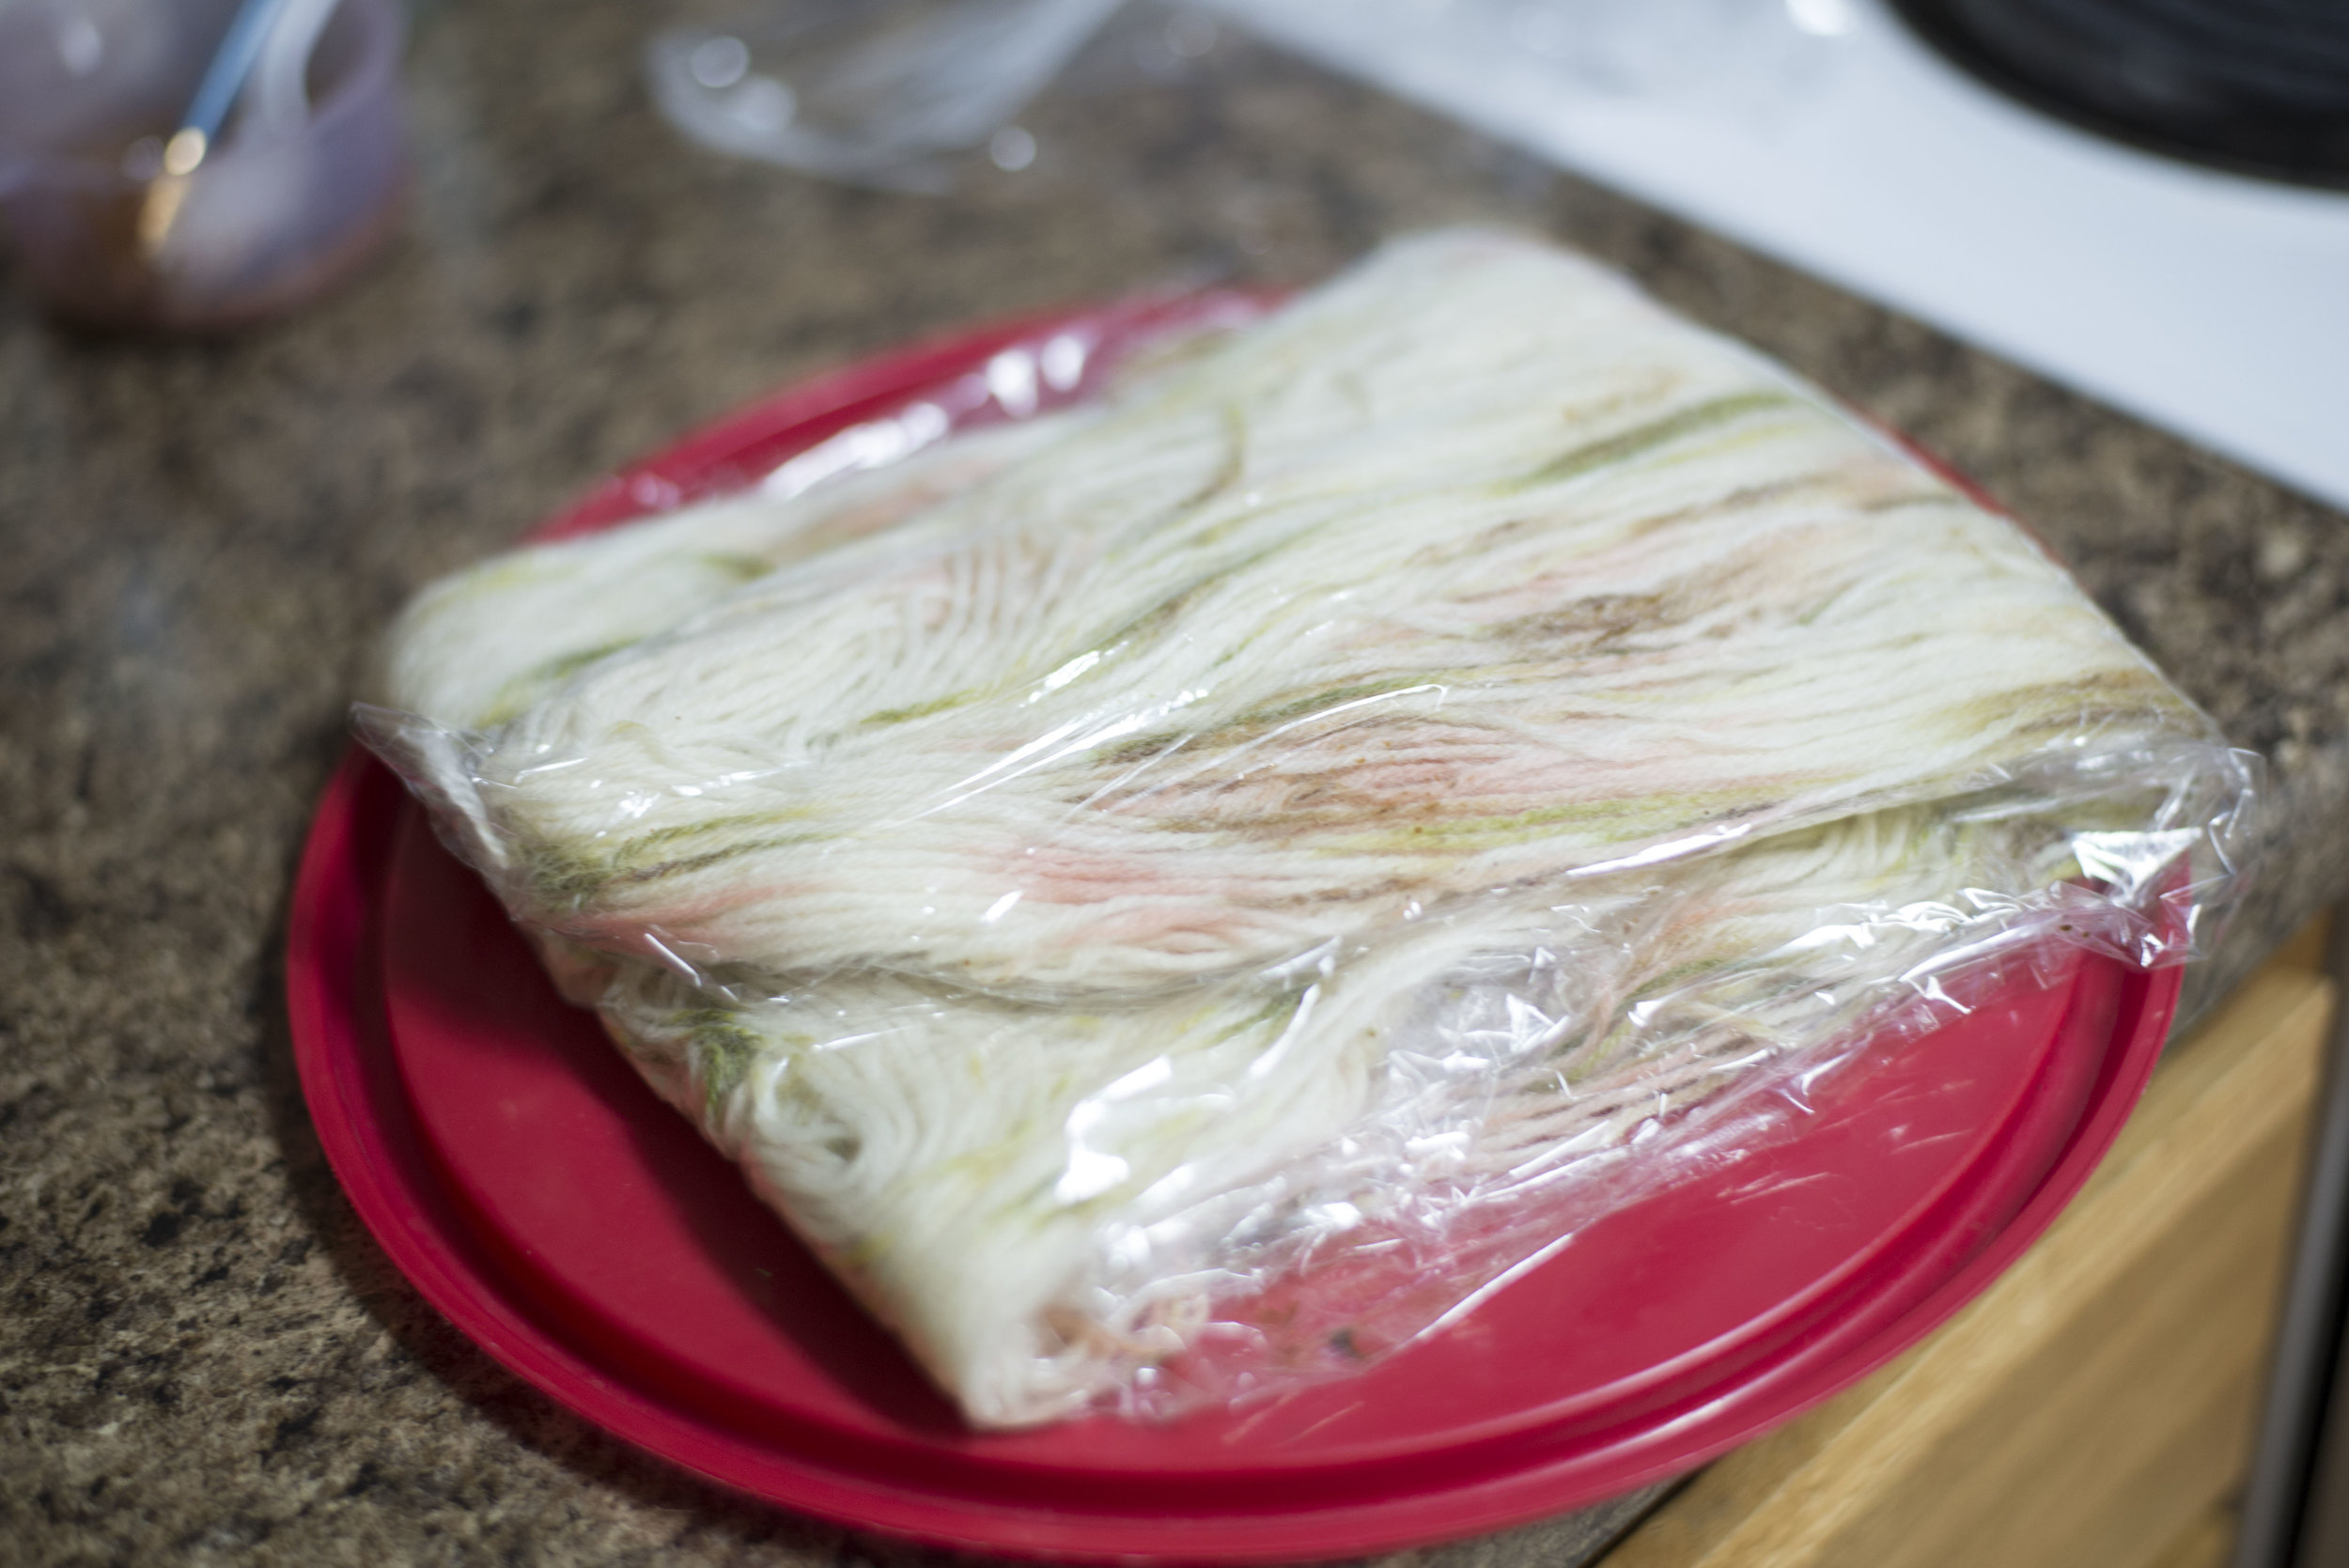
Then I decided to place it on a plastic lid..
I popped it in the microwave for 2 minutes. It is possible to burn your yarn doing this, so I would suggest doing 2 minute-increments and checking on it as you go.
P.S. It kinda smelled like perm, which was gross. But the smell can be washed out!
After the 2 minutes were up, I took it out of the microwave and set it on the countertop (still folded up) to cool.
After it cooled completely, I microwaved it for one more minute, just to make sure the dye was set, and let it cool off completely again.
It's important to be patient during this step, because if you hurry it, your yarn may not turn out as well! Let it cool completely!

Then I washed the yarn in my sink, with a dab of soap (again, being careful not to felt- it began to start sticking together so I stopped washing after that). You want to rinse/wash until the water runs clear.
After washing, you'll set it out to dry. A clothes drying rack is perfect for this. Make sure not to dry it in direct sunlight!

Once it's dry you can marvel at the awesome yarn you just dyed! I know I did! I. am. in. love.
And that's how I dyed some yarn with good-ole Kool-Aid. I hope this post inspires you to try it for yourself! It's seriously a blast experimenting with dyeing yarn.
Let me know if you ever give it a go! I'd love to see your results. :)
Happy making!!
-Meg


