


The Sunset Sweater - Free Crochet Pattern
/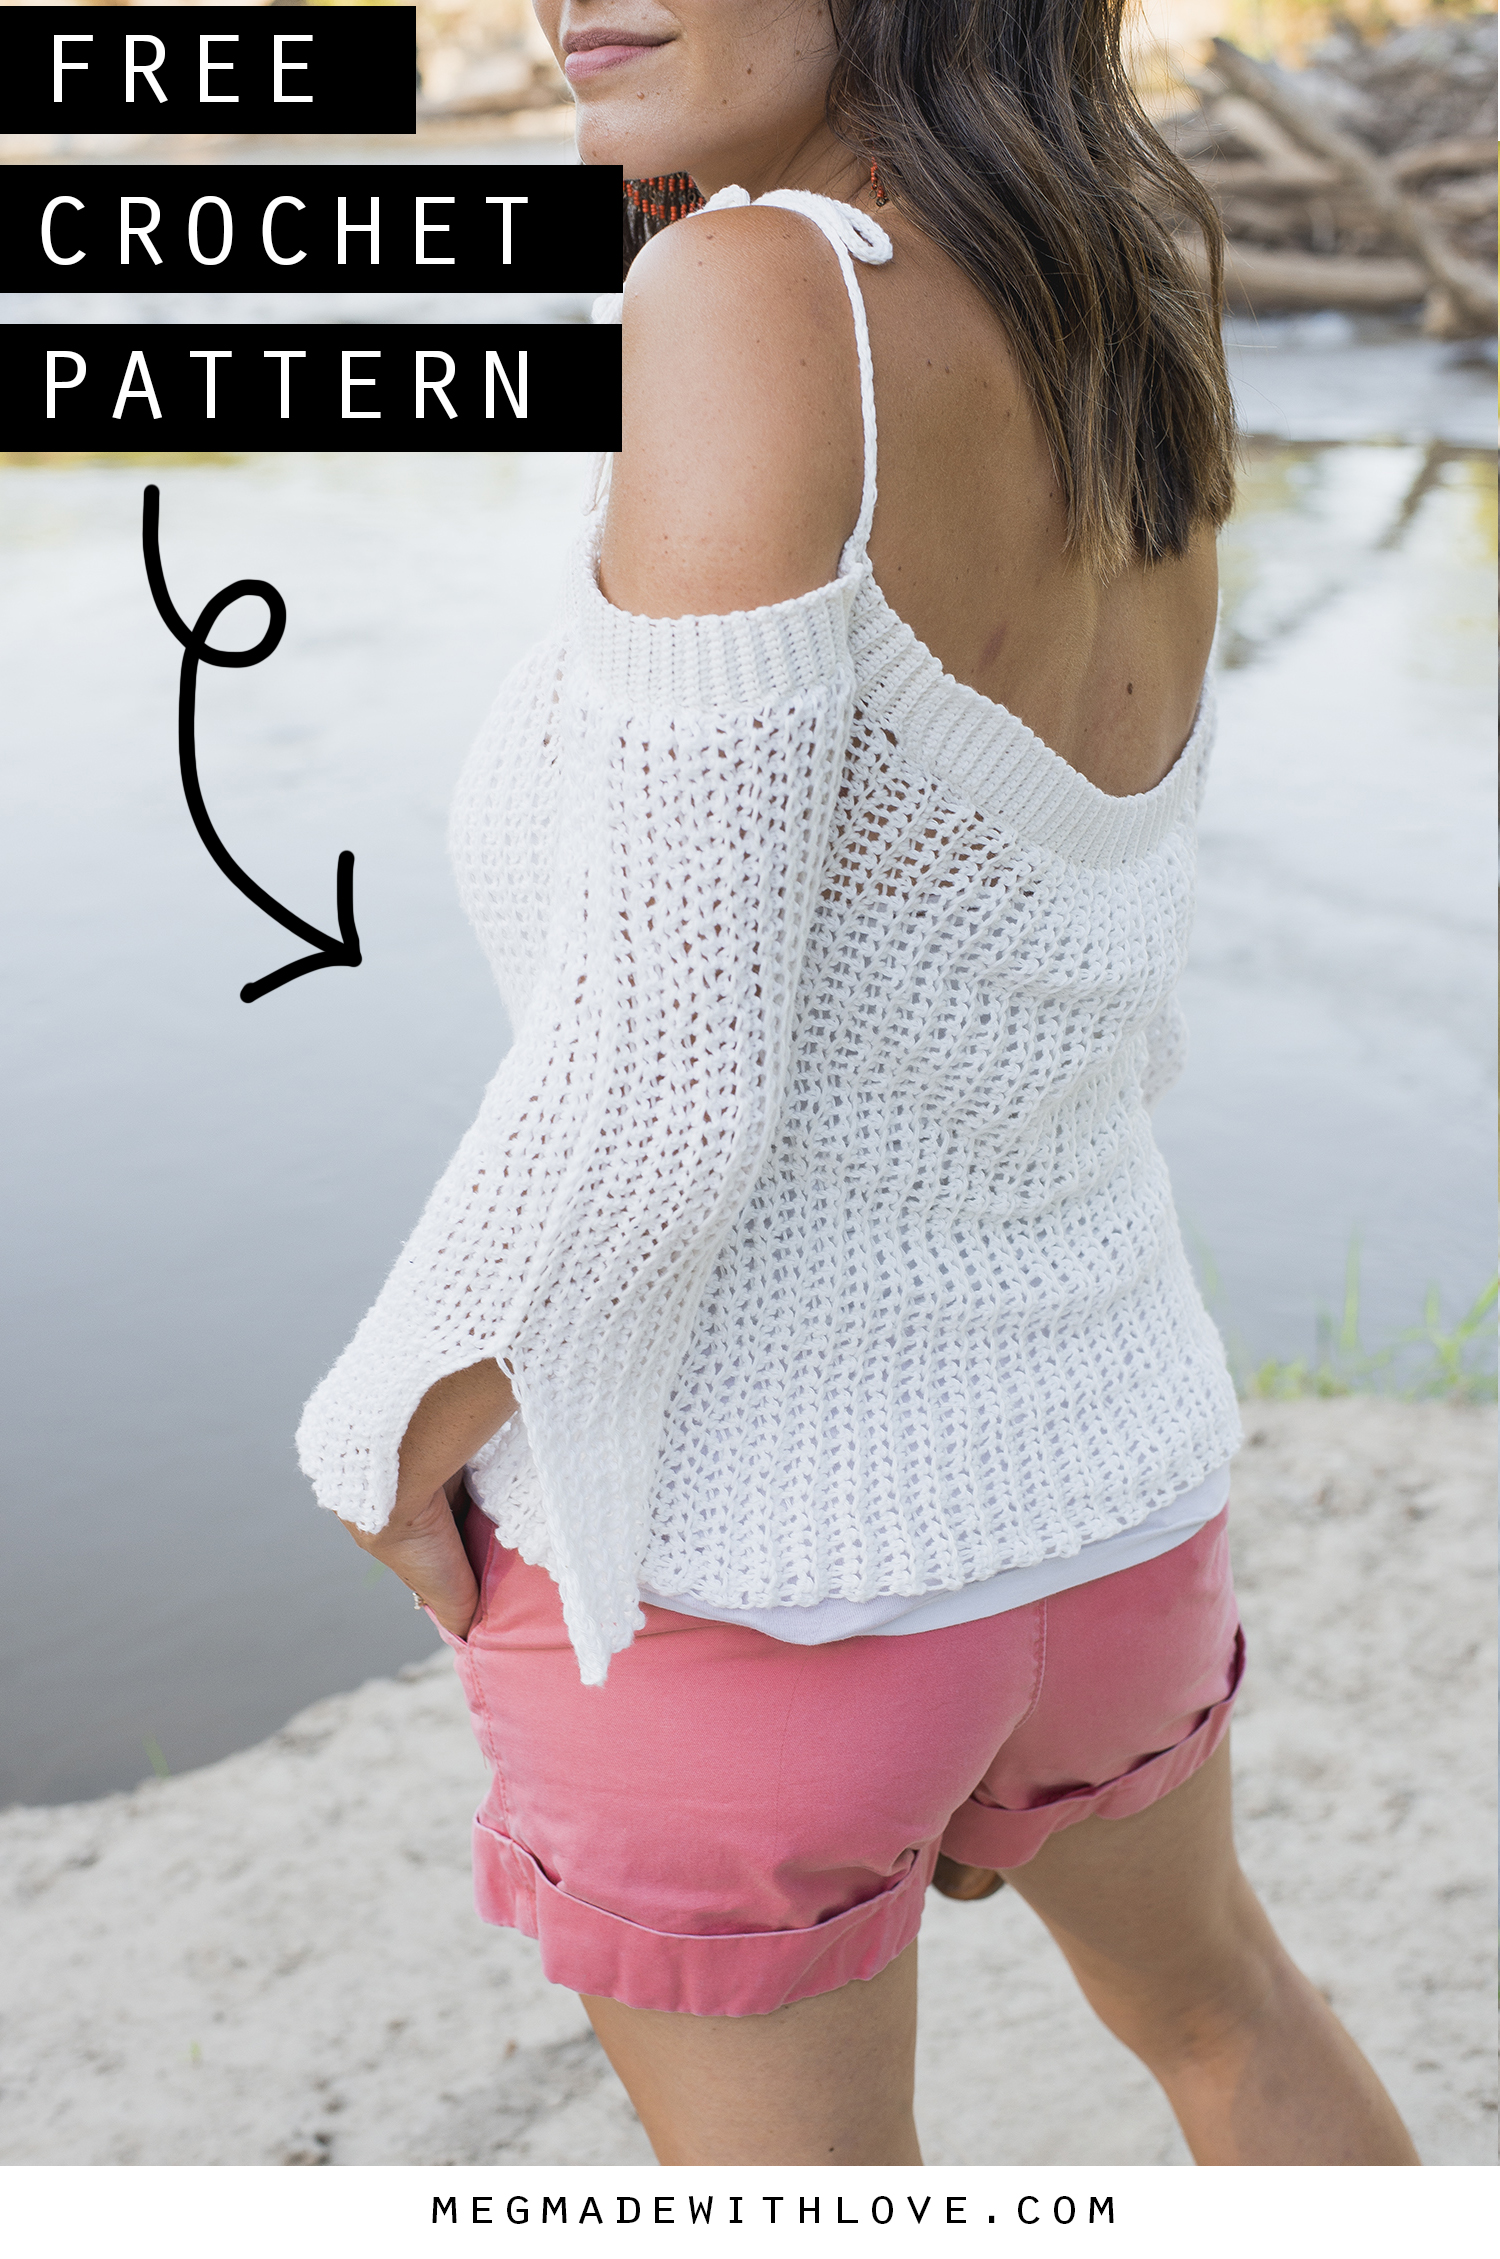
I’ve got a cool pattern for ya today… It’s one that’s shockingly easy (made up of only single crochets), really cute, and perfect for the warmer months. It’s an off-the-shoulder, airy sweater that features a ribbed top and i-cord straps over the shoulder. I hope you get to whip one up while the weather’s still toasty. :)

While making this sweater, I think there was about 100 times when I almost gave up because I thought it wouldn’t work. Even towards the end, when I was assembling it, I thought I was gonna have to trash this idea… but once it was all sewn up and finished, I knew I had to share it with the world! I tried it on, smiled and thought oh yeah, this one’s a keeper. I’m really glad I stuck with this one.

But like I mentioned earlier, I feel like you’d never guess this was a very simple and easy sweater to make. I used a fingering weight yarn paired with a larger hook for an airy stitch on the body and sleeves, then just switched to a smaller hook for the top ribbing and i-cord. Seriously, all the pieces are like rectangles. No increases/decreases. That’s a major plus in my books…

Since it’s so simply made, that makes it nice for customizing. If you’d like it longer just add stitches, same goes for the sleeves. I also decided last minute I’d like the bottom part of the sleeves to be unsewn for a nice flare effect.

What you’ll need:
-Fingering weight (category 1, superfine) cotton yarn. I used Knit Picks' Comfy Cotton Fingering in White (linked >HERE<). See notes for yardage.
-7mm hook for the body and 2.5 mm hook for the top ribbing. **Or size needed to obtain gauge (provided below)
-yarn needle
-sewing pins
Gauge:
For the body: 13 sc in BLO by 18 rows equals a four inch square
For the top ribbing: 10 sc in BLO by 7 rows equals a 1 1/4 inch square
Notes:
Yarn Yardage and Measurements:
****Important: measurements are of sweater lying flat, unstretched. This sweater will stretch like crazy, allowing a ton of room bust-wise****
SMALL/MEDIUM:
bust: 28”, length: 15”, yarn yardage: 750 yds
LARGE/XLARGE:
bust: 31”, length: 16”, yarn yardage: 850 yds
PLUS:
bust: 35”, length: 17”, yarn yardage: 1000 yds
-chains at the beginning of each row do NOT count as stitches
-I highly suggest using a cotton yarn for this sweater, because it’s such an open and stretchy stitch. I worry if another yarn is used that doesn’t have the hold the cotton does (like acrylic), it would affect the fit of the sweater.
-the body of the sweater is worked in one piece, side to side. The sleeves are also worked from side to side separately. Then there’s the ribbing that goes along the very top of the body and both sleeves (worked up with a smaller hook). Then there are four i-cords worked up for ties over the shoulder (also worked up with smaller hook).
-the sweater length could be customized by adding more stitches, same goes for the sleeves.
-be sure to check gauge for both the body and the top ribbing separately and choose your hook accordingly to assure you have a correctly-sized sweater
Abbreviations:
ch=chain, sc=single crochet, st(s)=stitch(es), BLO=back loop only, sl=slip
Pattern:
——-Body of the sweater:
**FOR SIZE S/M:
ch 49
Row 1) sc in 2nd ch from hook and across (48 total sts)
Rows 2-125) ch 1, turn, sc in BLO across row (48 total sts)
**FOR SIZE L/XL:
ch 53
Row 1) sc in 2nd ch from hook and across (52 total sts)
Rows 2-139) ch 1, turn, sc in BLO across row (52 total sts)
**FOR SIZE PLUS:
ch 57
Row 1) sc in 2nd ch from hook and across (56 total sts)
Rows 2-157) ch 1, turn, sc in BLO across row (56 total sts)

-now you will close up the body by slip stitching row 1 to row 125. You will fold over your body piece so both the short sides are together, like shown in photo above. Then you insert your hook into the BLO of last row, and the bottom of row 1, and sl st all the way across in each st. *It’s important to sl st loosely, or the seam will look wonky. Finish off.
——-Sleeves (MAKE TWO):
**FOR ALL SIZES:
ch 49
Row 1) sc in 2nd ch from hook and across (48 total sts)
**FOR SIZE S/M:
Rows 2-48) ch 1, turn, sc in BLO across row (48 total sts)
**FOR SIZE L/XL:
Rows 2-52) ch 1, turn, sc in BLO across row (48 total sts)
**FOR SIZE PLUS
Rows 2-61) ch 1, turn, sc in BLO across row (48 total sts)

-now you’ll close up your sleeve, just like you did with the body, slip stitching rows 1 and 48 together. I chose to leave the last 15 sts undone, for an open sleeve. Finish off. Repeat for the other sleeve.
——-Ribbing:
ch 11
Row 1) sc in 2nd ch from hook and across (10 total sts)
**FOR SIZE S/M:
Rows 2-255) ch 1, turn, sc in BLO across row (10 total sts)
**FOR SIZE L/XL:
Rows 2-269) ch 1, turn, sc in BLO across row (10 total sts)
**FOR SIZE PLUS:
Rows 2-290) ch 1, turn, sc in BLO across row (10 total sts)
finish off, leave extra long tail to sew to the body & sleeves
——-i-cord:
For the straps you will make an i-cord using your smaller hook you used for the top ribbing. You will need four different pieces: two on the front of the sweater and two on the back. Leave a long tail to sew them to the sweater.
**FOR SIZE S/M:
work 4 i-cords, all 20” long
**FOR SIZE L/XL:
work 4 i-cords, all 21” long
**FOR SIZE PLUS:
work 4 i-cords, all 22”long
Below is a video that shows how to do the i-cord…
Once the body and sleeves are slip stitched together, and the ribbing and i-cords are made, you are ready to assemble your sweater. You will lay your body pieces down, then a sleeve on each side of it to prepare it to be sewn to the ribbing. You must make sure not to stretch your body piece or sleeves at all, in fact, I found it helped to scrunch it together a bit. You can see how I’ve done it in the photo below.

Make sure the sleeves and the body are touching where the armpit would hit on the sweater. Now you’ll pin your ribbing onto the body/sleeves.

You will join the ribbing by matching the top of the ribbing to the top of the body and sleeves, like shown in the photo above. Your ribbing will be shorter than the distance around the body and sleeves so you will need to be stretching the ribbing while you pin to the body and sleeves. It’s designed this way so the top of the sweater isn’t too loose. I actually had to re-pin it a few times before I got the ribbing to match up with the body. Just make sure that the body or sleeves aren’t stretched at all. I started in the middle of the body piece. Note that you are just pinning to one side of the body and sleeves (you’ll flip over the body/sleeves midway, and continue pinning on the other side).


After you’ve pinned the ribbing all the way around the body and sleeves on both sides, you’ll sew. If you left your extra long yarn tail on the ribbing you’ll use that and a yarn needle to attach. If you didn’t just grab an extra long piece of yarn to sew with. You will be sewing along over the very edge of both the ribbing and the body/sleeves using a whip stitch. Be sure not to sew too tightly or it’ll look bunched and wonky. Sew all the way around.

Then you will flip the ribbing up, once you’ve completed sewing all the way around and sew the two short sides of the ribbing together using the same stitch. I sewed it into the back loop of the last row, and it made it look pretty seamless.
***Once the entire top ribbing was attached, I went in on each of the armpits and sewed the sleeve and body together on the underside, since there was a little bit of a gap (since they were only connected by the ribbing). I just made a few passes with a piece of yarn and needle on each side.

After that, you’ll sew on all your i-cord straps. One goes on each left and right side on front and back. I chose to sew mine right above the armpit, but I wish I moved it a bit in (away from the sleeve). I sewed them on by making multiple passes through the cord and body so it was extra secure since it’d be holding up the garment. Once those are all sewn on and the ends woven in, your Sunset Sweater is finished!

I’ll admit, it’s kinda weird putting this sweater on. I usually just slip on the body, then put an arm in each sleeve, and you can tie a bow with your straps over each shoulder. What a fun and cute lil top for summer… I think it’s so cool. Plus it’d look nice with some jeans too nearing the beginning of fall. :)
Feel free to share your finished sweater with me over on Insta! I’d love to see.
Until next time!
-Meg


