


That One Time I Dyed My Own Yarn with Black Beans...
/
I've got a fun post for today...
I'm talkin' all about my recent adventure in "eco dyeing" my own yarn. And yes, this beautiful blue color was produced from black beans!
I don't even know how I became interested in doing this, I think I happened to come across a post on Pinterest about someone else dyeing with black beans, and I thought, no way!!
Up until about a week ago I had only a tiny bit of knowledge about natural dyeing, because I came across a book wrote about it in the library some time ago. But once I found out I could dye some cheap cotton yarn I found at Walmart with stuff found in my kitchen, I couldn't get enough information about it!

I want to start by saying that there are so so SO many factors that can change the way your yarn turns out. There are about a million different ways and it seemed that just about every person's account of dyeing was different in some way than another person's.

In the end, I just viewed it as a fun adventure, happy with any outcome, really. The process is just so fun, and unexpected. A fun little experiment indeed! I also ended up working with avocado pits, onion skins, and grapes! (Not to mention a failed attempt at flower dyeing with petunias-- story for another day, haha)
I'm just going to share how I went through the process! Feel free to do more research, there are so many resources out there on natural dyeing, especially the internet.
Some important things I've found when it comes to dyeing with black beans:
-I read somewhere that applying heat to the bean dye at any point will alter the blue color, from not being as blue to even turning green. So if that's something you'd want to experiment with, go for it!
-I've also seen someone add baking soda to their bean dye to make it green, this would be fun to test
-you will need to use only natural fibers, meaning animal or plant fibers. I used cheap cotton yarn from Walmart, because I didn't want to spend too much money then completely mess it up. Cotton supposedly does not hold color as well as wool or other animal fibers. So if you'd like a darker blue, I would suggest wool. Or even dyeing on gray cotton-- I really want to try this. Supposedly dyeing on gray with make a richer tone!
-For a mordant, (which is basically what helps the dye adhere to the yarn, even after washing) I used alum. When I dyed this yarn I was on a time crunch, so I did not pre-mordant my yarn-- which would mean simmering the yarn with water and mordant for about an hour before sticking it in your dye bath. So instead I thought I'd experiment and just add the mordant to the dye bath while the yarn sits in it. So far the color is still in tact, after washing it a couple times. BUT I think if I were to do it again, I would most definitely pre-mordant to see if I could get a more intense blue.
-I wanted to achieve an ombre effect with my yarn, so I wound it into a ball (still wet from washing it) then dropped it in the dye bath. That's why I didn't leave the yarn in the dye very long, because I was afraid the dye had penetrated the ball too much. If you wanted to dye all of your yarn the same color, I would suggest leaving your yarn in the dye for much longer!
-make sure you use pots or bowls that are non-reactive. Like stainless steel or plastic. If you use something like aluminum or iron, it will alter the color of your dye.

For this project, I used a one pound bag of dry black beans I also found at Walmart. This was more than enough beans to dye the little ball of yarn I had, but I kept the leftovers for later use and stuck it in the fridge.
Anyways, I put my beans in a pot, with water to cover them plus a little more. I did this before I went to bed, then woke up and gave them a stir and added more water because they had soaked up a lot of the water I already put in there. My pot was about 1/3 full with water and beans.
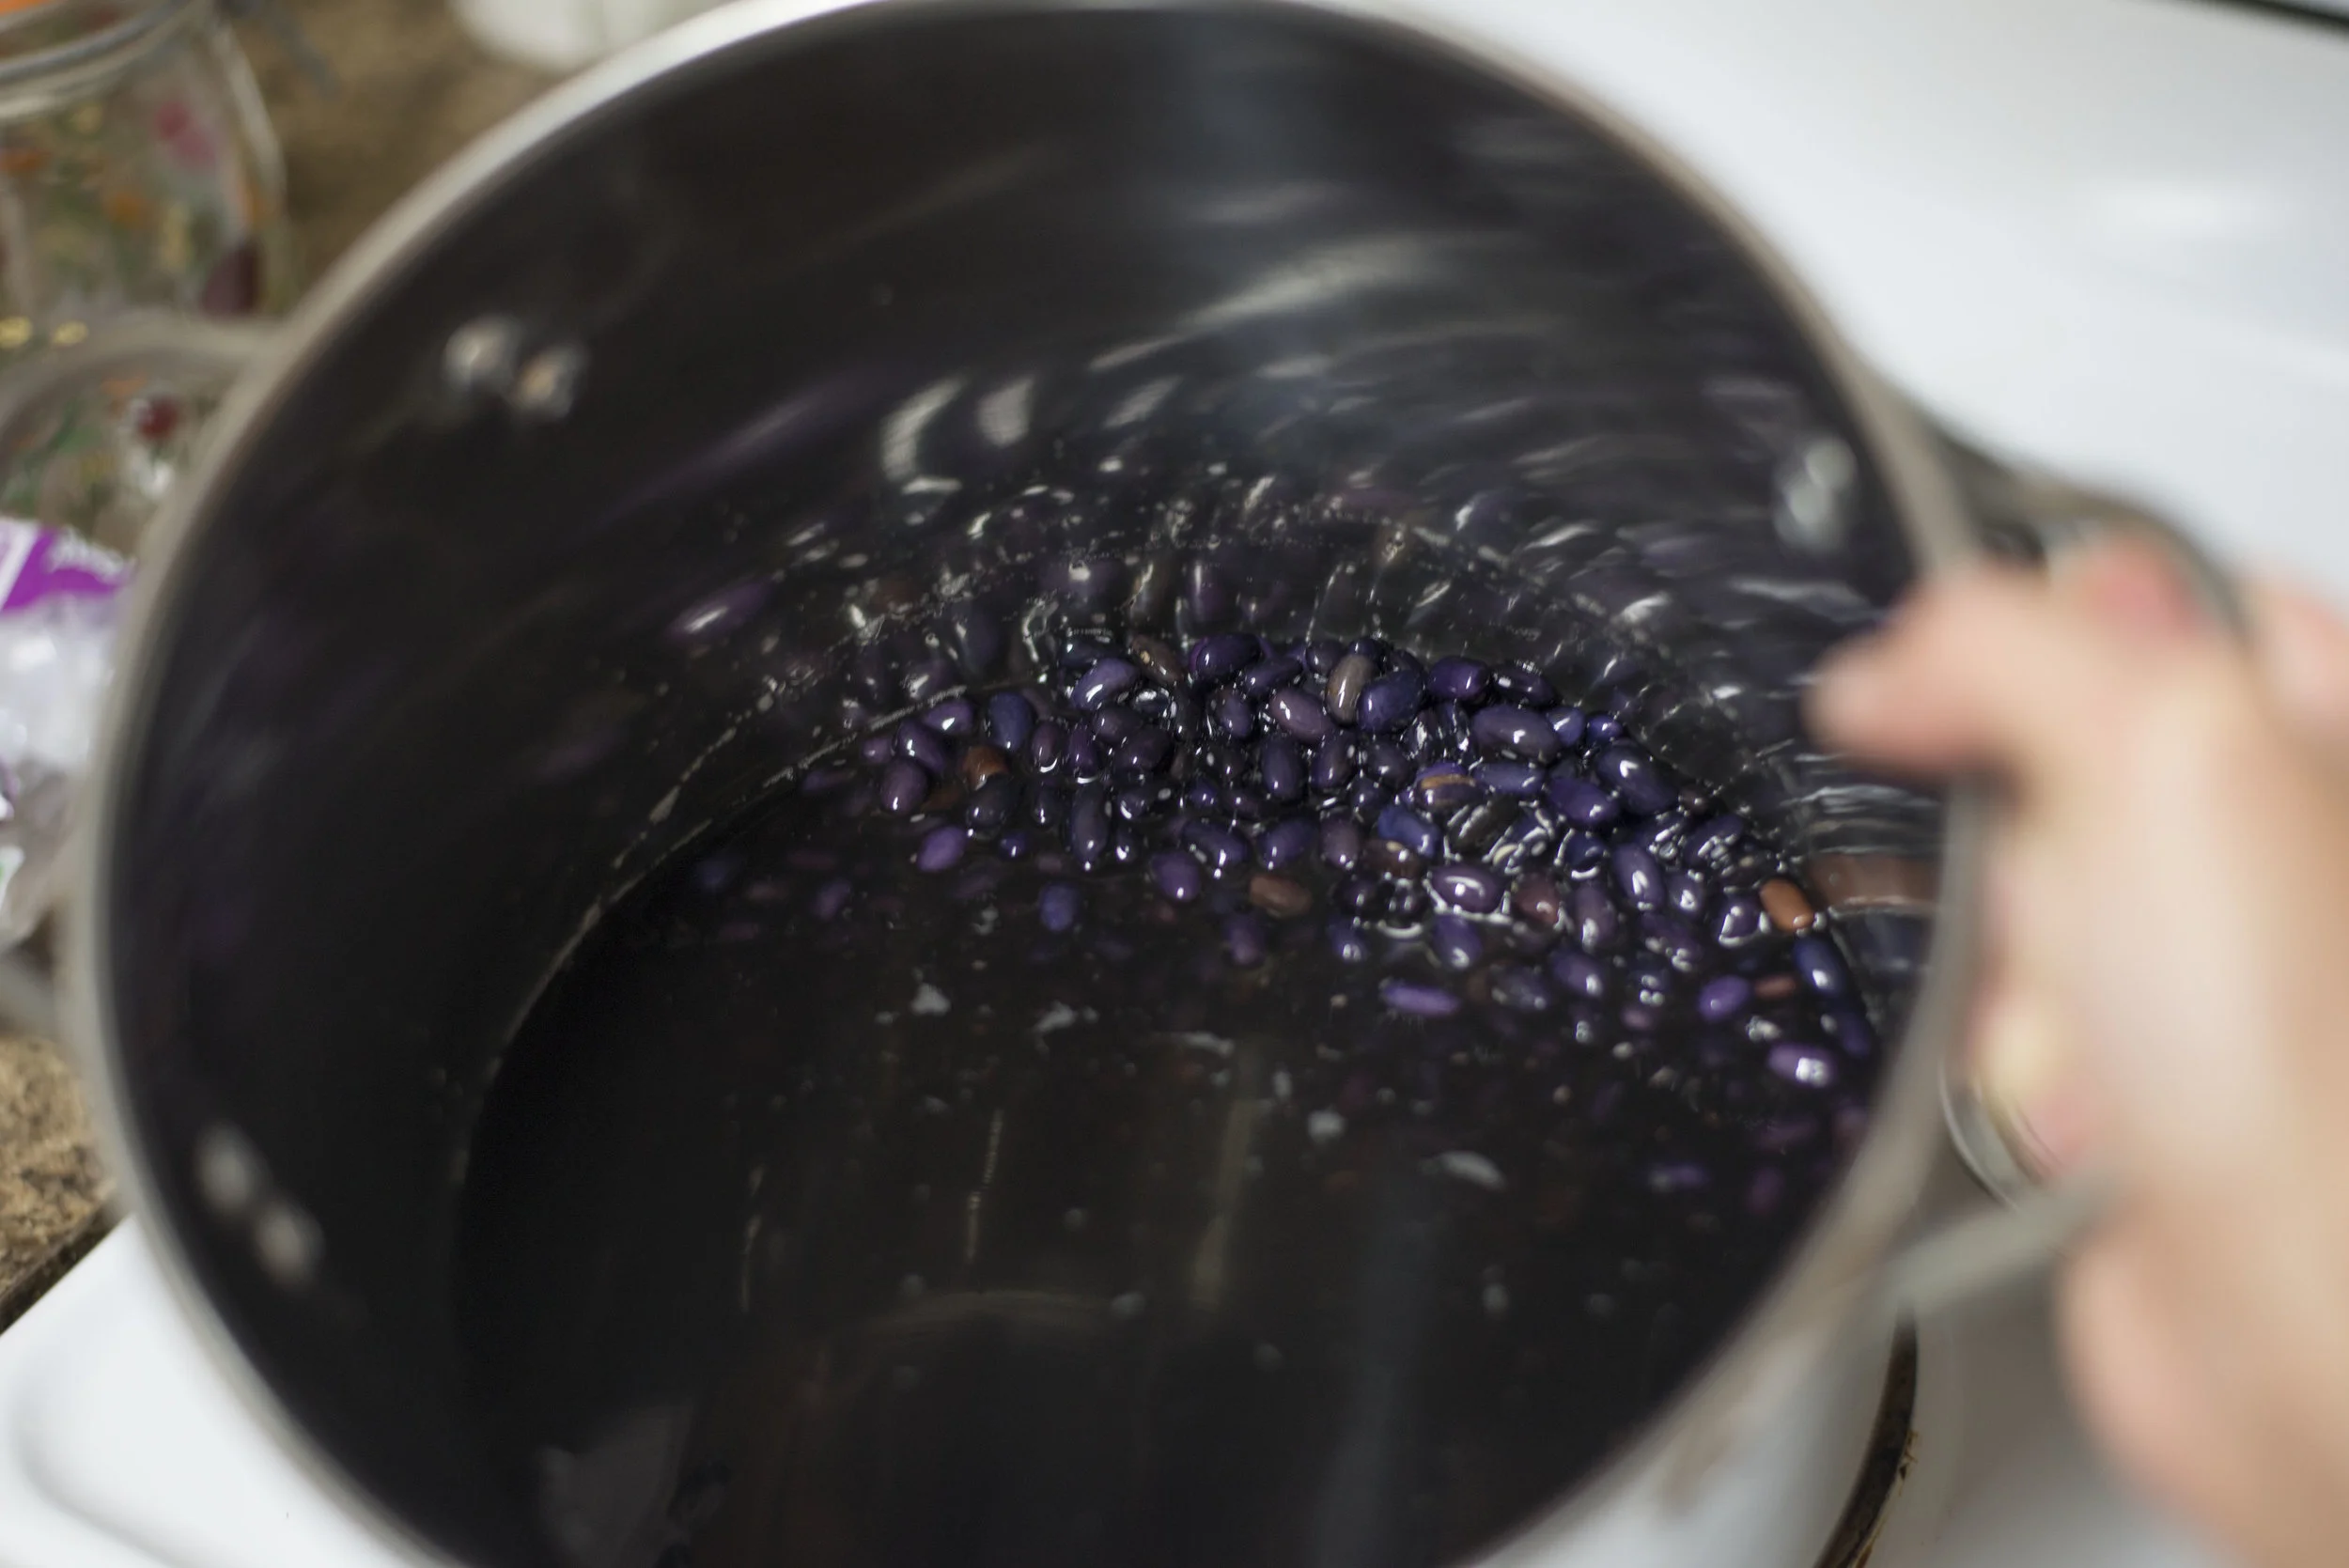
I continued to let them sit in the water stirring every now and then. I did read somewhere that you shouldn't stir around an hour before you want to use the dye for whatever reason. So I didn't.

After about 13 hours or so, I ladled the water out of the bean soaking pot into a big jar. Since I was doing the ombre effect with a ball of yarn, I used a jar with a wide opening. You could use any non-reactive container really.

Once the dye was ready, I prepped my yarn by washing it. I began by winding it around the back of my dining table chair, tying it to itself when I first started out so it wouldn't fall. Then I tied a couple of small pieces of yarn in a few places. This prevents the yarn from tangling.

Supposedly yarn has a whole bunch of junk/oils on it that can affect the way it takes dye, so washing it will help strip it. Getting it wet beforehand will also ensure even dyeing and opens up the fibers. If using wool, take caution because it could felt with too much motion.

After my yarn was washed, I wound it into a ball while it was still wet.

Before I put in the ball of yarn, I dissolved my alum in very warm water. During my research I found that it's best to use about one teaspoon of alum per ounce of yarn you use. The yarn I was 2.5 ounces, so I just went ahead and used 1.5 teaspoons. I will say that it is possible to use too much alum, I guess if you use too much it will make the yarn crunchy. hmm.

Then I submerged the ball of yarn in my dye and kept it on my kitchen counter at room temperature. Whenever I thought about it, I would flip the ball around, in case the bottom might not get dye. I planned on keeping the yarn in there for at least one day. But that same evening, I started to think the dye might penetrate my ball of yarn too much, and I didn't want that because I wanted the center to be untouched-- to have the ombre effect, ya know.

So after about seven hours, I decided to take the ball of yarn out. It looked very vibrant in the dye bath. Side note: fibers will always be darker in color when wet!

Then I squeezed the ball out in the sink, and rinsed it a bit. You can see in the above photo that it got lighter the more I dug into it.

Then I unwound the yarn ball onto my arm, kind like you would an extension cord, and then tied those couple of pieces of yarn again like when I wound it on the back of the chair.

Then I washed my yarn again, in warm water and with a bit of dish soap, until the water ran clear. Then I sat it outside to dry! One thing I will say is, to not let it dry in direct sunlight- as the sun can bleach it.
I put it in the shade, but forgot about it, and it ended up drying partially in direct sunlight. I think this lightened the color a bit, but I'm not really upset about it. This yarn turned out way better than I ever could have imagined!

And that... is my adventure in black bean yarn magic. Now I just need to figure out what I'm gonna make with it! This was incredibly fun, and it's safe to say I'm addicted to experimenting with interesting dye sources. Stay tuned for my other adventures including avocado pits, onion skins and grapes!
Have you ever tried dyeing with nature? I'd be interested to hear your feedback, and if you have any questions leave them below, I'd answer them to the best of my ability!
Happy making,
Meg


