


A Few Helpful Tips for Working with Homespun Yarn
/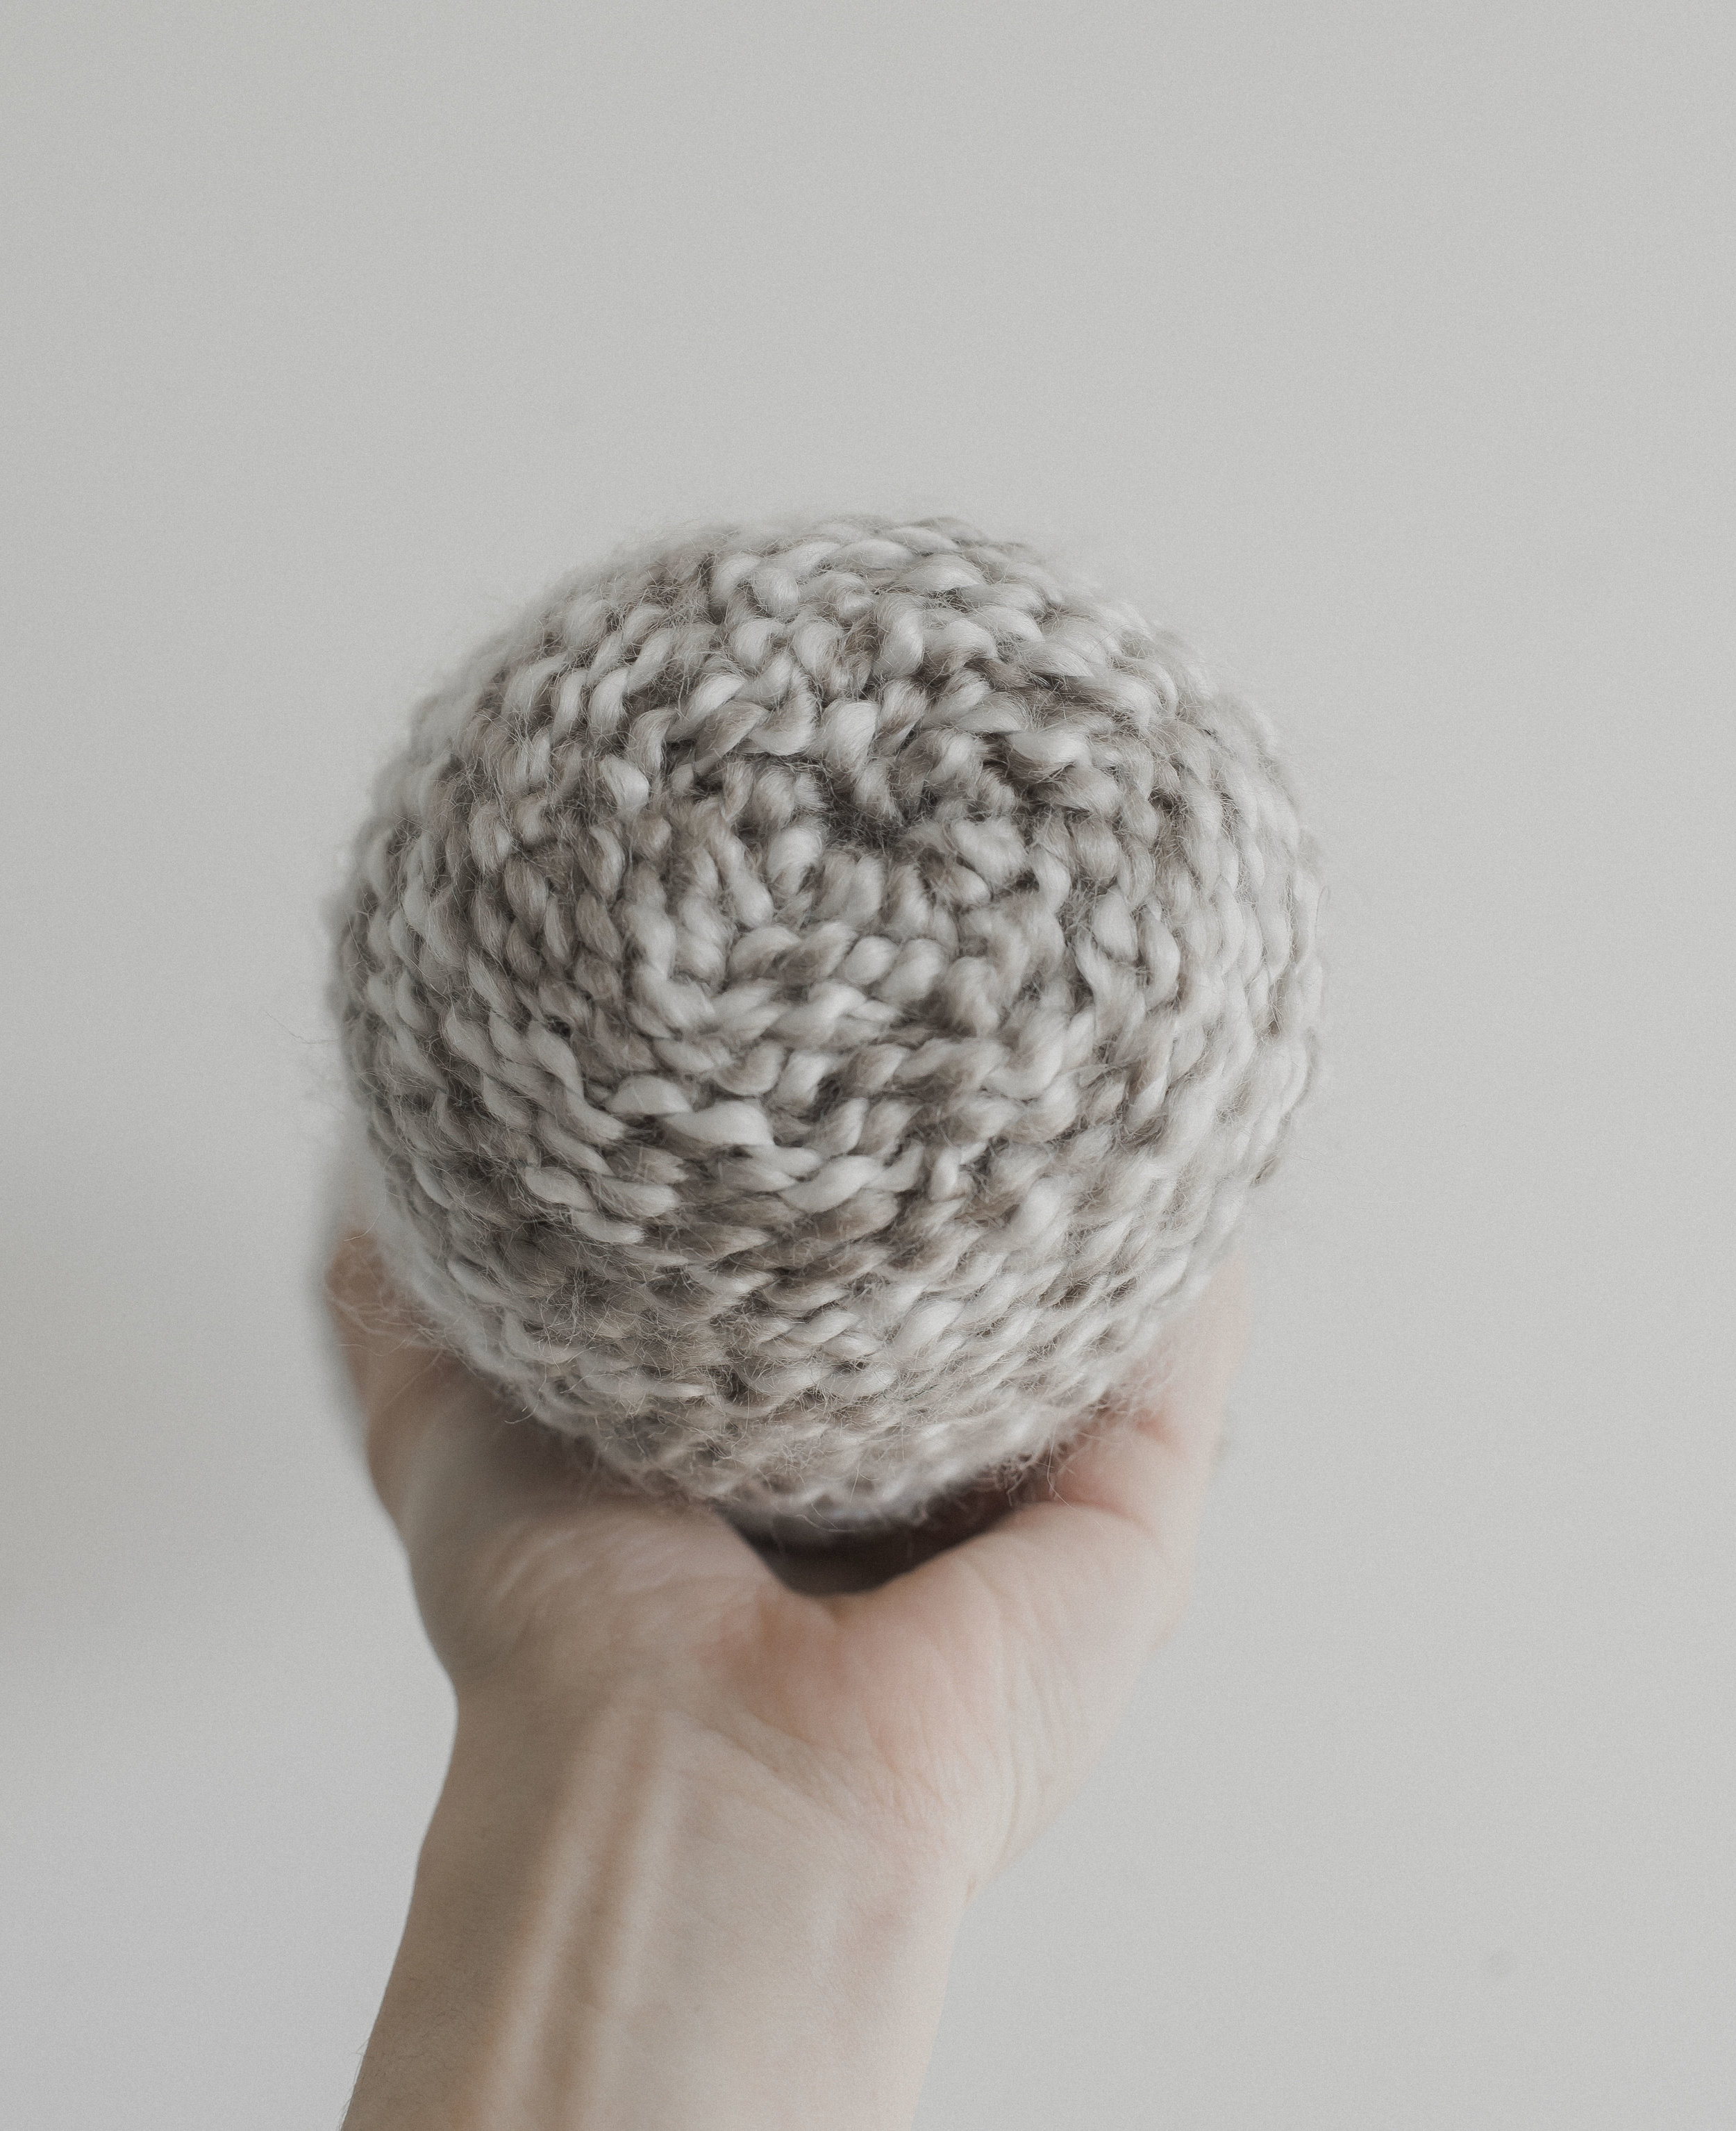
In my most recent pattern, Edgar the Elephant, I chose to use Lion Brand's popular brand of yarn, called Homespun Yarn. I feel like this yarn definitely gets a bad rap due to how hard it is to see the stitches, along with it's fraying ends. But even though it has it's drawbacks, I really really like this yarn. It's so incredibly soft and the texture of it is so unique and pretty!

Homespun comes in a couple of options, a bulky weight option (the one I recently used), along with a super bulky variety called Homespun Thick & Quick. It's an acrylic/polyester yarn, and can be machine washed and dried (total plus in my books!). As I crocheted with it this past month, I figured out a couple of tricks that helped me better manage it-- so I thought I'd share what I learned!
If you're a beginner crocheter, you may want to start out with a lighter color
I thought of this one, because when I was working with my light gray color, I thought-- Oh man, this would be horrible to deal with in black. haha! It would just make counting stitches a lot harder in my opinion. That's not to say that it would be impossible, but just something to think about..

Crocheting in a well-lit space makes all the difference
This one goes along with the one above... It would definitely help you out to have some good light when working with this yarn. Counting the stitches is hard enough as it is, but if it's dark you're gonna give yourself a headache! When I counted, it helped me to be near a window.
If you can, stick with a simple stitch
Since seeing the stitches is an issue, you'd be hurting yourself if you tried to do a complex stitch with this yarn, I believe. I think the texture of the yarn itself can totally be the star of the show as you use simple stitches like half double or single crochet. That's why I wanted the elephant toy I designed to be as simple as possible!
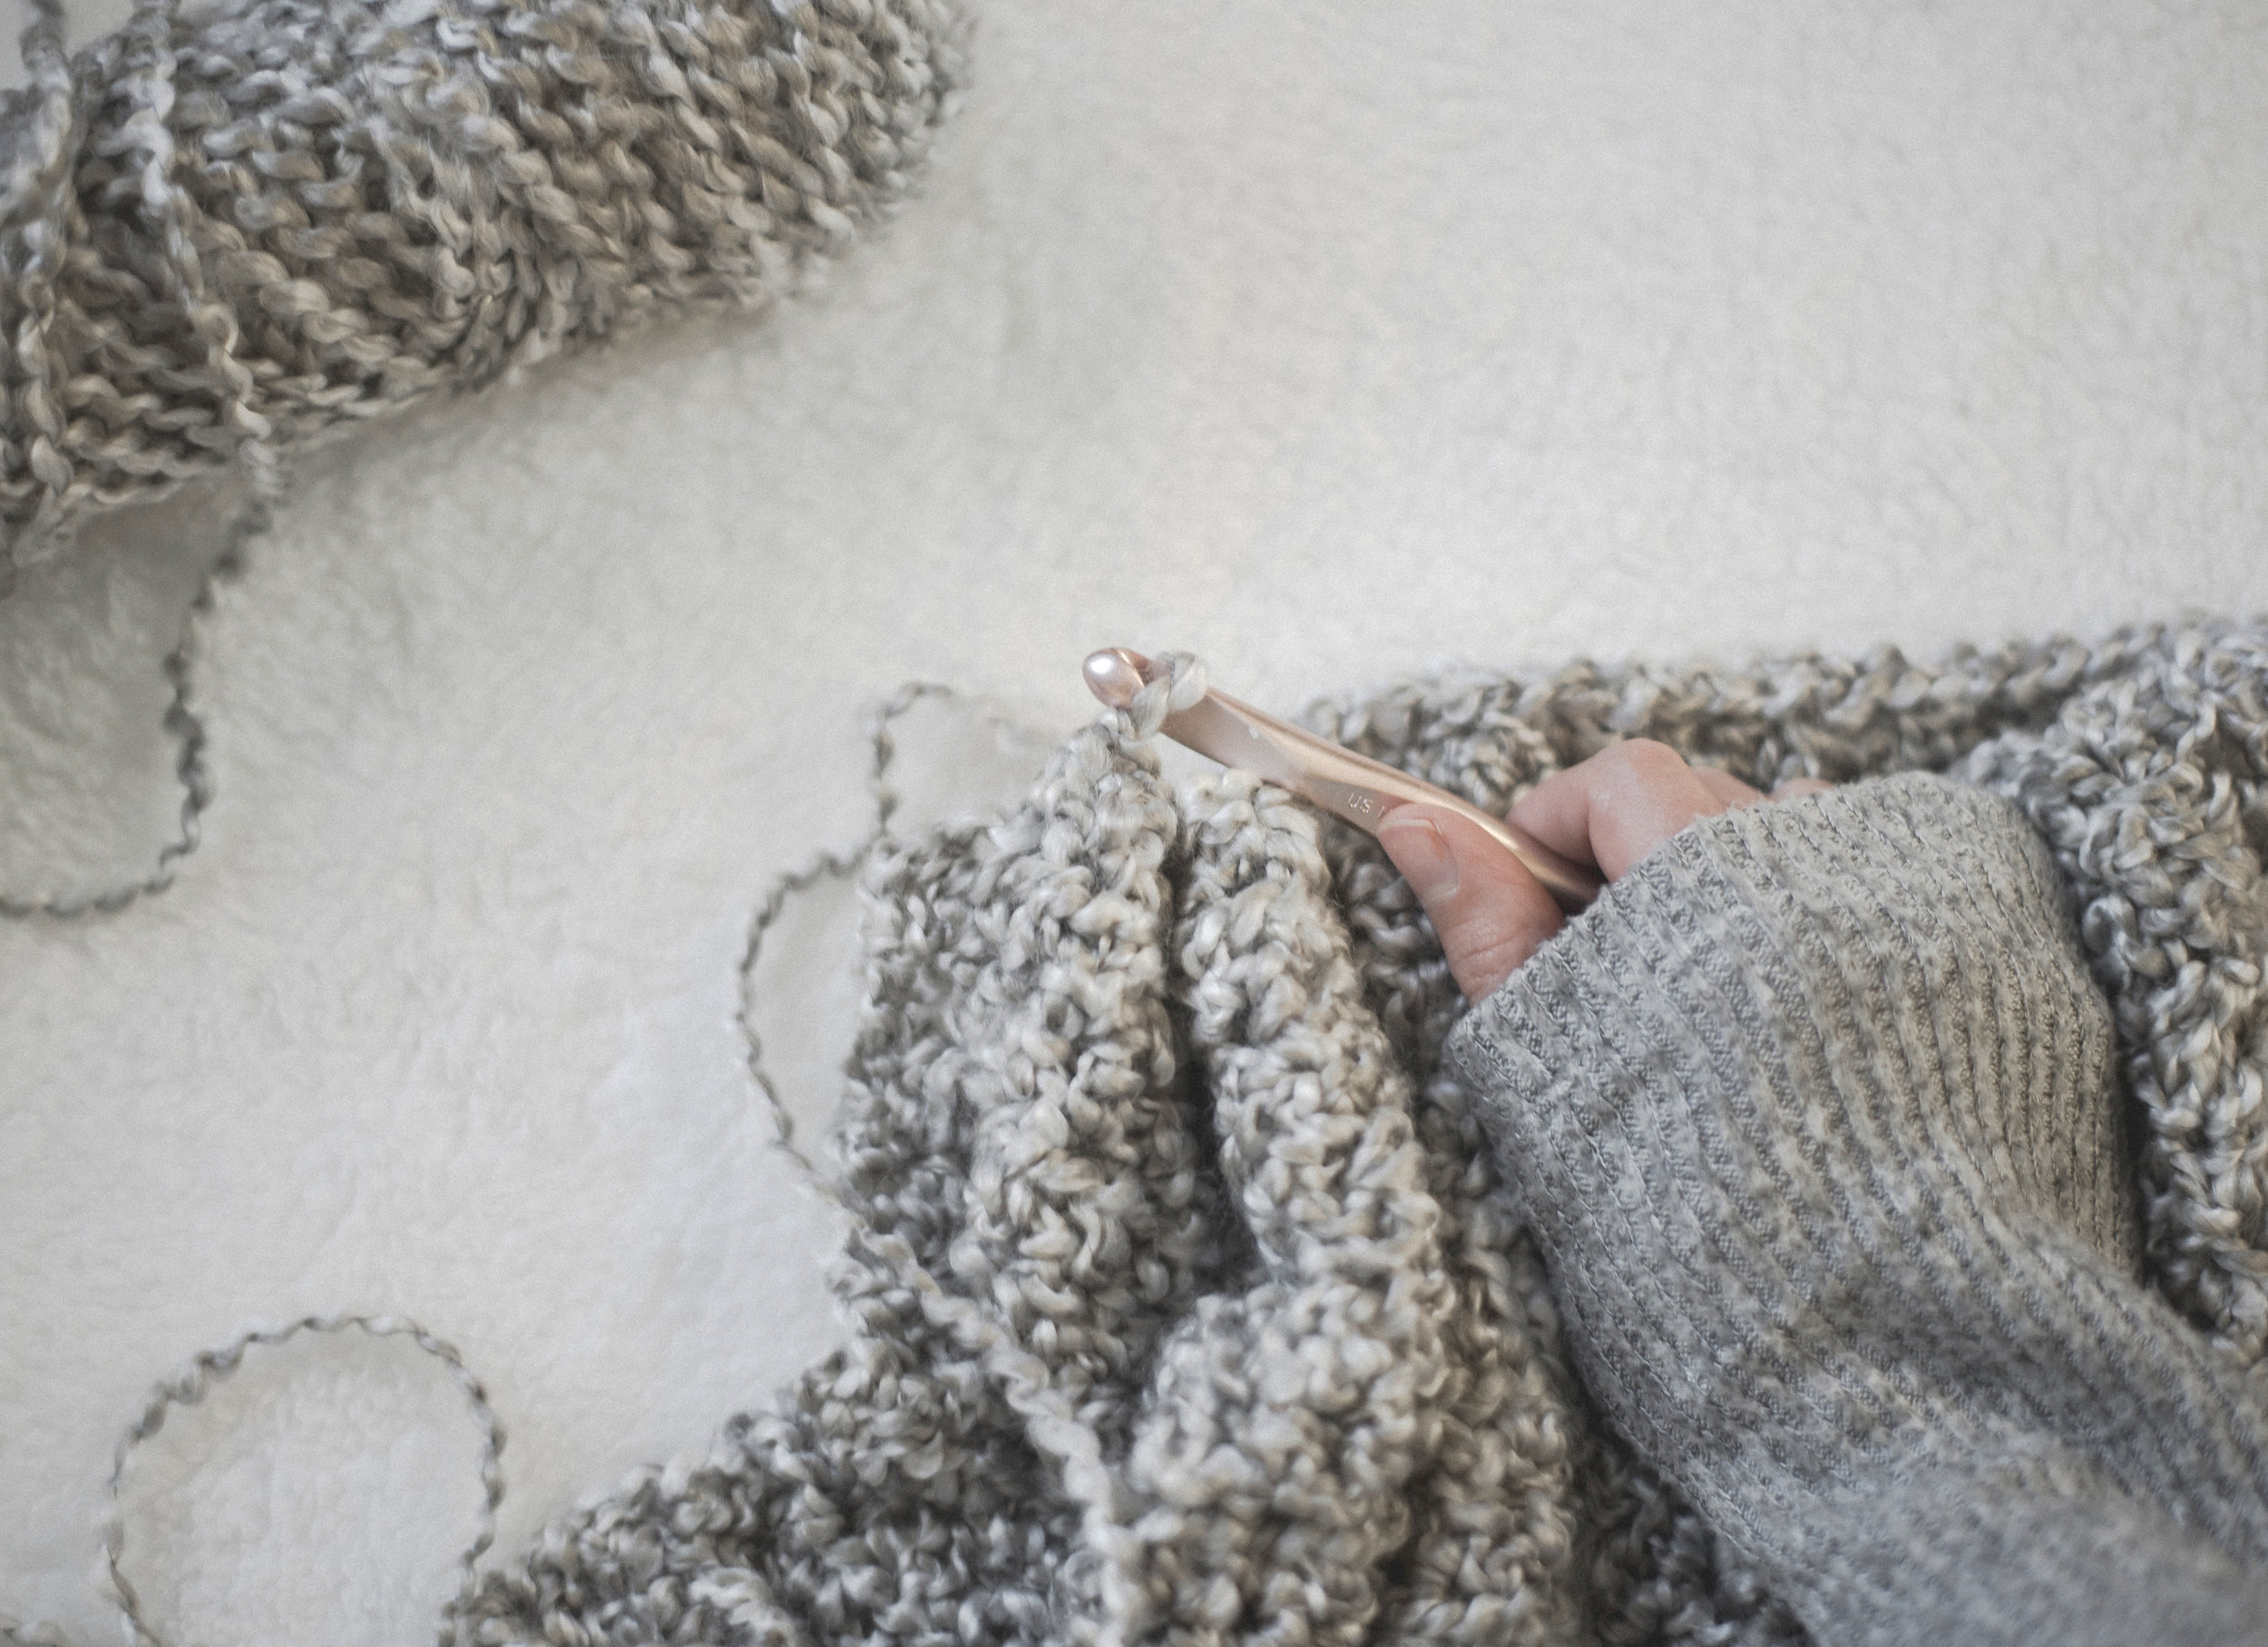
Spread apart stitches to count them
This was basically the only way I could count my stitches. I took both my hands along the rows/rounds and spread apart my work, stitch by stitch, to count them. Because the yarn just runs together so easily, you've got to sort of inspect your stitches individually to see them as opposed to most yarn where you can see each defined stitch.
Try a shorter, less pointy hook

The Clover hook on the left has a shorter, less pointy tip and it proved to work much better than the Boye hook on the right when it came to Homespun. It seemed the hook on the right kept snagging the yarn and making it difficult to work with.
This was something I learned by accident. I started out my pattern with one hook, (it was a Clover hook) and midway through working on my project my son got ahold of the hook and I couldn't find it. So I just grabbed a new one, a Boye hook with a pointier tip, and started back up. But with the new hook I grabbed, it was just not agreeing with the yarn at all. It was snagging and splitting on my hook and I just couldn't crochet a couple of stitches without having to rip it out. What I realized was that my Clover hook was shorter on the tip, and was more rounded-- I really think this made all the difference with working with this yarn. And that's not to say that this hook is a better hook for all yarns, but when it comes to Homespun, I definitely noticed the difference!
Stitch markers will help you keep track of rows
I actually didn't have a hard time with this, maybe because of the stitches I used or the color of yarn. But if you have a hard time counting the rows, putting stitch markers every five rows or something would for sure help you out!
Tie knot/apply tape at end to prevent fraying
This was something I've read that other people have an issue with regarding this yarn-- and it's that the ends fray very easily. Which is true, but it doesn't really bother me because I just keep that in mind and I handle it with care. Something I also keep in mind is when I start or end a project with this yarn-- I just make the ends a bit longer than usual to make up for the fraying. And if it does get a bit too frayed you can always tie a little knot at the end or even put a piece of clear tape at the end until you're ready to use it or weave it in.
That concludes my list of little tips to working with Homespun! Have you worked with this yarn before? What was something that helped you better work with it? Let me know down below in the comments!
-Meg


