A Simple Recipe for Non-Toxic Yarn Refresher Spray

yarnrefreshpin01.jpg

Hey you! Today I'm bringing you an incredibly easy little recipe for a refresher that I spray on many of my finished crochet projects. Heck, I use this stuff all over my house. 

This past year, I've become more aware of the products I'm using in my home, especially now that we've got a baby. One of the areas that I struggled with when it came to "the switch", is smelly-good things. Like, I love when things smell good! I mean, really, who doesn't... Me and Bath and Body Works were tight. Oh, and fabric softener! I loved to have that "fresh" linen smell. But in all reality there wasn't anything "fresh" about it. 

So, step by step, I've eliminated many of the toxic habits I used to have (which by the way, I still have lots I need to work on! In no way am I miss "perfect wellness mom"). And one of the natural products I use I thought I'd share today! 

The cool part about this spray is that witch hazel has antibacterial properties. And if you opt to use an EO with antibacterial properties as well, even better! (I've also read that peppermint is good for really tough odors)

Although this spray does "refresh", in some cases the yarn may just need to be washed. Like if you acquired a skein from a smoker or thrift store. So if it's a really musty scent, I would obviously suggest washing first!

The recipe is easily customizable, as it's two parts water to one part witch hazel. I also used a glass bottle, because I have read that essential oil can break down plastic. I used one a friend gave me, but you can find them on Amazon here.

sp04.jpg

What you'll need:
- Glass spray bottle
- 1 cup water (I used bottled water, purified by reverse osmosis)
- 1/2 cup witch hazel (I used T.N. Dickinson's Witch Hazel, P.S. you can even sub Vodka!)
- 10-15 drops of essential oil (I used Lemongrass for this batch- one of my faves!)

All you have to do is combine your ingredients into your glass bottle, shake and spray! I use it on anything "fabric" in my home!

The scent possibilities are endless with this. I love the way Thieves smells. Or anything citrus. Lavender is always a good choice. 

I'm also think spritzing some cinnamon bark or clove on one of your crocheted pumpkins would hit the spot with the fall yumminess. ;)

Have you tried your hand at homemade products? What are your favorite EO blends? I'd love to hear yours.

I really hope you enjoy this recipe, thanks for reading!
-Meg

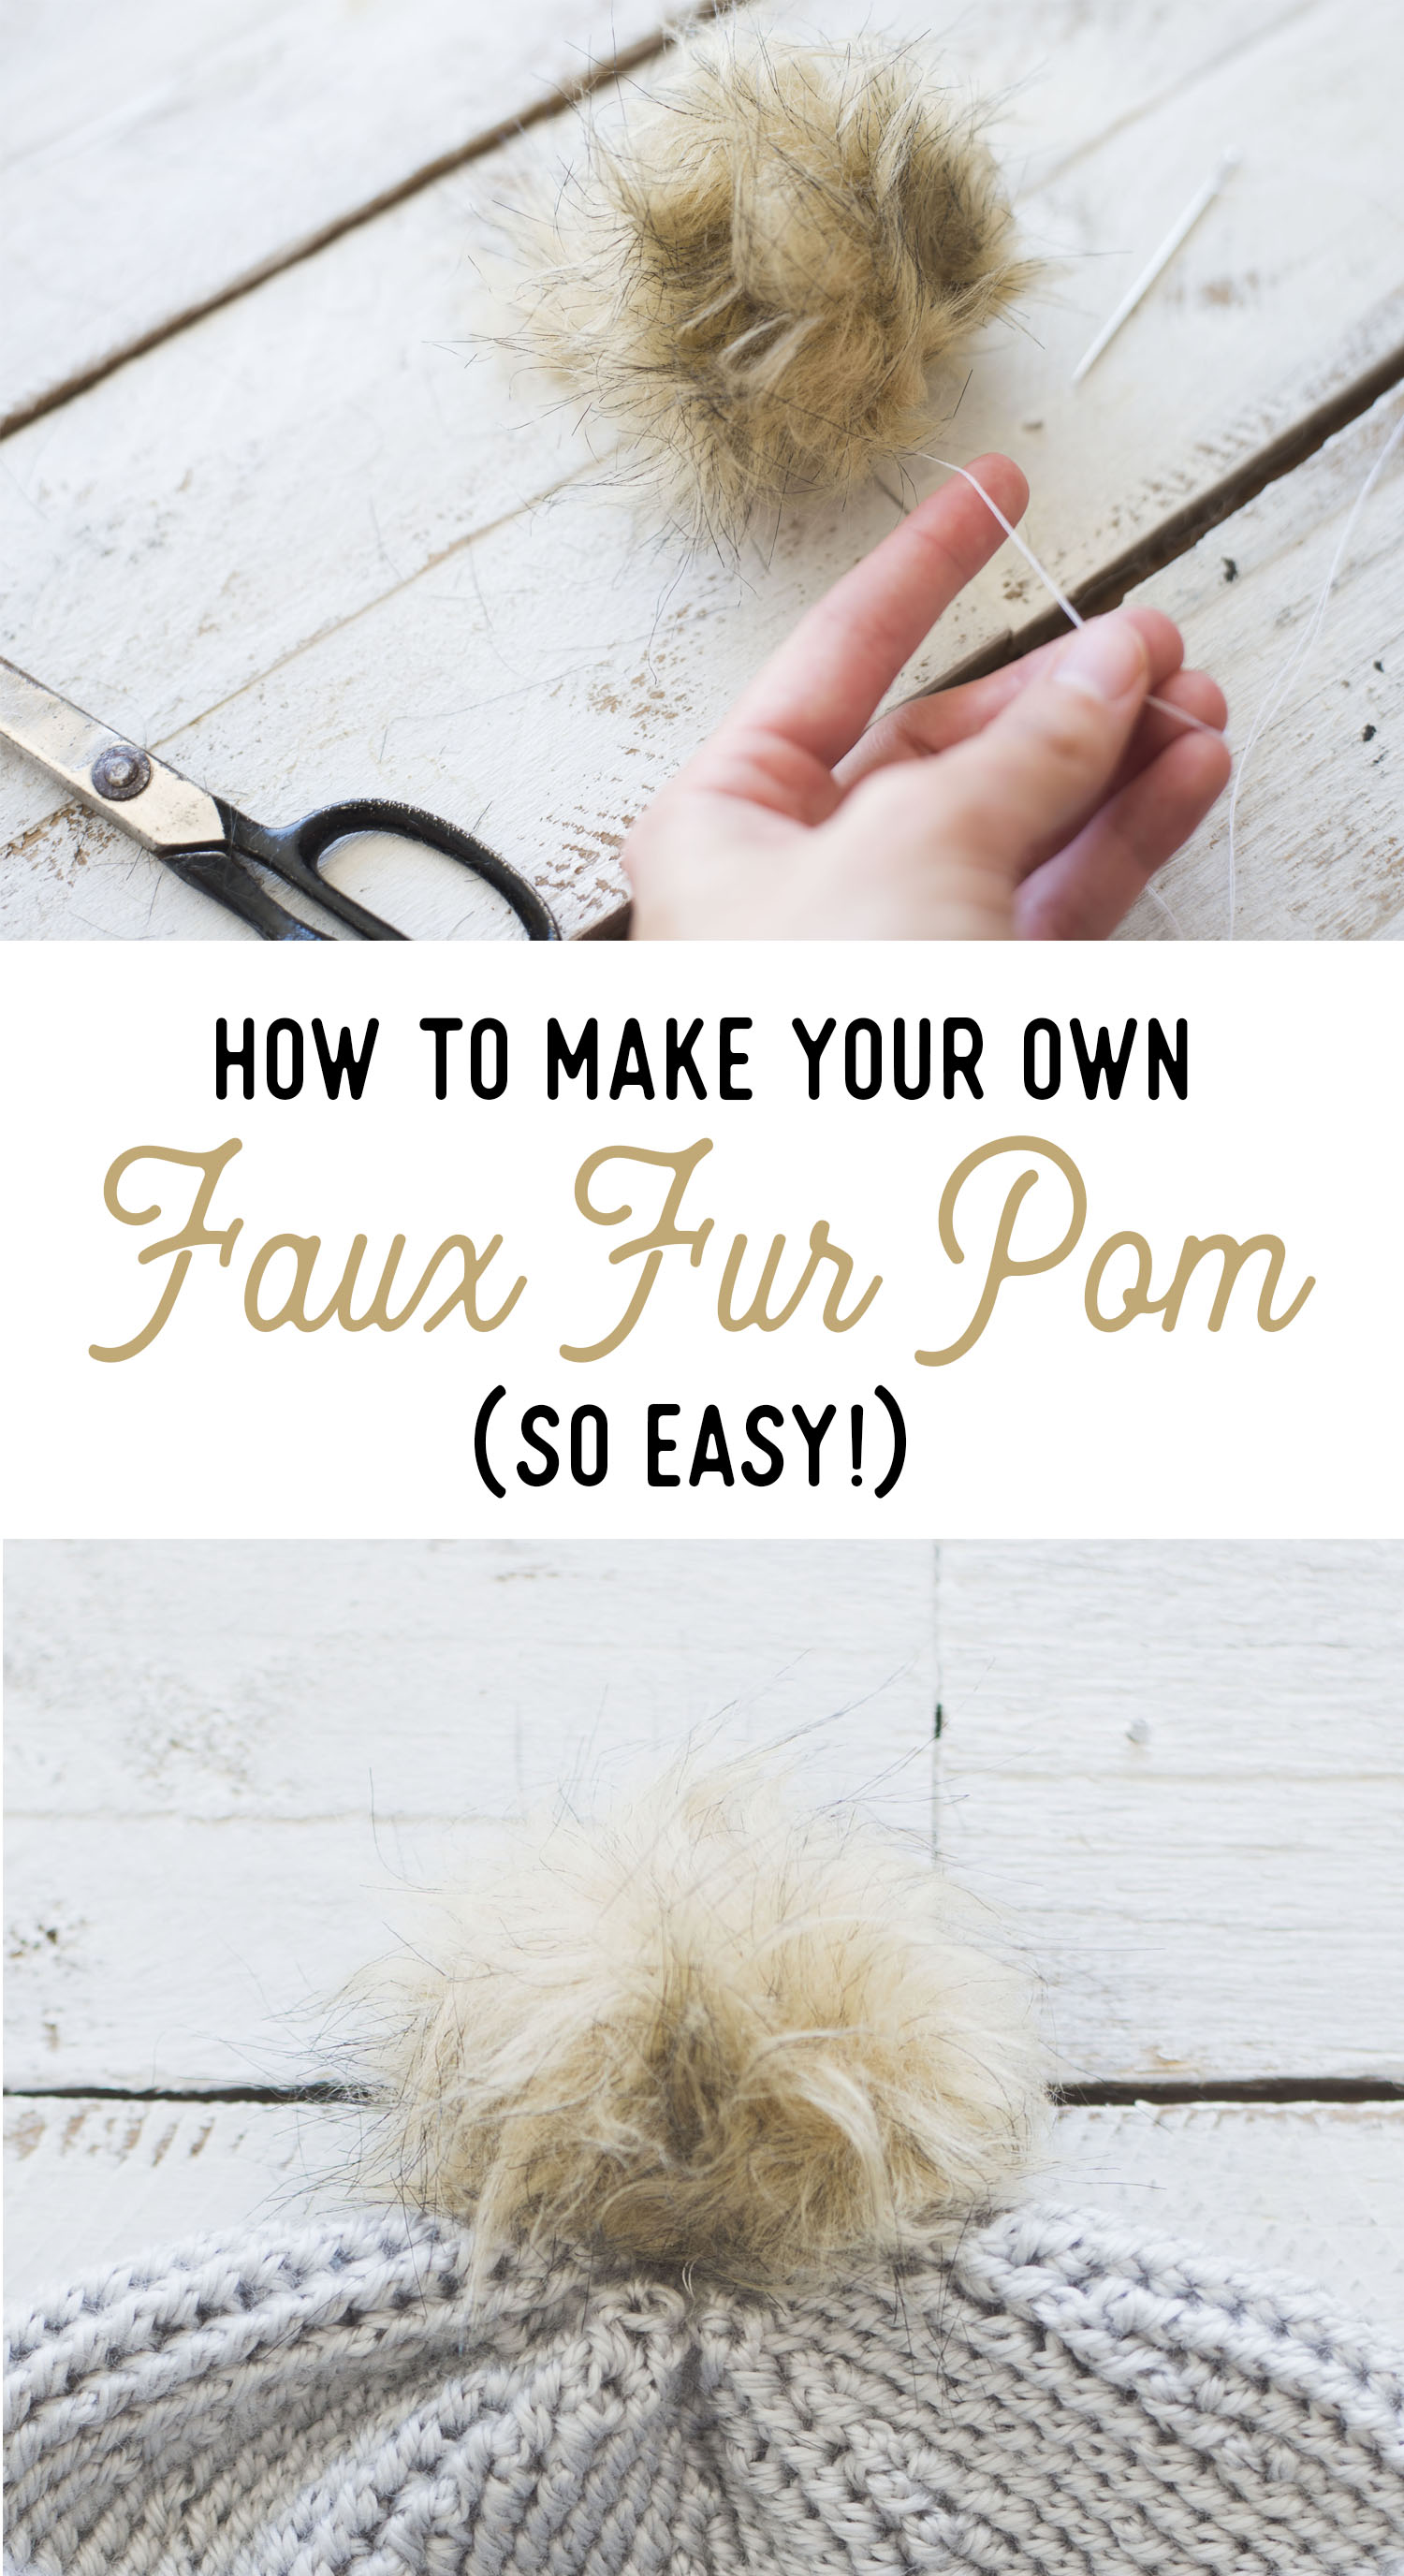
How to Make Your Own Faux Fur Pom (So Easy!)

pompin01.jpg

Hi there! I've got a quick little tutorial for you today, on how to make those oh so cute and popular faux fur poms- at home and for cheap! It's so easy and quick, you won't want to ever buy one again!

I will say that cutting faux fur you run into a bit of a mess with the extra loose fur that gets cut. So just be prepared for that! I do mention a tip below on helping reduce mess.

pom01.jpg

To make the poms you'll need:
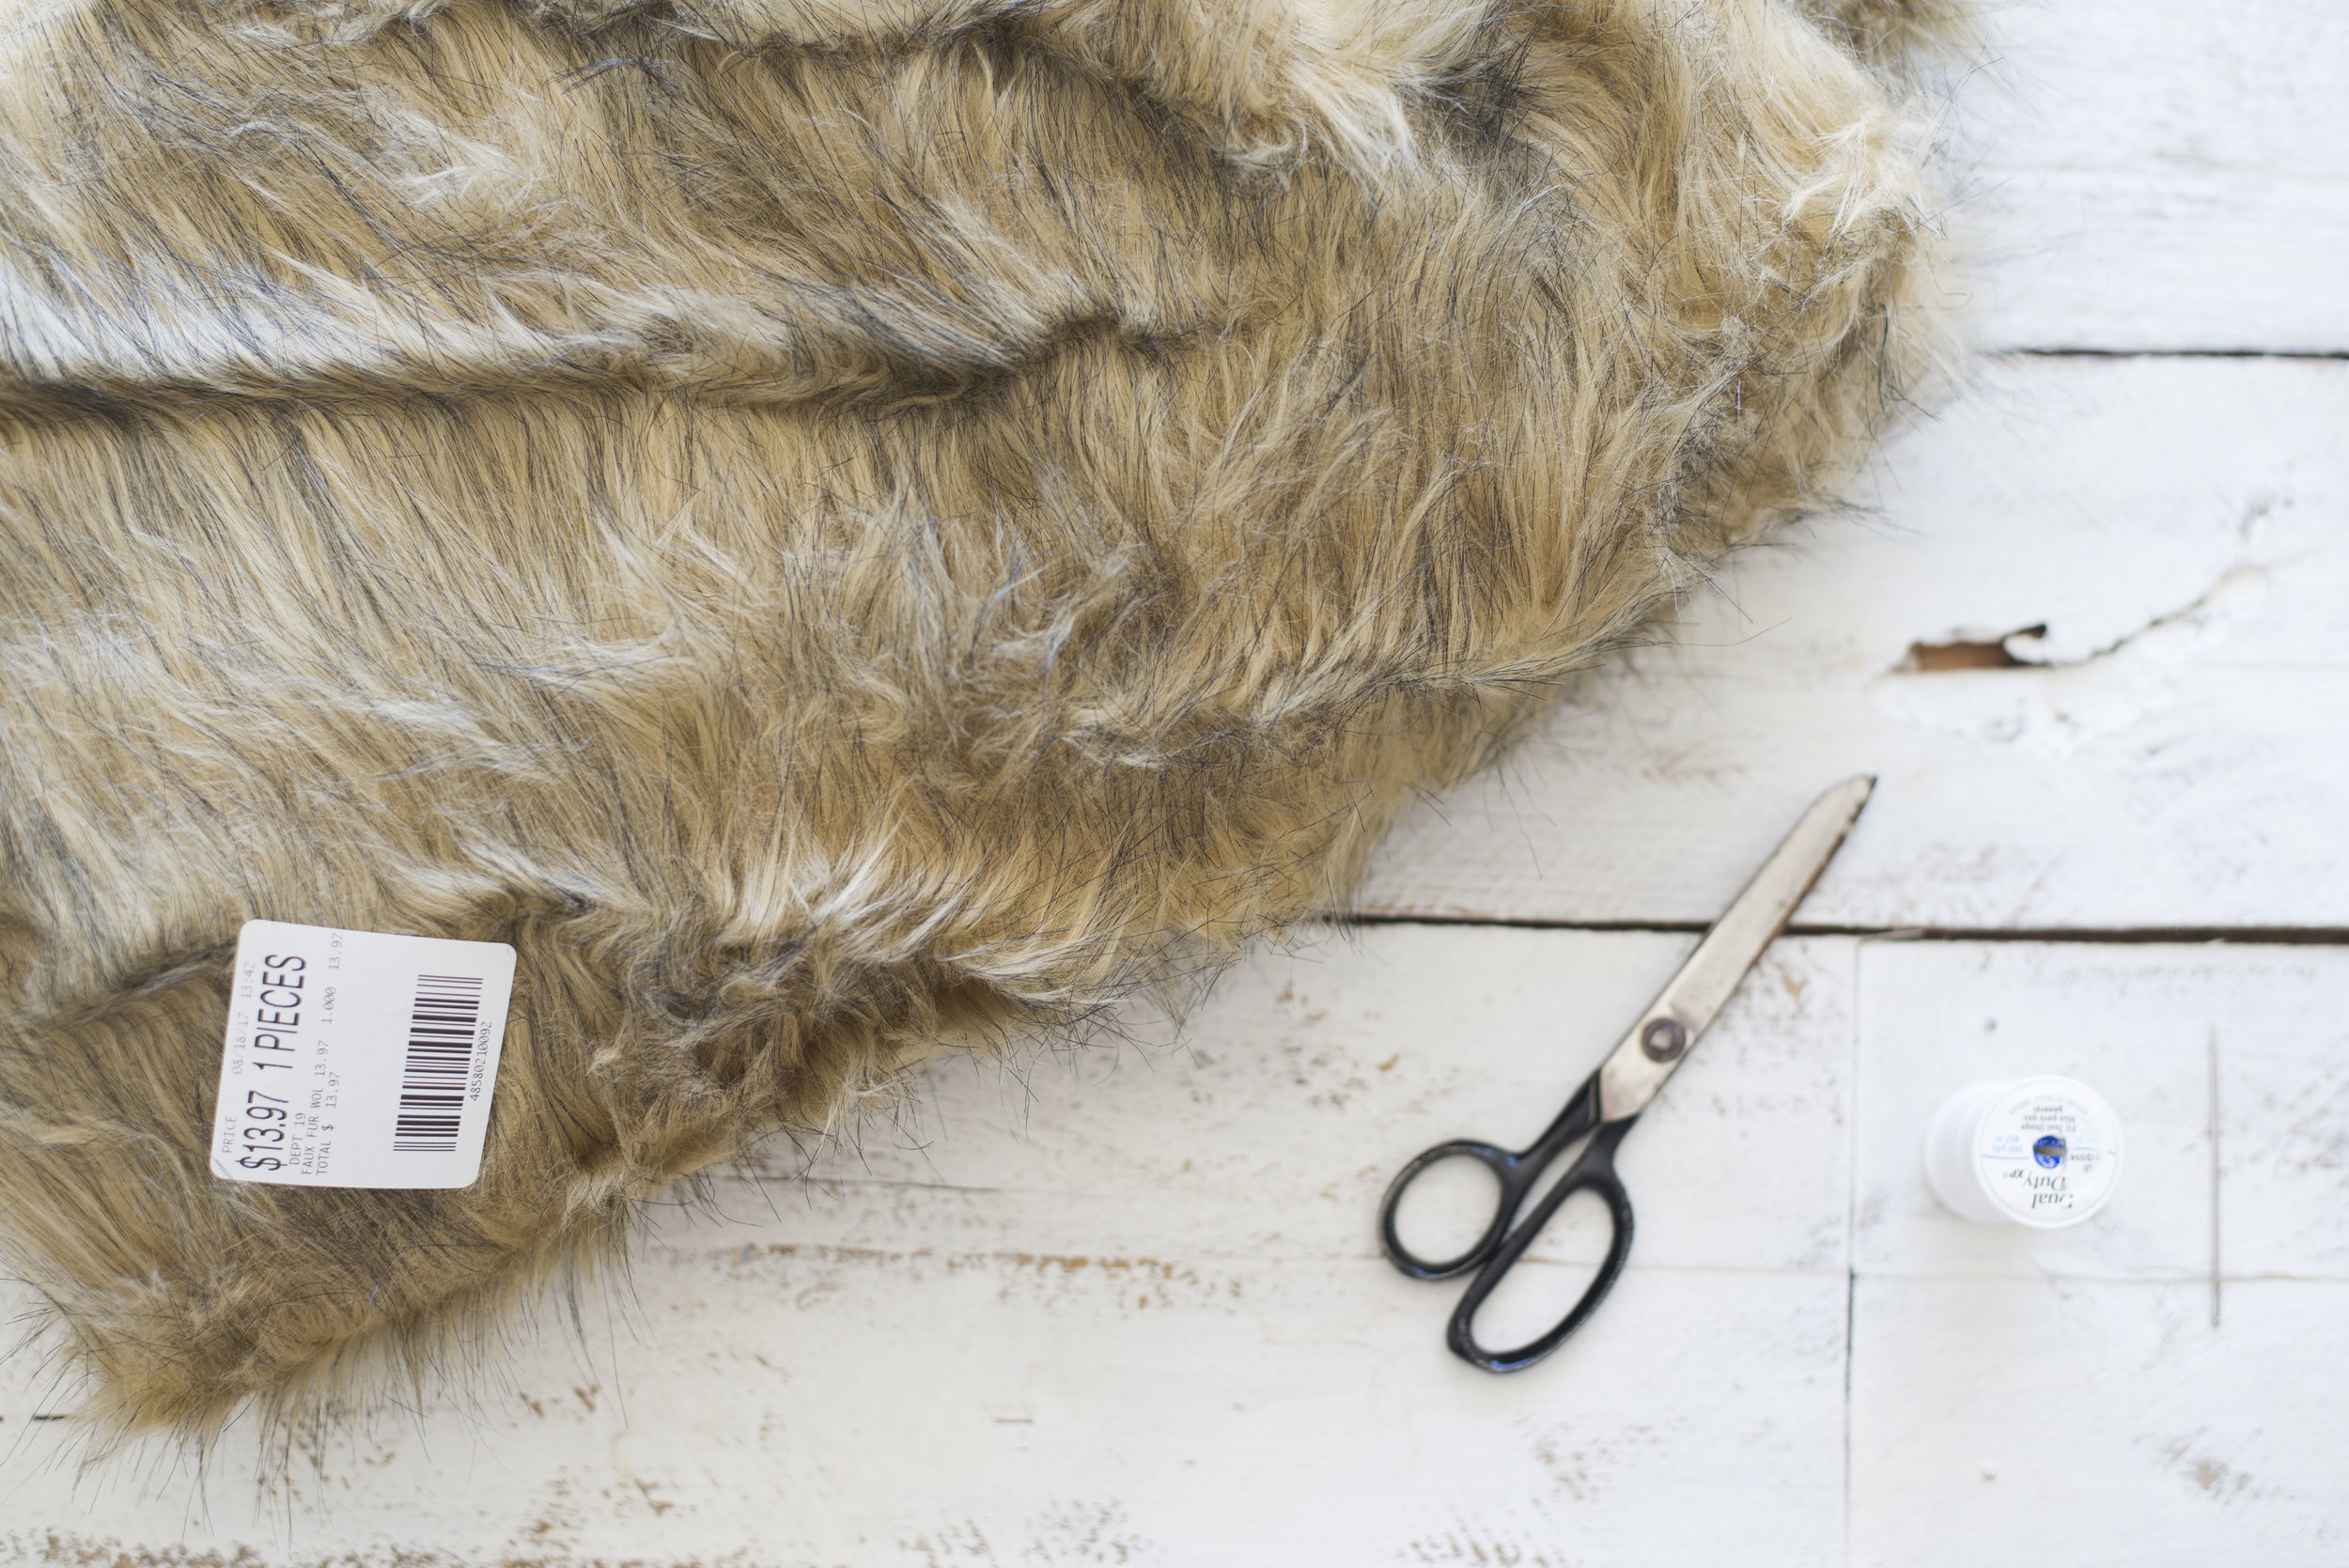
-faux fur of choice (I found one I liked at my Walmart- I just got a yard of it because I was going to use it for other things. Depending on what size of pom you'd like to make you could just purchase as much as you need. For instance, I made this pom with a diameter of 5 inches of fabric.)
-scissors
-needle and thread
-stuffing of choice (you could use poly-fill, fabric scraps, old yarn -really anything!)

So to start, I just cut a 5-inch square. If you'd rather, you could always use a bowl or other round object for a stencil. Obviously the size can be totally customizable. I found the 5 inch size to be a good size for a hat. I may go even another inch for the next one I make. **A tip for cutting- spread the fur apart to cut the fabric. This will minimize the amount of messy loose fur that will fly around after cutting. This is kinda messy!

pom03.jpg

After that I rounded off the corners and created a circle. Honestly it's not the end of the world if your circle isn't perfect. 

pom04.jpg

Then with your needle and thread, make a running stitch along the very outside of your circle, all the way around. I wouldn't sew too tight, as that will make it harder to gather. Just sew nice and loose strides.

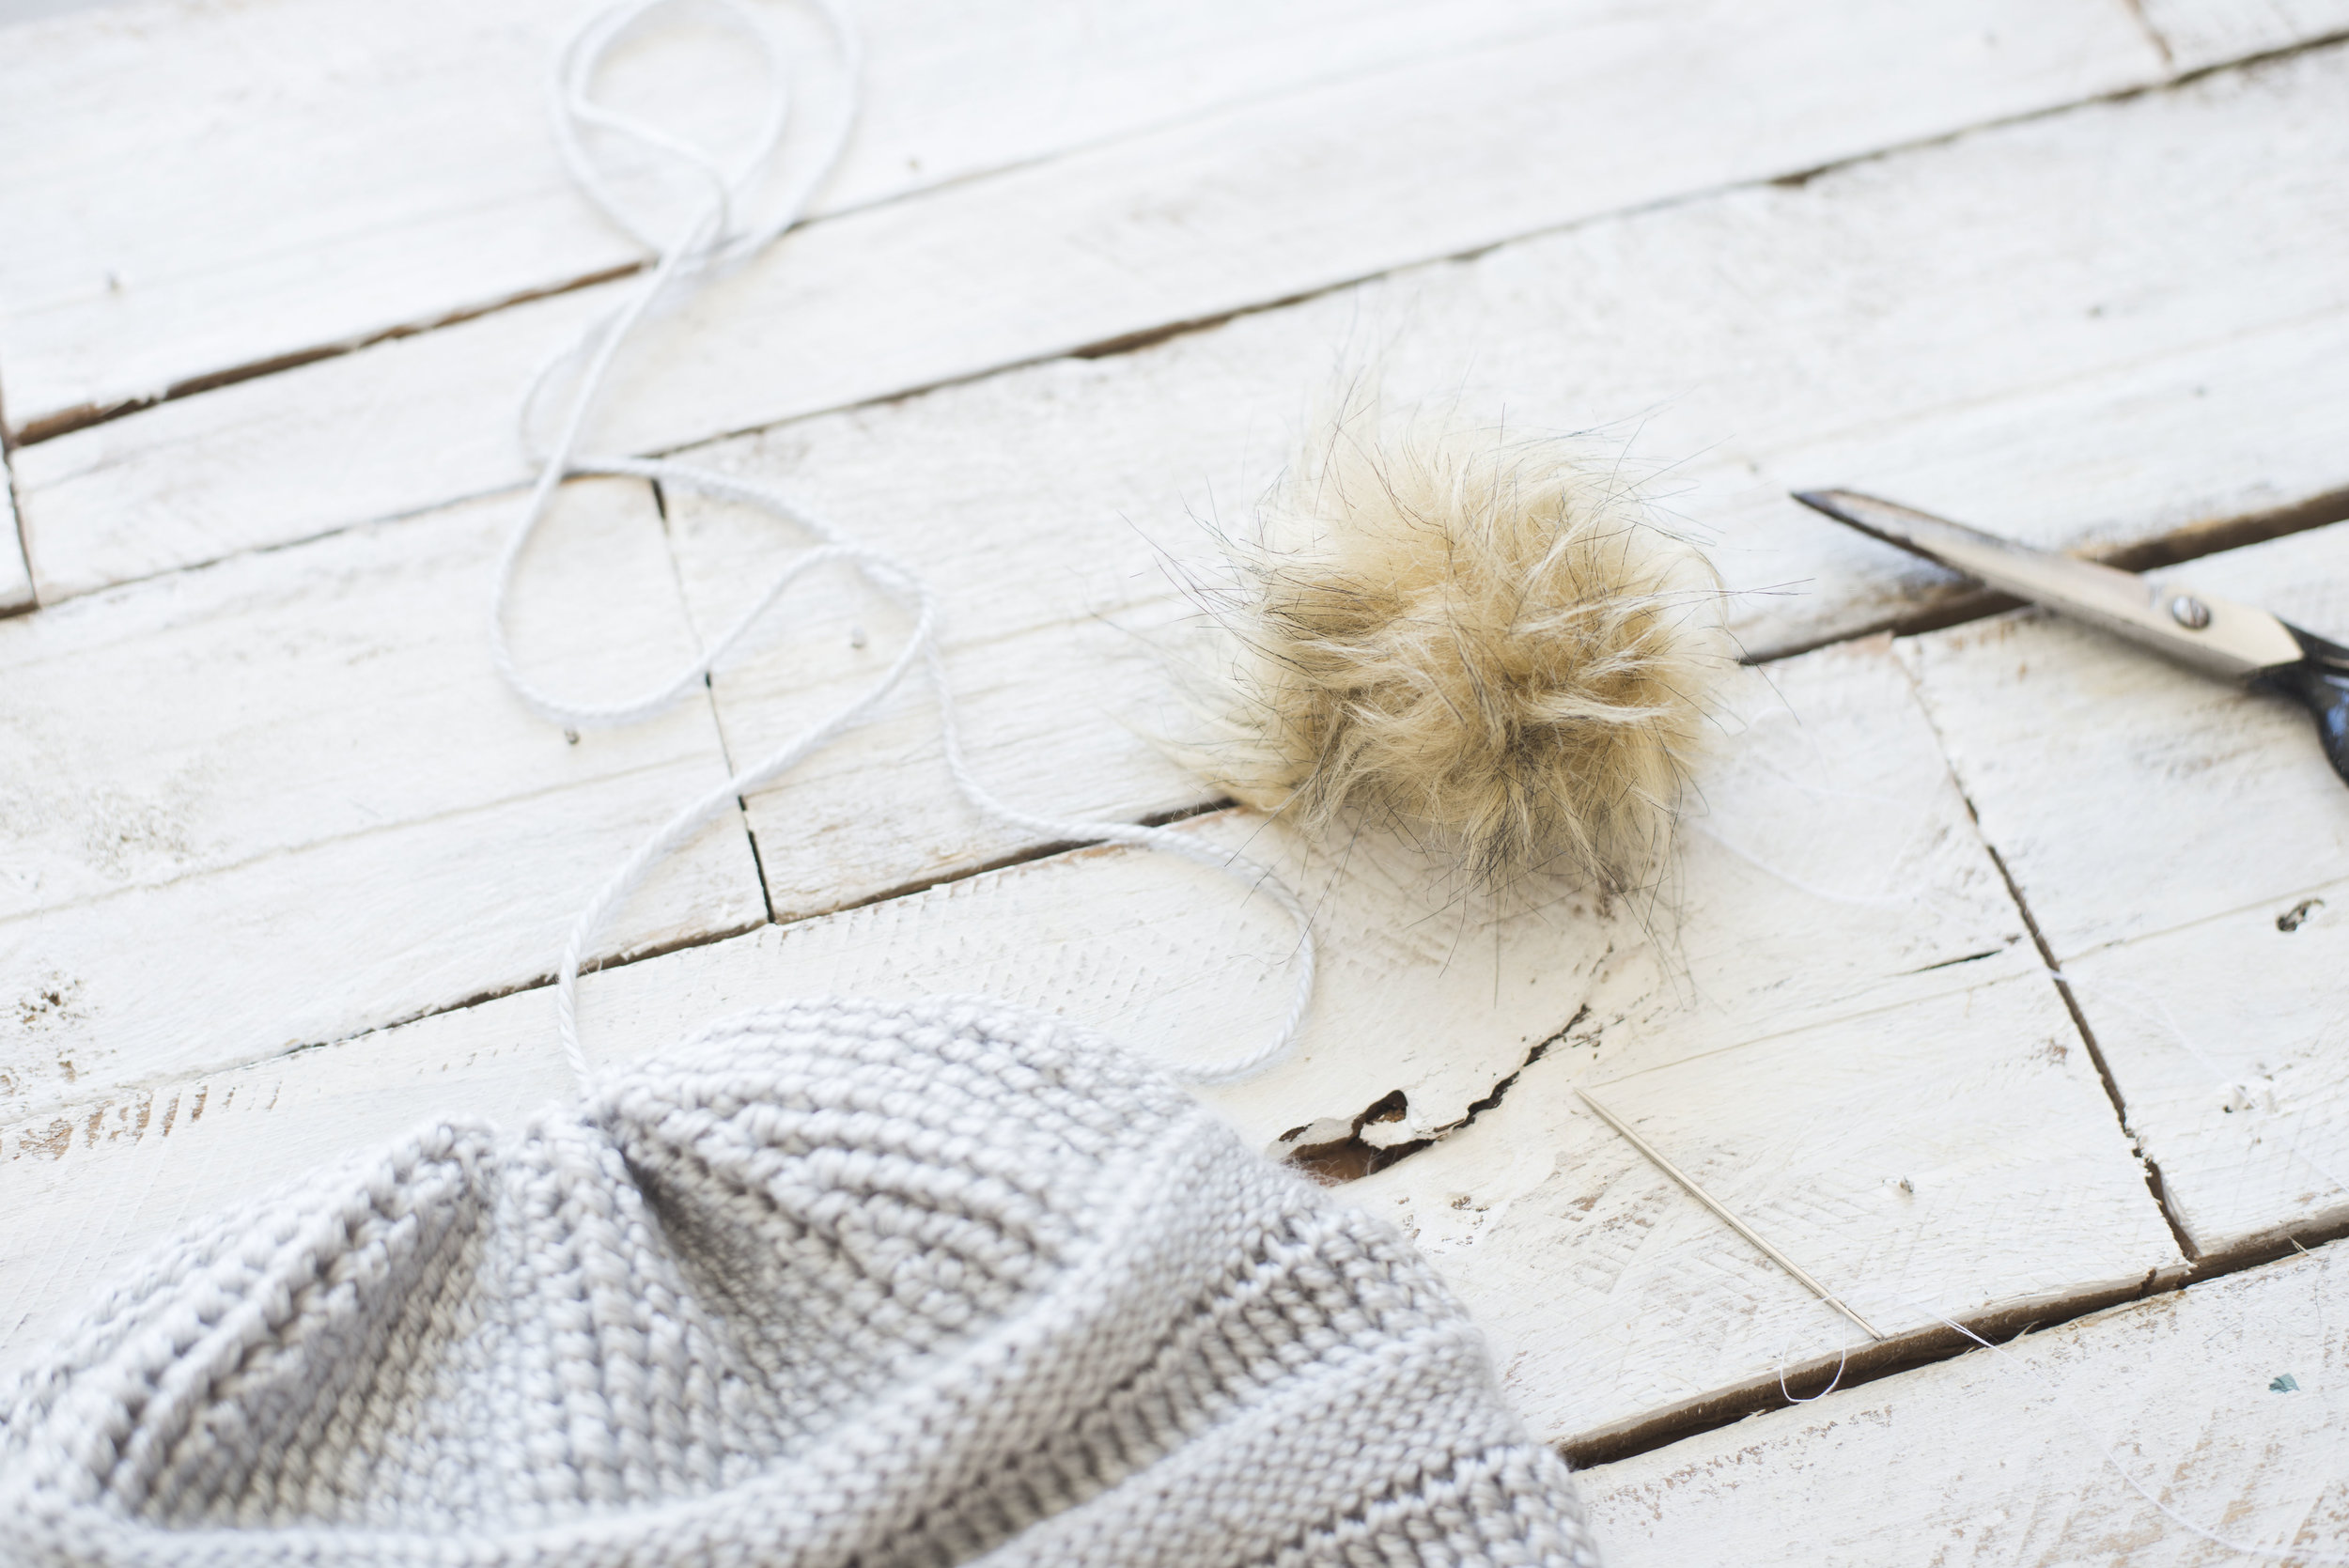
Next you'll gather the edges by pulling on your thread. Before gathering it up entirely, stuff the pom with your stuffing of choice.

I chose to make a few passes with the thread and needle again to close up the edges entirely. I just went back and forth with the needle through the gathered bunch and pulled tightly.

Then lastly, you will either sew your pom onto your desired piece if it's ready, by making passes through your piece and the bottom of the pom. 

pom08.jpg

Or if you're saving it for later, tie a couple of knots with your thread to secure it, then weave it into the inside of the pom, and cut the thread. Or you could even leave the strand for sewing later! 

Keep an eye out for the pattern for this cute and cozy crochet version of the CC beanie coming this weekend.. I topped it with one of these fur poms!! 

Happy making to you!
-Meg