Crochet Pattern + Tutorial for Crocheted Recipe Towels
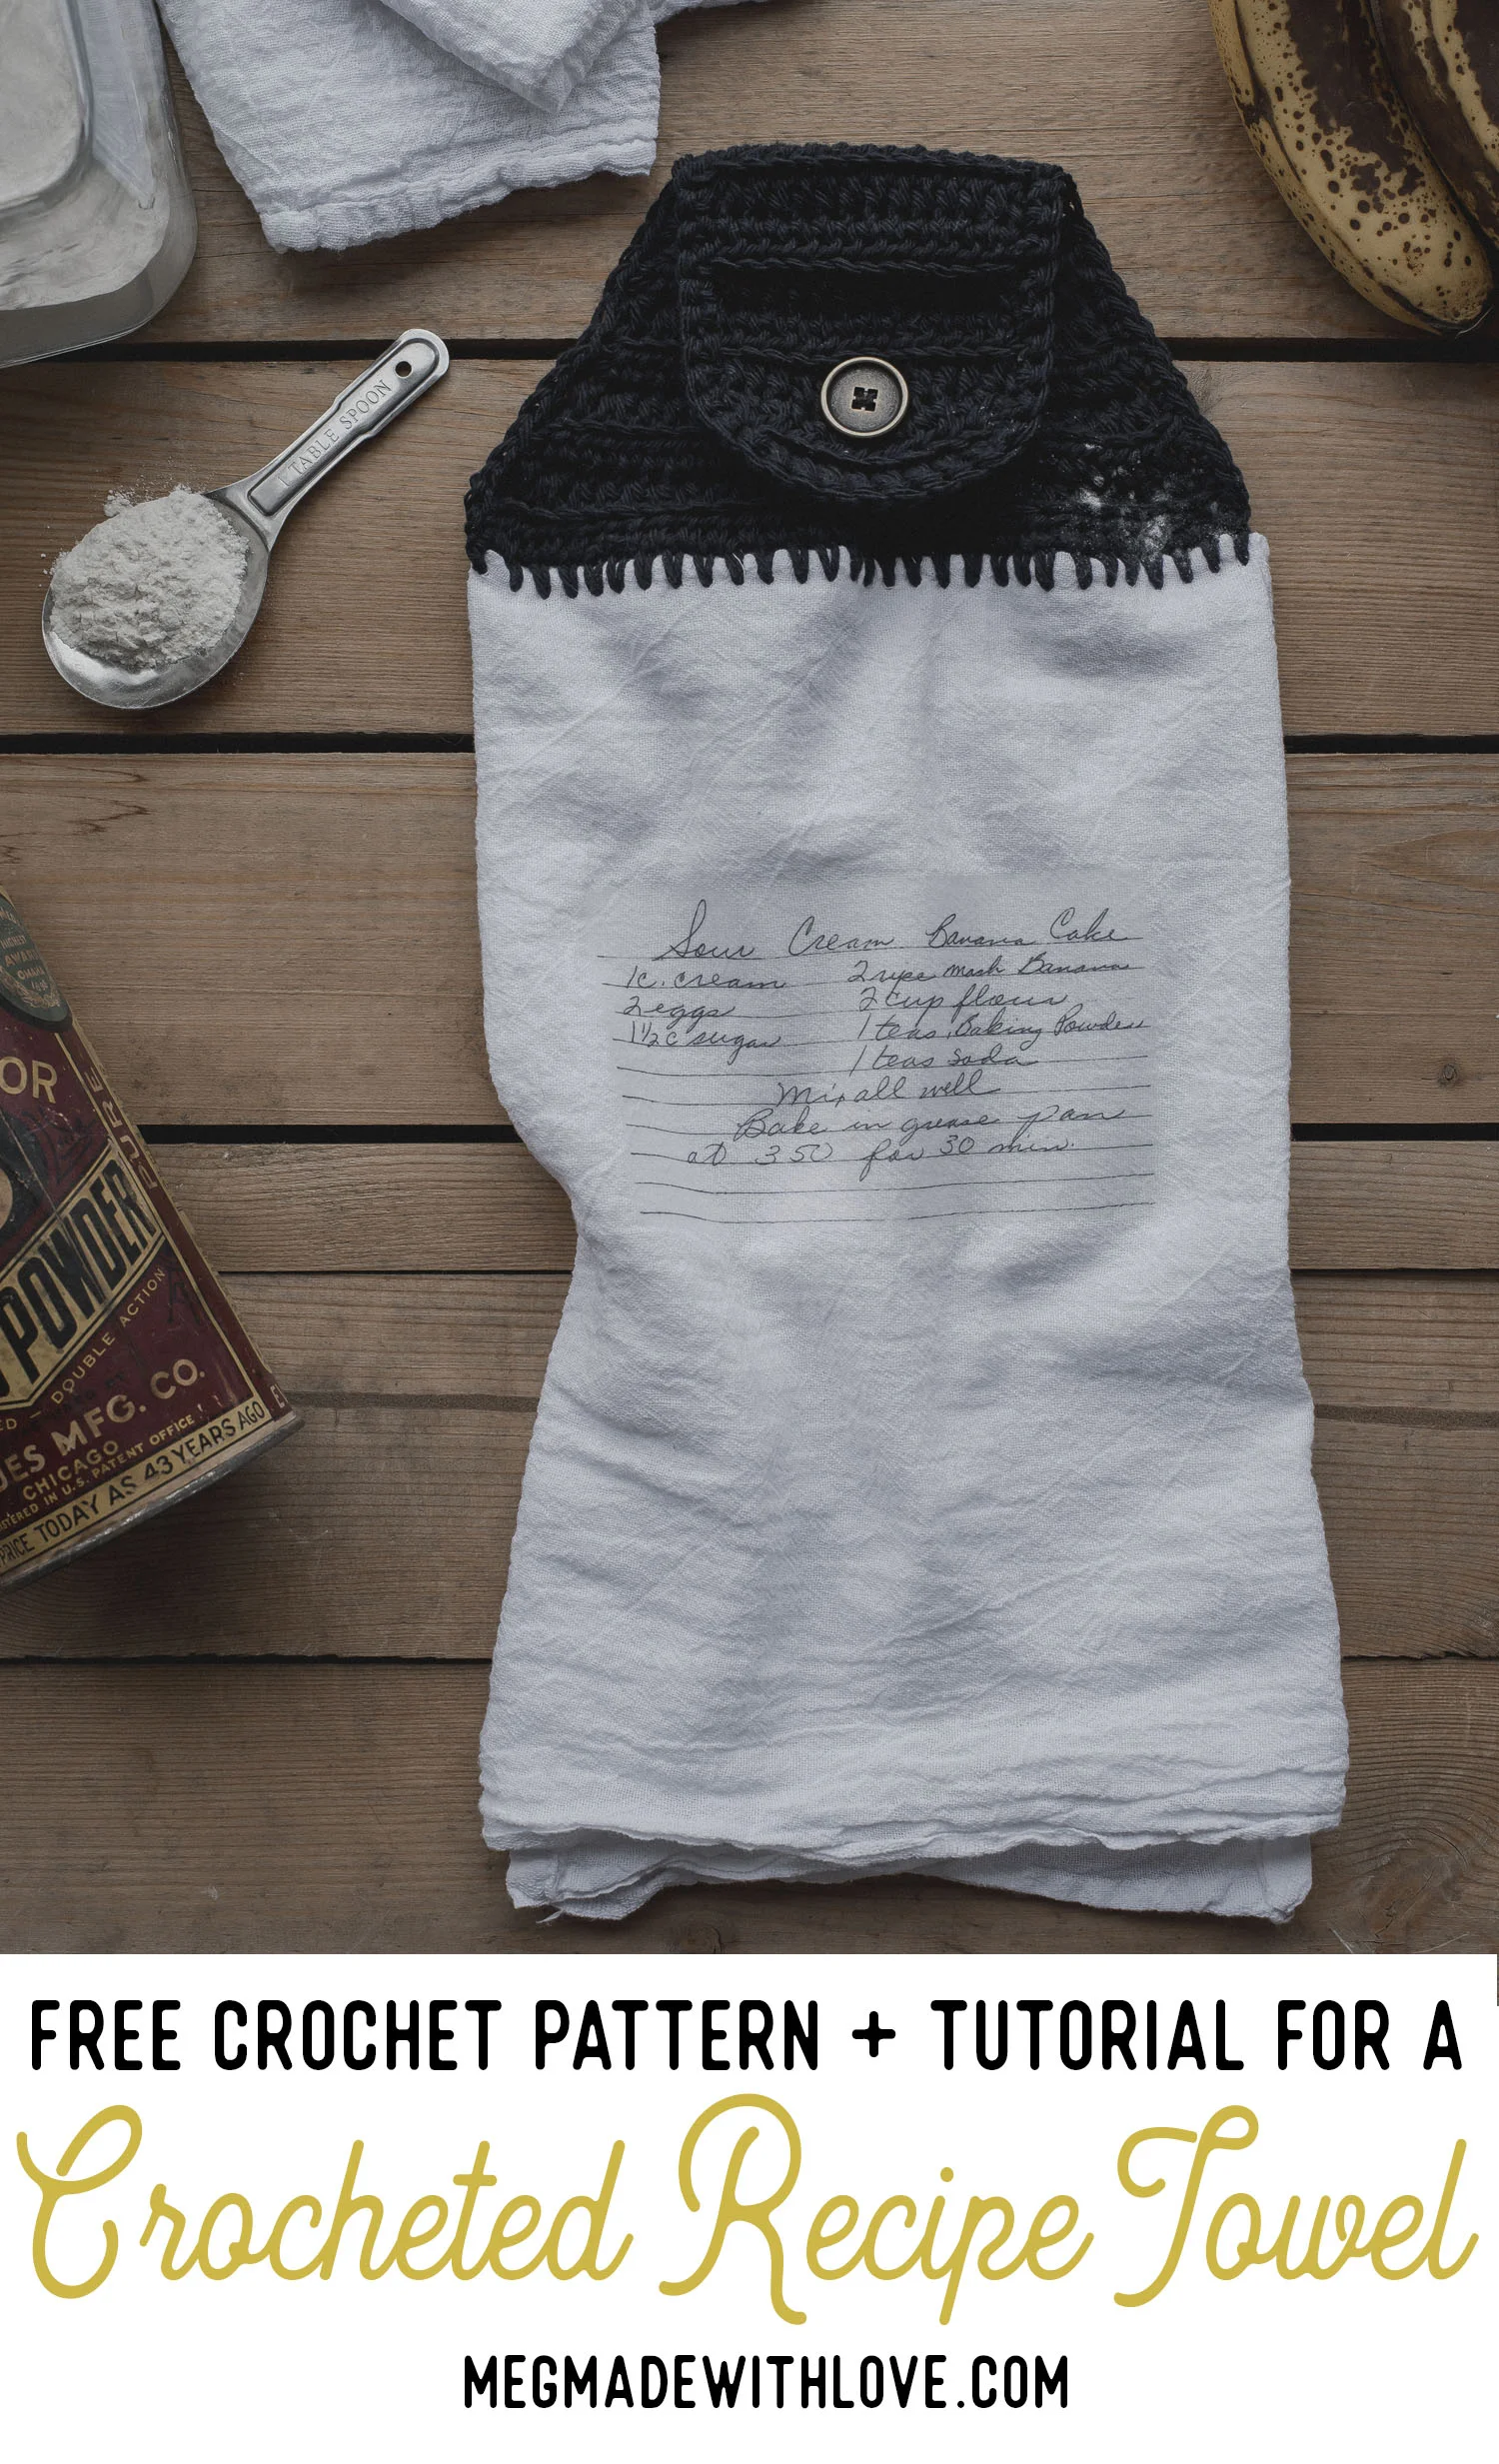
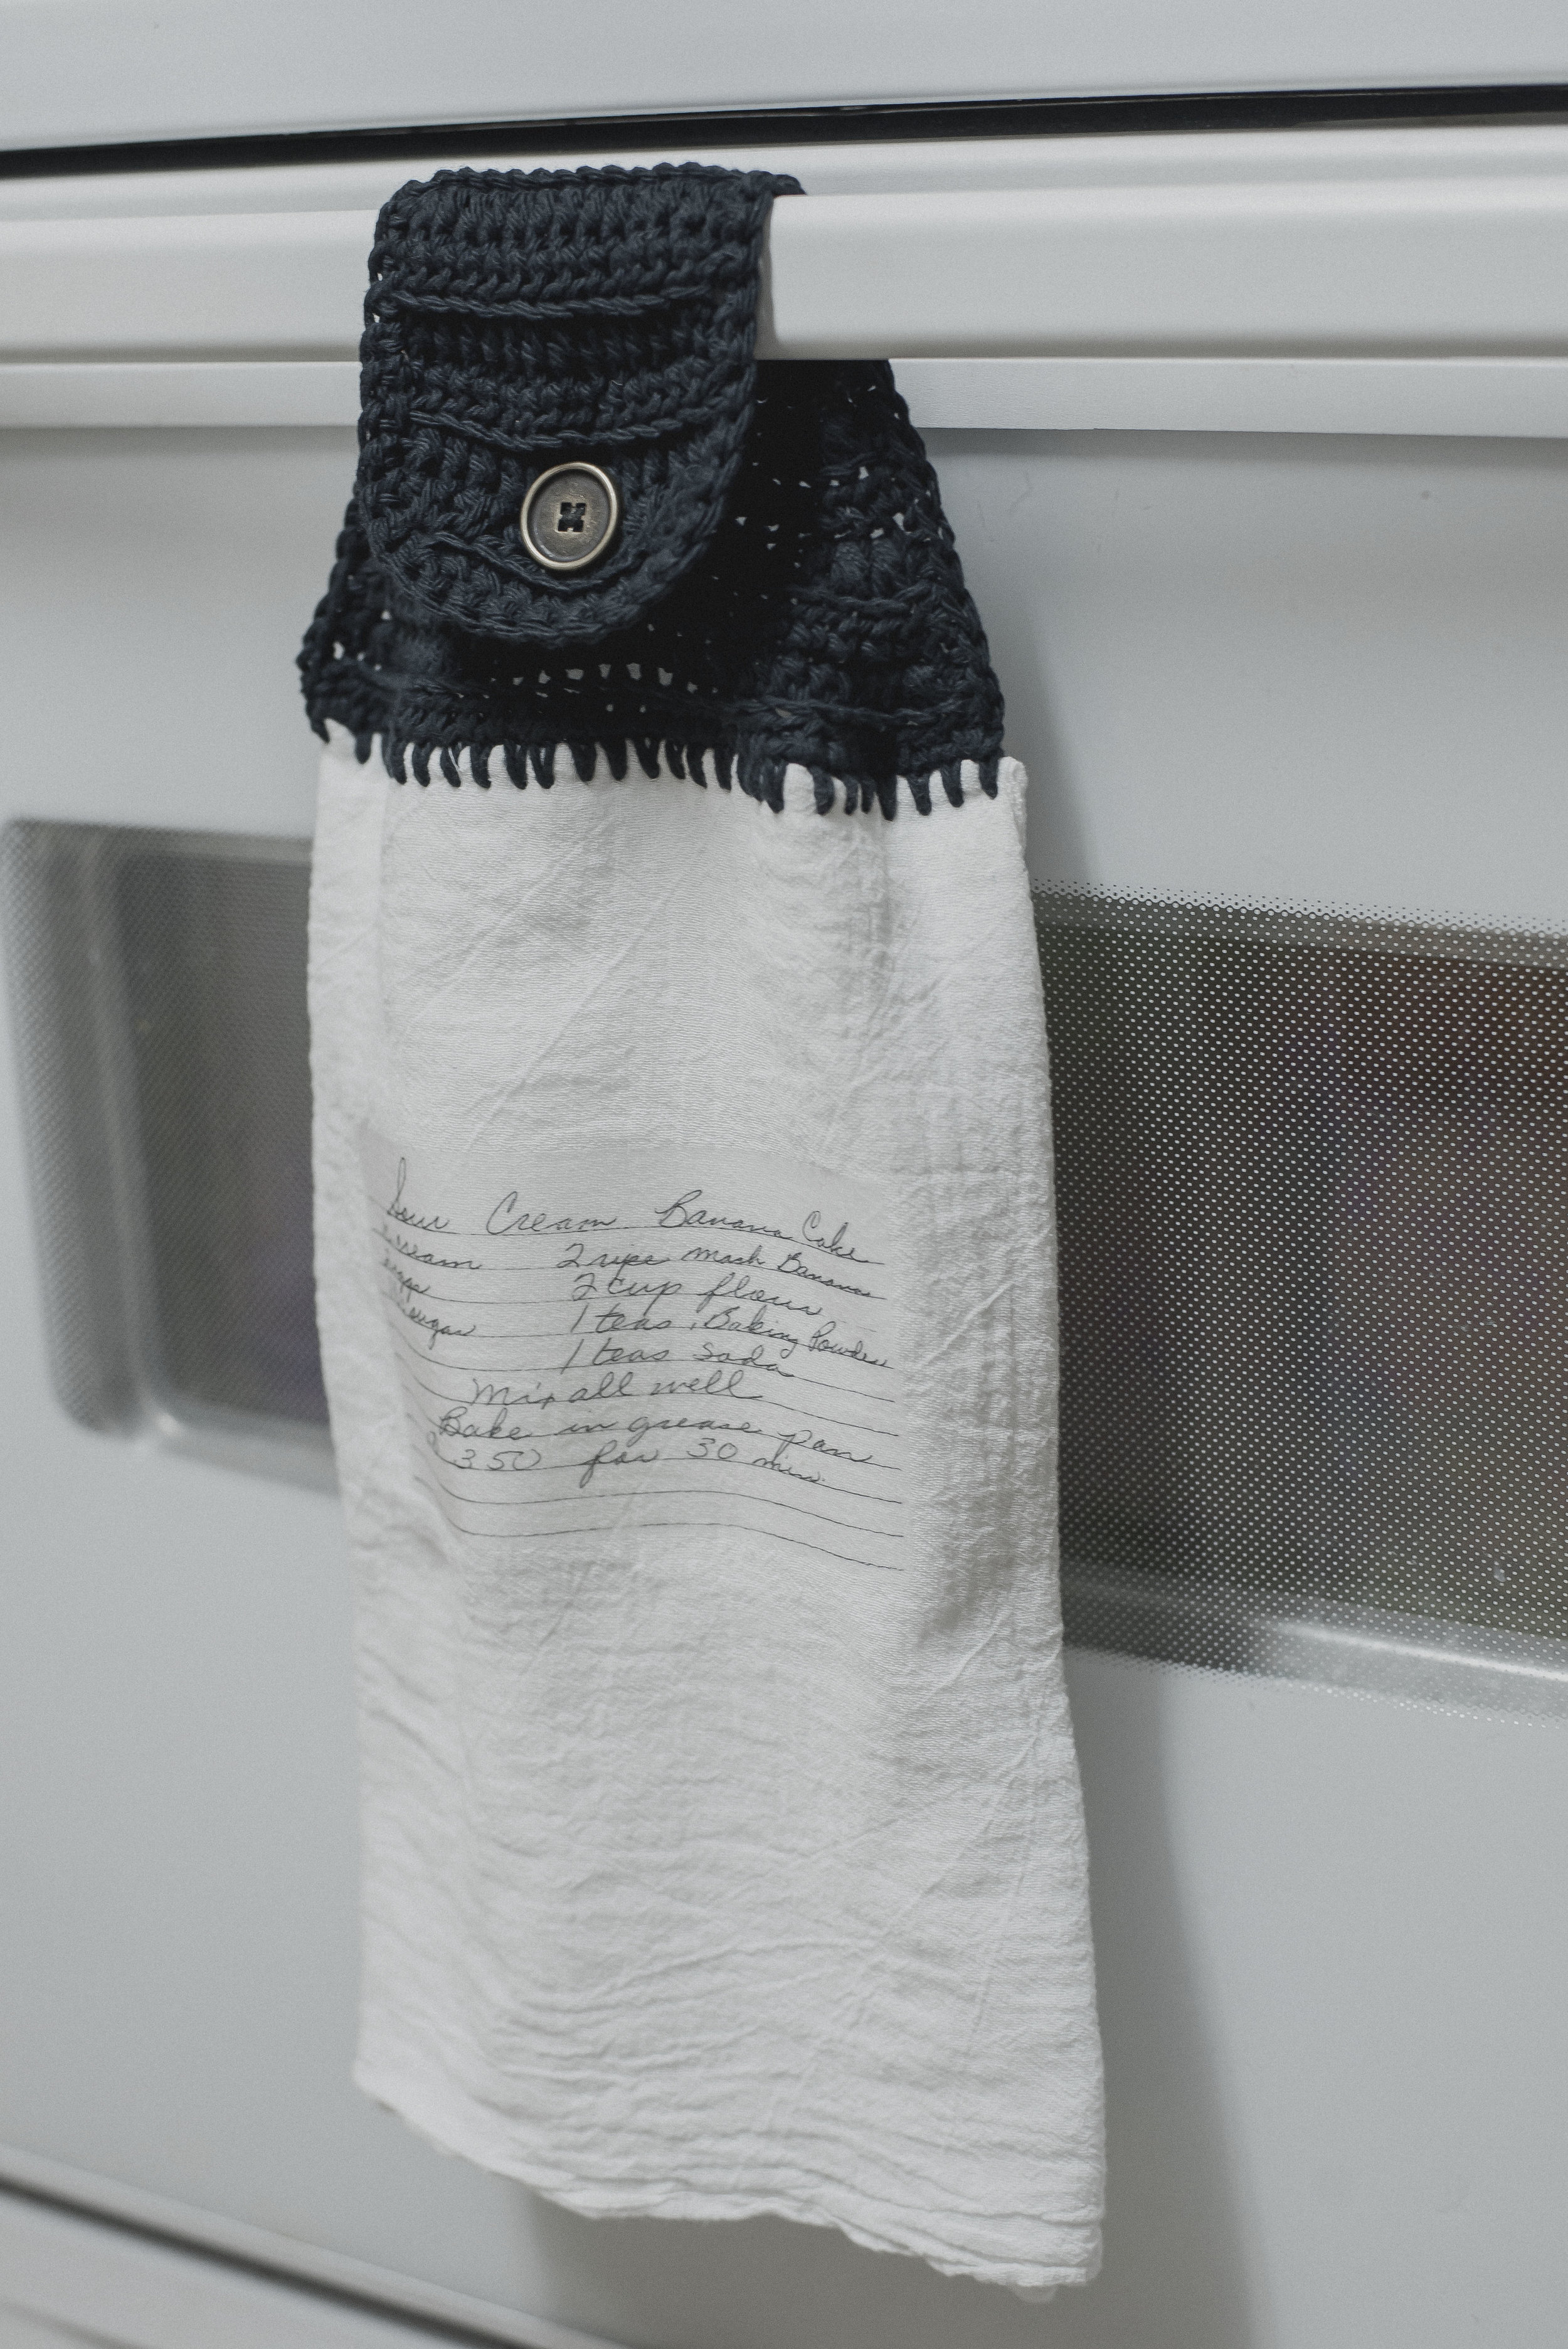
/I've always thought the towels I've seen online were so cool--the ones with recipes transferred onto them, and that they'd be a great Mother's Day gift one day. But then it dawned on me they'd make an AWESOME gift if I took it one step further and crocheted on the top of it. And even MORE awesome if I wrote a post/pattern on it! So that's what this post will cover... both how to transfer those favorite recipes to a flour sack towel, and how to crochet on the top of the them. With Mother's Day next weekend, this pattern would be the best last-minute DIY gift for good old mom. :)
This project does require a little stealthiness... you'll have to rummage through your mom's favorite recipe cards (I guess that's if you don't have your own copy, and as I was visiting my mom last month, I thought I'd see if I could find one of hers). She has this Sour Cream Banana Cake recipe I believe is from her mom, my grandma... and it is THE bomb. We'd always ask for that cake on our birthdays, and have it topped with cream cheese icing, oh man. Droolin'...
Someone suggested on Instagram that it would be cool to wrap the towel around a mason jar containing all the dry ingredients of the recipe-- which I thought was a great idea!
For this post I'll start out with how to transfer the recipe onto the towel and then the pattern for the crocheted top will follow after that, towards the bottom. I hope you get to make one of these fun little towels!
What you'll need:
-handwritten recipe
-28" by 29" flour sack towels (I found mine at Walmart, these are also in craft stores in the embroidery section.)
-fabric transfer paper (It's important to use the "Light" kind, if you're transferring onto a white towel, I found mine at Walmart, Avery brand. You can also purchase on Amazon here)
-inkjet printer (laser printer will not work) & scanner
-computer, with photo editing program (I used Adobe Photoshop, which has a free trial version I believe, or you could use a free online program like Pixlr )
-iron
-sewing pins
-ruler and pencil
-worsted weight (4) cotton yarn
-size b hook (2.25 mm)
-size i hook (5.5 mm)
-yarn needle
- 1"- 1.25" button
-thread and needle (for sewing button)
Transferring the Recipe:
To begin, scan in your recipe and save it to your computer.
Above is what my recipe looked like scanned in. It had pencils marks on it, as well as other marks and creases that I didn't want to show up on the towel so I edited it in Photoshop. Editing it will also make the recipe more contrasted and look more clear when ironed on.
To begin I adjusted the "levels" of the recipe. In the image above you can see the two pink arrows-- these are the two tools that make the "whites" more white and the "blacks" more black. You can start by clicking the white dropper-- the one on the far right. Next you will click in your recipe, an area that is supposed to be "true white", like the background. Once you click on the spot that's supposed to be white, it'll adjust your image for you and the background should appear more white. It works the same for the black dropper, just click a point in the text to make the writing look darker and "stick out" more.
Once you get your background to a good color, and the text to the darkness you'd like, then it's time to touch up your recipe. This can get as detailed as you'd like it to. I chose to remove all the blemishes and pencil marks, along with the outside edges of the recipe (I did decide to leave the lines). It would probably still look cool with all the blemishes too, it would give it some character! It would probably be smart to make the image black and white (desaturated), but then again, if you wanted it to be colored more power to you!
To remove the blemishes and edges I used the "clone brush tool" and the "brush tool"-- both are pointed to in pink in the image above. First I used the clone tool, this tool basically picks up an area of your image and covers a different area with it-- kinda like a touch-up. To use this tool I held the option key (alt key for Windows computers), and clicked on the area I wanted the blemished part to look like, usually an area very close to the blemish. Then you'll just click on the blemish until it looks natural. If you'd like a more in-depth tutorial for how to use the clone stamp brush, you can view this video.
Once I had all the blemishes touched up, I used the paint brush-- set to true white (#FFFFFF). Then I just painted all around the background of the recipe to make it all one color--white. Like I said above, it's not 100% necessary to have the background look perfect, it's just something I wanted to do.
After you're finished making your recipe look the way you'd like it to, it's time to flip it. *This is important when ironing on your recipe because if you don't, it will come out backwards. To do this in Photoshop, you'll click "Image", "Image Rotation", and "Flip Canvas Horizontal".
You will also want to decide how big you would like the recipe to be on your towel. For this pattern and the way I fold the towel for it, the maximum width for the recipe would be 8.5 inches. I chose to resize my recipe to 6 inches wide.
Next I created a new document, one that is 8.5 inches by 11 inches and 300 pixels per inch resolution (white background). This is for printing the recipe on your transfer paper and is the size of the piece of paper. Once your new document is open you will copy and paste your recipe onto it.
To do this is Photoshop you'll select all of your recipe (command + A), copy (command + C), then go over to your new document and paste (command + V). I chose to paste the recipe twice into the new document just in case, plus it would waste less paper. If you're making more than one recipe towel, you could put different recipes on one page.
Next you'll insert your transfer paper into the printer and print your recipes. Your paper may have special instructions that you need to follow on printing, just be sure to read up on those just in case.
Then you'll grab your towel. I chose to wash and dry my towel before transferring. It didn't say it was necessary, but I just thought I would. In the image above you can see the towel folded up-- I was planning where I'd place the recipe. To fold the towel, first you'll fold in half, and then into thirds. I chose to iron my towel before transferring the recipe because it was pretty wrinkled up. You'll want it to be nice and flat for the image to go on well.
Grab your recipes, then cut them out. I cut pretty close to the edges.
Now you're ready to iron on your recipe. I unfolded the "thirds" folds and then placed my recipe faced-down in the center, a little towards the top (totally up to you where you want it to be!).
The directions on the transfer paper said not to use a ironing board, so I just used a countertop. It also instructed to use the "cotton" setting on your iron.
My transfer paper directions specified to not use water in the iron and to apply pressure slowly from left to right then top to bottom, and over the edges. I ironed for about 2 minutes, then let it cool for a couple of minutes.
After the towel is cool, slowly peel the corner backing off the recipe away from the towel. I'm not gonna lie, I was kind of surprised mine worked out perfectly the first time.
This concludes the tutorial for how to transfer the recipe to the towel!
Crochet Pattern
Notes:
-ch's at the beginning of the rows do not count as sts
-it's not incredibly important to have a specific amount of stitches-- just that you try to work your stitches into the towel 1/4 apart.
-you will start out with the 2.25 mm hook for the first row, and then you will switch to the 5.5 mm hook for the remainder of the towel. This is because the 2.25 mm hook allows you to work into the towel because it's so little. You could also sew a blanket stitch along the top and work stitches into that, or you could use a skip stitch blade-- just some additional options.
Abbreviations:
ch=chain, sc=single crochet, st(s)=stitch(es), hdc=half double crochet, hdc2tog=half double crochet two together (or hdc decrease), sk=skip, BLO=back loop only
Row 1) To crochet the top, you'll fold up your towel back into the "thirds" and pin the top folds all together with sewing pins.
Next I drew a line across the very top of the towel with a pencil about 1/4 of an inch down from the top. This will be a guideline for the first row of stitches to be worked into the towel.
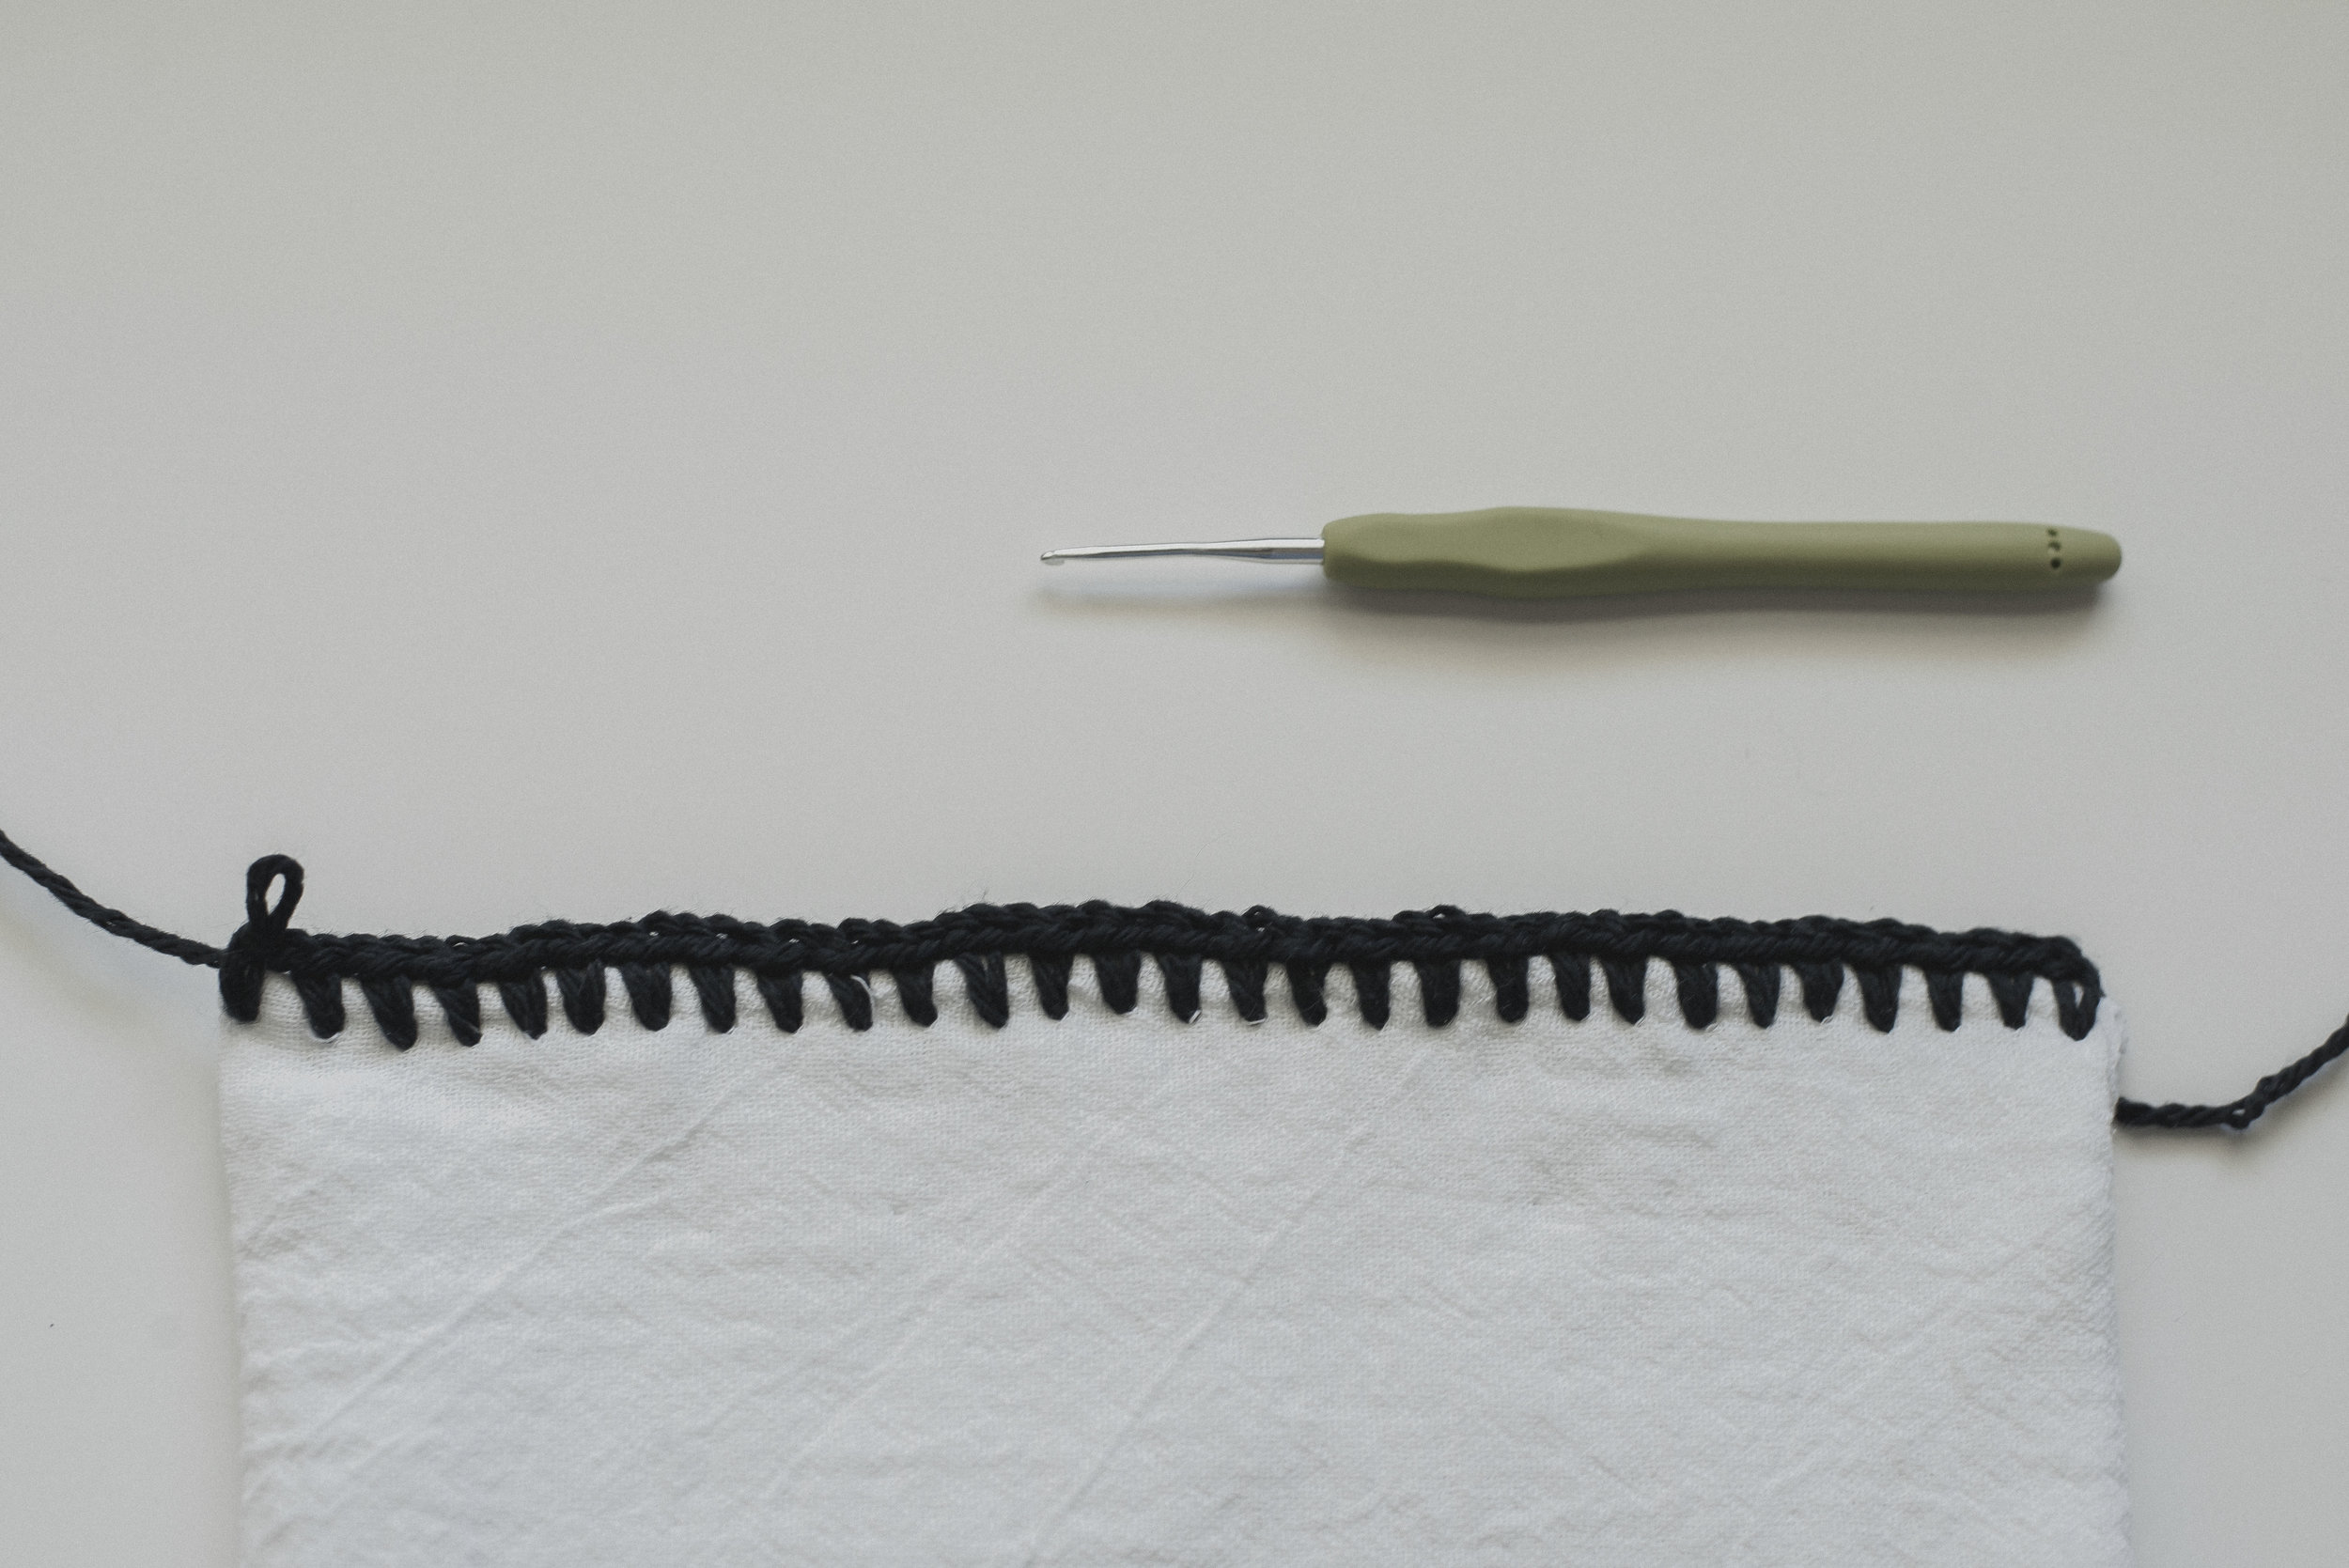
Now you're ready to work stitches into the towel. Grab your 2.25 mm hook and yarn, and insert the hook into the very edge of the towel (on the line you drew) and grab your yarn on the back side. It helped me to work my hook into one layer at a time, and to wiggle it while pushing into the fabric.
Bring your yarn back through, and sc. Then ch 1.
Insert your hook 1/4 away from the previous spot you inserted, and do the same thing-- sc, ch 1. Repeat this all the way across the top, when you work the last sc -- don't ch 1 at the very end.
The image above shows the first row worked. Now you will switch to your i hook (5.5 mm).
Row 2) ch 1, turn, work hdc's into the "ch 1" spaces across the row
Row 3) ch 1, turn, all BLO: hdc2tog, hdc2tog, hdc across row until there are four stitches left, hdc2tog, hdc2tog
Row 4) ch 1, turn, all BLO: hdc across row
Row 5) repeat instructions from"row 3"
Row 6) repeat instructions from "row 4"
Row 7) repeat instructions from "row 3"
Row 8) repeat instructions from "row 4"
Row 9) repeat instructions from "row 3"
Rows 10-15) repeat instructions from "row 4"
Row 16) ch 1, turn, all BLO: hdc until you reach two middle stitches, ch 2, sk those two middle sts, hdc into remainder of sts
Row 17) ch 1, turn, all BLO: hdc2tog, hdc2tog, hdc until there are four stitches left (working hdc's into previous row's ch's) hdc2tog, hdc2tog
Row 18) ch 1, turn, all BLO: hdc across row
Finish off, weave in ends
Now you're ready to sew on the button...
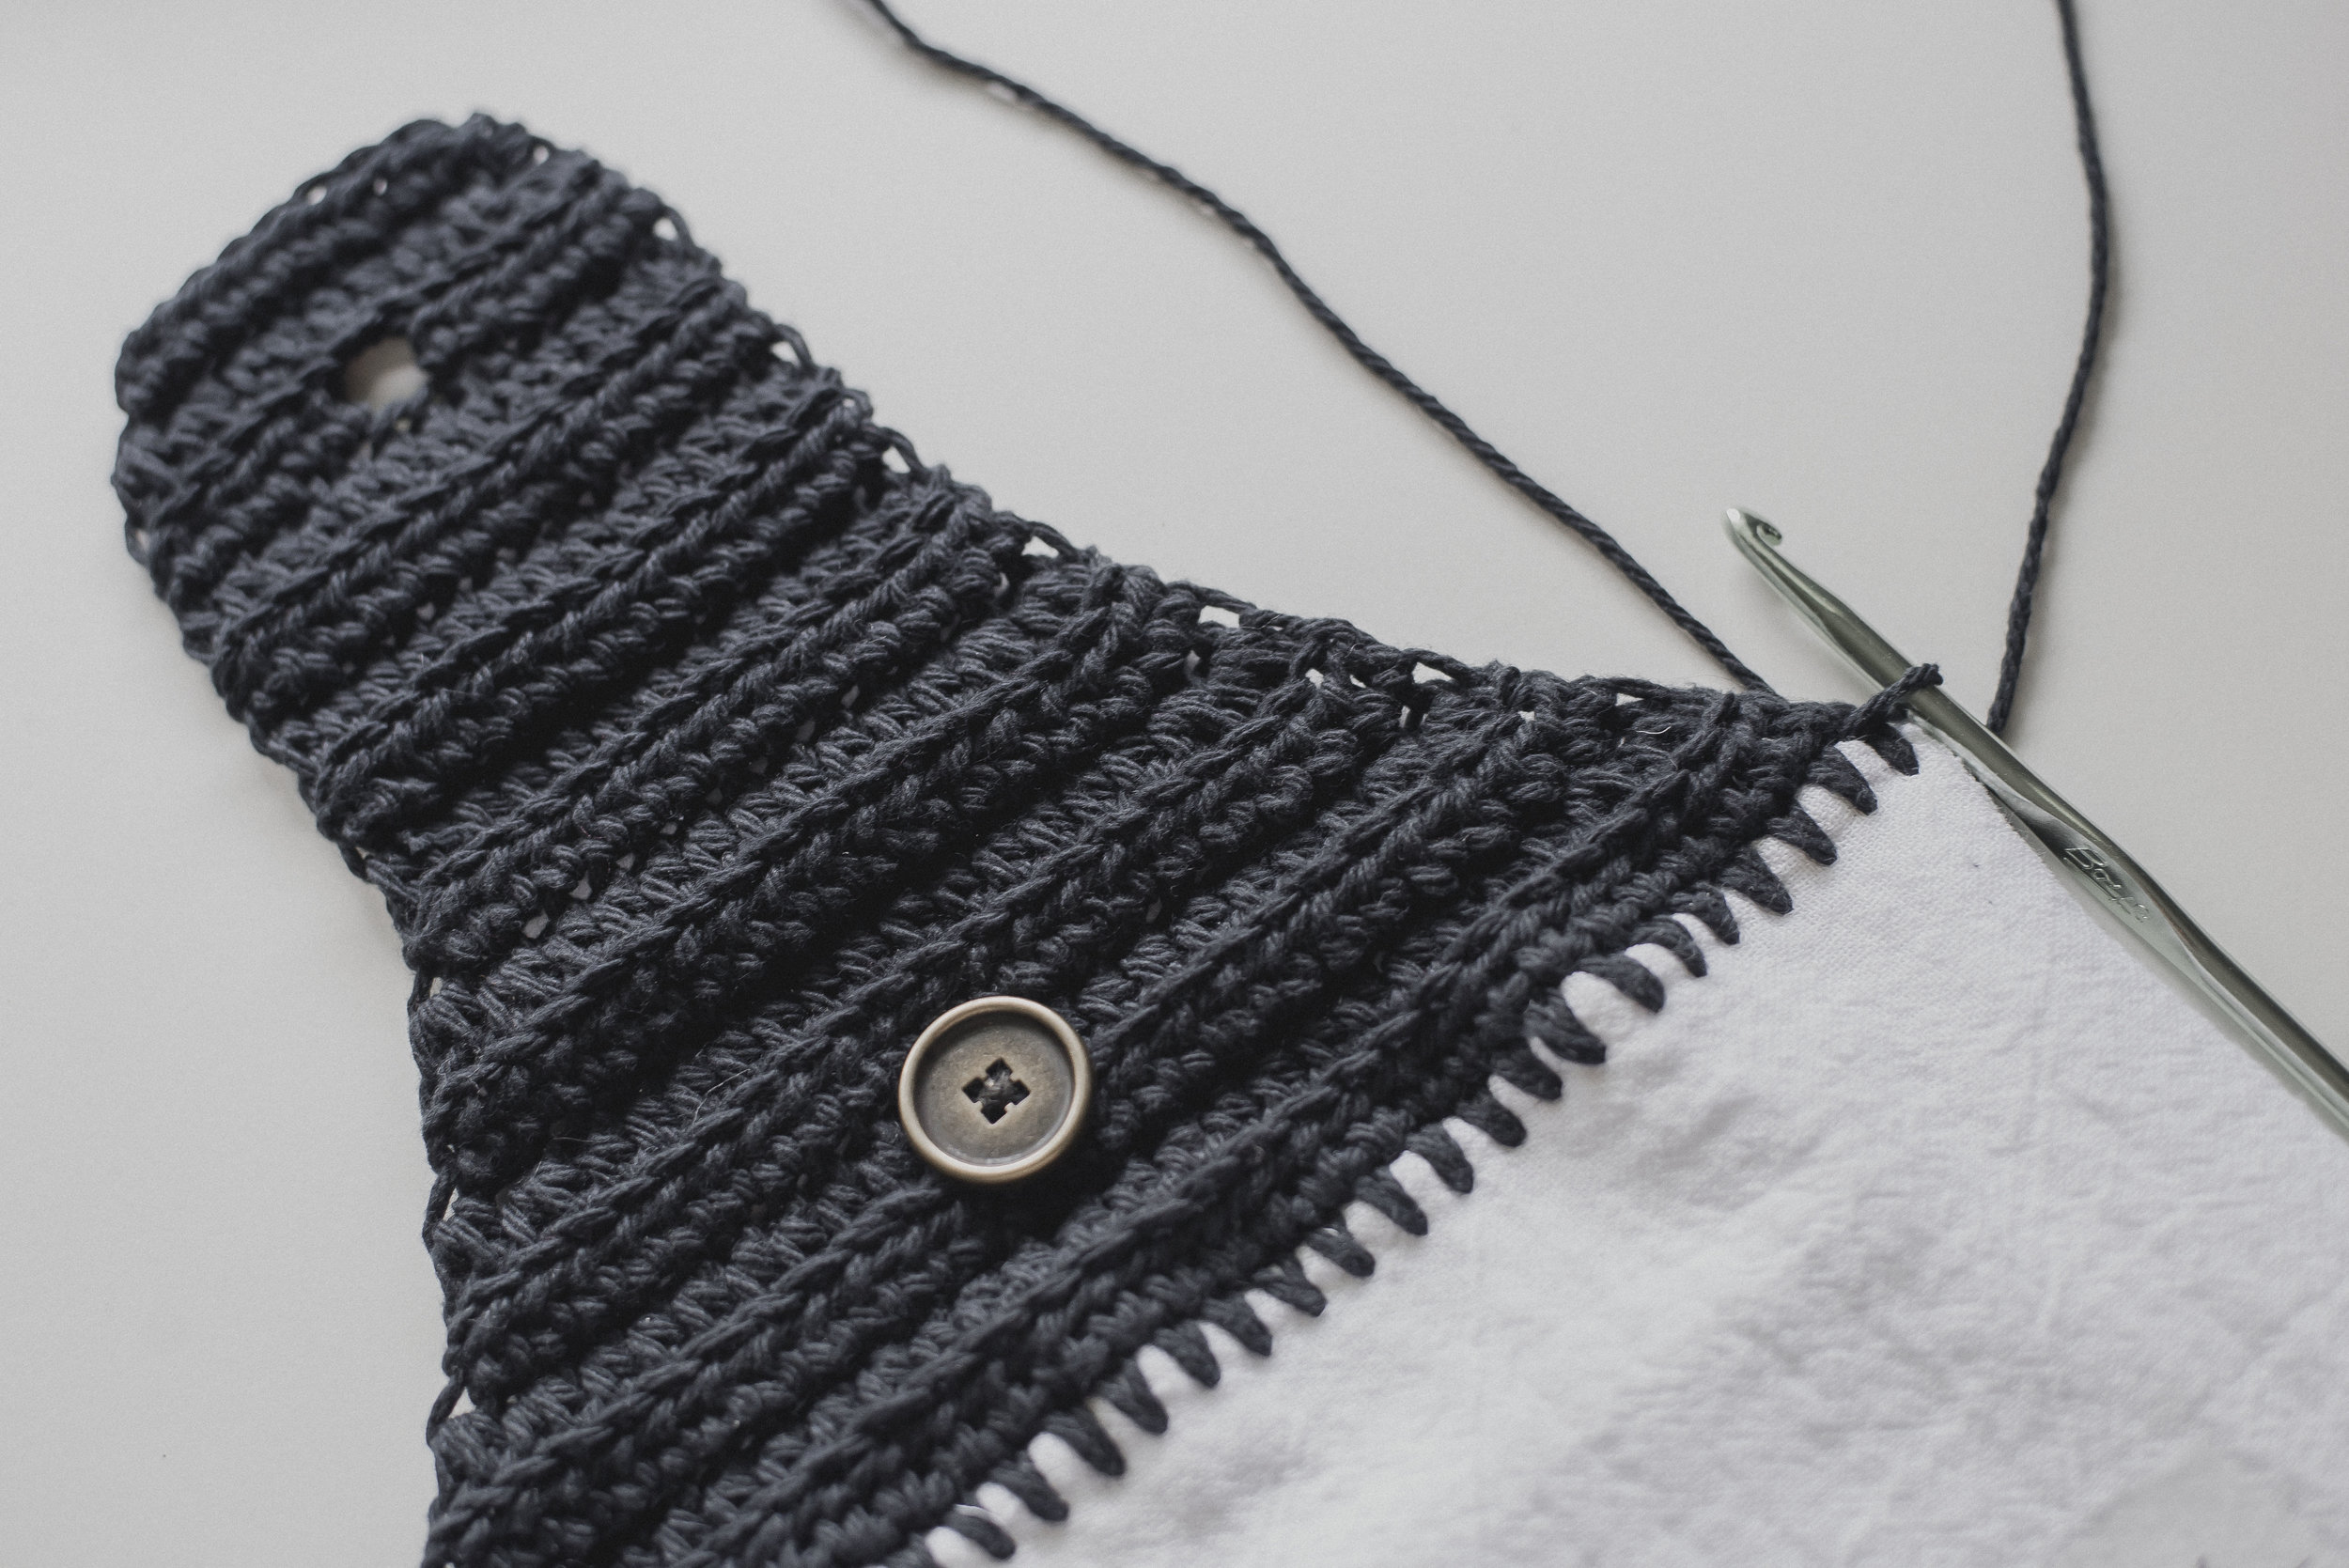
Place the button on the front side of the towel so it matches up with the hole you created in the crochet topper. I ended up placing mine about row 4.
Sew on your button with needle and thread.
At this point I decided I wanted the edge to look a little neater, so I drew up my yarn with my 5.5 mm hook and worked sc's around the entire edge of the crocheted topper.
I thought the sc edge looked so much nicer! Finish off and weave in all the ends.
That concludes the Crocheted Recipe Towel tutorial! What a neat little project that is truly so special-- especially if the recipe is a family favorite. I hope this tutorial was helpful, and that you enjoy making these gems as much as I did. If you end up making one, please do share with me over on Instagram , I'd love to admire it! :)
Happy hooking!
Meg


