


Crochet Pattern for a Doily Rag Rug Made from Bed Sheets
/
***You can find the PDF version of this pattern in my shop by clicking here. Great for easy printing!***
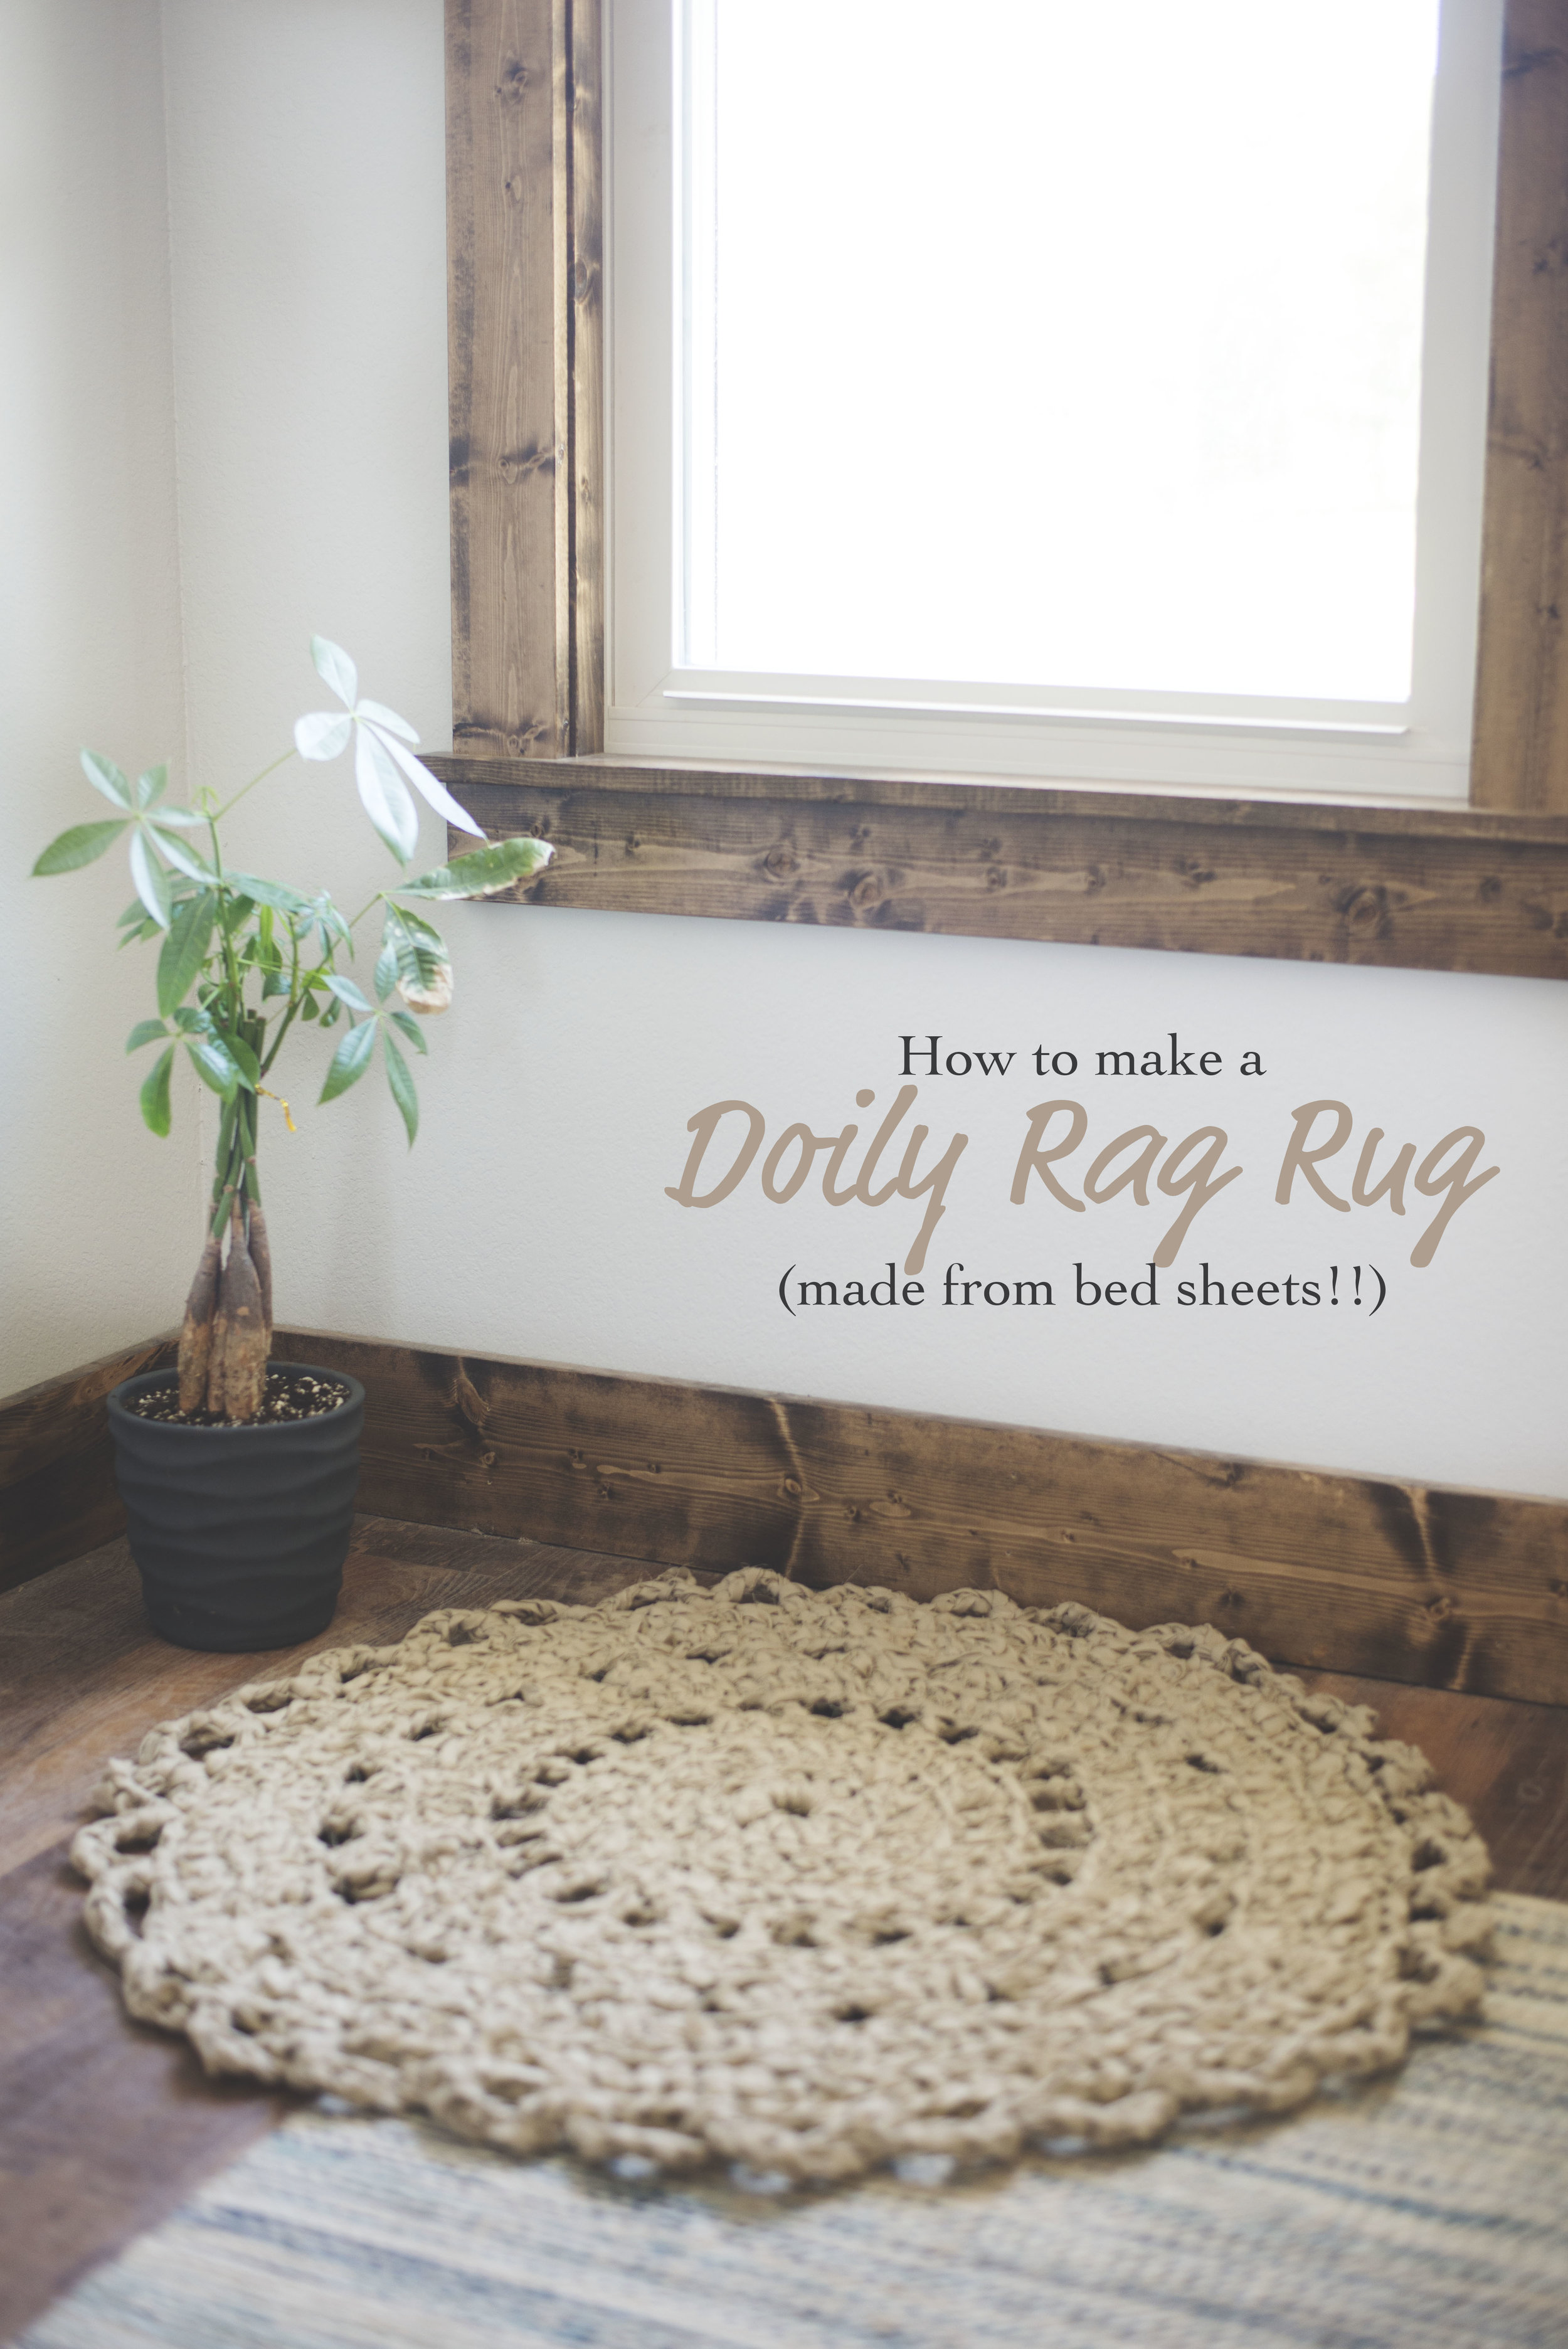
Let me start this post by saying that I am SO excited to get this rug out into the world. Ever since I spotted those beige sheets in Walmart on sale for $4.50, I knew I could come up with a cool project with them. And so here I am!
Seriously, its just a killer rug, perfect for a little nook, corner or in an office. And guess what? It's totally not that hard to make. I think the most time consuming part of this project was simply cutting up the sheets. Which by the way I used two sets of 120 thread count TWIN bed sheets (see below).


Seriously, is this not just the coolest thing?? I think you need to make one. It's like rustic meets bohemian. And not to mention that you can say, "Yeah, I made that!" when someone swoons over it (am I the only one who gets a lot of satisfaction out of saying that when someone compliments a thing you made?).

Doesn't my friend's little girl look cute on it? I thought so. :)

The rug measures roughly 34 inches in diameter. And don't let me forget to mention that it only cost me 9 bucks! Yeah, if you can't tell... I'm pumped. And you may have sheets ALREADY in your house that you have in mind to use for this, so it may cost you nothing!

My living room floor, mid-sheet yarn cutting.
Since I used two twin sheet sets (two flat sheets, two fitted sheets) I'm betting that you could get away with using one queen set if you didn't have twin sized sheets.

This is what one twin sheet looks like rolled into a ball. :)
What you'll need:
two twin sheet sets, or equivalent in larger sheets cut into 2" diameter yarn (tutorial here)
good sharp pair of scissors (you could even rip your sheets for more of a shabby look if your fabric allowed)
15mm crochet hook
Dimensions:
Rug measures approximately 34 inches in diameter
Abbreviations:
st(s)=stitch(es), sc=single crochet, dc=double crochet, sp=space, ch=chain, sk=skip, 3dcl=3 double crochet cluster, 4dcl=4 double crochet cluster, yo=yarn over
Stitch Explanations:
3dcl= (yo, insert hook into next st, yo, bring back through st, yo, draw through first two loops on hook), repeat () 3 times, yo, draw through remaining four loops on hook
4dcl= (yo, insert hook into next st, yo, bring back through st, yo, draw through first two loops on hook), repeat () 4 times, yo, draw through remaining five loops on hook
Notes:
-To join the ends, you could always just join how you usually do. But I followed this way of joining together ends found over on Oh You Crafty Gal:

-ch at the beginning of the rounds DOES NOT count as a st, unless otherwise noted
-since the yarn is so large, I found I had to change the way I held onto it while crocheting to make it more comfortable. Also, I found it kind of hard on the hands/wrists after awhile, and just took a little break when it became too much.
-I worked the majority of my stitches in the back loop only, only because I found it easier, I don't think it looks much different at all whether you do both or back only
Pattern
ch 10, join to 1st ch with sl st to form ring
1) sl st into the ring, ch 3, work 15 dc in circle (15)
2) ch 3, work 2 dc in each st around, join to 3rd ch with sl st (30)
3) ch 3, (2dc, dc) around, join to 3rd ch with sl st (45)
4) ch 5 (counts as dc, ch2), sk st, (dc, ch 2, sk st) around, join to the 3rd ch with sl st (23 total dc)
5) ch 3, (2dc, dc in next 3 sts) 16 times, 2dc, dc in last 2 sts (84)
6) ch 2, 3dcl (counts as 4dcl), ch 4, (4dcl, ch 4) 20 times, join to the st of the 3dcl with sl st (21 total clusters, 105 total sts)
7) ch 3, in same sp as ch 2: 2dc, dc in next 5 sts, (2dc, dc in next 5 sts) 16 times, 2dc, dc in last two sts, join to 3rd ch with sl st (123)
8) ch 3, dc around, join to 3rd ch with sl st (123)
9) ch 7 (counts as sc, ch 6), sk 3 sts, sc in next st, (ch 6, sk 3 sts, sc in next st) 29 times, ch 6, sk 2 sts, join to 1st of beg ch
To weave in ends, I used my fingers and just wove them back and forth a few times, then tied a knot and cut the yarn. I tied the knot because you can't see it on the back side and for added assurance it won't come undone.
You may have to stretch/block the rug to make it lay flat. You could use a little water, and tug it until it lays flat. All I had to do was tug it around a bit and it laid flat!
And there you have it! A beautiful new adorably shabby rug! I didn't even think it took that long to whip up. The massive size of yarn totally helped that out.

What a cool project! I hope you enjoyed. :)
-Meg


