


Make Your Own Stitch Markers - Super Cute & Easy!
/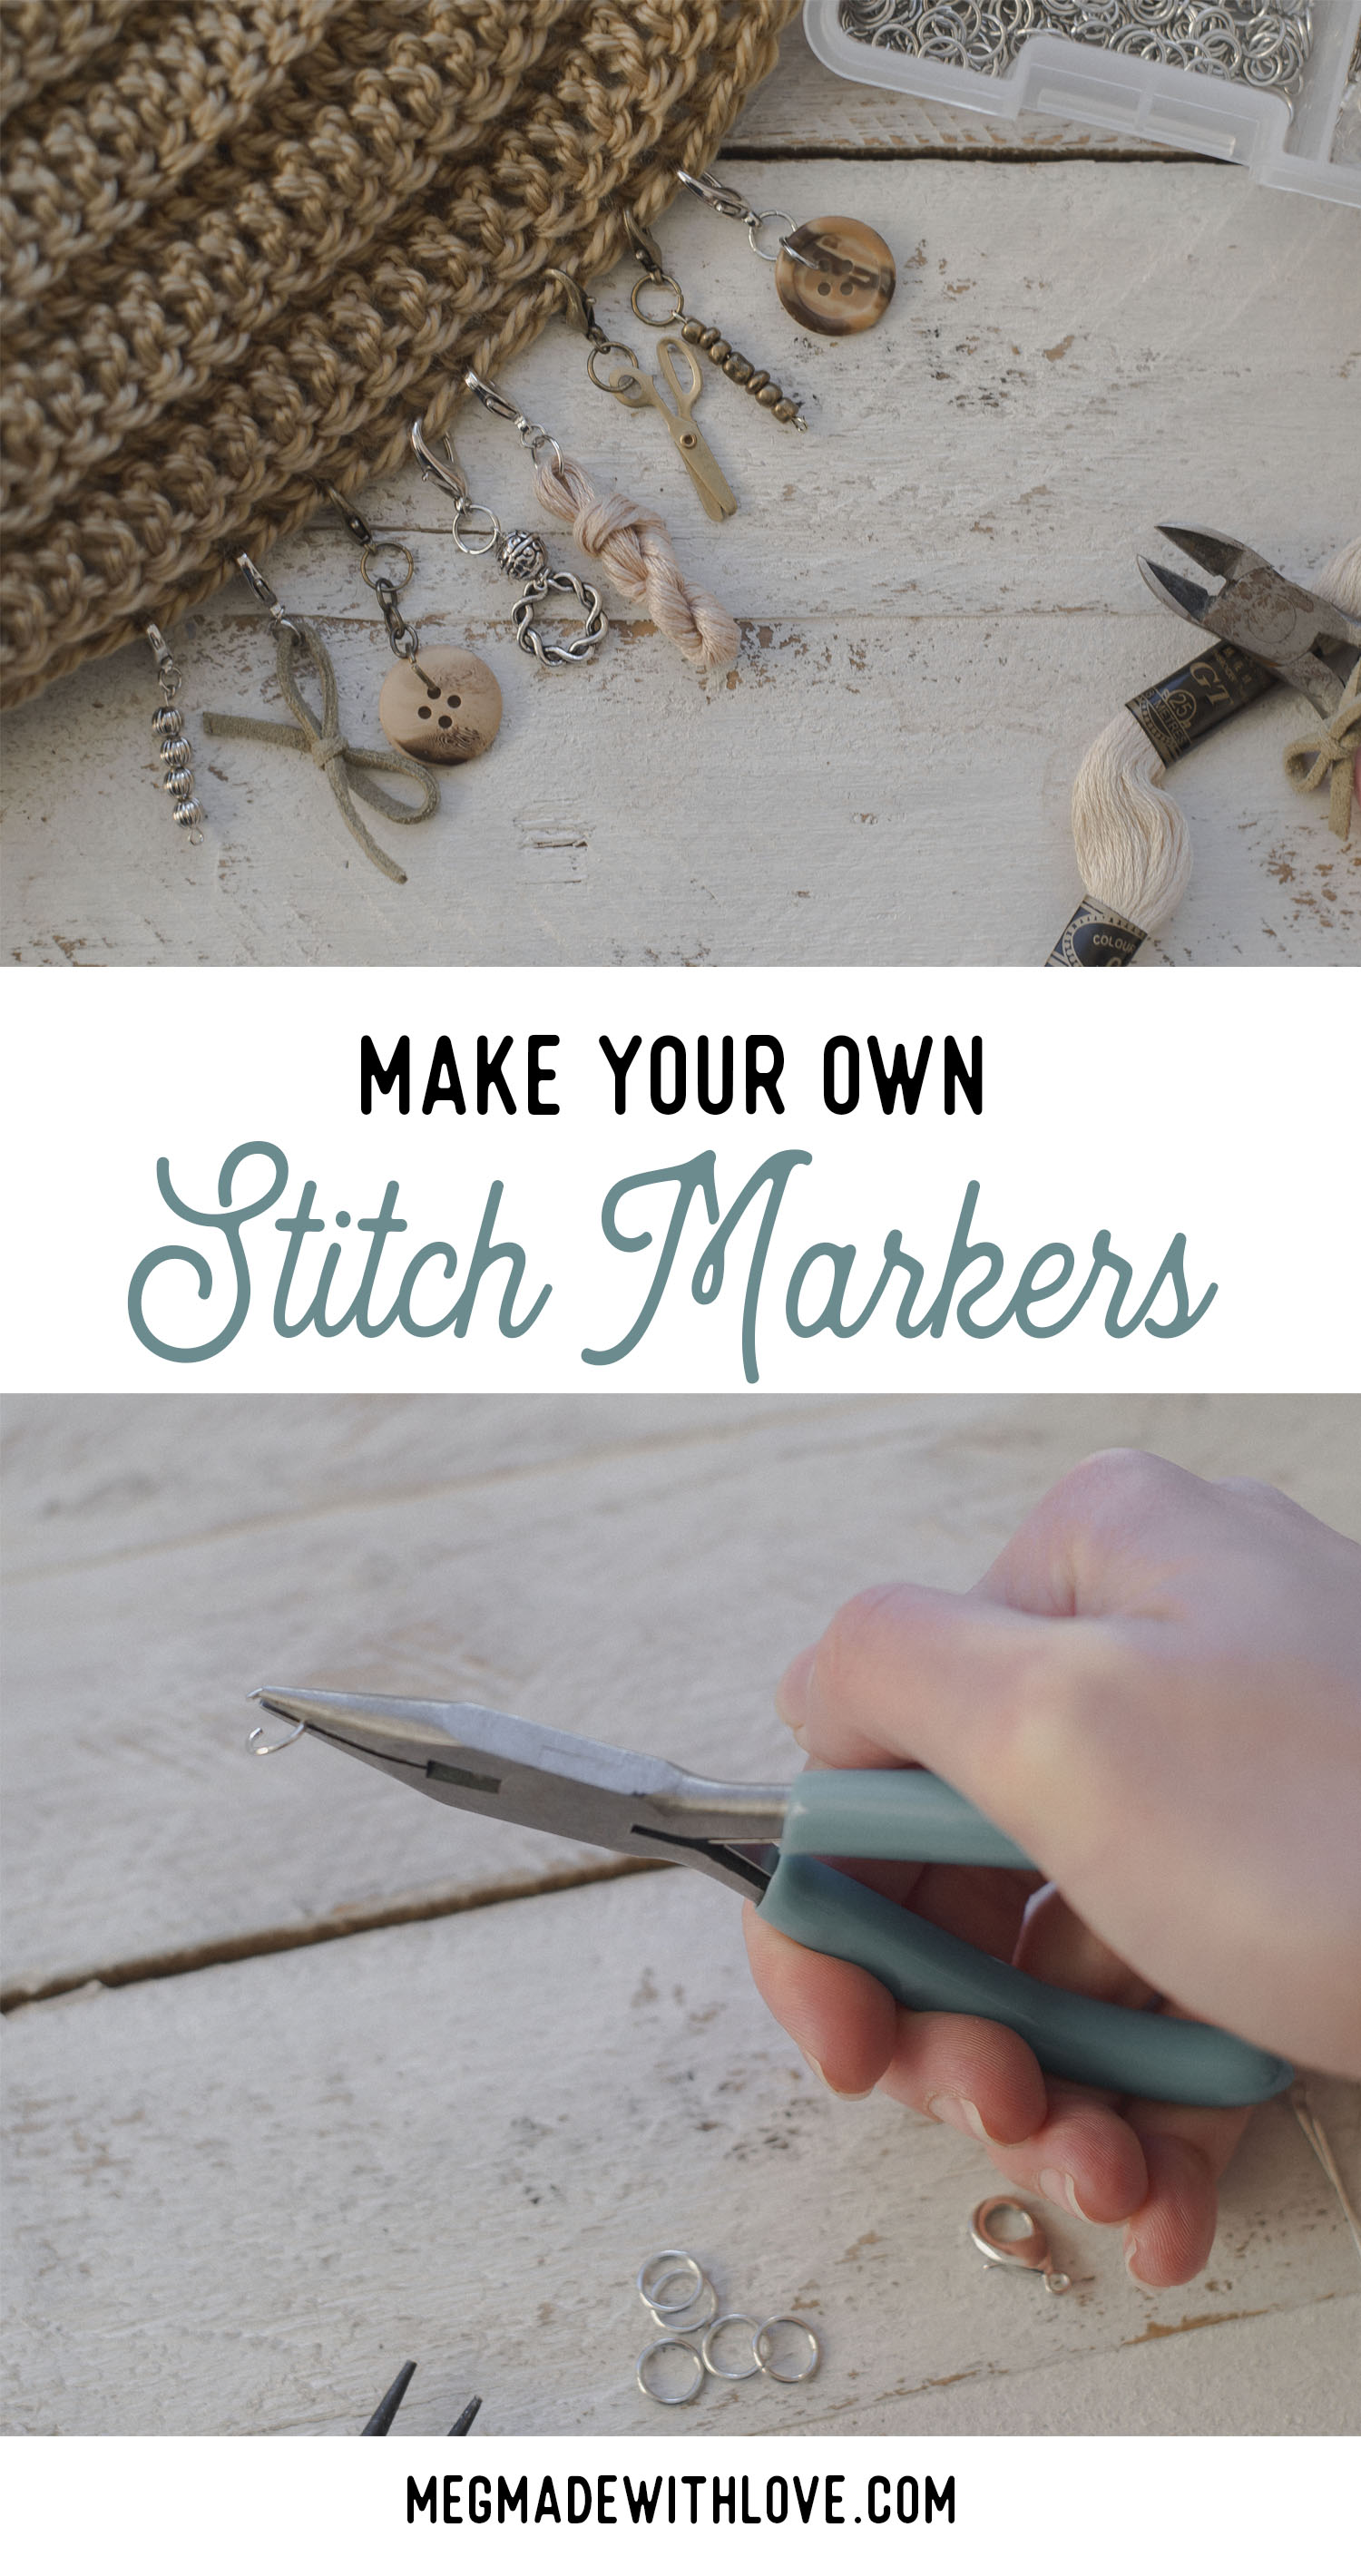
I've got a jam-packed post for you today showing you how I made some pretty rad stitch markers! These cuties are incredibly easy to whip up, cost very little (you may have some of the materials already!), and may end up being the coolest stitch markers you'll ever own. ;)
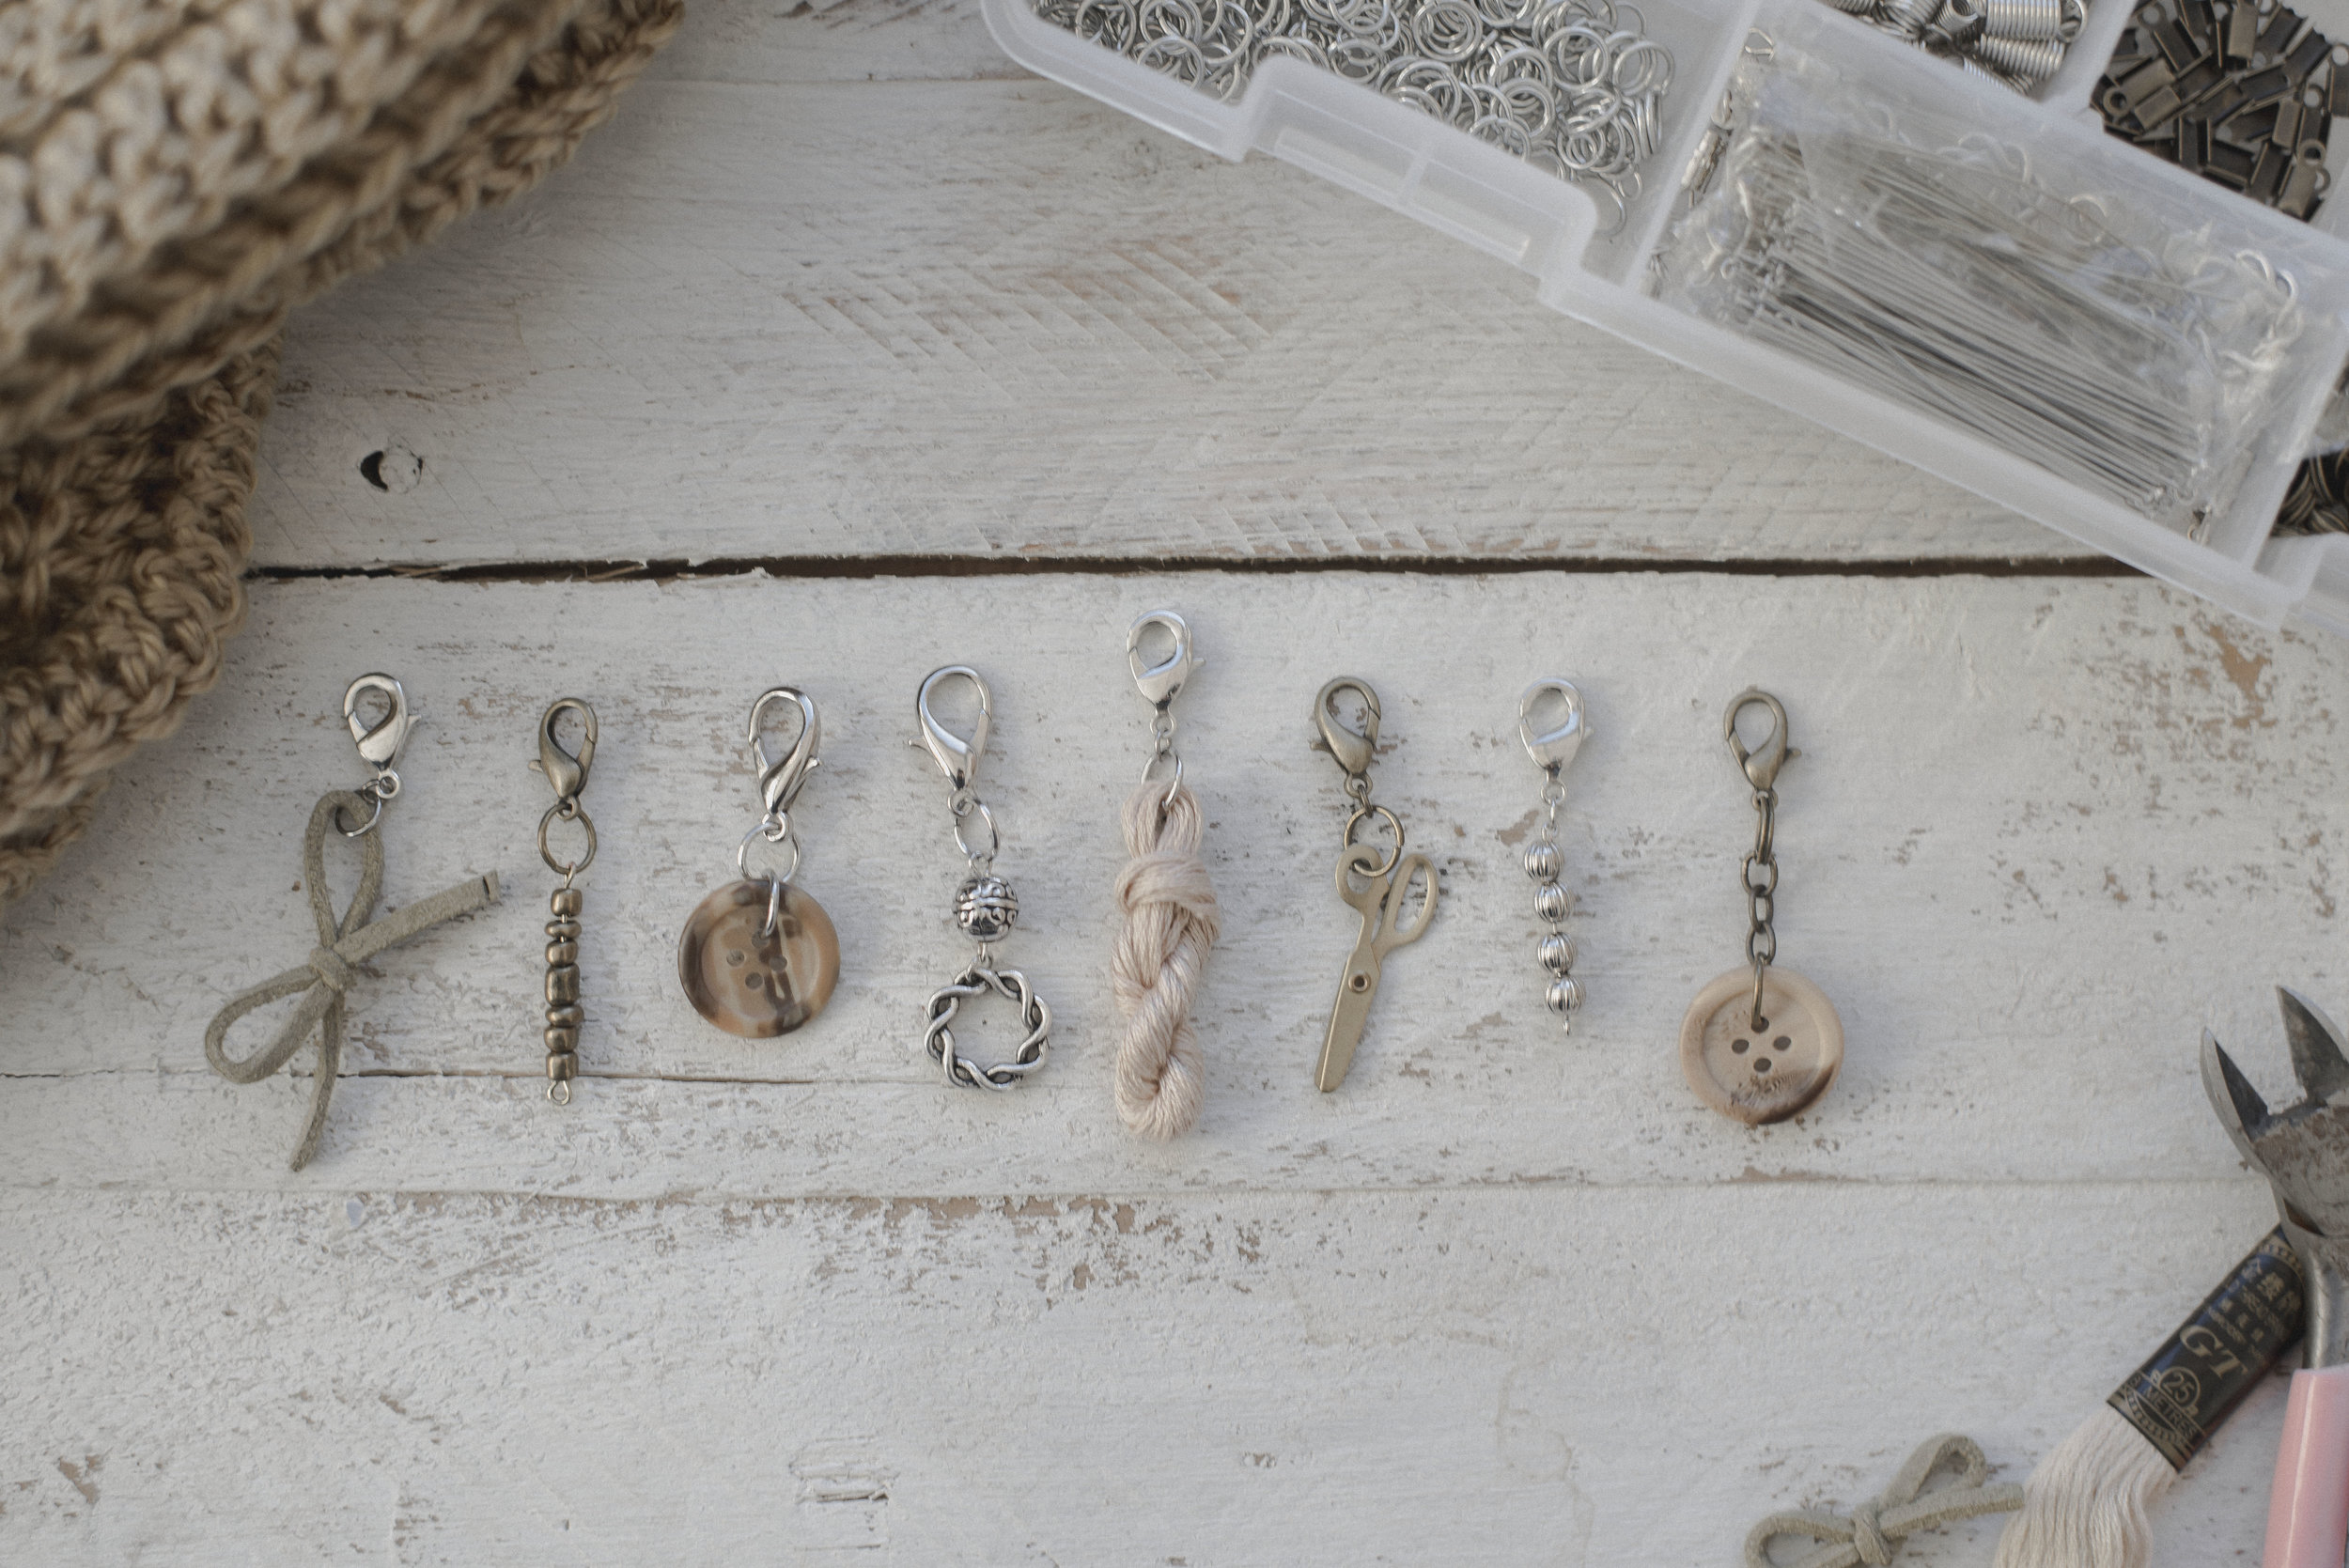
I mean.. can you look at how adorable those little things are?? It's hard to decide a favorite-- although I think mine is the little mini hank of "yarn". I actually got the idea for the mini hank on Pinterest and it actually sparked this post! (You can see the photo of my inspiration below)
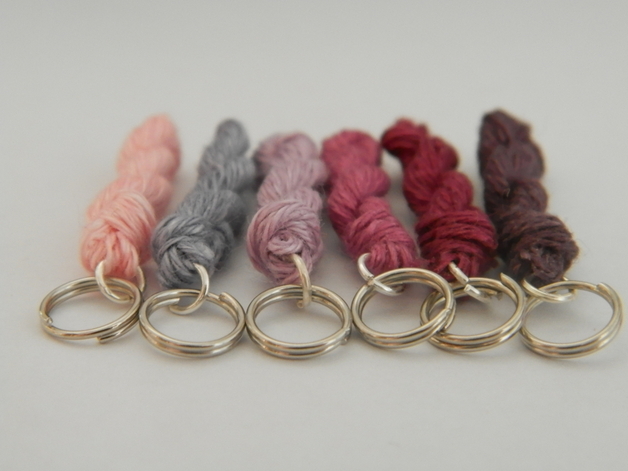
These things are so precious!! Visit the original source for this photo by clicking here.
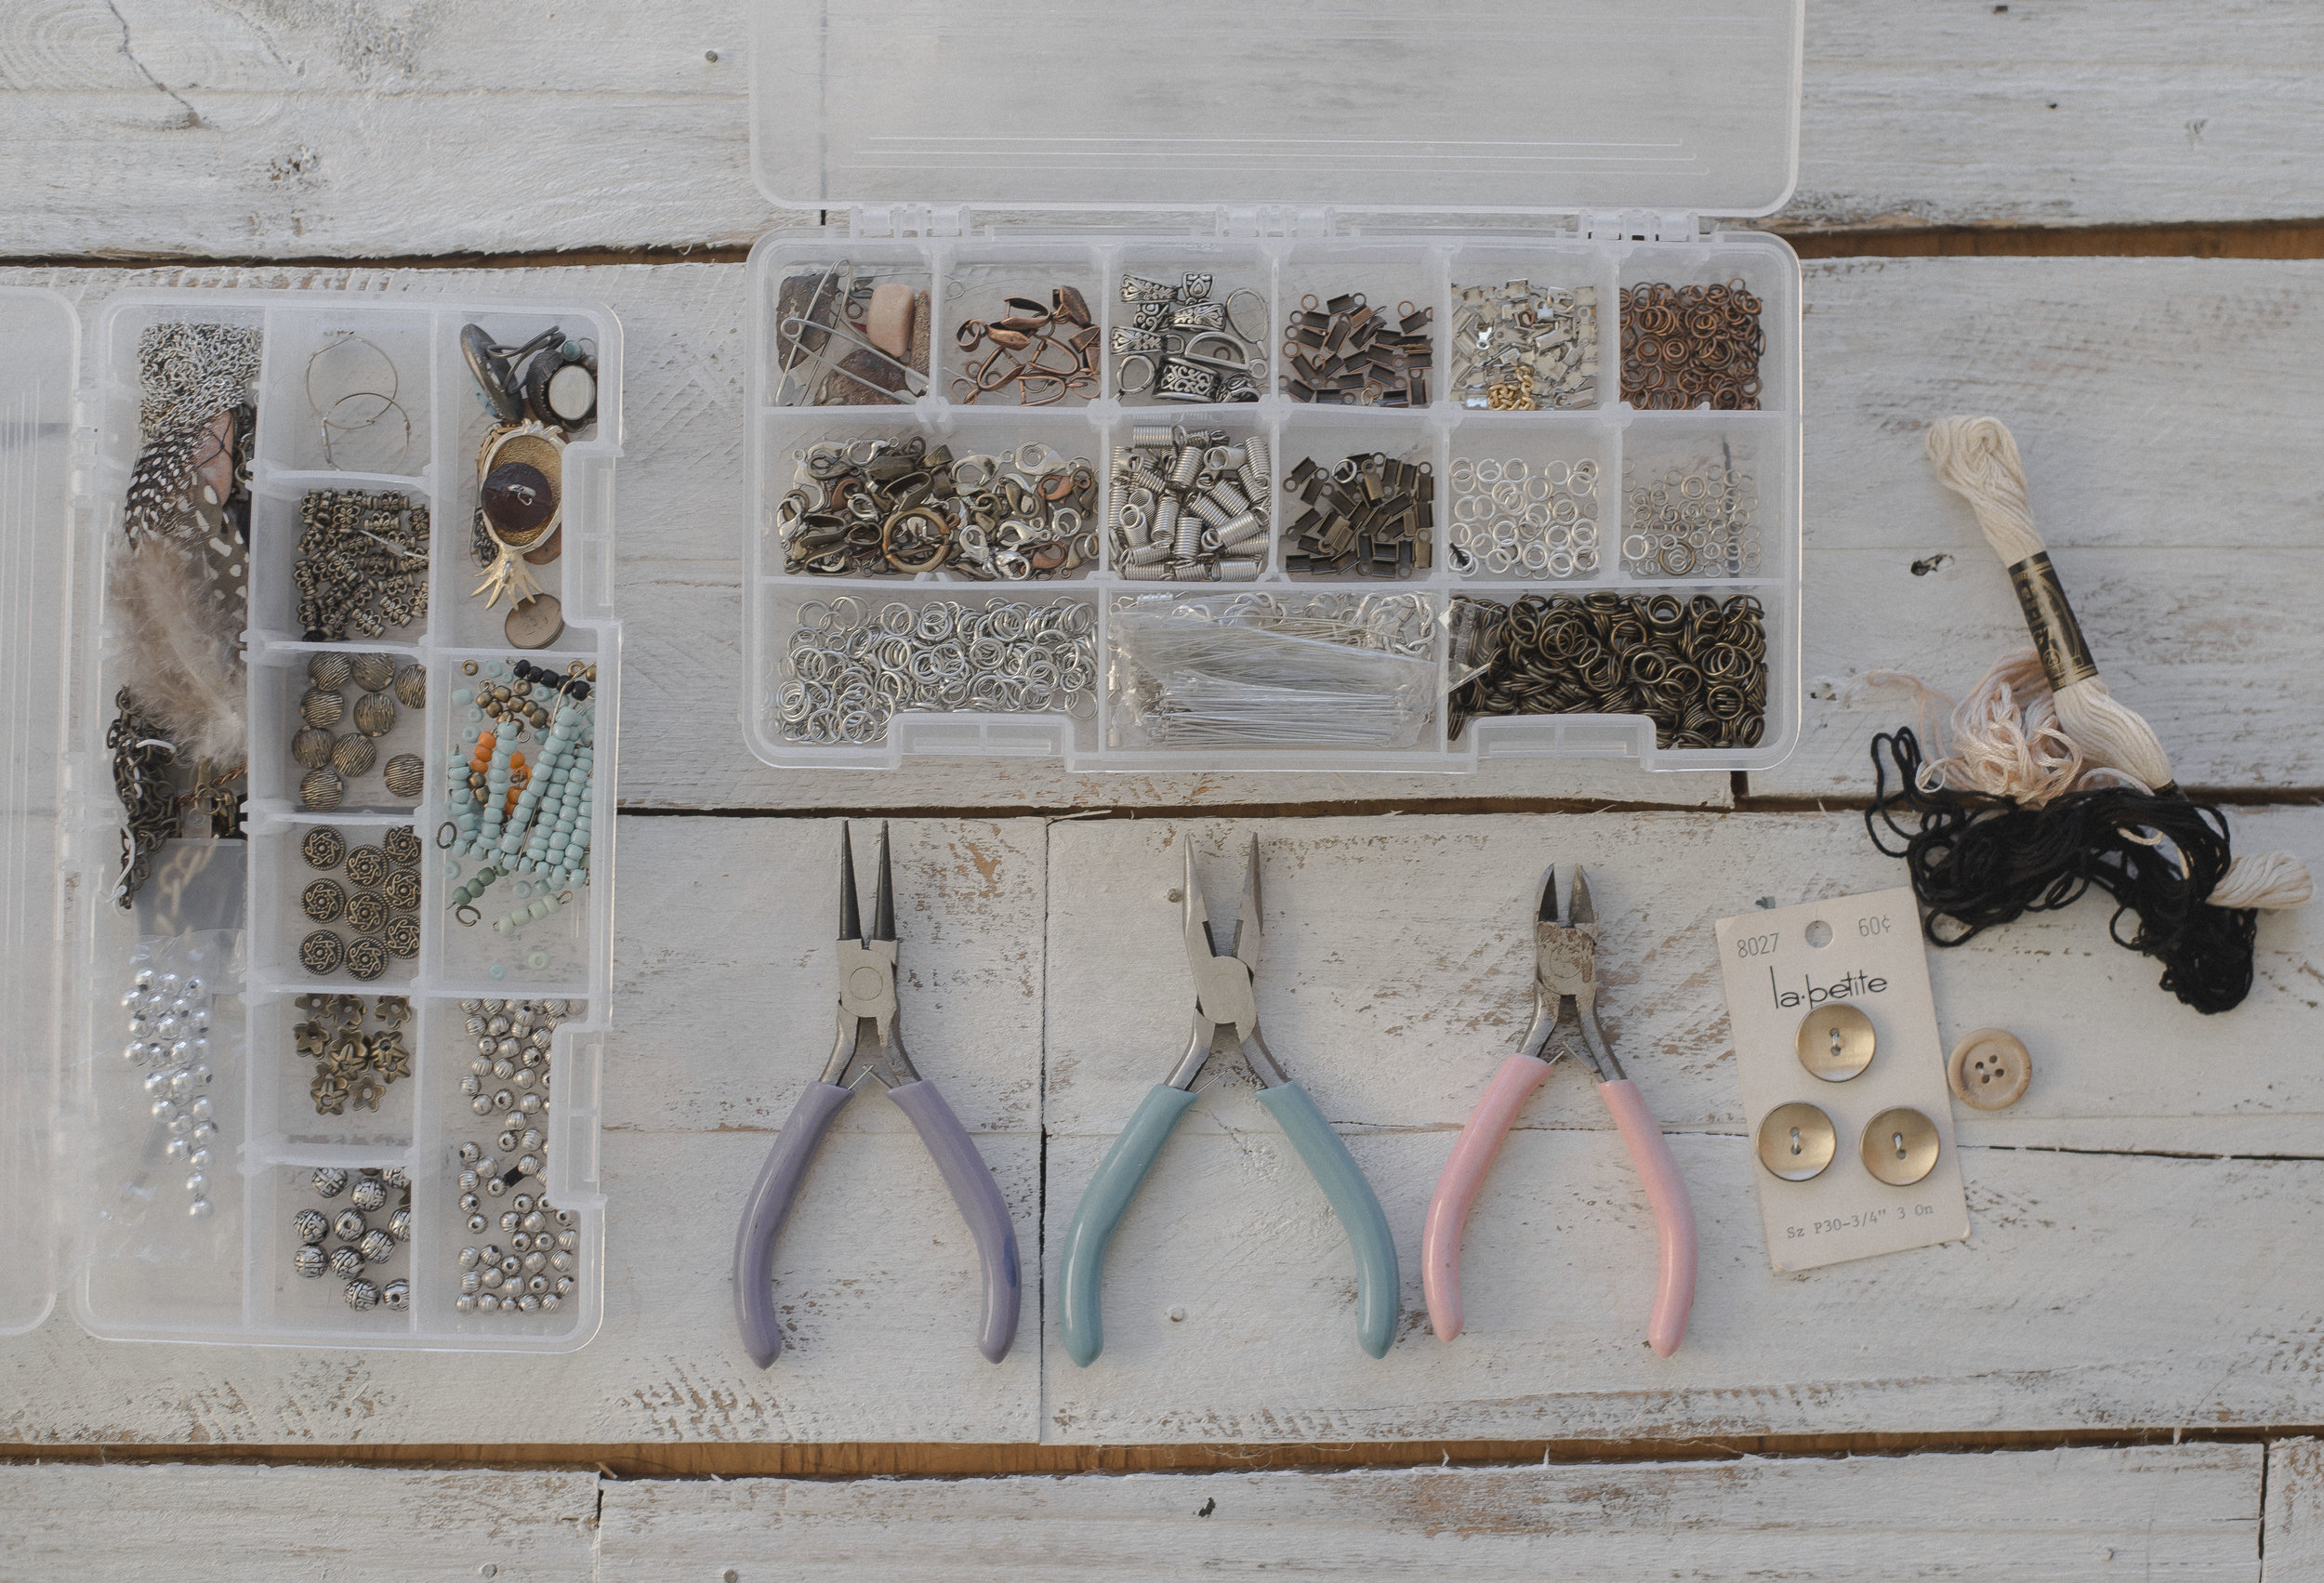
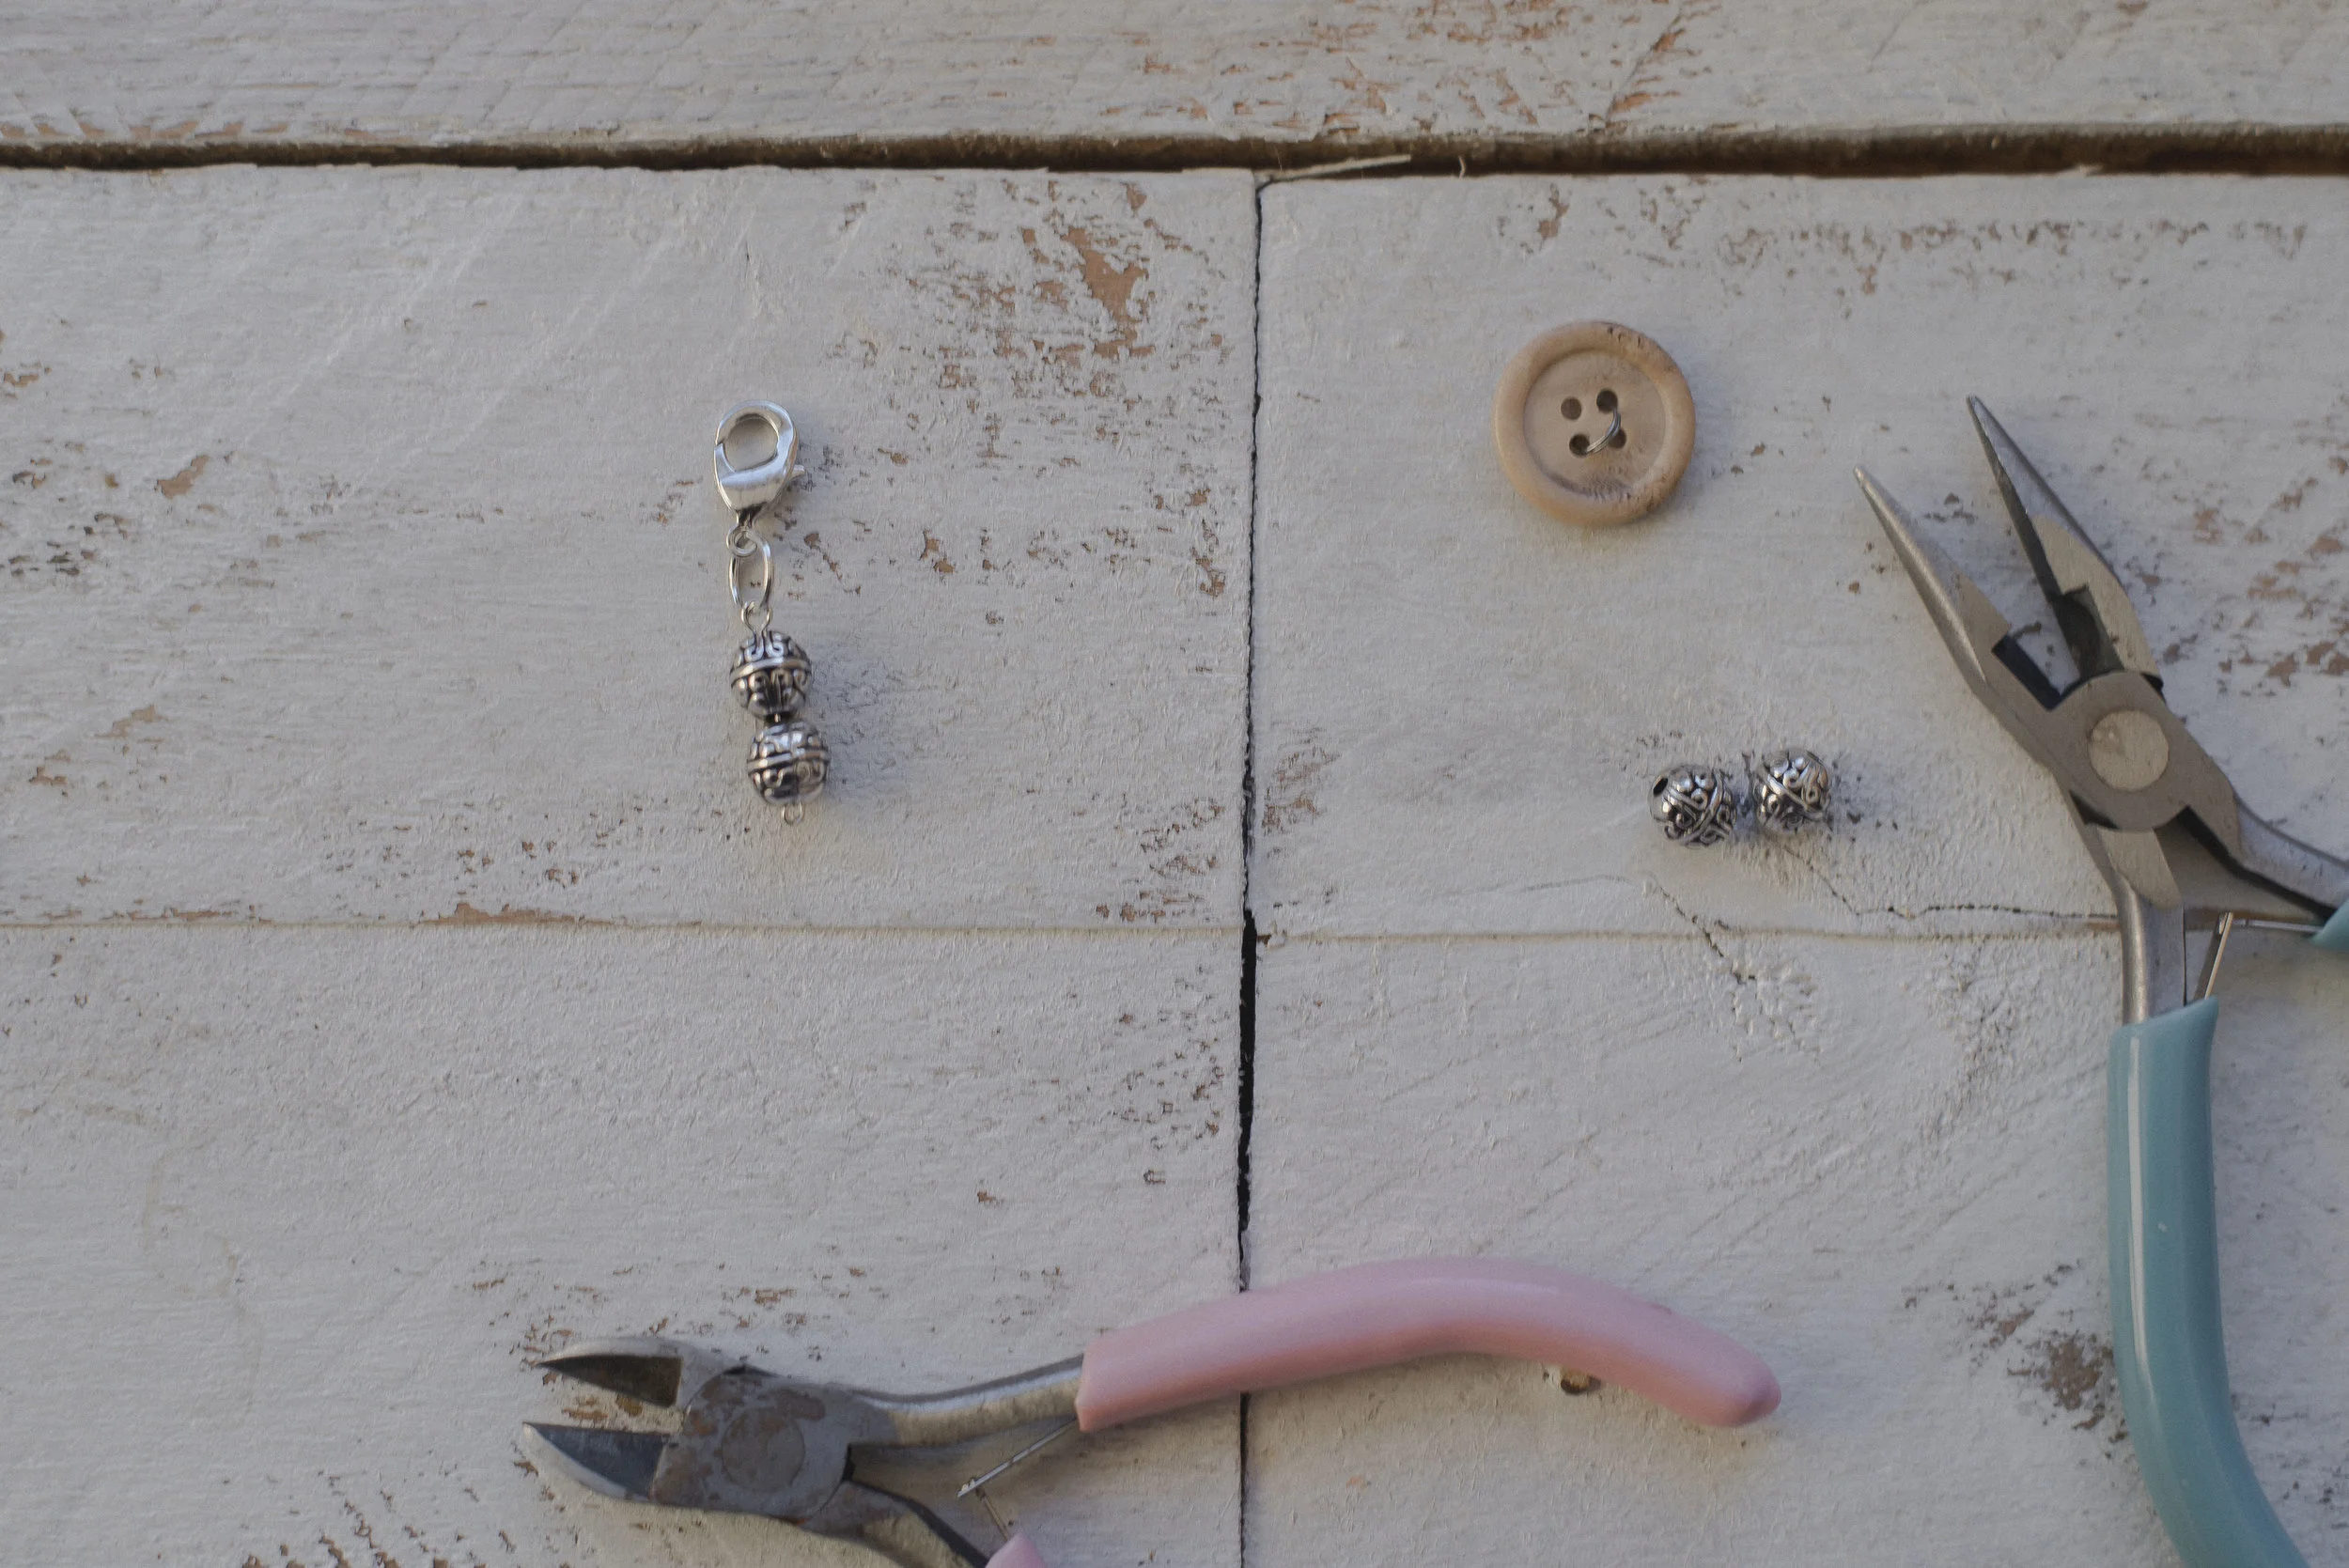
First you'll need to gather some supplies. I used to be really into making my own jewelry so I had everything I needed already! Most craft stores carry all these jewelry notions, I usually shop at either Hobby Lobby or Walmart. You could of course find it all online also.
* jewelry tools.. I use all of the three different tools- needle nose pliers, rounded nose pliers and side cutters. You can find the exact set of tools here on Amazon. They're super cheap and work just fine. They're also found at Walmart or any craft store.
* beads.. I found lots of my beads in the little dollar basket in the jewelry section at Walmart. Most craft stores will have more options than you'll ever dream of. I kept them small, because I put them on a skinny little eye pin.
* jump rings/split rings.. I used various sizes of the split rings. It's really just a preference thing on how you'd like your stitch markers to look. Although when making the button stitch marker, you will need a big enough jump ring to fit through the hole and around to the outside of the button. So just keep that in mind. Here's a pack of 12mm jump rings, which would be pretty big- good for using with the button. They also have options of 8, 10 and 14 mm sized rings. Also take into consideration what color of material you'll be using for each stitch marker!
*clasps.. these will be the most important part of the marker. You will need to find clasps that are larger-- especially if you want to use them with chunky yarn. The bigger, the better. I found an option that is a good size here. The ones I used were a little bit smaller than I would have liked-- I just wanted to use what I had. I used 10x22 mm sized clasps.
*Eye pins.. the long ones. These are for holding your beads. Here's an example of what I'm talking about. They're also found at craft stores.
*buttons... I used relatively small buttons for my markers, because I didn't have super big jump rings to fit larger buttons. I chose buttons that were around 3/4 inch big.
*embroidery thread... this was for the mini hank marker. Found at craft stores!
*suede cord... I used this for the little bow. This stuff is inexpensive and found at any craft store!
*charms.. I used a charm that is a little pair of scissors I found at a small craft store years ago. There are so many possibilities with charms. Go shopping at your closest craft store and get creative!

Some of the materials I used (from left to right): jump rings, lobster clasp, eye pins, button, beads.
So I thought I'd start off by describing how to work with the jump rings, because you'll need to use them for each the stitch markers. I will give more detailed descriptions for each marker below.

To put any of the stitch markers together, you'll need to first open up your jump ring. You'll take two pairs of pliers (one in each hand), on each side of the "split" in the ring. Then gently pull them opposite directions to open.

Then you're ready to put anything inside that jump ring to assemble your stitch marker.

Above is a photo of my clasp being put onto my jump ring. When you have put all you'd like onto your open jump ring, then you will close it the same way you opened it... holding both sides with your two pliers and gently putting the two open sides together- making sure they are flush and as close as possible. It may take a bit of practice to get the jump ring to look nice when closed back up.
It doesn't necessarily matter which items you put on first, it just depends on how you want the marker to look or the order you'd like to do it in.
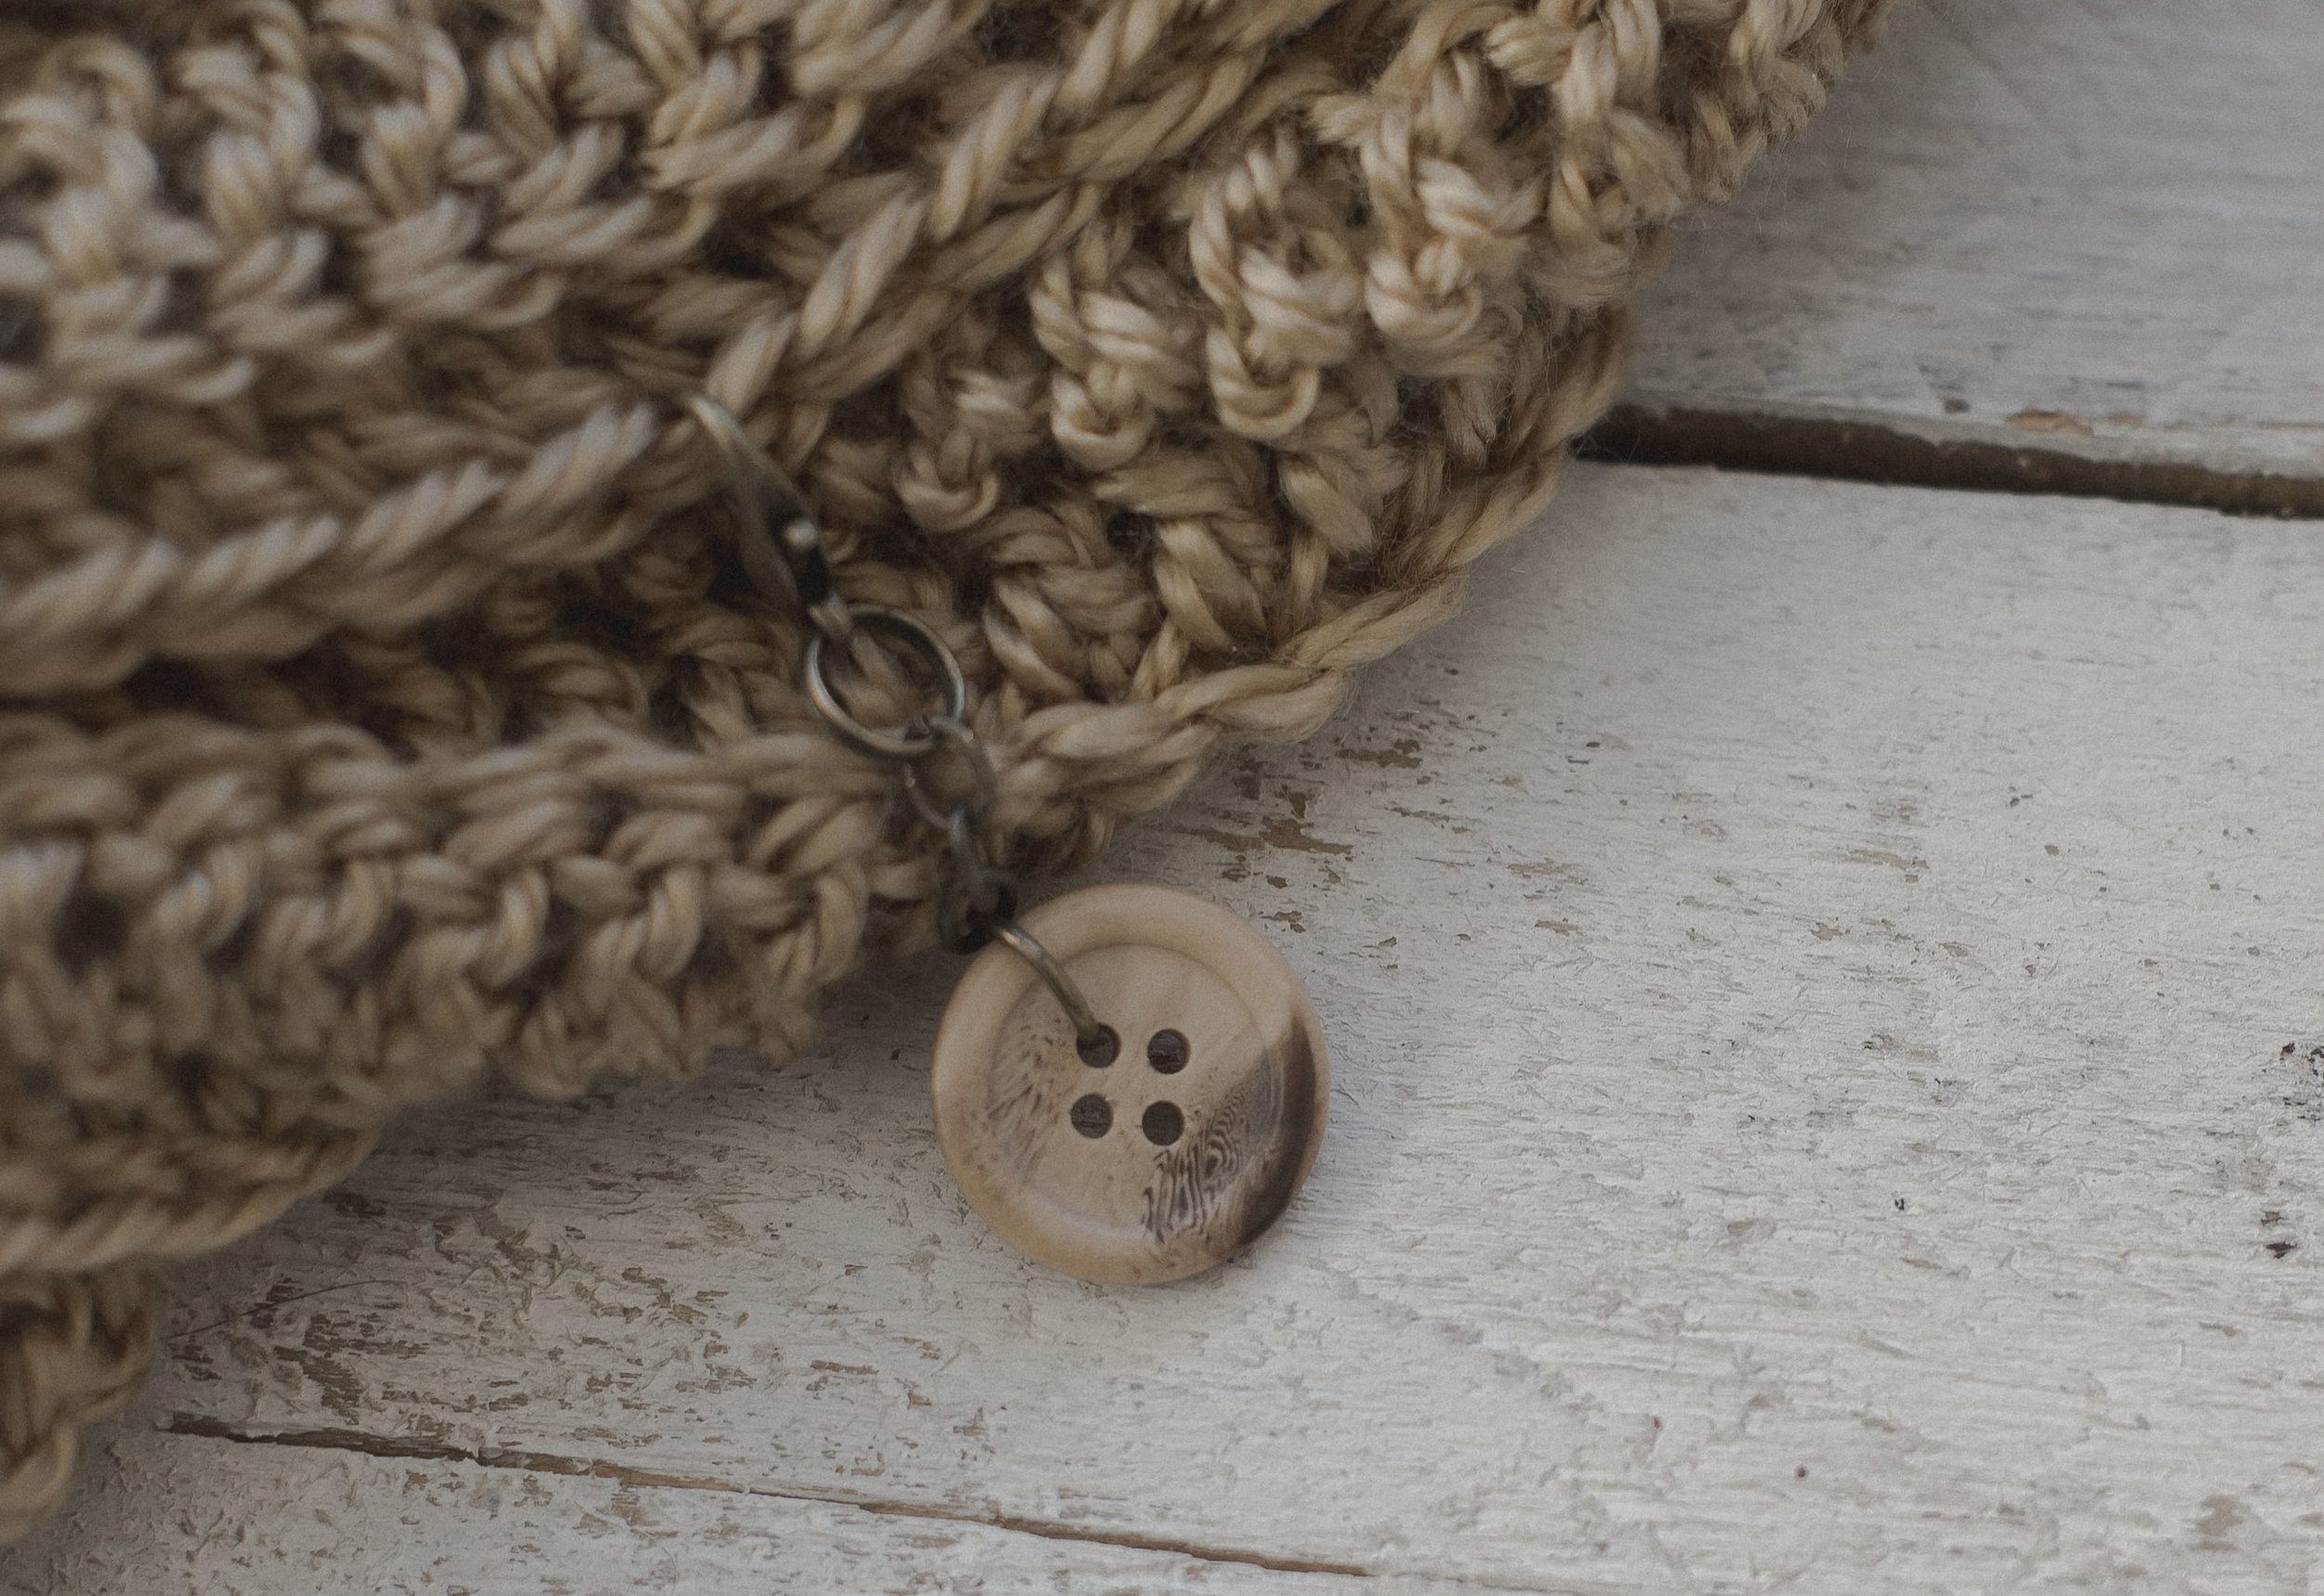
For the button marker, I opened up a jump ring and inserted one of the open ends into the hole of the button. Then I strung a chain of three rings onto that same ring that also held the button, then closed it. I added another large jump ring and then the clasp on top.

For the bow marker I just cut a small piece of suede cord and tied a little bow. I opened up a smaller jump ring and looped it through the loop of the bow, then added on a clasp. If you're concerned about the bow coming undone, I thought you could put a couple drops of super glue on the knot in the center.
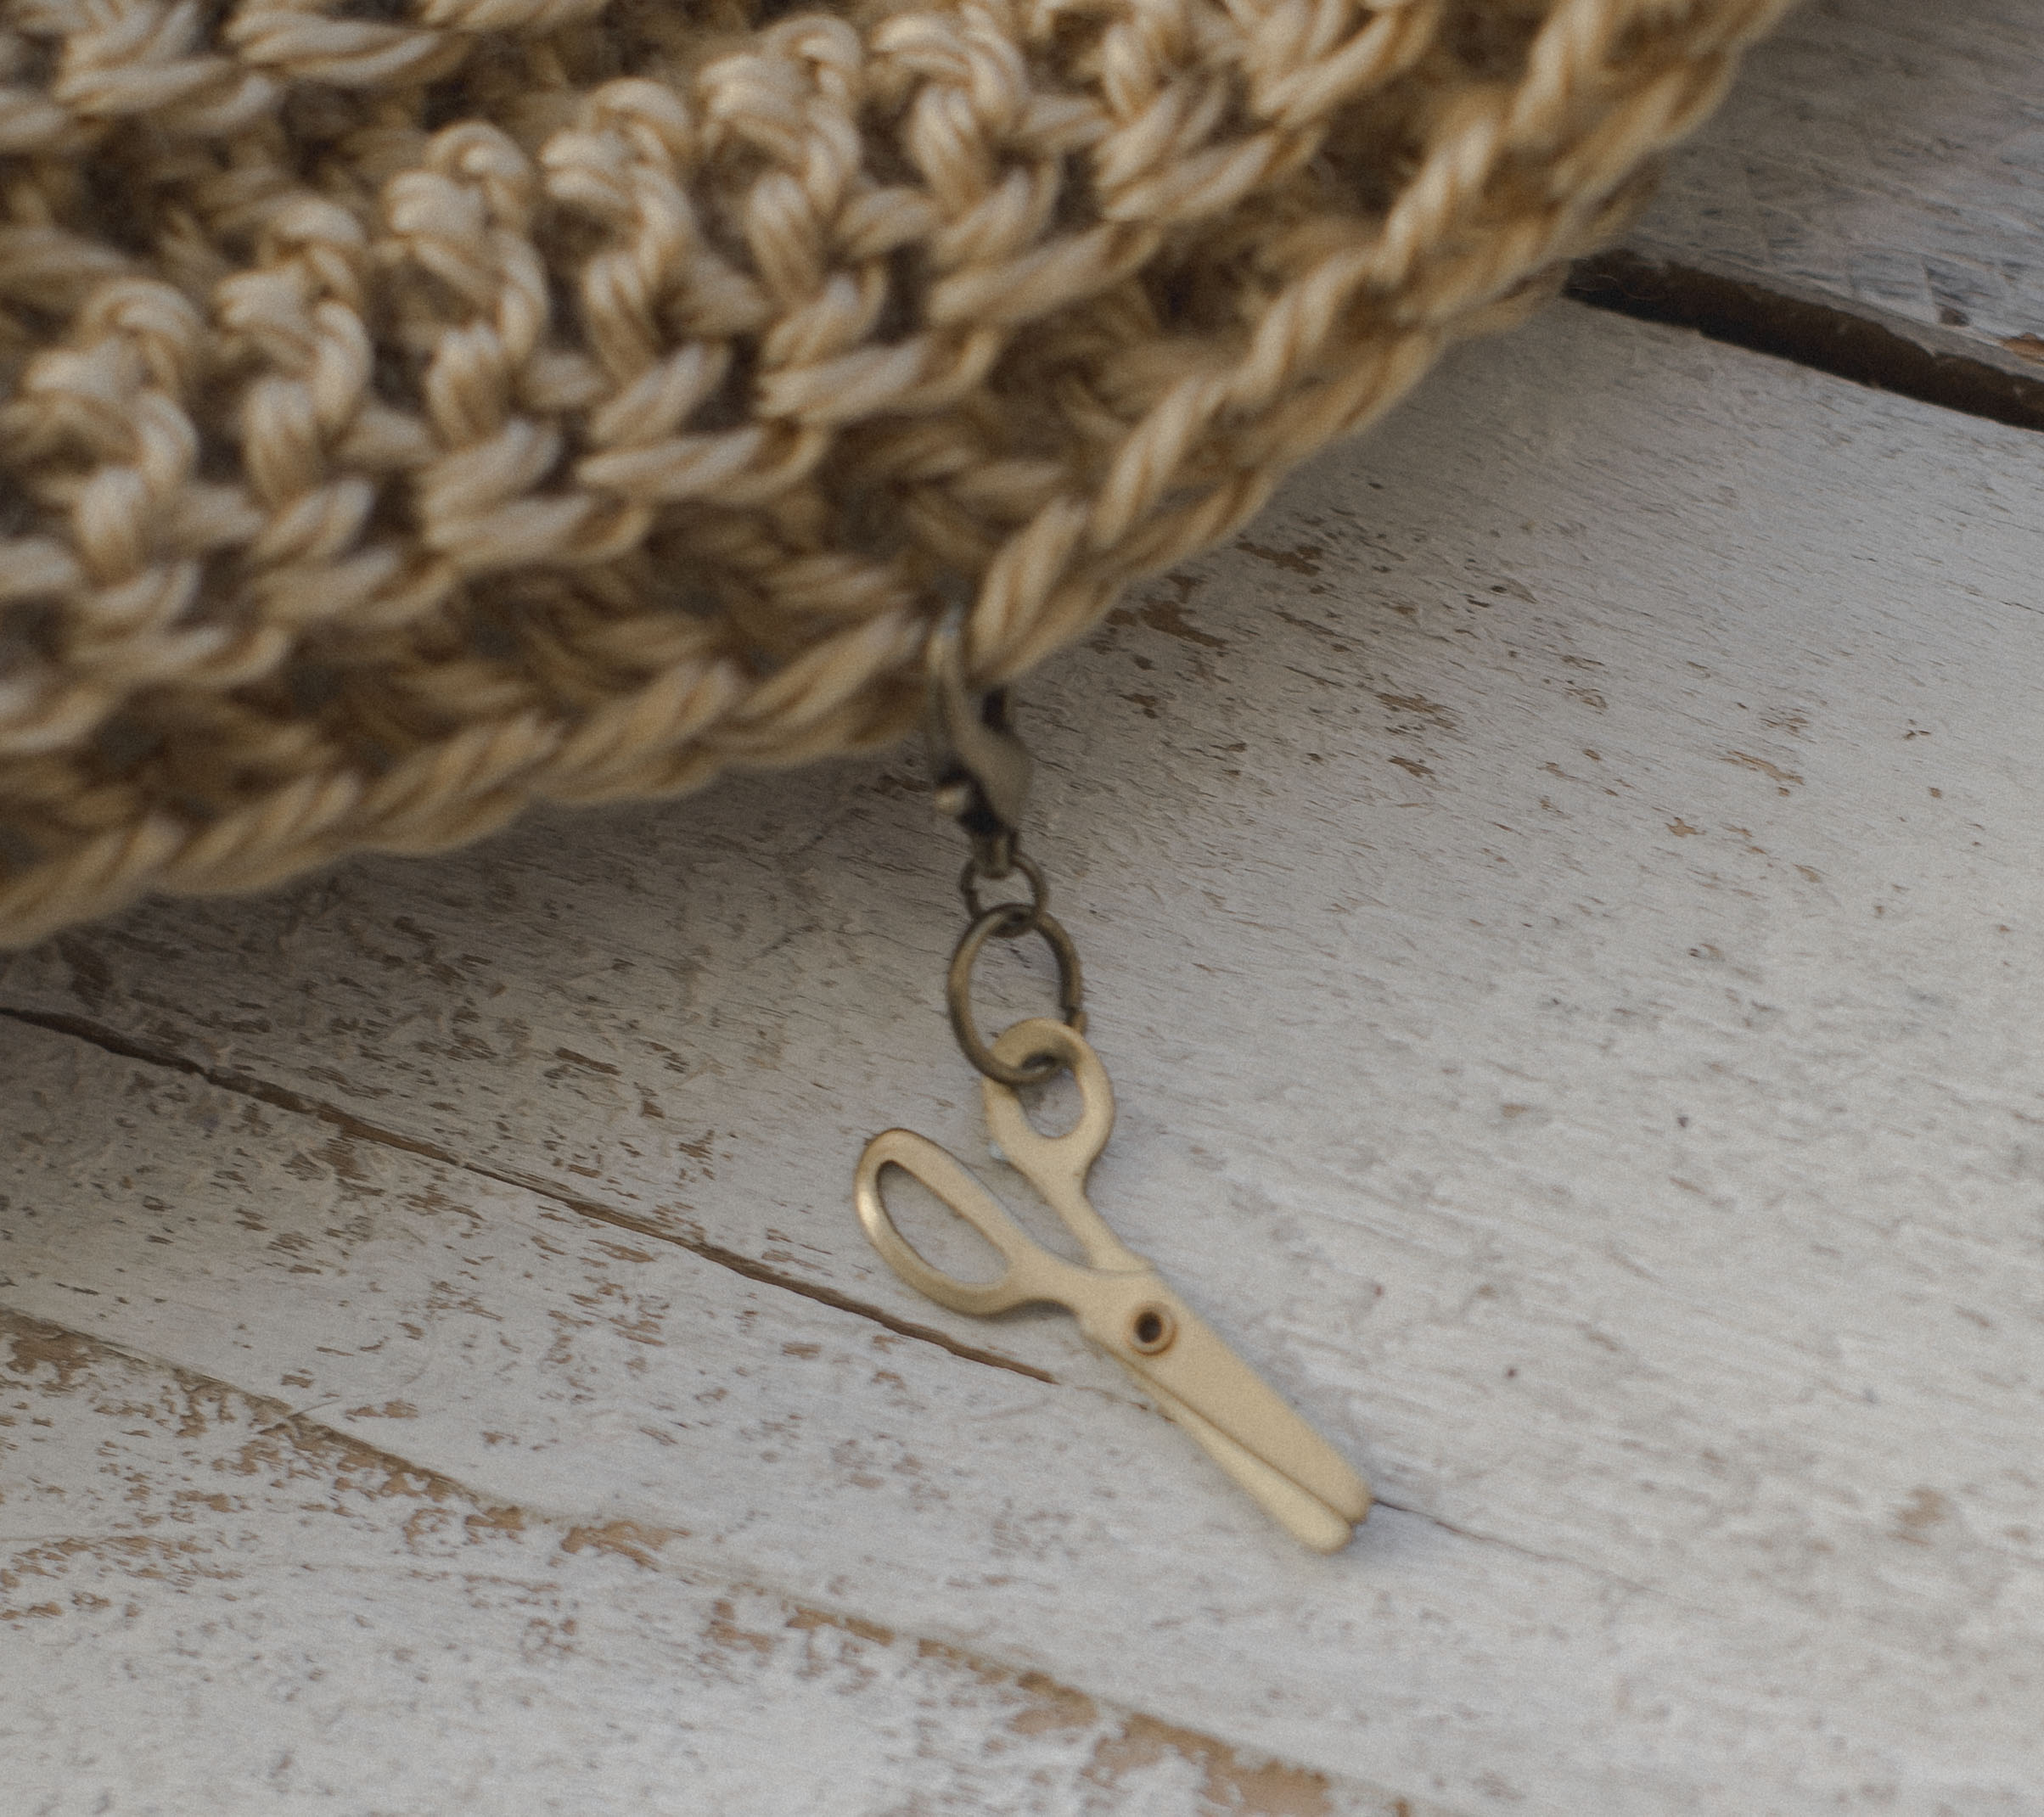
For the cute little scissor marker, I opened up my jump ring, looped it through the scissor charm added another little jump ring, then finished it off with the clasp.
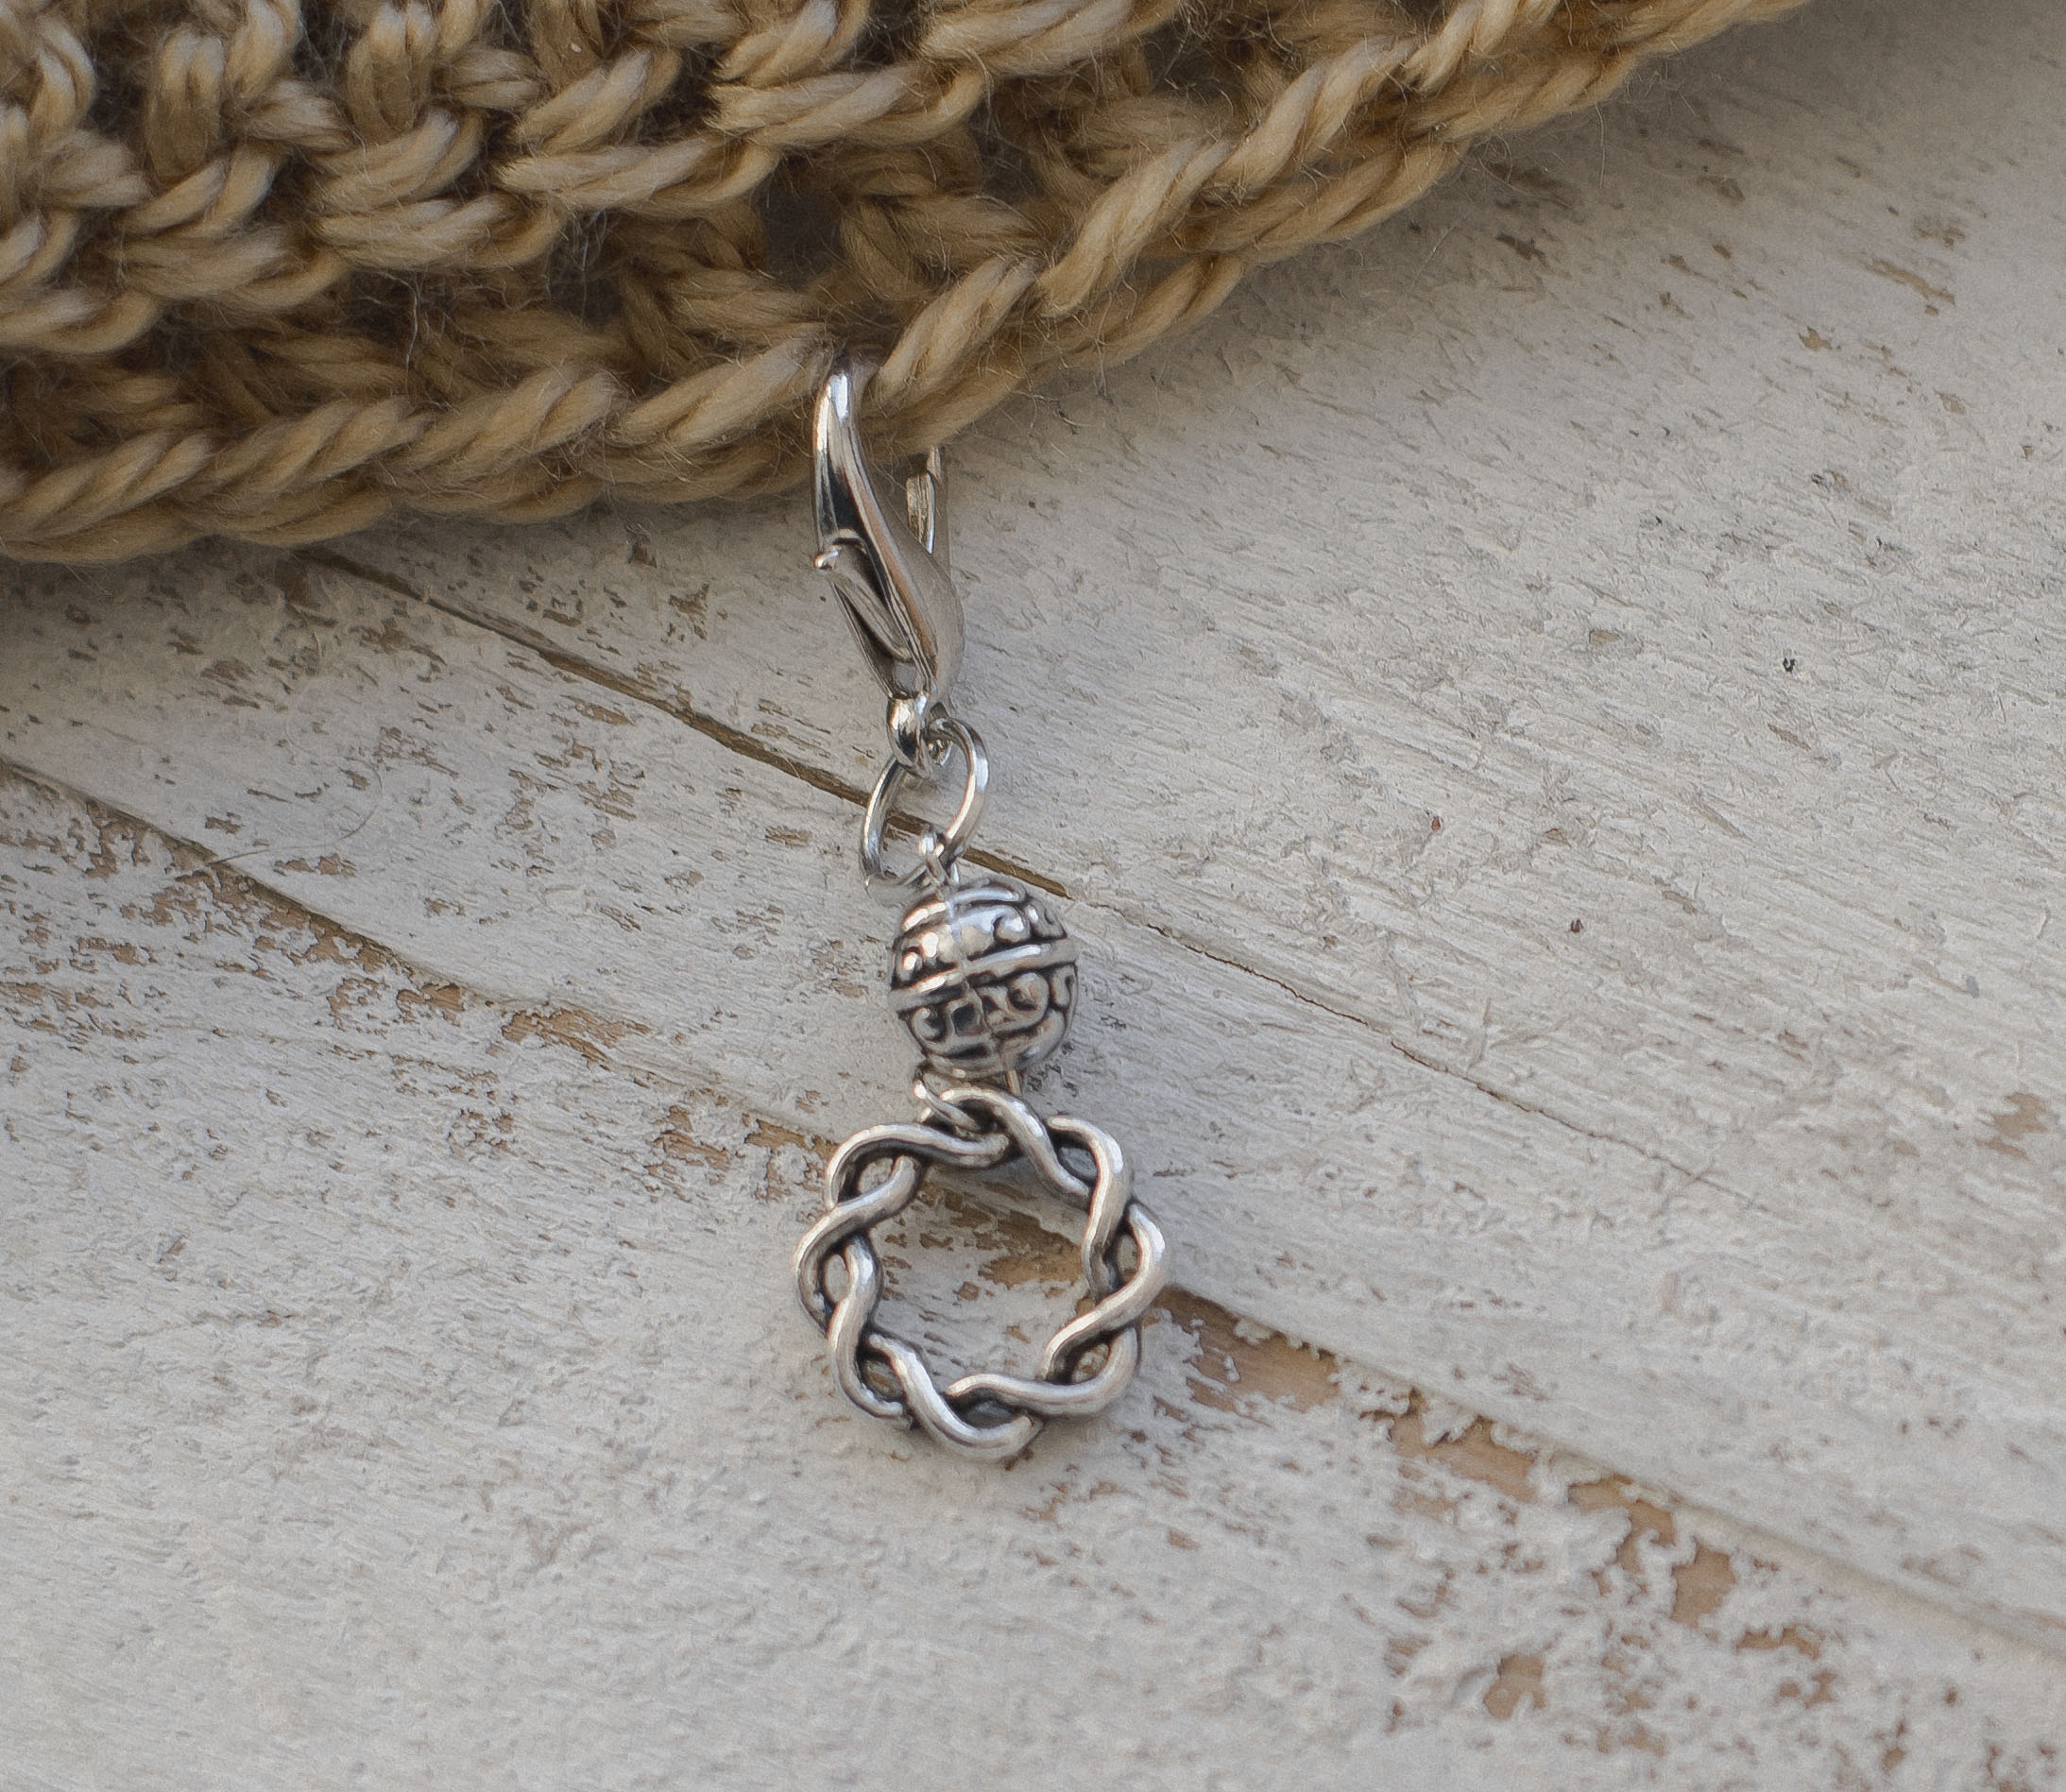
For this one, I used this unique little spiral ring notion, and strung the bead onto the eye pin (tutorial below) connected it to the spiral ring with a small jump ring, then connected the bead to a bigger jump ring then finally the clasp on top.

For the beaded markers, I will show you how I put them together below...

First I strung the beads onto the eye pin, putting the looped part on the bottom to catch them.
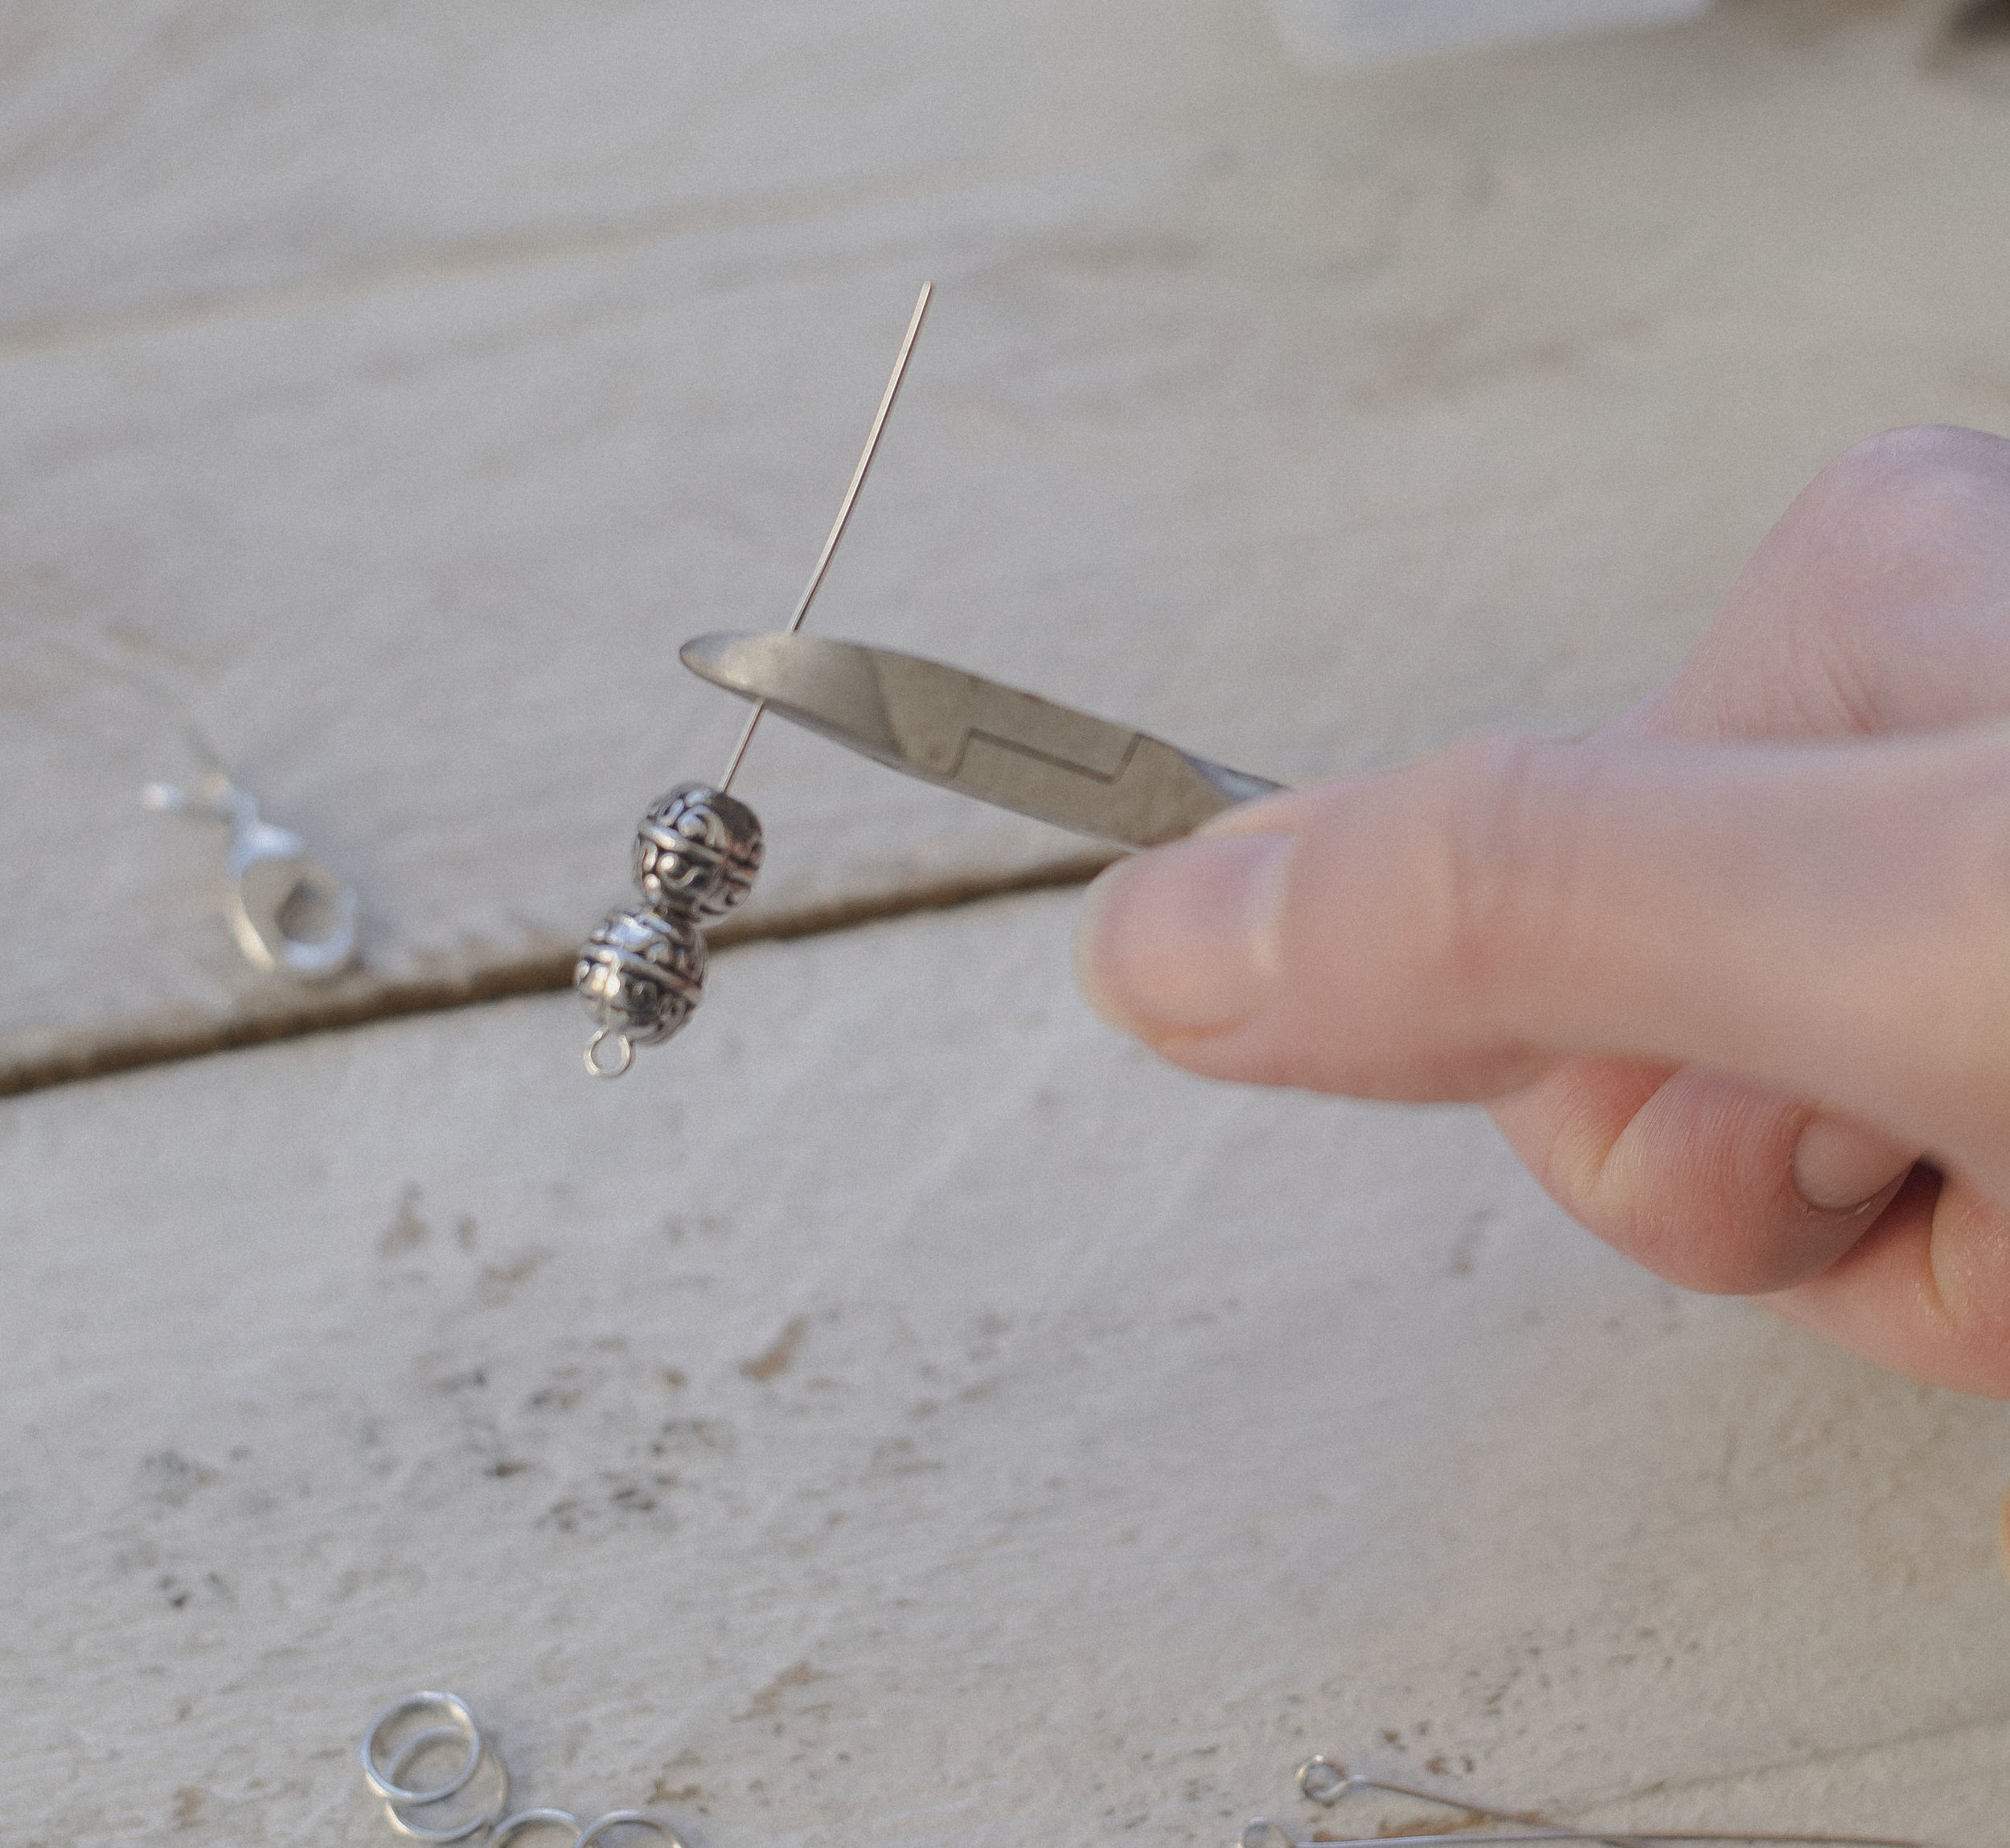
Then I cut the pin with my side cutters about half a centimeter away from the last bead.
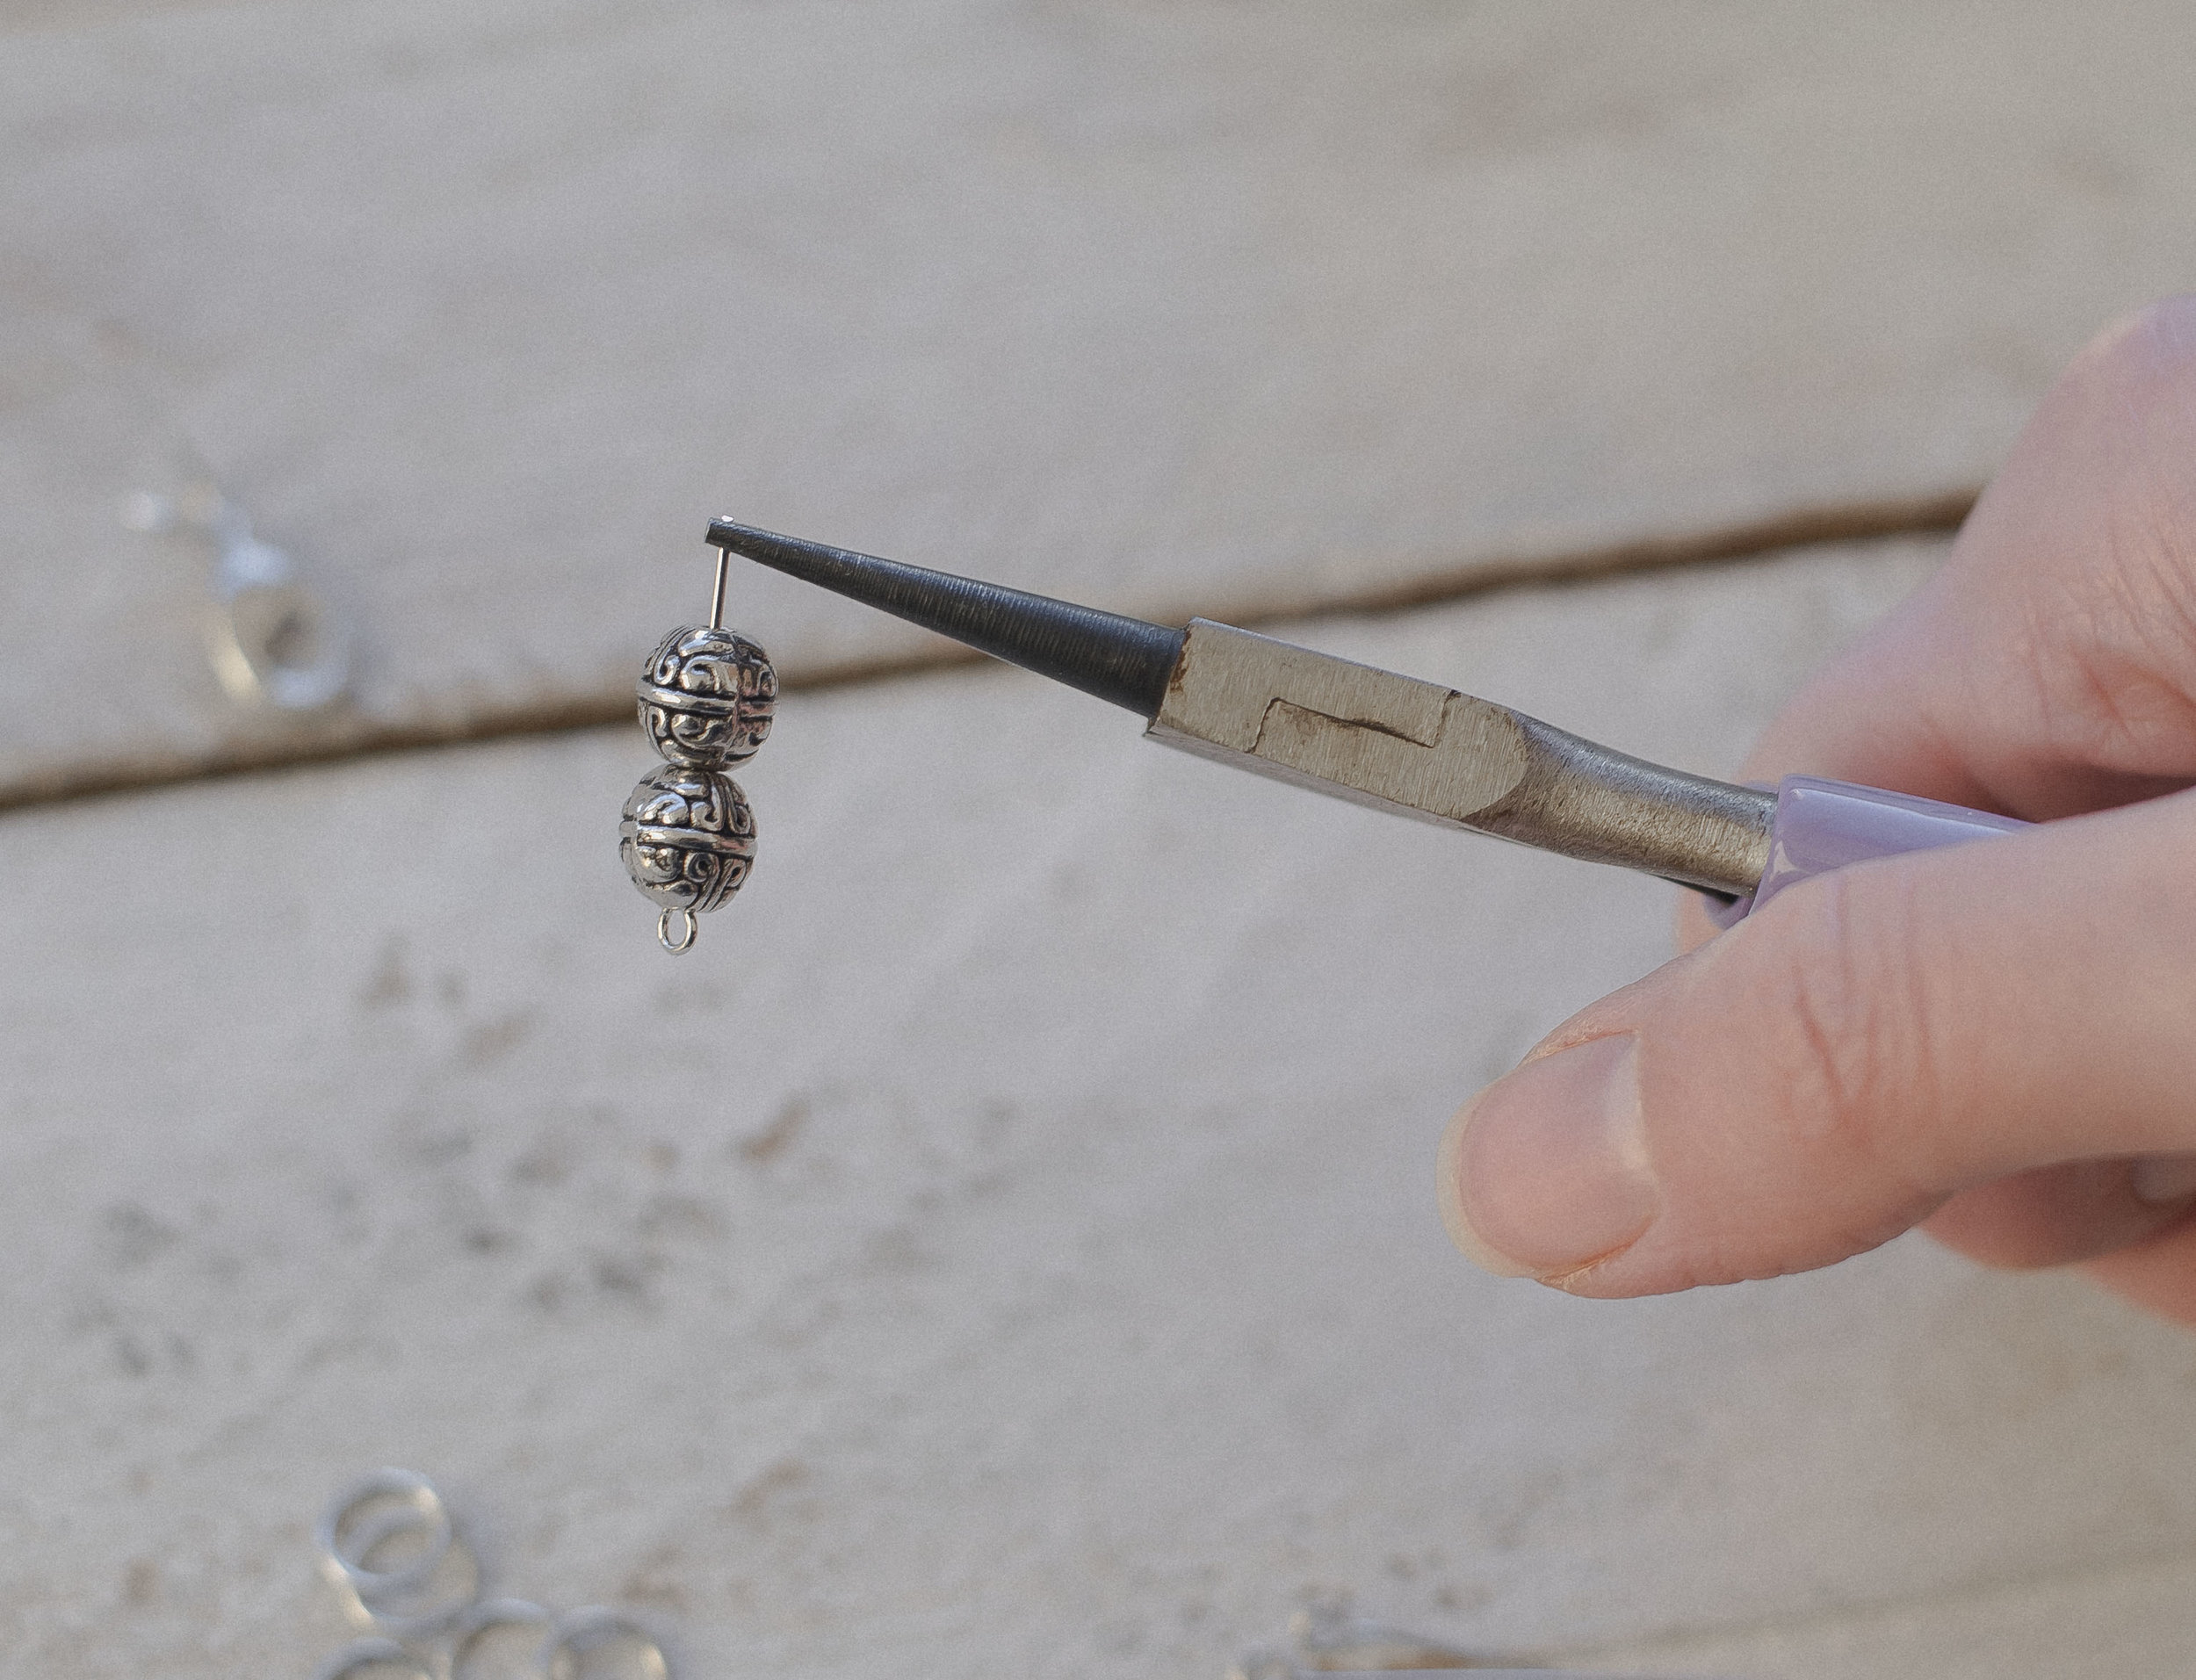
Next I grabbed my round nose pliers and gripped the very end of the pin with the very end of my pliers.

Then I rolled the pin around the pliers, to create another "eye" like the other side. This is to stop the beads and also will make it possible to connect another jump ring.
Above is a photo of the beaded marker completed. I connected a large jump ring to the "eye" of the pin then topped it with another clasp.

Lastly, I'll show you how to do the mini hank marker shown in the photo above.

You'll grab your embroidery floss of choice, and wrap it around a 3 to 4 inch object. I actually just used my baby video monitor (that shows my son sleeping during his nap, lol). You could cut a piece of cardboard thats four inches wide or even use your hand at it's widest point. I wrapped it around the monitor about 10 times.

Then I tied the two ends together with a double knot, making it snug and so it was as tight as the other strands that I wrapped around the monitor.

Then I cut the ends a bit shorter so they won't stick out of the hank and slipped the floss off my monitor. Make sure not to mess up the floss, it needs to remain the same as it was on the monitor.
Next you will make a "hank" just like you would a ordinary hank of yarn. I put my fingers in the center of the "circle" on each end, then twisted (see below).

I actually did this using two hands, I just wanted to get a picture of it, but only have so many hands! Twist it until you can't twist any more.

Then you'll fold it in half and let it twist on itself (shown above). You can see the two end loops on the left...

You will take one of those ends and loop it into the other loop to finish the hank. Pull it through, and make sure you bring through all of the strands in the "loop".

Last, I opened up a jump ring, then put the "loop" at the end of my mini hank onto the jump ring, closed it up, then added a clasp!

And that is how you make some super special stitch markers. I've already put these to use on a design I'm doing now, and they work great! The only thing I will say is that you'll need to be careful when taking them out, because they can get caught in the yarn if you aren't paying attention. Just be careful, and you'll be good!
I truly hope you enjoyed this fun tutorial. If you make your own stitch markers, do please share with me!! I would love to admire them.. Just tag me over on Instagram :)
Happy making!
Meg


