


Meet the Newest Addition to the Farmhouse Series: The Farmer's Market FRESH Bag
/
***You can find the PDF version of this pattern in my shop by clicking here. Great for easy printing!***
Welcome to the third installment of the "Farmhouse Inspired" series! You can check out the first pattern of the series, the washcloth, by clicking here. Then if you're in the mood to make one killer wreath, then check out the Jute Farmhouse Wreath here.
Today I am pleased to bring you this awesome Farmer's Market bag! I love the neutral tones, the embroidered word fresh, and just the overall simple farminess of it.
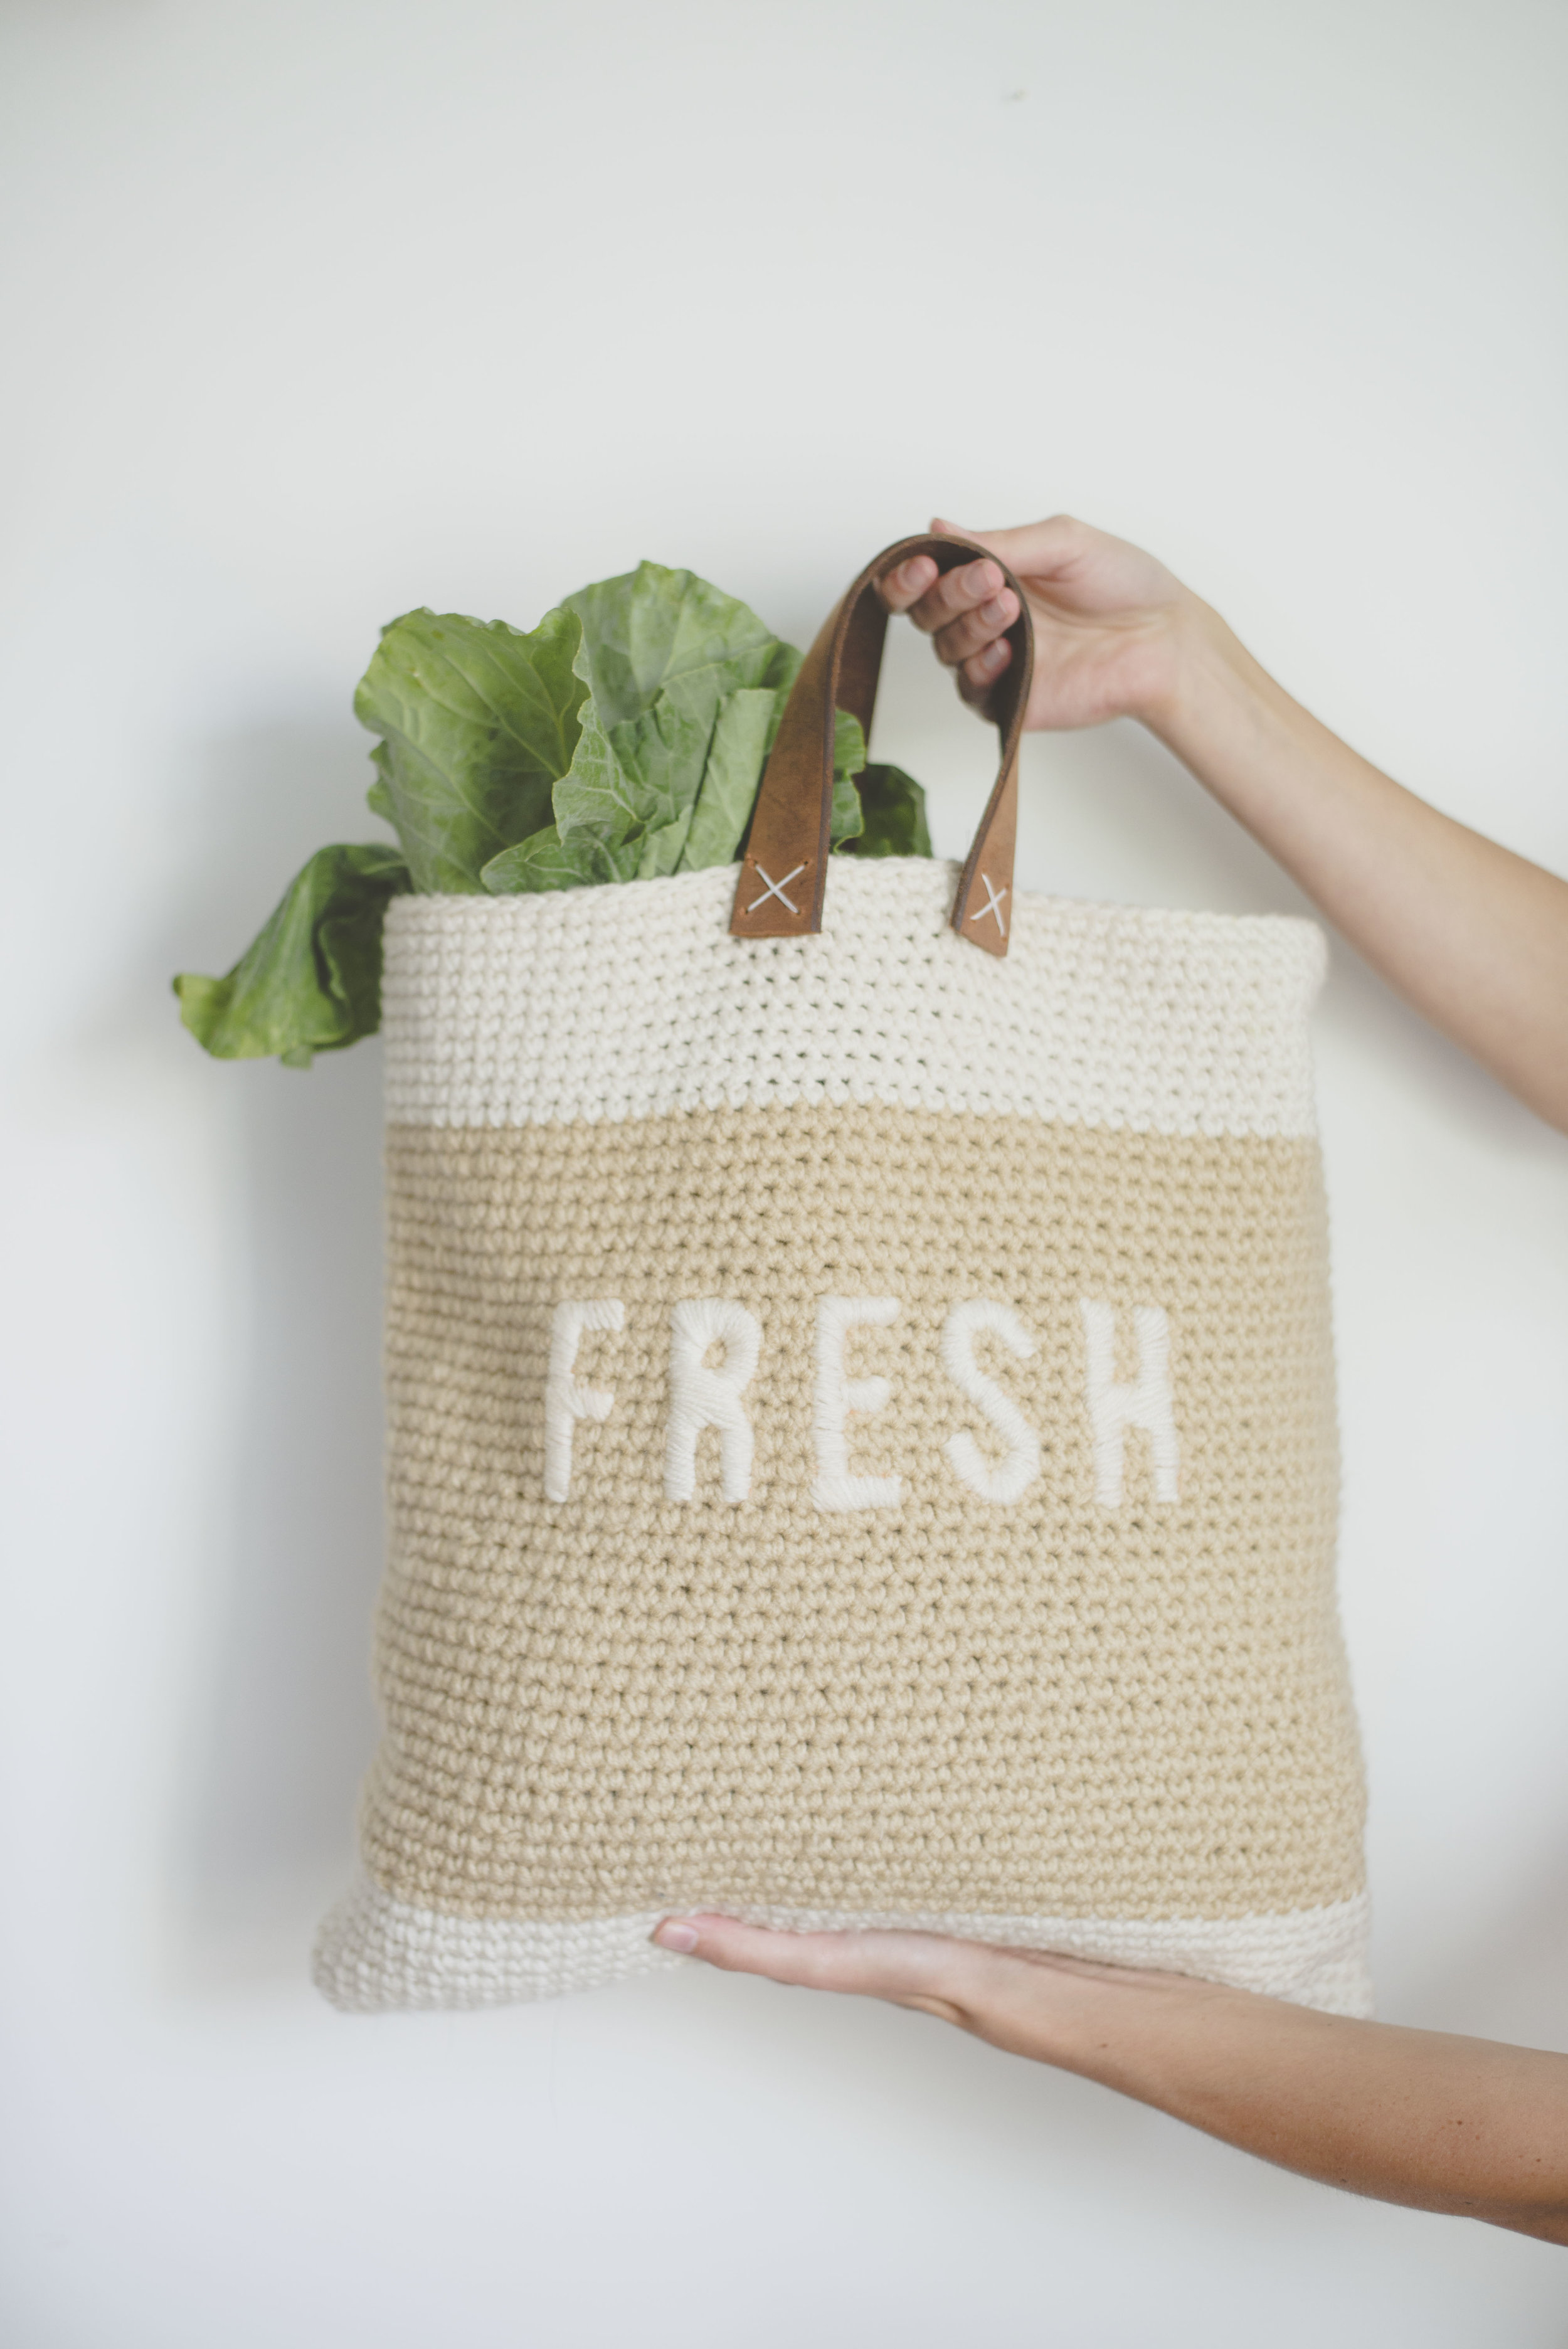
This bag is pretty darn sturdy- as it's made with two strands of worsted-weight yarn. I thought you could even line the bag with a waterproof material of your choice if you wanted to-- that'd be a great idea!

I made my handles out of an old belt, but you could use whatever handles you'd like... pre-made or even crocheted. I chose to use a leather belt because it added such a cool vibe to the bag. And its actually very easy to sew them on! I was very much inspired by Jess over at Make and Do Crew, with her jute bag that featured thrifted leather belt handles.

Now for the embroidered word, I provide a cool little download you can print off and use as a guide for the letters you will stitch on. You can find the download by clicking HERE. I used a satin stitch, and in my opinion, this is what "makes" the bag.

What you'll need:
Red Heart Super Saver in Aran and Buff (one skein each)
Size 6.5mm Hook (K)
stitch markers
yarn needle
"Fresh" template download (find it here) & printer to print it out
washable marker
leather belt or other handles of choice
exacto knife or other tool for poking holes like an awl or punch (I just used an exacto knife because it's what I had!)
Gauge:
11 sc by 12 rows using 2 strands of yarn will equal a four inch square
Abbreviations:
ch=chain, st(s)=stitch(es), sc=single crochet, BLO=back loop only, 2sc=work two single crochet in one stitch
Notes:
You will use two strands of the color indicated when crocheting. I used the string from the middle of the skein as well as the strand that is wrapped around the outside.
Dimensions:
Finished bag is approximately 16.5 inches wide by 17 inches tall
Pattern:
Using two strands of ARAN: ch 46
1) **In BLO (aka working on back side of your chains you just worked)**: work 2sc in 2nd ch from hook, sc 43, 2sc in last ch, **now working on the other side of your foundation chains**: 2sc, sc 43, 2sc in last ch (44 total sts)
2-10) **you are now working in the round**: work a sc into the first st from the previous round, put a stitch marker in that stitch and sc around remaining sts (44)
11-42) follow the same instructions as in rounds 2-10, but you will be working with BUFF
43-52) follow the same instructions as in rounds 2-10, but you will be working with ARAN
Finish off and weave in ends.
To stitch the word "FRESH":
First print off your download I provided above, making sure you print it on "landscape" setting so it's sitting horizontally on your paper (it may help you to print on thicker paper-for stenciling).
Then you will cut out the letters. I used scissors, but could use an exact-o knife if you preferred. You are basically creating a stencil for you to transfer onto the bag. For the "R" I just cut out the entire middle and guessed what the center part looked like. You could cut out the middle part and then tap it in the "R" if you don't feel comfortable with that.

Then you will place your "stencil" onto the front of the bag, centering it up, about 2 inches or so below the ARAN rows. Tape the outsides to secure the stencil.

Using a washable marker (I only had an orange Crayola, ha!) you will trace the letters. I held the paper in place while I traced. Once done tracing then you take off your paper and you are ready to stitch!

For each letter, you begin by outlining the letter with a back stitch (using your ARAN colored yarn). You can see a video on how to back stitch here.

Above is the letter completely outlined. It is also showing me starting the satin stitch, by inserting my needle on the outside of the outline stitches.

To work the satin stitch you will be inserting your needle on one side of the outline stitches and then taking it up and over diagonally to the other side of the outline. Then you will continue to do that around your letter, going over your outline and inserting your needle close to where you previously inserted your needle from the last stitch (like in the above photo).

Some of the areas were harder than others to make look pretty.. In some spots you may have to go back over some stitches that don't look uniform (like the middle bar of the "H") to make them look more smooth.

Now, you can see that my satin stitches certainly aren't perfect. But I was completely happy with how they came out. Hey, you can still read it! ;) After all your letters are complete, it's time to add on your handles. This is how I did mine...

I grabbed my leather belt, and cut two pieces that were 12 inches long. After I cut them I decided the leather was too dark, so I sanded it down. I'm very happy I did that, because I was going for a lighter leather look.

Then when you take pictures of your process, your baby comes in to sabotage your photo.... :)

Then using my exacto knife I made four holes in the bottom inch or so of both ends. Learn from my mistake and make the holes pretty close to the edge. On my first handle my holes were closer together in the center, and it made the handle not sit as flat. So to get a nice flat handle space those holes out to secure the entire bottom of your handle.

Last you'll take needle and thread and secure your handles stitching an "x" into the holes you created. You could also use yarn if you'd like for this.

Once all your handles are secured, it's time to hit up your farmer's market! EEEP! (Who doesn't love a good farmers market??)
Happy making my friend,
Meg


