


A Free Pattern for the Jute Farmhouse "Dreamcatcher"
/
***You can find the PDF version of this pattern in my shop by clicking here. Great for easy printing!***
I've got another "Farmhouse Inspired" crochet pattern for you today!
I've been doing this little series of pattern designs I've created that were very much inspired by the Farmhouse look and trend that you've seen everywhere (You can find my other Farmy patterns here, here, here and here.)
(Oh! Also, if you're really in the dreamcatchin' mood, check out my first dreamcatcher pattern I created here)

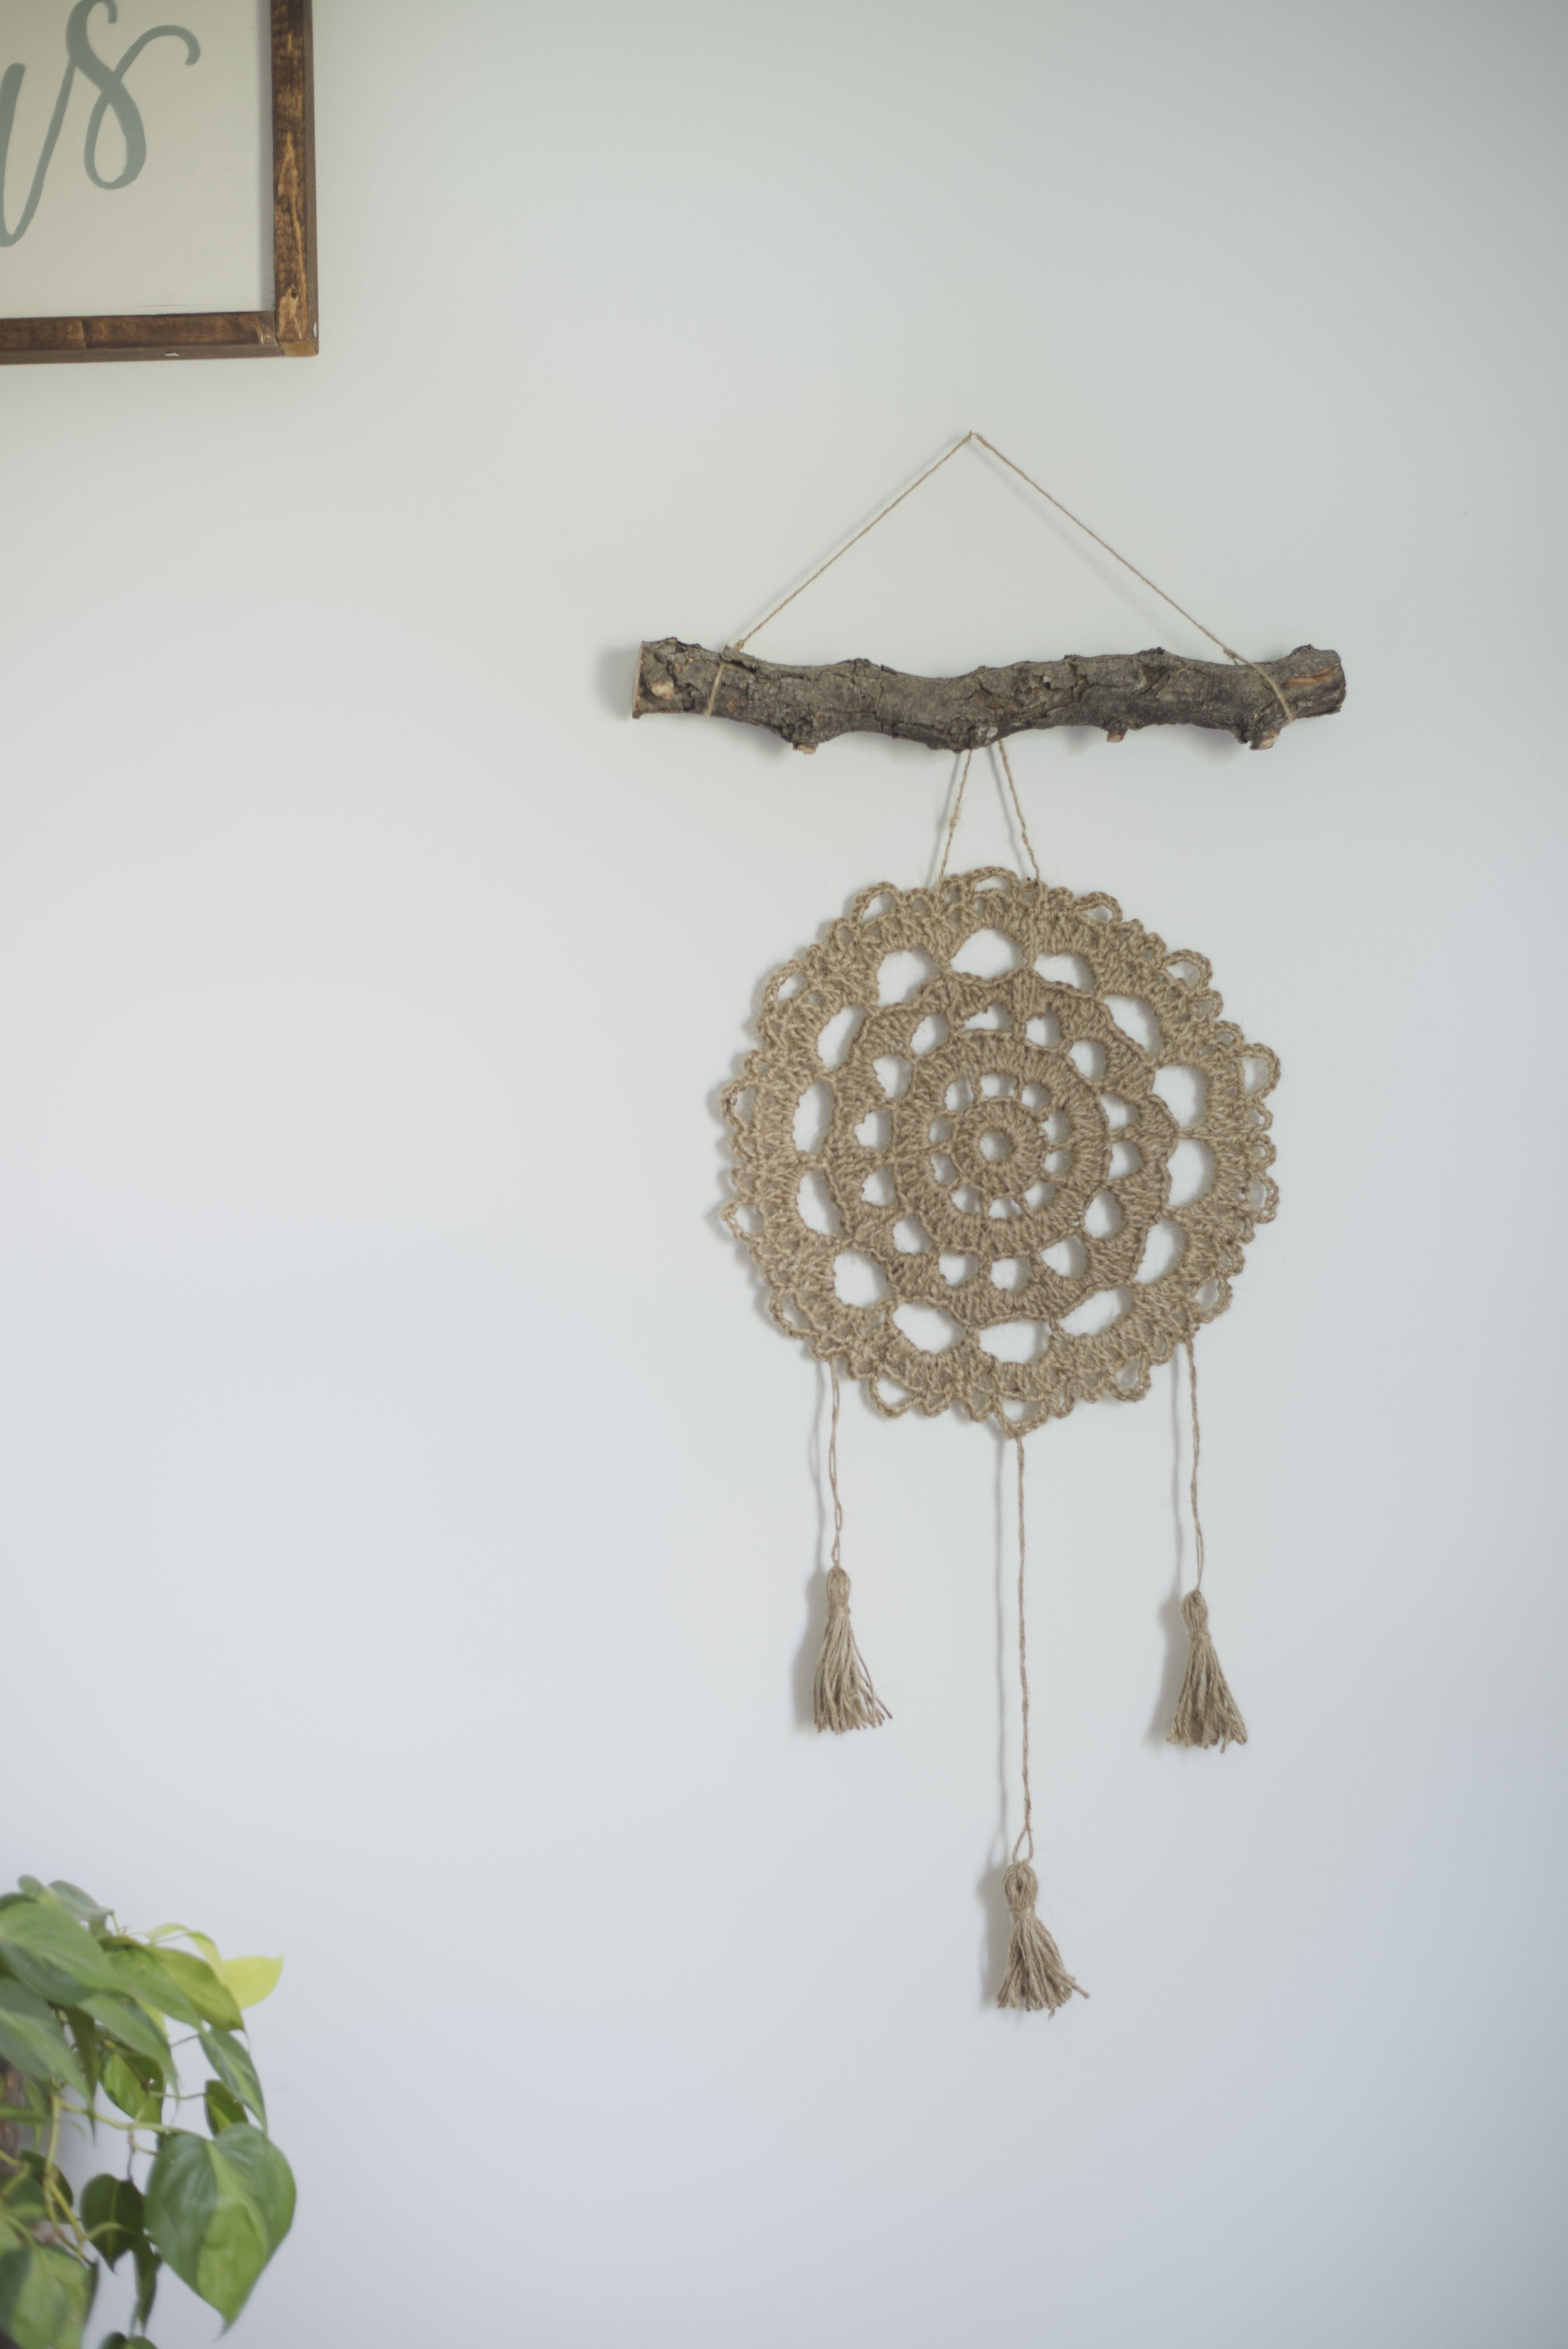
This pattern will work up super quickly for you, and is fairly simple to do! I show you below how I create the little tassels as well as how to attach it to your "branch".

I am truly in love with how it came out. It looks great in our bedroom. And can I just say that this cost me ONE DOLLAR to make?? The branch I found at the park near our house, and I found the jute at our local Dollar General. That is a crochet win, my friends!

The jute that I used for this pattern is a thinner jute than the average jute string you see in most craft stores. This one is about 2mm wide. You can buy it at a Dollar General if you live near one, or you can buy it online by clicking here. (I show a photo below of the exact roll I used)
P.S. It's a center pull roll, SCORE!

I also starched the project to make it lay flat, and be more stiff. I talk more about that below.

Something funny about this pattern, is that it was originally going to be a placemat or really just a multi-functional decor piece. You can see I put it under a plant above. But I really wanted it to be something more, so then the jute dreamcatcher was born! These would be really neat as placemats at a rustic wedding or you could even put it in a cool old frame- I thought about doing that. The possibilities are endless!
What you'll need:
A 200 foot roll of Jute twine that is 2mm wide, I found mine at Dollar General (you can find it online by clicking here) **Also-- I used up quite a bit of this roll, so I just want to add that it may be a good idea to buy two of them (especially if you're getting them online) just in case**
Size E Hook (3.5mm)
Spray starch
Iron
Tree Branch or wooden dowel to hold dreamcatcher
Yarn needle
Dimensions:
Approximately 11.5 inches in diameter after blocked
Abbreviations:
ch=chain, sc=single crochet, sk=skip, st(s)=stitch(es), sp=space, sl=slip, 2dcl=two double crochet cluster (explained below), tr= treble
Stitch explanation:
2dcl= yo, insert hook into designated st, yo, bring back through st, yo, draw through first two loops on hook, leave 2 loops on hook, yo, insert hook into same st you were already working in, yo, bring back through st, yo, draw through first two loops on hook, yo, draw through remaining three loops on hook
Notes:
Working with jute is definitely different than working with yarn. It may be harder on your hands, because of the resistance and roughness. You may need to give your hands a break!
After row 6 or so your work may become a little wonky-- this is normal. I worked my stitches so they were all even and kind of stretched it around a bit to lay nicer. Blocking your complete piece will fix this!!
Pattern:
1) ch 10, join to 1st ch to form circle
2) ch 3 (counts as dc), work 19 dc in the circle, join to 3rd ch with sl st (20)
3) ch 6 (counts as dc + ch3), [sk st, dc, ch 3] repeat [] around, join to 3rd ch with sl st (10 total dc)
4) sl st into first ch 3 sp, **working in the first ch 3 space: ch 3, dc (counts as a 2dcl), ch 1, (2dcl, ch 1) 2 times, 2dcl, [working in next ch 3 sp: (2dcl, ch 1) 3 times, 2dcl] repeat [] around, join to 3rd ch with sl st (40 total 2dcl)
5) ch 8 (counts as sc + ch 7), sk 4 sts, sc, [ch 7, sk 4 sts, sc into next st] repeat [ ] around (14 total sc)
6) sl st into first ch 7 sp, **working in first ch 7 sp: ch 4 (counts as tr), 2 dc, 2 sc, 2 dc, tr, [working in next ch 7 sp, tr, 2 dc, 2 sc, 2 dc, tr] repeat [] around, join to 4th ch with sl st (112 total sts)
7) ch 11 (counts as sc + ch 10), [sk 7 sts, sc in next st, ch 10] repeat [ ] around, join to 1st ch with sl st (13 total sc)
8) sl st into 1st ch 10 sp, **working in first ch 10 sp: ch 3, dc (counts as a 2dcl), [ch 2, 2dcl] 4 times, [working in the next ch 10 space: 2dcl, {ch 2, 2dcl} 4 times, ** 5 total 2dcl in each ch 10 sp**] repeat [ ] around, join to the first dc you made with a sl st (70 total 2dcl)
9) ch 5 (counts as sc + ch 4), sk 2 sts, sc, ch 7, sk 5 sts, sc, ch 4, sk 2 sts, sc, [sc in next st, ch 4, sk 2 sts, sc, ch 7, sk 5 sts, sc, ch 4, sk 2 sts, sc, **you are working in previous rows 2dcl's**] repeat [] around, join to 1st chain with sl st (56 total sc)
Finish off and weave in end. You may have to block the piece to make it lay flat for you. I did this by spraying it with a little bit of water and then stretching it to look the way I wanted it to (flat). Then let it dry on a flat surface.
Assembly of dreamcatcher:
So to make the dreamcatcher lay flat and not be so loosey-goosey (lol) I used this spray starch I also found at Dollar General. Any old kind would work though I imagine.
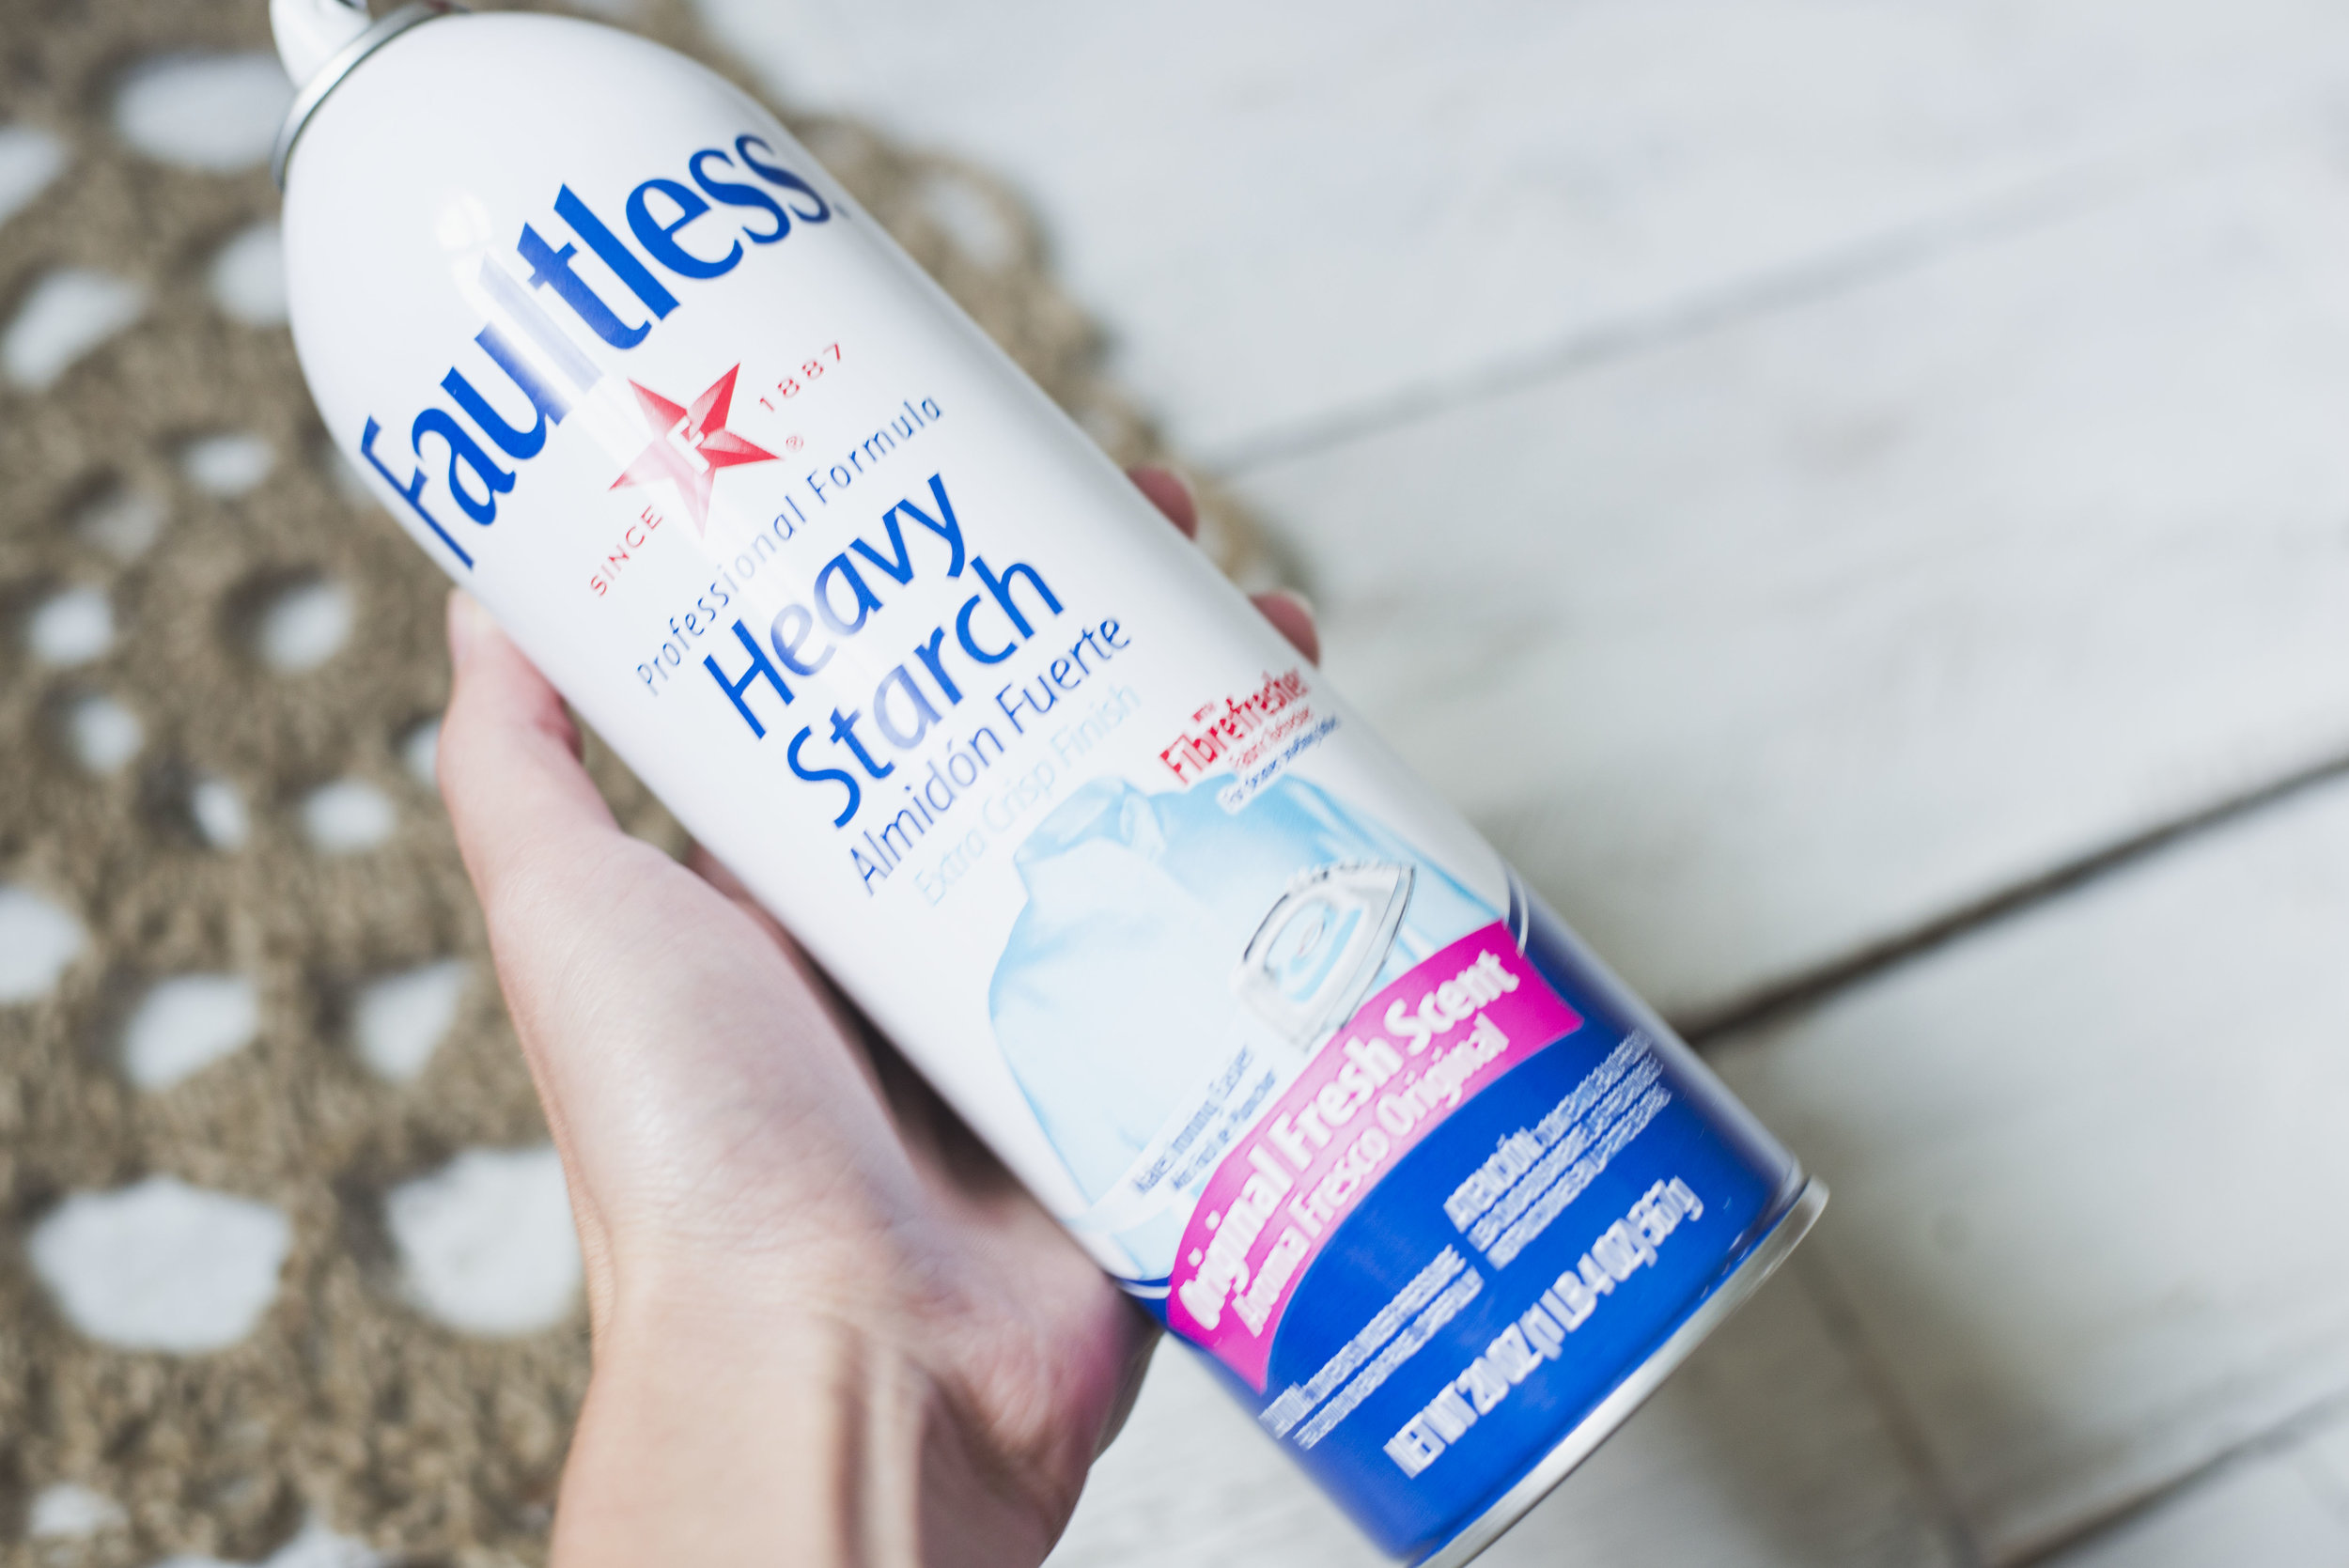
Then placed my crocheted piece on a flat surface-- put it on something that you don't mind getting starch on. You could do this on a old towel or even outside. I sprayed a generous amount, then let it dry. I did this multiple times, and even let it dry outside in the sun. You could also iron the piece in between drying times, I did that a few times also.

Just continue starching and ironing until it reaches your desired stiffness.
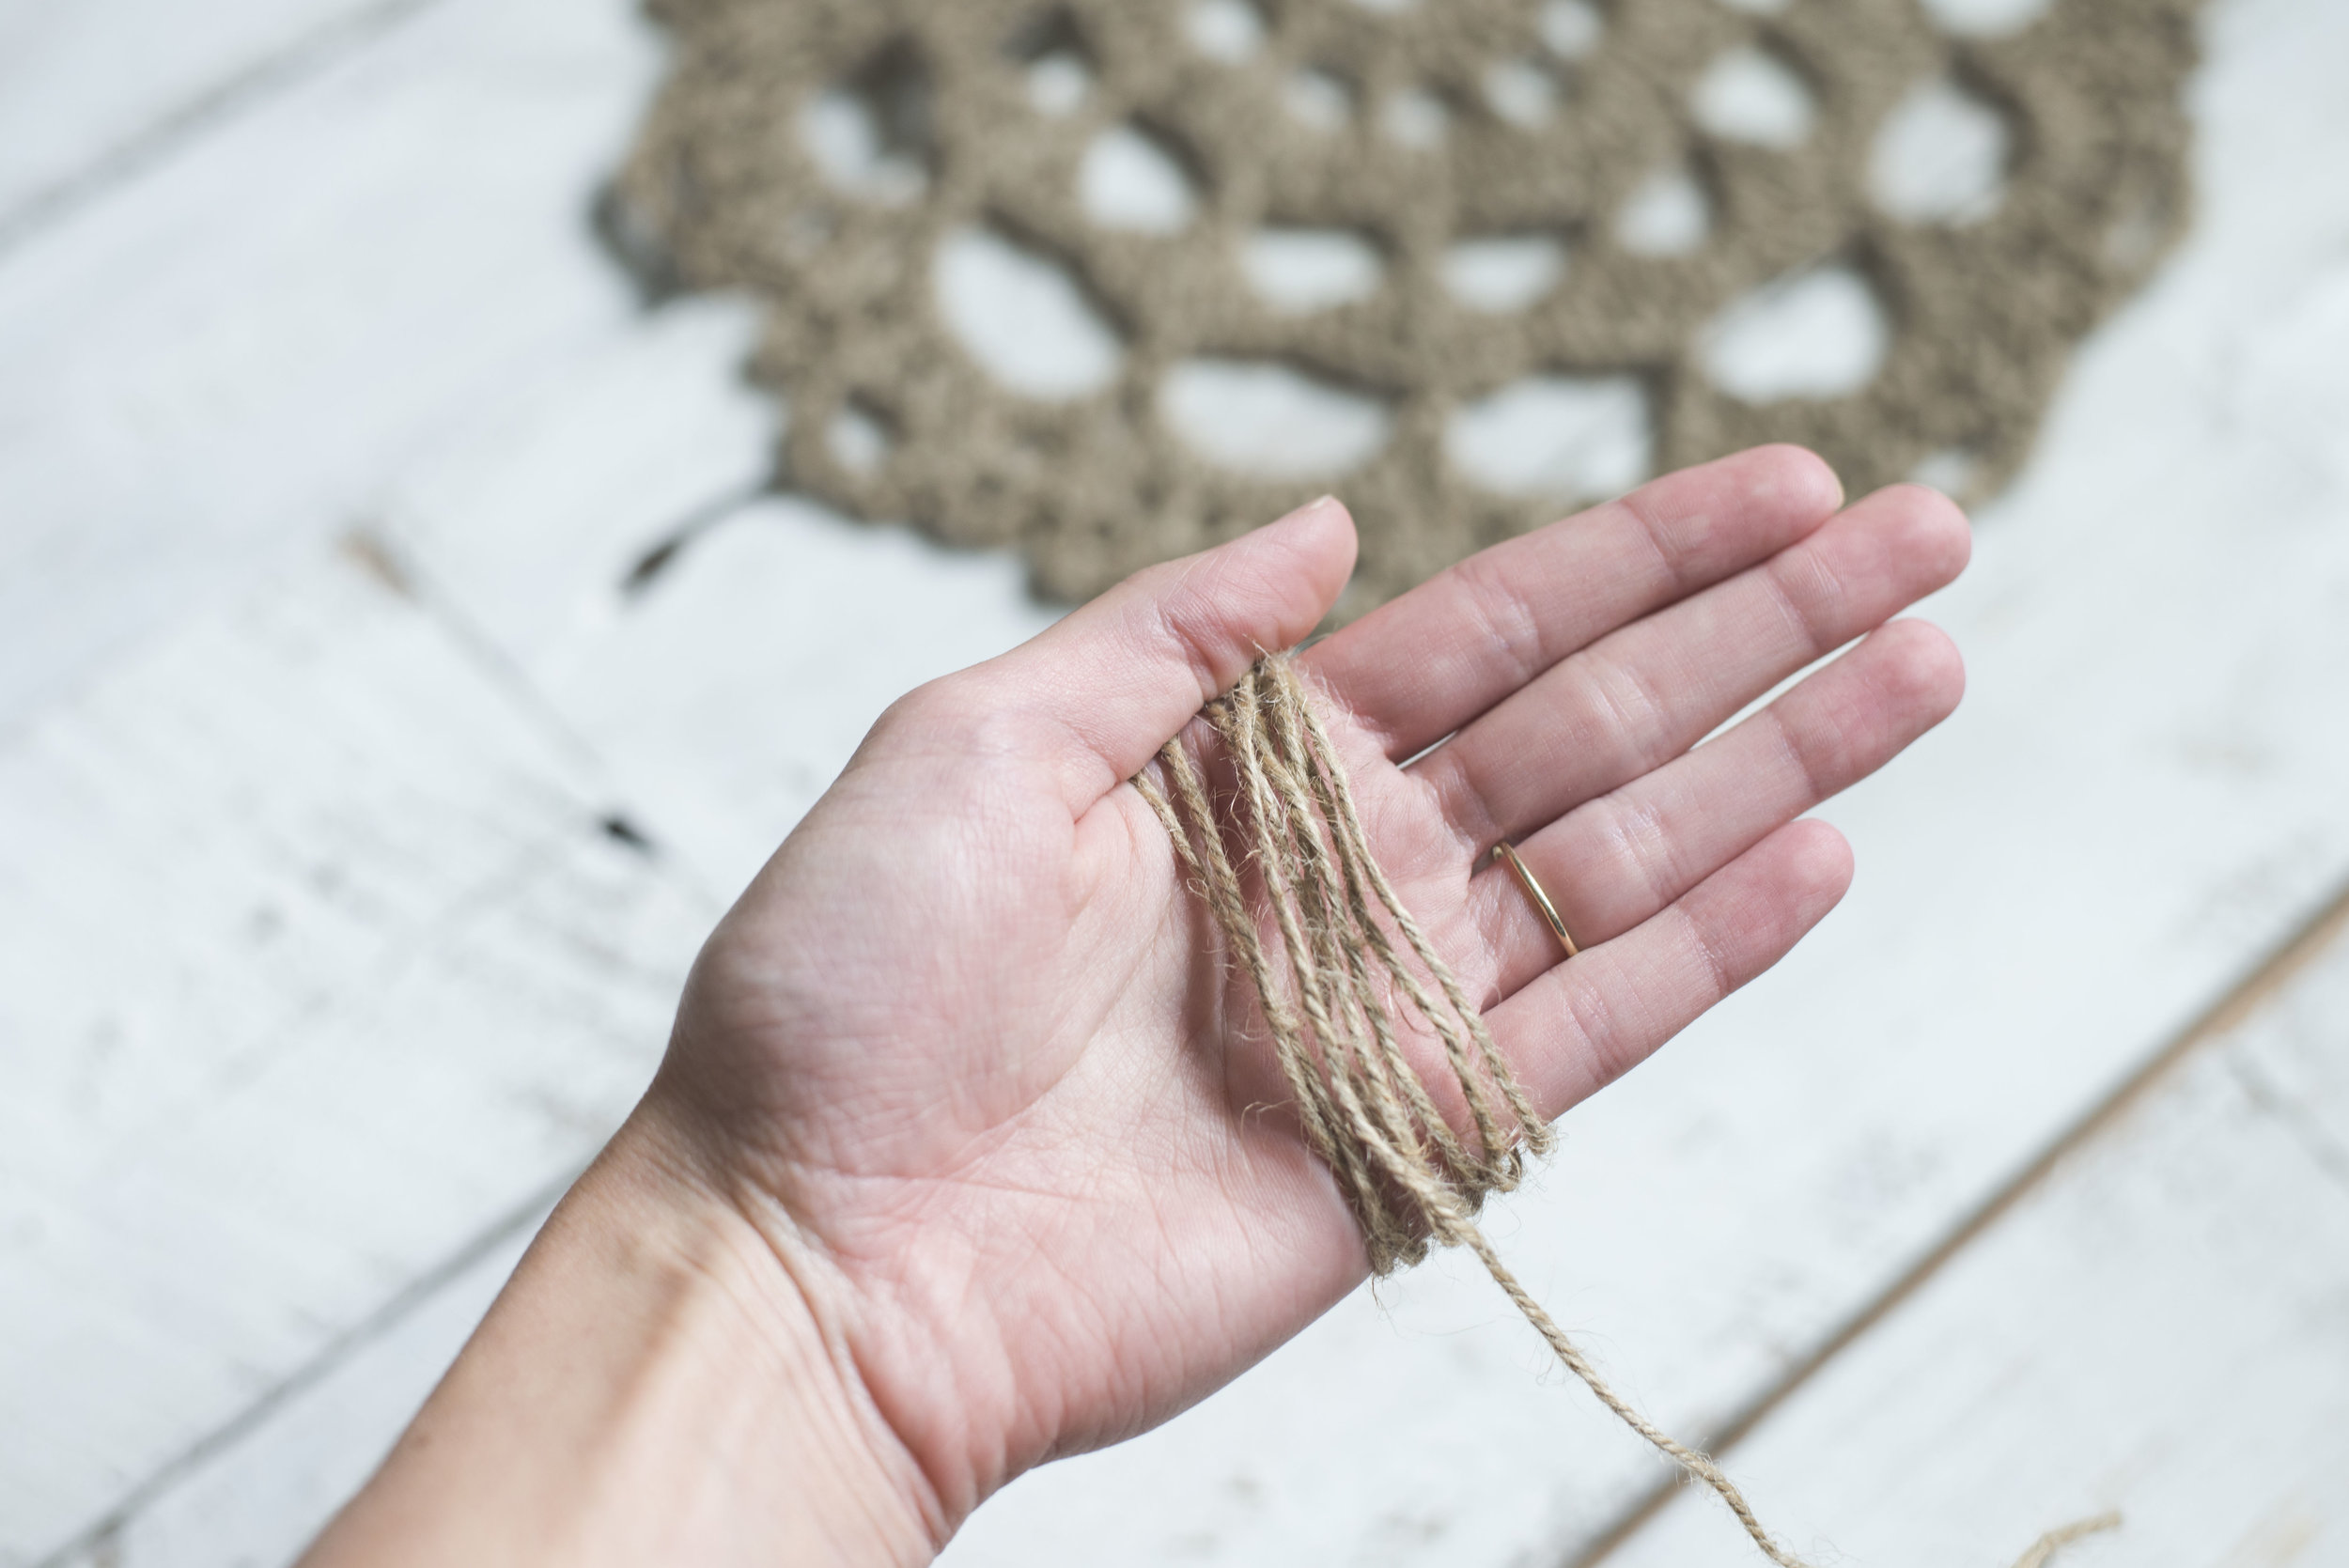
To make the tassels I wrapped the jute around my hand about 20 times.

Then take your hand out of the string, and run a 29 inch piece of jute through the top.

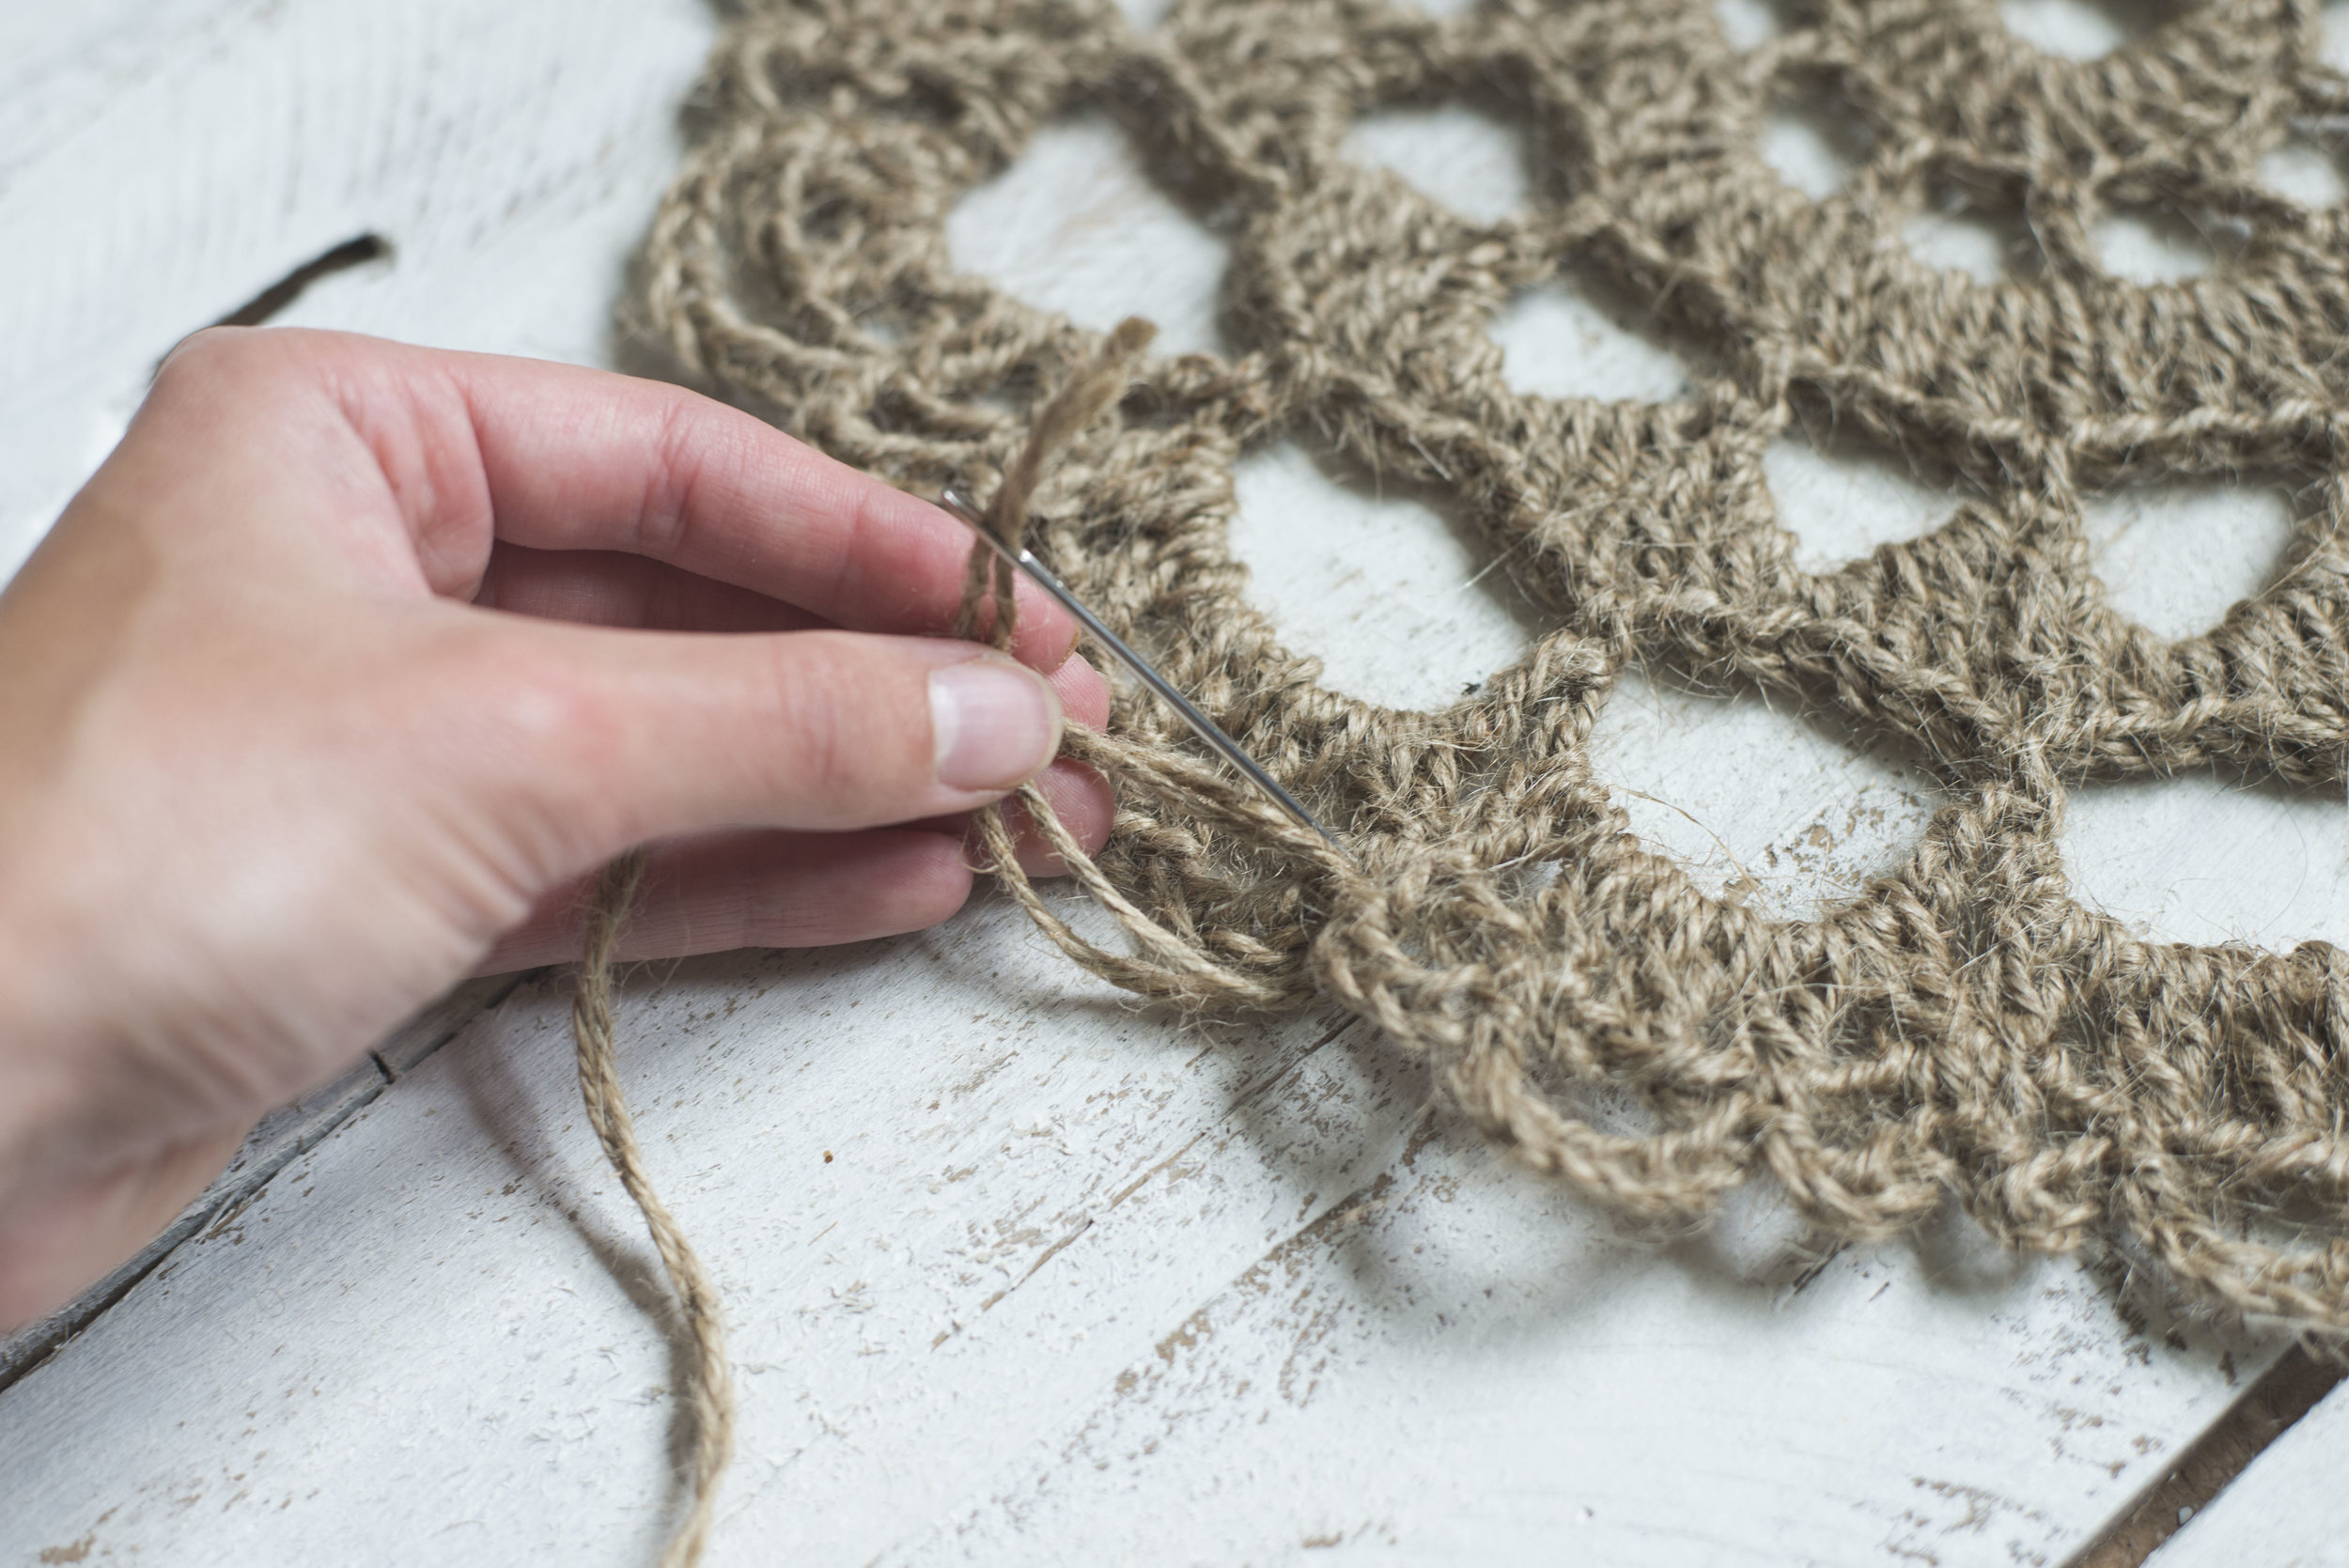
Then take a piece that's about 10 inches long and tie a knot around the gathered strands. Wrap it around a couple times then tie another double knot.

To make those strands not stick out I stuck them under the wrapped strands from the previous row using a yarn needle

Then cut the ends of your tassel, and even them up if you'd like. (I ironed mine a bit because they were a little unruly)

Next take that long strand you ran through the top and twist the two ends then thread both of them on your needle.
Then you are going to attach the tassel pieces to your crocheted piece by inserting your needle from front to back in the middle of your crochet piece. Then pull the end about 6 inches or so through then go back into the same spot you previously entered-- working from the front again. Then you will tie a knot at the back.
You will repeat this process for the two other tassels on the sides, except you will use a 18 inch strand for the sides instead of a 29 inch strand.

This was how I hung the crocheted piece to the branch: I hammered a small nail on the back side of my branch in the center.

Then I tied a 8 inch piece of jute onto the top of the crochet piece- tying the knots on the back side.

Then after you tie a 15 inch piece onto the branch for hanging, your masterpiece is complete!! (HEART EYES!!)

Oh man, I hope you loved this tutorial!! I thoroughly enjoyed making this, and it really would add that special rustic touch to any home.
If you do end up creating this, I'd love to see your version! Tag me over on Instagram. :)
Happy making,
Meg


