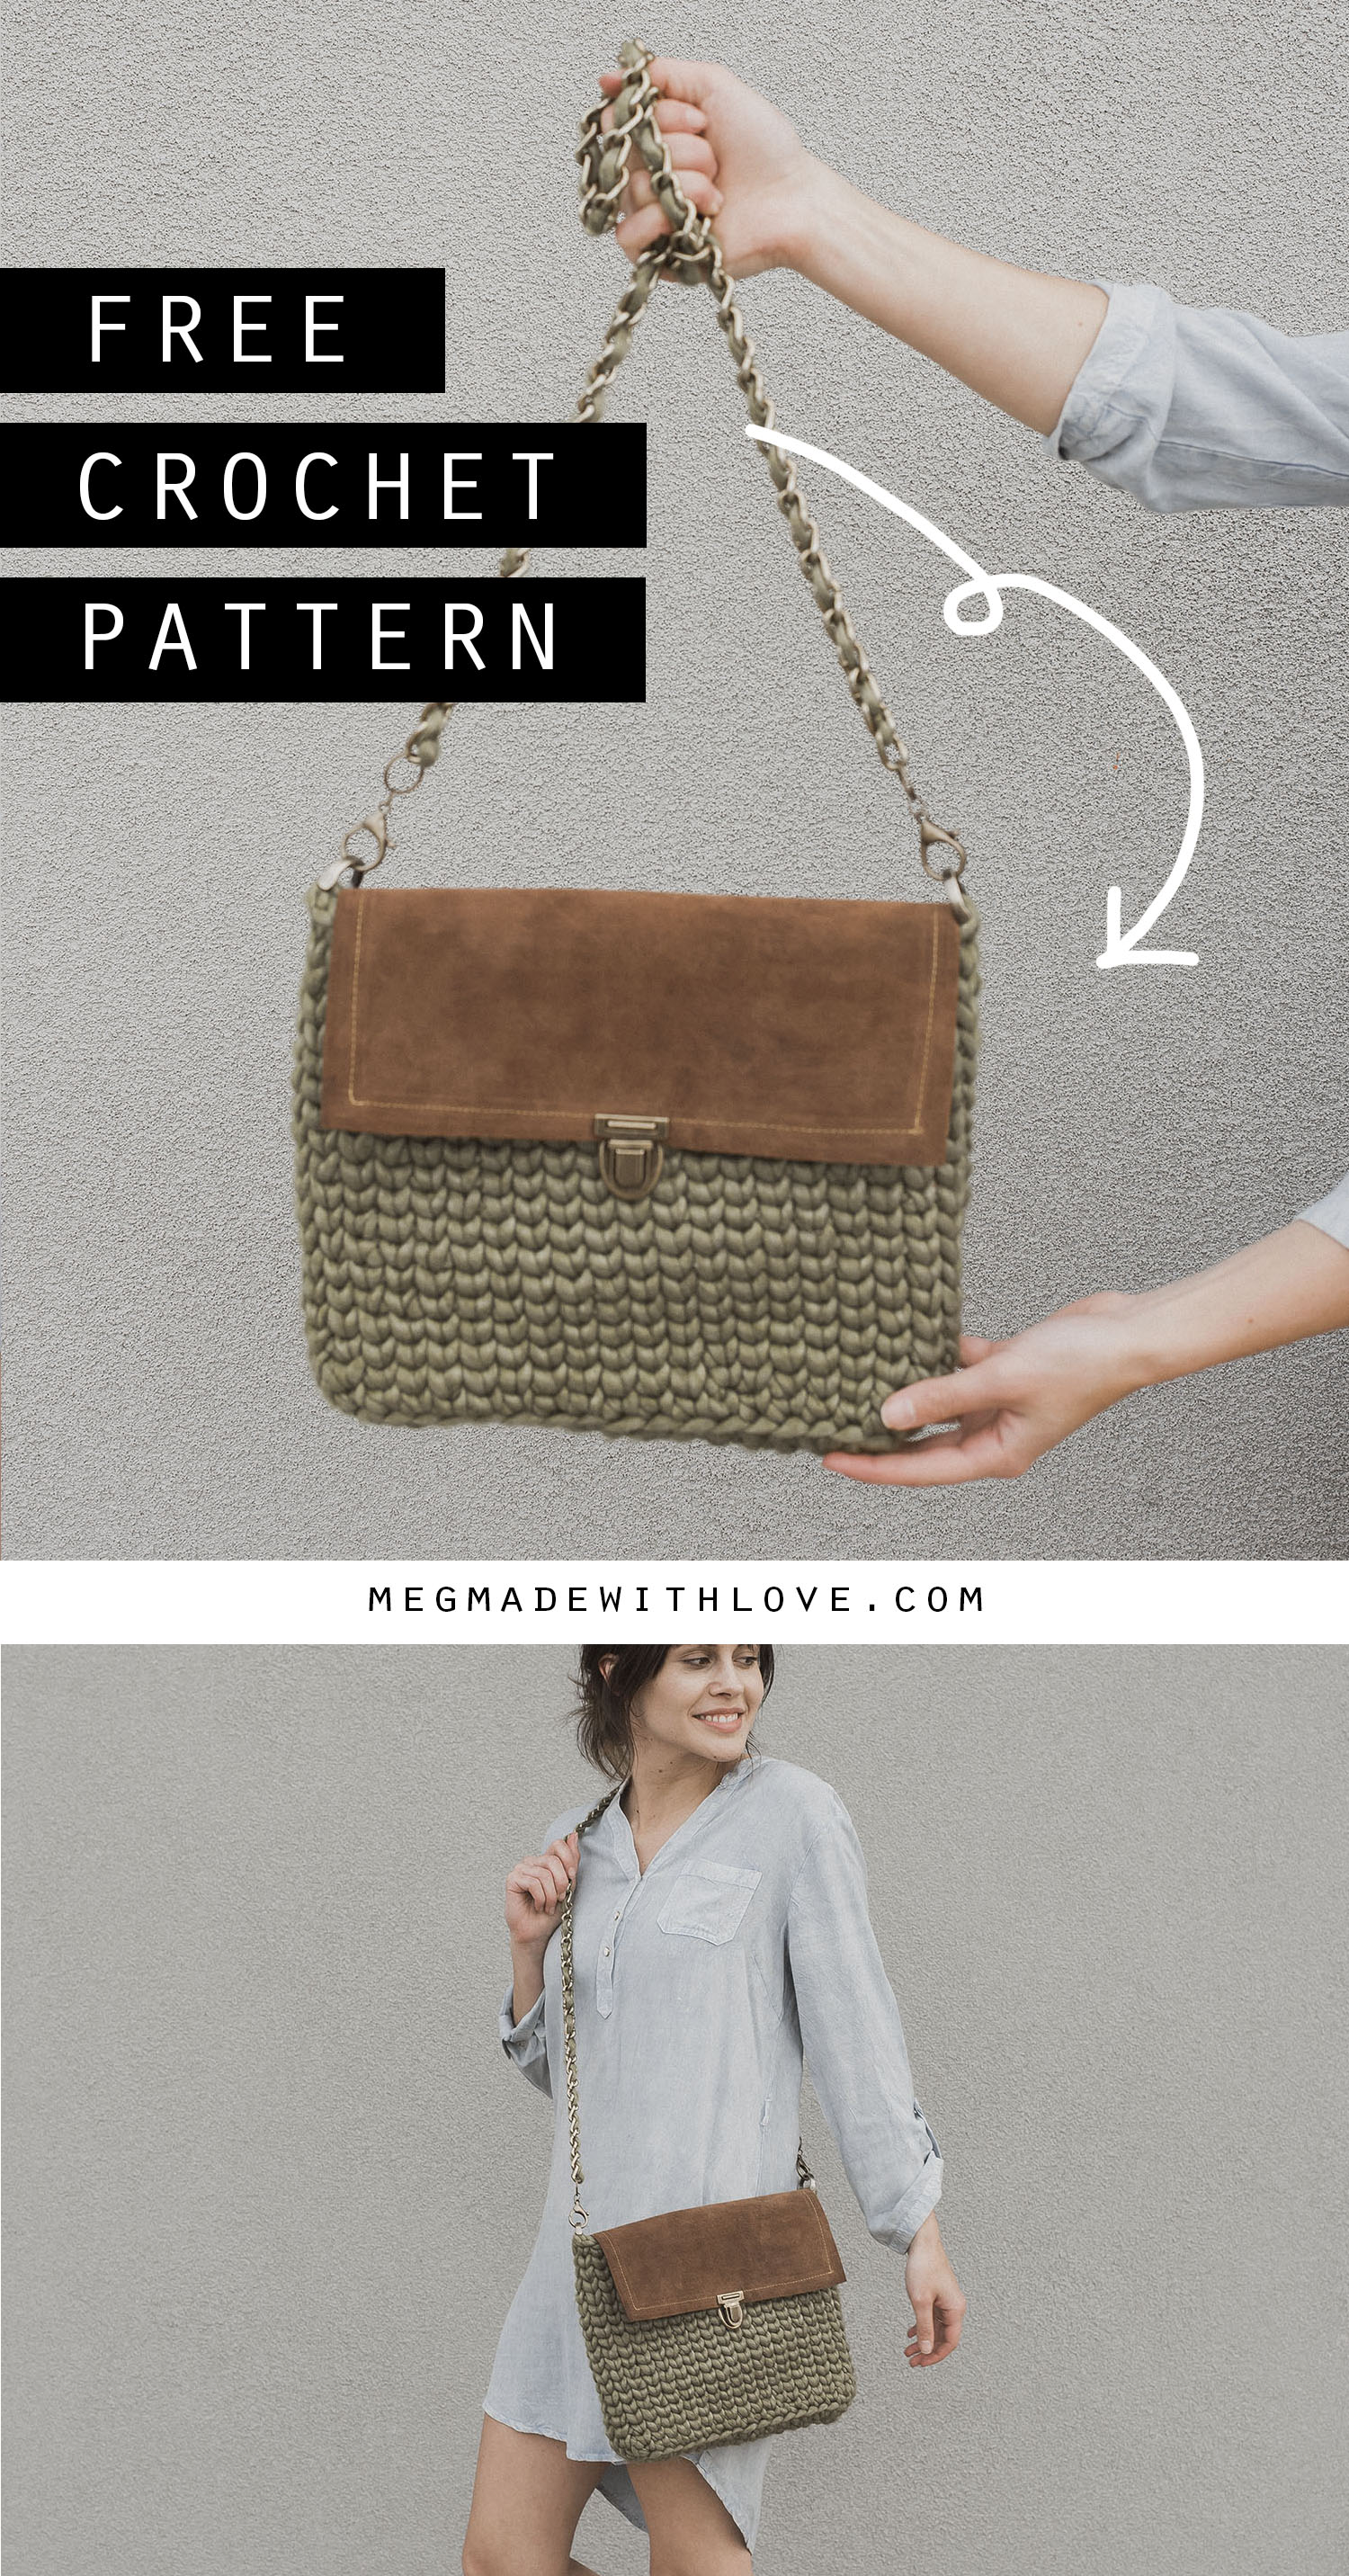
Crochet Cross-Body Bag - Free Crochet Pattern
/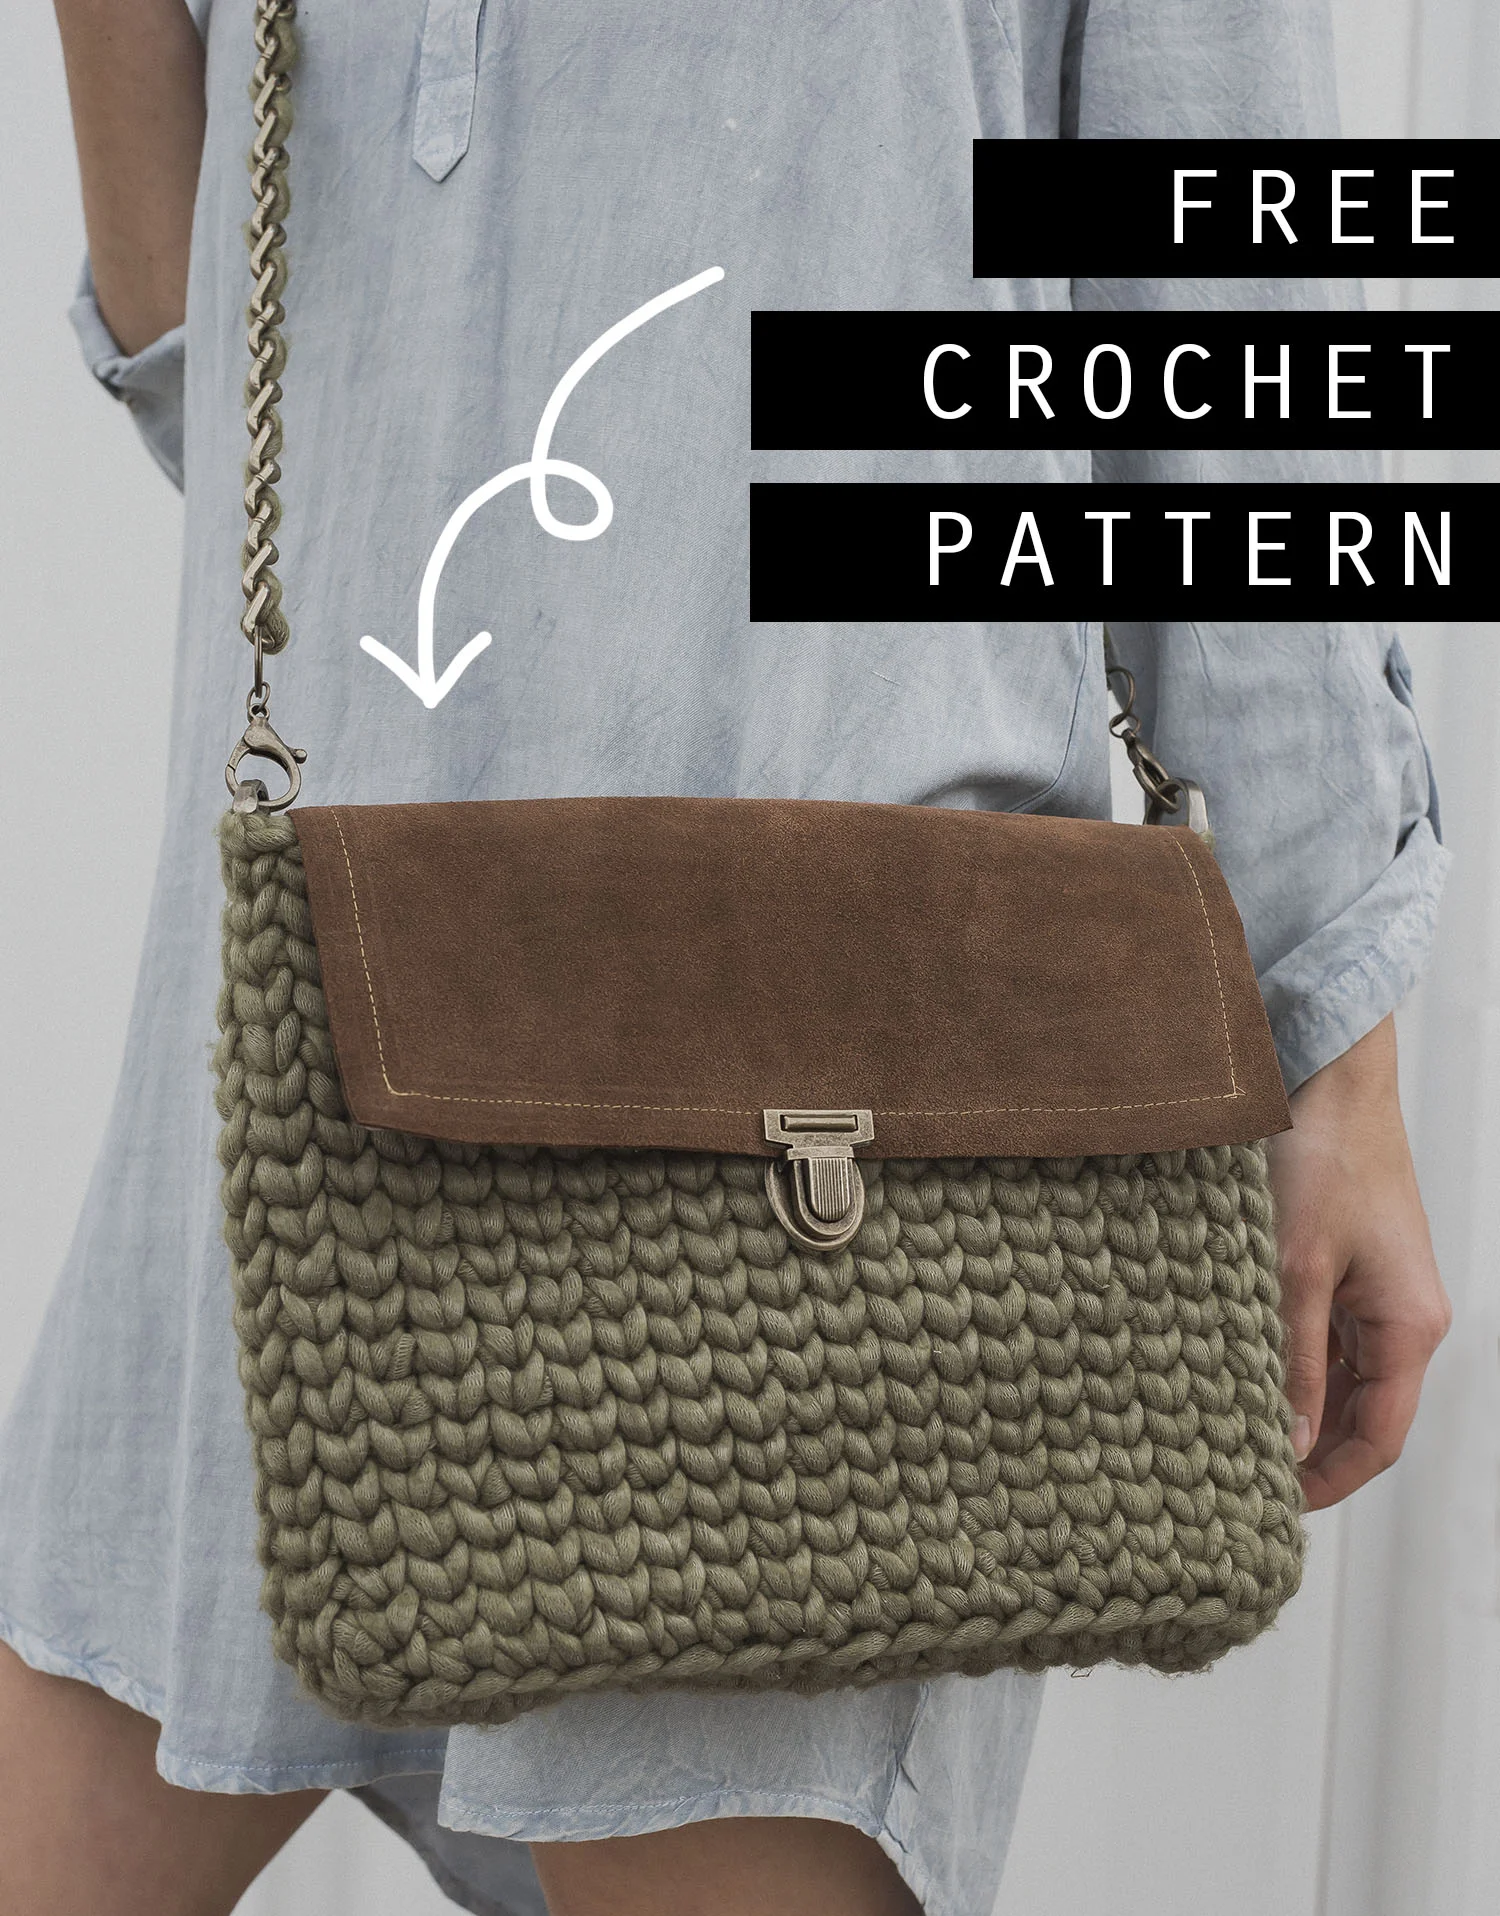
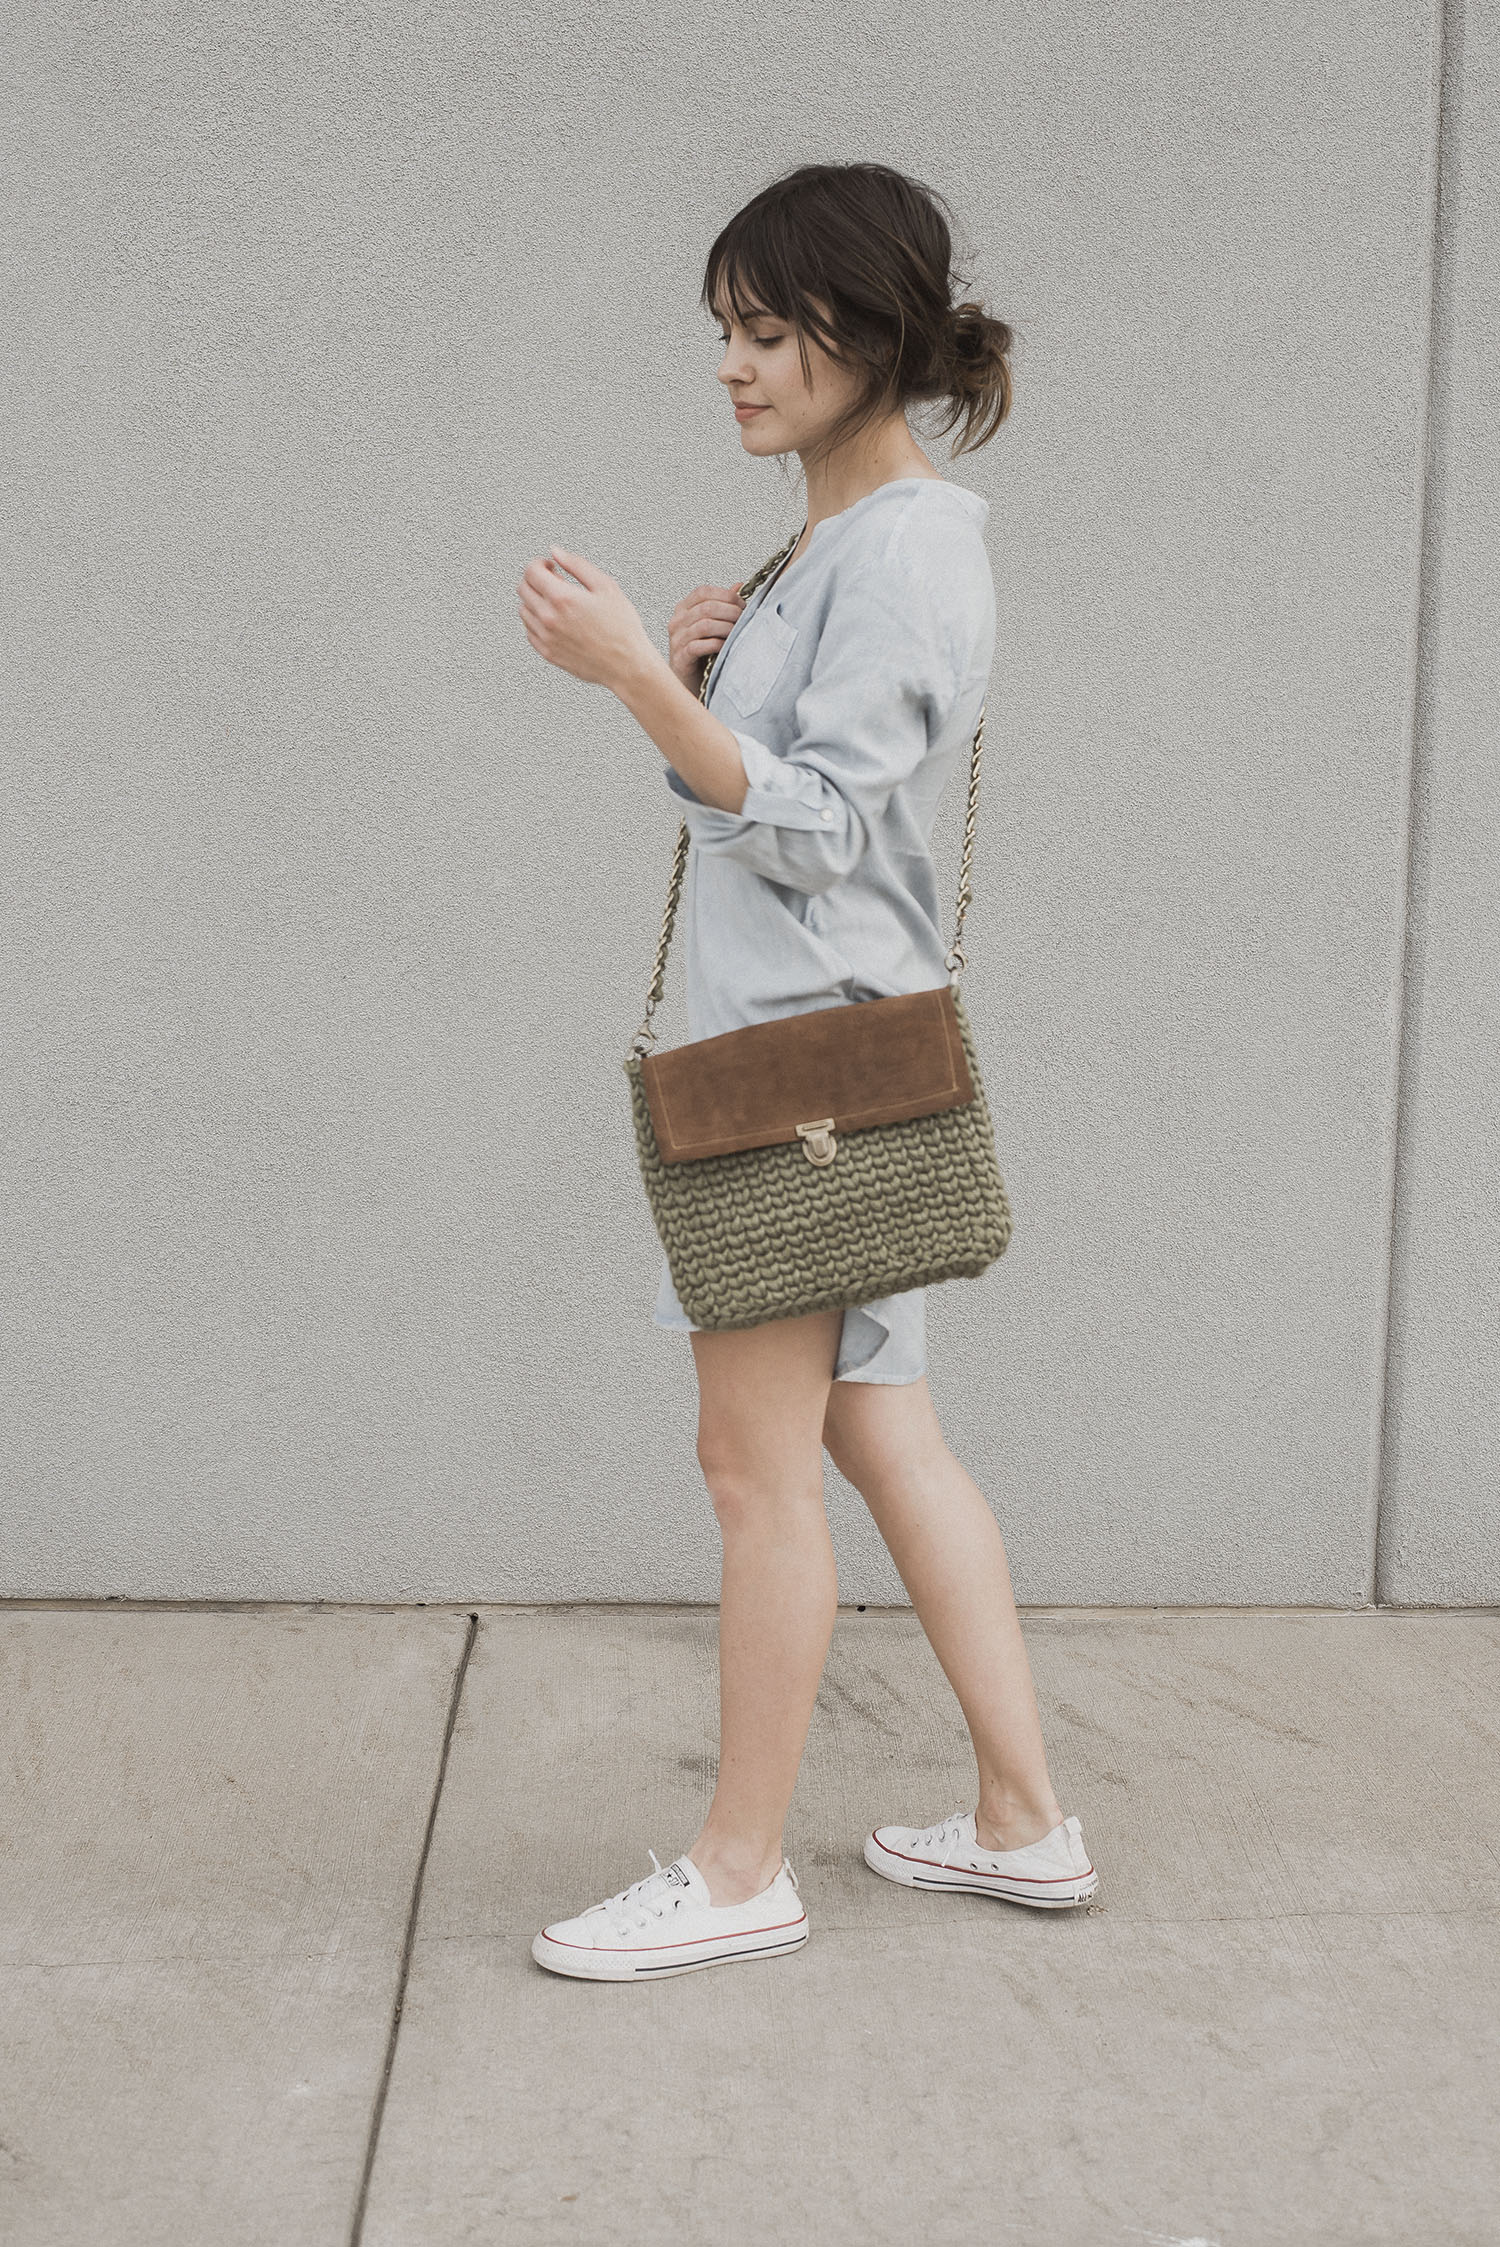
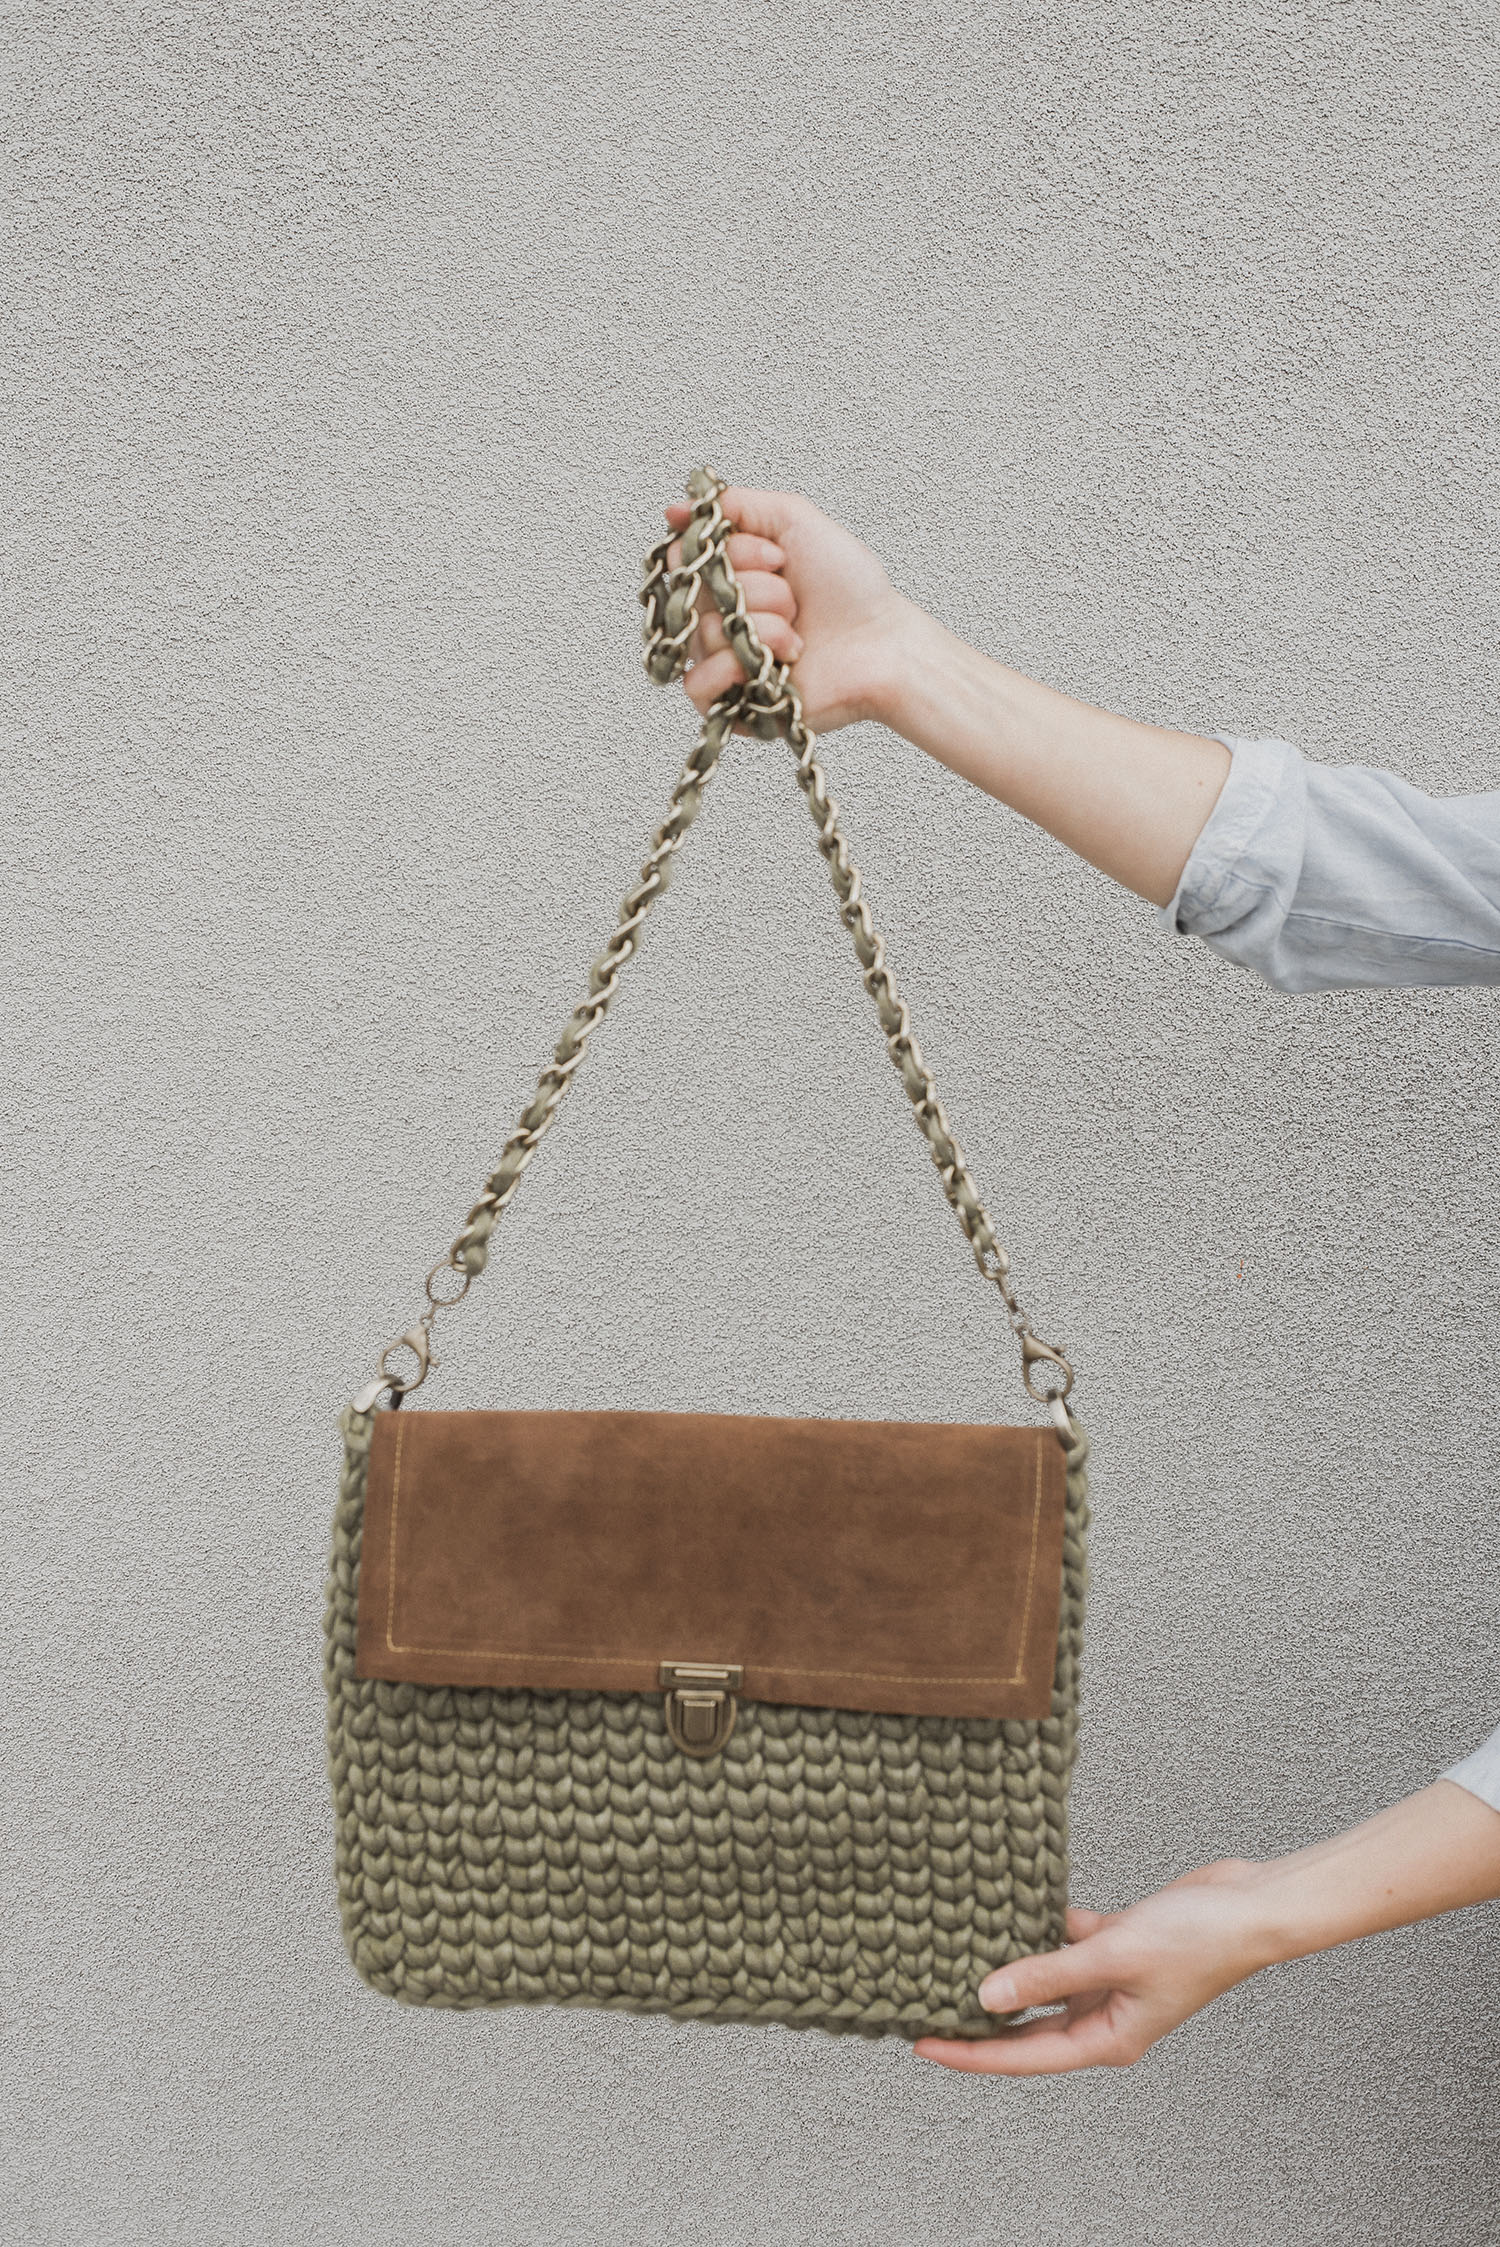
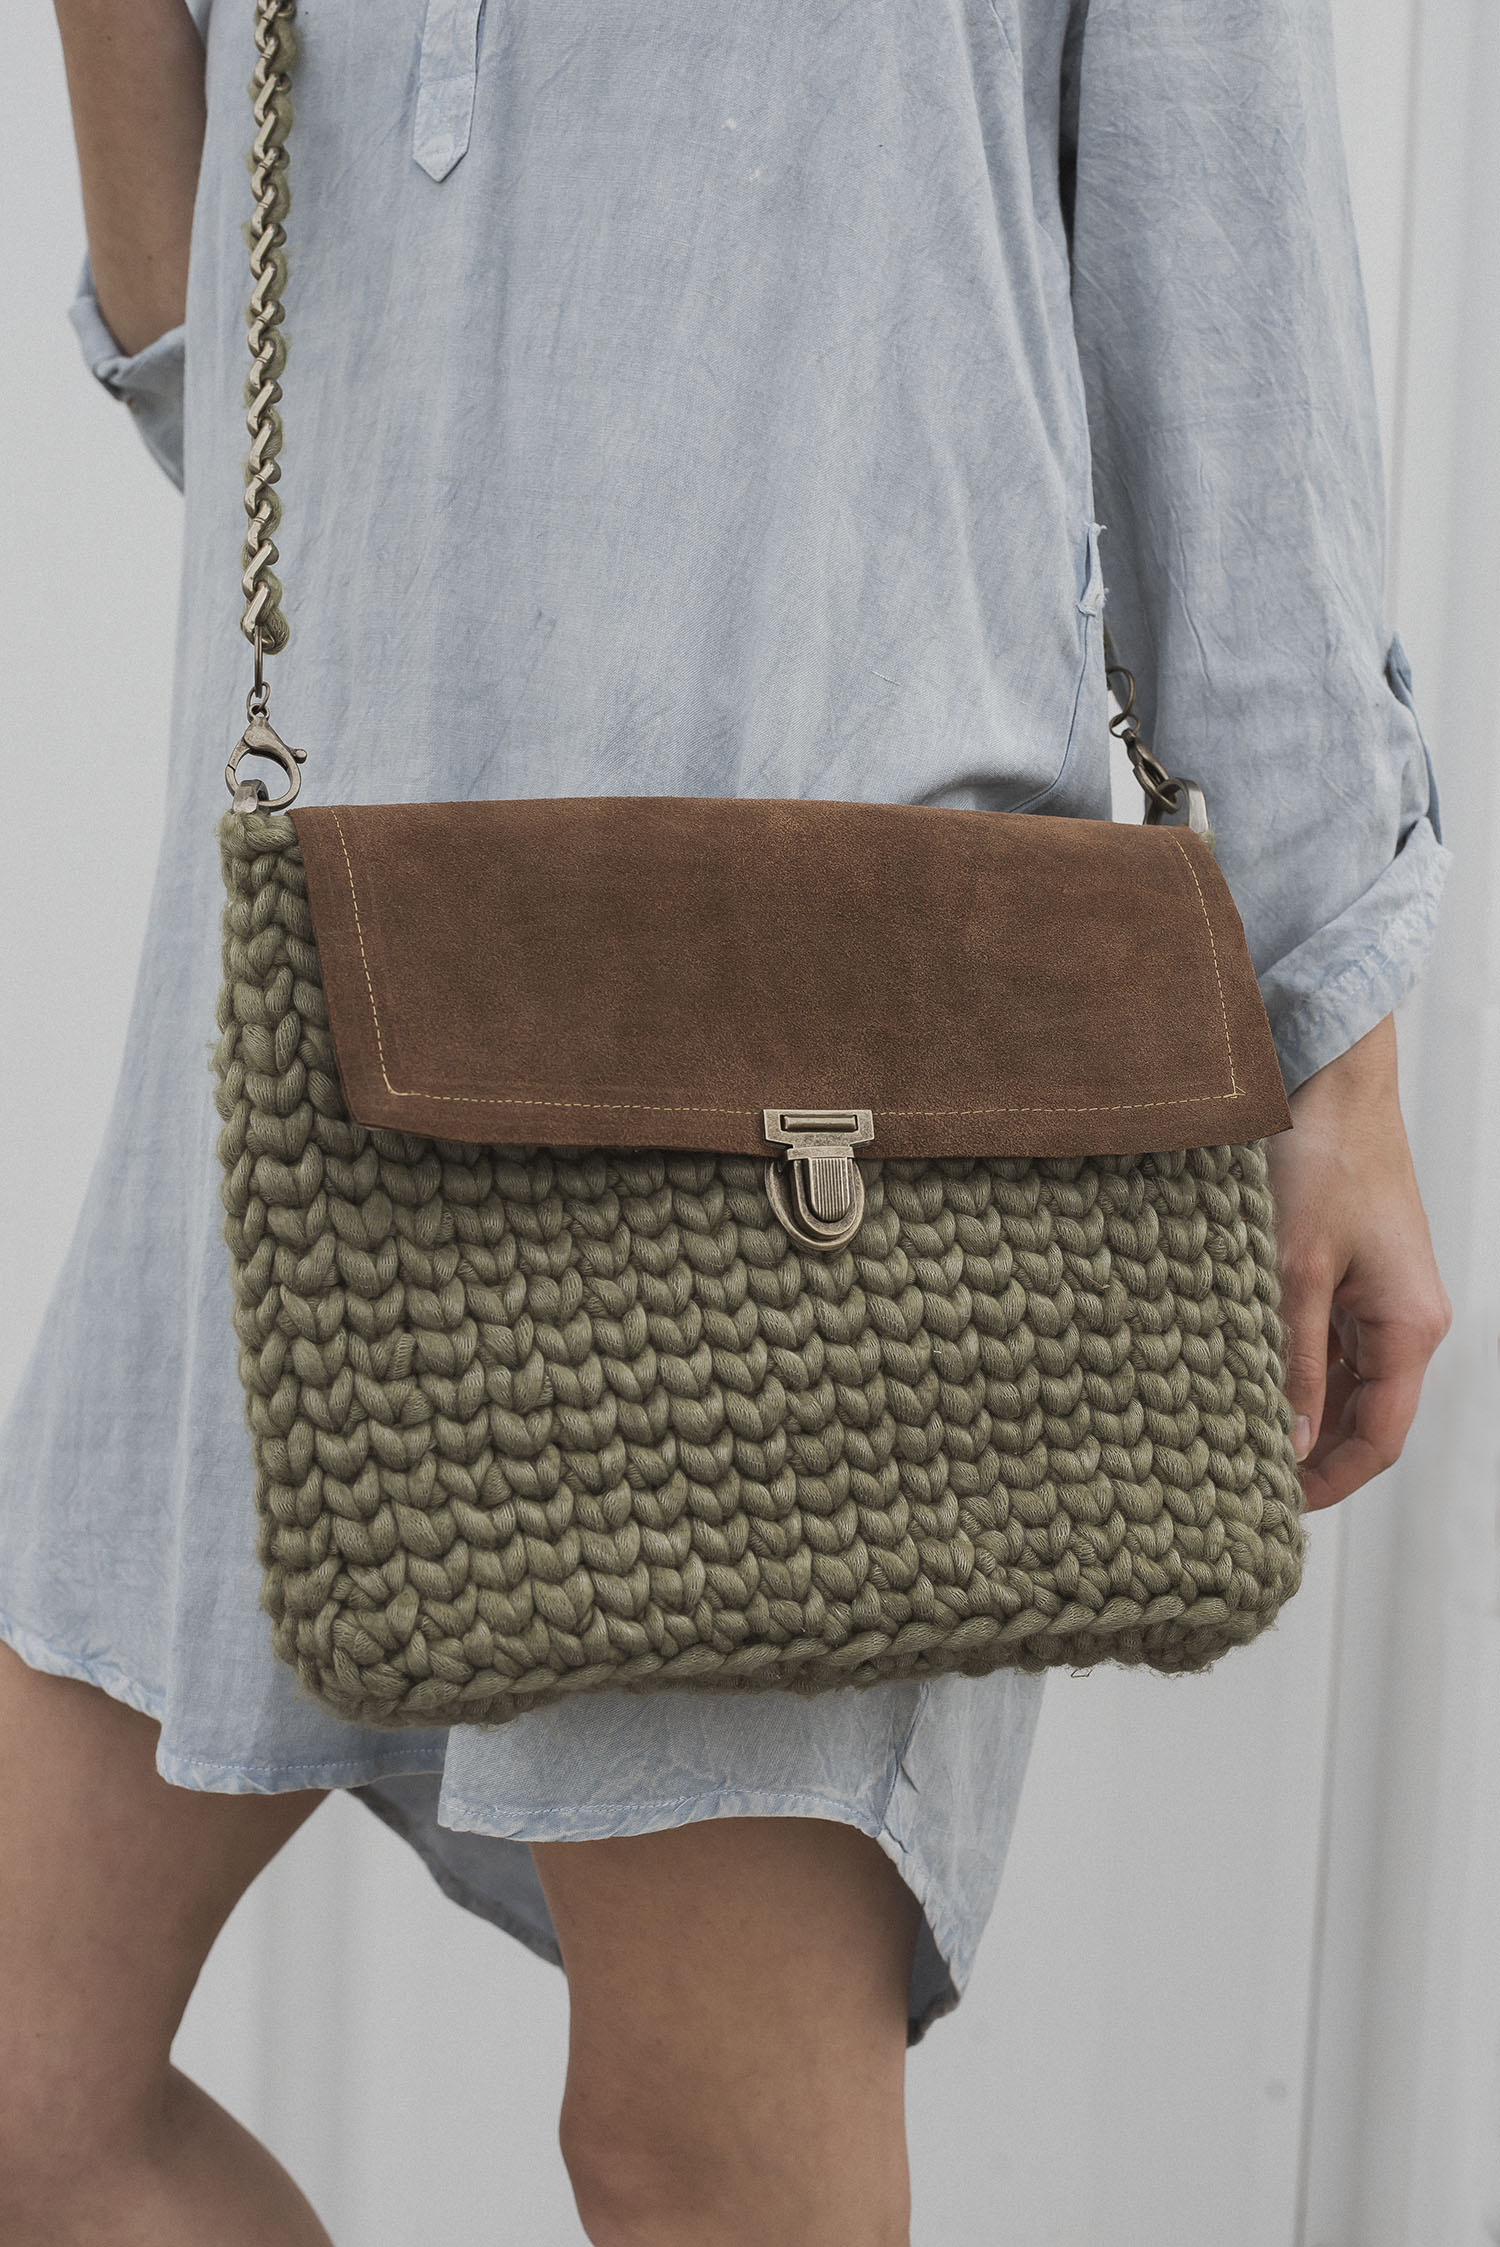
Who says crochet has to look handmade? I mean… I don’t! I love trying to whip up designs that look tasteful and professional— and this one totally fits the bill. It’s the perfect cross-body purse… and pairing it with a beautiful suede leather and antique brass notions? Possibly my favorite combo yet 😏
The actual bag itself is made up using the waistcoat (or knit) stitch, and creates a super simple texture that I love. And the fact that it’s made with super bulky yarn means incredibly fast work-up. Holla!
In this post you’ll get the pattern for the bag, along with a full photo tutorial showing how I assembled this entire bag. Yup, it’s a lot! But I wanted to give you as much help as possible for creating this beauty yourself.

What I think is so fun about this bag is that it could be so customizable. You could personalize it to your own style very easily.

Don’tcha love the lovely vintage floral fabric lining? Found my fabric at Joanns, and I love how it pairs with the olive colored yarn.

I hope this is a bag you get to create! I’m excited to switch all my stuff over into it, and wear it proudly. Oh and can’t forget about the fun part: answering, “hey thanks, I made it!” when people compliment it. 😉


What you’ll need:
For the crocheted purse only:
-approximately 130 yards of 6 weight super bulky yarn, I used Yarn Bee Astounding in Olive (3 skeins)
-10mm hook, or size needed to obtain gauge
-stitch marker
-yarn needle with large eye
For the assembly of the purse, as I did it:
-8.5” x 11” piece of suede leather (linked here). I also used a piece of Pellon fabric stabilizer Ultra Firm (one side fusible), also 8.5” x 11”, to make the top leather piece more sturdy. You can find this at any fabric store.
-1/3 yard of fabric of choice to line bag, optional
-iron
-all purpose cement or strong glue, and paint brush. I found this one by the leather crafts
-bag closure of some sort, and pliers to tighten them. I used this press lock in antique brass. I will say I’m kinda disappointed by how difficult it is to unlock this particular one, but it’s already installed sooo.. yeah. Just thought I’d tell you which one I used, perhaps for an example if nothing else
-sewing machine with heavy duty needle, sewing pins, needle, thread that matches bag/fabric color
-d rings to attach to purse strap, I used these antique brass ones
-approximately 3.5-4 feet chain for strap (found at hardware store)
-jump ring/lobster clasp to attach strap to d rings, I used these
-super glue
-rotary hole punch or awl, I used this rotary punch
Finished Measurements:
Approximately 11” wide, 9” tall, and bottom (depth) is 2” wide
Gauge:
7 sc (regular, not waistcoat stitch) by 7 rows equals a four-inch square
Notes:
-this bag is worked starting at the base, which is an oval, then worked upward in the continuous round
-the stitches are worked in the bottom part of the sc, in between the little v of each stitch (the post), not in the two loops on top you usually work in (this is called the waistcoat stitch, or knit stitch), see photo below for assistance on where to insert hook

Pattern:
—-oval purse bottom:
Round 1) ch 15, then work 2 sc in BLO of 2nd ch from hook, then sc into BLO of next 12 ch, work 2 sc in BLO of last ch. Next you’ll be working into the other side of the chain you just worked into (the front loops), see photo below for assistance. work 2 sc in 1st ch (of other side), sc into next 12 ch, 2sc in last ch (32 total sts)

**At this point you will be working in continuous rounds, using a stitch marker on the first st of the round will help.
Round 2) (***working all sts into the post of each sc from prior round, doing the waistcoat st, see photo in notes for assistance) starting into 1st st of round 1: work 2 sc, 2 sc in next st, sc in next 12 sts, 2 sc in next four sts, sc in next 12 sts, 2 sc in last two sts (40 total sts)
—-now moving onto the top portion of the purse
Round 3) sc in BLO of each st around, NOT working into the bottom post (40 total sts)
Rounds 4 - 19) (***working all sts into the post of each sc from prior round, doing waistcoat st) sc in each st around (40 total sts)
to finish off, sl st into top two loops of next st and weave in ends
—-assembly of purse
I’m just showing how I made it, there’s tons of ways you could finish off this purse!

Since my leather piece wasn’t as sturdy as I’d like, I decided to add some stabilizer to the back of it, along with fabric behind it.

So I cut my fabric stabilizer a hair smaller than the leather, and then cut my fabric 1/2 inch bigger for sewing. Then working with only the stabilizer and the fabric, I fused the two together, fusible side to the wrong side of the fabric.

Next I folded my fabric over the stabilizer, ironed it, then sewed it with my sewing machine about 1/4 inch from the edge.

Then I adhered the fabric + stabilizer to the leather piece (wrong sides together) by using the all purpose cement + brush, and let it dry. Make sure the area is well-ventilated, it’s strong! Then I sewed the fused fabric to the leather with my sewing machine, using the stitches of the fabric as my guideline (you’ll need a heavier duty needle, since it’s so much material).


Next you’ll use your rotary punch, and make holes where you’re going to attach the leather to the bag (this will be the back side). Align the leather piece onto your crocheted bag and see where you’d like it to be, then make holes about 1/4 inch from the edge (I used the sewing stitches as my guideline). The holes will need to be big enough for your yarn needle and yarn to go through. (I was thinking you could even put holes around the entire piece of leather, and sew around the edges of the front also if you liked the look, I really considered doing it!)

Set your leather piece up how you’d like it on your purse, then you’re ready to sew them together (using yarn needle and extra long piece of yarn) Come up from the inside of the crocheted purse, through the hole, then over the edge of the leather piece and back down into the purse. Repeat around the entire “back side” to attach your leather to the purse. Then, to finish off, tie a couple knots on the back sides of the leather, and weave in your ends into the crocheted purse.
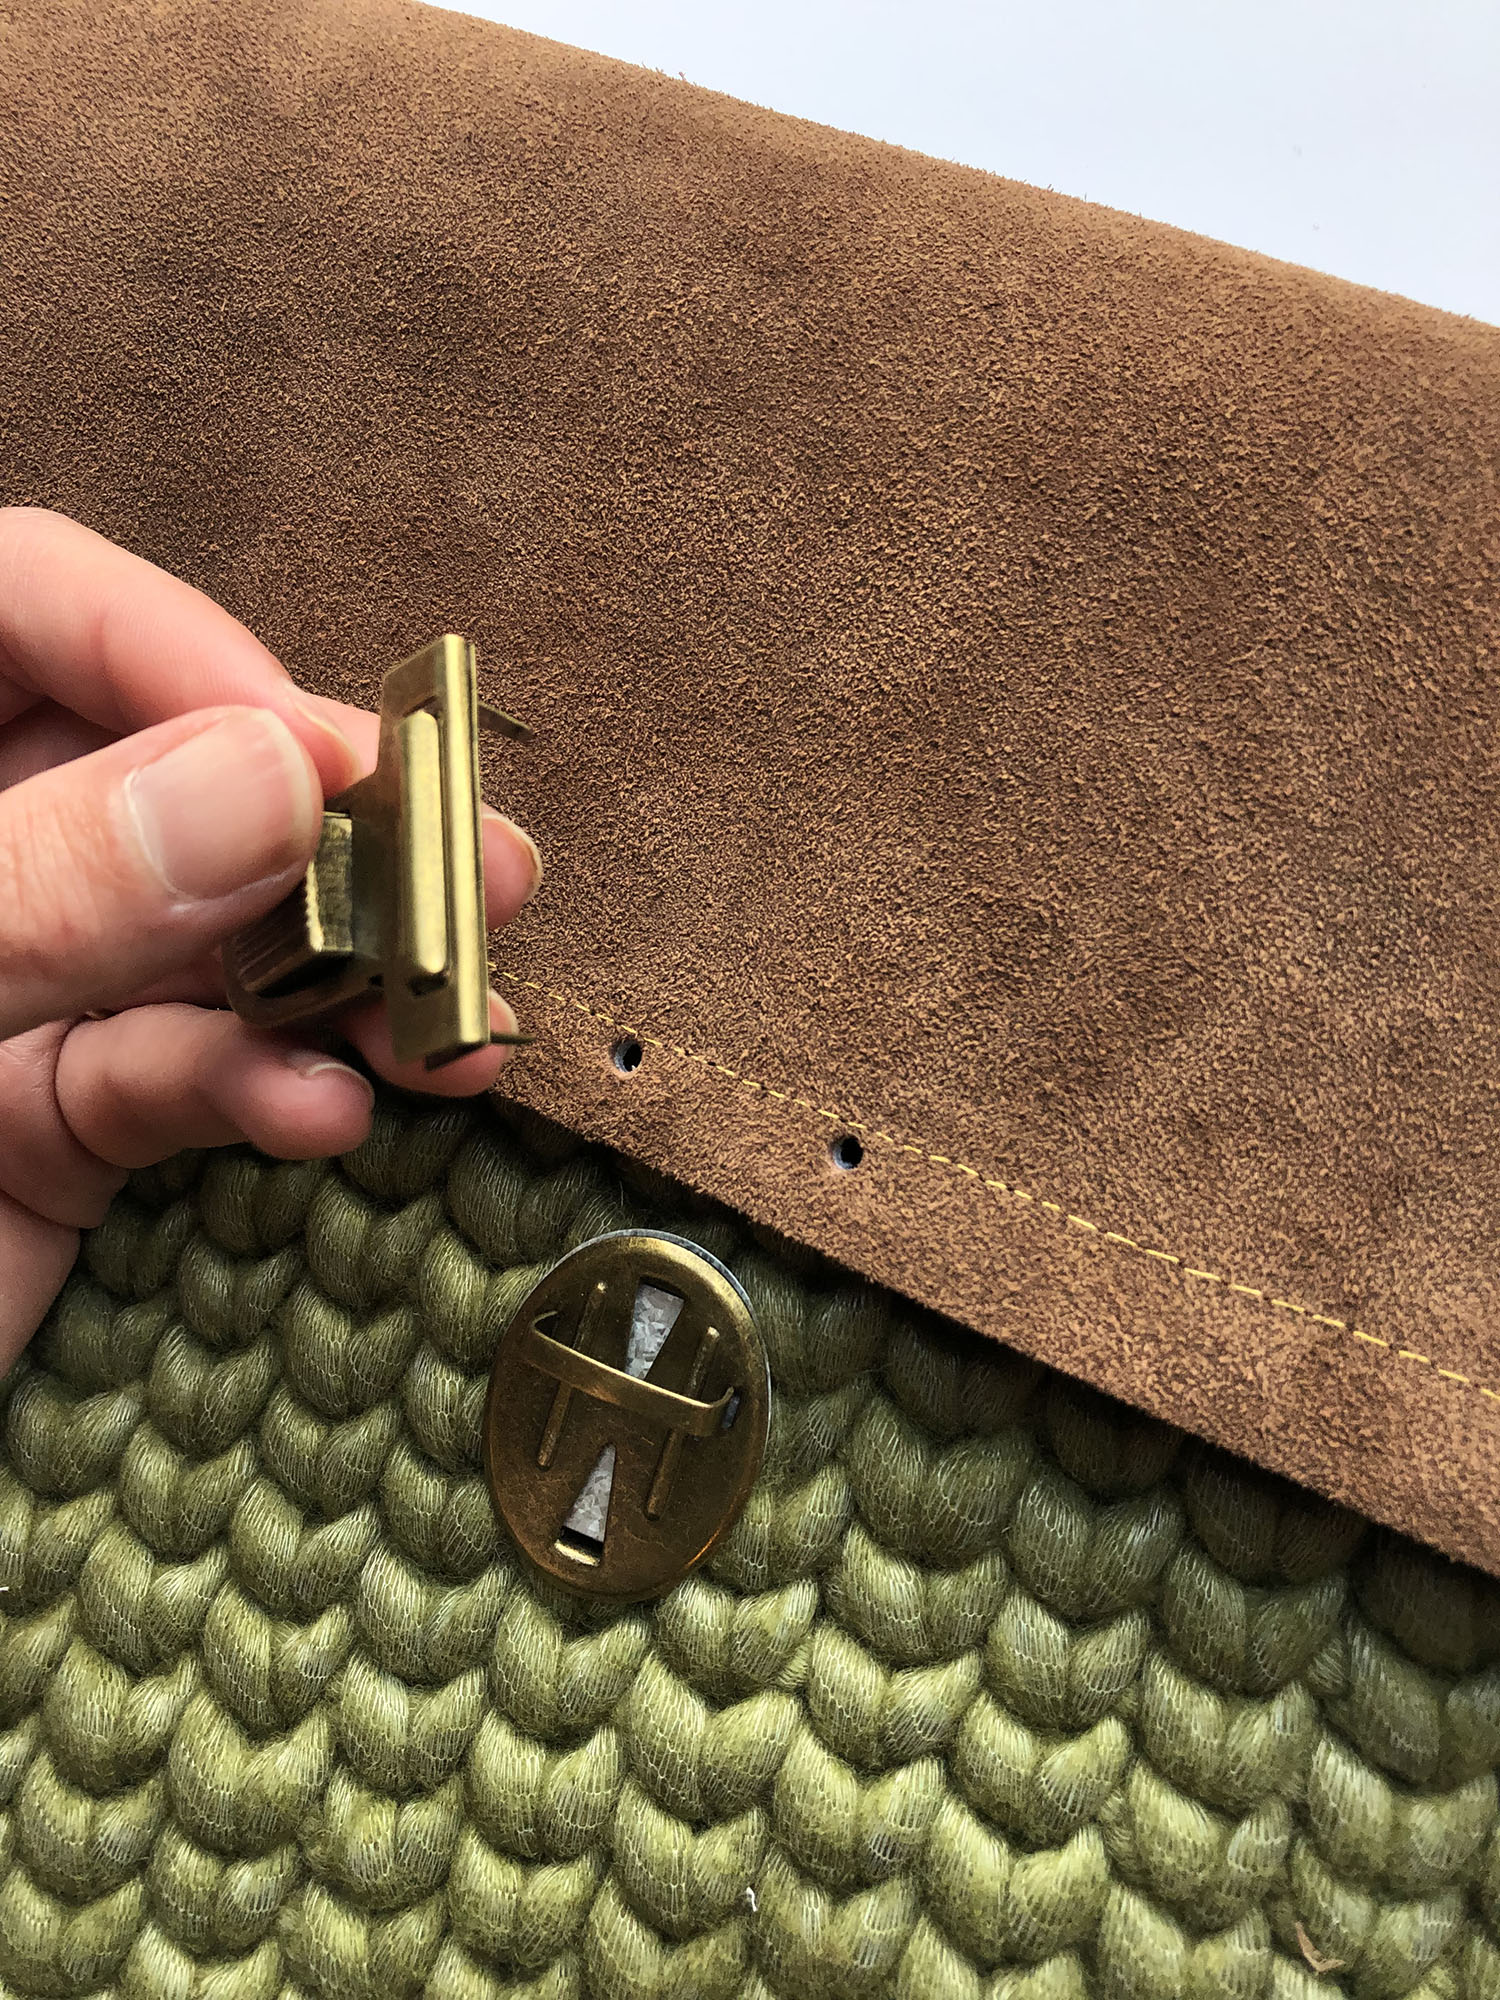
Next you’ll want to set your bag closure (I used a press lock). Depending on what kind you have, you’ll probably need to create holes to connect it to the middle of the leather piece, like shown in photo above. For mine, I decided where it should be by closing the leather over the top, eye balling where the top of the press lock should be set so the bag would close securely— then I punched holes where the prongs laid on the leather piece. I inserted the prongs into the holes, then tighten with pliers. Since the crocheted purse already has “holes” in between each stitch, I just lined it up where the bag would close, and inserted the prongs of the bottom part of the press lock into the stitches of the bag, then tightened with pliers again.

Next up is the bag lining. I cut two pieces of fabric that were 12” by 9”, and one piece that was 12” by 2.5” (allowing for seams). You could really just account for the smaller piece and make this all one big piece if you wanted, I just thought I’d make a “bottom” to the lining. I first sewed the pieces together with sewing machine, like shown in the photo above to make one big piece (sew right sides together).

Once I had one big piece for the lining, I folded it in half like shown in the photo above. Then sewed the side closed with my sewing machine.
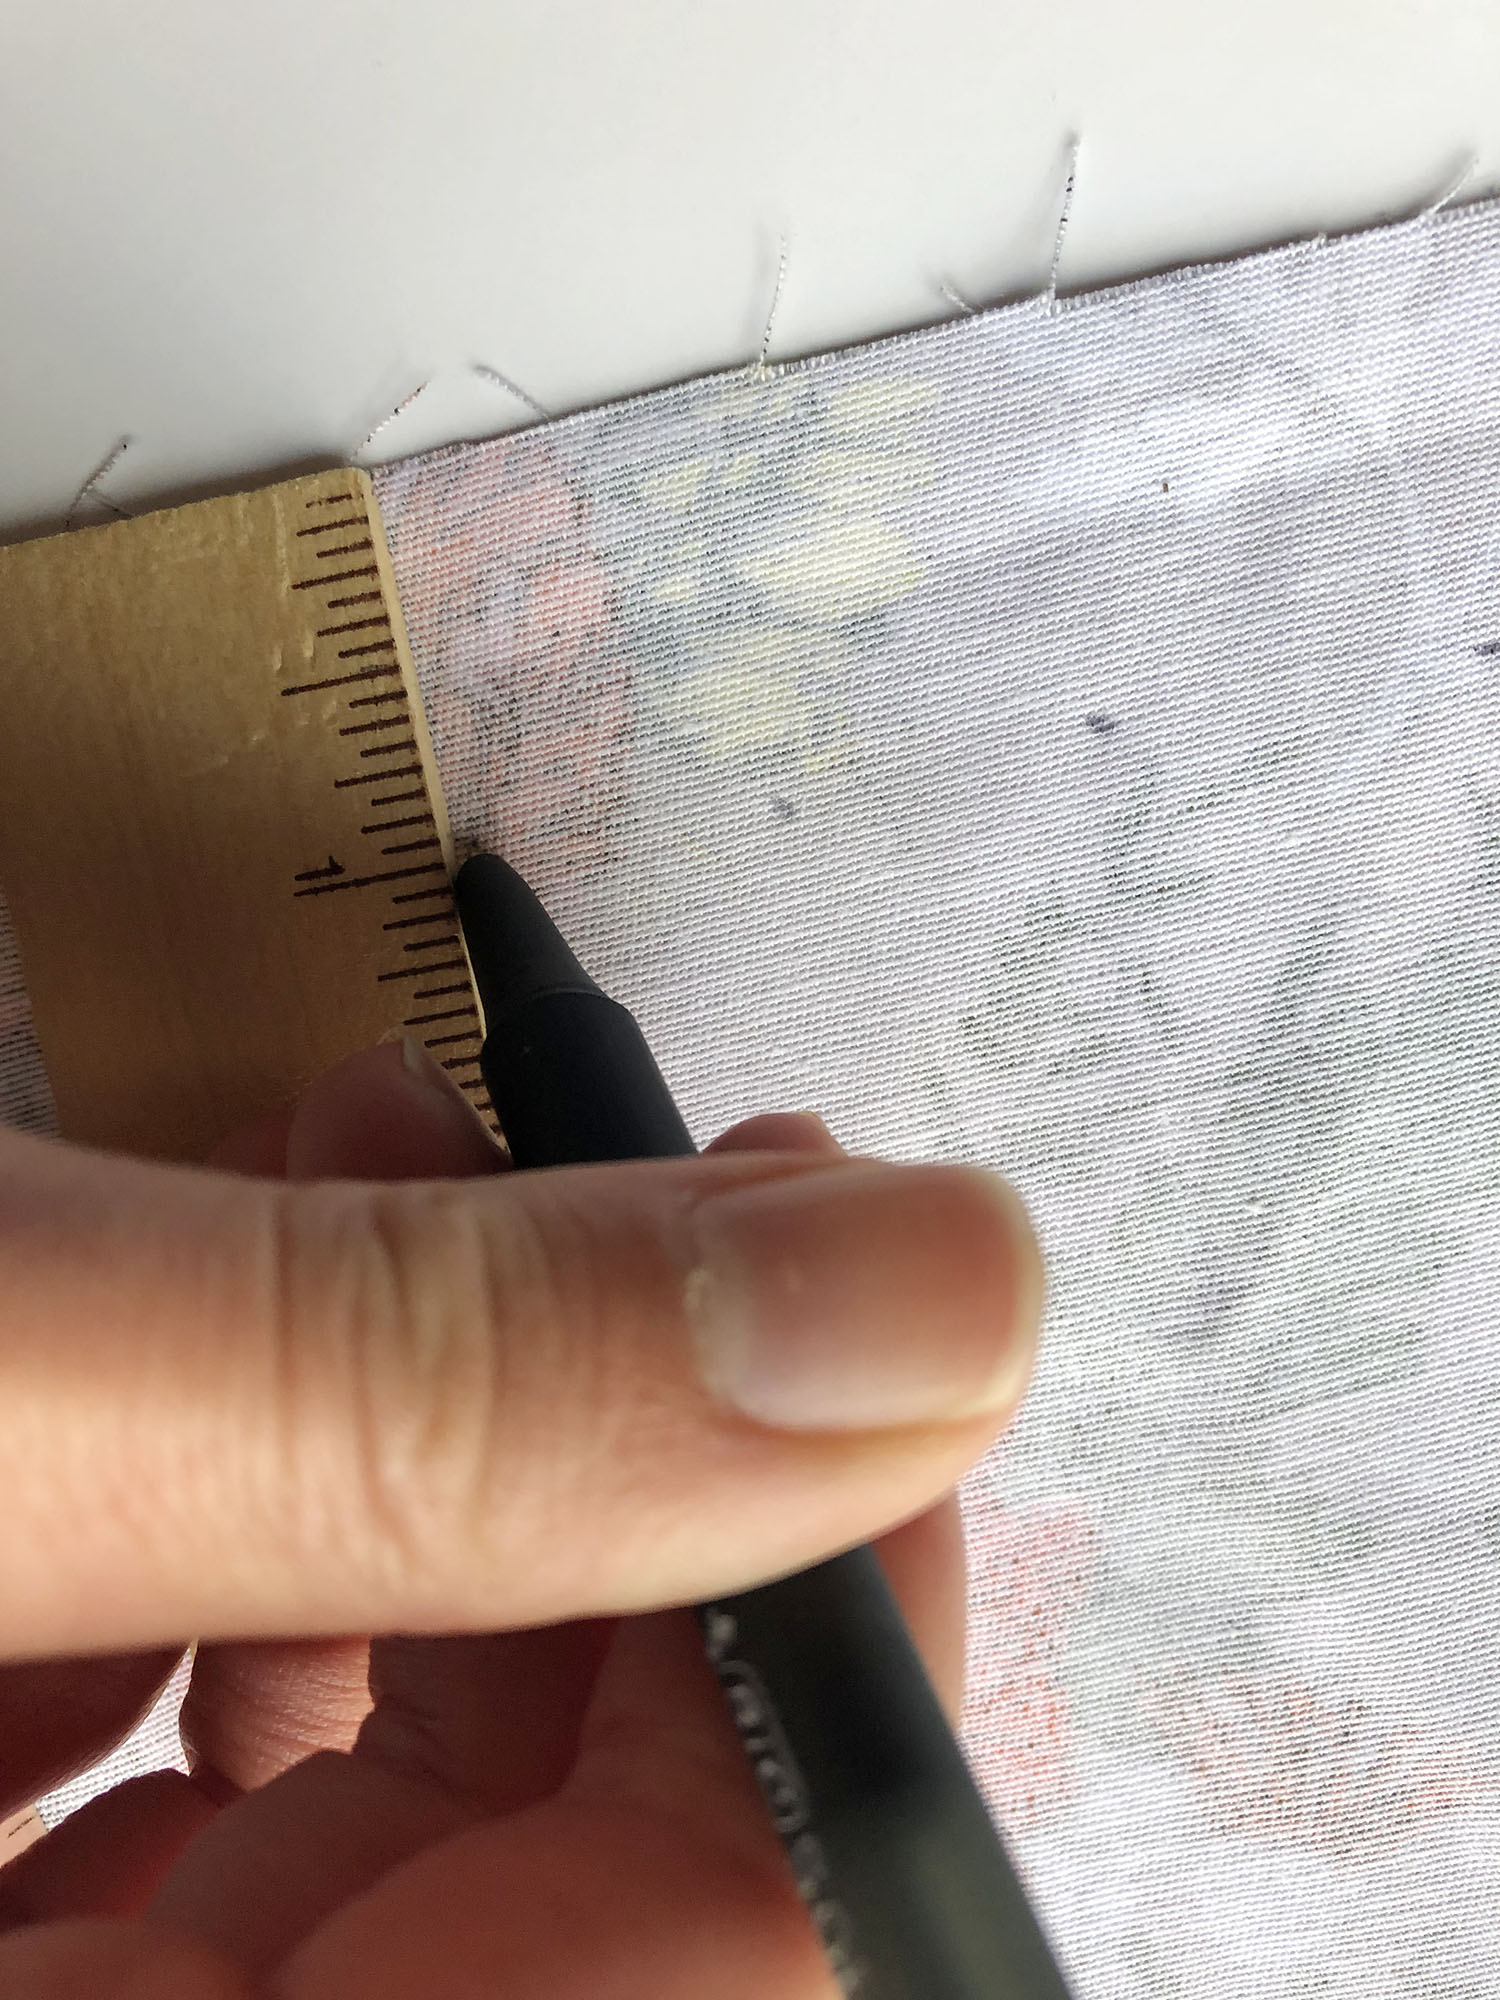

For the top seam of the lining, I made a line, one inch from the top of the lining. Then I folded over the top to match up with the line, then ironed and sewed it about 1/4 inch from the edge with my sewing machine.

Next you’re ready to sew the lining into the crocheted bag. I lined up the lining one row below the very top of the bag, then pinned them together.
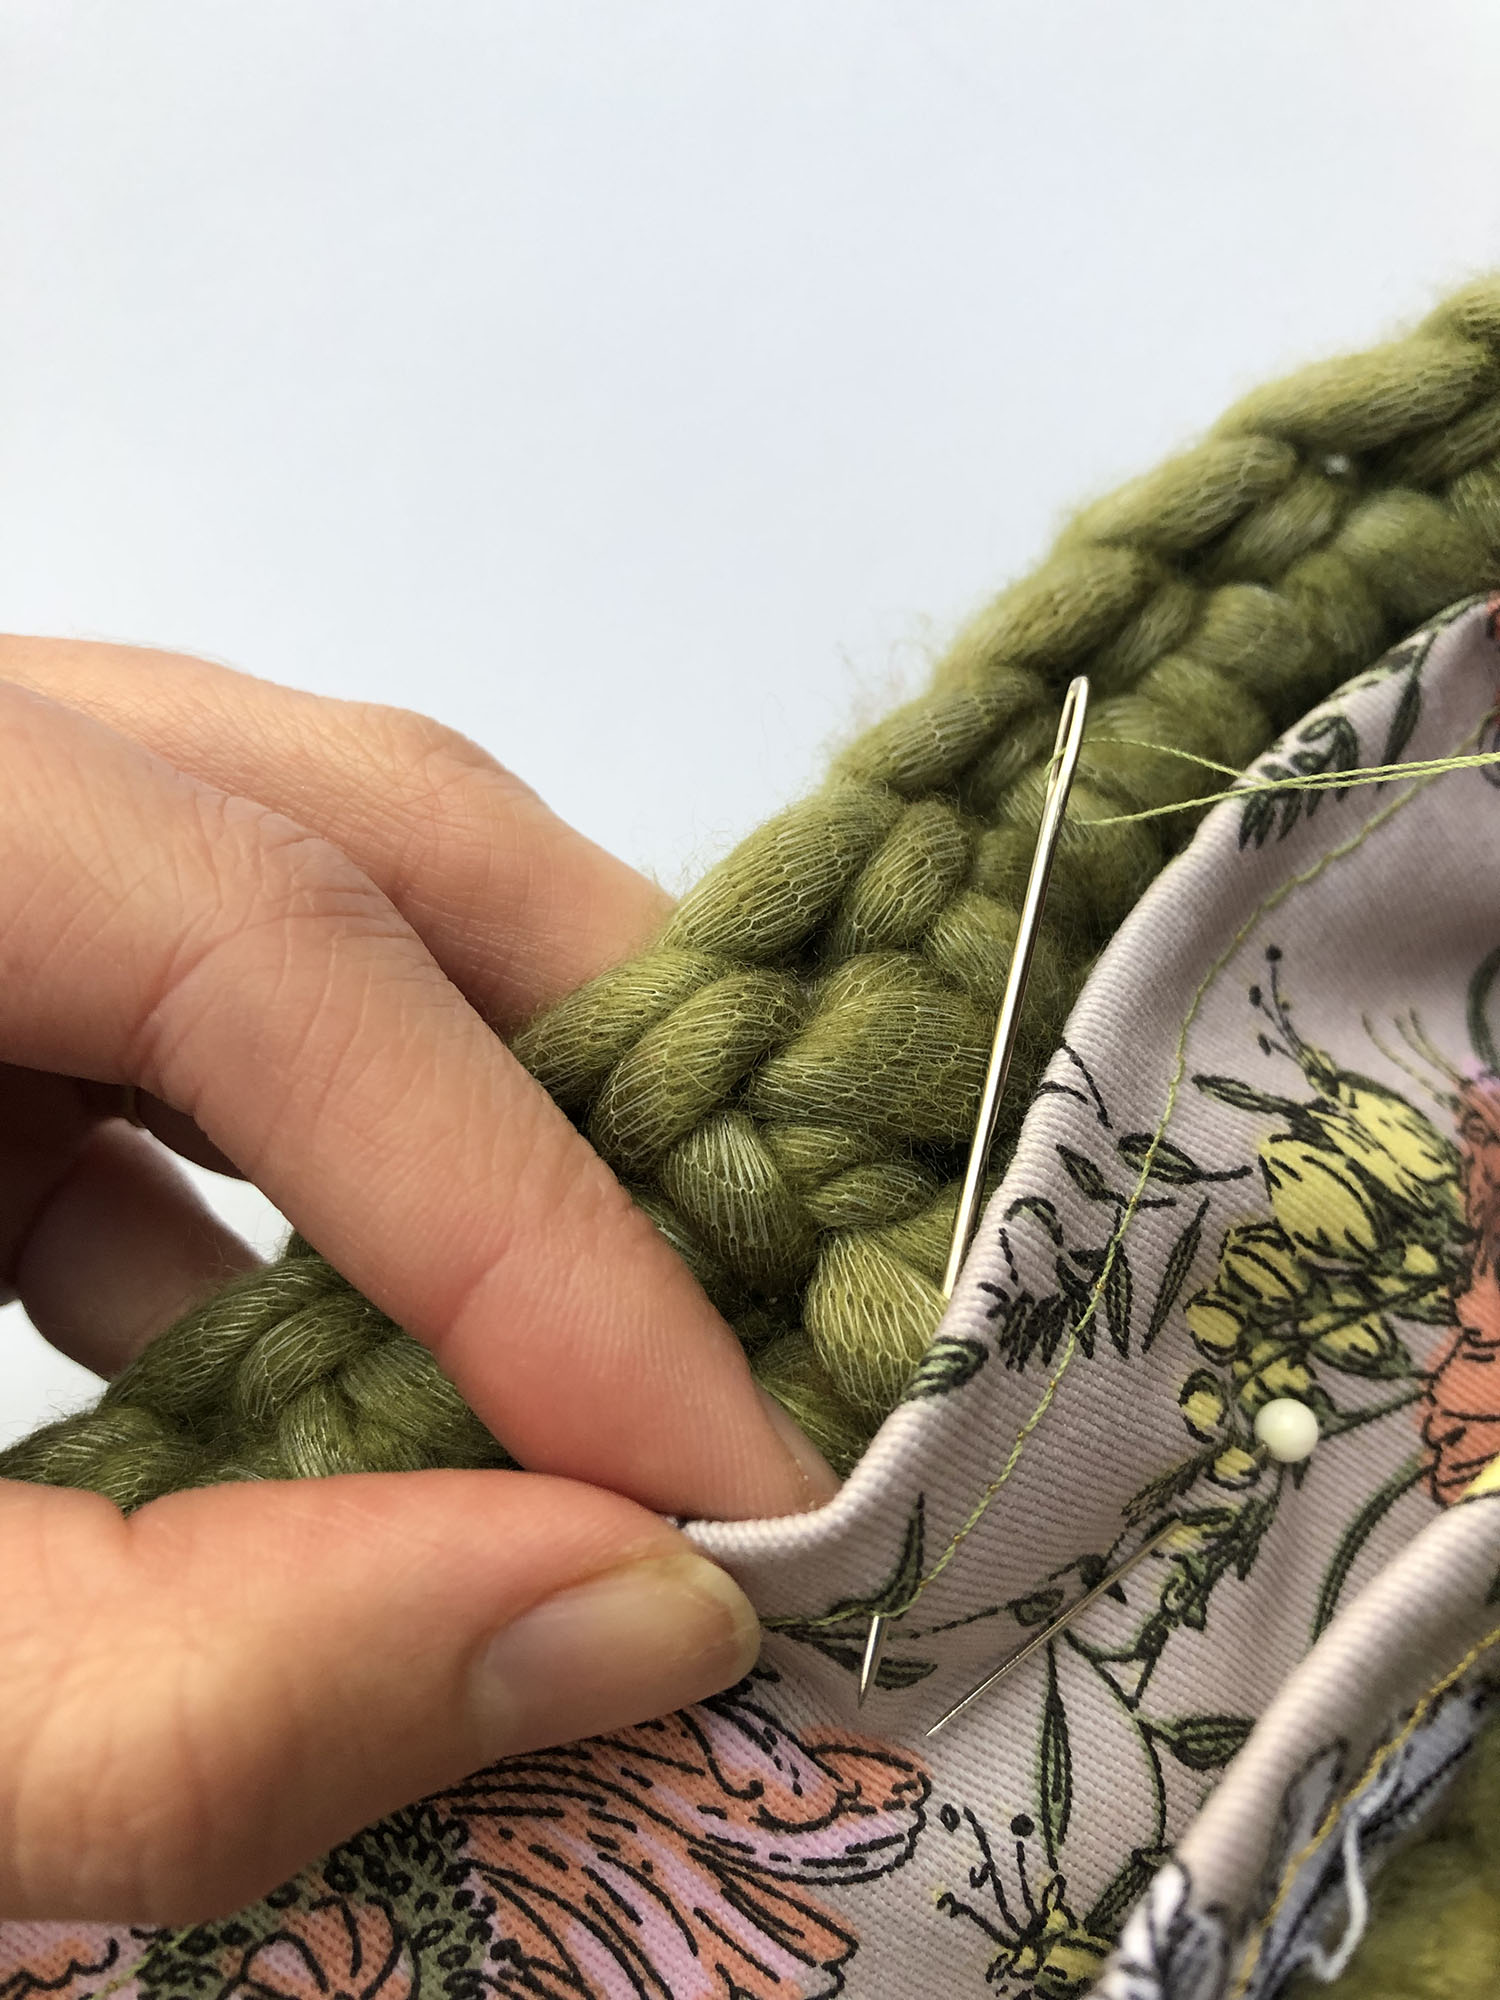
Now you’re ready to hand-sew the lining in. Grab a long strand of sewing thread and needle. You will be using the seam of the lining as a guideline for your hand stitches. I started by going in through the crocheted bag, and into the back of the lining, coming up on the seam of the lining.

When I sewed, I made a running stitch along the seam guideline, and through the crocheted bag. I didn’t go all the way through to the outside of the bag, just through the middle of the stitches of the crocheted bag because I didn’t want it to show on the outside. I made multiple rounds, hand stitching around the top of the lining, making sure it was stable and all sewed. Make sure not to pull too tightly or the fabric will bunch up. I finished off through the back of the fabric, tied a couple of knots then weaved into the crochet purse a bit.

Then I sewed on my d ring on the sides of the purse using yarn needle and piece of yarn, these hold the strap, so they need to be super secure to the bag.

For my cross-body strap, I took the chain, and wove the yarn in and out of it using my yarn needle. For the ends, I came back through one chain, then tied and knot and put a couple of drops of super glue to secure. I loved the look of the two materials together!

I connected the strap to the purse using the jump ring/lobster clasps. I attached the ring to the chain, then clipped the clasp onto the d ring that was sewed onto the purse.
Whew! And that, my friend, is the conclusion of this tutorial! I know it looks like a lot, but truly.. focusing on one step at a time makes it totally doable. And you could even add so many more things to the bag, like tassels, buttons, studs… possibilities=endless. It’s fun to personalize things to make them “you”. Hope you like this design, it is one I’m very proud of completing. If you make one, be sure to tag me over on Insta!
Happy hooking my friends!
Meg