


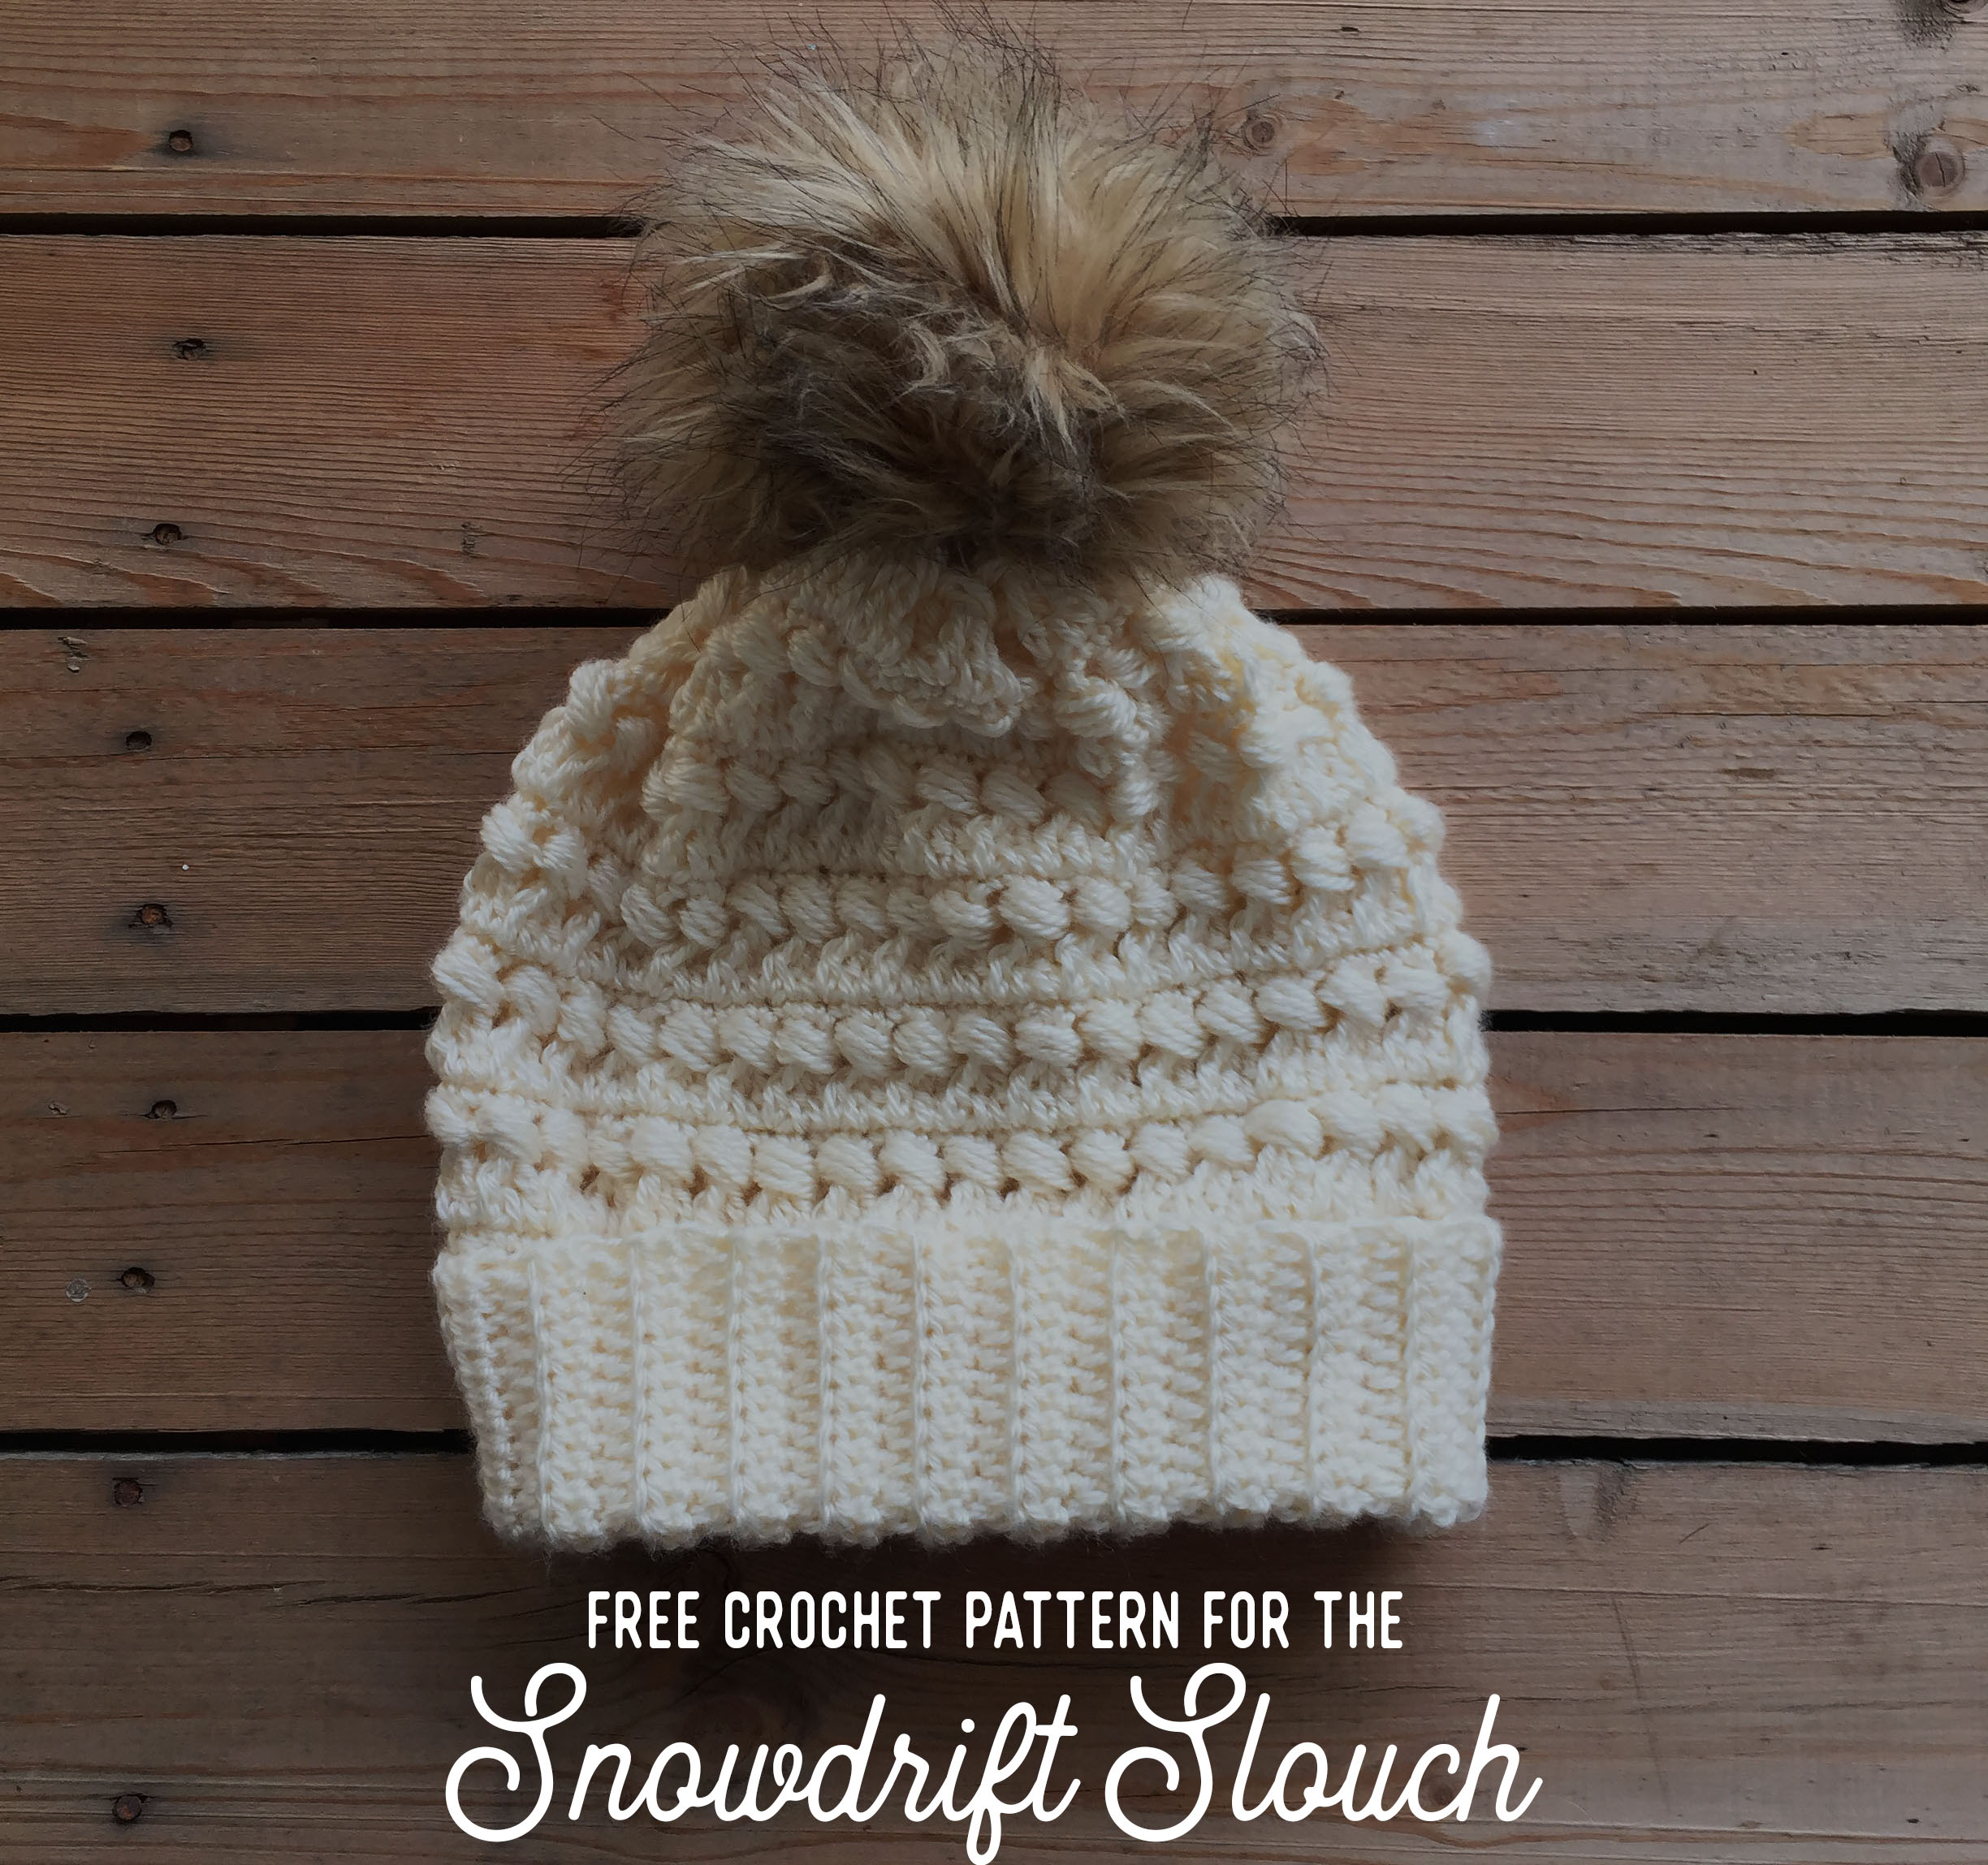
Free Crochet Pattern for The Snowdrift Slouch
/
***To get the PDF version of this free pattern, you can purchase it in my shop by clicking here. A great option for easy printing!!***
I'm excited to bring this fun hat pattern to the blog today. It's a super comfy slouch hat that features this really unique stitch that includes a tr3tog with a puff stitch around it. I'm not lyin' when I say that this thing is fun to whip up, and the look of this textured stitch is just so good!

This hat is designed for a woman's head and fits kind of oversized and slouchy. I did, however, include instructions on how to customize the pattern to make it fit better. I feel like it would look really cool in a variegated yarn.

It may take a couple tries to get the stitch down, but it is so worth it. The look of it just makes my heart go pitter patter!! I actually named the hat "The Snowdrift Slouch" with the help of @thelefthookcrochet on Instagram. What a great description of this hat.

What you'll need:
-Approximately 300 yards of worsted (4) weight yarn (I used Yarn Bee Soft Secret, in Ivory. Please take note that this yarn is quite "light" for it's weight. You can find similar yarn substitutes by clicking here. A good substitute that comes to mind is Caron Simply Soft.)
-i (5.5mm) crochet hook
-yarn needle
-pom (optional)
Gauge:
17 hdc worked in BLO by 10 rows equals a four-inch square
Measurements:
10.5" wide by 10" tall lying flat
Notes:
-ch's at the beginning of rows do not count as stitches UNLESS noted otherwise
-pattern in written in US terms
-this hat is designed to be oversized and "slouchy" for a woman (although I'm sure this is forgiving enough to fit a man), if you'd like customize the size, you just need to crochet an even number of rows on your brim, then if you'd like it to be a shorter hat, then just decrease the amount of rows worked in the body of the hat
-the hat is designed to be double-brimmed, but I provided instructions if you'd like a regular brim
-I made a video for this unique stitch (that I discovered on Pinterest here), it is provided below in the pattern.
-If a seam that veers to one side bothers you, you can adjust it by skipping the first st of each row of the body of the hat then working the last st into the sp after the last st of the previous row. Then just join to the first st of the row with a sl st. This will cause the seam to go straight up the hat!
Pattern:
Brim:
Row 1) ch 23, hdc in 2nd ch from hook, and across (22 total sts)
**If you'd rather it not be double brimmed, ch 12 instead of 23 and hdc in 2nd ch from hook, and across (with a total of 11 sts)
Rows 2-48) ch 1, turn, hdc in BLO across (22 total sts-- 11 if not working double brim)
**Do not finish off. You will connect the two short ends of the brim (aka row 48 to row 1) by slip stitching them together with your hook. See photo below:

Body of the hat:
To begin working the hat body, you will start where you left off after slip stitching the band together. Now you are going to work along the long side of the brim. This means you will work your first row of the body into the ends of each of the brim rows.
Row 1) Ch 1, then work 1 sc at the edge of the first row closest to your hook, then work 2 sc into the edge of the next row of the brim. See photo below for clarification.

You will continue to work 1 sc, 2 sc across the long edge of the brim until you get to the last row, which will have two sc in it. Then join to the first sc with a sl st. (72 total sts)
Row 2) **see notes for how to make seam straight, and video for these sts is posted directly above** ch 4 (this will count as a tr!), tr3tog (start by working in the same st you joined with in the previous row), then working around the top of the tr3tog you just worked, work a puff st, [tr3tog--beginning in the last st of the previous tr3tog, puff st--working around the top of the tr3tog you just worked], repeat [ ] around until you get to the last st and you will work a tr into the last st, then join to the 4th beg ch of the row with a sl st (35 tr, 35 puff st, 2 tr)
Row 3) ch 1, sc around (72 total sts)
Rows 4-13) repeat rows 2 & 3 alternately (row 13 will be a sc row)
Finish off, leave long tail to sew up the top.

To sew up the top, you will take your tail end of yarn and yarn needle and weave in and out along the very top -- the last row with your needle. You will do a loose running stitch around the entire top.

After you've made it all the way around, pull tightly on the end of your yarn to gather the top.

To finish the top just pass through across the gathered bunch a couple of times to secure.

To secure the brim, I folded it up to the first row of the body of the hat, then sewed (making a couple of passes then knotting it) it in four places: the front, back and two sides. You could also sew all the way around if you'd prefer.
And after all the pesky ends are woven in, your Snowdrift Slouch is complete! I really hope you love this hat as much as I do. Every time I make a new design, it becomes my new favorite. So it's safe to say this is my new go-to for those cold January days.
If you end up making this hat, you should share with me over on Instagram! I'd love to admire it. :)
Happy making!
Meg


