


Free Crochet Pattern for The Cold Day Cap
/
***You can find the PDF version of this pattern in my shop by clicking HERE. Great for easy printing! For the free pattern, scroll down.***
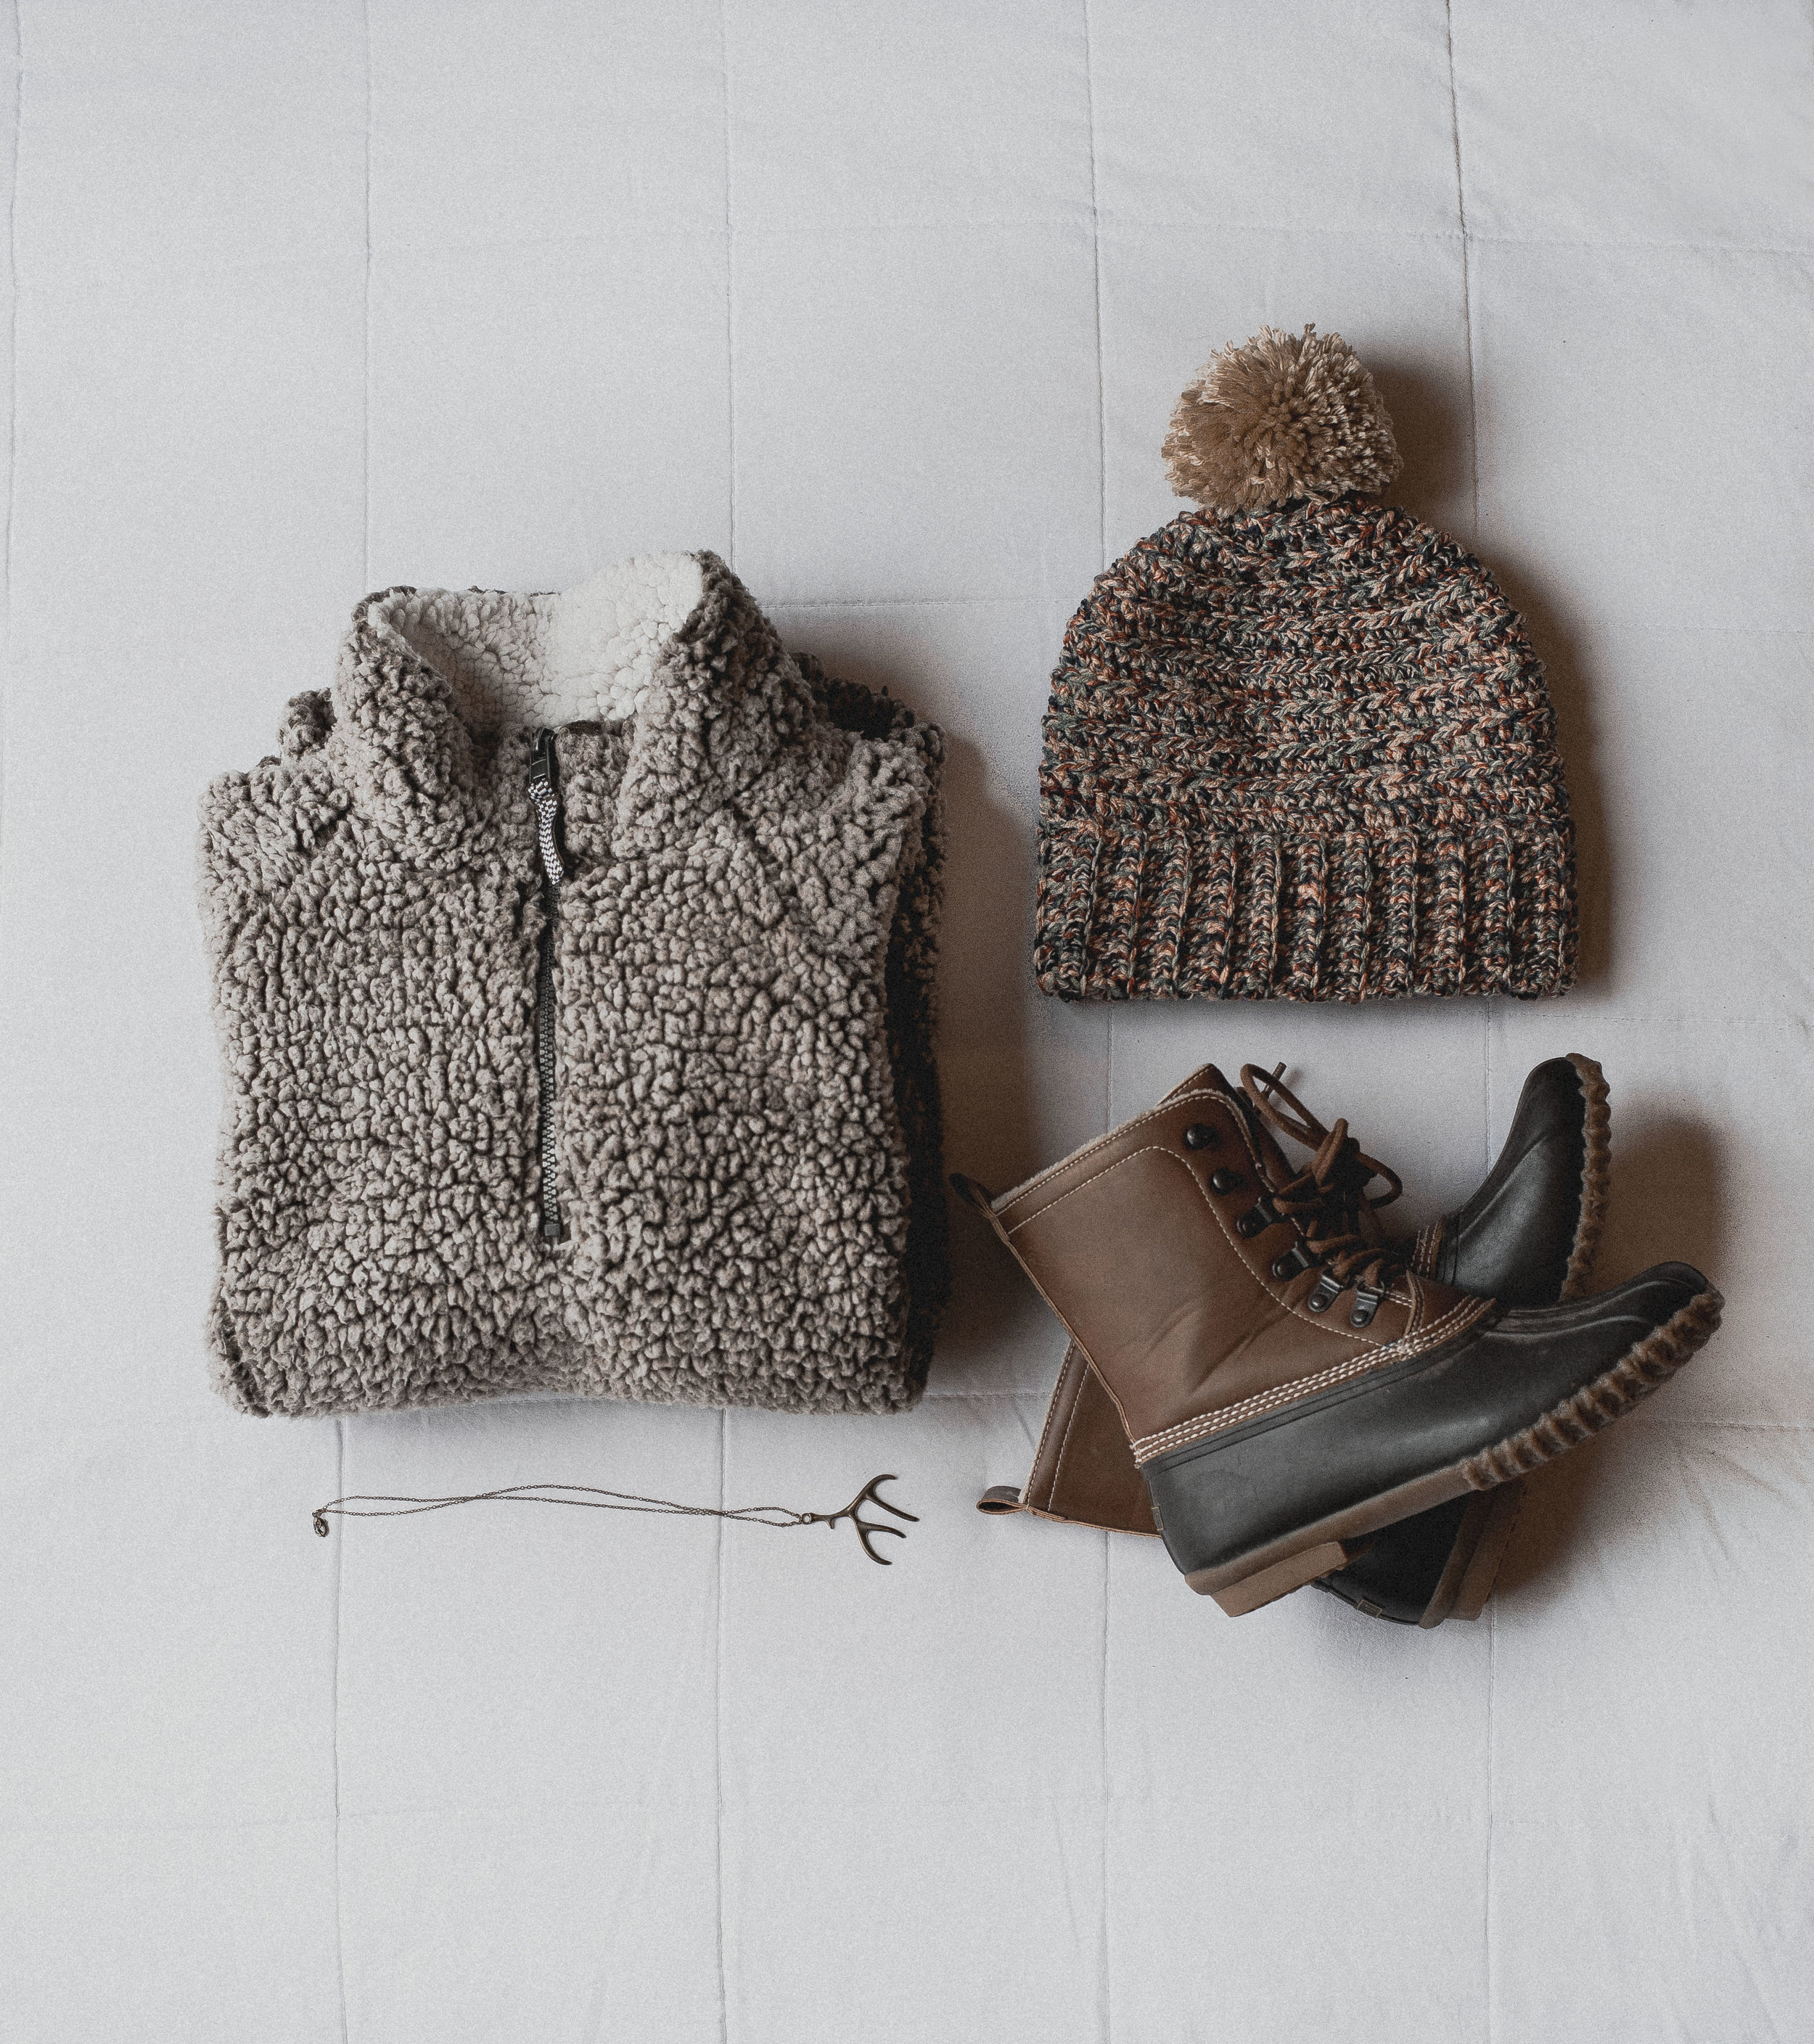
With the first day of winter approaching us (*thinks* wait, it’s not already winter? *cries*), I’ve got my sights set on all things cozy. Basically stuff that makes me not freeze to death, e.g. my electric blanket. So with this in mind, I designed the hat pattern in this post— The Cold Day Cap. I mean, the name says it all, so I should really just stop talking, right? (typing?.. whatever)

Okay, I’m not really done. Here’s a couple of reasons you’ll love this hat:
-perfect for grade-A chilly days
-double brimmed
-use almost exactly of the suggested yarn skein
-perfectly simple design
-a touch “oversized” for a laid-back look

Oh, and I’ve got plentyyyy of photos to help you along when making the hat. It’s very much beginner-friendly!

I love this hat in the multi-colored yarn I used, but think it’d be killer in a solid color. A solid green one is calling my name…
Anywho, hope you love this cap as much as I! Be sure to check gauge so you don’t end up with a hat for your kids barbie. That or one for Hagrid. :)
***You can find the PDF version of this pattern in my shop by clicking HERE. Great for easy printing! For the free pattern, scroll down.***
What you’ll need:
-Approximately 225 yards of worsted weight (4) yarn, I used Hobby Lobby’s I Love this Yarn! in color Beret Day (found HERE)
-size i (5.5 mm) hook, or size needed to obtain gauge"
-sewing pins (optional)
-yarn needle
-pom, if desired! I used some scrap yarn I had and my Clover Pom-Pom Maker (find it HERE)
Gauge:
14 hdc by 11 rows equals a four-inch square
Abbreviations:
ch=chain, hdc=half double crochet, BLO=back loop only, sc= single crochet, sl=slip, st(s)=stitch(es), dc=double crochet, dc2tog=double crochet two together
Notes:
-ch’s at the beginning of rounds and rows do NOT count as sts
-this pattern is written for a woman’s head— but is a touch "oversized” and slouchy
-the hat is double-brimmed, you could make a regular brim by chaining 13 instead of 26 for the brim
-in the pattern, you will being working into the “3rd loop” of the hdc stitch. This 3rd loop is located behind the two loops you work into for a normal stitch. For a video on where the 3rd loop is, visit HERE.
Pattern:
Brim:
Row 1) ch 26, hdc in 2nd ch from hook and across (25)
Rows 2-48) ch 1, hdc in BLO across row (25)

Now you’re ready to join to two short ends together (row 1 to row 48). Fold the brim up like shown in the photo above and place the ends together.

Next, you’ll join them by slip stitching from where you left off in row 48. Put your hook into the back loop of row 48 and the bottom loop of row 1 and slip stitch across.

Next up is connecting the long edges of the brim to create the “double brim”. Fold the brim up, joining the long edges like in the photo above. You may want to use pins during this step so the edges will stay aligned and not shift. You will be joining the long edges just like you joined the two short edges, except you will single crochet instead of slip stitch.

Chain one from where you left off joining the two short edges. Making sure the two long edges are aligned, you will work single crochets along them by inserting your hook through BOTH edges (see photo below). You will work one single crochet at the very end of the first row, and two single crochet at the very end of the second row. Repeat the one sc, two sc pattern all the way around, then join to the first sc with a slip stitch. (Total 72 sc)

Body of the hat:
Round 1) ch 2, dc around, join to first dc with sl st (72)
Round 2) ch 1, hdc around, join to first hdc with sl st (72)
Round 3) ch 2, dc around in “3rd loop” *see notes for more on 3rd loop*, join to first dc with sl st (72)
Rounds 4-8) repeat rows 2 & 3
Round 9) ch 2, [dc2tog, dc in next 4 sts] around, join to first st with sl st (60)
Round 10) ch 1, hdc around, join to first hdc with sl st (60)
Round 11) ch 2, [dc2tog, dc in next 3 sts] around, join to first st with sl st (48)
Round 12) ch 1, hdc around, join to first hdc with sl st (48)
Round 13) ch 2, [dc2tog, dc in next 2 sts] around, join to first st with sl st (36)
Round 14) ch 1, hdc around, join to first hdc with sl st (36)
Round 15) ch 2, [dc2tog, dc in next st] around, join to first st with sl st (24)
Round 16) ch 1, hdc around, join to first hdc with sl st (24)
Round 17) ch 2, dc2tog around, join to first st with sl st (12)
finish off and leave a longer tail to close up the top.

To close up the top of your hat, grab your yarn needle and the tail end of yarn. Weave your needle in and out of the stitches of the last round, doing a running stitch. Once all the way around, pull the tail end of yarn tightly to gather the top of the hat. Tie a couple of knots to secure, then add your pom if desired and weave in your ends.

And there ya have it.. a delightfully easy beanie for those super chilly days. I’m thinking I’m gonna have to go make it in a solid color now so the texture will be more noticeable. hmm.. Hope you are a fan of this hat, and end up whipping one up! If you do, tag me over on Instagram so I can admire :)


