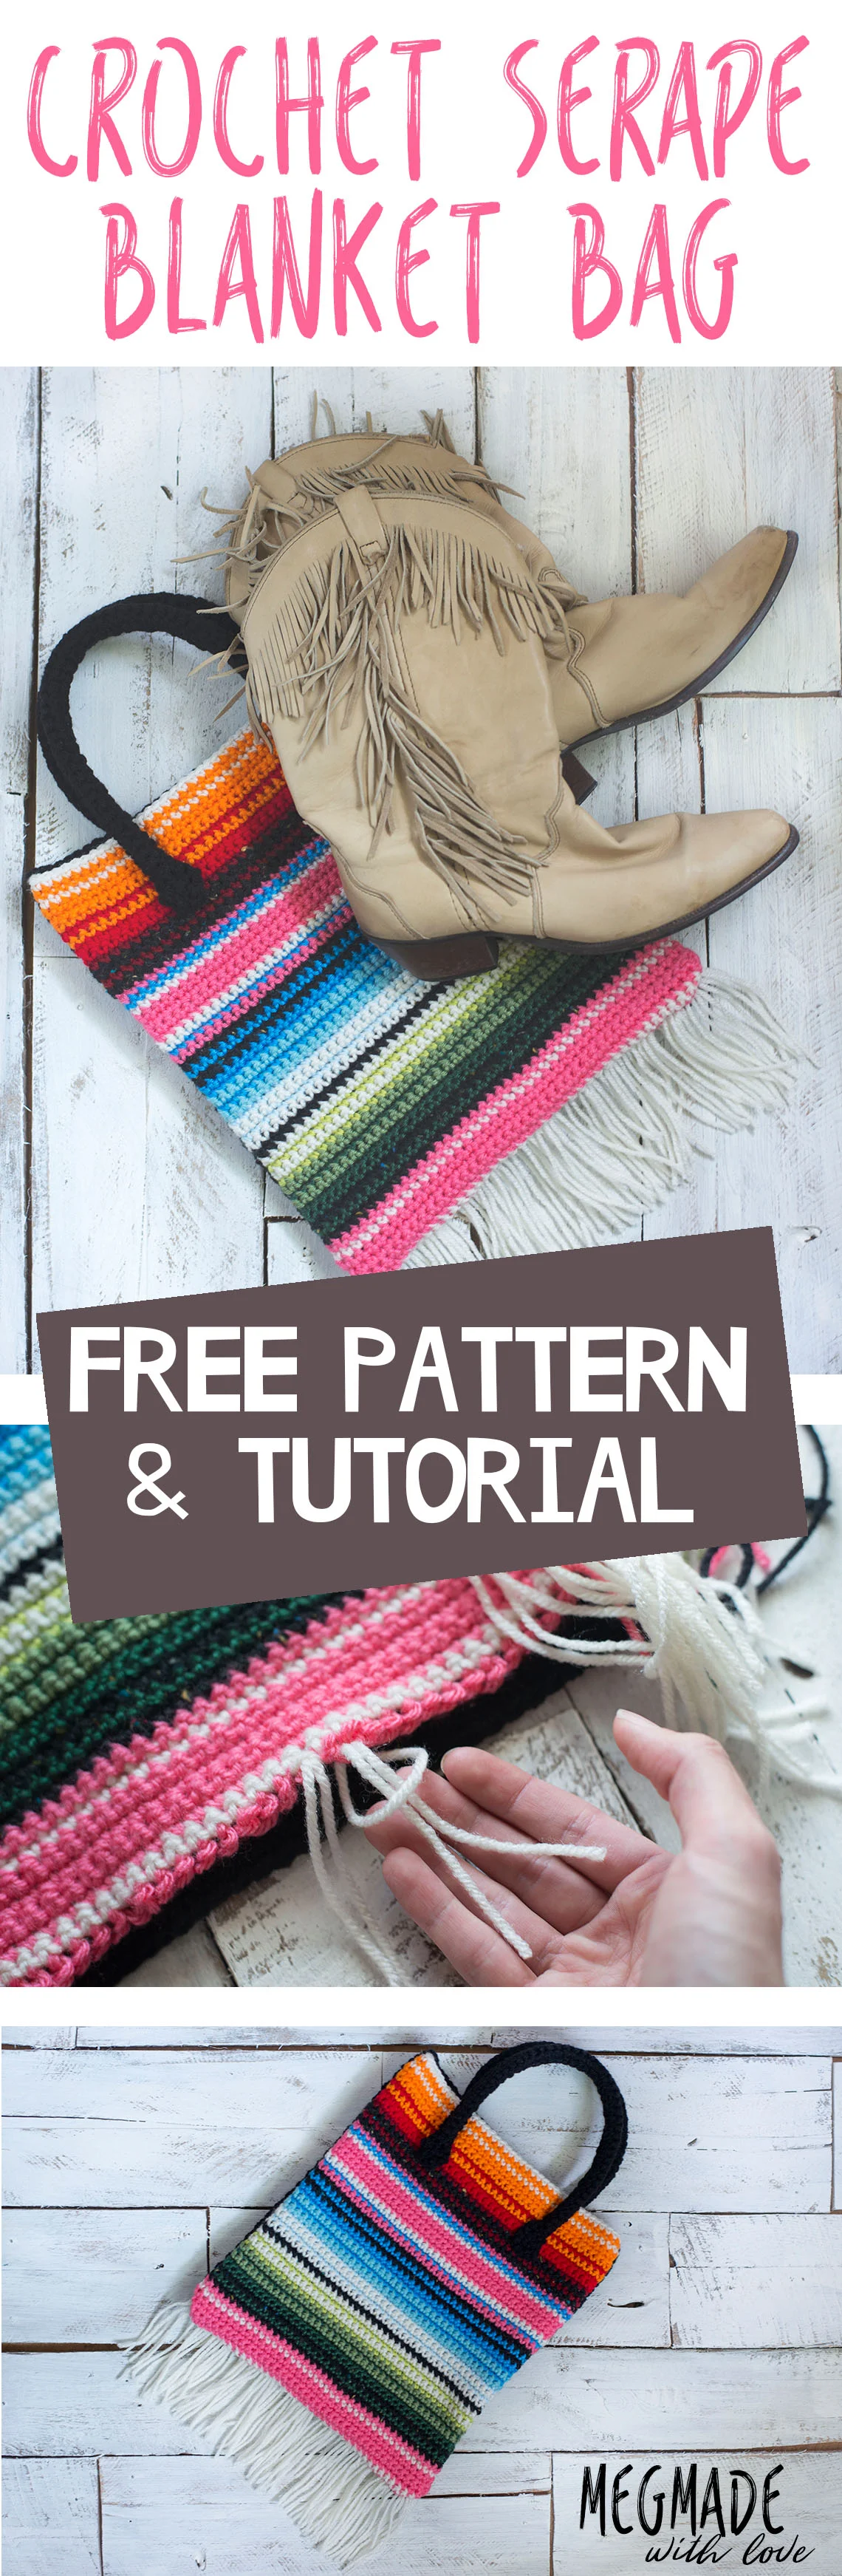
Crochet Serape Blanket Bag Pattern

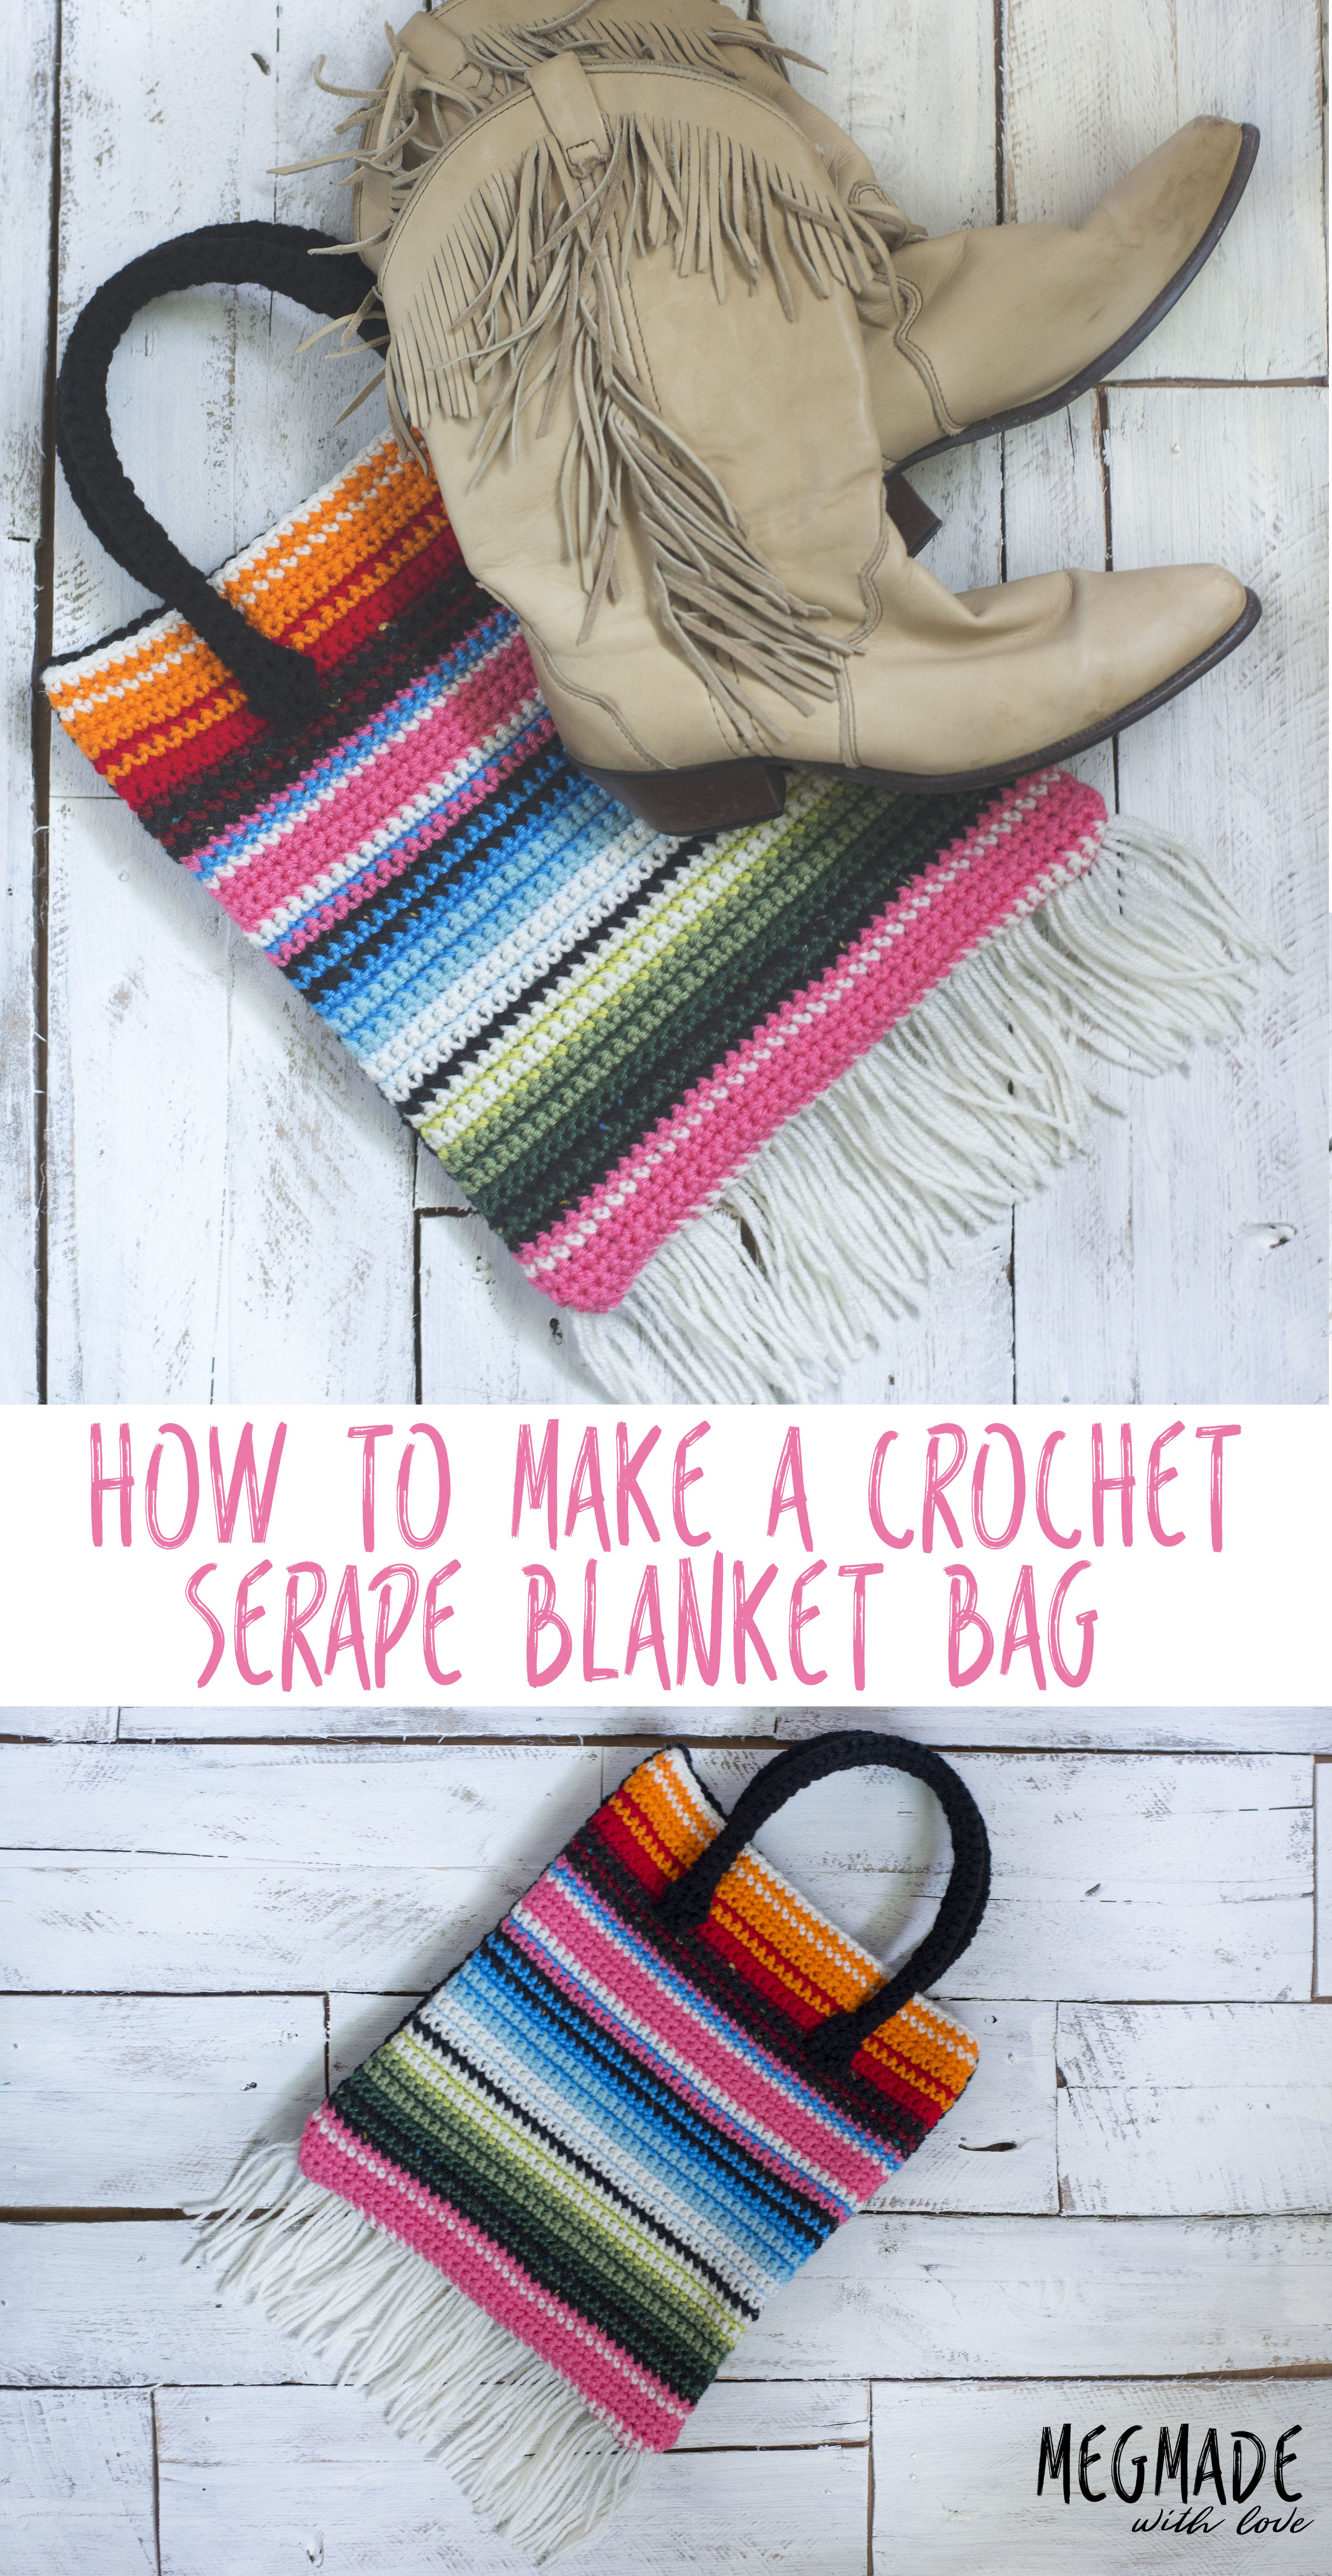
I'm excited to bring to you my latest crochet pattern: the Serape Blanket Bag! This pattern was inspired by this blanket I saw on Pinterest:

Ain't that purdy?? So I took out my handy tub o' yarn with all the millions of colors that I shouldn't even have, and went after it! (Which by the way, this pattern is great for using up scraps of yarn or perfect for the "yarn hoarder"- don't worry you're not alone, ha!)

I love the southwesterny-boho feel it gives. And I will say that this pattern is super simple- really all you need to know are the basics. All it's made up of is single crochet! Plus the handle is crochet too and I ended up using boning that's used for sewing structured pieces, just to give it that extra strength. 

So for the pattern, I made a graph showing you the color changes I did each row. It may be helpful to print the graph to follow along easier. Or just follow along on your device!

(made with Stitch Fiddle)

(made with Stitch Fiddle)

What you'll need:
Size US H (5mm) hook (a set like this would be perfect for a beginner)
Worsted weight yarns in colors shown in graph (I mostly used Red Heart Super Saver colors, as well as other scraps I had on hand. If you have a question about a particular yarn color, comment below and I'll try to get that to you!)
Tapestry needle
Sewing machine(optional)
Sewing boning (or other cord or material used to strengthen the handles)

Dimensions:

Finished & sewed purse measures approximately 12x10.5 inches (not including handles or fringe)

Abbreviations:
ch=chain, st(s)=stitch(es), sc=single crochet, sl=slip

Notes:
I made one side in the colors depicted in the graph, and for the back side of the purse I used black only. That was just a preference thing for me. You could always make both sides in color.

Because I made the back side in only one color (RHSS Black), and it was a thicker yarn than some of the other colors I used on the front side, there was a different amount of rows necessary to match the size of the colored piece. I would suggest eyeballing your back piece and how it compares to the front so they match in size. I wrote the pattern true to how many rows I needed, so just be weary of how many rows you'll need on the back piece if you're making it one color.

Gauge:
15 sc and 19 rows equals a four-inch square

Pattern:

BODY OF BAG
ch 43
1) in 2nd ch from hook, sc and across (total 42 sts)
2-57) *using color indicated on graph above* ch 1, turn, sc across row (42 total sts)

Back side:
*see notes above about this*
ch 43
1) in 2nd ch from hook, sc and across (total 42 sts)
2-50) ch 1, turn, sc across row (42 total sts)

HANDLES *make 2* 
(mine measured 16.5 inches long)
ch 55
1) in 2nd ch from hook, sc and across row (54 total sts)
2) ch 1, turn, sc across row (54 total sts)
3) (this step you are basically crocheting around what you've created so far) ch 1, and in the spaces on the short end of the piece, work 4 sc, then sc across the under side of the piece, work 4 sc in the other short end of the piece, (you will now be back to the beginning of row "2"), then sc across the top of the piece, and join to the ch 1 with a sl st

Assembly of the bag:
Before I sewed up the bag, I added the fringe. I cut 42 pieces of white yarn that were about 8 inches long.

Then to put them on, I folded them in half and pulled them through (not all the way, see pic below) the bottom row of the colored piece.

Then I took the two ends and put them through the loop I just pulled through.

Pull it tight, then do the same thing for the rest of the pieces of yarn and you've got some killer fringe!

Next, I sewed the bag along the two long sides, and the bottom. Pinning the pieces together so they wouldn't shift around while I sewed. I personally used a sewing machine, you could use yarn and needle if you wanted! 

**Important**: when you sew the bottom be very careful to have the fringe laying *inside* your two pieces. And make sure to not get the fringe pieces caught up when you sew the sides!

Then I cut and weaved in my ends, and turned the purse right side out.

Last is the handles! I cut a piece of boning about 2 inches shorter than my handles (about 14.5 inches long), then placed it in the middle of the crochet handles and folded the sides up over the boning (see above pic).

ser10.jpg

Then using my tapestry needle and a long piece of yarn, I sewed the sides shut up over the boning, leaving the inch or so alone at the ends.

Then after I did that to both handles, I sewed them to my bag. I placed mine about 3 inches from the sides and 2 or so inches from the top, but you could always adjust to your liking. I made several passes around the end-inch of the handles to make sure it was super secure, and that the boning wasn't able to slip out. Repeat that for both handles.

Then after all the ends are woven in, you've got yourself a super cute serape purse. You could even line it with fabric if you wanted!

I just love this bag and how cool the colors are. I'm thinking another serape-inspired bag is going to be in the works very soon. :) 

Hope you loved the pattern! Let me know if you've got any questions or thoughts by commenting below-- I'll respond as soon as possible! Happy making, my friend.

-Meg

Crochet Dreamy Dreamcatcher Pattern

***You can find the PDF version of this pattern in my shop by clicking here. Great for easy printing!***

I'm oh so pumped to bring you this dreamy dreamcatcher pattern I've whipped up here recently! I've been inspired by the doily dreamcatchers for quite some time, and thought to myself- I should create one of those things from scratch.

Not going to lie, this was my first time working with crochet thread, I've just always avoided it for some reason. Probably the fact that its just so small and time-consuming! But in reality, it's truly not bad at all. It did take a bit for me to get the hang of it, and since I was new to this area of crochet, it took me awhile to write up a pattern for it. But I got er done!

dc13.jpg

The thing with dreamcatchers is, it's so easy to customize them and make them your own. I chose to wrap my metal ring with jute cord, but you could totally use suede cord, yarn, material-- really the possibilities are endless! 

I also chose to hot glue on some super pretty artificial flowers and tie on random lace pieces I had laying around to add to the dreamy effect. You could even add feathers or beads. :)

I love the dreaminess of this piece! I will say that I personally don't believe dreamcatchers have any special powers of any sort, but I sure do admire the look of them. 

What you'll need:
Size 9 (1.4 mm) hook (a set like this would be perfect for a beginner)
Cotton crochet thread, size 10 (I used Red Heart Classic Crochet Thread in Natural)
Tapestry needle
7-inch metal ring (I got this set)
jute cord or other material to wrap around metal ring
lace, ribbons, flowers, feathers or whatever you prefer to decorate

Dimensions:

Approximately 5 inches in diameter unstretched

Abbreviations:
ch=chain, st(s)=stitch(es), sc=single crochet, dc=double crochet, tr=treble, sl=slip, sp=space, 2dcl=two double crochet cluster (explained below), yo=yarn over, sk=skip

Stitch explanation:
2dcl= yo, insert hook into designated st, yo, bring back through st, yo, draw through first two loops on hook, leave 2 loops on hook, yo, insert hook into same st you were already working in, yo, bring back through st, yo, draw through first two loops on hook, yo, draw through remaining three loops on hook

Pattern:

ch 8, join to 1st ch with sl st
1) ch 3, (counts as dc, ch 1) [dc, ch1] 11 times, join to 2nd ch with sl st(total 12 dc, 12 ch-1 spaces)
2) sl st into ch 1 sp, ch 2, dc in same sp (counts as one 2dcl), ch 2, [in the next ch 1 sp, 2dcl, ch 2] repeat [] around, join to 2nd ch with sl st (total 12 clusters)
3) sl st into ch 2 sp, ch 6 (counts as dc, ch 4), [dc in next ch 2 sp, ch 4] repeat [] around, join to 2nd ch with sl st (total 12 dc, 12 "ch 4")
4) sl st into ch 4 sp, ch 10 (counts as tr, ch 7) [tr in next dc from previous row, ch 7] repeat [] around, join to 3rd ch with sl st (total 12 tr, 12 "ch 7")
5) sl st into ch 7 sp, ch 2, dc into ch 7 sp, ch 2 (counts as one 2dcl) [working in same ch 7 sp--{2dcl, ch 2} 2 times 2dcl], [in next ch 7 sp- 2dcl {ch 2, 2dcl} 3 times] **4 total clusters in each ch 7 sp** repeat [] around, join to 2nd ch with sl st (total 48 clusters, 36 "ch 2")
6) ch 12 (counts as tr, ch 9), [tr in sp between the 2 2dcl without a "ch 2" in between them, ch 9], repeat [] around, join to 3rd ch with sl st (total 12 tr, 12 "ch 9")
7) sl st into ch 9 sp, ch 6, sk 4 ch, sc (in 5th ch), ch 3, sc in 5th ch again, ch 5, sc in tr, [ch 5, sk 4 ch, sc in 5th ch, ch 3, sc in 5th ch again, ch 5, sc in tr] repeat [] around
8) ch 16 (counts as sc, ch 15), [sc in sc from previous row that was worked into the tr st, ch 15] repeat [] around, join to 1st ch with sl st {total 12 sc, 12 "ch 15")
9) ch 6 (counts as sc, ch 5) [{ch 5, sk 3 ch, sc in next st} 3 times, ch 5, sk 3 ch, sc in sc from previous row] repeat [] around, join to 1st ch with sl st (total 48 sc, 48 "ch 5")

Fasten off, weave in ends.

To finish, I "blocked" my piece by ironing it flat. 

Next, using a small amount of hot glue, I attached the jute cord by wrapping it tightly around the metal ring. I glued every few inches as well.

Then lay your crochet piece in the center of your wrapped ring. 

Now you start attaching the piece to the ring. I cut an extra long piece of the thread, then thread it through my needle (I did this so I wouldn't have to keep threading my needle). I first put the needle through the crocheted piece in the center of each of the 12 big sections (in the sc between the 2nd and 3rd "ch 5" loops). See below. 

I pulled the thread all the way through, leaving about a 4-5 inch tail. Then I went over the metal ring with the needle, back around into the same space I inserted the needle first, pulling it through and leaving another 4-5 inch tail. 

Then I tied a single knot-- not too tightly to secure the piece. Repeat that process with the opposite sides of the crochet piece.

Keep single knotting opposite sides of the piece until you've attached 12 sides of the piece.

As you can see its a nice little mess of strings. ha! Then I tightened them all so the piece was nice and stretched. Making sure they were all even. Next I double knotted them and then with much patience, weaved in the ends.

Ah, so much better without all those strings! This is just such a pretty piece!

Then you knot on your lace or material, and adorn the dreamcatcher with whatever your heart desires! 

Sweet dreams! ;)

Meg