Three Free Crochet Tag Downloads

Hey folks. Today I thought I'd compile my latest downloads all into one post to make things a tad easier around here. ;)

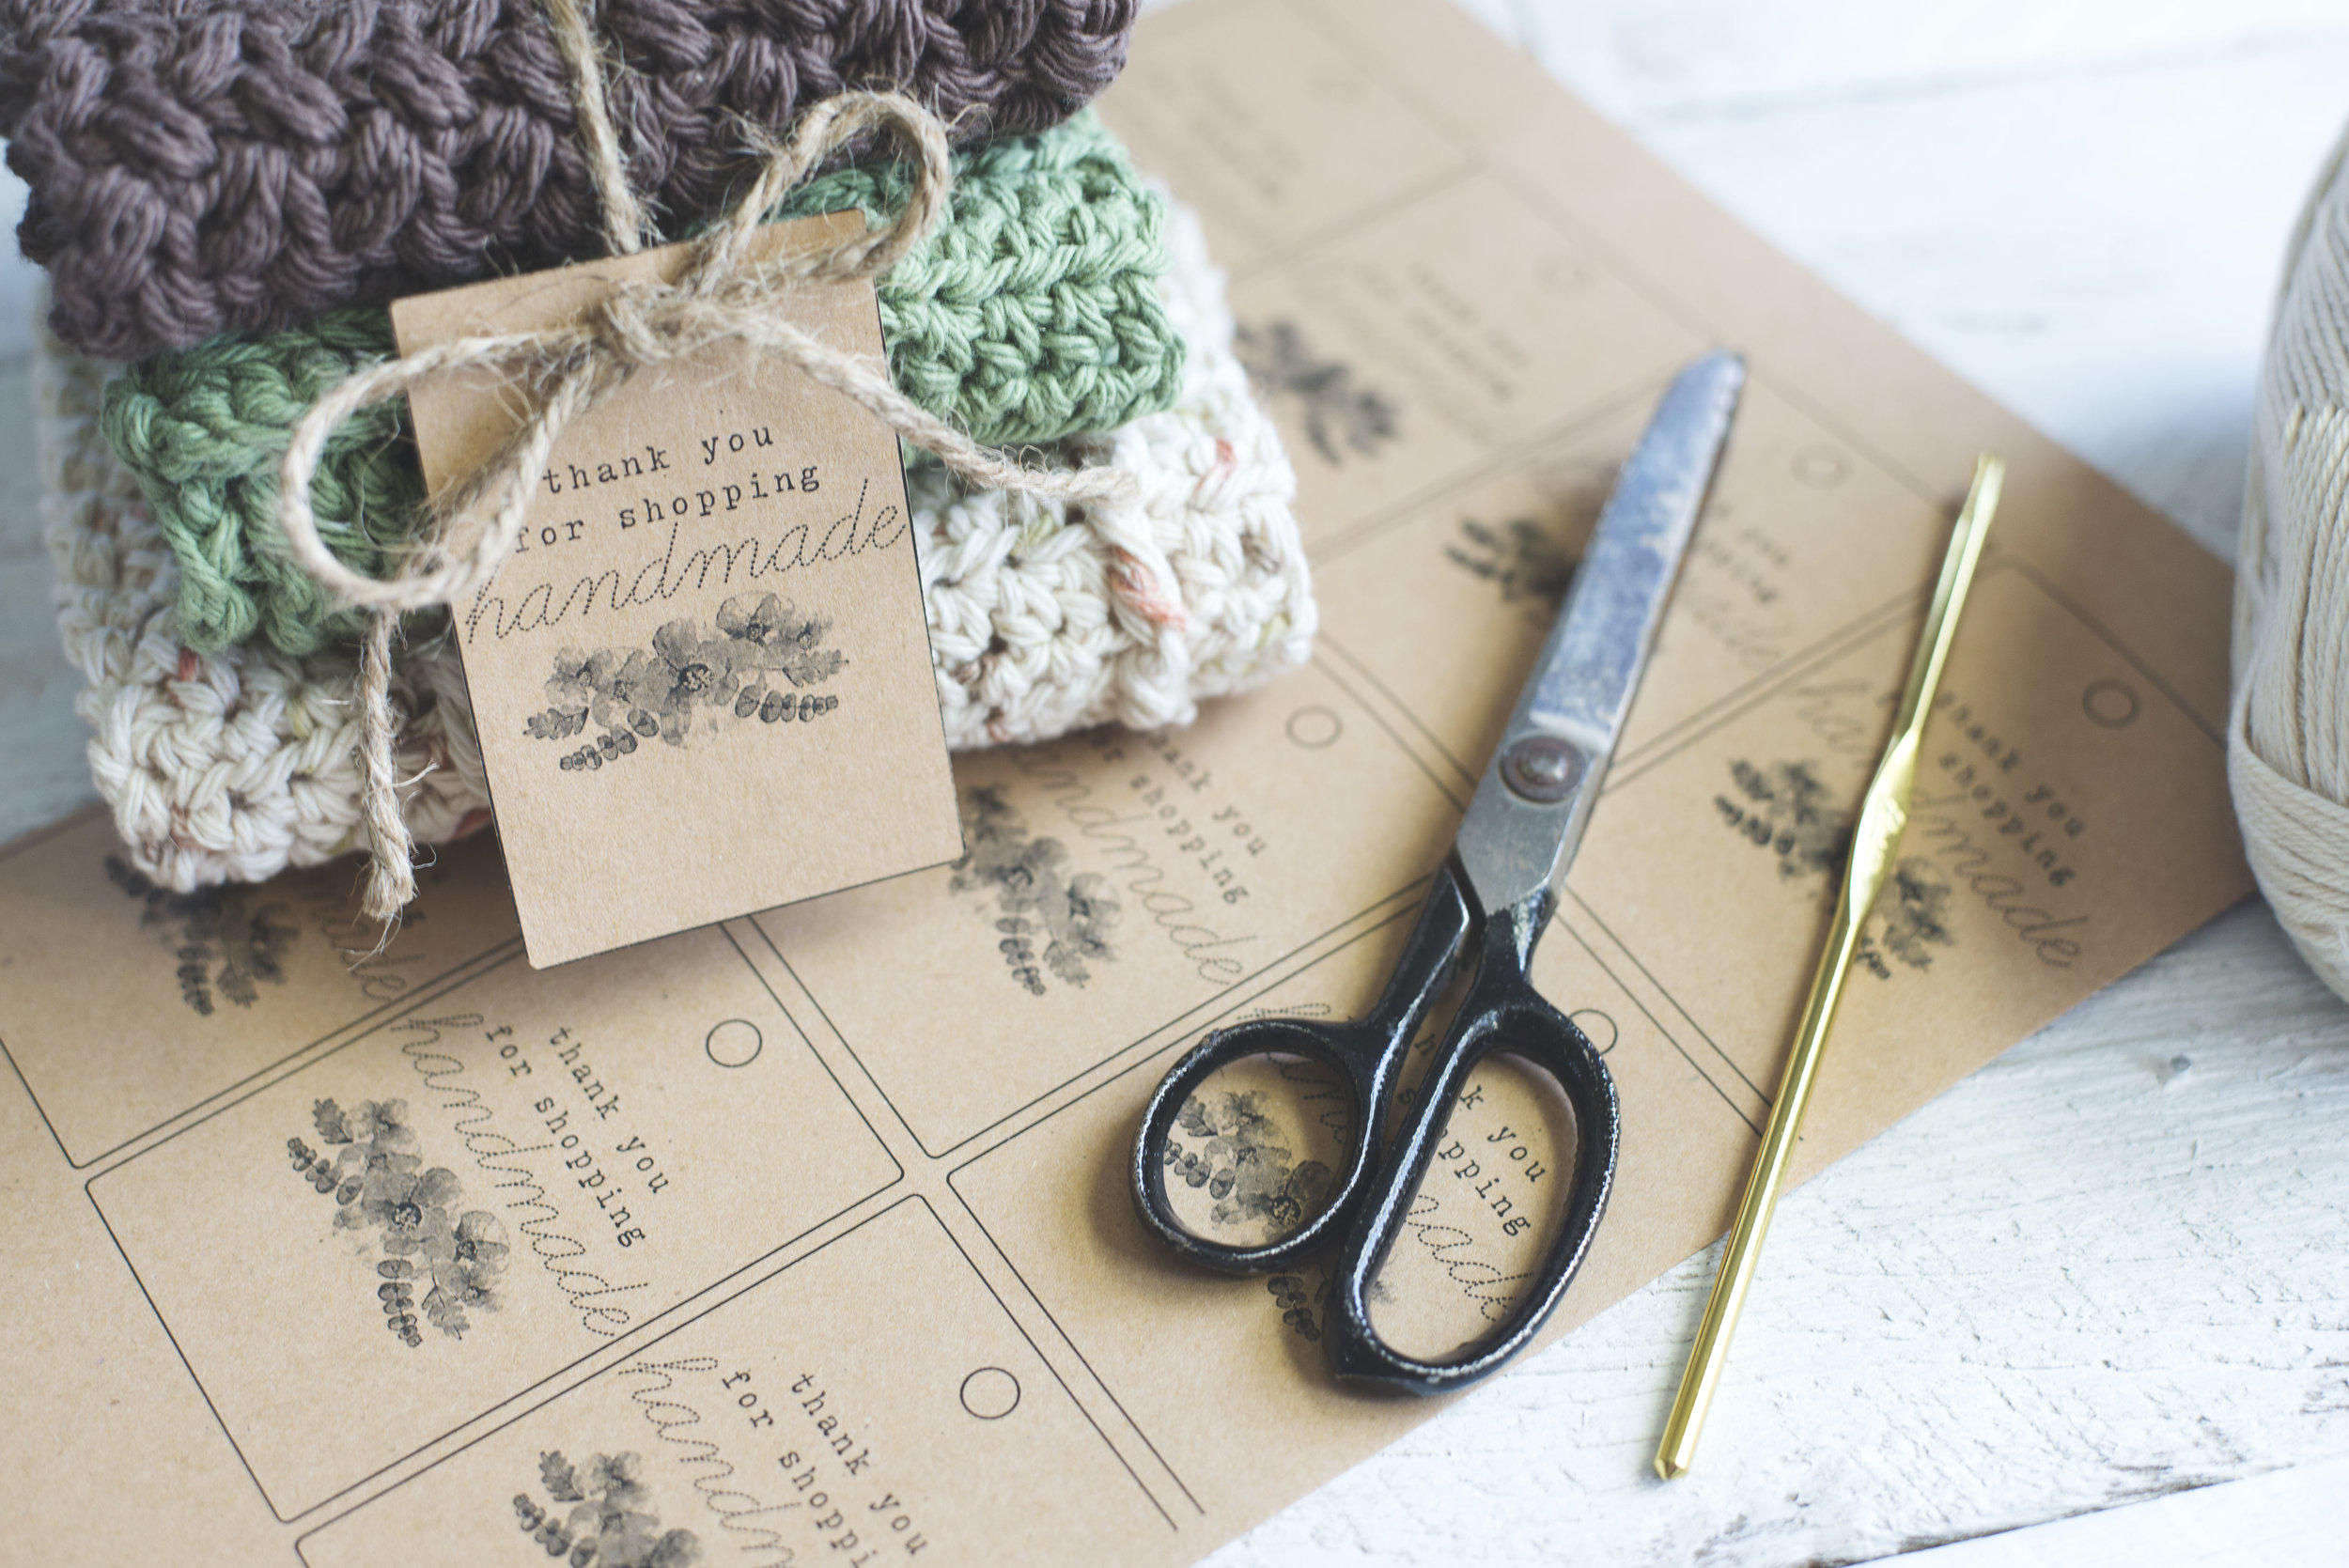
Here you'll find three SUPER COOL tags you can download and print at your home or office. Then you can slap those babies on your crochet or handmade projects and you'll have yourself some easy and snazzy packaging that practically cost nothing.

Up first is the "Handmade with Love" tag- the first tag I designed. I just love the look of this one! Probably my favorite out of all of them. You can download the tag by clicking here.

Then I designed the "Thank you for Shopping Handmade" tag. This one's a cutie too, I love the flower details. You can download these tags by clicking here.

The "Stitched with Love" tags were my most recent design, and are a horizontal layout rather than vertical. You can download these tags by clicking here.

Well, there's your three free downloads! I actually have a blast making these, so look for more in the future. :)

-Meg

Mini Crochet Ball Garland Pattern

Howdy! (haha who even says that...)

I've a super cute n' dainty crochet pattern for you today. A lovely little crochet ball garland! You may have seen images of these in the dreamy nursery photos on Instagram-- except their made of felted wool. So I set out to make a crochet version! These were inspired by the talented Megan with Sheep Farm Felt

Above is a super cute example of how someone styled their little garland I found over on Hello Maypole's Instagram. I love how they incorporated the drift wood!

The balls are super easy and quick to make, probably the biggest pain of the garland is just weaving in the ends. But totally worth it, because they make the cutest little project!

They measure roughly 3/4 inch in diameter (depending on the type of worsted weight yarn you use). I found that using Red Heart Super Saver yarn was my favorite weight to work with, because of the thickness of it.

I thread the neutral-colored balls together with yarn, but I think I'm going to use crochet thread for the other set because I think the yarn might be a little too thick. Totally a personal preference!

I was thinking about midway through making these, that you could totally insert a wooden bead inside if you wanted them to be super structured. In that case I would insert the bead after you work a couple of decrease stitches. I chose to just leave the middle empty, because I didn't think I'd have a problem with losing the structure of them while they were simply hanging on the wall. 

What you'll need:
Size US D (3.25 mm) Hook
Worsted weight yarn of choice ( I used various kinds, from Red Heart Super Saver to Lion Brand DIYarn)
Large tapestry needle
Crochet thread, or any kind of thread really, to thread through the balls to make the garland
stitch markers (optional)

Dimensions:

Finished balls are approximately 3/4 inch in diameter

Abbreviations:
ch=chain, st(s)=stitch(es), sc=single crochet, sl=slip, sc2tog=single crochet two together

Notes:
You may want to change the size of your hook if you're using a lighter-weight worsted weight yarn, like Caron Simply Soft for instance. 

It may help to use stitch markers, because you will be working in continuous round-- I just personally counted my stitches because there weren't that many.

I worked the decreasing stitches very tightly so there wouldn't be any holes in the ball.

Pattern:
make magic circle
1) ch 1, work 6 sc in the magic circle (6)
**from here on out you will be working in BACK LOOP ONLY and IN THE CONTINUOUS ROUND**
2) work 2 sc in each st around (12)
3) sc in each st around (12)
4) (sc2tog) 6 times (6)
5) sl st in 3rd st from hook (this is basically across the hole in the ball from where your hook is) to close the ball
finish off and weave in ends (which is a pain, I know-- see all the balls lined up below without the ends woven in!)

Then you just repeat those steps, and create as many little crochet balls as your heart desires! Then you'll run your needle through the middle of the balls with a piece of yarn or thread to your desired length (I made mine about 48 inches long).

It's truly a simple little pattern! Like I said they'd be perfect in a nursery, or displayed at a baby shower. The opportunities are endless. :)

Happy making!!!
-Meg