A Few Helpful Tips for Working with Homespun Yarn

A Few Helpful Tips for Working with Homespun Yarn

In my most recent pattern, Edgar the Elephant, I chose to use one of Lion Brand's popular yarn lines, called Homespun Yarn. I feel like this yarn definitely gets a bad rap due to how hard it is to see the stitches, along with it's fraying ends. But even though it has it's drawbacks, I really really like this yarn.

Read More

Free Crochet Pattern for Edgar the Elephant

Free Pattern for a Crochet Elephant - Megmade with Love

***You can purchase the PDF version of this free pattern in my shop by clicking HERE. Great for easy printing!***

Boy, oh boy, do I have the cutest pattern for you today! It's dear little Edgar the Elephant... a soft, squishy and lovable crochet toy, perfect for your little one. I designed this pattern to be super simple, made up of mostly single crochets with minimal decreases. I took lots of pictures along the way, so this should be a piece of cake for you to whip up for a weekend project!

ele15.jpg

He's made with one skein of Lion Brand Homespun Yarn, a super soft and textured yarn. I love the look it offers for this toy, plus it makes for a good snuggle. :)

I decided to put a precious plaid bow on Edgar, which gives him a great finish. You could even make Edgar a "she" and put a little bow on top of it's head.

ele02.jpg

My son, Sawyer absolutely approves of Edgar.. holding onto him as he watches a movie in his mini-recliner--ha!! (At this point I was playing around with the idea of putting a tie on Edgar, hehe)

What you'll need:

-One skein of Lion Brand Homespun Yarn (I used color "Clouds")
-Size K hook (6.5 mm)
-poly fill
-stitch marker
-yarn needle
-safety eyes or buttons
-optional, fabric for a bow tie

Gauge:

11 sc by 12 rows equals a four inch square

Notes:

-ch's at the beginning of rounds/rows do not count as a stitch

-I chose to join each round instead of working continuous rounds for the body because with this yarn you can't really see the seam. You could always do continuous rounds if you'd prefer!

Pattern:

Body of the elephant:

Round 1) make a magic circle, ch 1, and work 10 sc into the circle, join to first st with sl st (10 total sts)
Round 2) ch 1, work 2 sc into each st around, join to first st with sl st (20 total sts)
Round 3) ch 1, sc around, join to first st with sl st (20 total sts) 
Round 4) ch 1, [work 2 sc, sc] around, join to first st with sl st (30 total sts)
Round 5) ch 1, sc around, join to first st with sl st (30 total sts)
Round 6) ch 1, [work 2 sc, sc, sc] around, join to first st with sl st (40 total sts)
Rounds 7 - 26) ch 1, sc around, join to first st with sl st (40 total sts)

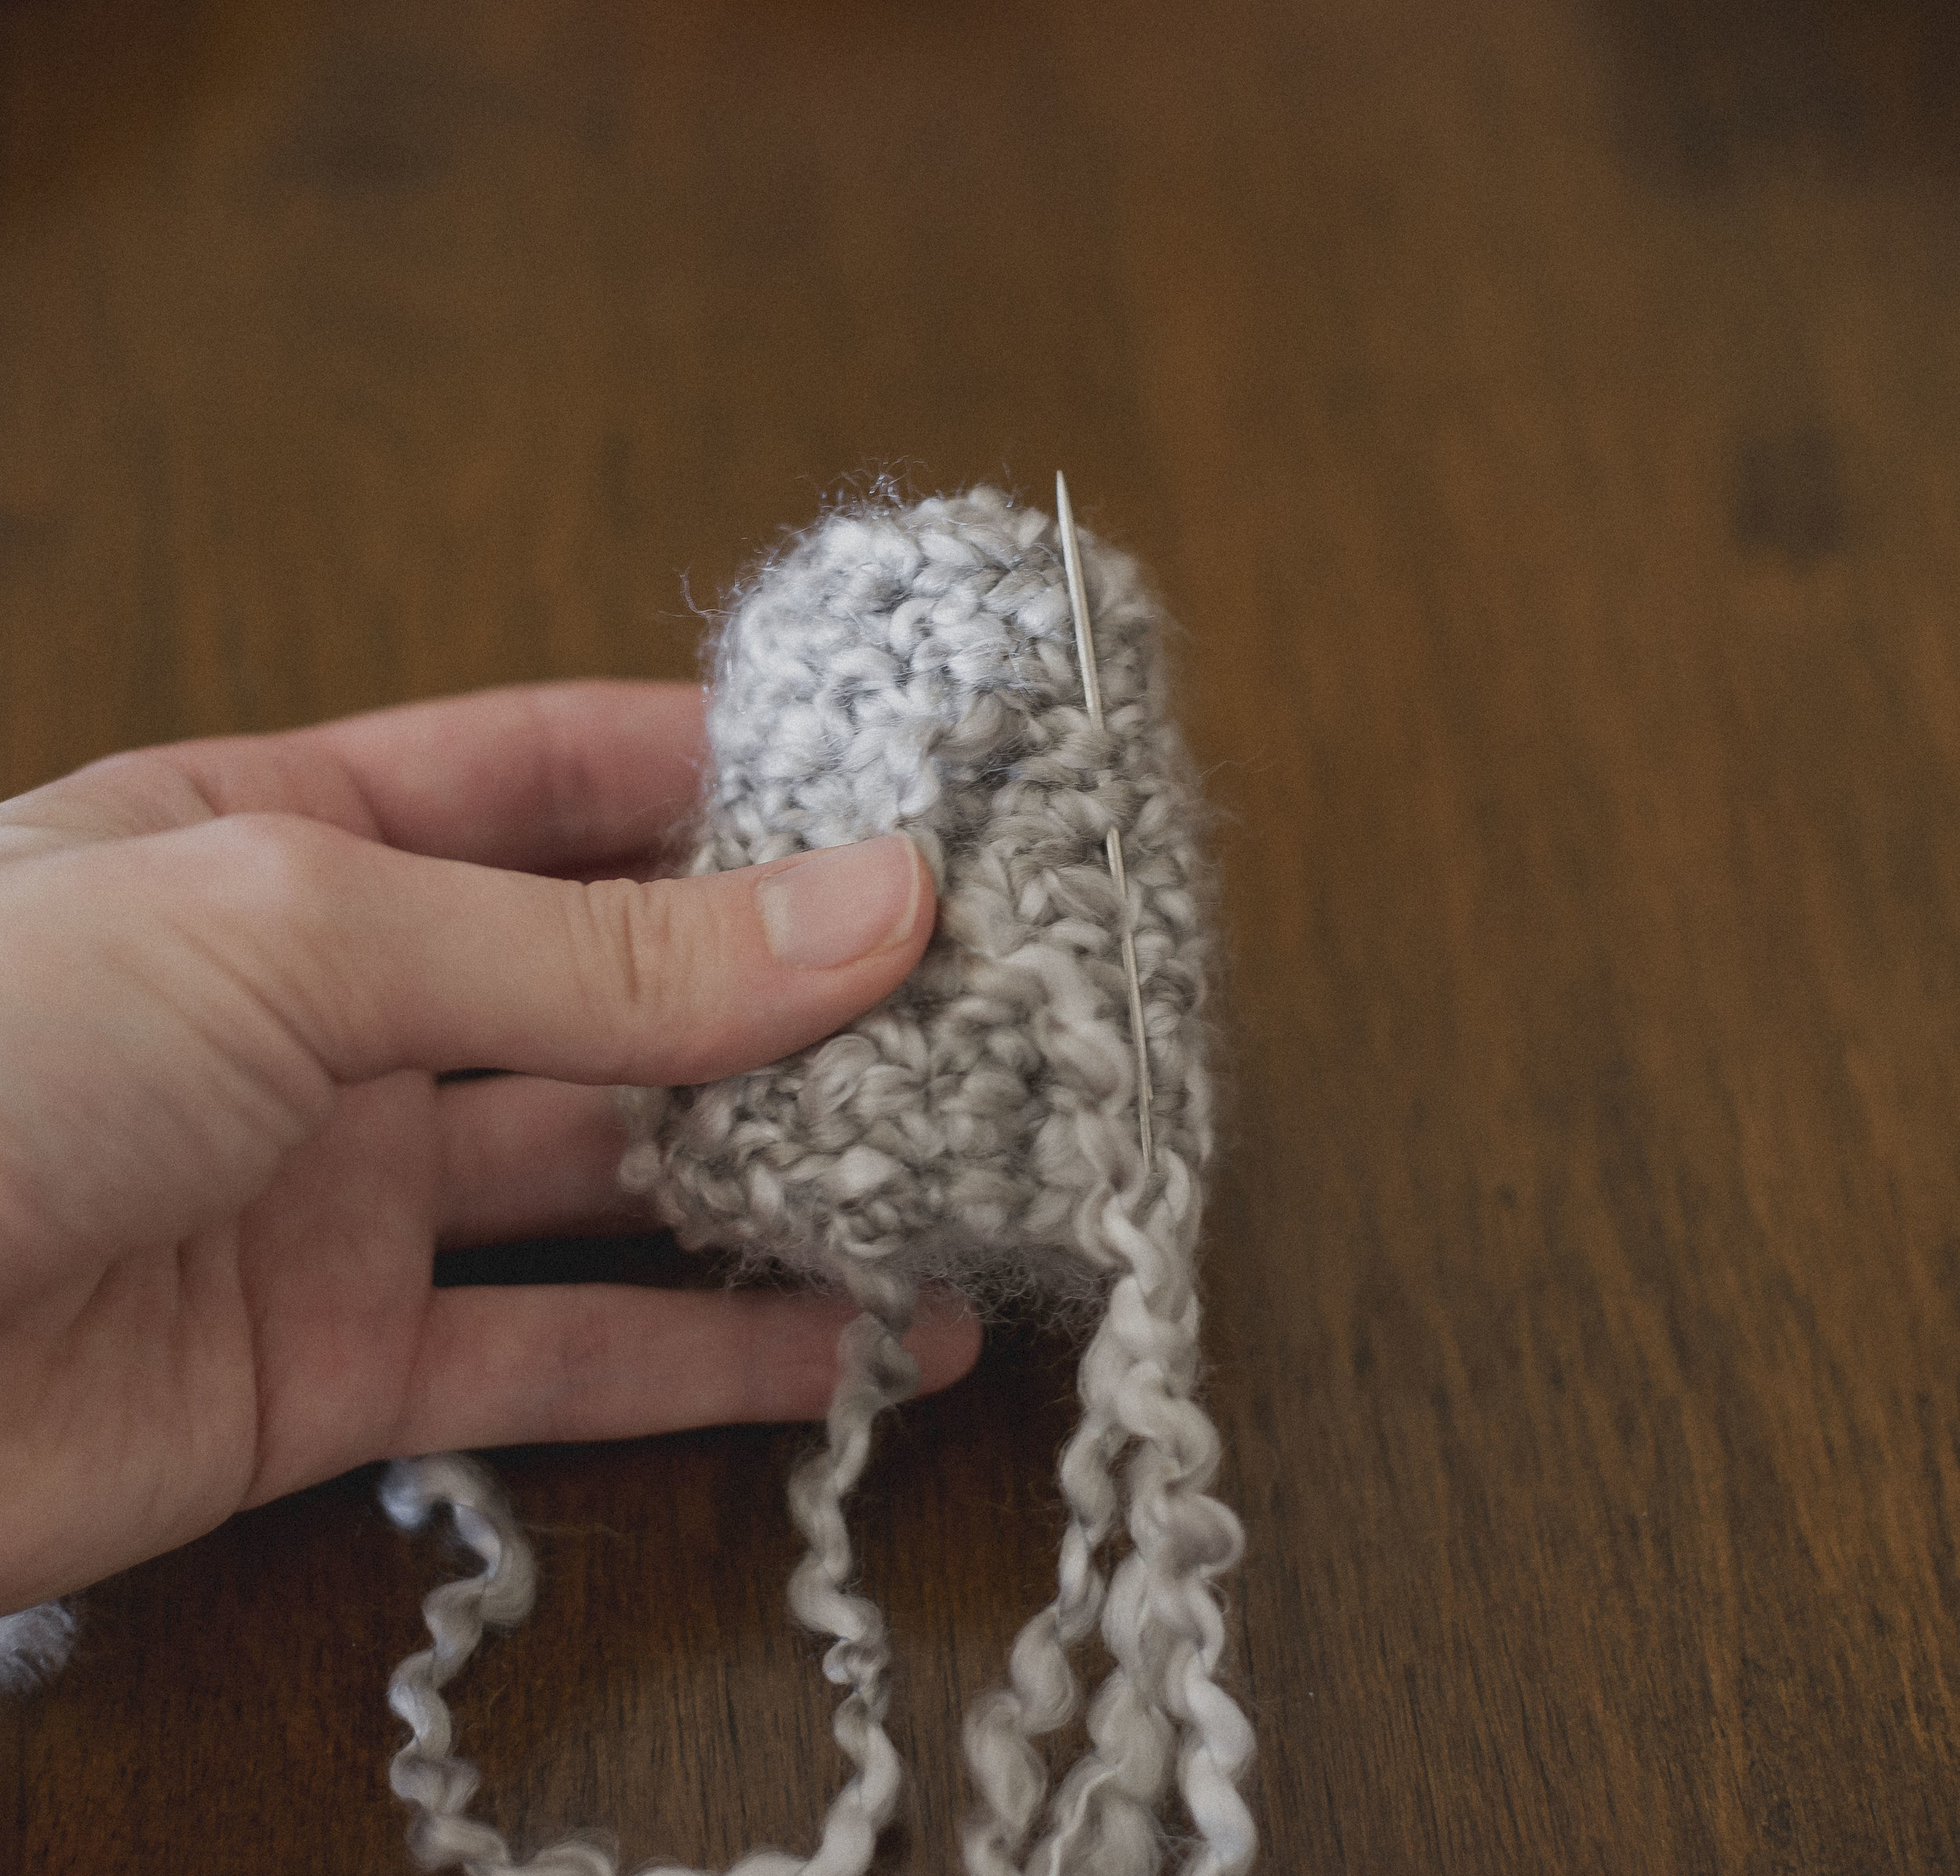
At this point, you're ready to begin working on the legs, do not finish off.

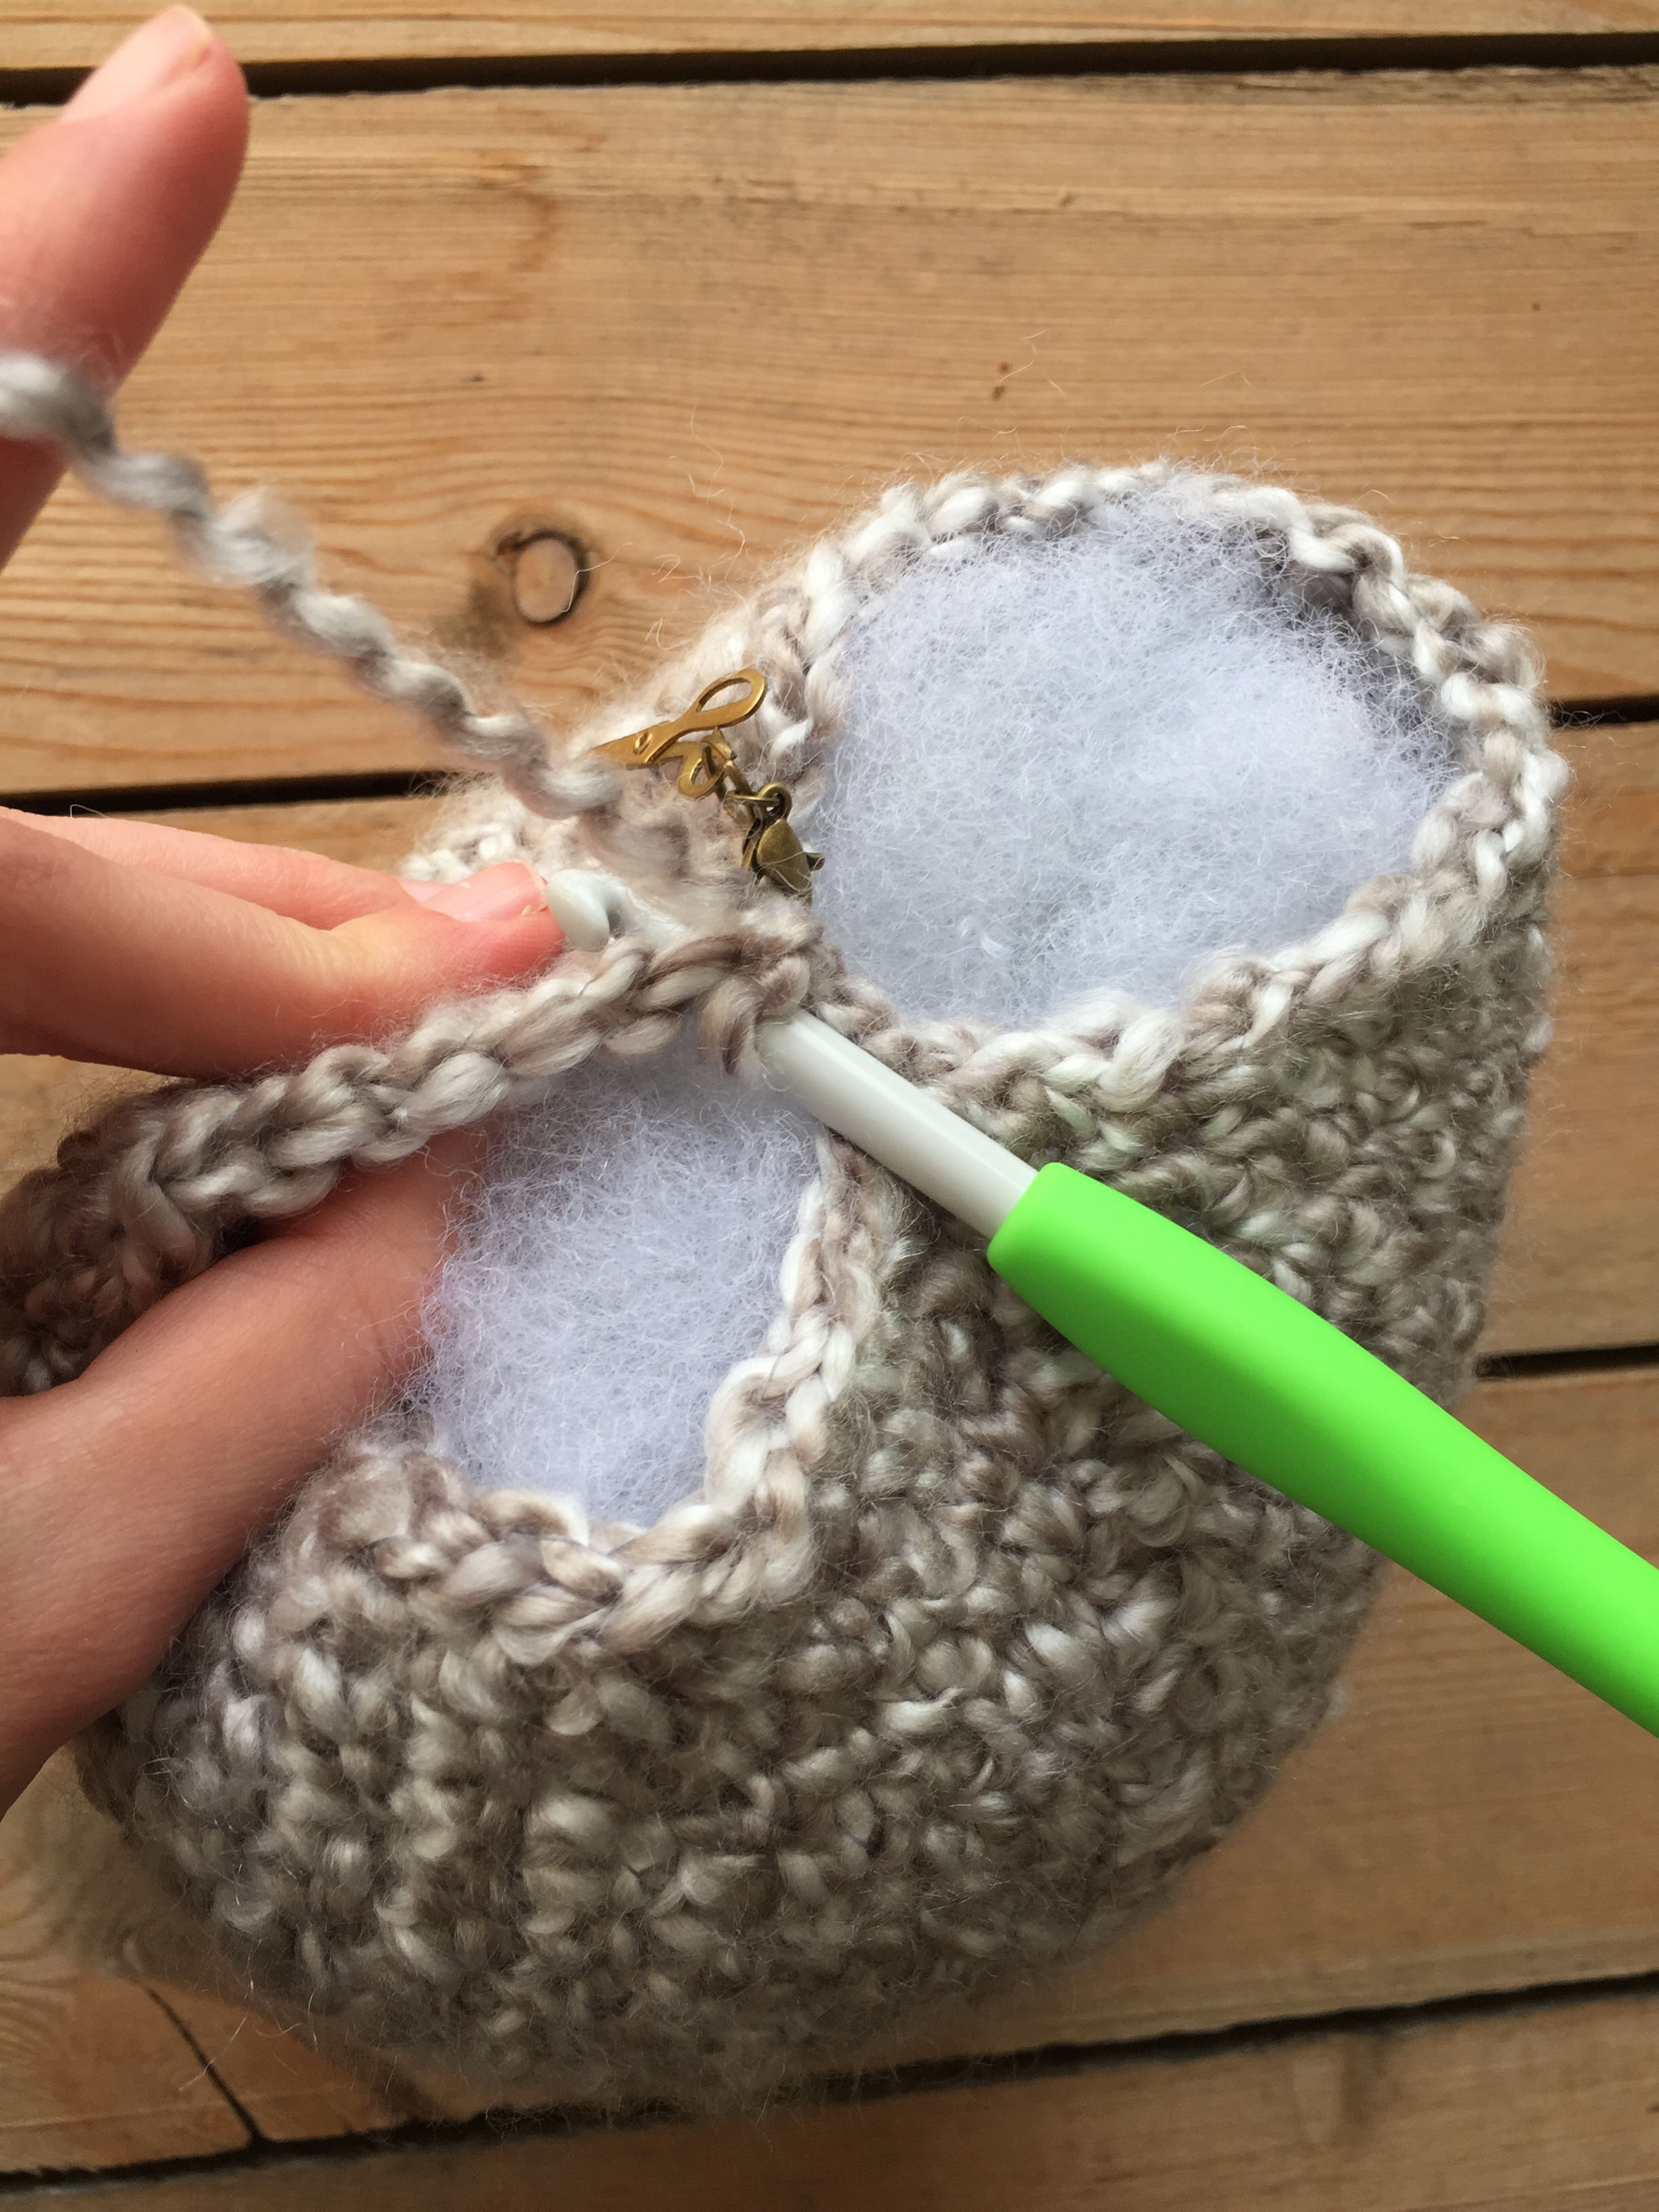
But before you move onto the legs, if you are using safety eyes, you will need to place them on the elephant. Because the legs will close off the inside and you won't be able to later put them on. And it may be helpful for you to make the trunk at this time if you'd like to decide where to align the eyes in relation to the trunk.

ele12.jpg

I used little flat black buttons for eyes and sewed them on about at row 10 of the body with about 4 single crochet stitches in between them. I made the rookie mistake of waiting to sew my eyes on after I stuffed the elephant... sigh. Still got er done though!

Legs of the elephant

Before you begin on the legs, you'll want to weave in your beginning yarn end and stuff the body of the elephant full of poly fill. 

ele20.jpg

First you will count to the 20th st of the last round of the body of the elephant, and will put a stitch marker in that 20th st. With your hook where you left off at on the body, you will sl st across the opening into that 20th st you put a st marker in. You can see this being done in the above photo.  You are creating the two different leg openings.

Round 1 of leg) After working that sl st you will ch 1, and sc into the same st you sl st into-- the one with the st marker in it. And then you will sc around in all the sts of that left leg opening, then join to the first sc made of the leg with a sl st (20 total sts) **Leave the st marker there for the other leg**

Rounds 2 - 6 of leg) ch 1, sc around, join to first sc with sl st (20 total sts)

**At this point you will want to stuff the leg worked with poly fill

Round 7 of leg) ch 1, sc2tog around, join to first st with sl st (10 total sts)

Round 8 of leg) ch 1, sc2tog around, join to first st with sl st (5 total sts)

Pinch the end together closed, and sl st across the last few sts to seal the bottom of the leg. 

Finish off and weave in ends

To start the next leg, you will draw up your yarn like depicted in the photo above. You will insert your hook into those two sts you sl st into for the other leg-- the first st of the last round of the body and the st that has the st marker in it.

Round 1, second leg) Draw up your yarn through those sts specified above, and ch 1, then work a sc into that st with the st marker in it, and around the right leg opening, sl st to the first sc to join (20 total sts)

Rounds 2-8, second leg) follow the same instructions for the first leg worked

Finish off, and weave in ends

Ears of the elephant (make 2):

Row 1) ch 13, sc in 2nd ch from hook, and across (12 total sts)

Rows 2-7) ch 1, turn, sc across (12 total sts)

Row 8) ch 2, turn, dc in first four sts, sc, sl st, sl st, sc, dc in the last four sts (12 total sts)

ele23 copy.jpg

To finish the ear, you will sc around the outside of the ear beginning on the side closest to where your hook left off in row 8 of the ear. Sc around the edge until you get back to the other side of row 8. See above photo for assistance.

ele06.jpg

To attach the ears, place them where you'd like on the body (I put the top of the ear on about row 6 of the body). You can pin the ear to the body if you'd like. Then using needle and yarn, sew your ears on using a whip stitch along the straight edge and the body. 

ele07.jpg

I sewed all the way down the ear, then back up. On the way back up, I sewed into a row higher on the ear-- I found this made the ear more sturdy and less floppy. You can see in the photo above where I was putting my needle. 

Repeat this process for both ears.

Trunk of the elephant:

Round 1) ch 12, sl st into the first ch to form a circle (be sure not to twist the ch's before the sl st). Sc in the same st you sl st into and around, join to first sc with sl st (12 total sts)

Rounds 2-5) ch 1, sc around, join to first sc with sl st (12 total sts)

Round 6) ch 1, sc2tog, sc in remaining 10 sts, join to first st with sl st (11 total sts)

Round 7) ch 1, sc around, join to first sc with sl st (11 total sts)

Round 8) ch 1, sc2tog, sc in remaining 9 sts, join to first st with sl st (10 total sts)

Round 9) ch 1, sc around, join to first sc with sl st (10 total sts)

Round 10) ch 1, sc2tog around, join to first st with sl st (5 total sts)

Pinch the end together closed, and sl st across the last few sts to seal the bottom of the trunk.

Finish off

ele08.jpg

Something I did to make the trunk have more of a pronounced curve at the end was to sew it. I just inserted my needle and yarn over a span of a couple of rows (where the sc2tog's were worked, see above) and pulled tight, repeating until I liked how curved it looked. 

ele09.jpg

Essentially you are gathering one side of the trunk and sewing it, to make it shorter than the other side, this makes it curve up more. Above you can see the trunk after I sewed it. 

After the trunk is sewn, you will fill it with poly fill.

ele10.jpg

Next you'll sew on your trunk in between your ears. The top of my trunk was about at row 12 of the body. 

ele11.jpg

I used a whip stitch along the bottom opening of the trunk and into the body. In the above photo you can see how I inserted my needle.

ele13.jpg

If you haven't yet, you'll add on your eyes above your trunk.

ele17.jpg

After Edgar was done, I thought he needed some sort of accessory to make him complete. Many folks over on Instagram suggested a bow tie, and I loved that idea! So I cut a piece of fabric that was 3"x 2" big, along with a little piece that was .5" x 1.5" for the middle of the bow. In the photo above I also included another option-- a i cord bow, which would totally be cute also. You can see a video on how to make an i cord HERE.

ele19.jpg

To make the bow, I just wrapped the smaller middle piece of fabric around the middle of the larger rectangle piece (cinching it), and then with needle and thread I sewed through the middle until it was secure. 

ele16.jpg

Then I sewed his bow a few rows below his trunk. You could easily make this elephant into a girl by putting the bow up on top by the ear. 

And that completes the cute crochet elephant pattern! What a pleasure to be able to make this toy.. I love making stuff for my kid, and I hope you get to make one for the kid in your life as well!

If you make an Edgar of your own, you should totally share with me over on Instagram.. I'd love to admire. :)

Happy hooking my friends,
Meg

Pattern for a Crochet Elephant - Megmade with Love