


My Photography Gear, Set Up and Tips
/
I'm back!
...Yet again, to talk photos with you. This time, I'm sharing my gear, set up, and a few other tips to help make your product shine in your photos.
If you haven't caught the first two posts of the series you can find the first one here. In it I talked about branding and finding your "style". It basically included some cool tips and info on figuring out what your "thing" is, and what kind of impression you'd like to make on your potential customer. Then there was the second post on staging your photos found here. This one gave tips on props, backdrops and creating a "mood" for your photos. Both of these are great articles to read before you delve into this post. So I totally suggest checking those out before reading this one! A lot of information in the other two posts will help you out when it comes to applying the information of this post.
Today I'd like to focus on information for product photography. Basically I will talk about what works for me when I take photos of my crochet stuff. I'll share what I typically use to shoot photos, my setup (hint: it's incredibly simple), and other little tips on how I get the best possible capture of my projects.

First, lets talk about gear. Like with basically everything in my life, I like to keep things simple. I find what works for me, and I don't need much more. I don't need the top-of-the-line lighting equipment or the most expensive lens to achieve awesome (in my opinion) photos. I will say that I do, however, own a rather expensive camera body. I used to have a photography business where I shot portraits of people, and I felt a nicer camera was necessary to achieve the look I was going for. So at the time, it was a smart move to upgrade to this camera. As it paid for itself and more, through the various sessions I did. I just thought I'd give a little explanation of that before revealing the camera I use. Because I realize, for many, spending this much money on a camera body is just not doable. And I totally get that. I'm just sharing what I use. (I'm not going to cover camera specs in this post, just kind of a broad look)
**I'm also going to share more below about taking photos with your smartphone--which is what most people do nowadays anyways.**
So this is what my current equipment list looks like...
Gear
Camera:

This camera body has proven to be a real gem for me. I seriously love it. It shoots well in low-light settings. And it has great image quality. Plus, I feel like this camera is a good price for what you get. I actually bought mine three years ago on eBay for a heck of a deal, and it came with the lens that I use with it. Score! I did tons of research before choosing to go with this camera, and I suggest that you would do the same if you're interested in getting a new camera, for sure. There really are so many options.. If you're just starting out with taking photos, I don't think I'd recommend this camera. A good camera is nothing if you don't know how to use it! Like I said above, researching all the different types and bodies of cameras will be the best way to figure out what's best for you. Google some images taken with different cameras and lenses, or even ask other people, who inspire you with their photographs, what they use.
Lens:

Nikon Nikkor AF-S 50mm F/1.8G Prime Lens
Like I mentioned above, this lens came with the camera body I bought. Which isn't very common. I was actually in the market for a prime lens like this so it was a great find to get both a camera and lens I liked. Lenses are an important aspect capturing a great photo, so just like with the body-- some good research on what lens would work for you is suggested. I find this lens to be great for taking shots of my products. Or even me in my product. I am kind of interested in getting a wider-angled lens, to get more in my shots, though. Hmm..
Tripod:

This tripod is nothing fancy. I bought mine at Best Buy years ago. It does it's job. Simple as that!
So those are the three basic things I use to shoot photos. I am, however, currently in the market for a wireless remote to release the shutter for my camera. I usually end up taking photos of myself because I don't always have someone around to snap a pic of me and it would be incredibly convenient to have a remote to take my photos. I'm thinking I'll get this one:

These things are so handy if you're taking photos of yourself. You just set up your camera on your tripod, then essentially push the remote in your hand when you're ready. I currently use the camera timer and run back and forth like a real loser, so I'm not sure why I haven't bought this yet...... (With the remotes, you'd just have to research what remote is compatible with your specific camera.)
I also, from time to time, take photos with my iPhone 6. The cameras on phones these days can take really good photos. I obviously prefer the look of my higher-end camera's photos. But sometimes an phone shot is appropriate or the only option. I don't think there's anything wrong with using your phone to take product photos.
As far as any other camera set-up, the only other thing I sometimes use is white poster board as a light bounce. When you set up your poster board on the other side of your product (the side not closest to the source of light) you are creating a reflection of the light onto the "dark side" and letting your whole product shine! There are fancy light reflectors and light boxes for this, but like I said, simple is my style.
Set Up

Taken by an open window, letting in lots of yummy indirect light.
So when it comes to the "set up" for my product photos (I use quotes around set up because I feel it hardly could pass for one, haha) , you'll notice it sticks to the theme of incredibly simple. For all of my photos (and I mean all) I use natural light. No fancy schmancy lights or tech-y stuff. Just good, indirect light.
In my opinion, this is the best kind of light to take your product photos with. When you're in direct sunlight, the light is just too harsh to get a good and appealing shot of your project. And when you're using the light of regular light bulbs in the evening, you run the risk of your photos looking dim, grainy and yellow.
So the best option for taking photos indoors is to find the biggest window that lets in the most indirect sunlight during the day, and set up your stuff near there. I will say this though: my absolute favorite spot I have found to take my photos has been my garage. Yep, I just open it on up, and snap photos as the neighbors stare. ha! But really, I think the walls in my garage work kind of as a light box for my photos-- they're all white. And since the opening to the garage is so wide and lets in so much light, the walls kind of reflect it around and it just provides the best light. I love it. So if you have access to a white-walled garage, I would totally suggest giving it a try.

My favorite place to take product photos- my garage. And a messy garage, indeed. Please don't judge! lol We have a tiny garage, with nowhere to put all my junk. ;) But really, it provides such great indirect light.
And so with that in mind, when I go to take photos outside I always remember that I should find a spot that is well shaded. Like sides of buildings or under trees. Or even go out on a cloudy day to take some pics. Cloudy days are my absolute favorite to take pictures in. The light is softened by the clouds and you don't have to worry about any harsh sun rays.

Taken on an overcast day, the best kind of light.
Tips
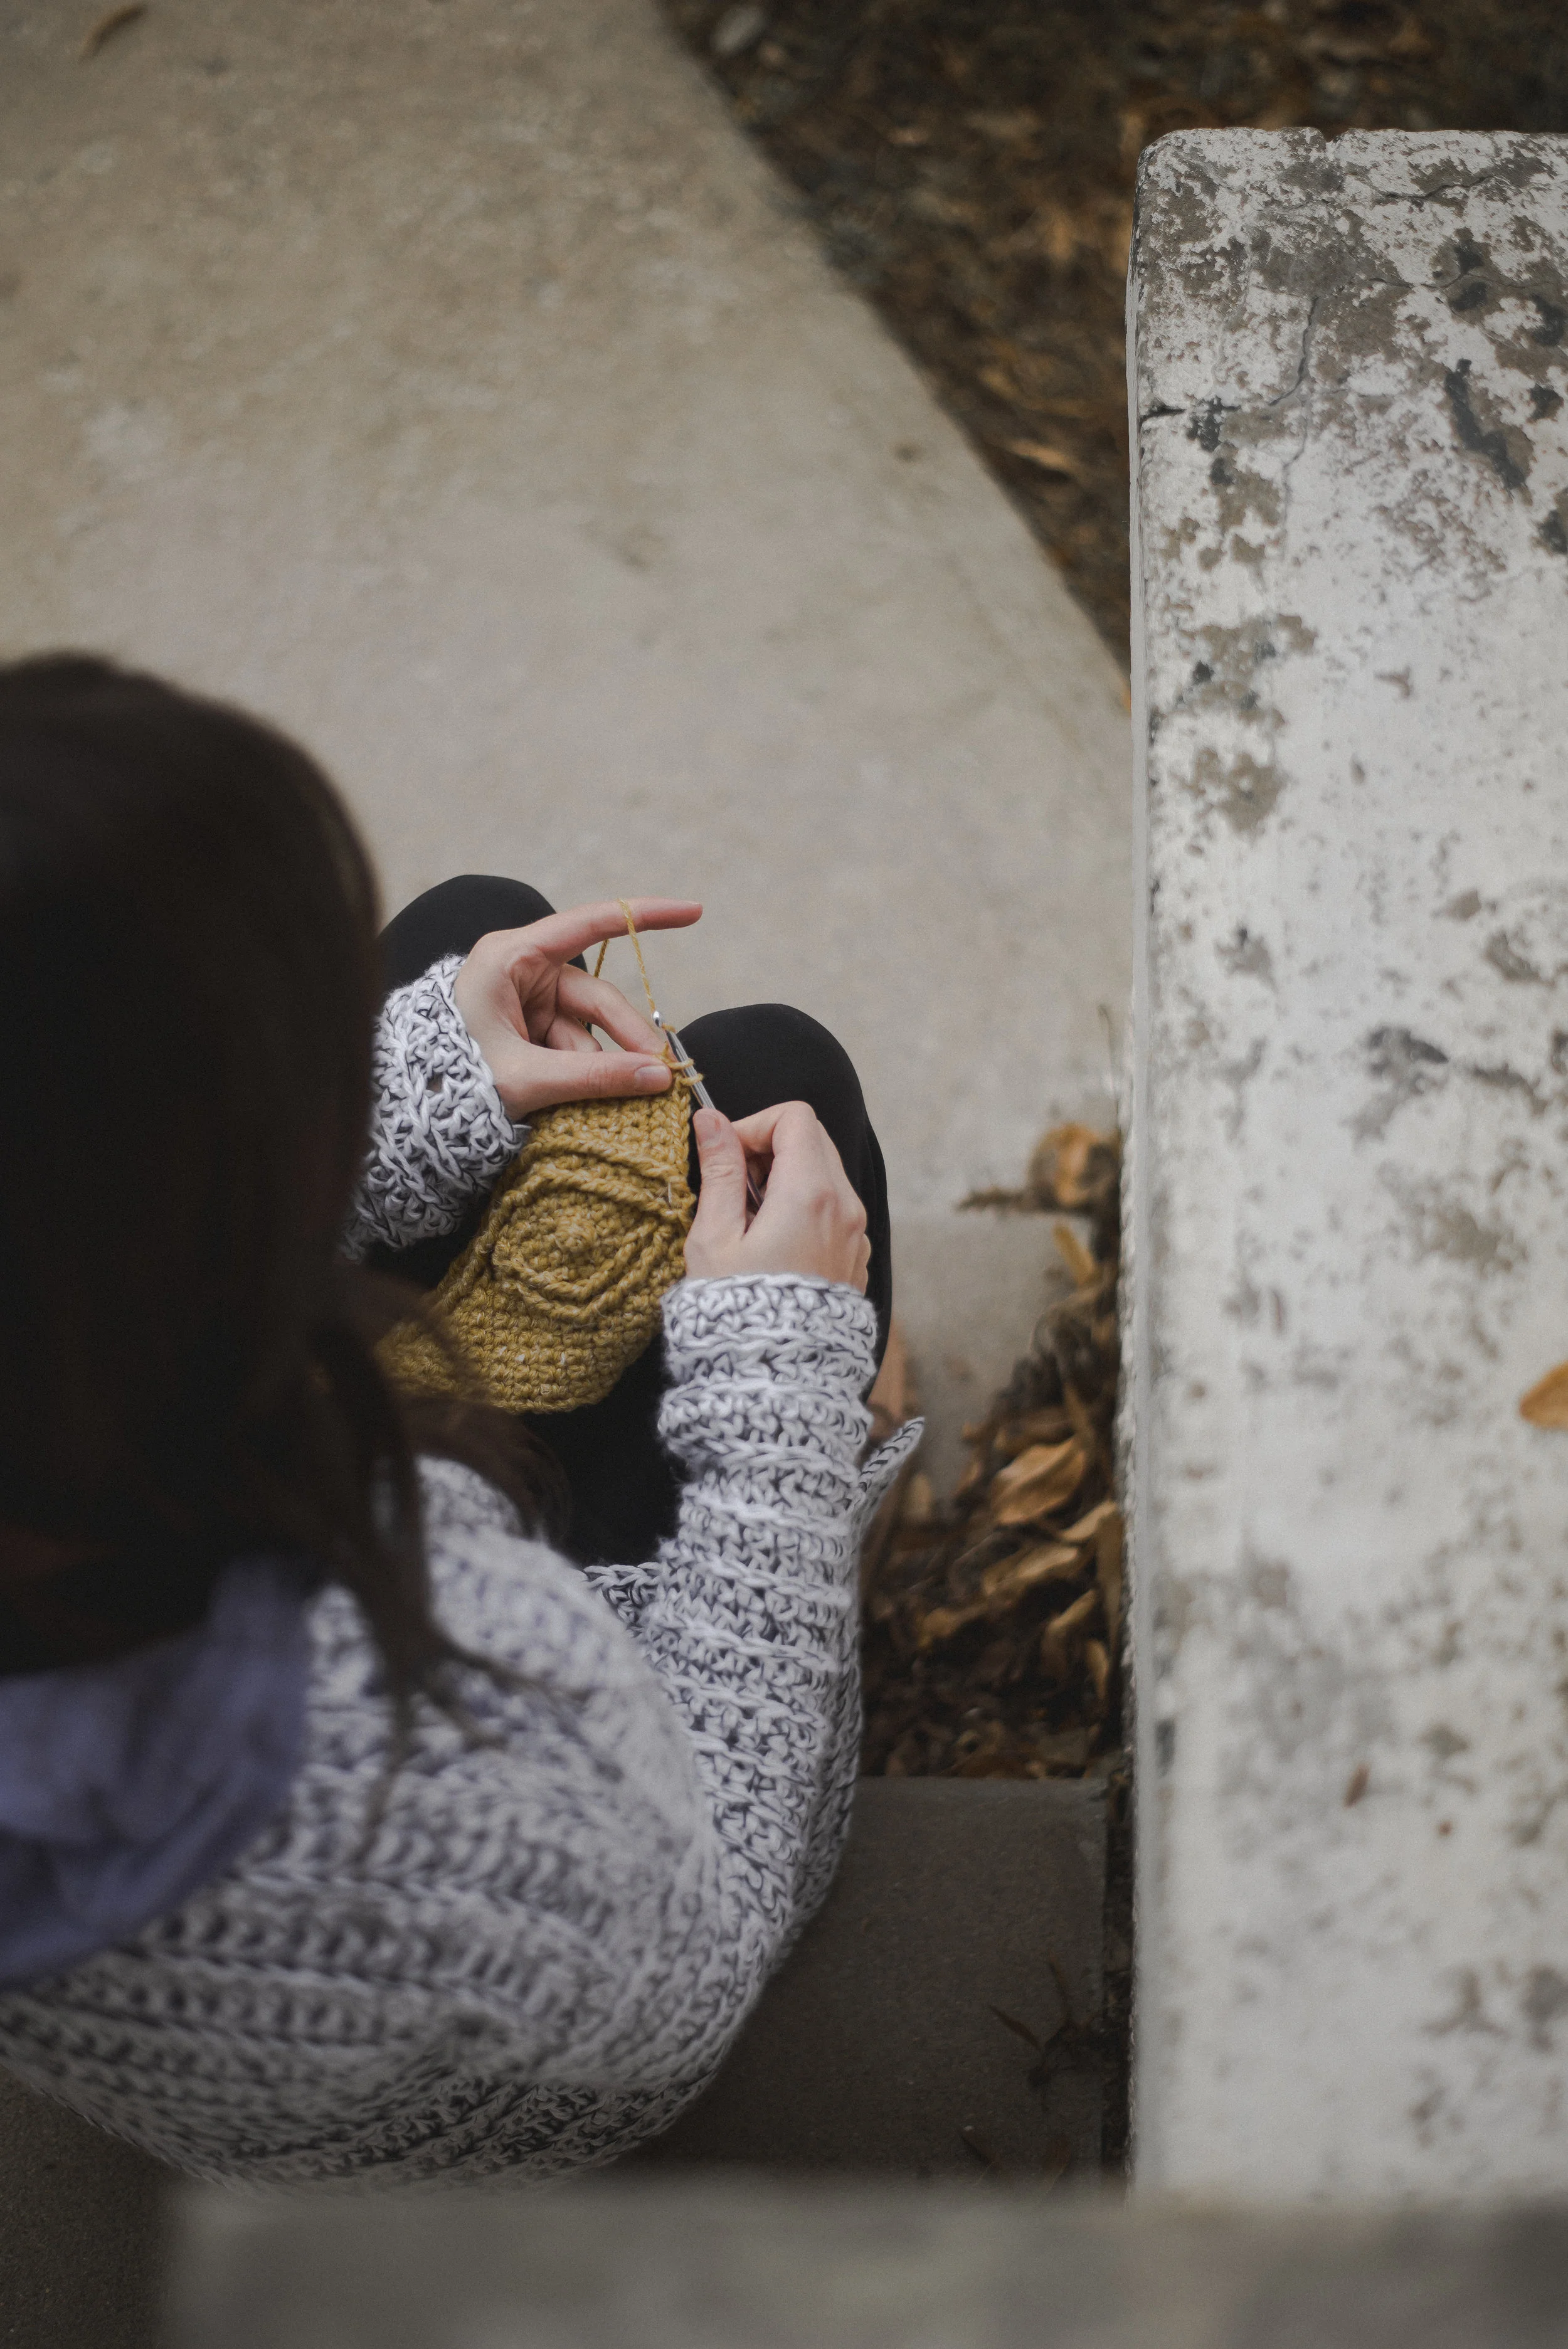
Try a new angle... something that will pique interest.
- As far as working with a DSLR camera, it is most definitely important to be able to operate your camera in manual mode. Meaning you control all the aspects of the shot, the aperture, shutter speed and ISO. I'm not going to get into detail about all of that, but I will provide this article here for a good run-through of the basics using manual mode- it explains it using "normal language" which is a huge plus. lol at least for me, the non-tech-y person
- Another thing that is so important when taking shots of your products, is the angles and framing of your image. Is there depth to your image? How can you add dimension to bring your photo to life? What is a cool angle that would make someone intrigued by your product? I think a great way to get practice on this is to set up your product and take tons of photos of the same set up, just different angles. And to go back through them and study which ones appeal to you and why. Also a great way to learn is to study of some of your inspiration photos-- or photographers you admire. What makes their photos so great? What kind of angles are they shooting from? Where should you put your camera to make your photos look similar?
- Like I briefly mentioned above when talking about my gear-- a white poster board will make a great bounce light for your photos. If you set up your board on the opposite side of your light source, on the other side of your product, it will reflect the light to shine onto what you're taking a picture of.
- Taking photos with your phone:

I think the biggest tip I have for taking phone pictures is to just have some awesome light. With a good amount of indirect light, you can take photos that could compare to the nicer cameras. Below you can see two photos I took of a skein of yarn I took in my garage, AKA the killer light box. The first one is taken with my Nikon D600 and the second with my iPhone 6.

Taken with my Nikon D600

Taken with my iPhone 6
So my Nikon is obviously going to take a better photo than a phone, but still.. the phone pic of the skein of yarn is actually quite good. It's clear, and the definition on the yarn looks great. My DSLR camera is made to work well in lower-light settings. Or really can just be manually adjusted to perform great at any light level. The down-side to taking photos with a phone is that it doesn't perform as well without great lighting. So if you do want to use your phone for your product pics, I would 100% suggest finding a great spot to get your lighting on point.
Another little tip I thought of the other day was to wipe off your camera lens on your phone before snapping a pic. I was trying to take an assembly photo of a project I was doing with my phone and I noticed it was kind of blurry and the look of the photos was somewhat "sheer". Then I realized my camera lens was all smudged, and with a quick swipe with my sleeve, it was all clear and the images looked a ton better. Kind of a silly tip, but is actually pretty important.
Well, that's what I've got for camera and photography tips! I hope it was of some use to you.. And if you have any other questions regarding gear and set up, feel free to leave a comment below. I'd gladly answer anything!
The biggest thing, as always, is to simply just get out there and start practicing! You can only learn so much by reading, you've gotta get out there and take some pictures to actually get better. And you DO NOT have to drop a whole bunch of money to take awesome photos. Get some good lighting and the camera on your phone and get to work on improving your photos! Because your awesome product deserves it. :)
How was that for a pep talk?? 😉
Take care, and happy making/shooting,
Meg


