


Crochet Baby Moccasins Pattern
/
**Find the PDF version of this pattern in my shop by clicking here. Great for easy printing!**
I feel like baby moccasins are EVERYWHERE nowadays. But I haven't seen a crochet pattern for this specific style of baby moccs, so I jumped right on creating them!
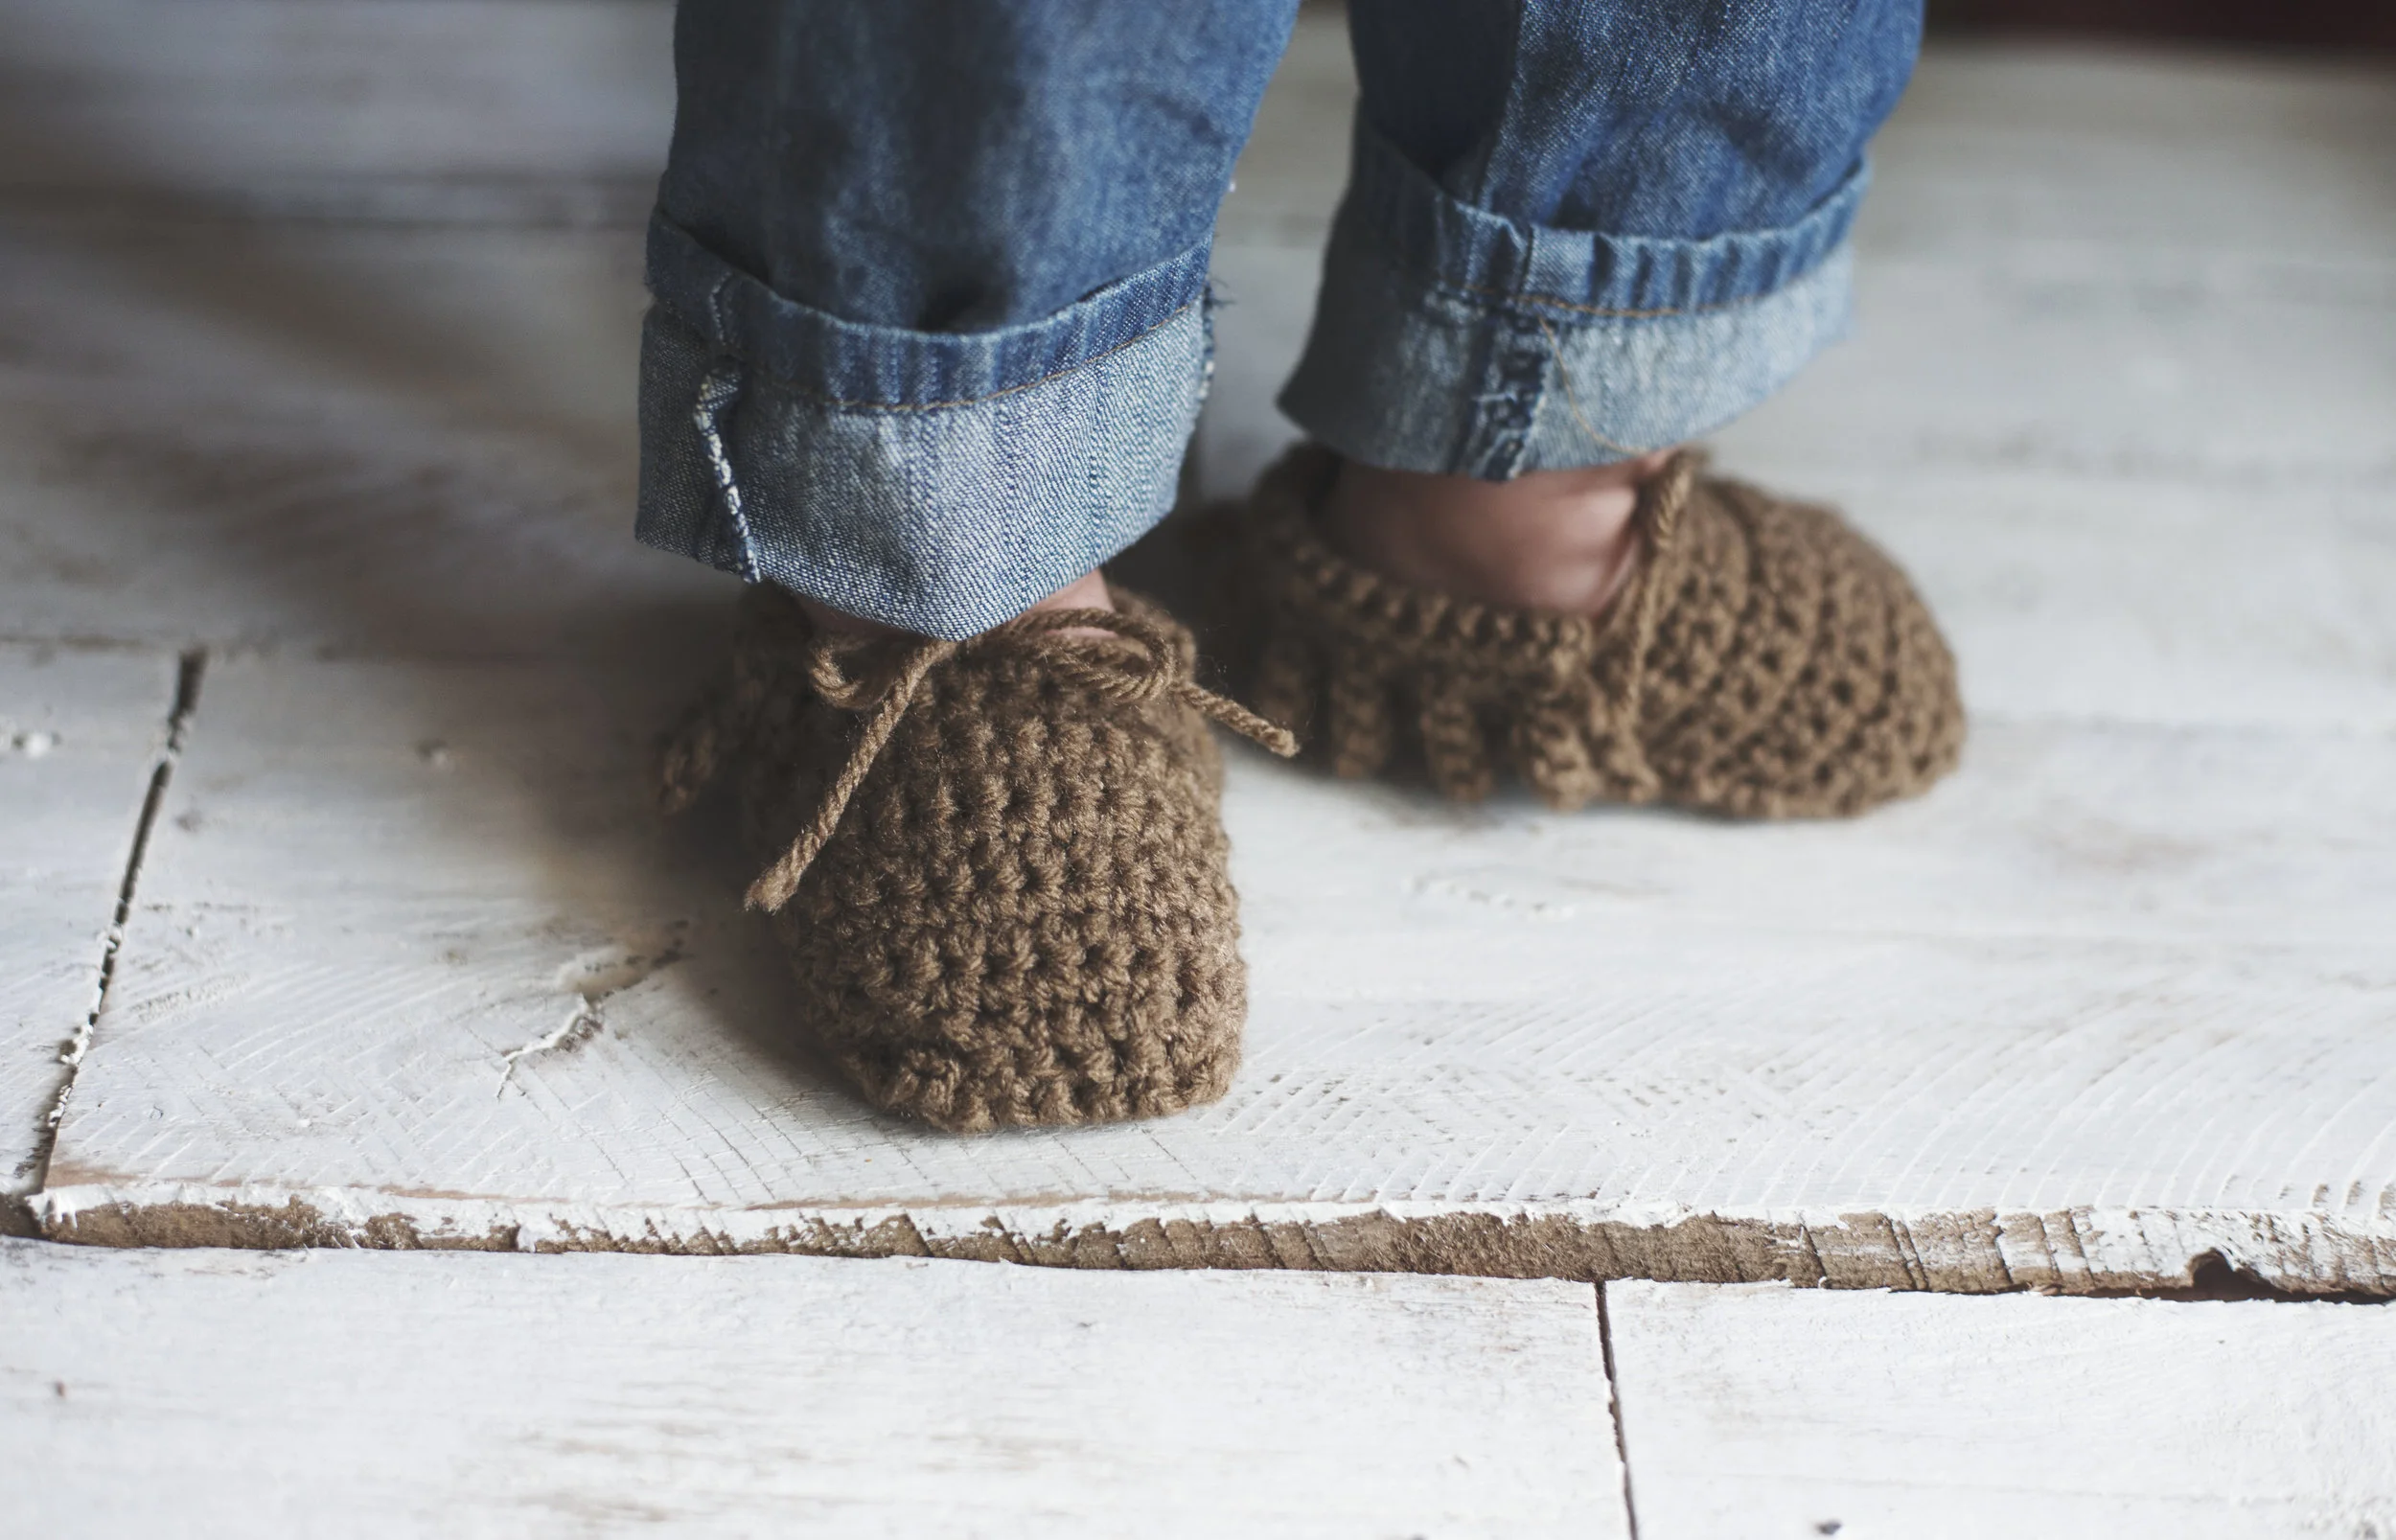
Really, these are pretty simple to make. They work up quick, and don't require any crazy skill. I took plenty of photos for assembling the shoe, so hopefully it makes creating these a breeze!

The pattern includes 3 different sizes: 0-1, 2-3, and 3-4. (They have some stretch to them, so they are forgiving)

Size 0-1 fits feet up to 3.5 inches
Size 2-3 fits feet up to 4 inches
Size 3-4 fits feet up to 4.5 inches
What you'll need:
Size F (3.75 mm) hook (a set like this would be perfect for a beginner)
worsted weight yarn of choice (I used both Red Heart Super Saver and Caron Simply Soft)
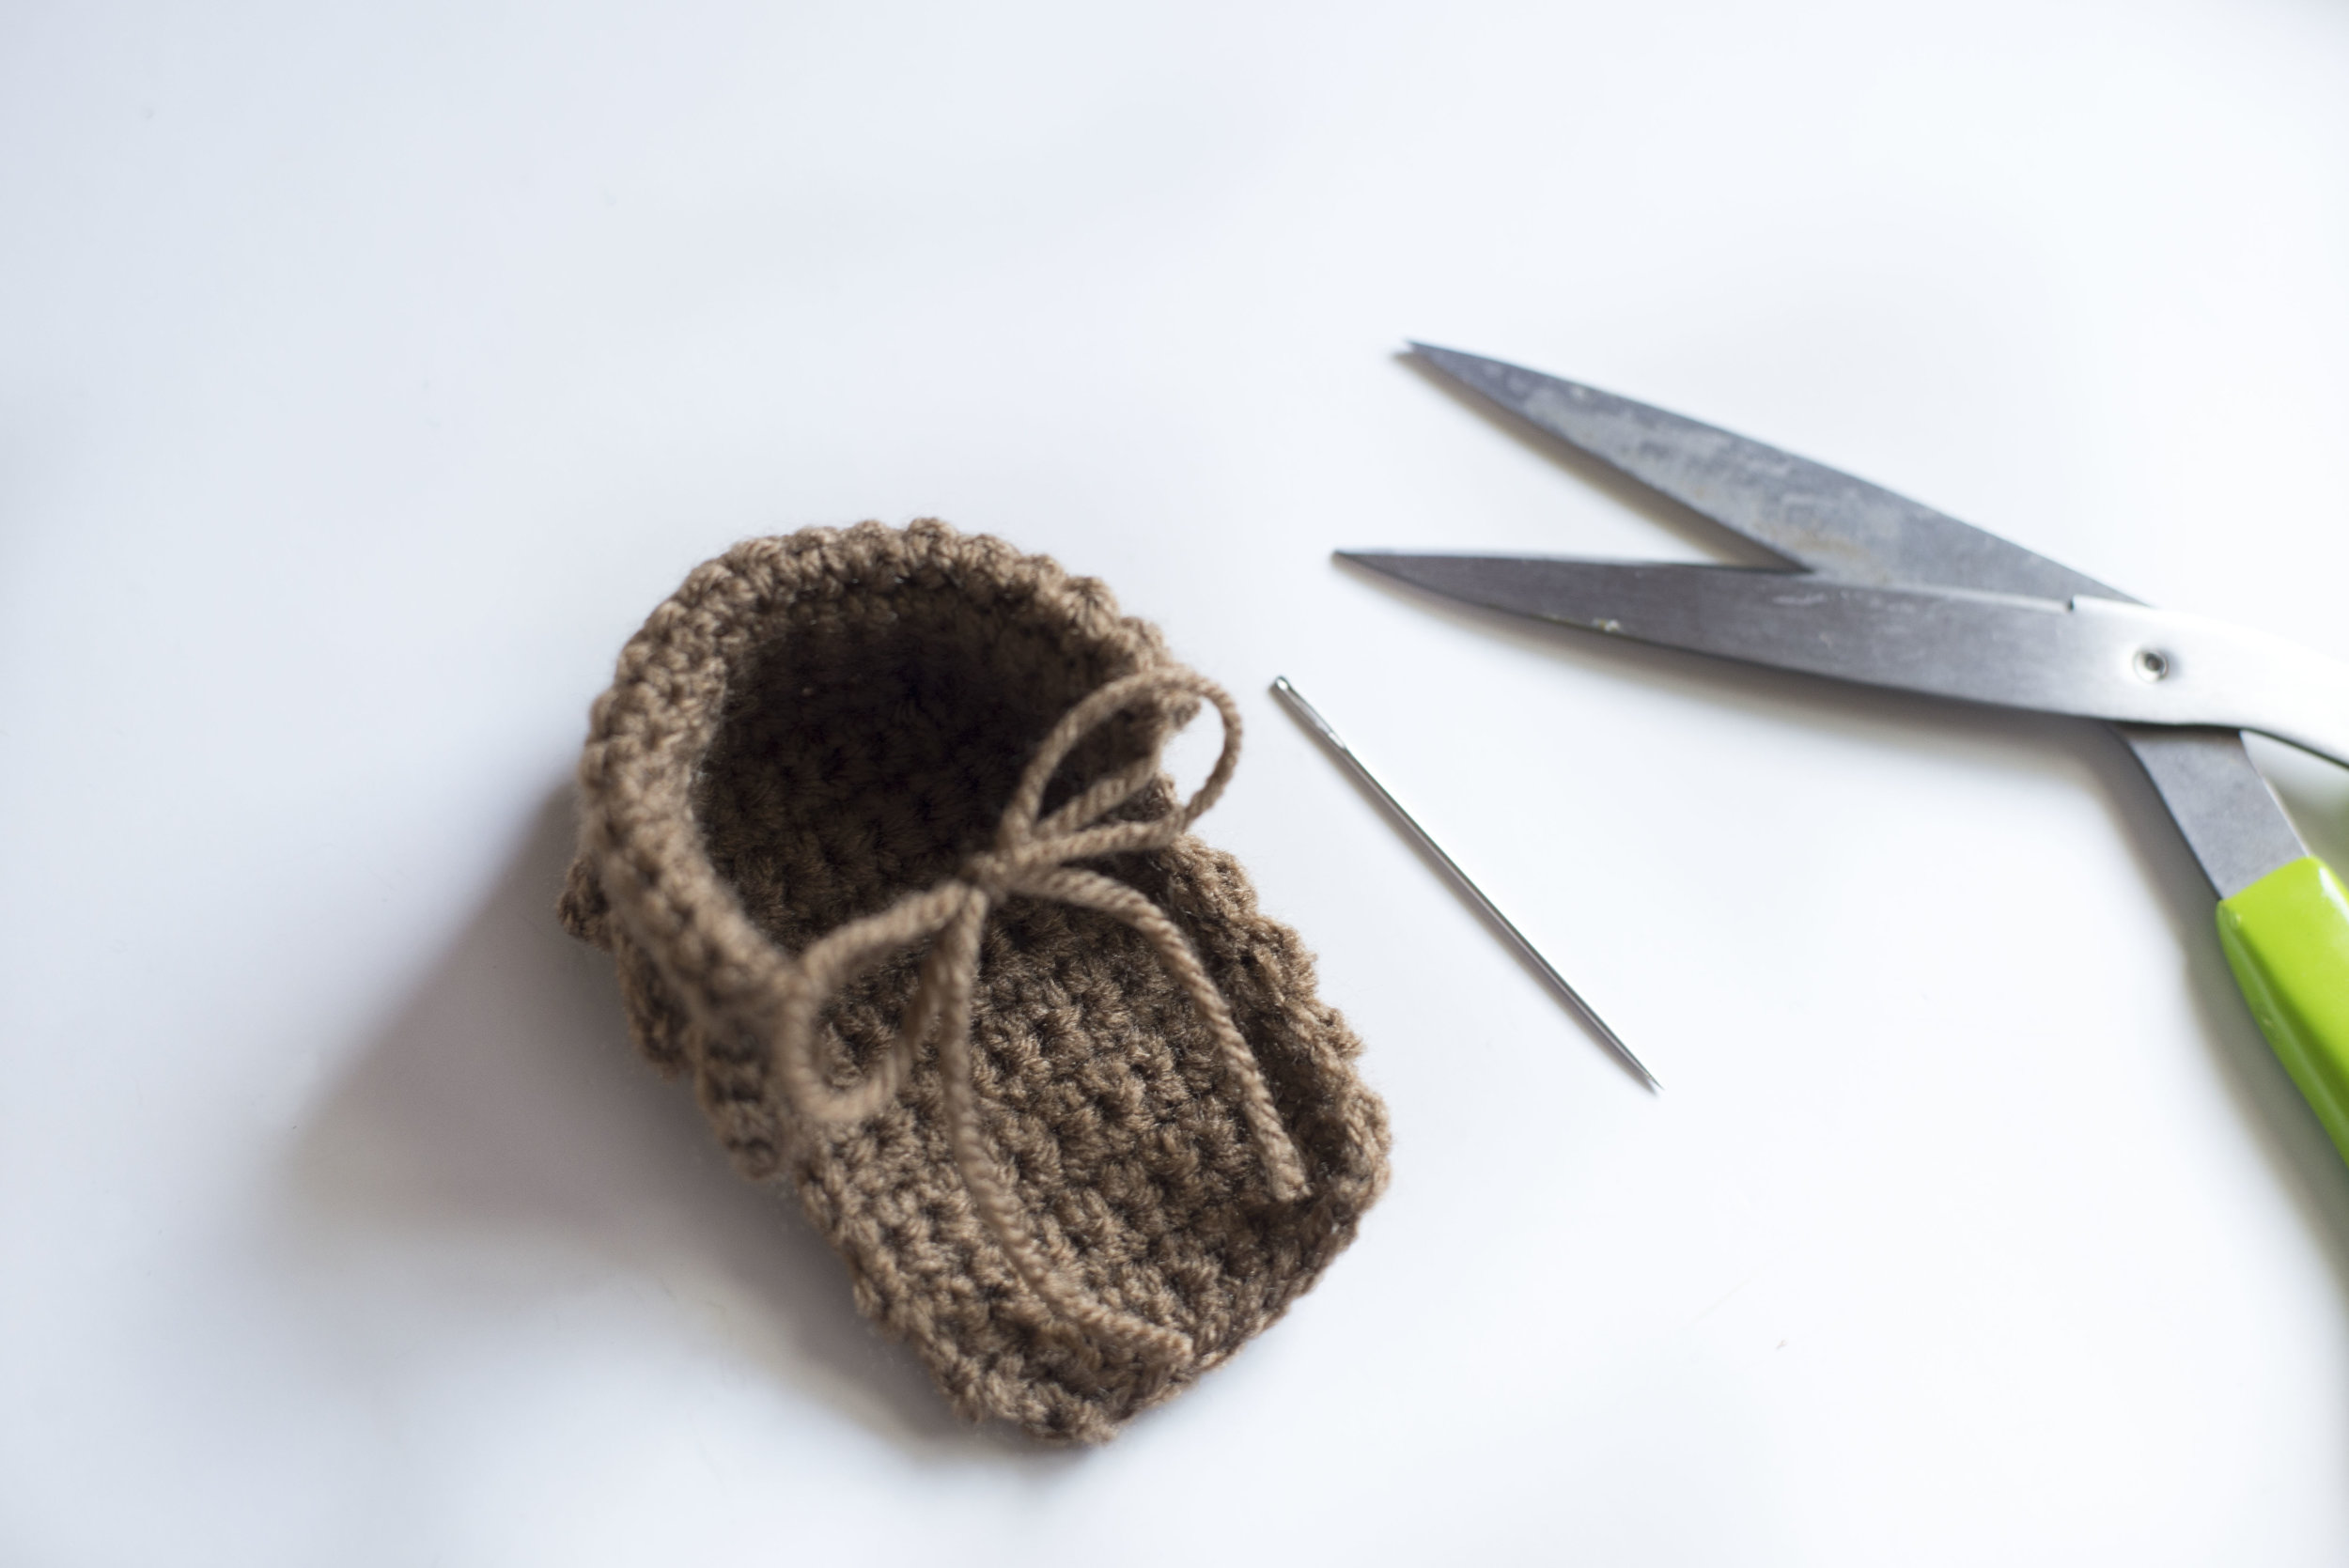
yarn needle
Notes:
-ch at the beginning of rows do not count as stitch
-to achieve the striped look I did on one of the moccasins pictured, alternate colors every two rows when working the top of the shoe
Gauge
17 single crochet by 19 rows equals a four inch square
Abbreviations:
ch- chain, sc- single crochet, sc2tog- single crochet two together, st(s)- stitch(es), BLO- back loop only, sl- slip
Pattern:
*Size 0-1*
Bottom of shoe:
ch 6
1) sc in 2nd ch from hook, and across row (5)
2) ch 1, turn, 2 sc, sc in next 3 sts, 2 sc (7)
3) ch 1, turn, 2 sc, sc in next 5 sts, 2 sc (9)
4-12) ch 1, turn, sc across row (9)
13) ch 1, turn, sc2tog, sc in next 5 sts, sc2tog (7)
14) ch 1, turn, sc2tog, sc in next 3 sts, sc2tog (5)
do not fasten off (see photo A below)
Back of shoe:
sl st down the left side of the bottom of the shoe from where you left off in row 14 until you get to row 7 from the bottom of shoe. There you will ch 1. (see photo B below)
1) work 16 sc around the outside of the bottom of the shoe, ending on row 7 of the other side of the shoe
2-6) ch 1, turn, sc across (16) (see photo C below for what it will look like)
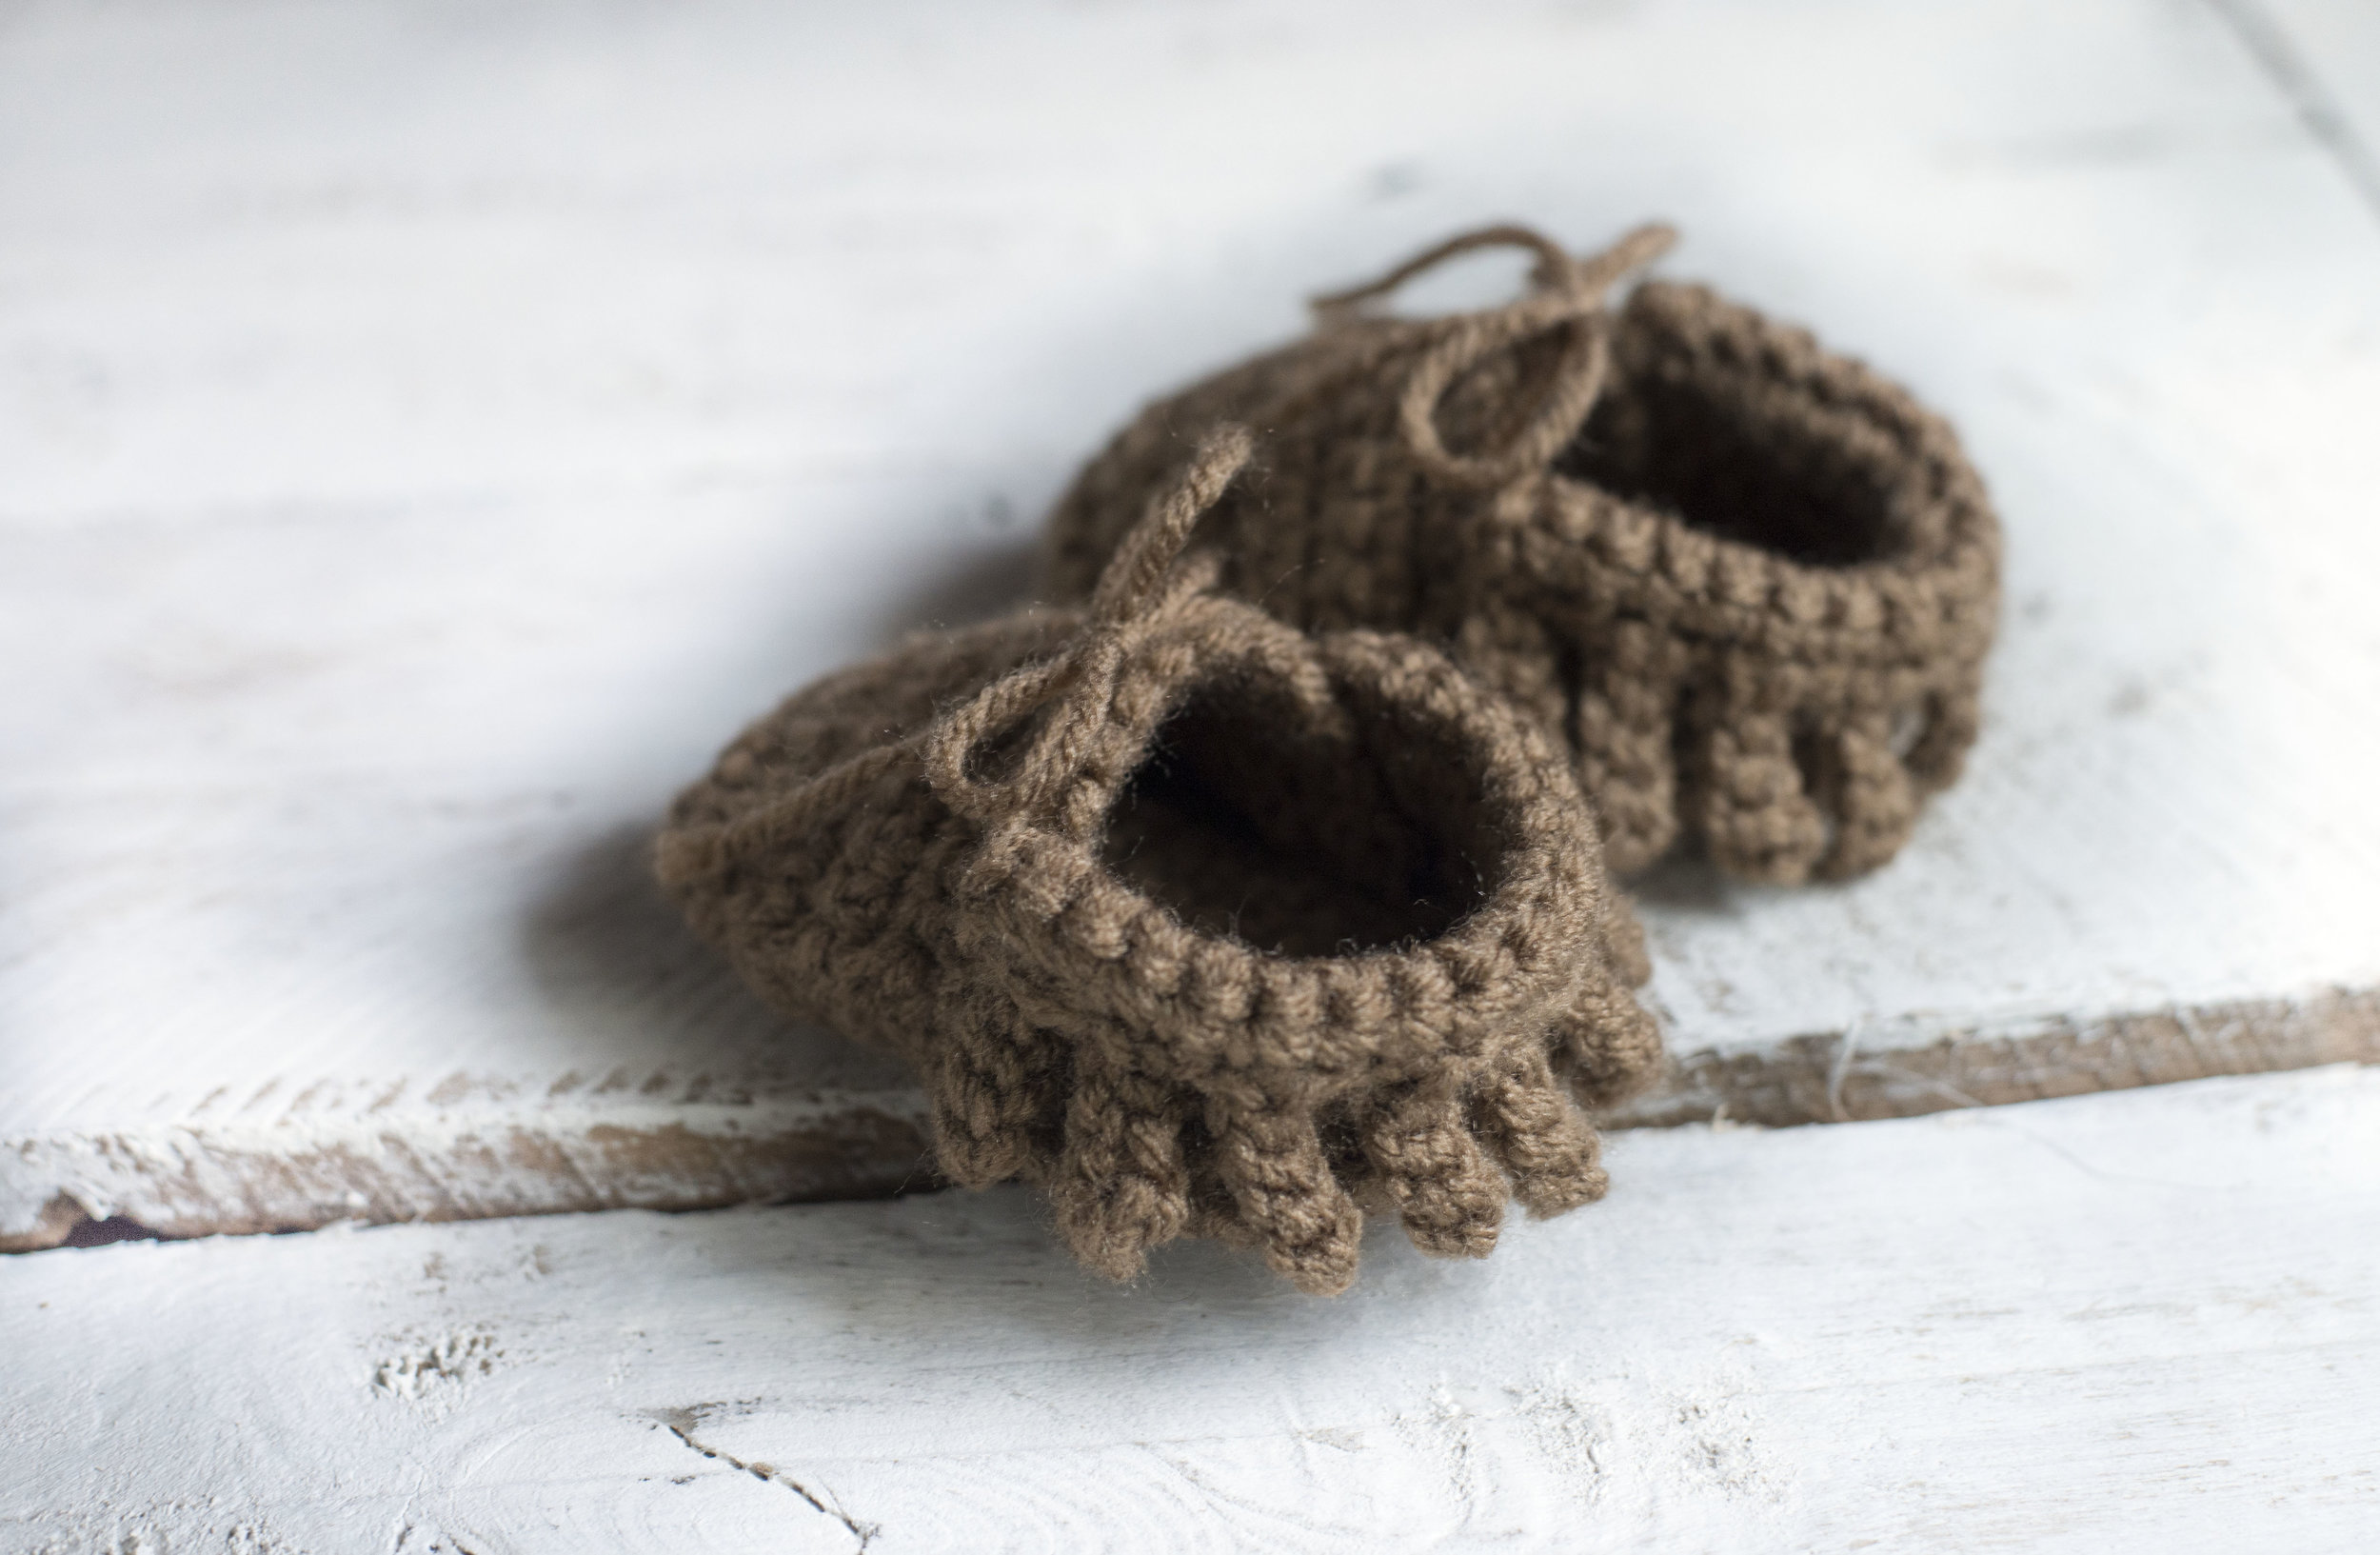
7) (you are now working the fringe, see photos D & E below) *ch 5, sl st BLO into 2nd ch from hook and the 3 remaining ch's (4 total sl sts), sl st into next 2 sts, repeat from * 6 times, ch 5 sl st BLO into 2nd ch from hook and the 3 remaining ch's (4 total sl sts), sl st into last st (you will have 8 fringes)
fasten off and leave long tail for sewing
Top of shoe:
*tie slip knot with a 12 inch tail before beginning ch for sewing shoe together*
ch 12
1) sc in 2nd ch from hook, and across row (11)
2-6) ch 1, turn, sc across row (11)
7) ch 1, turn, sc2tog, sc into next 7 sts, sc2tog (9)
8) ch 1, turn, sc2tog, sc into next 5 sts, sc2tog (7)
9) ch 1, turn, sc2tog, sc into next 3 sts, sc2tog (5)
fasten off and weave in end
See below for assembling the shoe.
*Size 2-3*
Bottom of shoe:
ch 7
1) sc in 2nd ch from hook, and across row (6)
2) ch 1, turn, 2 sc, sc in next 4 sts, 2 sc (8)
3) ch 1, turn, 2 sc, sc in next 6 sts, 2 sc (10)
4-15) ch 1, turn, sc across row (10)
16) ch 1, turn, sc2tog, sc in next 6 sts, sc2tog (8)
17) ch 1, turn, sc2tog, sc in next 4 sts, sc2tog (6)
do not fasten off (see photo A below)
Back of shoe:
sl st down the left side of the bottom of the shoe from where you left off in row 17 until you get to row 8 from the bottom of shoe. There you will ch 1. (see photo B below)
1) work 18 sc around the outside of the bottom of the shoe, ending on row 8 of the other side of the shoe
2-7) ch 1, turn, sc across (18) (see photo C below for what it will look like)
8) (you are now working the fringe, see photos D & E below) *ch 5, sl st BLO into 2nd ch from hook and the 3 remaining ch's (4 total sl sts), sl st into next 2 sts, repeat from * 7 times, ch 5 sl st BLO into 2nd ch from hook and the 3 remaining ch's (4 total sl sts), sl st into last st (you will have 9 fringes)
fasten off and leave long tail for sewing
Top of shoe:
*tie slip knot with a 12 inch tail before beginning ch for sewing shoe together*
ch 14
1) sc in 2nd ch from hook, and across row (13)
2-7) ch 1, turn, sc across row (13)
8) ch 1, turn, sc2tog, sc into next 9 sts, sc2tog (11)
9) ch 1, turn, sc2tog, sc into next 7 sts, sc2tog (9)
10) ch 1, turn, sc2tog, sc into next 5 sts, sc2tog (7)
fasten off and weave in end
See below for assembling shoe.
*Size 3-4*
Bottom of shoe:
ch 8
1) sc in 2nd ch from hook, and across row (7)
2) ch 1, turn, 2 sc, sc in next 5 sts, 2 sc (9)
3) ch 1, turn, 2 sc, sc in next 7 sts, 2 sc (11)
4-16) ch 1, turn, sc across row (11)
17) ch 1, turn, sc2tog, sc in next 7 sts, sc2tog (9)
18) ch 1, turn, sc2tog, sc in next 5 sts, sc2tog (7)
do not fasten off (see photo A below)
Back of shoe:
sl st down the left side of the bottom of the shoe from where you left off in row 18 until you get to row 9 from the bottom of shoe. There you will ch 1. (see photo B below)
1) work 20 sc around the outside of the bottom of the shoe, ending on row 9 of the other side of the shoe
2-8) ch 1, turn, sc across (20) (see photo C below for what it will look like)
9) (you are now working the fringe, see photos D & E below) *ch 5, sl st BLO into 2nd ch from hook and the 3 remaining ch's (4 total sl sts), sl st into next 2 sts, repeat from * 8 times, ch 5 sl st BLO into 2nd ch from hook and the 3 remaining ch's (4 total sl sts), sl st into last st (you will have 10 fringes)
fasten off and leave long tail for sewing
Top of shoe:
*tie slip knot with a 12 inch tail before beginning ch for sewing shoe together*
ch 16
1) sc in 2nd ch from hook, and across row (15)
2-8) ch 1, turn, sc across row (15)
9) ch 1, turn, sc2tog, sc into next 11 sts, sc2tog (13)
10) ch 1, turn, sc2tog, sc into next 9 sts, sc2tog (11)
11) ch 1, turn, sc2tog, sc into next 7 sts, sc2tog (9)
fasten off and weave in end
See below for assembling shoe.


Assembling shoe:
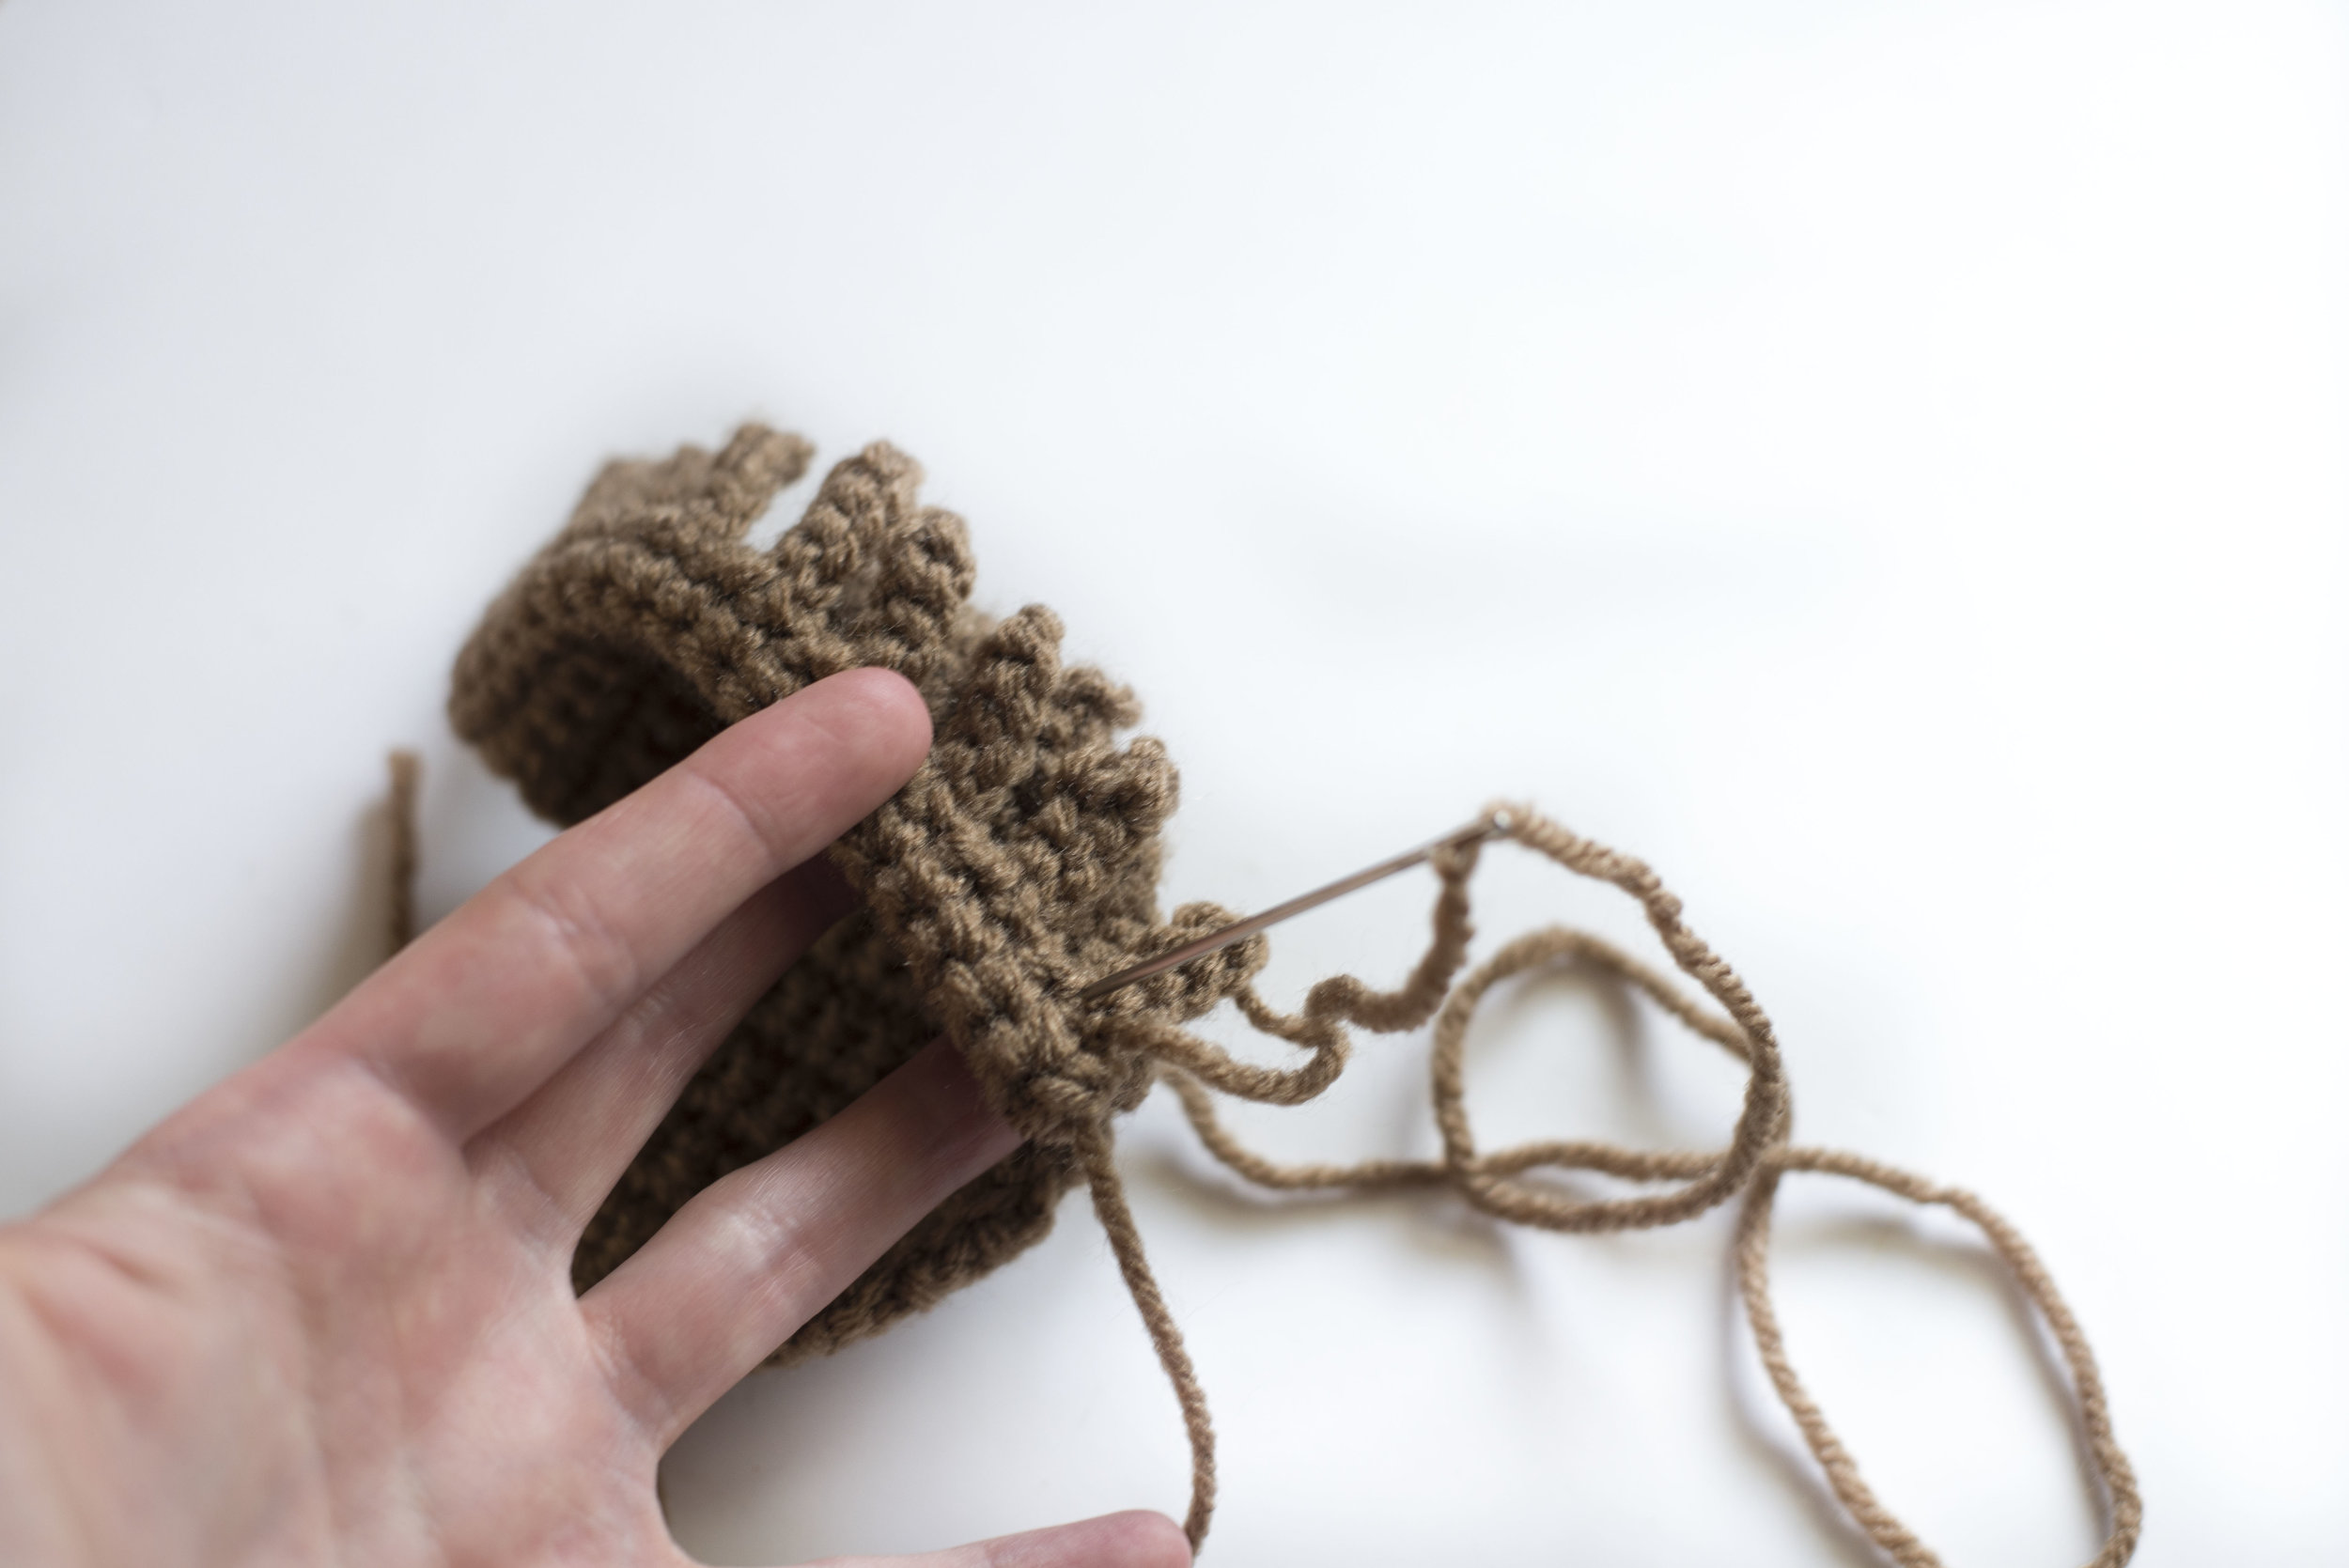
for the shoe tie, cut a 16 inch piece of yarn. Then you're going to place it on the back of your shoe, underneath the fringes (see photo below). Fold the fringes over between the last two rows you worked on the back of shoe.

Then, while holding the folded edge over, sew along the back of the shoe using the long tail. To make sure not to sew over your tie, sew lower-- closer to the fringes around the back.
Weave in your end, then it will look like this (you don't have to tie the tie in a knot, I just did cause it looked pretty):
Next you're going to attach the top of the shoe to the rest bottom.

Line up the edges of the top and bottom parts of the shoes, making sure that the toe lines up. The top will go a little past the back of the shoe, which is what you want because you'll attach the back of the shoe to the top of the shoe later. Although I didn't use pins to secure them while sewing, that may be helpful to you. Then using your long tail from the top of the shoe and your needle, sew along the outside edge of the moccasin using a whip stitch. Don't tie off yet.

Next you will connect the top of the shoe to the back part using the same yarn you used to sew around the front of the shoe and your needle (see photo below). Make a few passes to connect them and make them secure (don't sew them all the way up, just to below where the fringes are) and tie off and weave in your yarn. Do the same for the other side of the shoe with a separate piece of yarn.

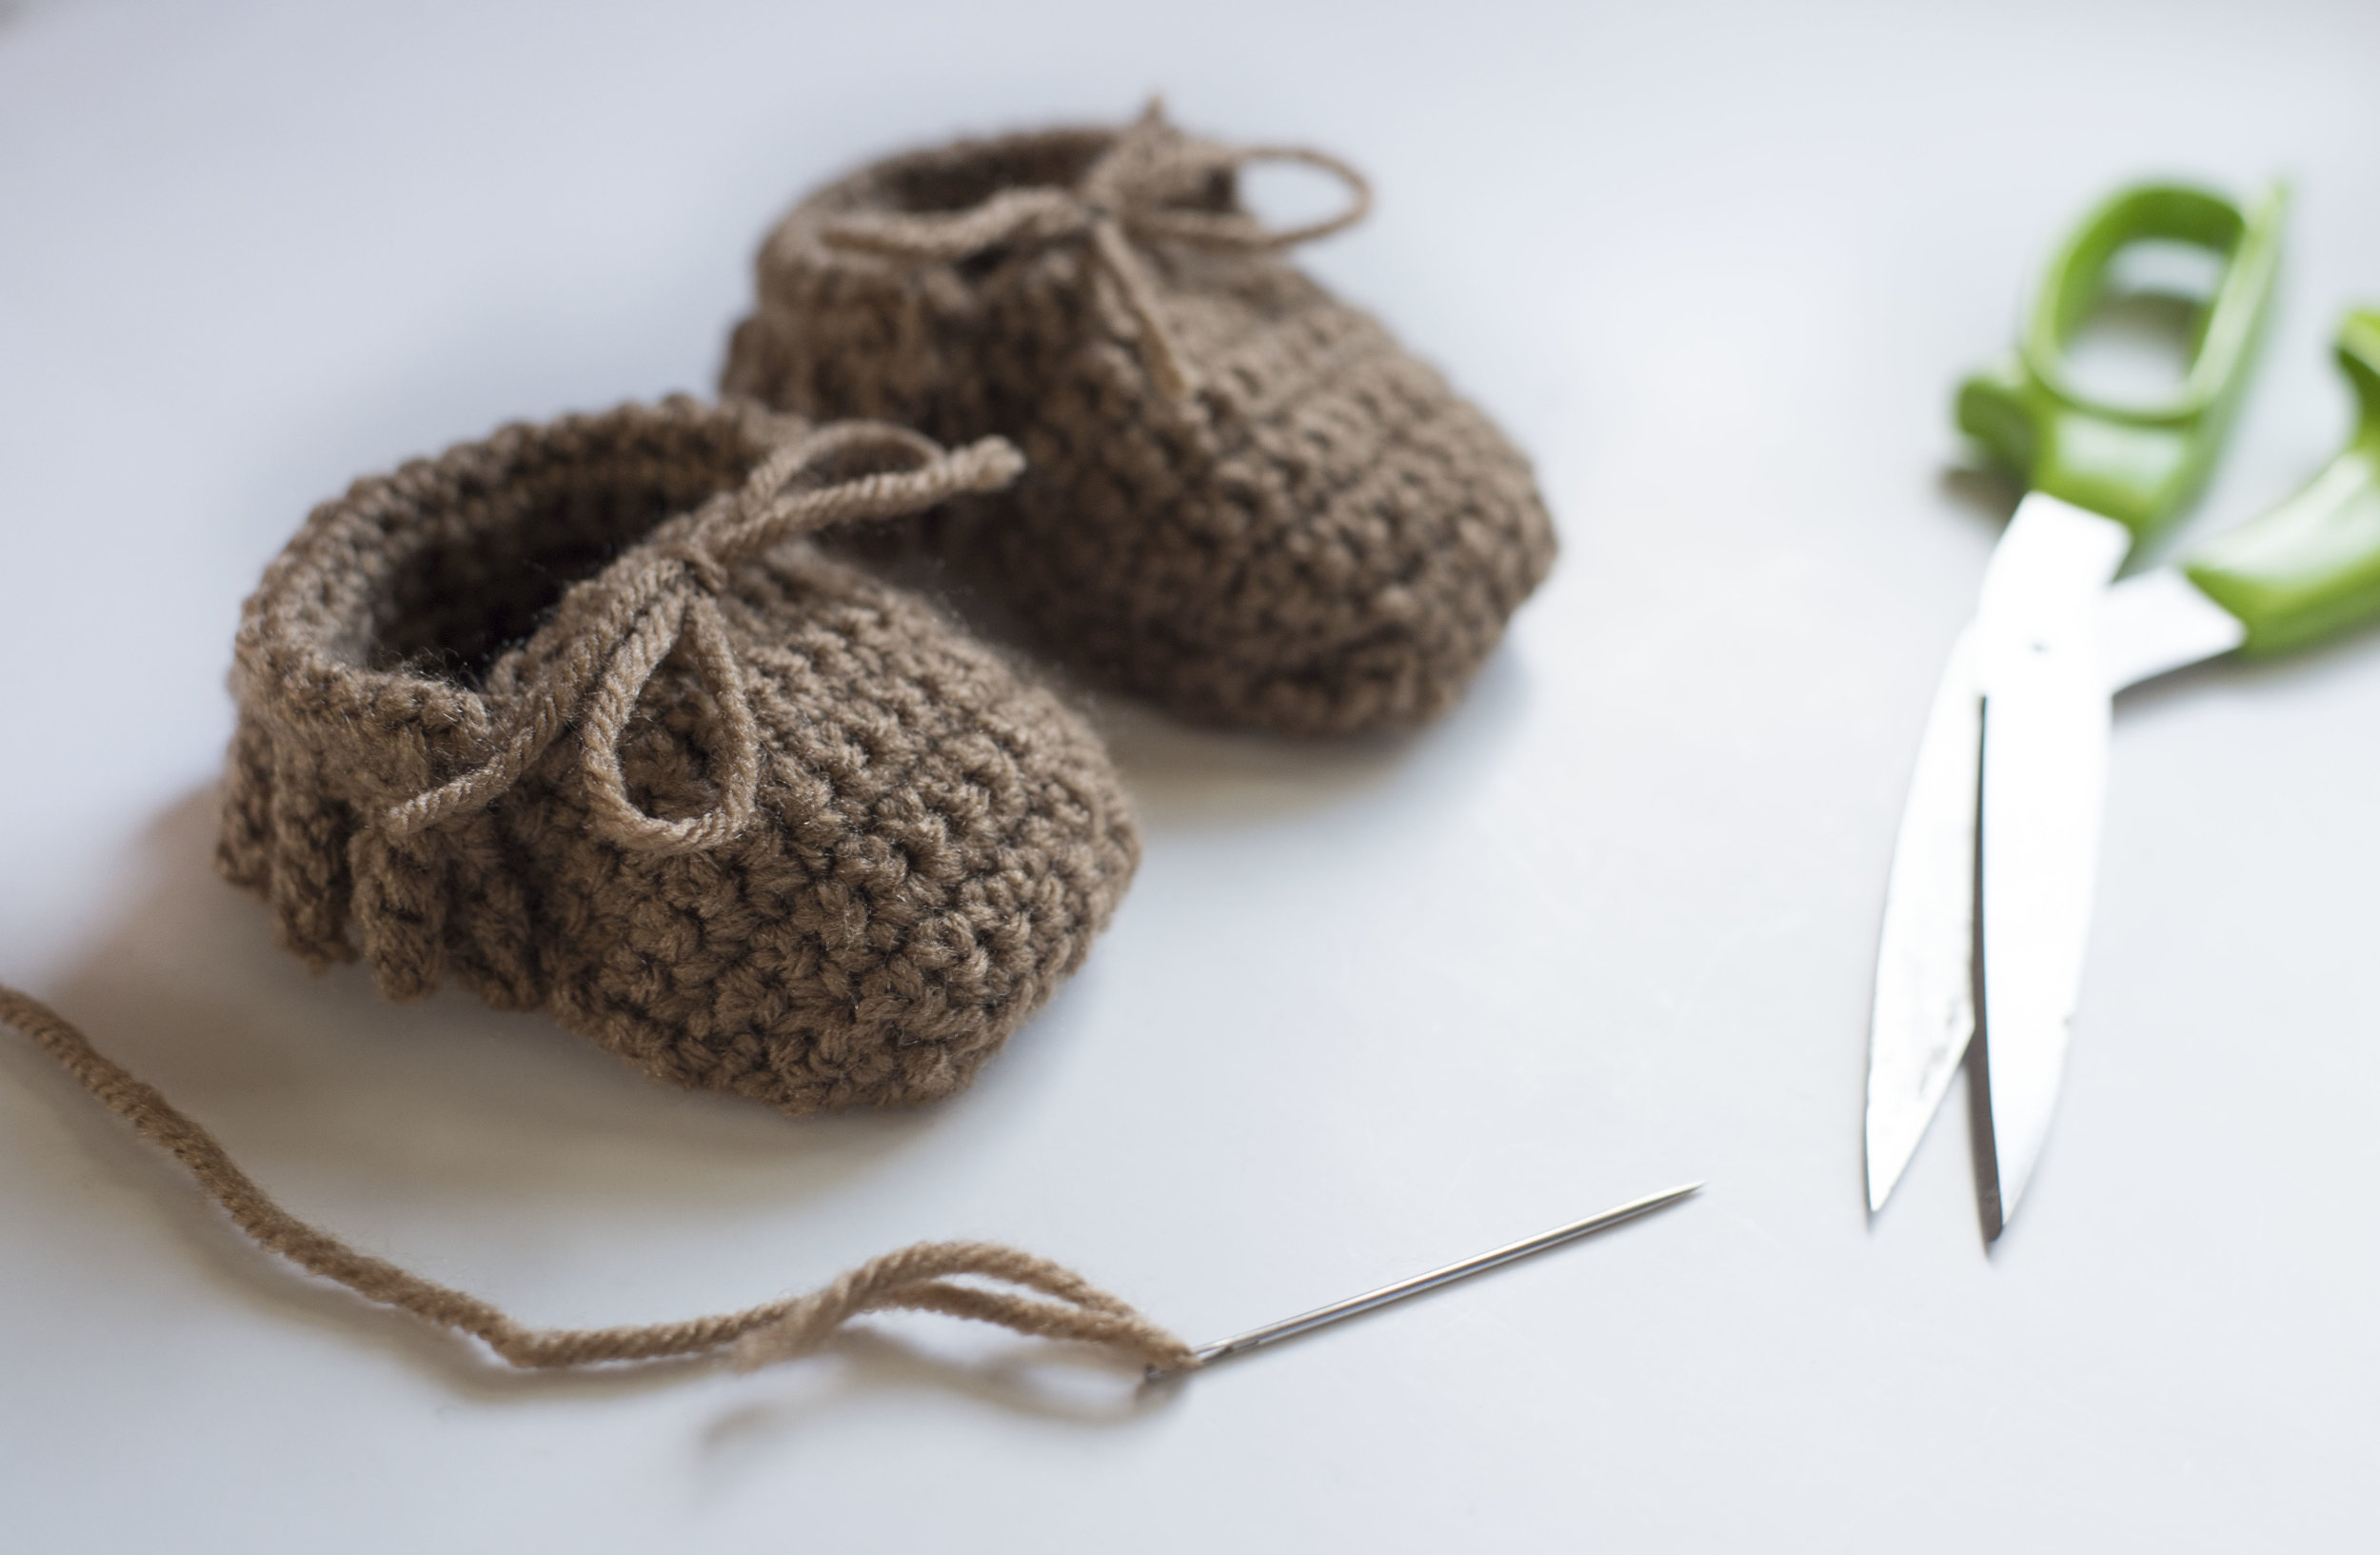
After you're done with both shoes and the ends are woven in, just tie a cute little bow with your "tie" and your adorable moccasins are complete! These things are just too cute..

These would make a great baby shower gift or heck, make 'em for your own little one. I did!

They would make the perfect pair with the flower headband I recently created. Pattern for the headband to come soon!
Happy making my friend.
Love,
Meg


