


Aztec Boho Crossbody Purse
/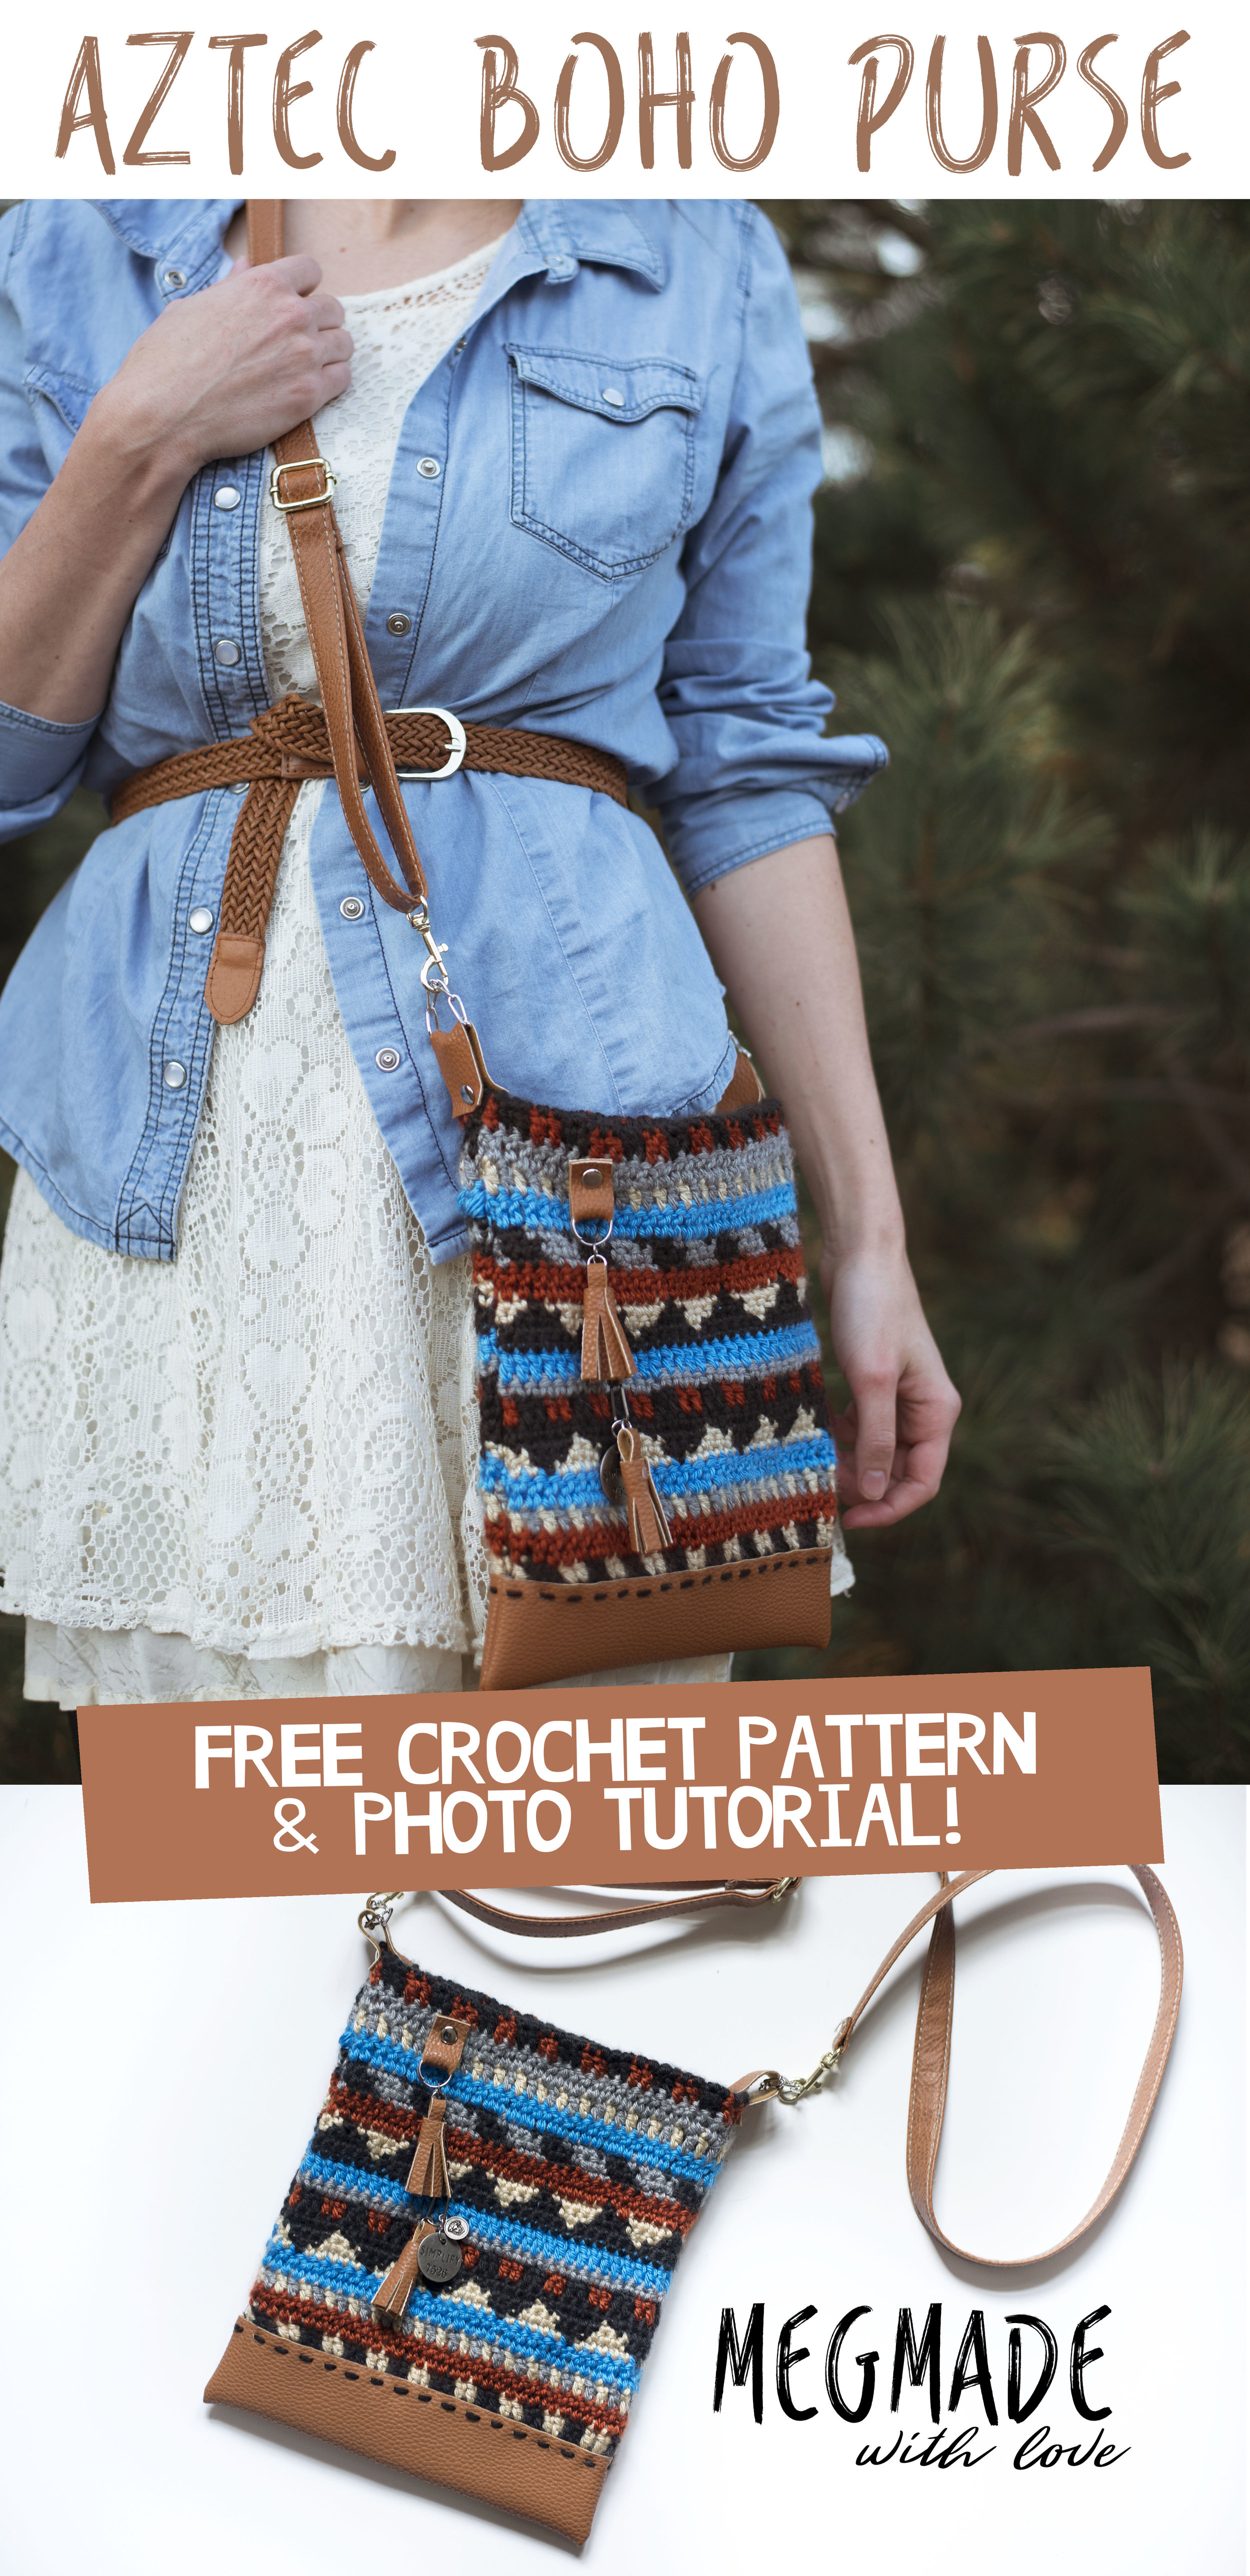
I'm just going to start out by saying I am super pumped about this pattern...
I've had this thing inside my head ever since I designed my Aztec Slouchy (found here). I really wanted to create a cute crochet purse that also had leather (or in this case faux leather) details to it, and for it to have that "boho" effect.
If I'm being honest I haven't worn a purse in probably a year or so. I don't really know why, I just think grabbing my wallet is a lot easier. And when you have a baby--easy is the way to go (which is also why I won't make a recipe unless it says "crock pot" in front of it). But I really think I can deal with carrying this one around. Mostly because I'm pretty proud of it. Also it isn't very big, and I can just toss a few things in there along with my wallet. Success!
The purse is made up of two separate pieces that are sewn together on the sides. I used mostly Caron Simply Soft yarn, which is one of my faves, but any worsted weight yarn would work for it. I will note that there are A LOT of color changes, but in my opinion it's totally worth it when you see your final result! (**Important: Read the notes about changing colors!!**)
I will also mention that there are so many ways you can customize this to be your own, but I thought I'd show you how I assembled my purse after crocheting it. I used rivets and snaps for the first time on this project, and while intimidating, they were surprisingly easy to assemble.
Let's get to it!

Aztec Boho Purse
Finished purse dimensions are approx. 9.75"x8.25"
What you'll need:
5 different colors of worsted weight yarn
[I used Caron Simply Soft in Bone(BO), Black(BL), Soft Grey Heather(GR), and Cobalt Blue(CB). The orange is Yarn Bee Soft Secret in Bittersweet(OR)]
Size 5.00 mm H hook
about an 1/8 of a yard of faux leather like this
rivets and rivet setter like this one ( I got mine at Hobby Lobby in the Leather section, I used the "medium" sized rivets in my set, which were 8mm tall. Also-- you could use an anvil along with this to poke holes in fabric, I just used my scissors)
snaps and setter like this (I got mine from Walmart in the sewing section)
yarn needle
sewing pins
sewing machine (not 100% necessary, you could always handstitch!)
ruler or tape measure
pen
1/4 yard of fabric of your choice for lining (I used black felt, it added some firmness to the project. You could always use a lighter fabric plus interfacing if you wanted to strengthen it)
pair of good sharp scissors
metal charms like these
8mm jump rings like these
large metal chain (this is how I connected the strap to the purse. you could always use traditional O rings or D rings, I just used chain because I wanted to use what I had on hand.)
small pliers (I used jewelry pliers)
jewelry wire cutters like these
hot glue gun
purse strap (I repurposed one I already had, but you can find one here or even make one from your faux leather or crochet one!)
Gauge:
15 dc and 8 rows equals a four inch square
Abbreviations:
ch=chain, st(s)=stitch(es), sl=slip, sc=single crochet, dc=double crochet
Notes:
the ch's at the beginning of the rows do not count as a stitch
IMPORTANT: For this pattern you will be changing colors on both sides of your work. I carried the yarn between changes if at all possible. When you are working on the "right side" of the piece, you will carry your yarn color change behind the work. When you are changing colors on the "wrong side" you change colors in front of your work. A little tricky, but you'll get the hang of it!
Continue using the color indicated until it says "change to" a different color
In case seeing a graph would help you I made two different ones for the triangles and the side stripe-thingies(for the second set of triangles it would just be upside down). Each space on the graph would be a single crochet worked from the bottom up:


Pattern:
*MAKE 2*
using BL- ch 37
1) sc in 2nd ch from hook and across row (36 total sts, and 36 total each row from here on out)
2) ch 2, turn, dc into first 2 sts, change to BO- dc into next 2 sts, *change to BL- dc into next 2 sts, change to BO- dc into next 2 sts, repeat from * to end
3) change to OR- ch 2, turn, dc across row
4) change to GR- ch 2, turn, *change to BO- dc into next st, change to GR- dc into next st, repeat from * to end
5) change to CB- ch 2, turn, dc across row
6) change to BO- ch 1, turn, sc into first 2 sts, *change to BL- sc into next st, change to BO- sc into next 5 sts, repeat from * 4 times, change to BL- sc into next st, change to BO- sc into last 3 sts
7) ch 1, turn, sc into first 2 sts, *change to BL- sc into next 3 sts, change to BO- sc into next 3 sts, repeat from * 4 times, change to BL- sc into next 3 sts, change to BO- sc into last st
8) change to BL- ch 1, turn, sc into first 5 sts, *change to BO- sc into next st, change to BL- sc into next 5 sts, repeat from * 4 times, change to BO- sc into last st
9) change to BL- ch 1, turn, sc across row
10) ch 2, turn, dc into first 2 sts, change to OR- dc into next 2 sts, *change to BL- dc into next 2 sts, change to OR- dc into next 2 sts, repeat from * to end
11) change to GR- ch 1, turn, sc across row
12) repeat row 5
13) (you're working the triangles again now, just upside down) repeat row 9
14) repeat row 8
15) repeat row 7
16) repeat row 6
17) change to OR- ch 2, turn, dc across row
18) change to GR- ch 1, turn, sc into first st, *change to BL- sc into next 3 sts, change to GR- sc into next 3 sts, repeat from * 4 times, change to BL- sc into next 3 sts, change to GR- sc into last 2 sts
19) ch 1, turn, sc into first st, *change to BL- sc into next 3 sts, change to GR- sc into next 3 sts, repeat from * 4 times, change to BL- sc into next 3 sts, change to GR- sc into last 2 sts
20) ch 1, turn, sc into first 3 sts, *change to BL- sc into next 3 sts, change to GR- sc into next 3 sts, repeat from * 4 times, change to BL- sc into last 3 sts
21) change to CB- ch 2, turn, dc across row
22) repeat row 5
23) repeat row 4
24) (using GR)- ch 2, turn, dc across row
25) repeat row 10
26-27) change to BL- ch 2, turn, dc across row
fasten off and leave long tail (about 20 inches) to sew the crocheted piece to the lining
now onto the assembly of the purse!
First, you're going to sew the sides of the crochet part of the project together. If you're anything like me, and you have the opportunity to NOT weave in the ends you take full advantage. ha! In which I truly did. If you'd like to do that, then by all means!! They're not going to be visible anywho.
Place the wrong sides of your crochet pieces together and pin them along the long edges with sewing pins.

Sew along the long edges of the crochet pieces about 1/4 inch from the edge with sewing machine. Do not sew all the way around the pieces. (You could use yarn and tapestry needle as another option.)

Here's the bag all sewed up:

Next you'll cut the bottom part of your purse out of faux leather. Please make sure to double check your measurements.. in case you're purse turned out to measure differently. For my purse I measured out a piece that was 9x4 inches. If you have different measurements for whatever reason, make sure you allow for 1/2 inch in length for seam allowance (1/4 inch on each side)


Fold it in half long-ways (right sides together), and then sew the short sides only, a quarter of an inch from the edge.
Here's the bottom after it's sewed:

Now onto attaching the bottom to the crocheted piece...

Get your yarn needle, with a 30 inch piece of your BL yarn, and sewing pins. Pin your faux leather bottom piece to your crocheted piece, overlapping on the bottom row of black single crochets.

Using a ruler, measure 1/4 inch from the top of the faux leather bottom piece. Every 1/4 inch across the piece make a small dot with a pen. This will be your guideline for sewing the pieces together so it will be even.
To sew the piece together, insert your needle from the wrong side of the pieces on the seam, and do a running stitch in and out of the dots that you put on the faux leather bottom piece all the way around the purse.
After you're done with that, it's onto the purse lining. I cut mine with the measurements of 9"x10". If your bag has different measurements, then account for the seam allowance of 1/4 inch on the sides and bottom. For the length of the lining(if your measurements are different): measure only to the top row of 2 BL dc's and 2 OR dc's, because when you sew the lining to the outside you will be folding the outside crocheted piece over.

So you pin those together then sew around the sides and bottom 1/4 inch from the edge. Don't sew on the top!

After your lining is sewed, attach your snaps with the kit. You could always install a zipper, a button or really whatever your fancy is! The kit should come with instructions on how to line up the snaps and install. Essentially you line up the prongs with the snaps and then hammer on both sides with the special tool they provide (the blue thingy) to attach them to the fabric.


Next you'll attach the lining to the crocheted piece. You will place the lining inside the outer piece without turning it inside out.


Fold the crocheted piece over so that the last two rows of BL dc's are on the lining. Pin to the lining, and sew together. I used my yarn needle and a 30 inch piece of BL yarn with a running stitch. You could always use your sewing machine.
Next your cutting the rest of the faux leather pieces you will need. The photo below shows what you will need and the measurements:


Next I put the "trinket holder" onto the purse with my rivets. I poked a small hole in my lining with my scissors, inserted the back side of the rivet into the fabric and through the crocheted piece. Next I took my piece of faux leather that was my "trinket holder", and folded it in half. I poked small holes through both layers where the rivet would go with my scissors and then stuck the back side of the rivet through that piece also. Then I put the top part of the rivet onto the back and snapped it into place. Using the setter and anvil, I hammered the rivet together. In your kit, there should be detailed and specific instructions to install the rivet.

Next I put the jump ring onto the "trinket holder". Along with the chain and charms (which I scored at an awesome garage sale for a couple of bucks!) I used my jewelry pliers to attach the jump rings and charms.


Here's what it looks like with the charms and chain. I just love this addition to the bag!

Now onto the tassels! On your tassel pieces you will measure 1/2 an inch down from the long side, and draw a line across with a pen on the wrong side of the fabric.

Then you will make dots every 1/4 inch on the bottom of the piece (see below). Draw a line from the bottom of the piece to where you drew the horizontal line, lining up with your dots that you put every 1/4 inch. Then cut along those vertical lines.

Take your loop for the tassels, and hot glue one side to the top of your tassel piece (as shown above). Then you'll put a dot of glue on the bottom of the loop, fold the loop in half and place on top of the glue to make your tassel loop.

Glue along the top of the tassel piece as shown above (not using too much). Then, starting with the side where the loop is, roll the tassel up, firmly pressing to make sure the glue sets. Using your pliers, attach your tassels with the jump rings to your charms. I put on on the top and bottom.

Now onto the handle holders. I halved the pieces and followed the same instructions for setting the rivets as the "trinket holder". If you're using O rings or D rings, put them on before you set the rivet! Since I used chain I didn't have to worry about that.

Using the jewelry cutters, I cut my chain to desired length and then attached it to the handle holder with my pliers.

And since my purse strap just had a clasp attached to it, I just connected it to the chain that way!

Oh my word. Talk about one heck of a project! This may be my favorite thing I've made to date. If you make this purse, I would LOVE to see your version. Shoot me an email with a pic of your purse to megshaimes@gmail.com and I may feature it here on the blog!
I hope you loved this as much I loved creating it!
Love,
Meg


