


Adding Stabilizer/Interfacing and Fabric Lining to the Matilda Tote
/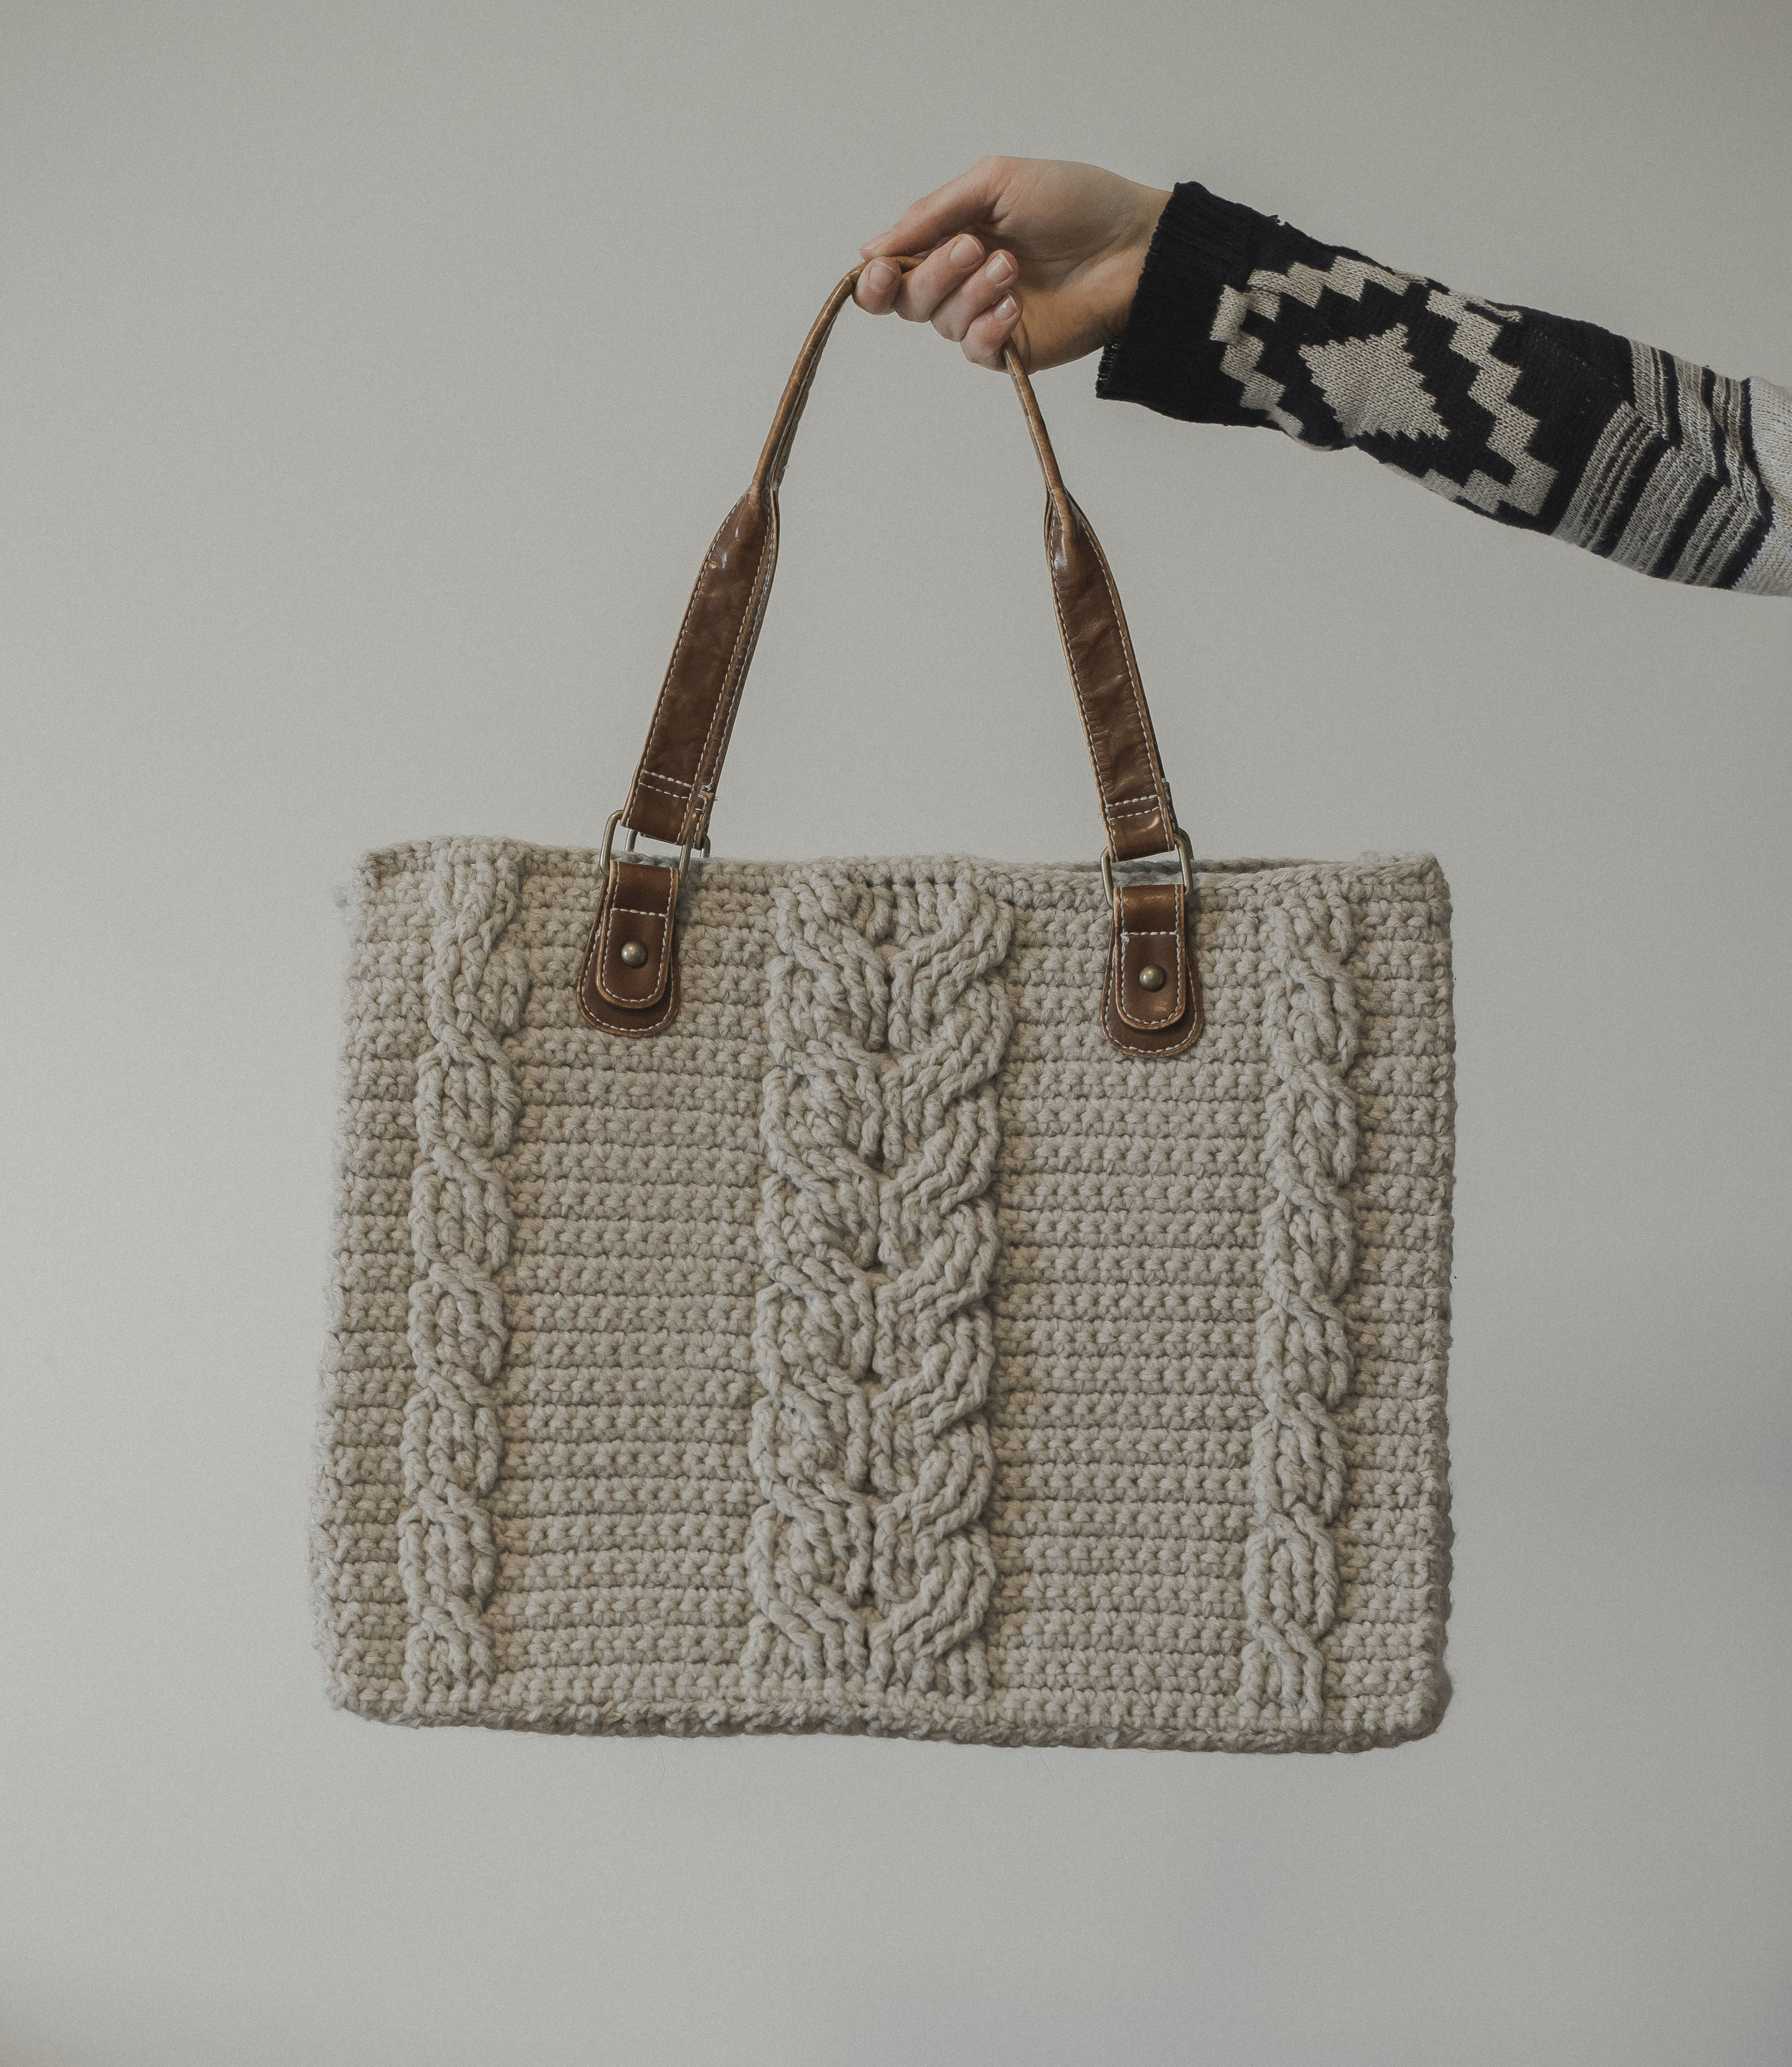
So after you've finished up your pieces for The Matilda Tote, and you'd like to add the fabric and stabilizer, you're ready for this tutorial. I also think this post offers some good basic information if you'd like to add some structure/lining to any of your crochet projects!
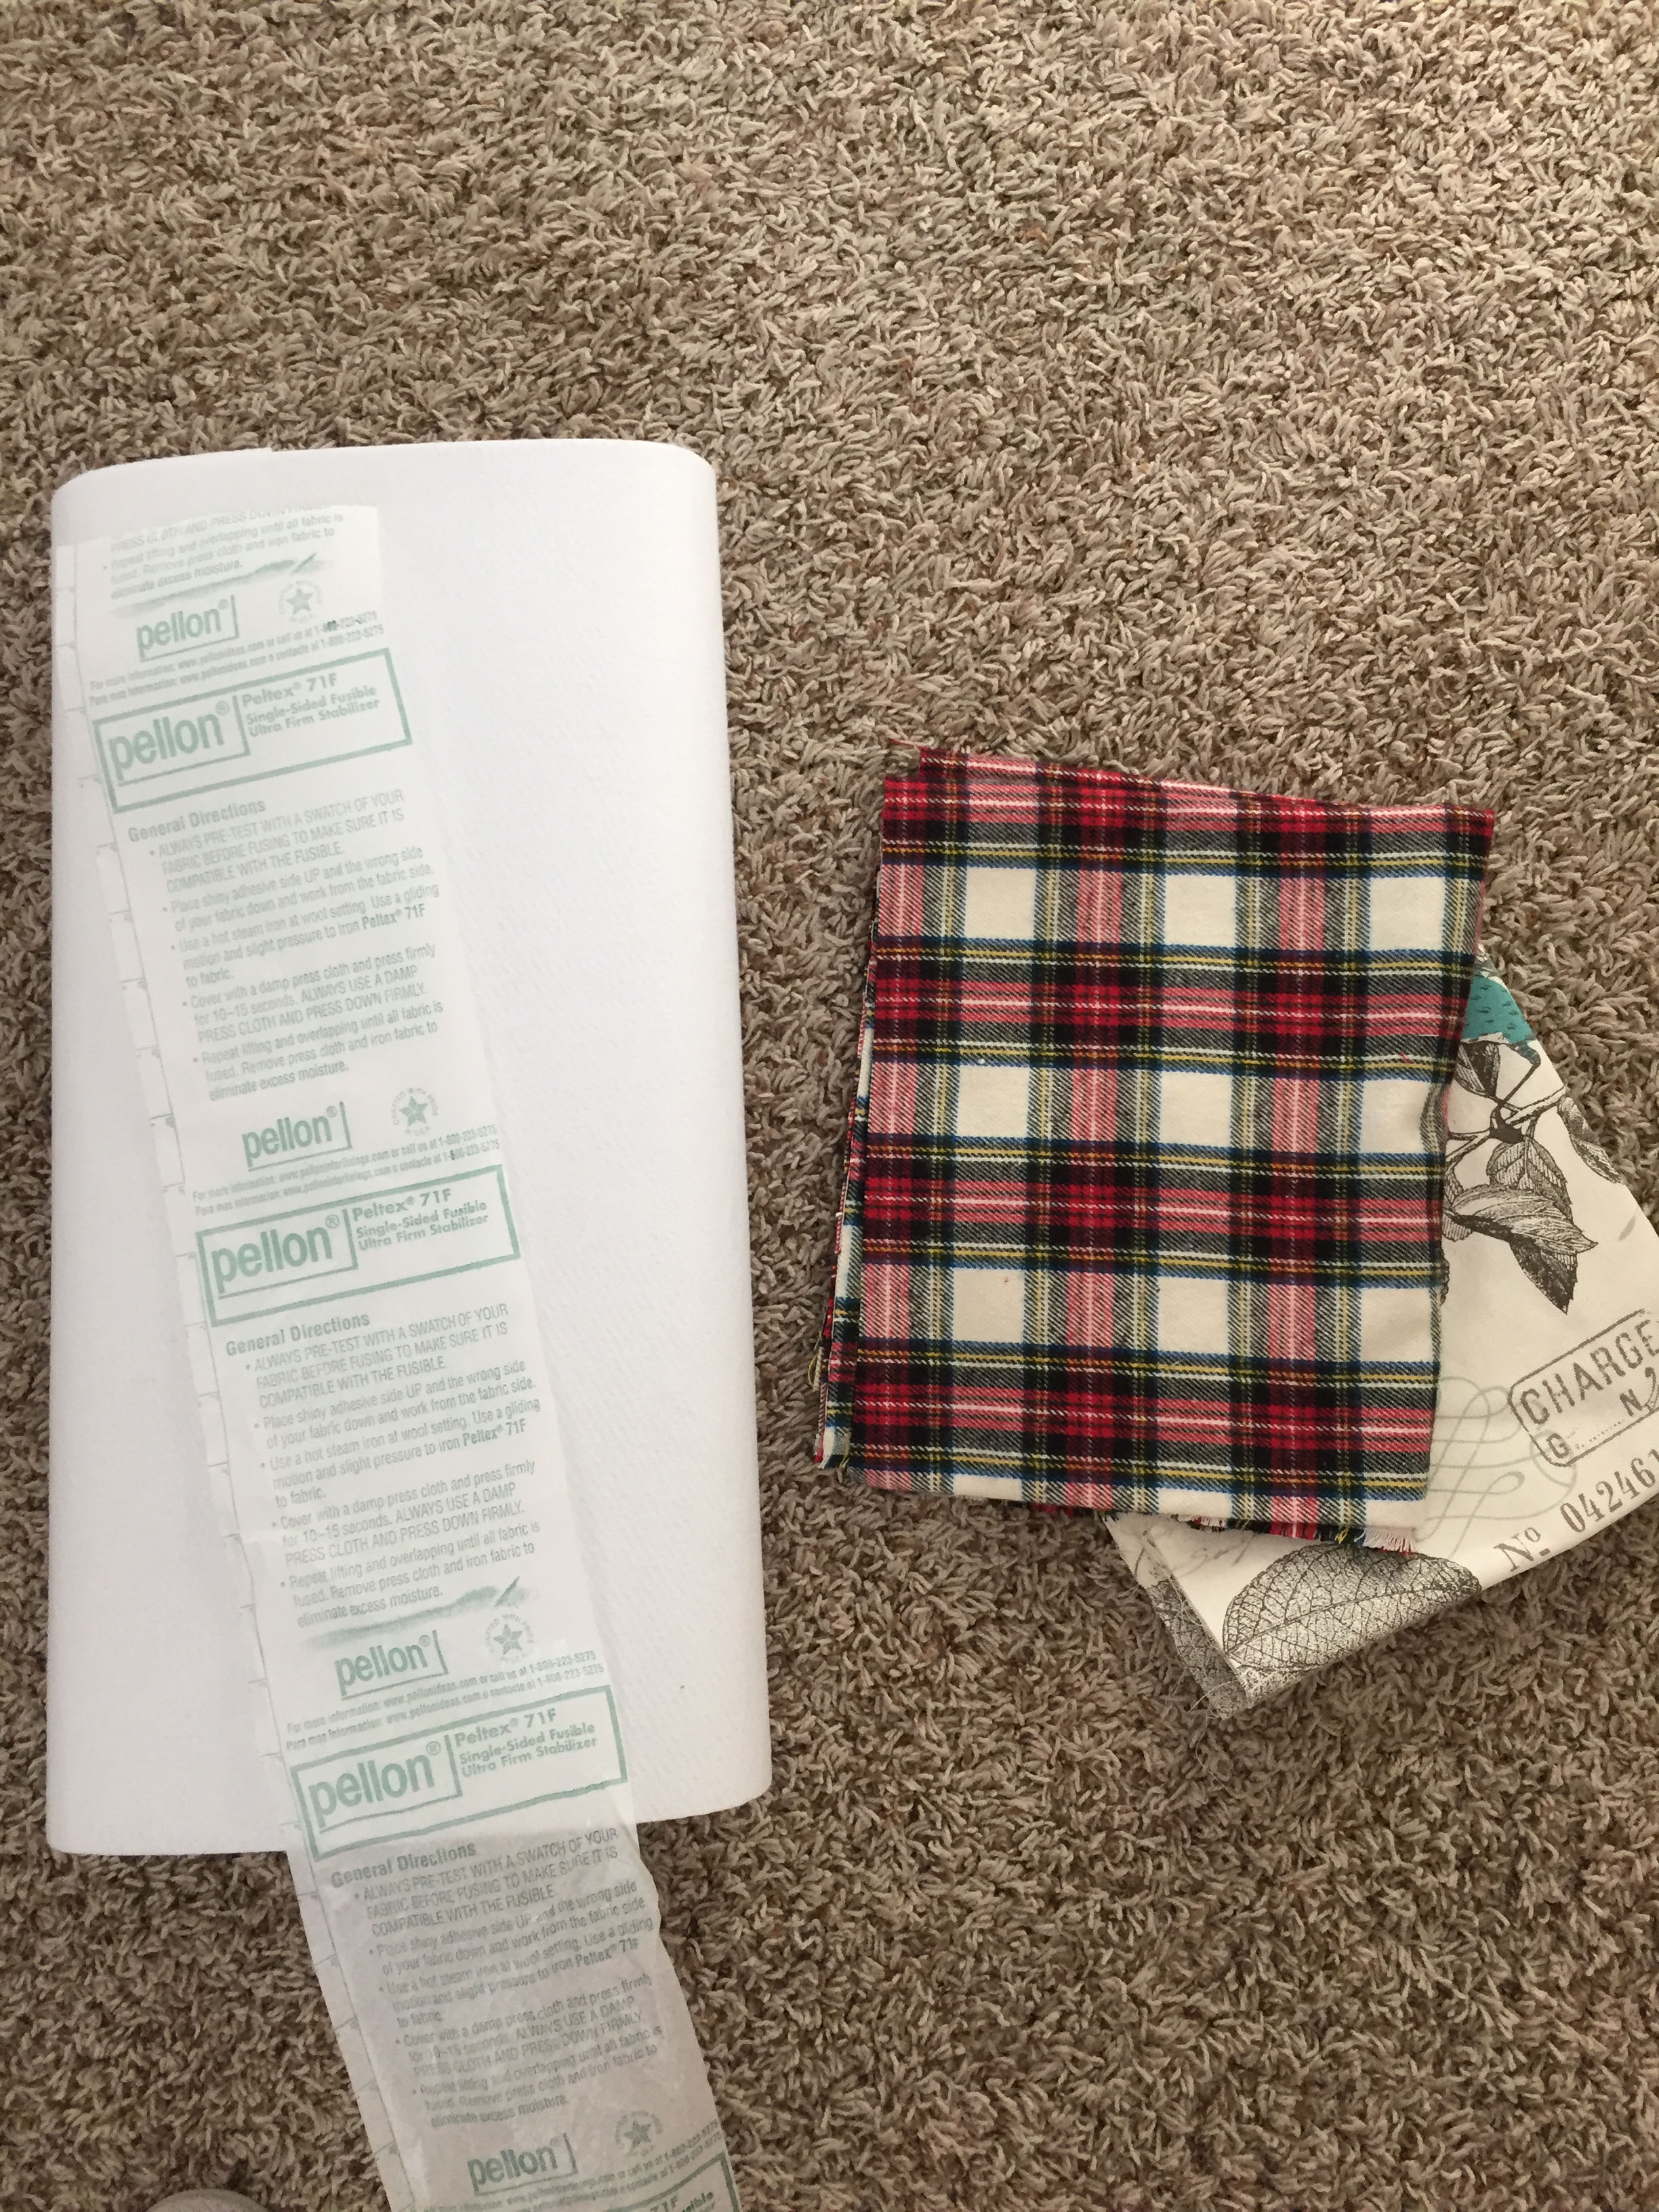
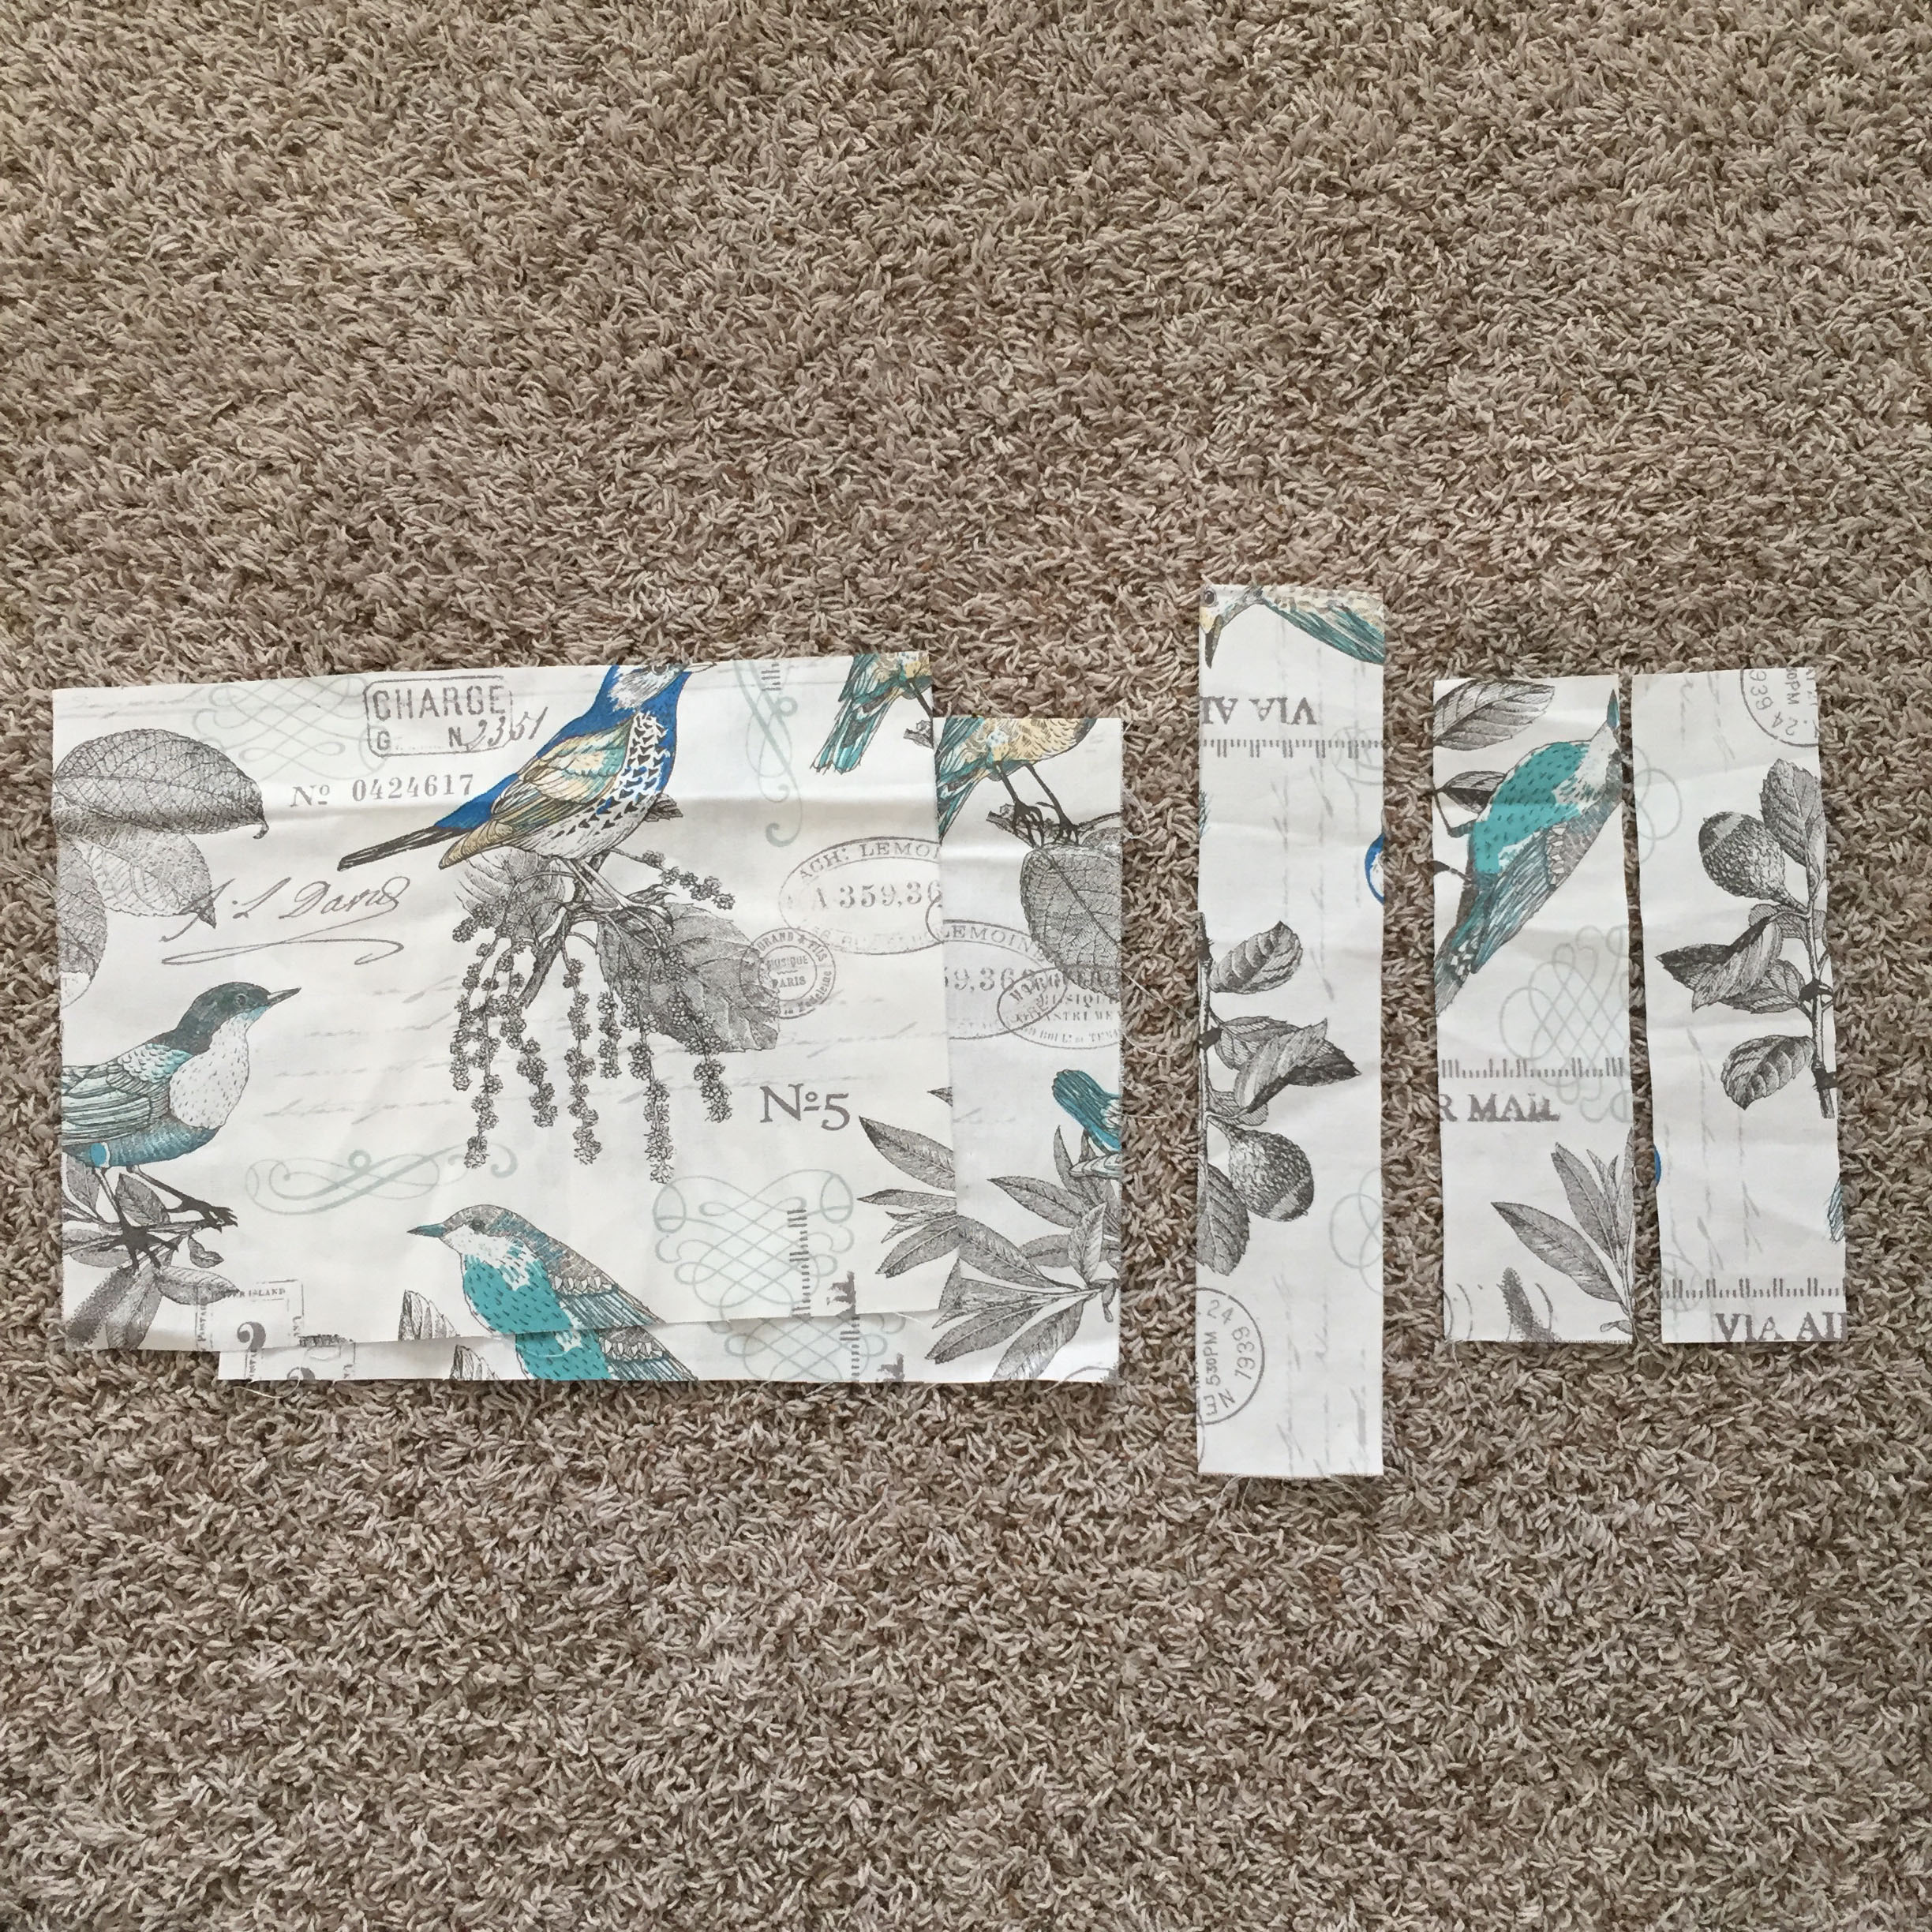
Perhaps the hardest part of this all is choosing a fabric to line your project with. At least it was tough for me! The above photo shows my top two choices for fabric, I decided to go with the lighter one because I think it'd be more versatile when it came to different seasons, ya know?

So to begin, you'll need to grab your supplies...
-sewing machine (you could always hand sew also)
-thread in corresponding color to your yarn
-1/2 yard of fabric
-1/2 yard of Peltex 71F Single-Sided Fusible Ultra Firm Stabilizer (I found it at Walmart, but I'm sure it could be found at any fabric store)
-Hot steam iron (for stabilizer)
-damp cloth (for stabilizer)
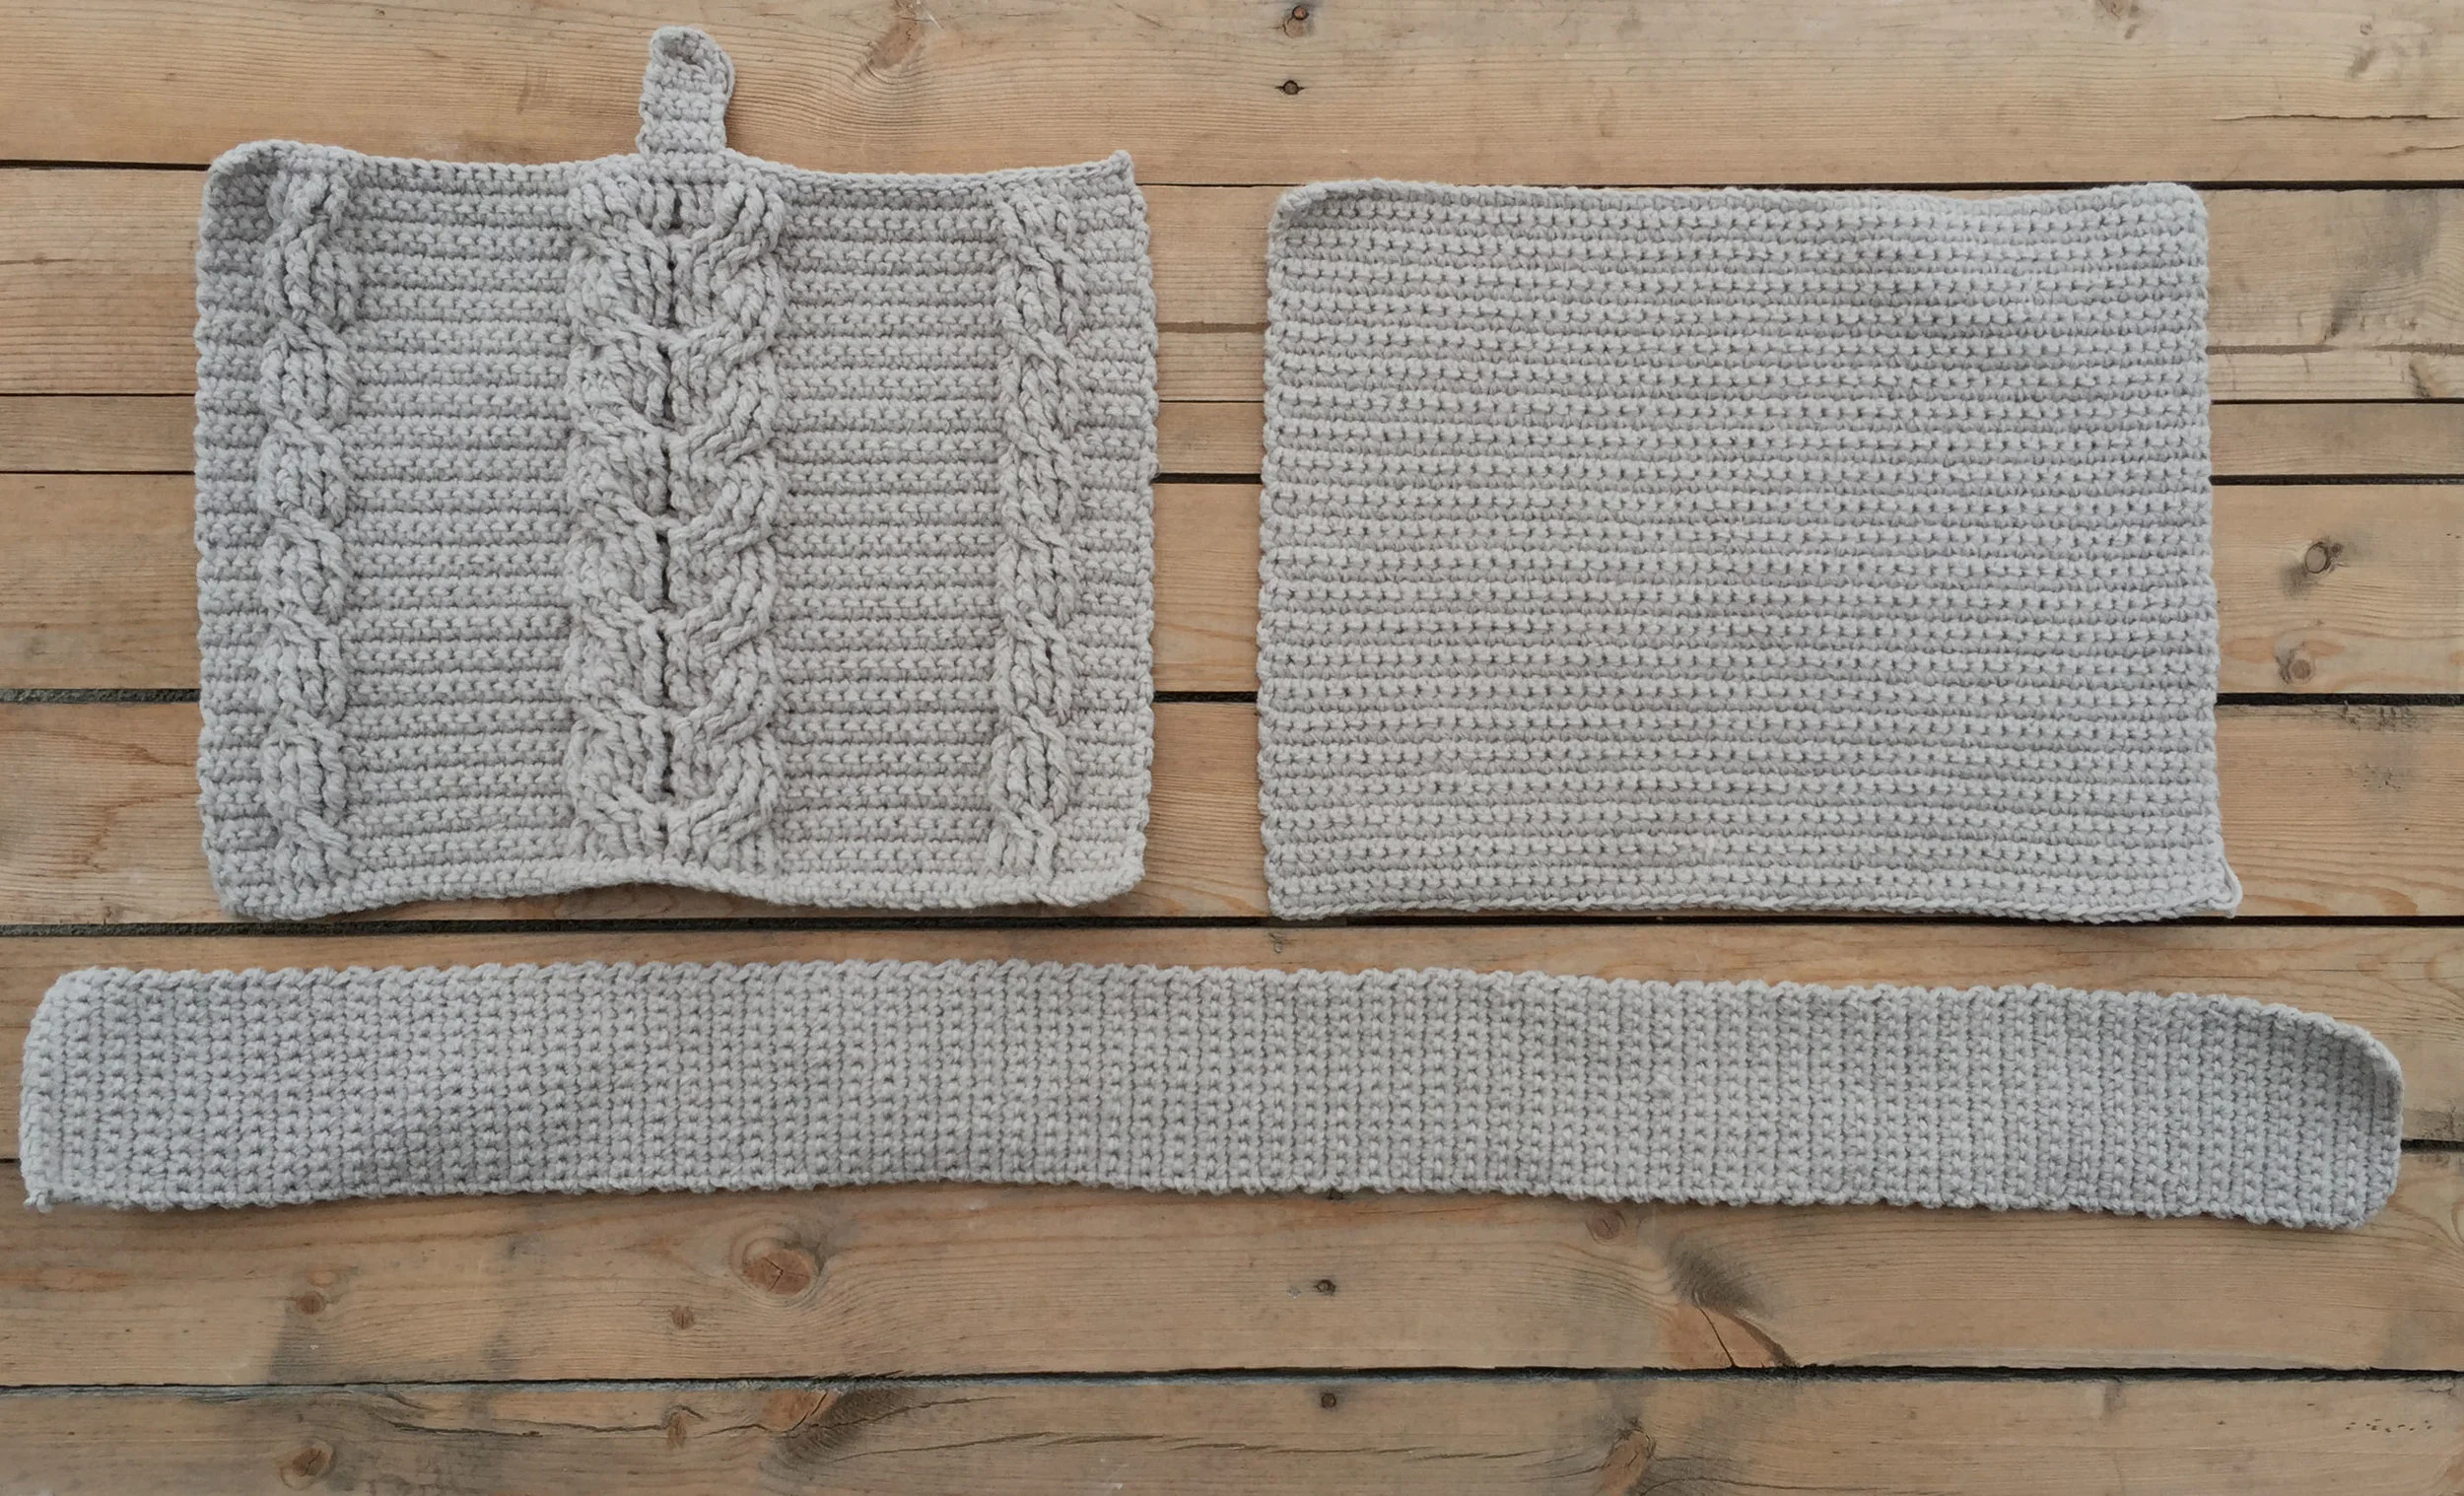
If you're working on The Matilda Tote, you've got the three pieces up above. And where we left off on the previous post is that you'd sewn on your button on the back side. You could always do that after you add stabilizer, it's just a bit more difficult to sew through.
***Important-- you will want to weave all your ends in before adding your stabilizer!

So if you're new to stabilizer-- it's basically just a type of thick and stiff fabric that is added to bags (or really any fabric) to stiffen or make them sturdier. I love the structured look stabilizer offers. Above is a photo of the instructions that came with the kind I bought. I wanted to use the fusible kind because I didn't want to use a sewing machine to add it on. It's actually incredibly easy once you just dive in an start doing it. I admit it was a bit intimidating to add stabilizer!
**Turn on your iron with water in it while you are cutting the stabilizer. Your directions should state the settings you should use on your iron. Mine said to use "wool setting", and since my iron didn't have that setting, I just set it to a medium heat and it worked fine.
The first thing I did was cut the stabilizer for each of my crocheted pieces. I just measured them -- which the front and back panels were about 16.5" x 12.5. I didn't want the stabilizer to reach the very edges of my crocheted pieces, just because it's so dang hard to get a needle and yarn through it to sew the tote together. Therefore, I cut the stabilizer about 1/4 inch shorter on each side.
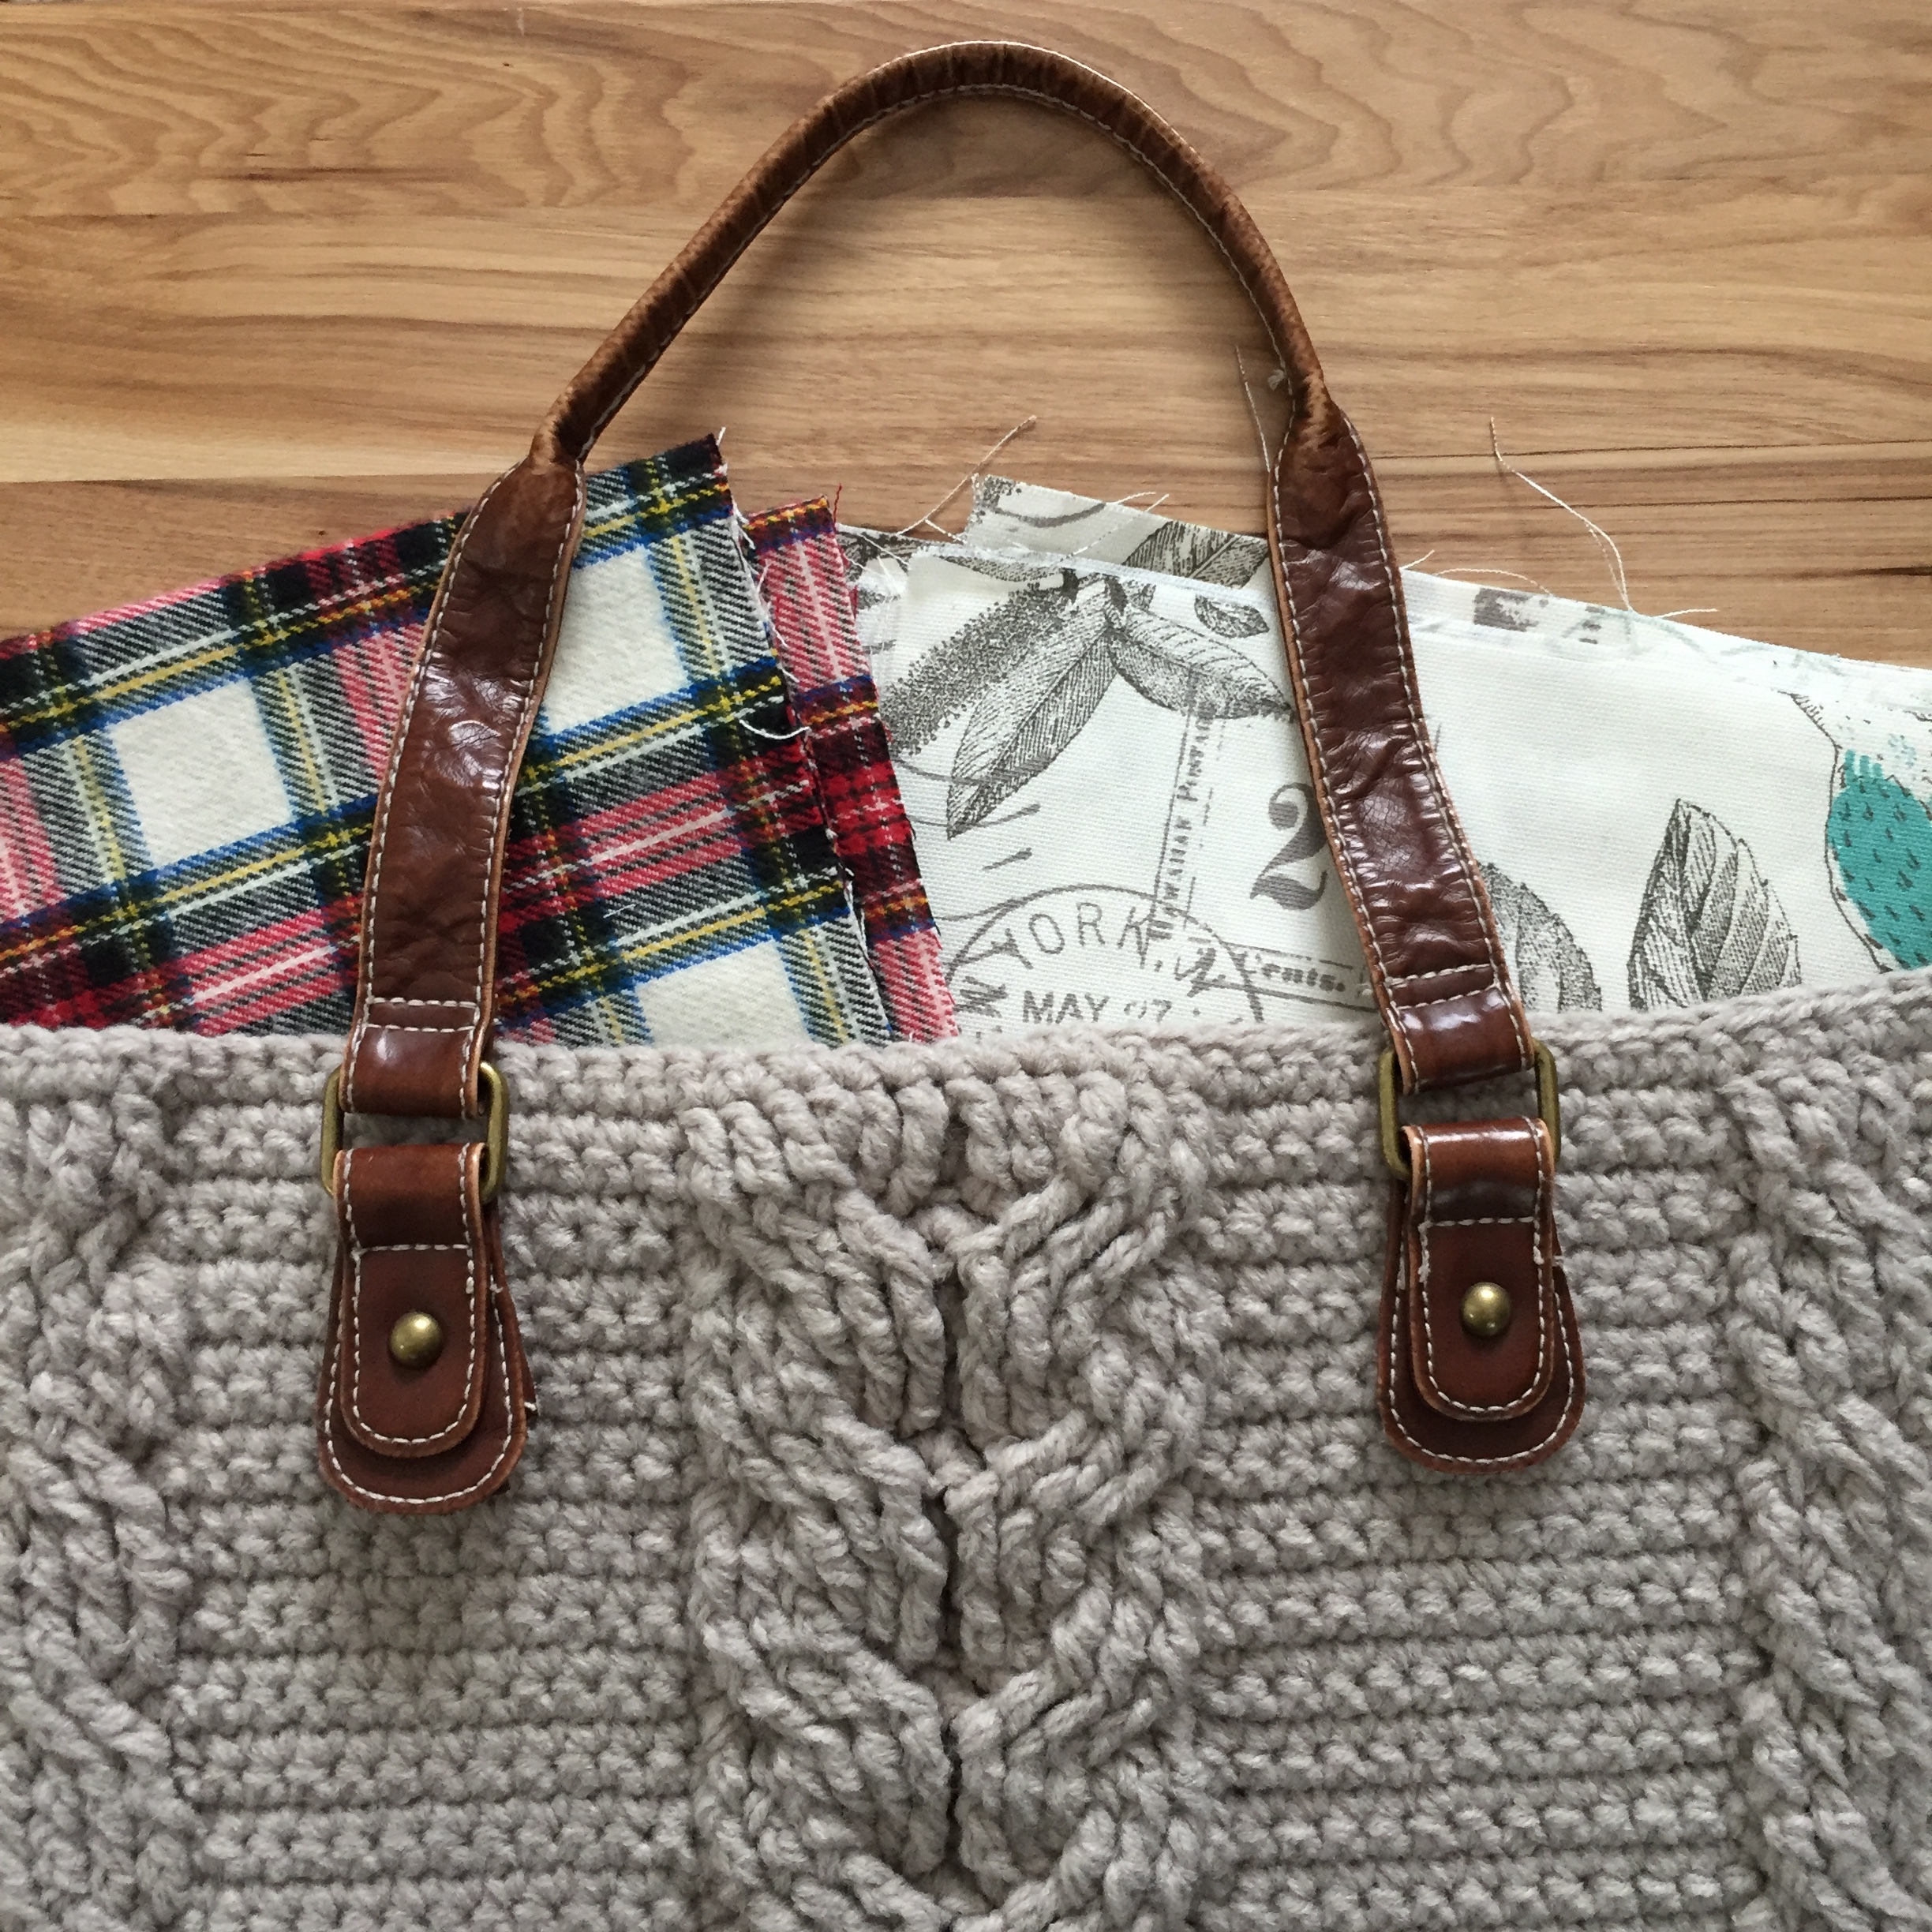
Another thing to take note of when cutting your stabilizer is that you need to figure out where you want the fabric lining/stabilizer to be from the top edge of the tote. I decided I wanted it to lay about the second-to-last row on each of the panels. You can see that in the photo below, that it's cut shorter.

For the crocheted piece that goes around the sides and bottom--I just decided to add stabilizer to the very bottom, because I didn't want the sides to be that stiff. So I just cut a piece of stabilizer about 3.5" x 16" (allowing for some extra room to sew later). See photo below for a visual of that bottom piece.

So for each of my pieces, I positioned the stabilizer on my crochet and did what the instructions said to do. I put the rough, plastic-y part of the stabilizer down onto the crocheted pieces, and positioned it how I wanted. Then I ironed using a "gliding motion and slight pressure", all around the pieces.
Then the instructions said to cover the stabilizer with a damp cloth and press firmly for a bit, and to continue ironing and pressing with the damp cloth until fused. Mine took a multiple tries to get the stabilizer fused, especially on the outsides for some reason.
Once all your pieces are fused you're ready to move onto the fabric lining.
I cut my fabric the same way I did the stabilizer, going off the measurements of my crochet pieces. Although with the fabric, you will need to ADD 1/4 inch to all the sides that you will be sewing on. Don't forget to cut it to the height you decided from the top (mine was placed one row down on the crochet pieces).
I had to cut my large piece that goes around the sides/bottom into three smaller pieces because I didn't have quite enough fabric-- since it was an older scrap. You could always cut one big piece or even cut them like mine, it's up to you! I cut them to match the measurements of the front/back panels so they would all match up when sewing. Don't forget to allow for seams -- 1/4 inch!

I started in with the side/bottom pieces. I pinned them together like shown above, connecting the two sides to the bottom. Making sure all right sides were together. Then I sewed those edges where I pinned them with my sewing machine.

Once the sides/bottom piece was all connected I prepped it to be sewn onto one of the panels. I placed it along the edges, lining up both of the pieces' corners (see above photo). Then pinned again, right sides together then got to sewing those.
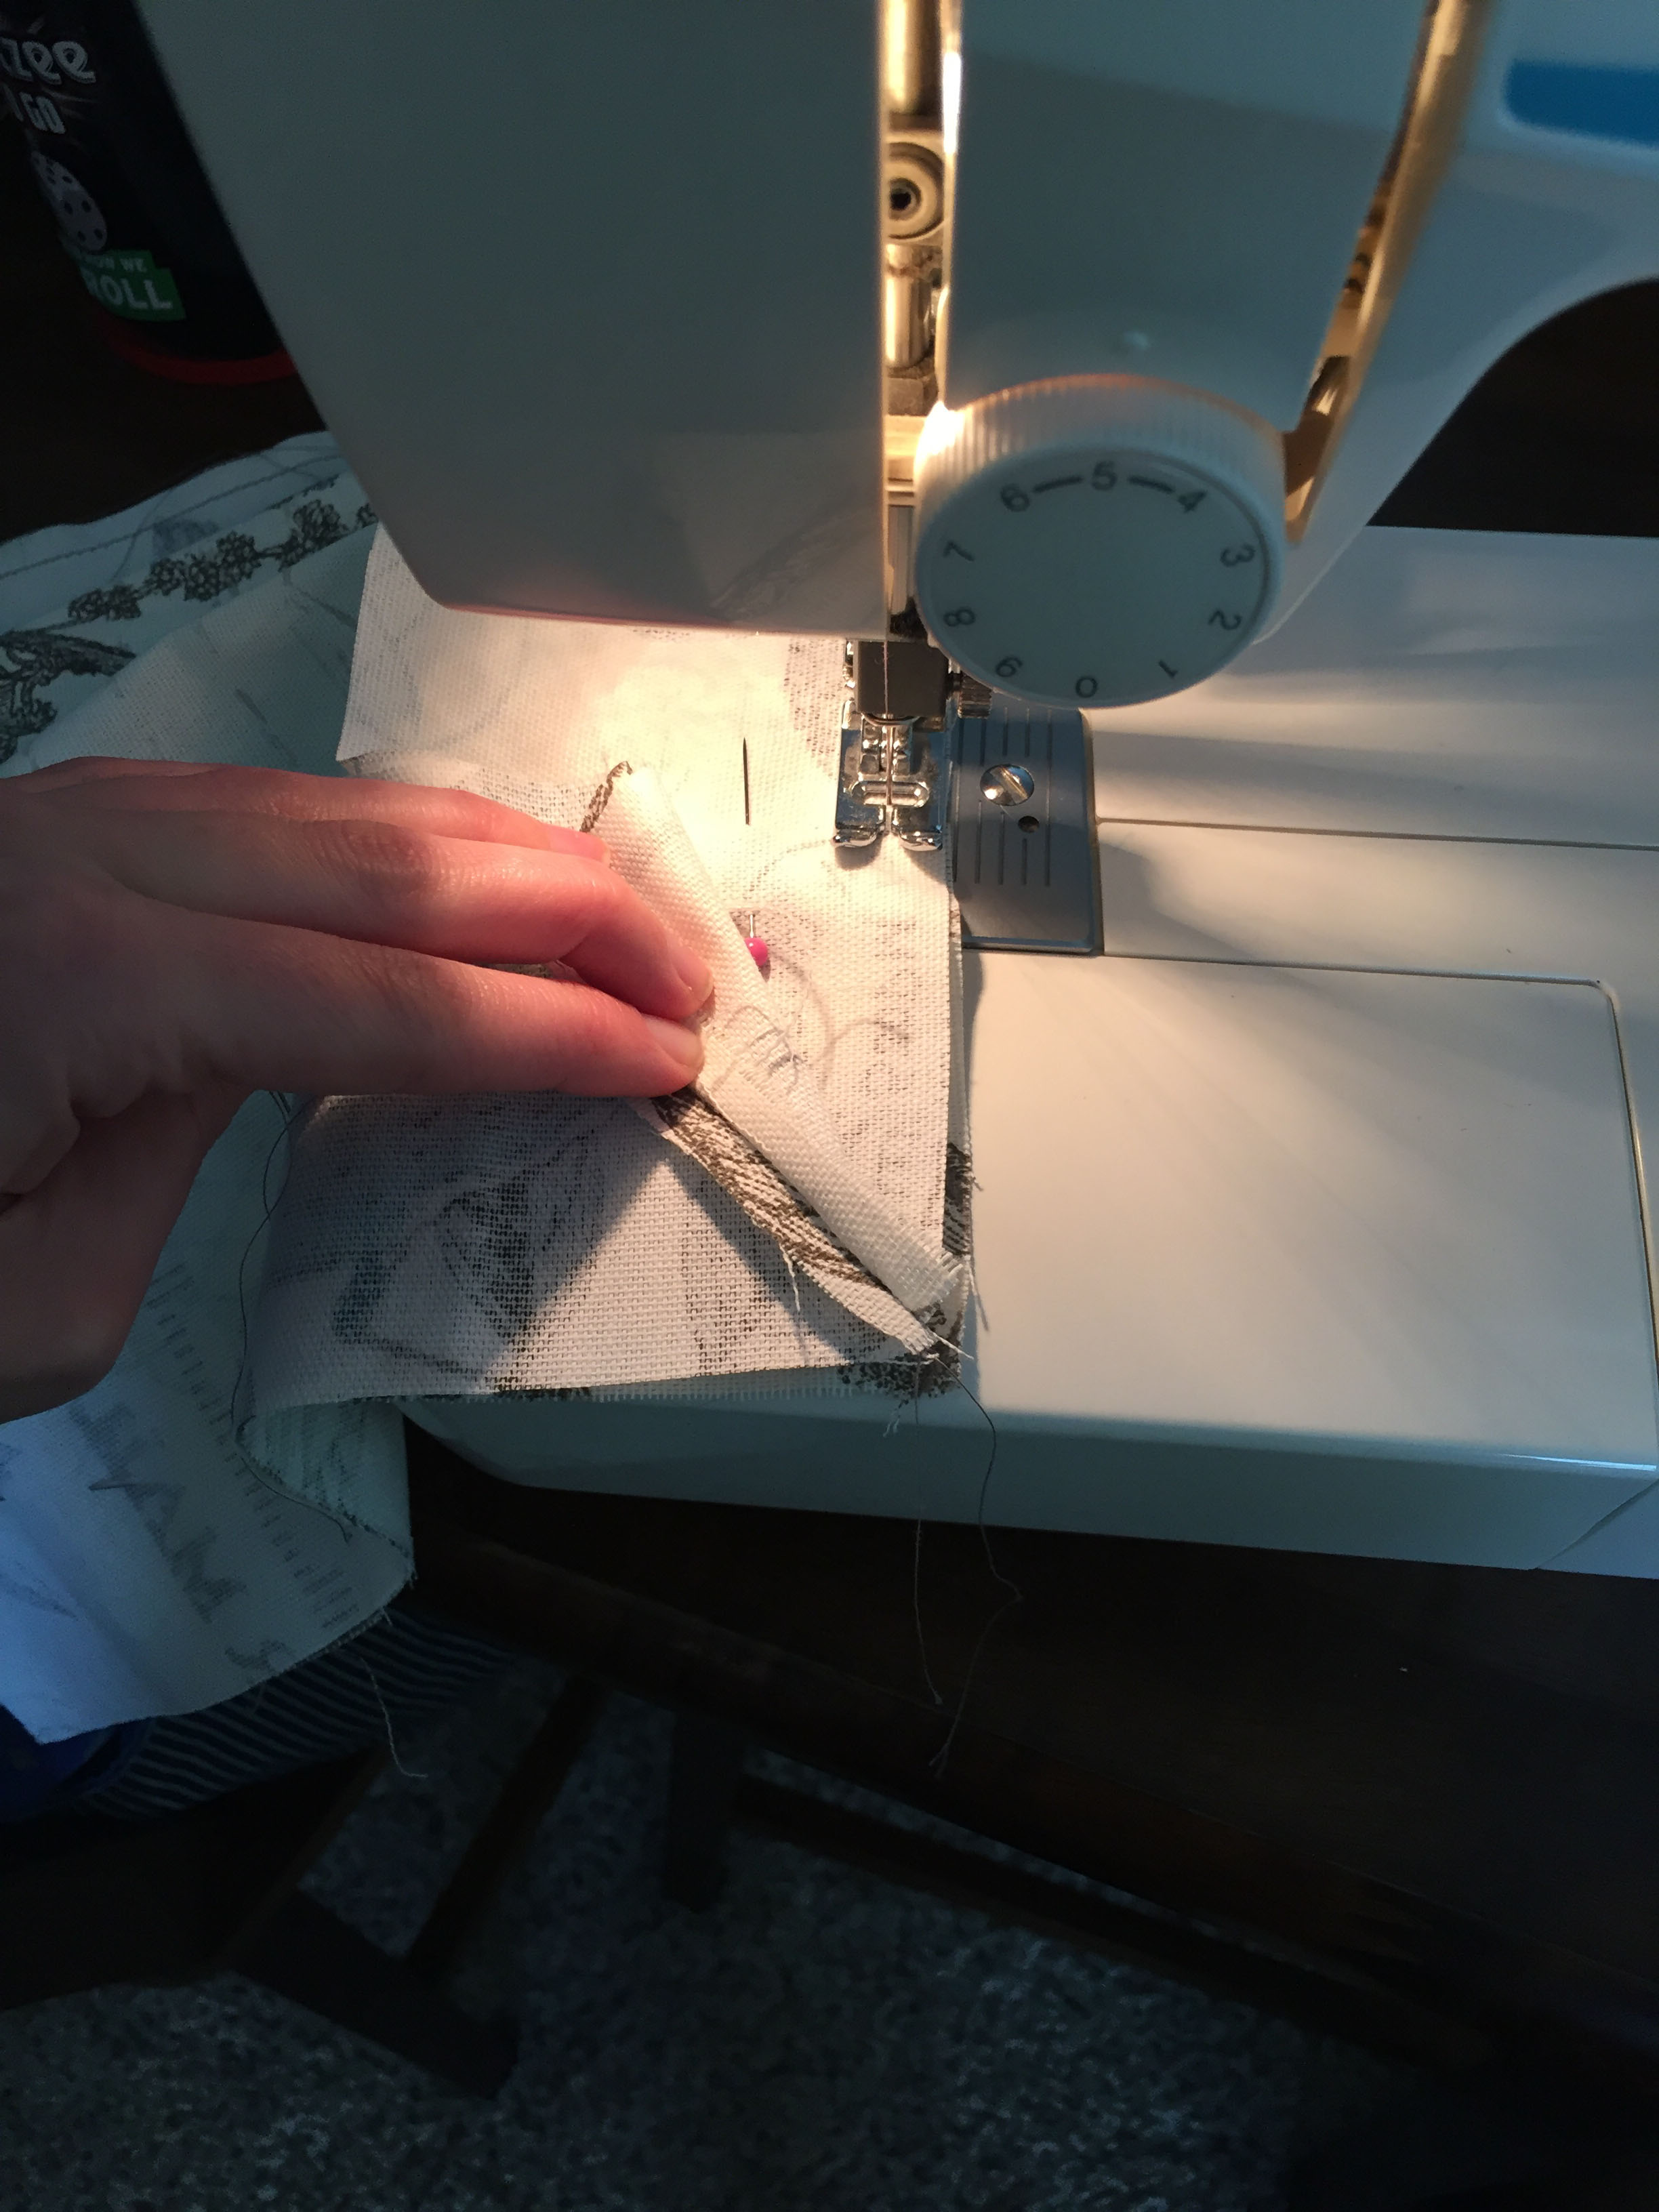
When you're sewing the corners, it's important to be careful that you don't get any of the fabric caught when you're turning the corner. I laid my seams flat, and worked very slowly making sure I didn't catch anything. Sew all the way around, connecting the side/bottom piece to the panel.

Above shows the lining from the right side after I finished sewing those two pieces.
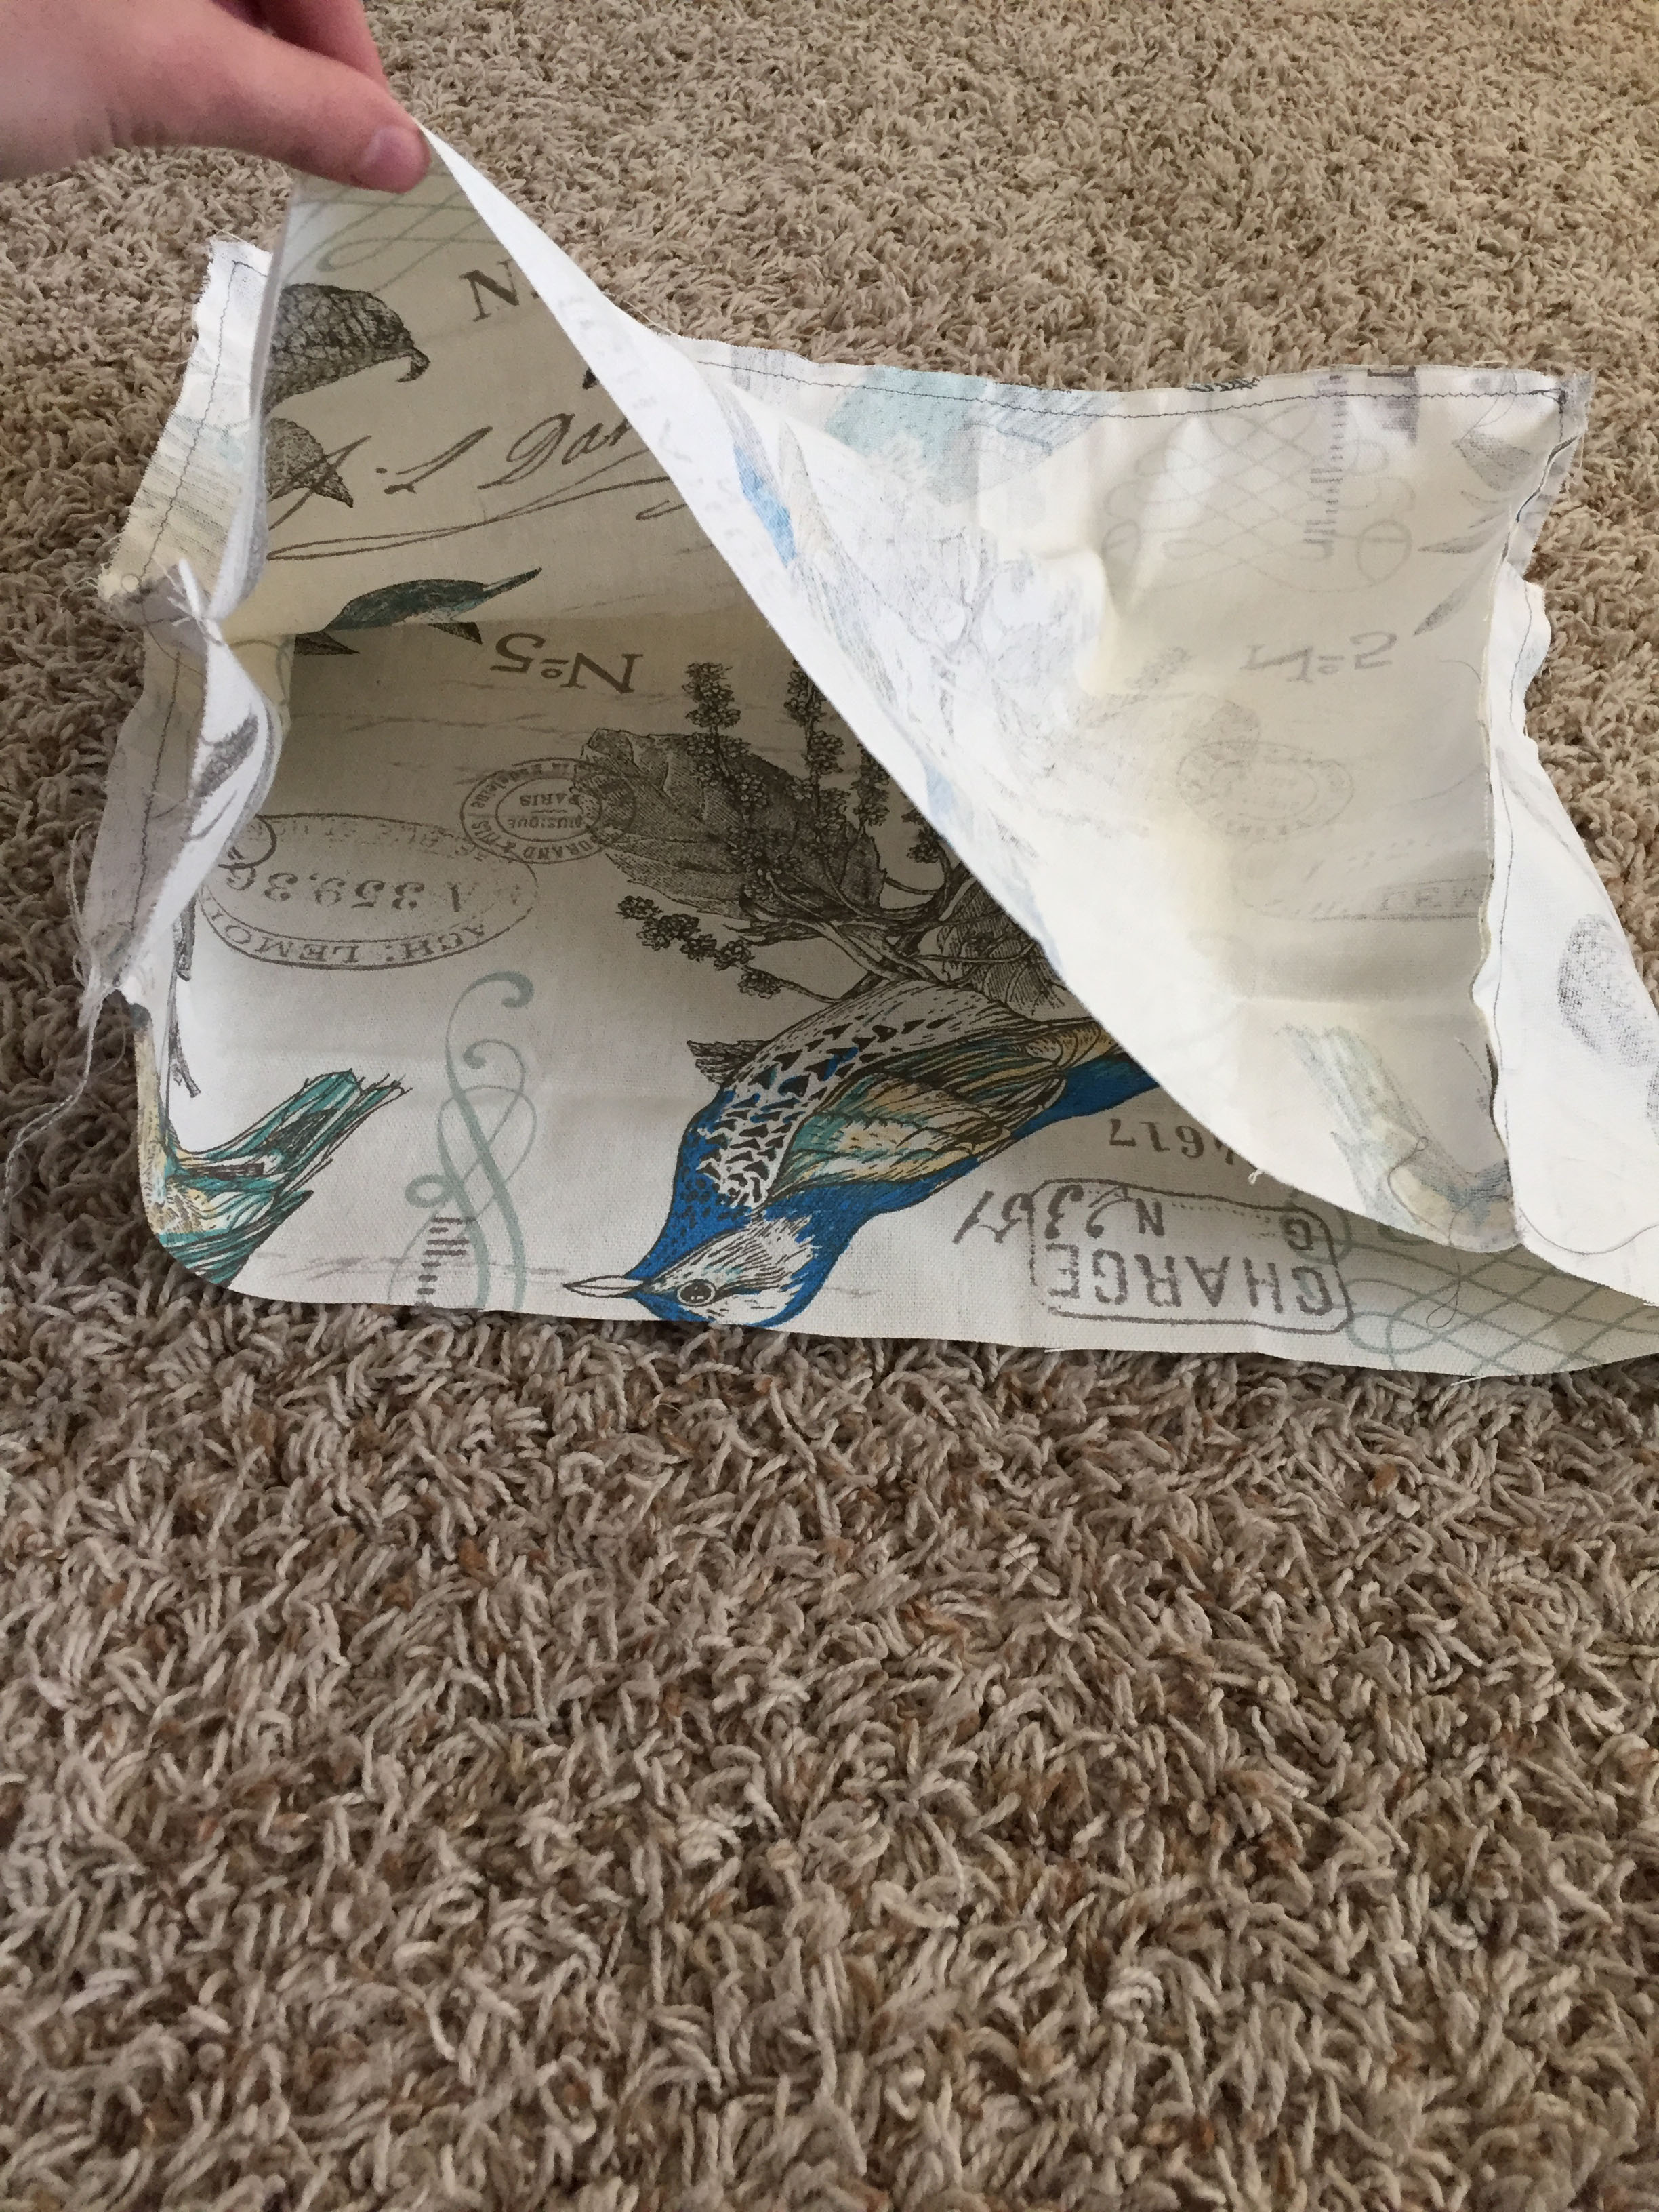
You'll repeat that same process with the other panel-- pinning and sewing all around the edges (right sides together again). In the photo above, you can see the lining all sewed up.

Next, it's time to seam the top edge of your lining. I folded mine over 1/4 inch, pinned it, then sewed it.
At this point you will need to finishing constructing the crocheted pieces (with stabilizer), purse handles and button (if you haven't yet) all together. The instructions for putting all those together is over on The Matilda Tote post at the very bottom (click here to go to that post). After you put all those together you'll add the fabric onto the tote by pinning it and sewing it along the very top.

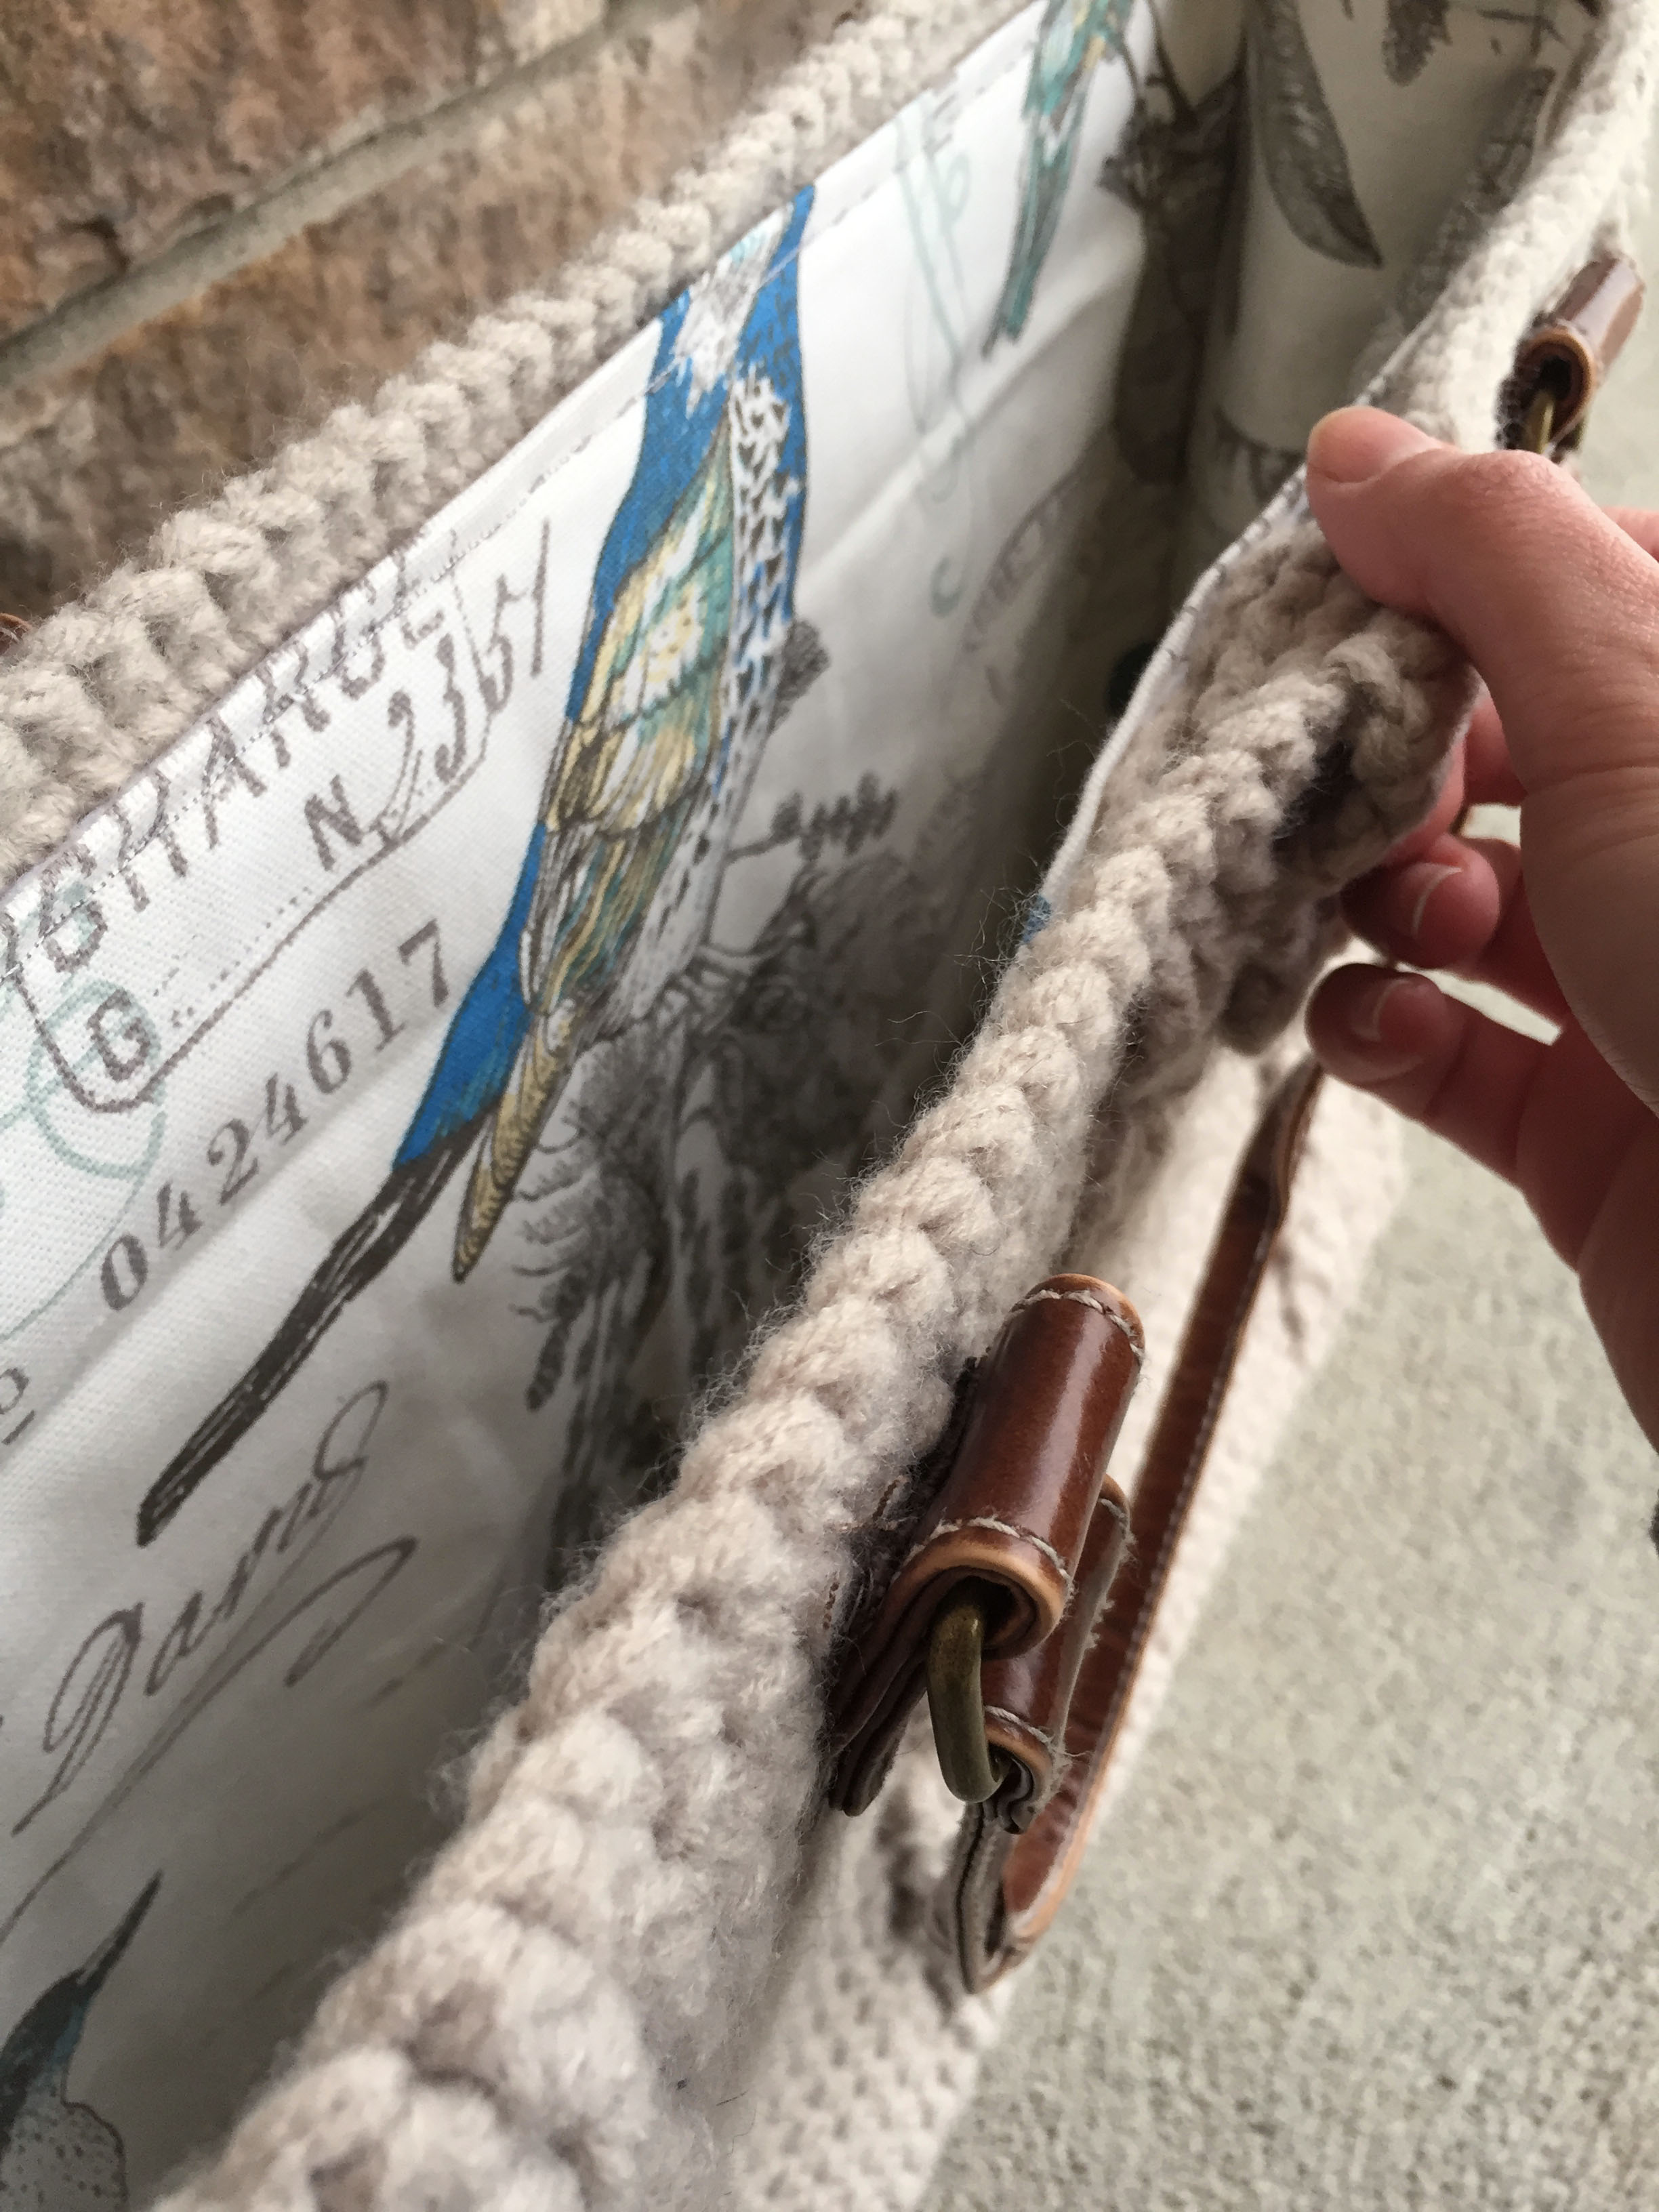
I placed my fabric lining along the stabilizer's edge, I wanted it all to be sewed together. And since I didn't quite trust myself/my sewing machine, I hand sewed the lining to the tote. What I did, was use a running stitch along the seam that was already on the fabric lining. I will say that hand sewing through the stabilizer was a bit of a chore because it's just so tough and thick, but it's totally doable. You could totally use a sewing machine for this if you'd really like!

Once I sewed all the way around, my darn-good looking tote was complete! Whew! I hope this tutorial offered some good info on lining and adding stabilizer. It's truly not as scary as it seems. If you have any questions about any of the process, leave them below and I'll get to them as soon as I can. :)
Happy making!
Meg


