Free Crochet Pattern for the Matilda Tote - Crochet Cables Bag
/
****You can find the PDF version of this free pattern in my shop by clicking here. Great for easy printing!****
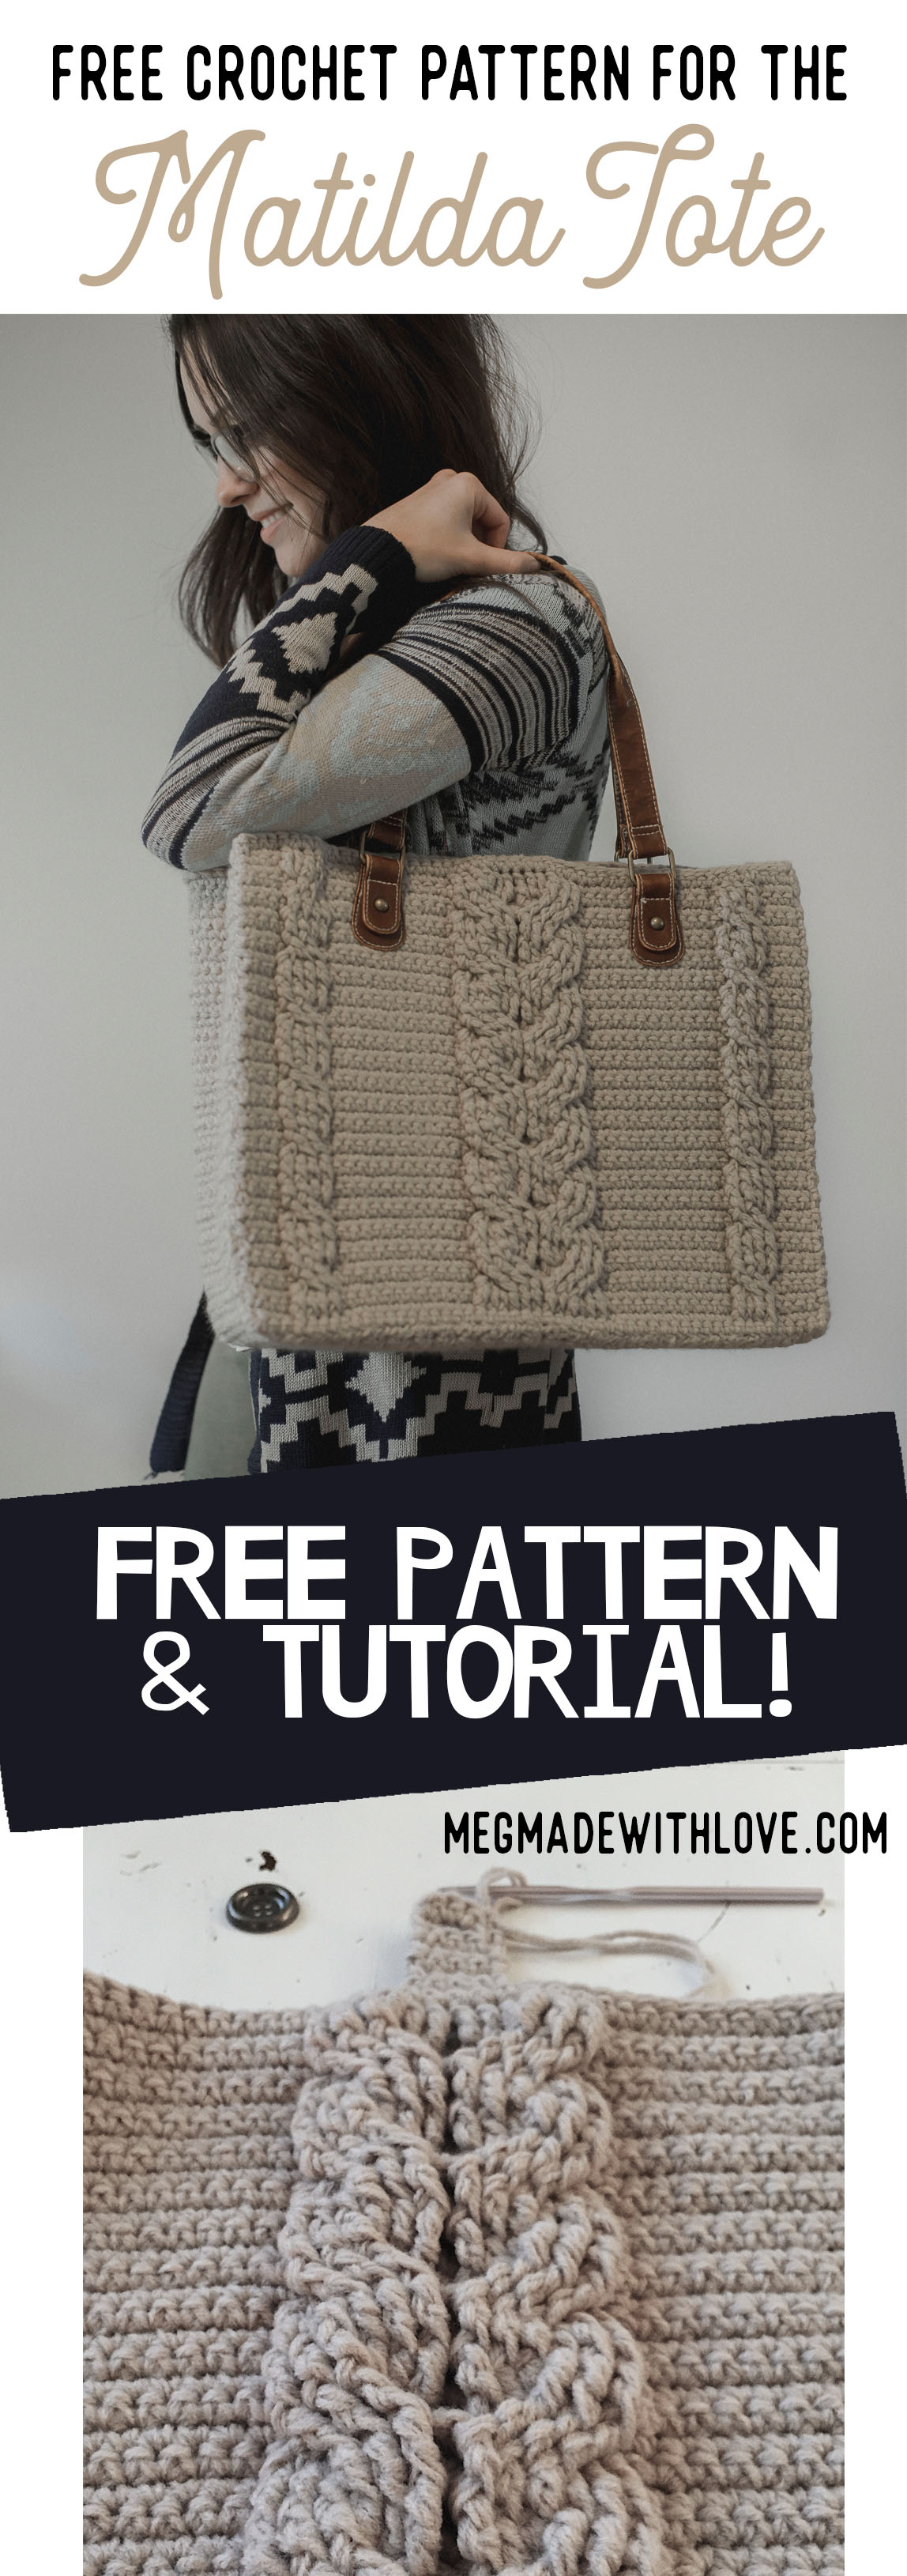
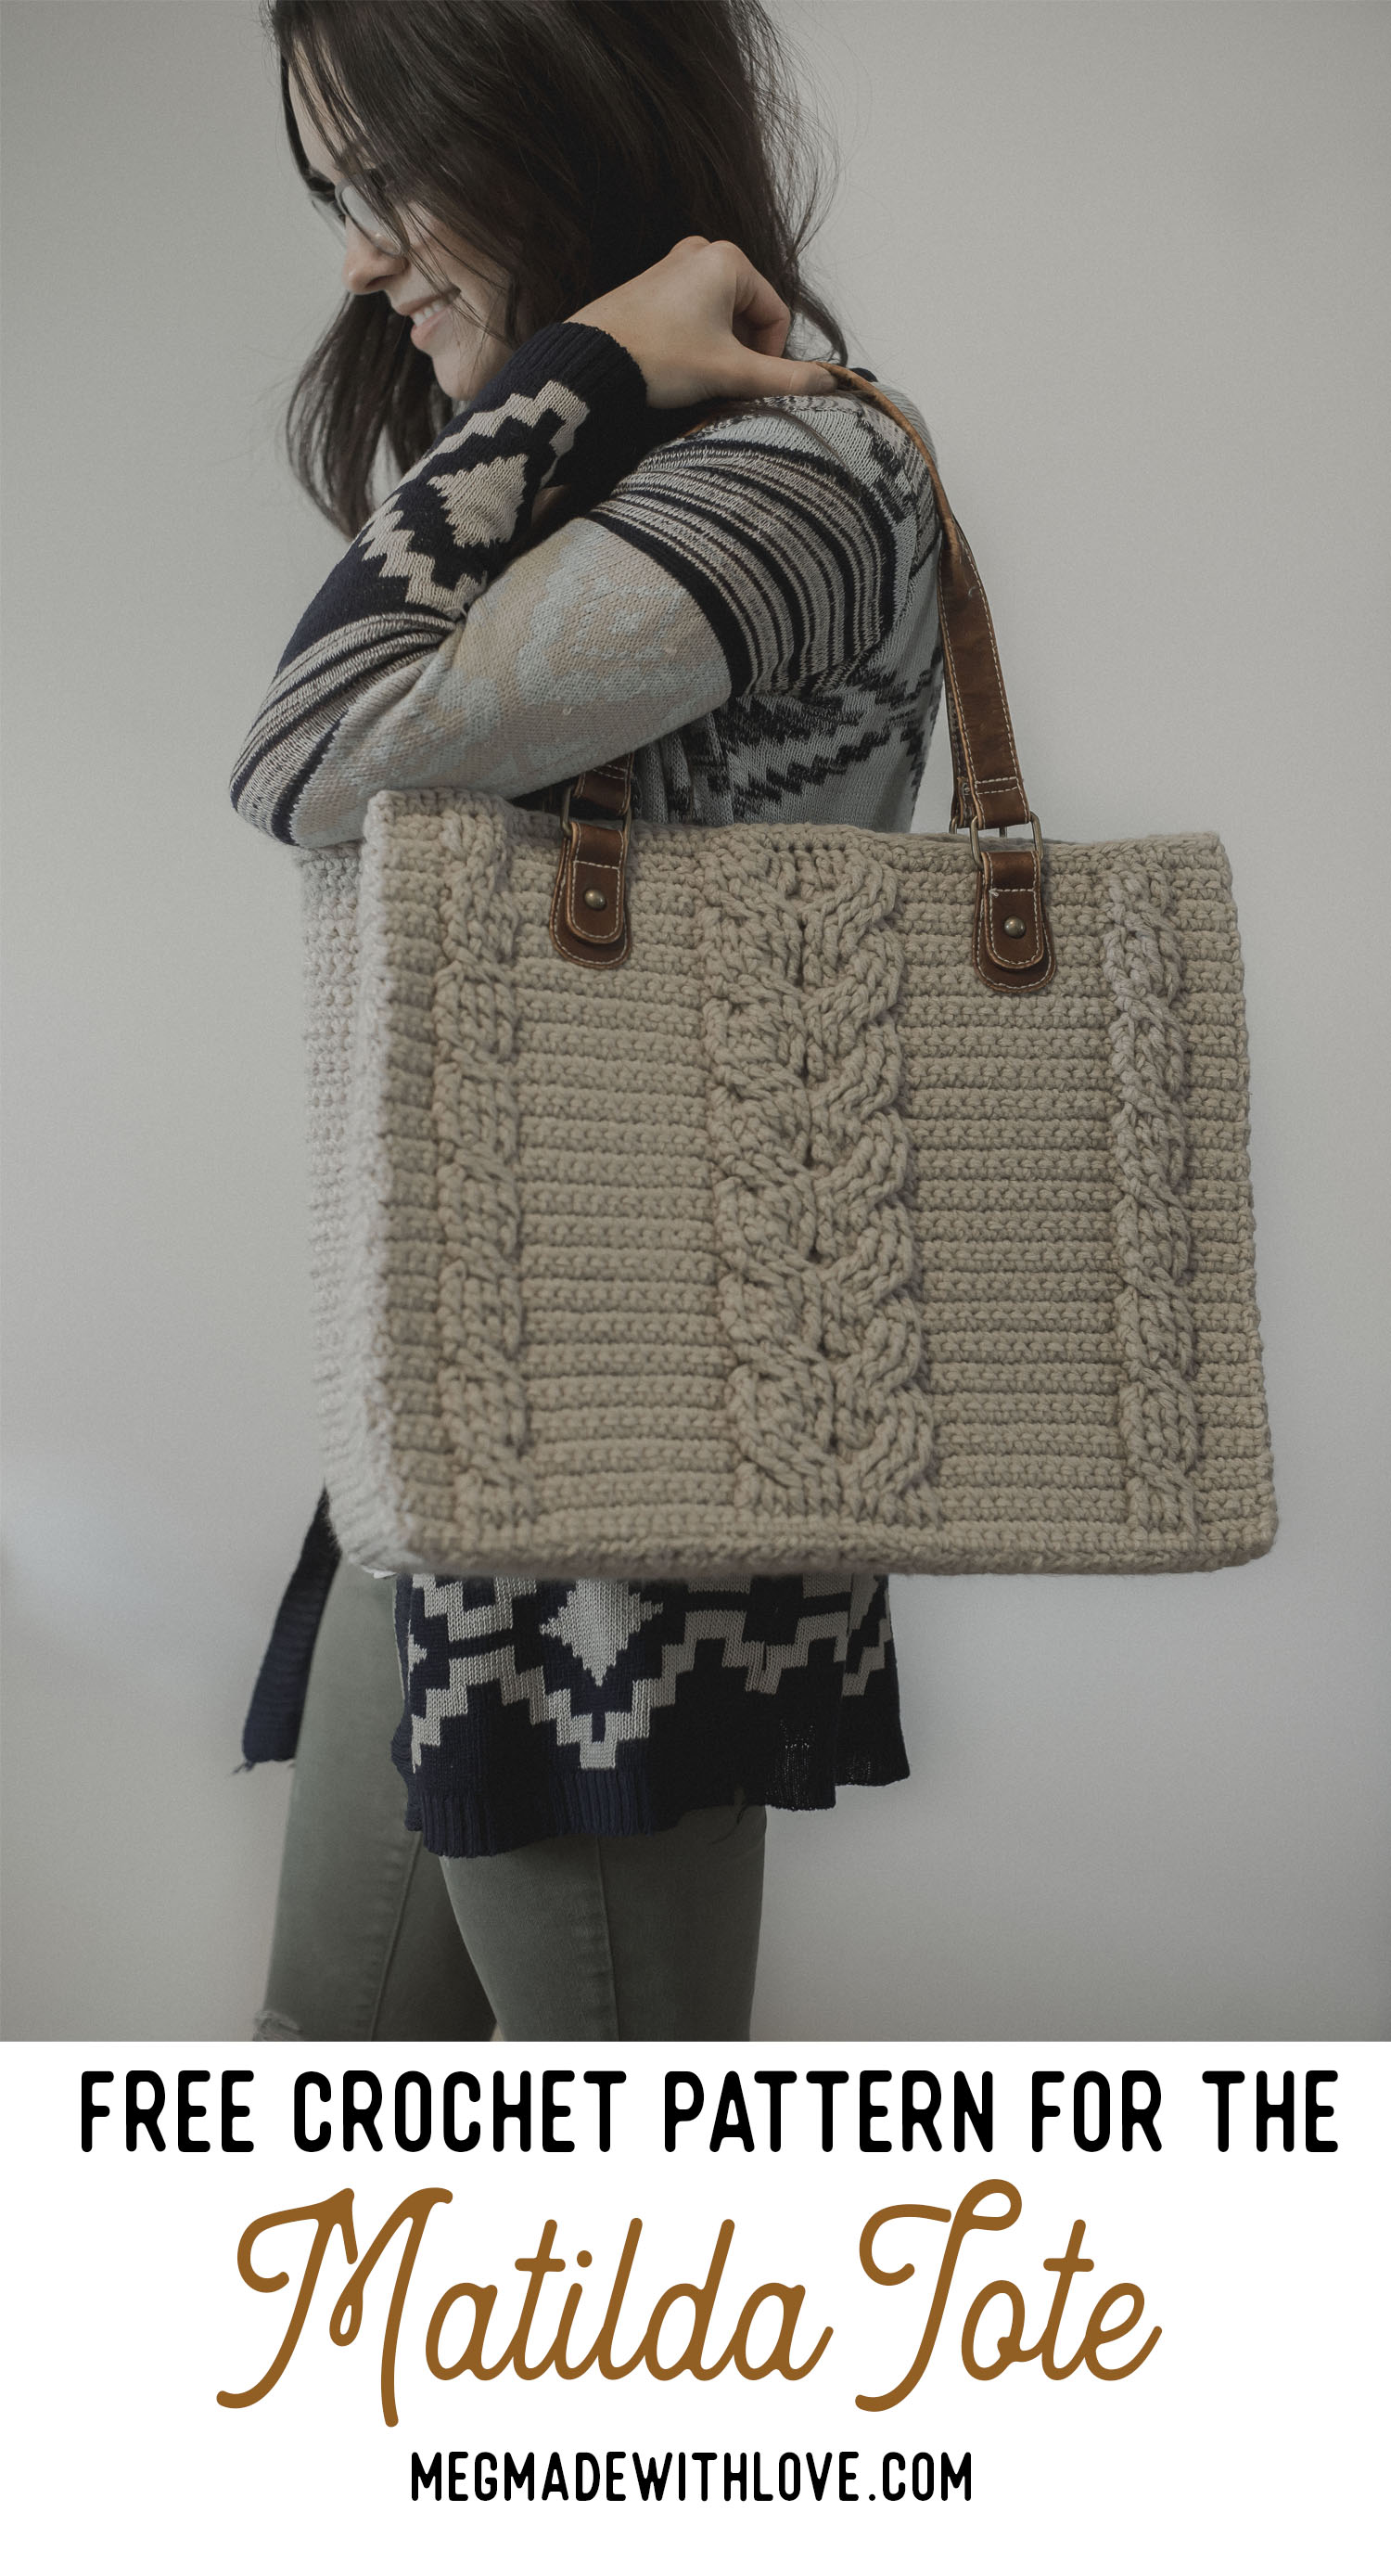
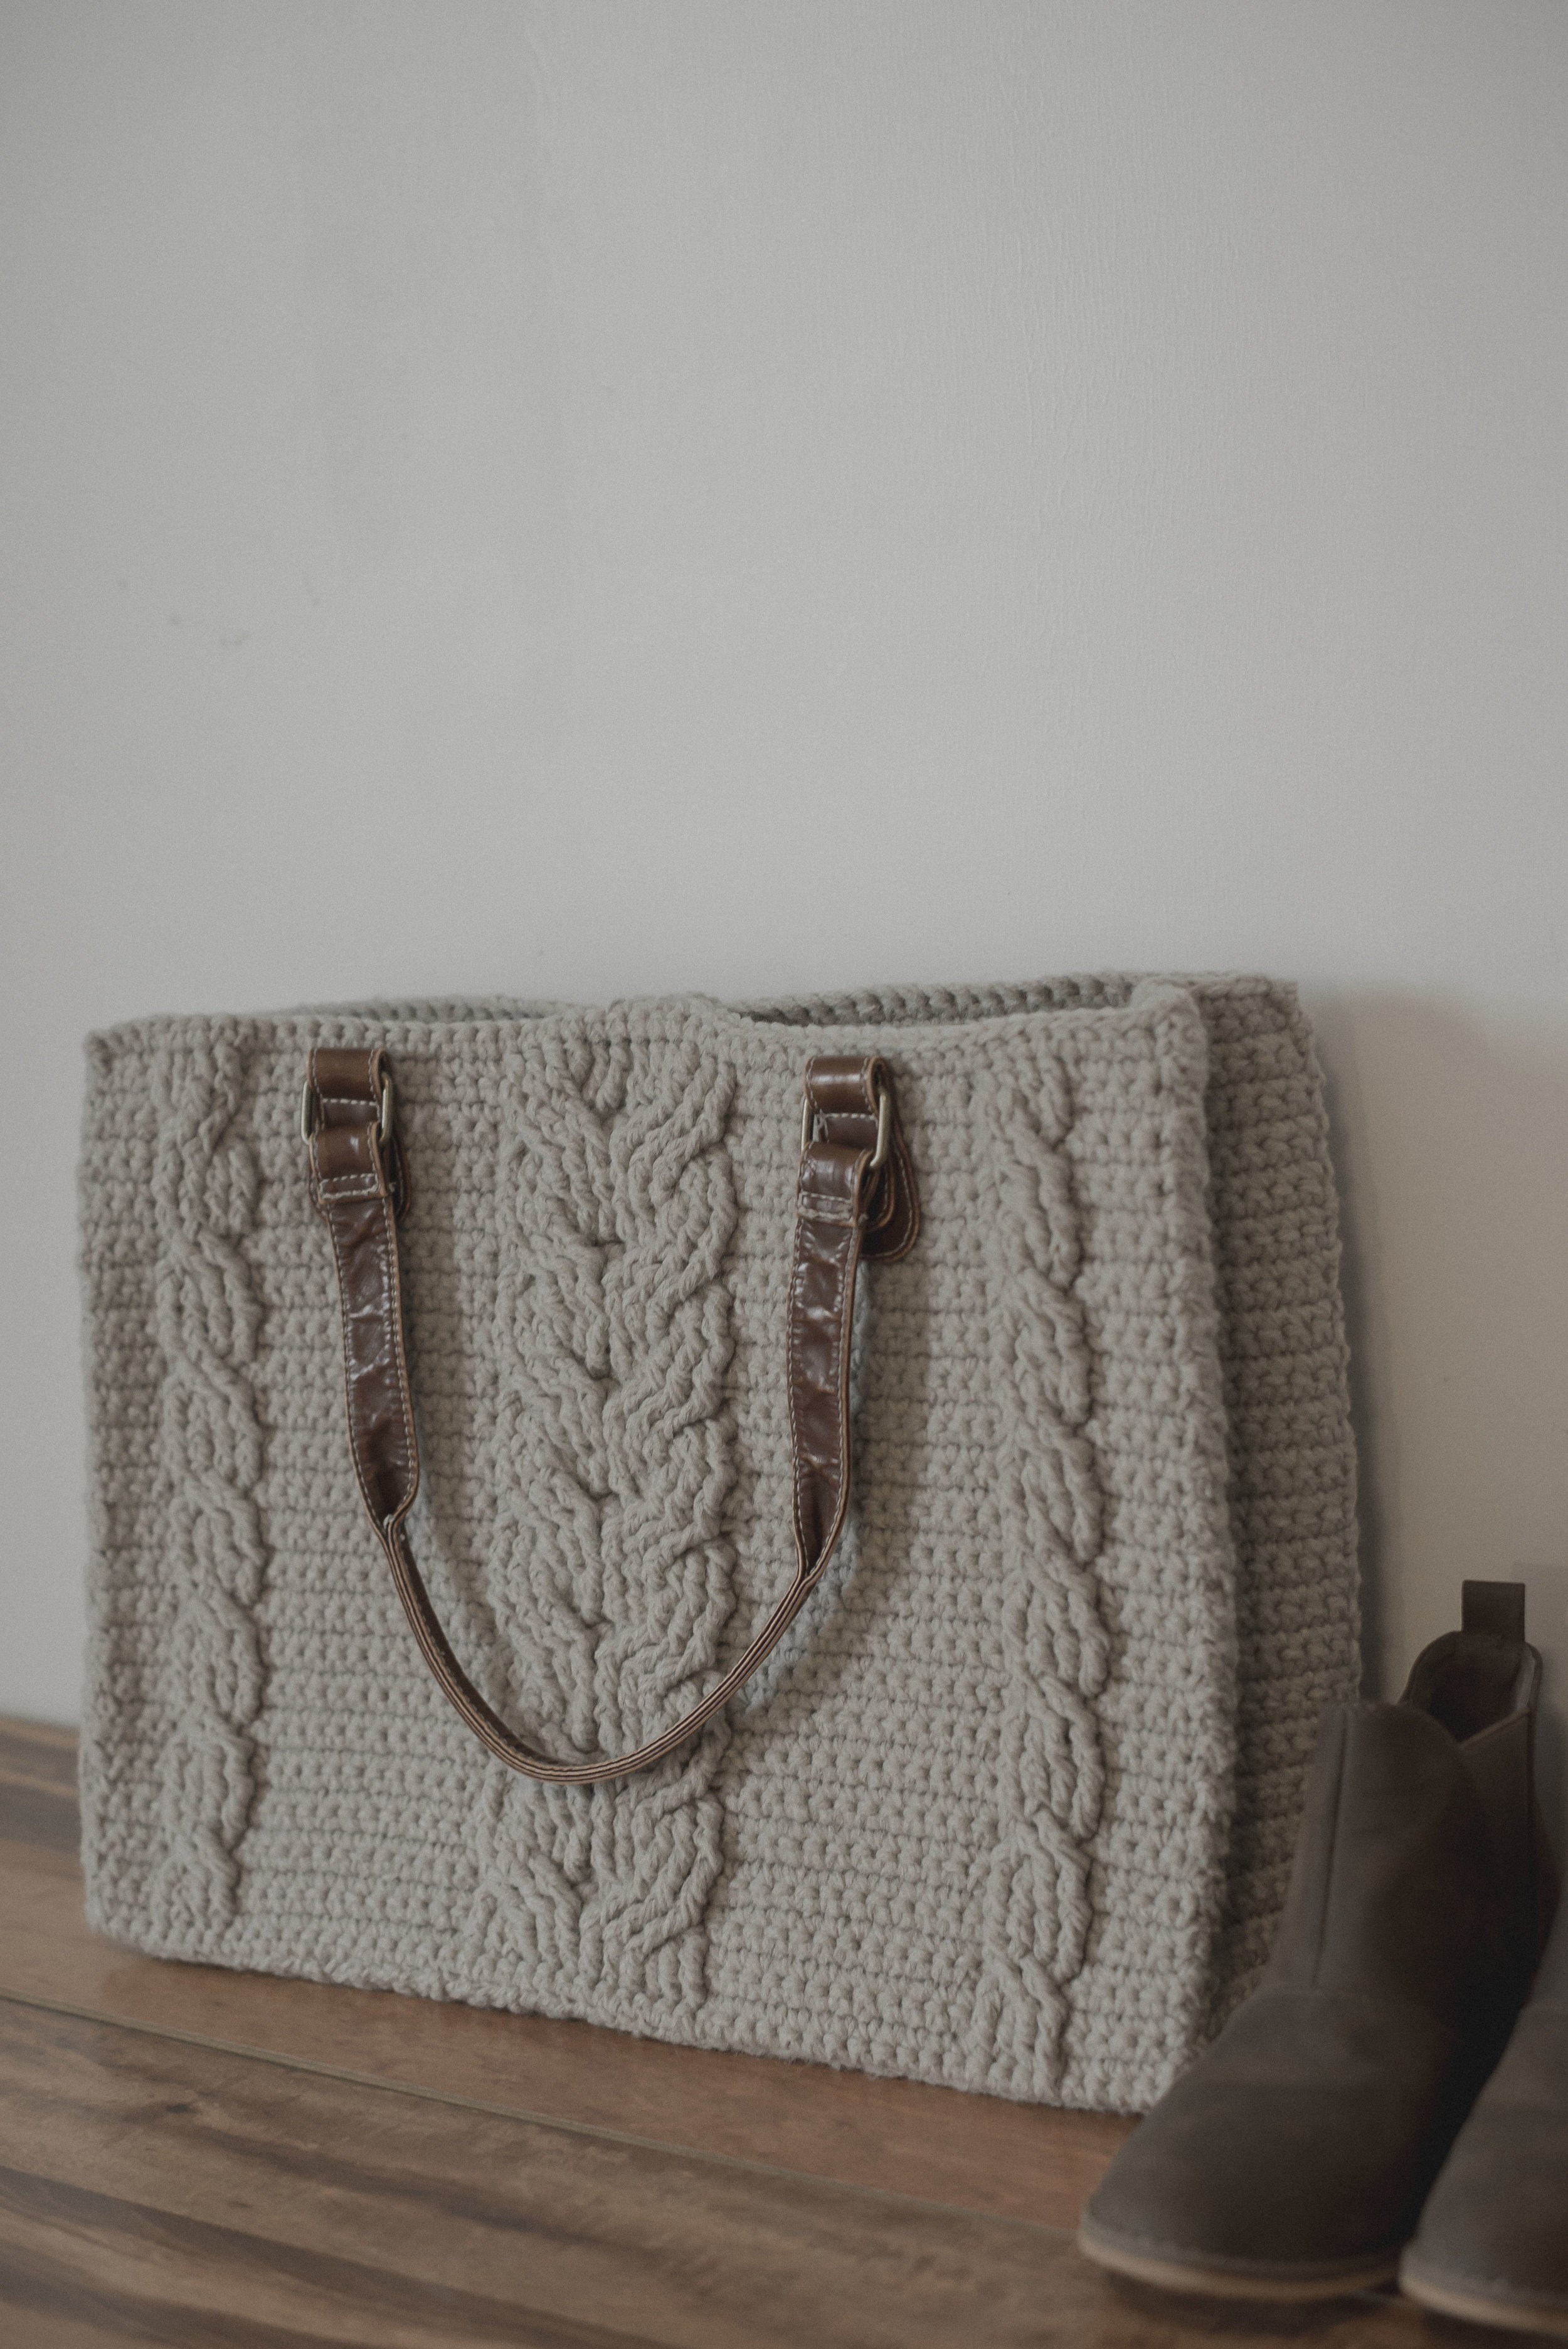
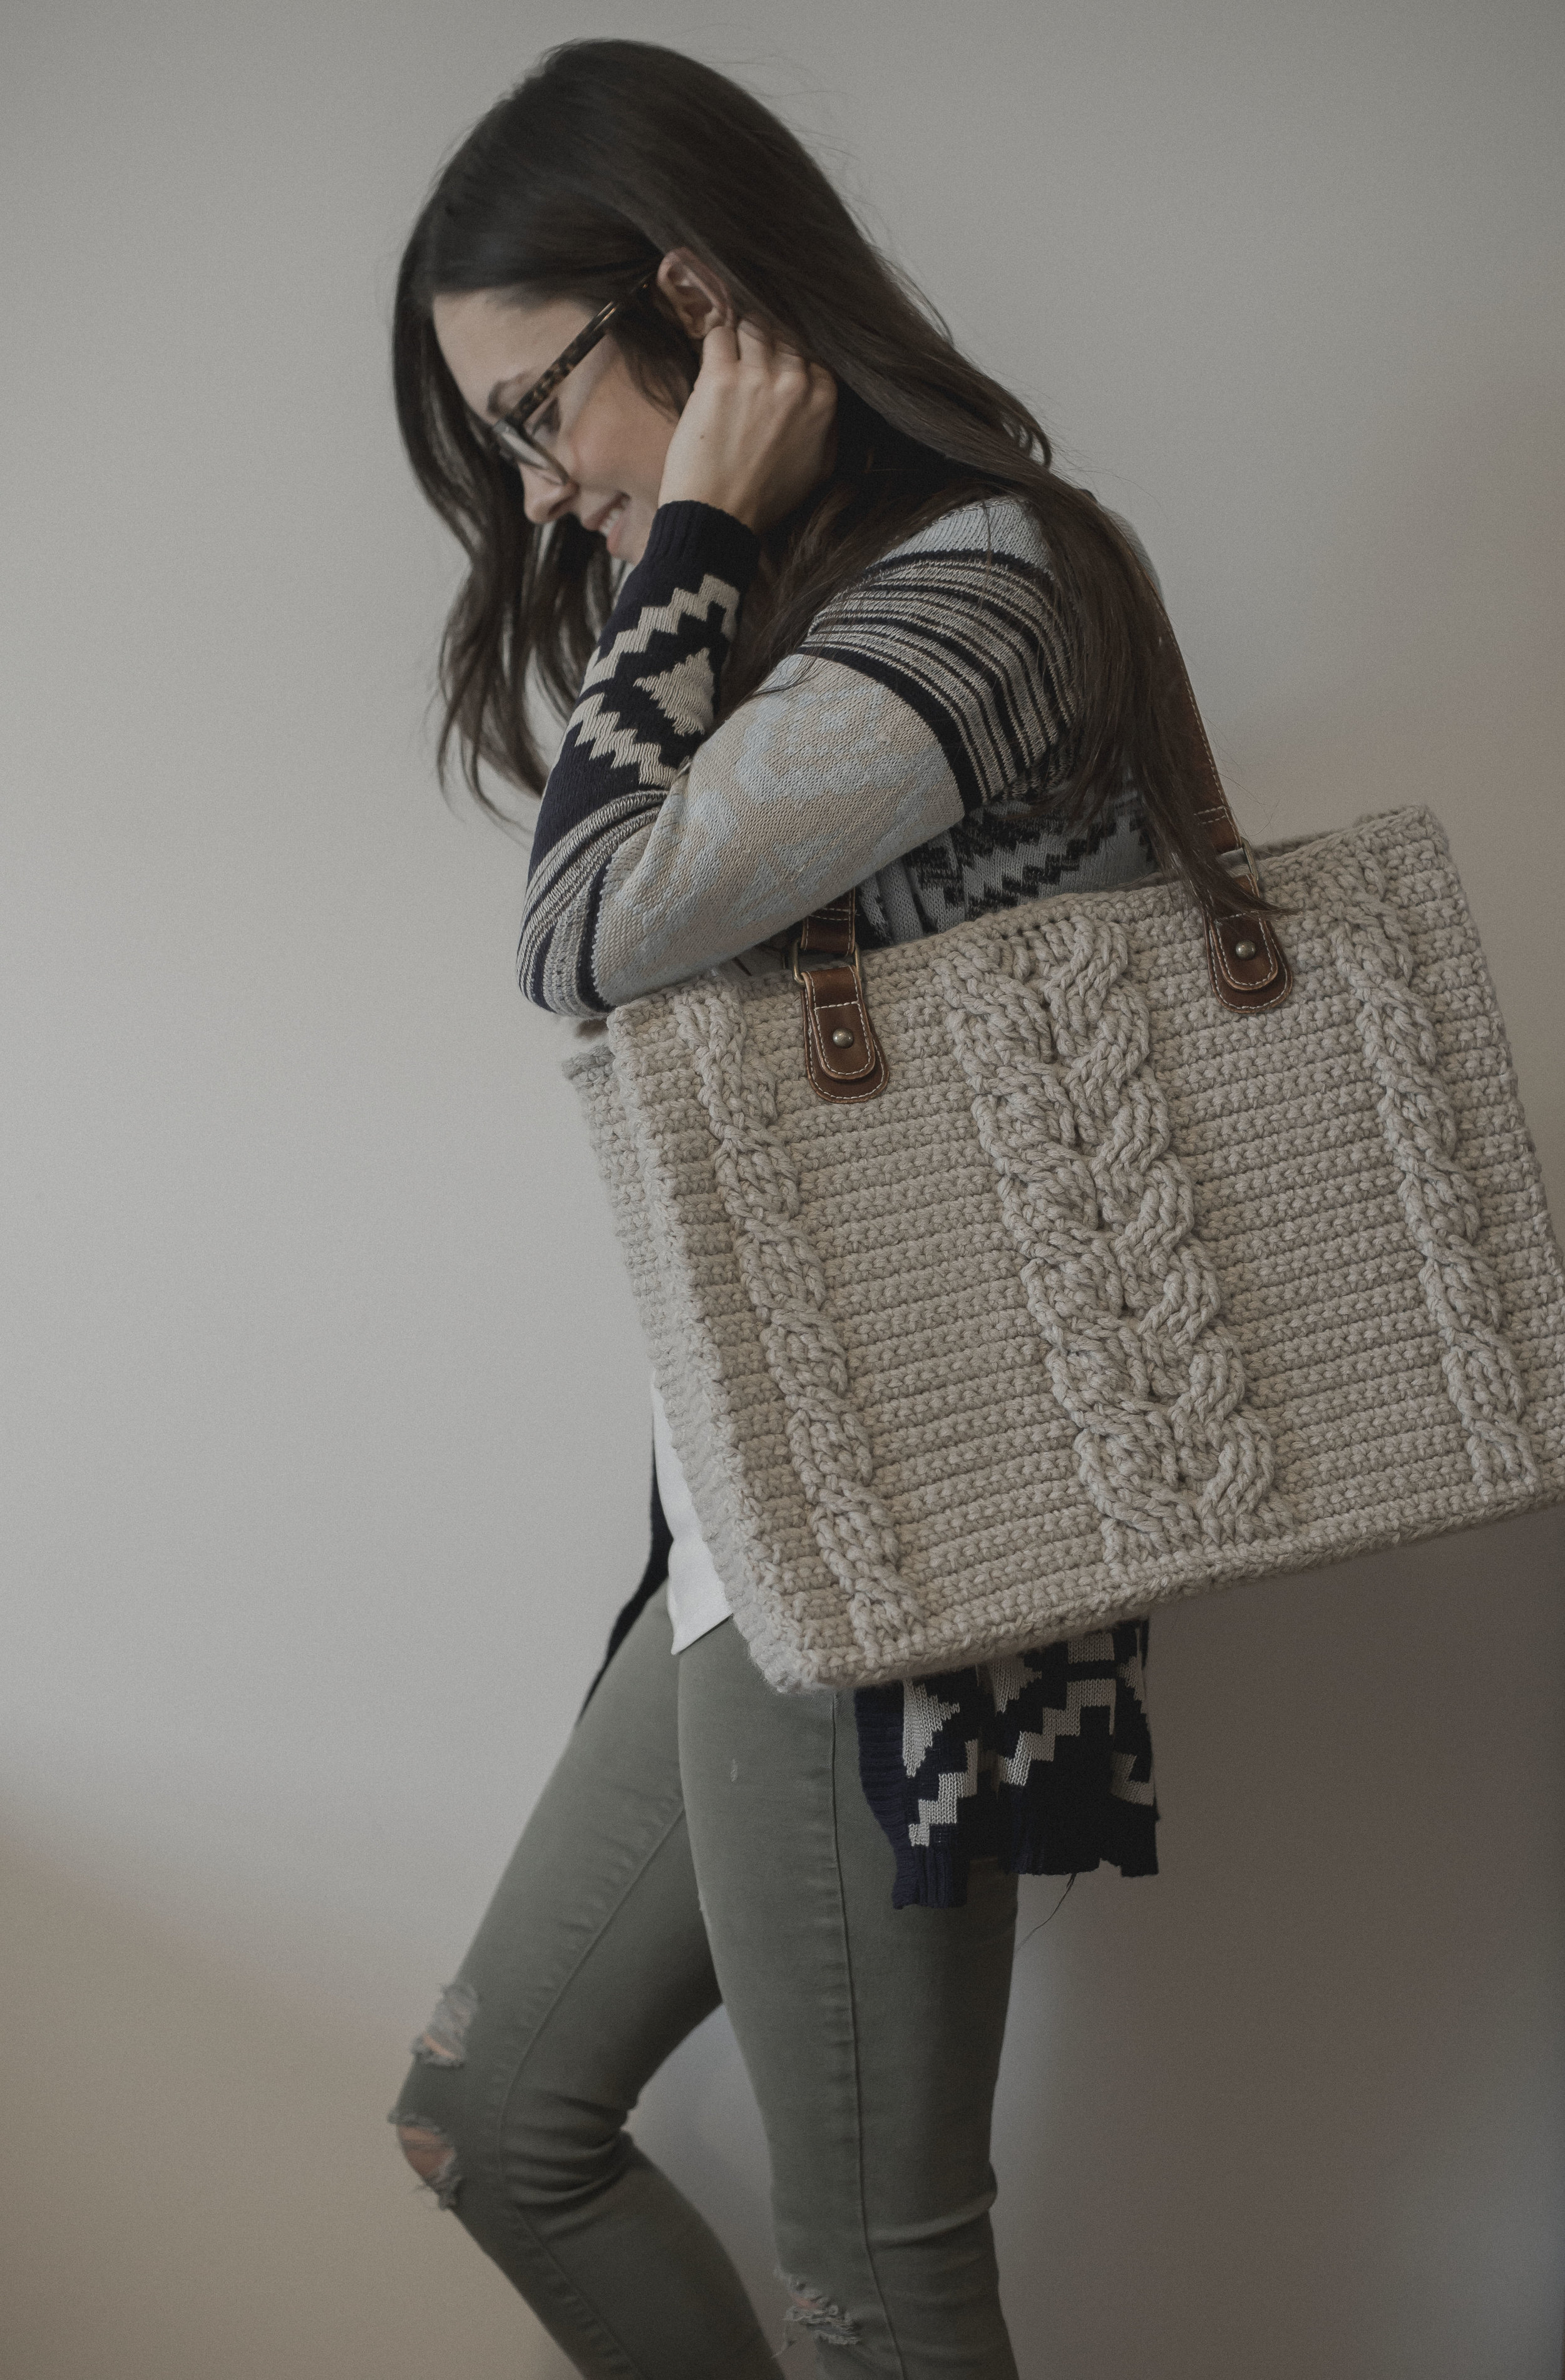
I am delighted to share with you my latest pattern: The Matilda Tote! It's a lovely structured and cabled bag that is surprisingly simple to make. It consists of three pieces, a front and back panel along with a long piece that wraps around the sides and bottom. I've taken TONS of photos of the process of making this bag in the hopes of you being able to 100% understand how to make this beaut!
The bag is made with two strands of worsted weight yarn and a smaller hook to achieve a structured look to it. I went a step further though and decided to add some fabric stabilizer to it so it'd be ultra sturdy. This thing can stand on it's own, it's great. There will be a separate post for how to add the stabilizer, plus a fabric lining that will be linked below.
This bag would make the perfect yarn tote in my opinion. It's a pretty good size, plus the pattern features a button-close feature on the top to keep yo junk from falling out. lol

I was having a hard time deciding on which kind of fabric to line the tote with, but ended up going with the lighter option on the right. I think it's because that option is a bit more versatile season-wise. As plaid and yarn kind of screams winter. Still, it was a tough decision because the plaid looks good too!
If you're having doubts about the cables, I included an insane amount of photos to help you better understand what I'm talking about on each step. My hope is that this pattern could give you confidence when it comes to cables. In fact, the front panel is only a six-row repeat, that includes every other row being single crochets!
What you'll need:
- Approximately 1,000 yards of worsted weight yarn (I used three skeins of Mainstays Basic Yarn found at Walmart in Soft Gray Heather-- while it was called gray, it totally had a taupe-ness about it)
- Size H hook, 5 mm (or hook size to obtain gauge)
- Purse handles, many craft stores carry them. I actually repurposed mine from an ugly purse found at the thrift store, ha!
-yarn needle
-One 1" - 1 1/4" button
-sewing pins, optional
If you're lining the purse:
-sewing machine (you could always hand sew also)
-thread in corresponding color to your yarn
-1/2 yard of fabric
-1/2 yard of Peltex 71F Single-Sided Fusible Ultra Firm Stabilizer (I found it at Walmart, but I'm sure it could be found at any fabric store)
-Hot steam iron (for stabilizer)
-damp cloth (for stabilizer)
Gauge:
12 sc by 14 rows (using TWO strands) equals a four inch square
Measurements:
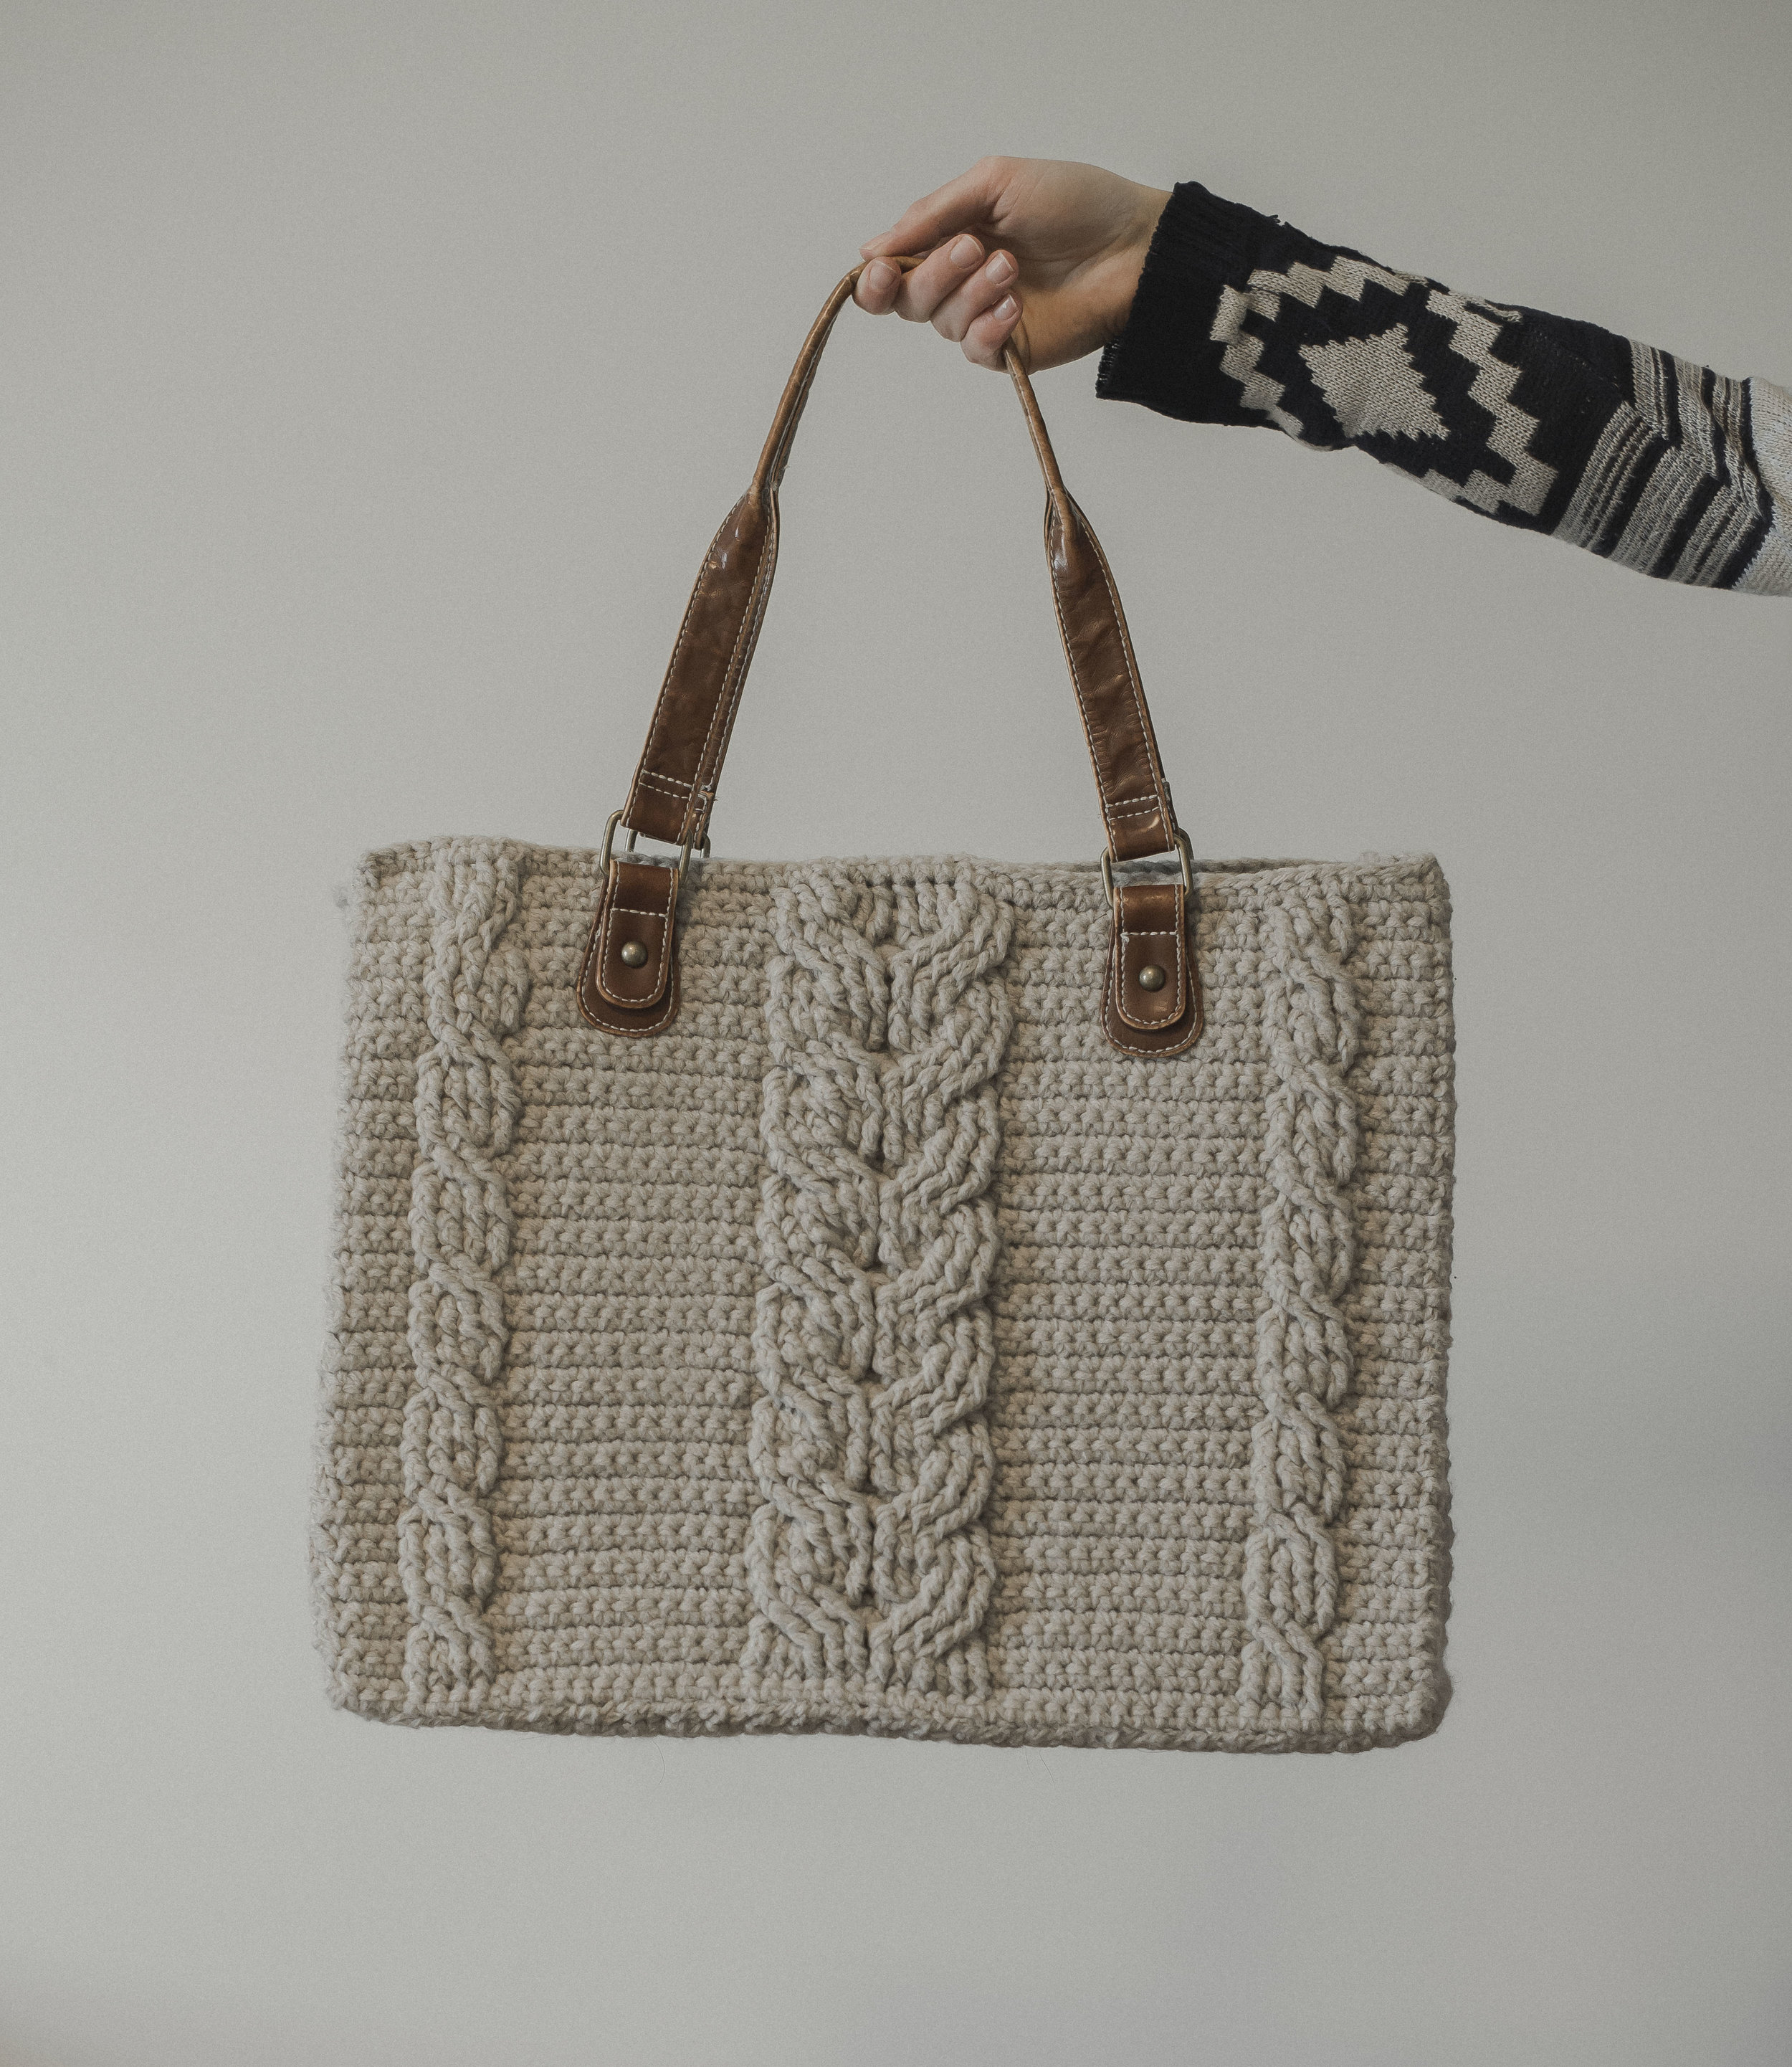
Finished tote is approximately 16.5" wide, 12.5" tall, and 4" deep
Abbreviations:
sc=single crochet, ch=chain, st(s)=stitch(es), fphdc= front post half double crochet, fptr=front post treble crochet, sl=slip, sk=skip
Notes:
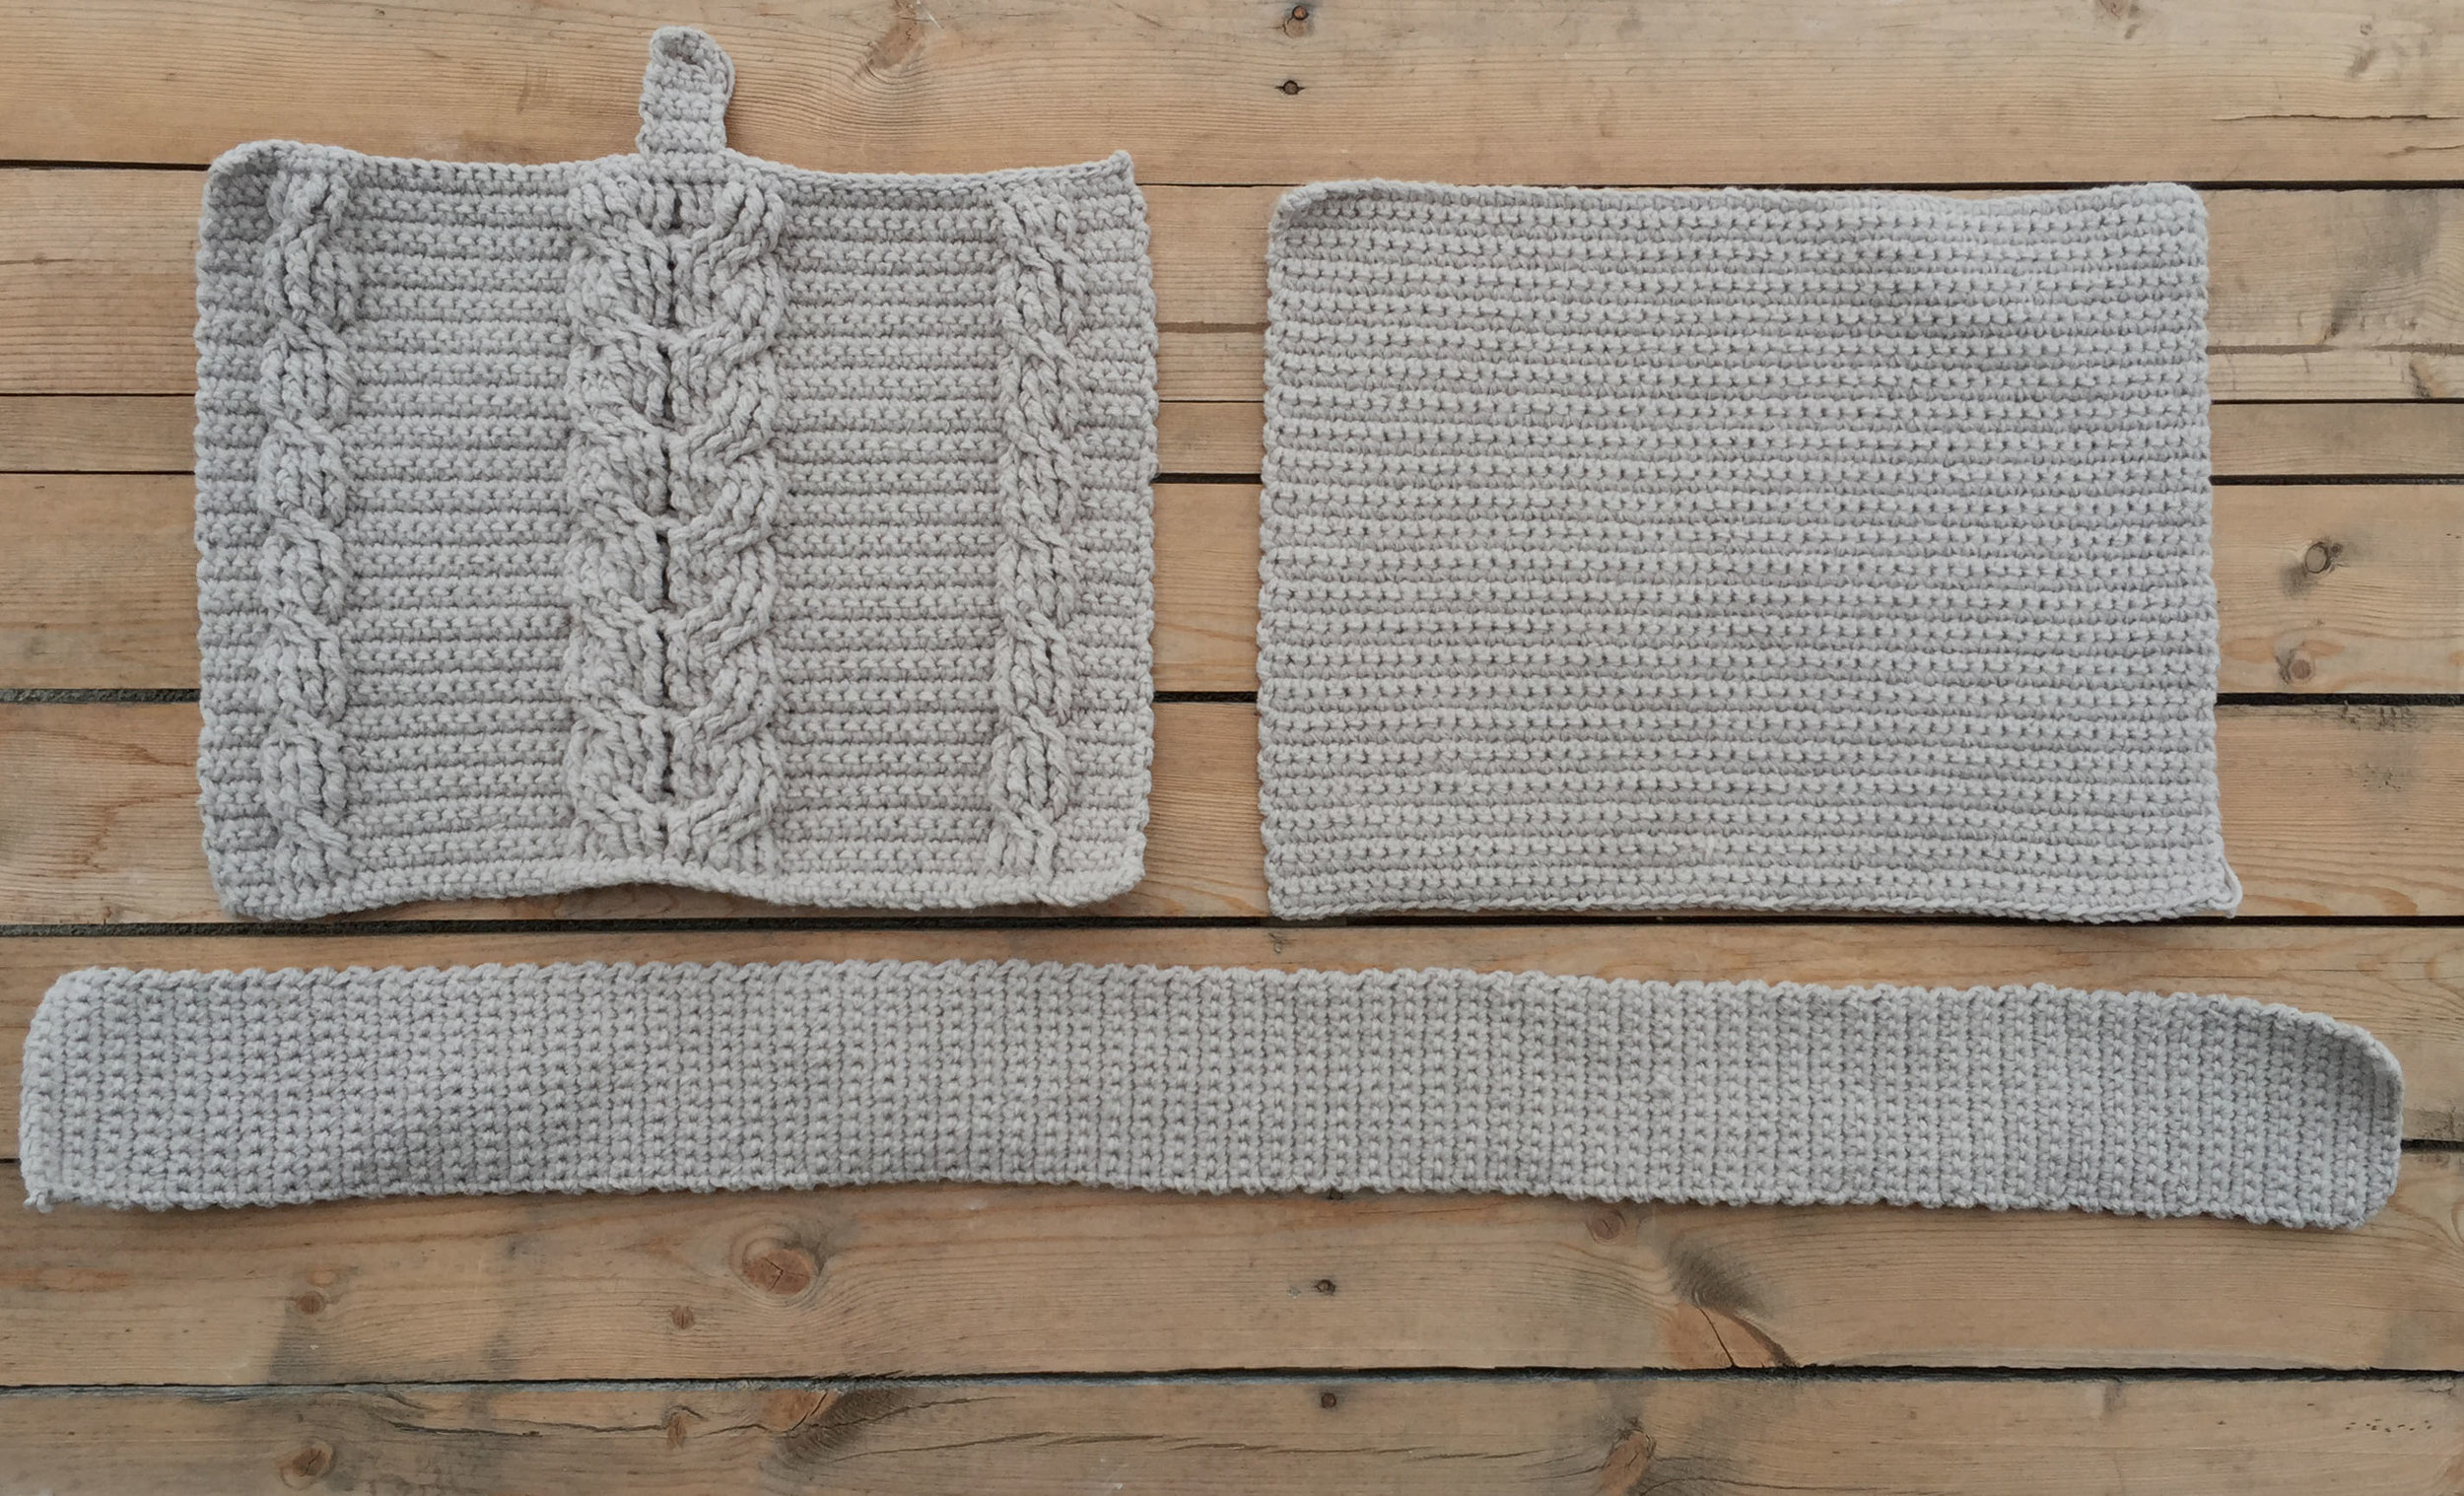
The three pieces you work up for the tote..
-ch's at the beginning of the rows do not count as sts
-the purse is worked with TWO strands of worsted weight yarn. And this is paired with a smaller hook for a reason-- to create a structured piece.
-I included many photos for assistance as I write the pattern below on working the cables
-All the fptr's are worked into the post stitch below it (not the the sc's)
-The front panel of the purse has cables, the back is plain sc's
-You could always skip making the middle long piece (the piece that wraps around the sides and bottom) and just sew the two panels together, it may make things easier. Just another option!
-all the odd rows of the front panel will be a sc across row
-each of the panels measure approximately 16.5" x 12.5". The long piece measures 4" x 41"
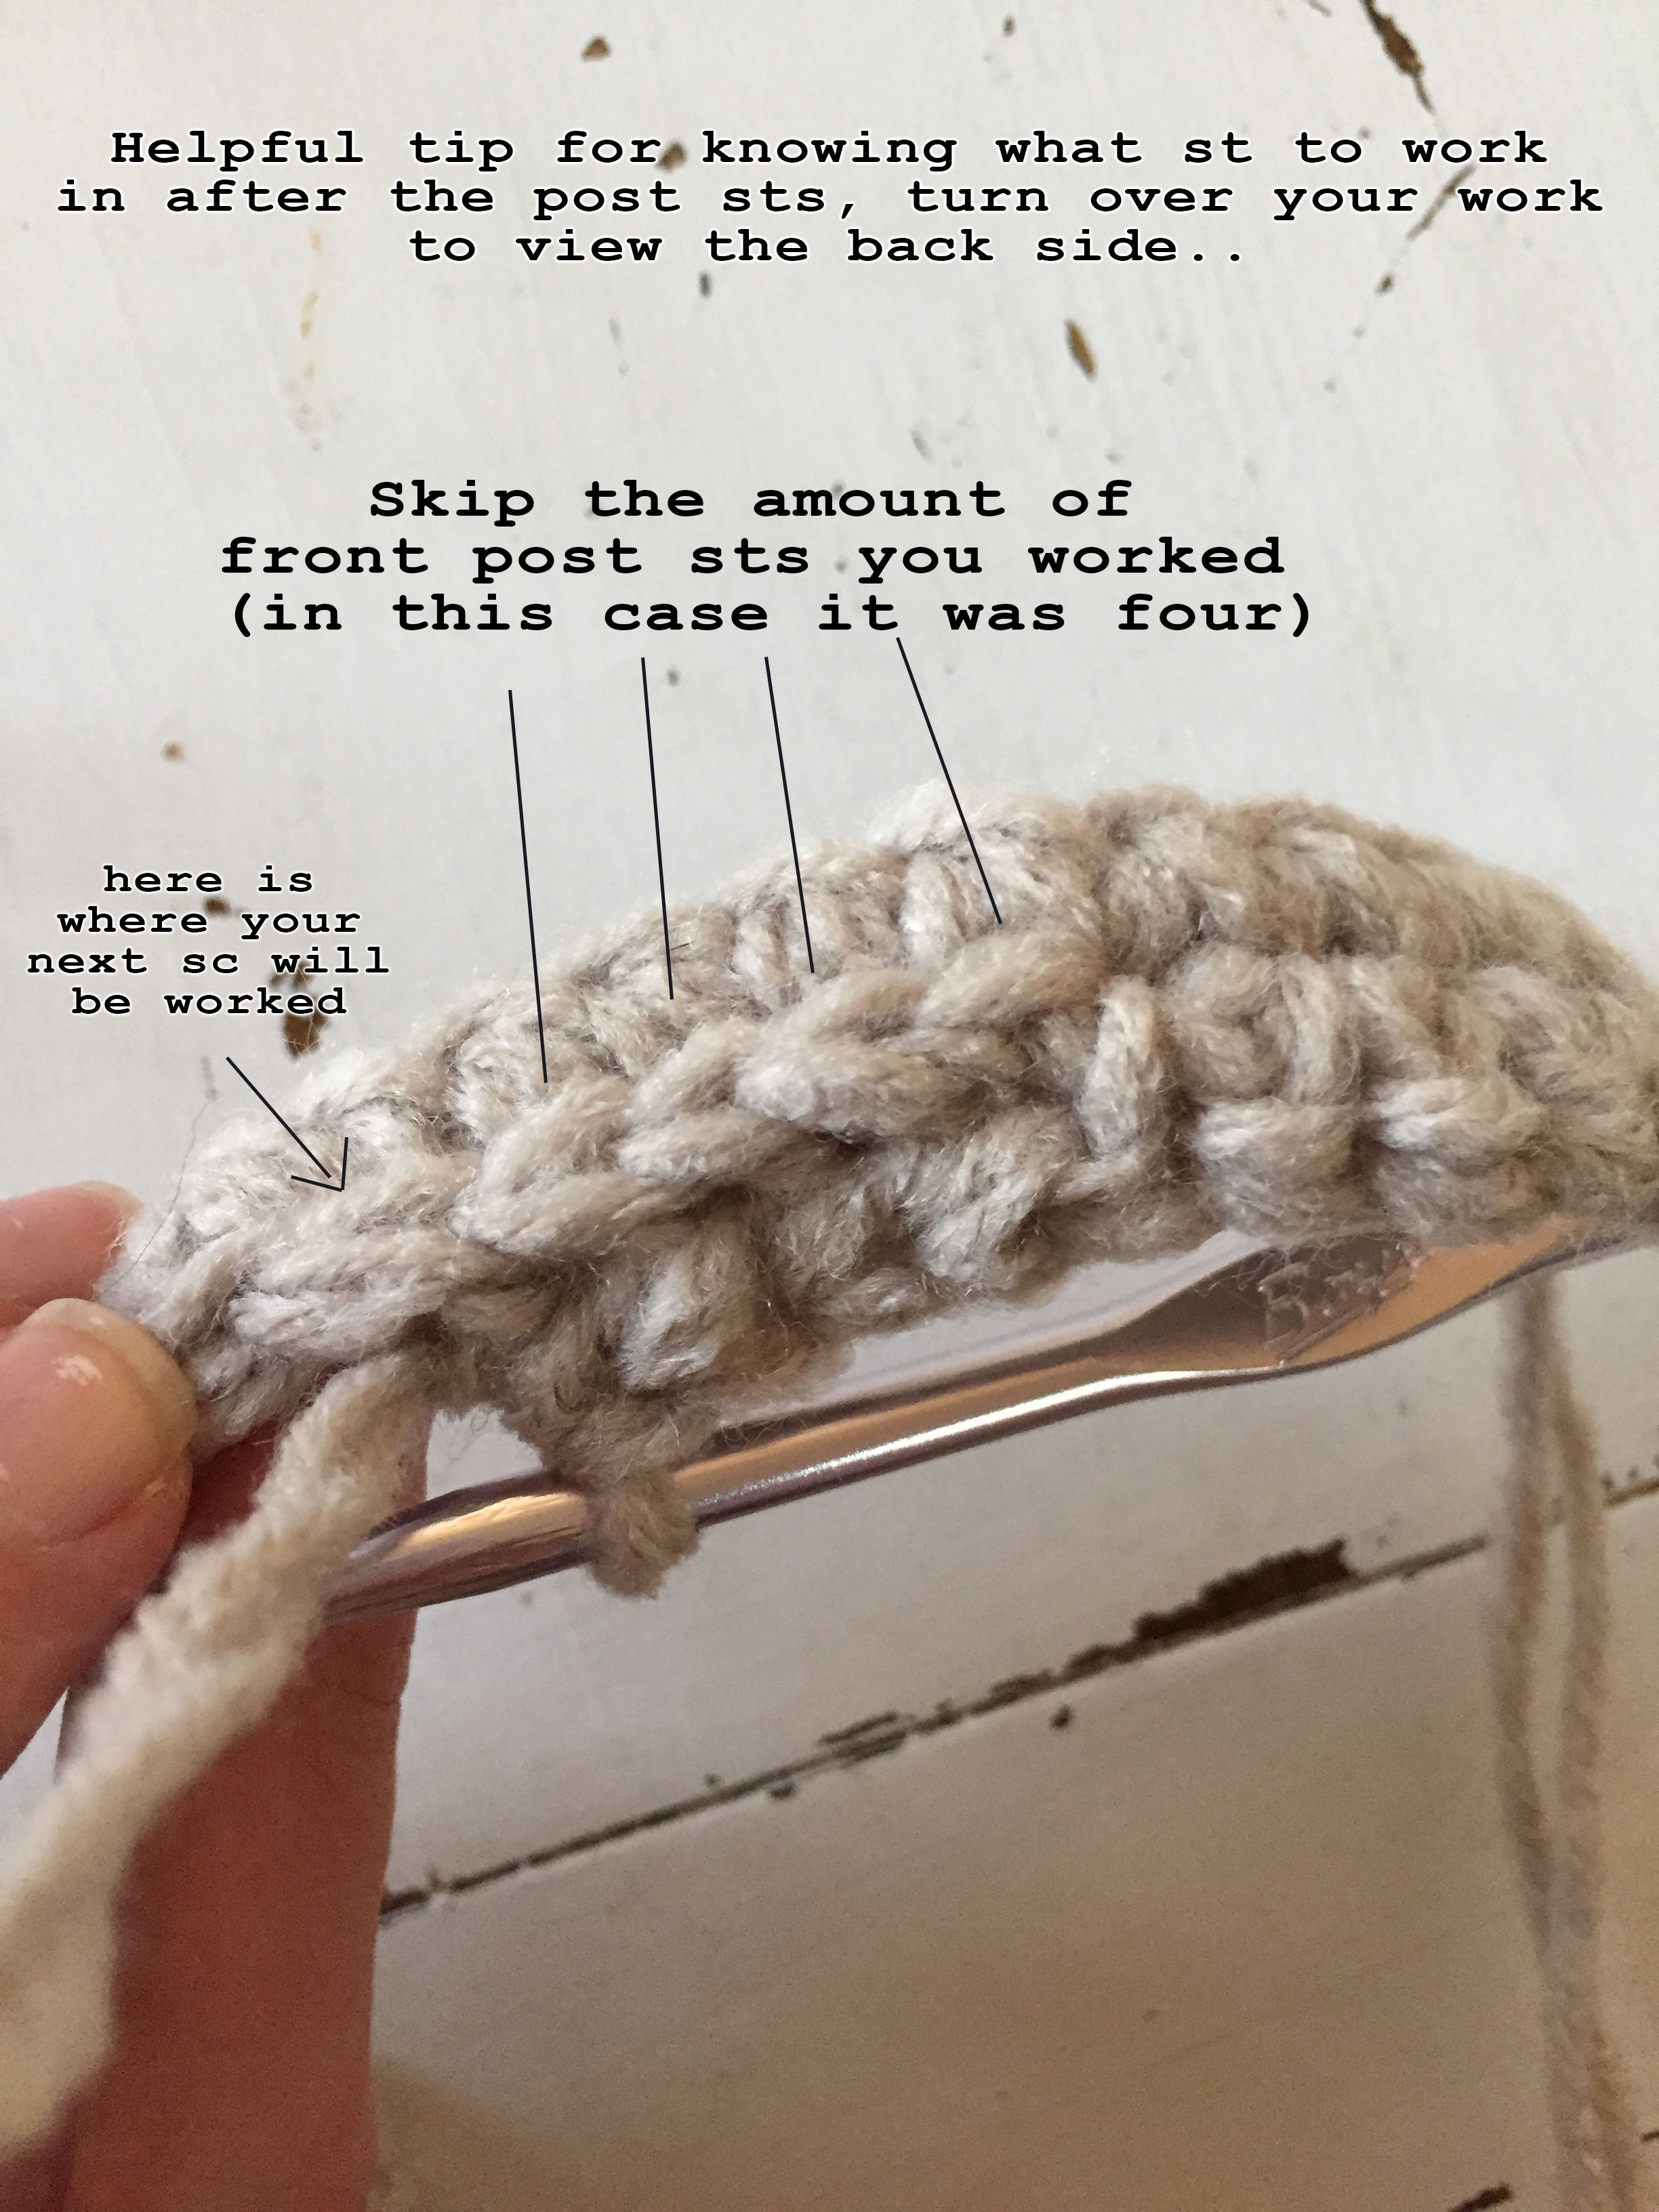
-***Below is a helpful tip for knowing which st to work in after you've worked the cables..
Pattern:
***REMEMBER ALL PIECES ARE WORKED WITH TWO STRANDS OF YARN!***
Front cabled panel:
Row 1) ch 53, sc in 2nd ch from hook and across (52 total sts)
Row 2) ch 1, turn, work 4 sc, 4 fphdc, 12 sc, 12 fphdc, 12 sc, 4 fphdc, 4 sc --see below for photo assistance (52 total sts)


Row 2 worked up to the 12 fphdc's
Row 3) ch 1, turn, sc across (52 total sts)
Row 4) ch 1, turn, work 4 sc, 4 fptr, 12 sc, 12 fptr, 12 sc, 4 fptr, 4 sc --see pics below for assistance (52 total sts)

Remember you will work your fptr's into the post sts below it, not the sc's


Row 4 completed..
Row 5) ch 1, turn, sc across (52 total sts)
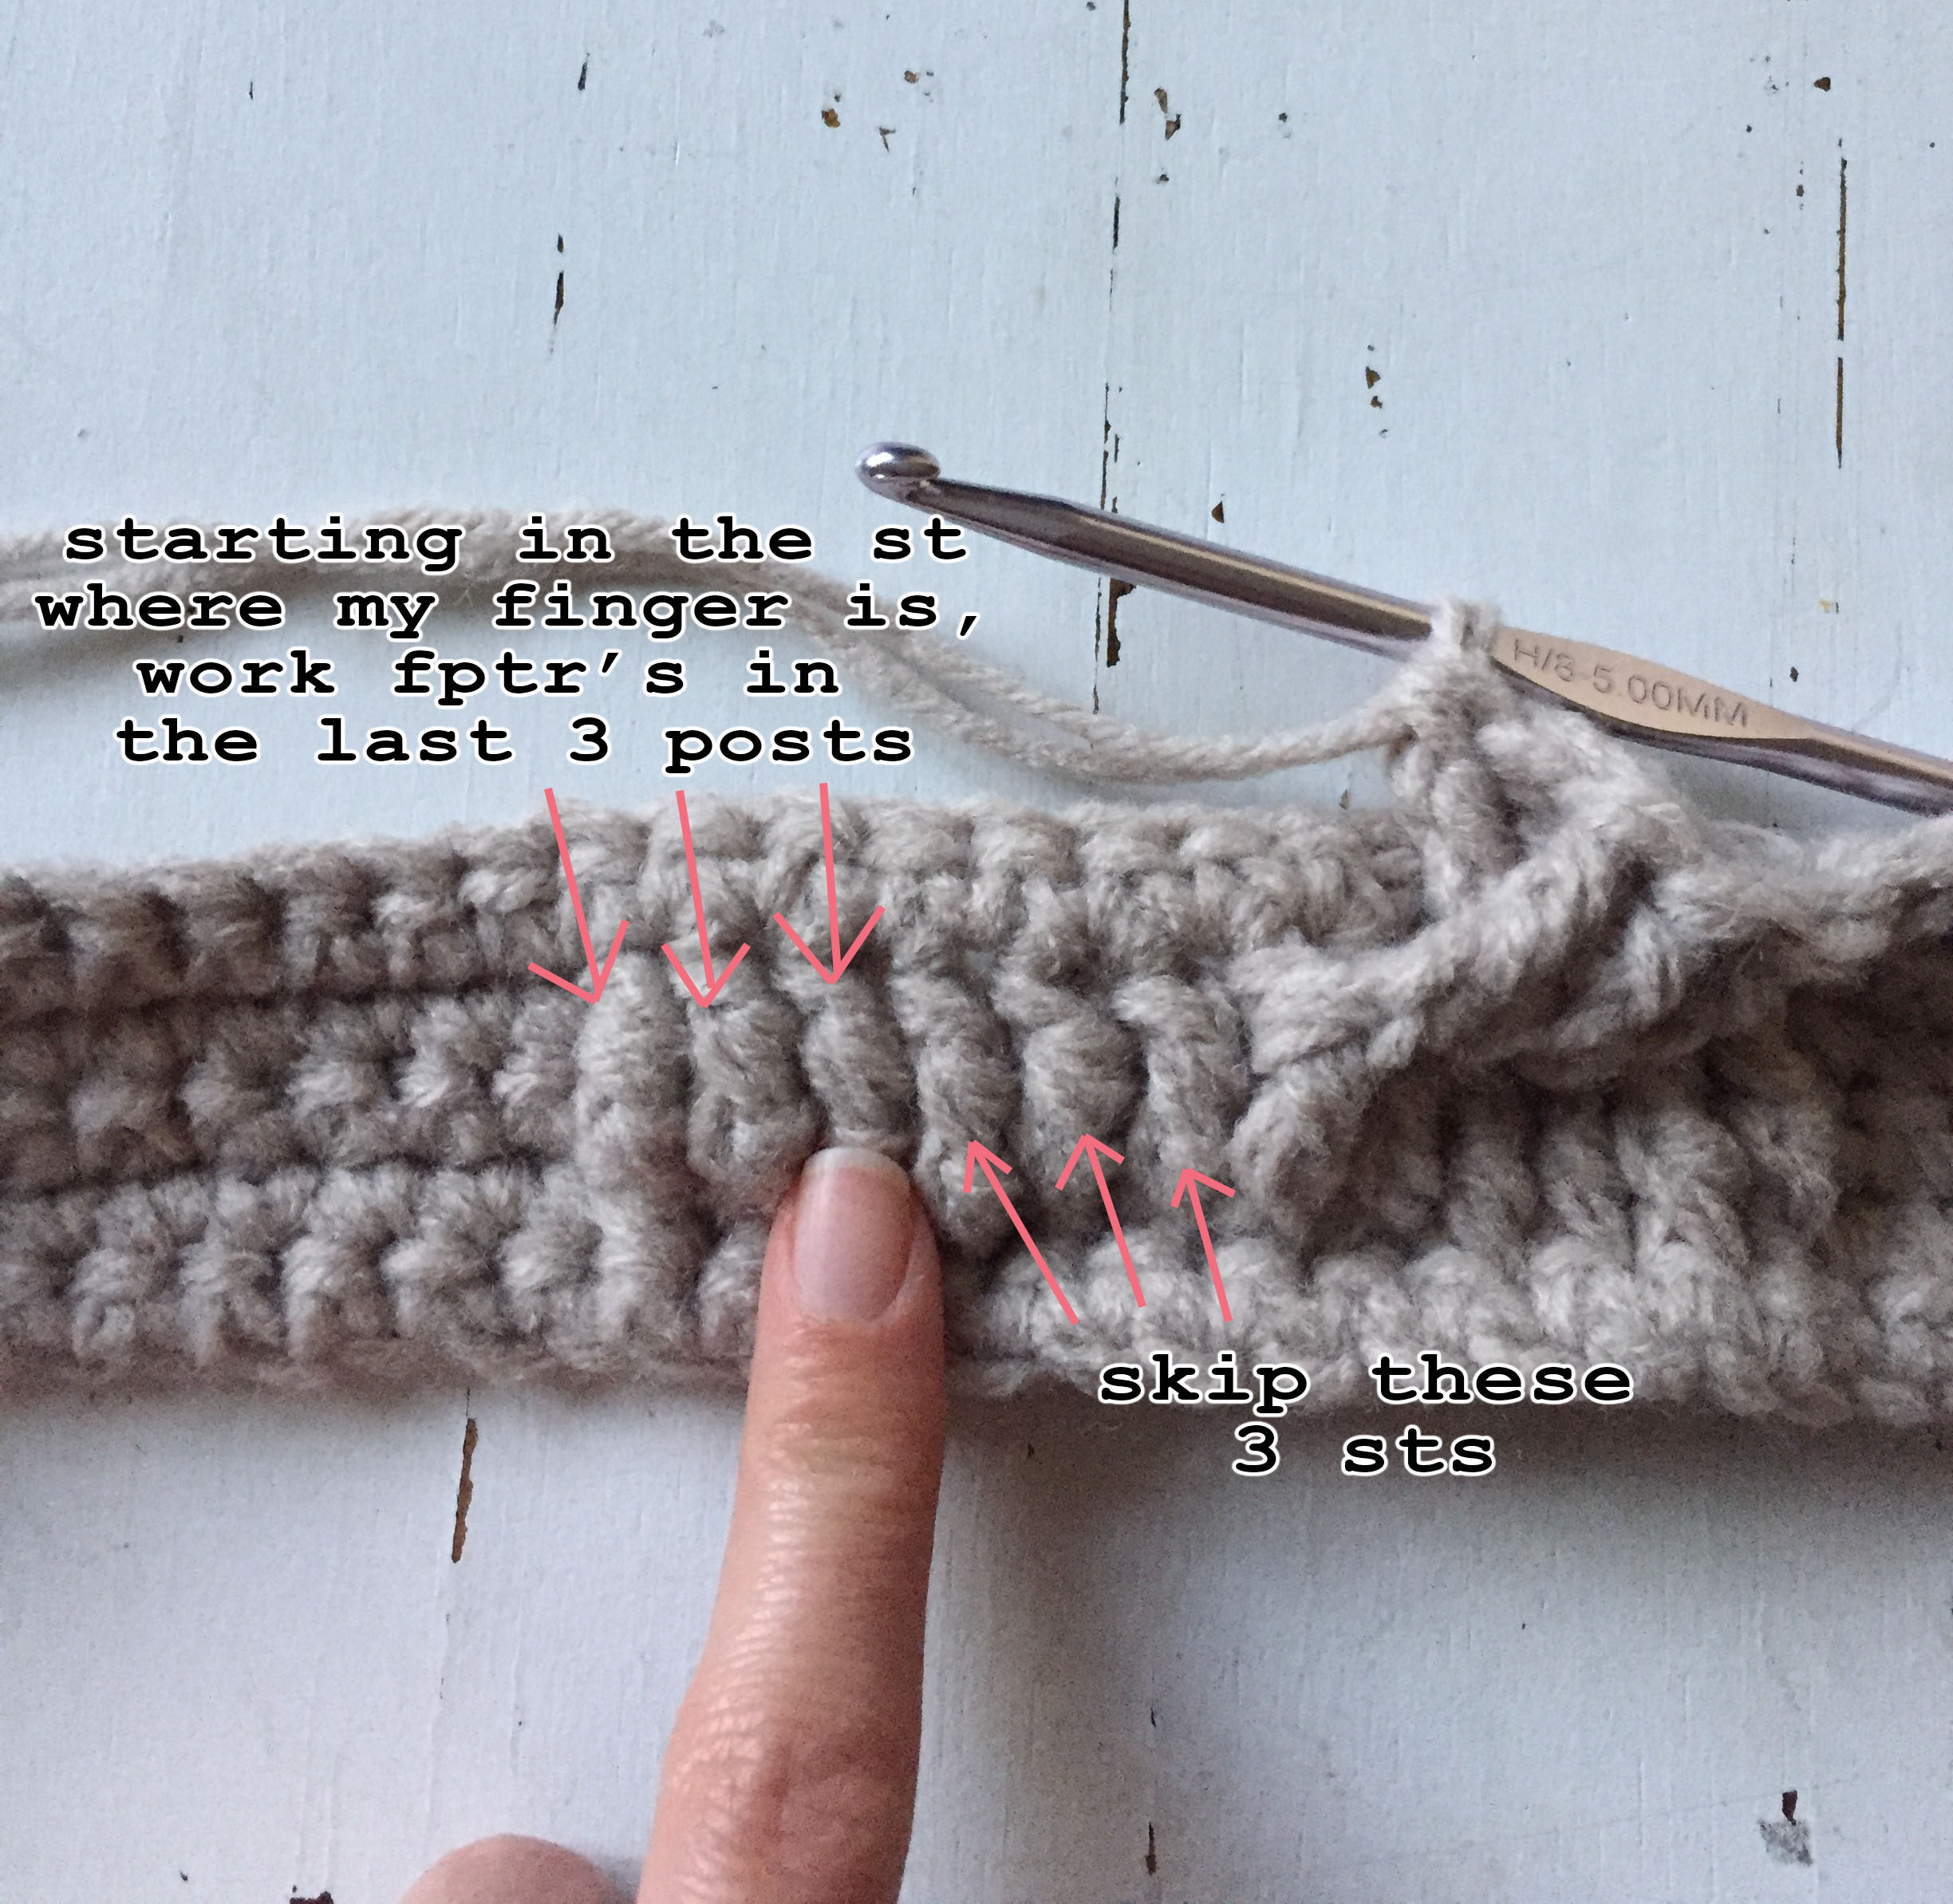
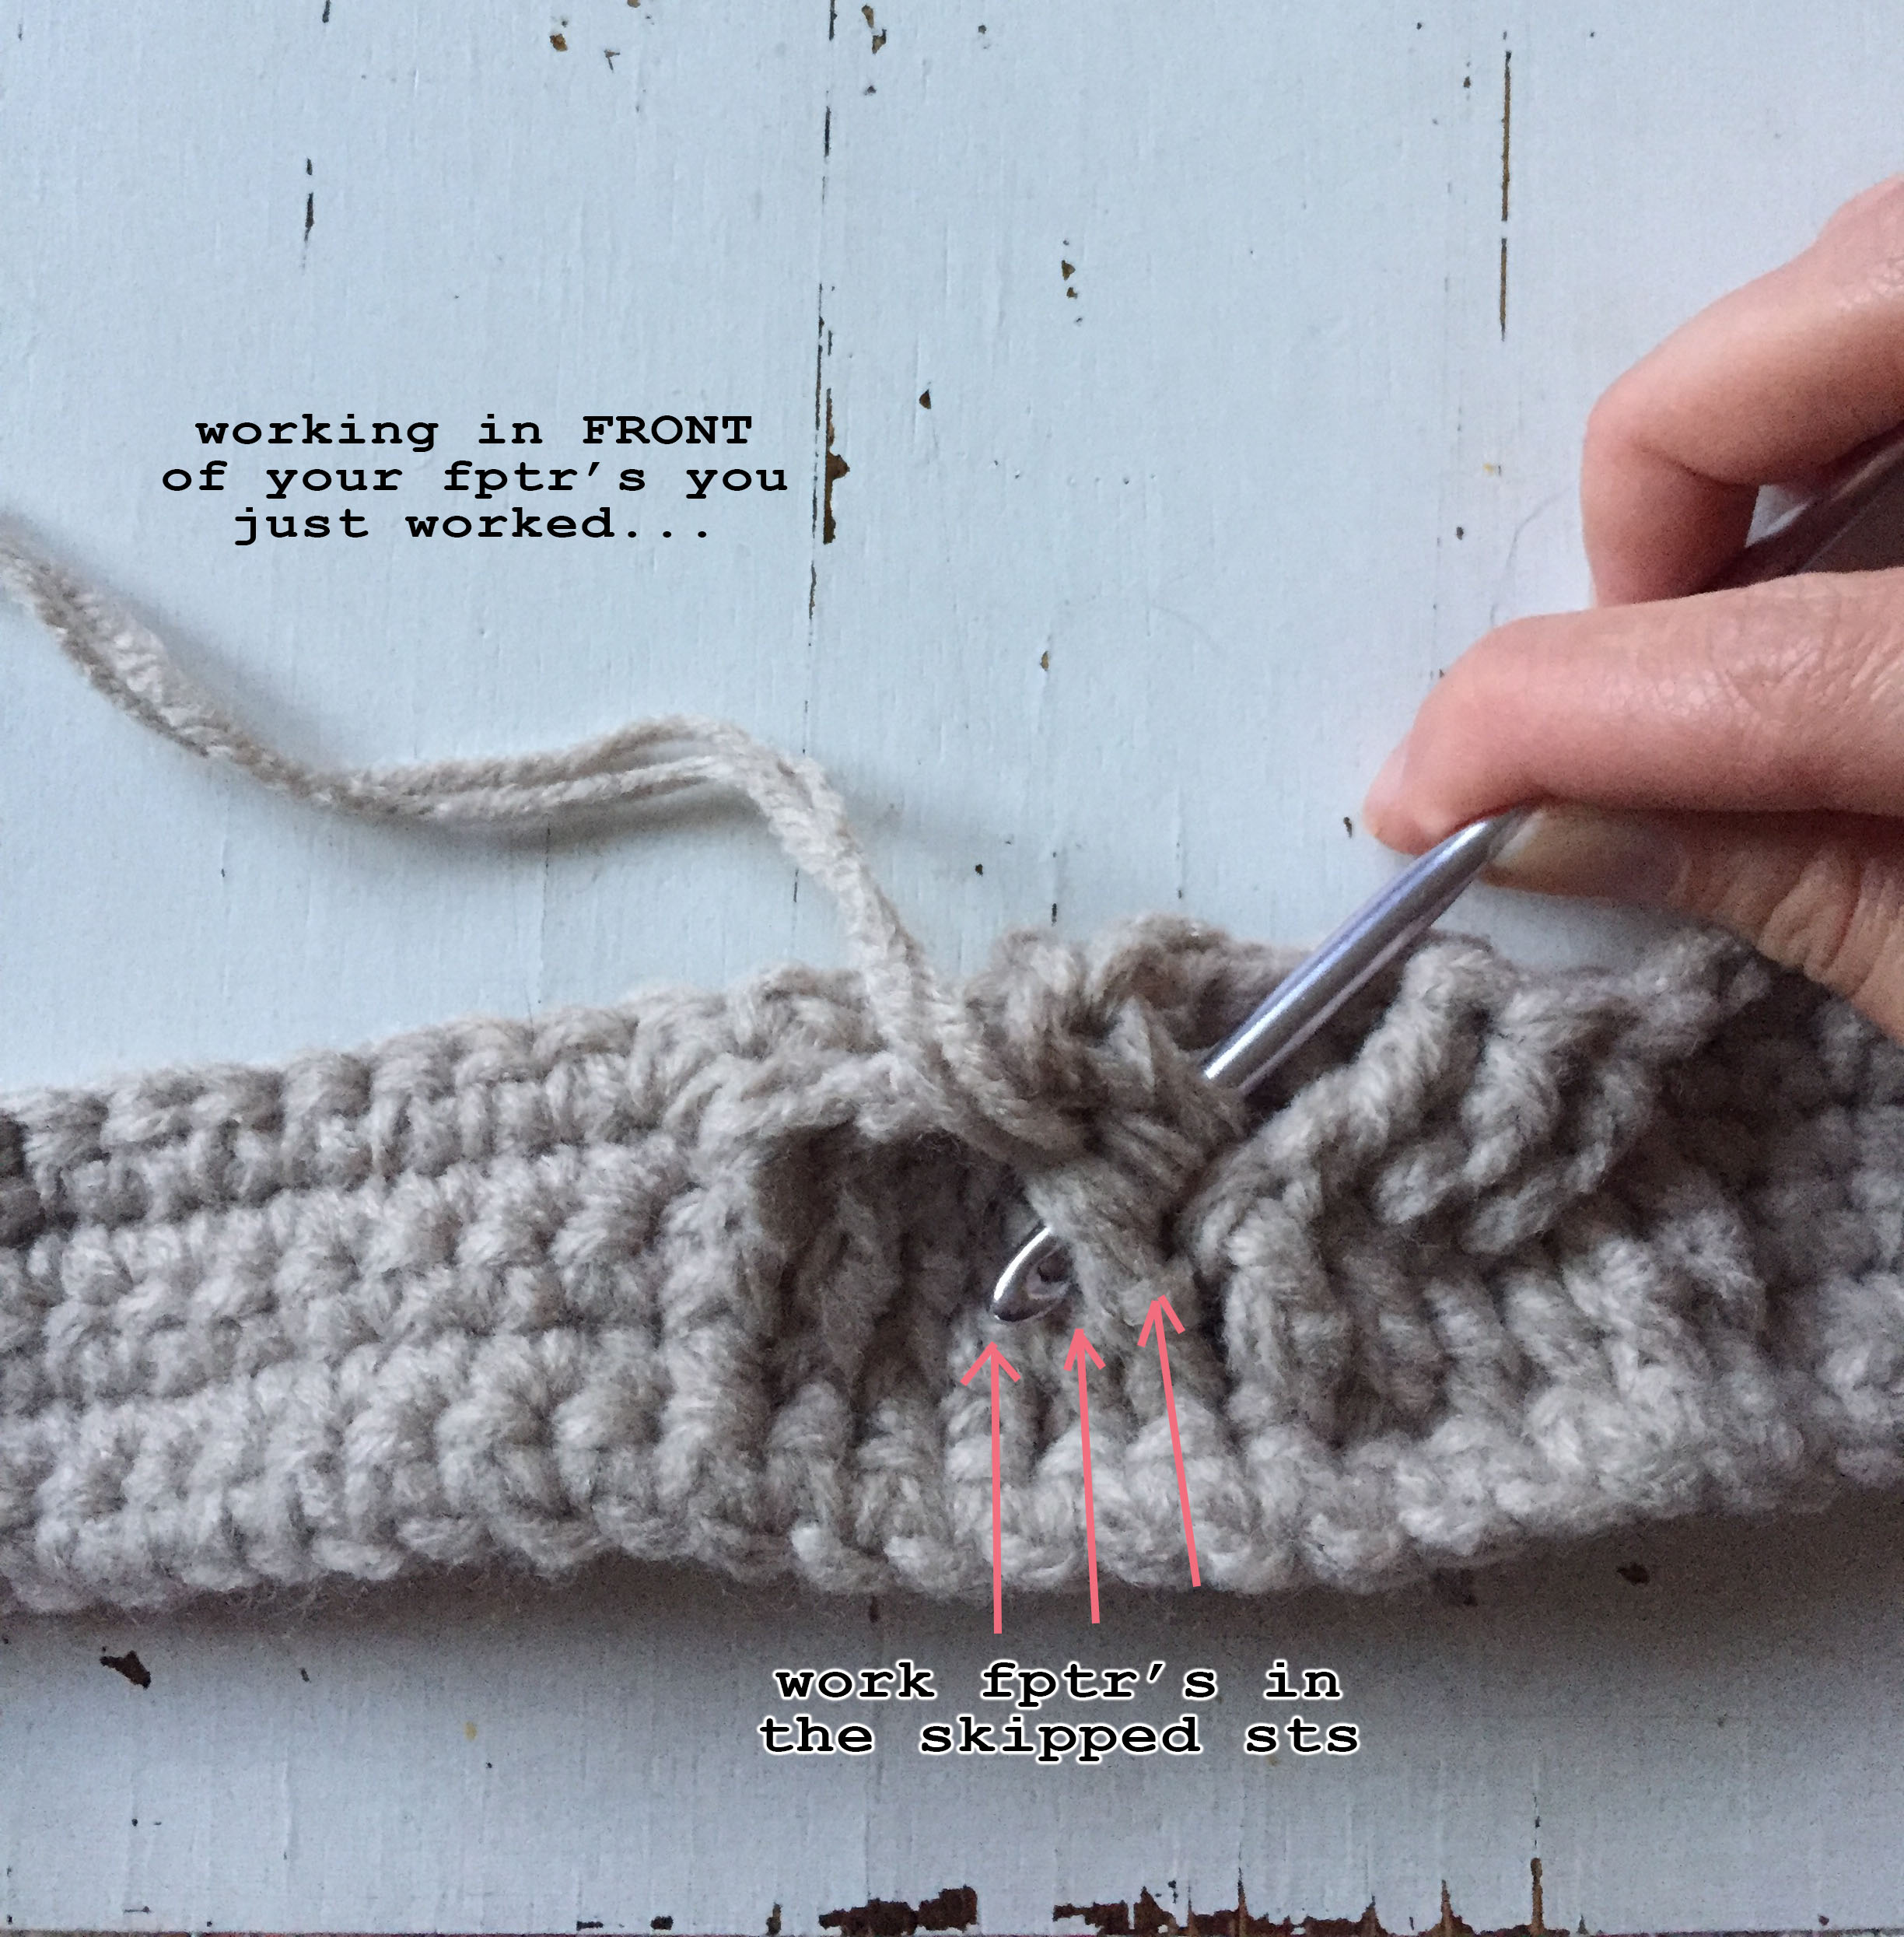
Row 6) **this row is a doozy to explain, there are photos for assistance below** ch 1, turn, work 4 sc, then sk the next two fptr from row 4, then work 2 fptr into the next two fptr from row 4, then working IN FRONT of those 2 fptr you just worked-- you will work a fptr into each of the two skipped fptr from row 4, sc 12, then sk the next three fptr from row 4, then work 3 fptr into the next three fptr from row 4, working BEHIND those 3 fptr you just worked-- you will work a fptr into each of the three skipped fptr from row 4, then you'll sk the next three unworked fptr from row 4, then work 3 fptr into the next three fptr from row 4, then working IN FRONT of those 3 fptr you just worked-- you will work a fptr into each of the three skipped fptr from row 4, sc 12, then sk the next two fptr from row 4, then work 2 fptr into the next two fptr from row 4, then working IN FRONT of those 2 fptr you just worked-- you will work a fptr into each of the two skipped fptr from row 4, sc 4 in the last four sts (52 total sts)

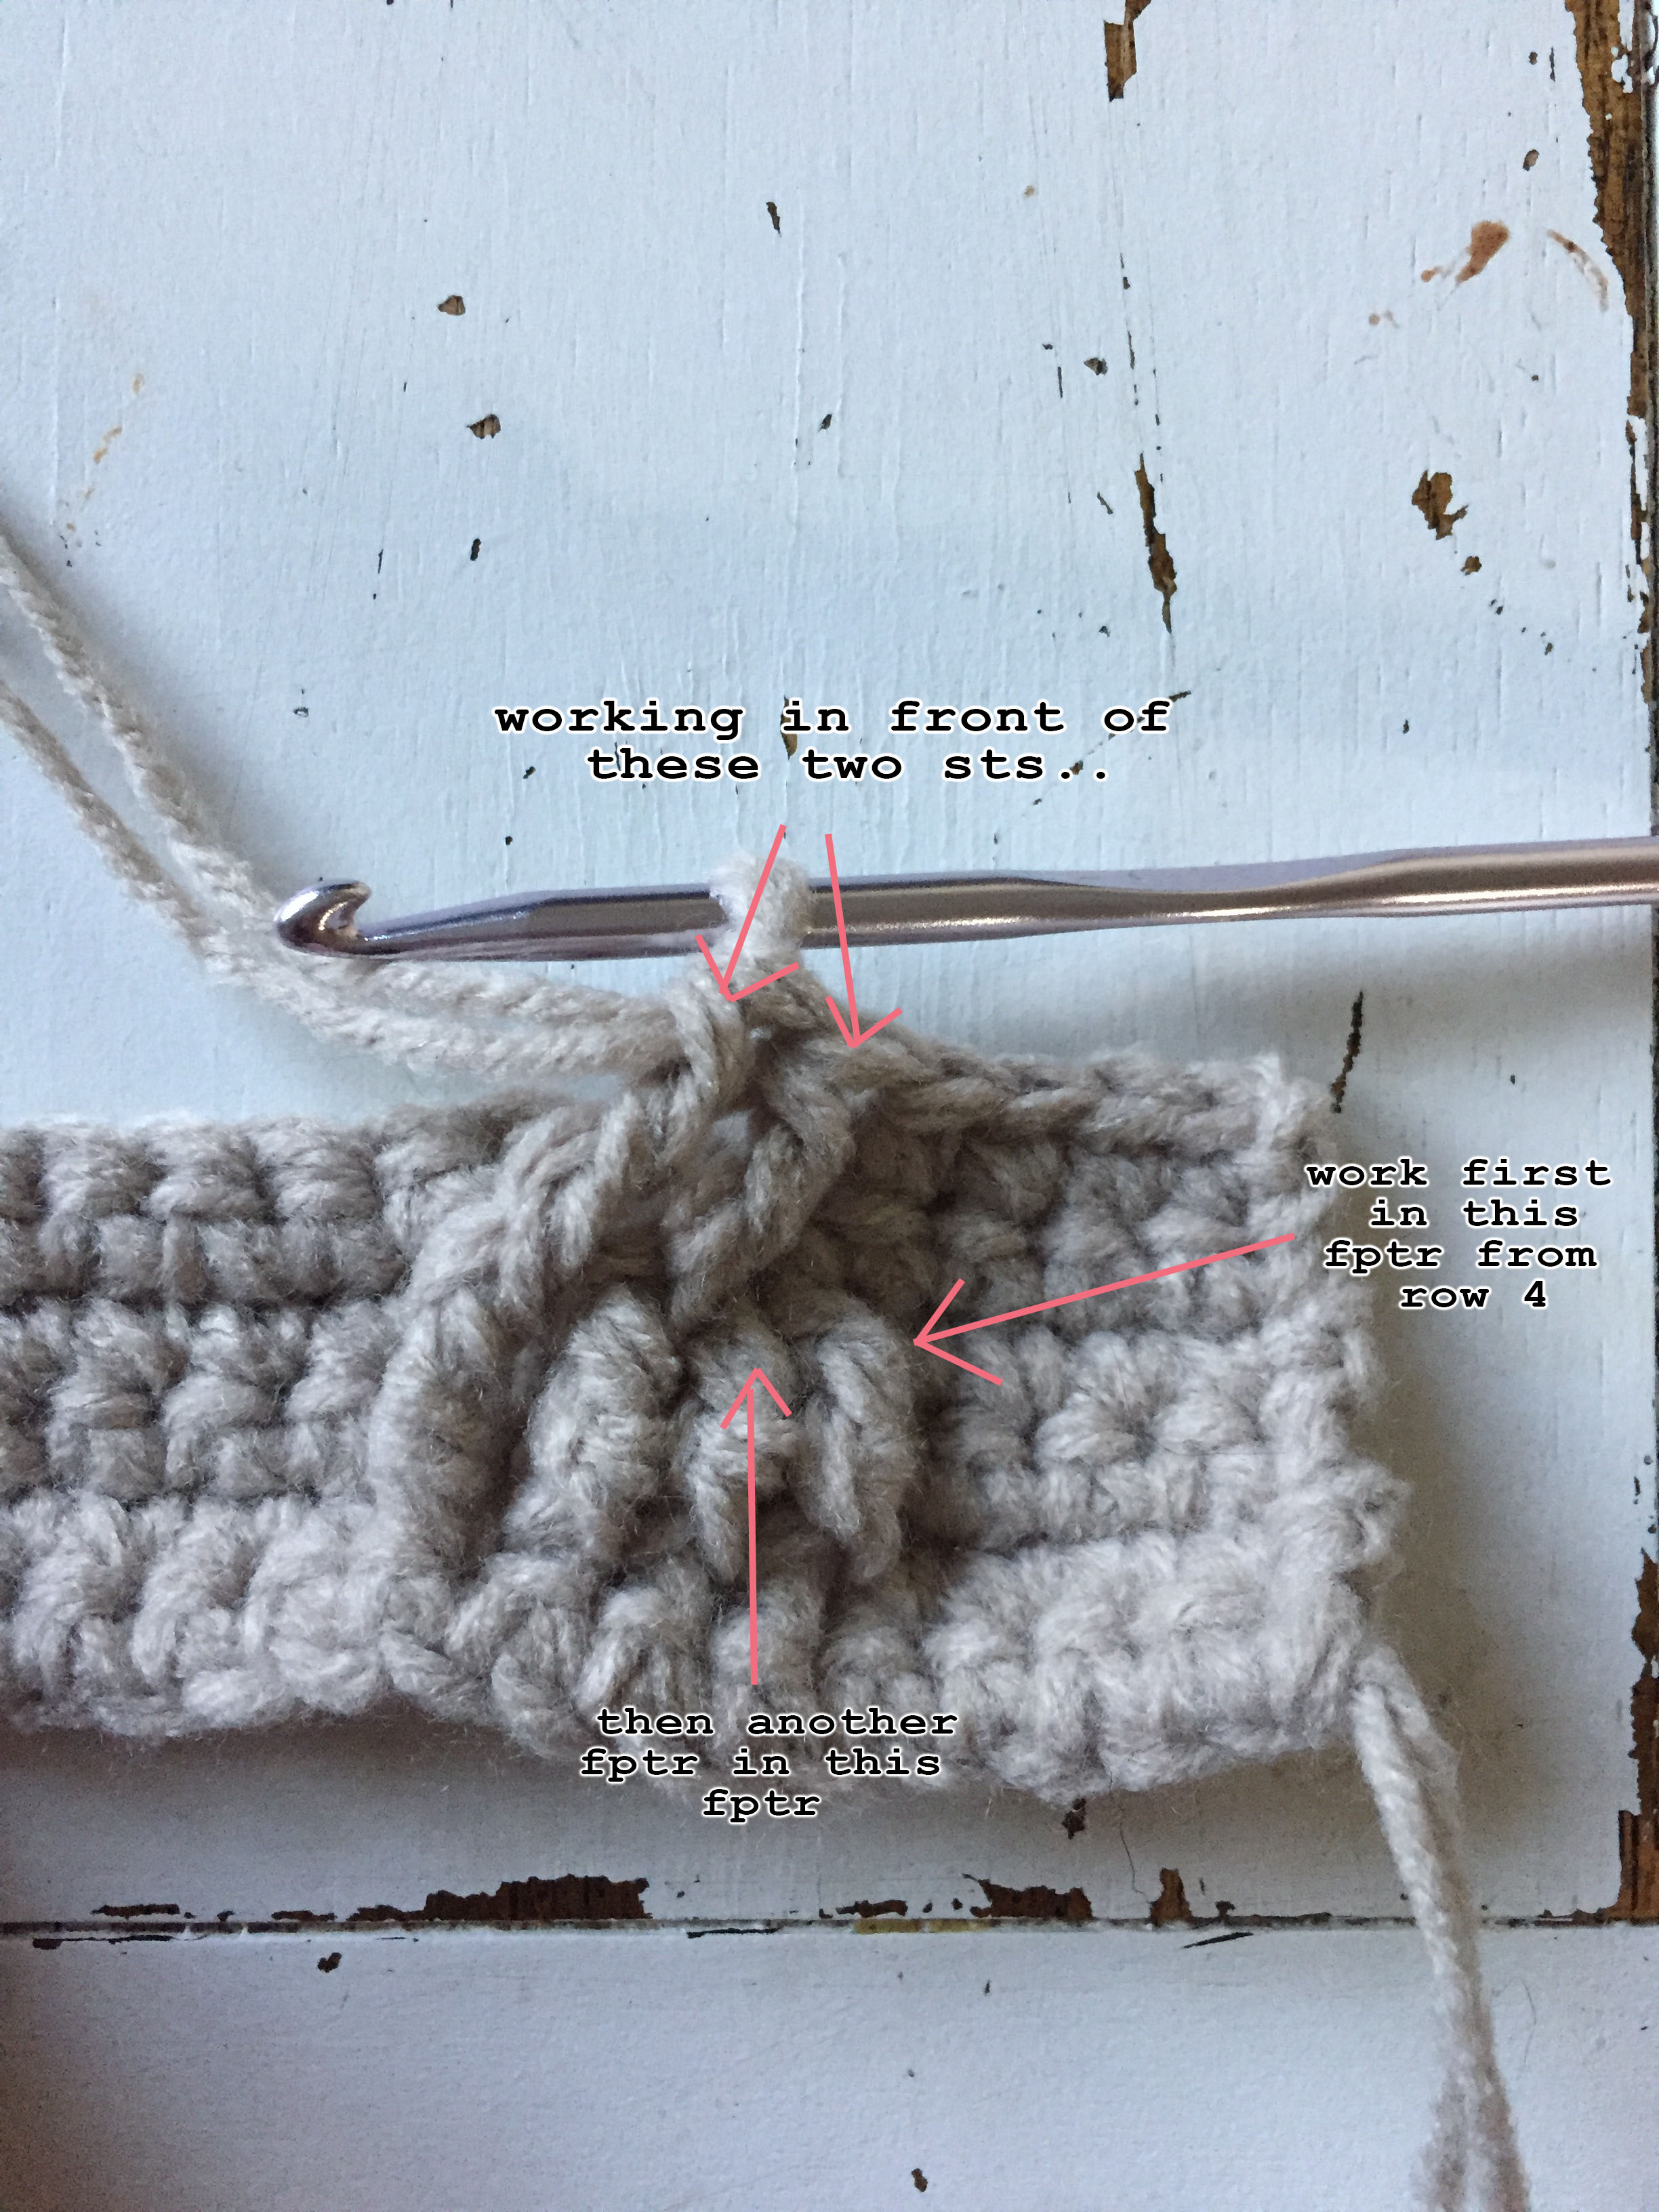

you will do the same thing as shown in these photos for the other cable on the other side of the big ones in the middle...


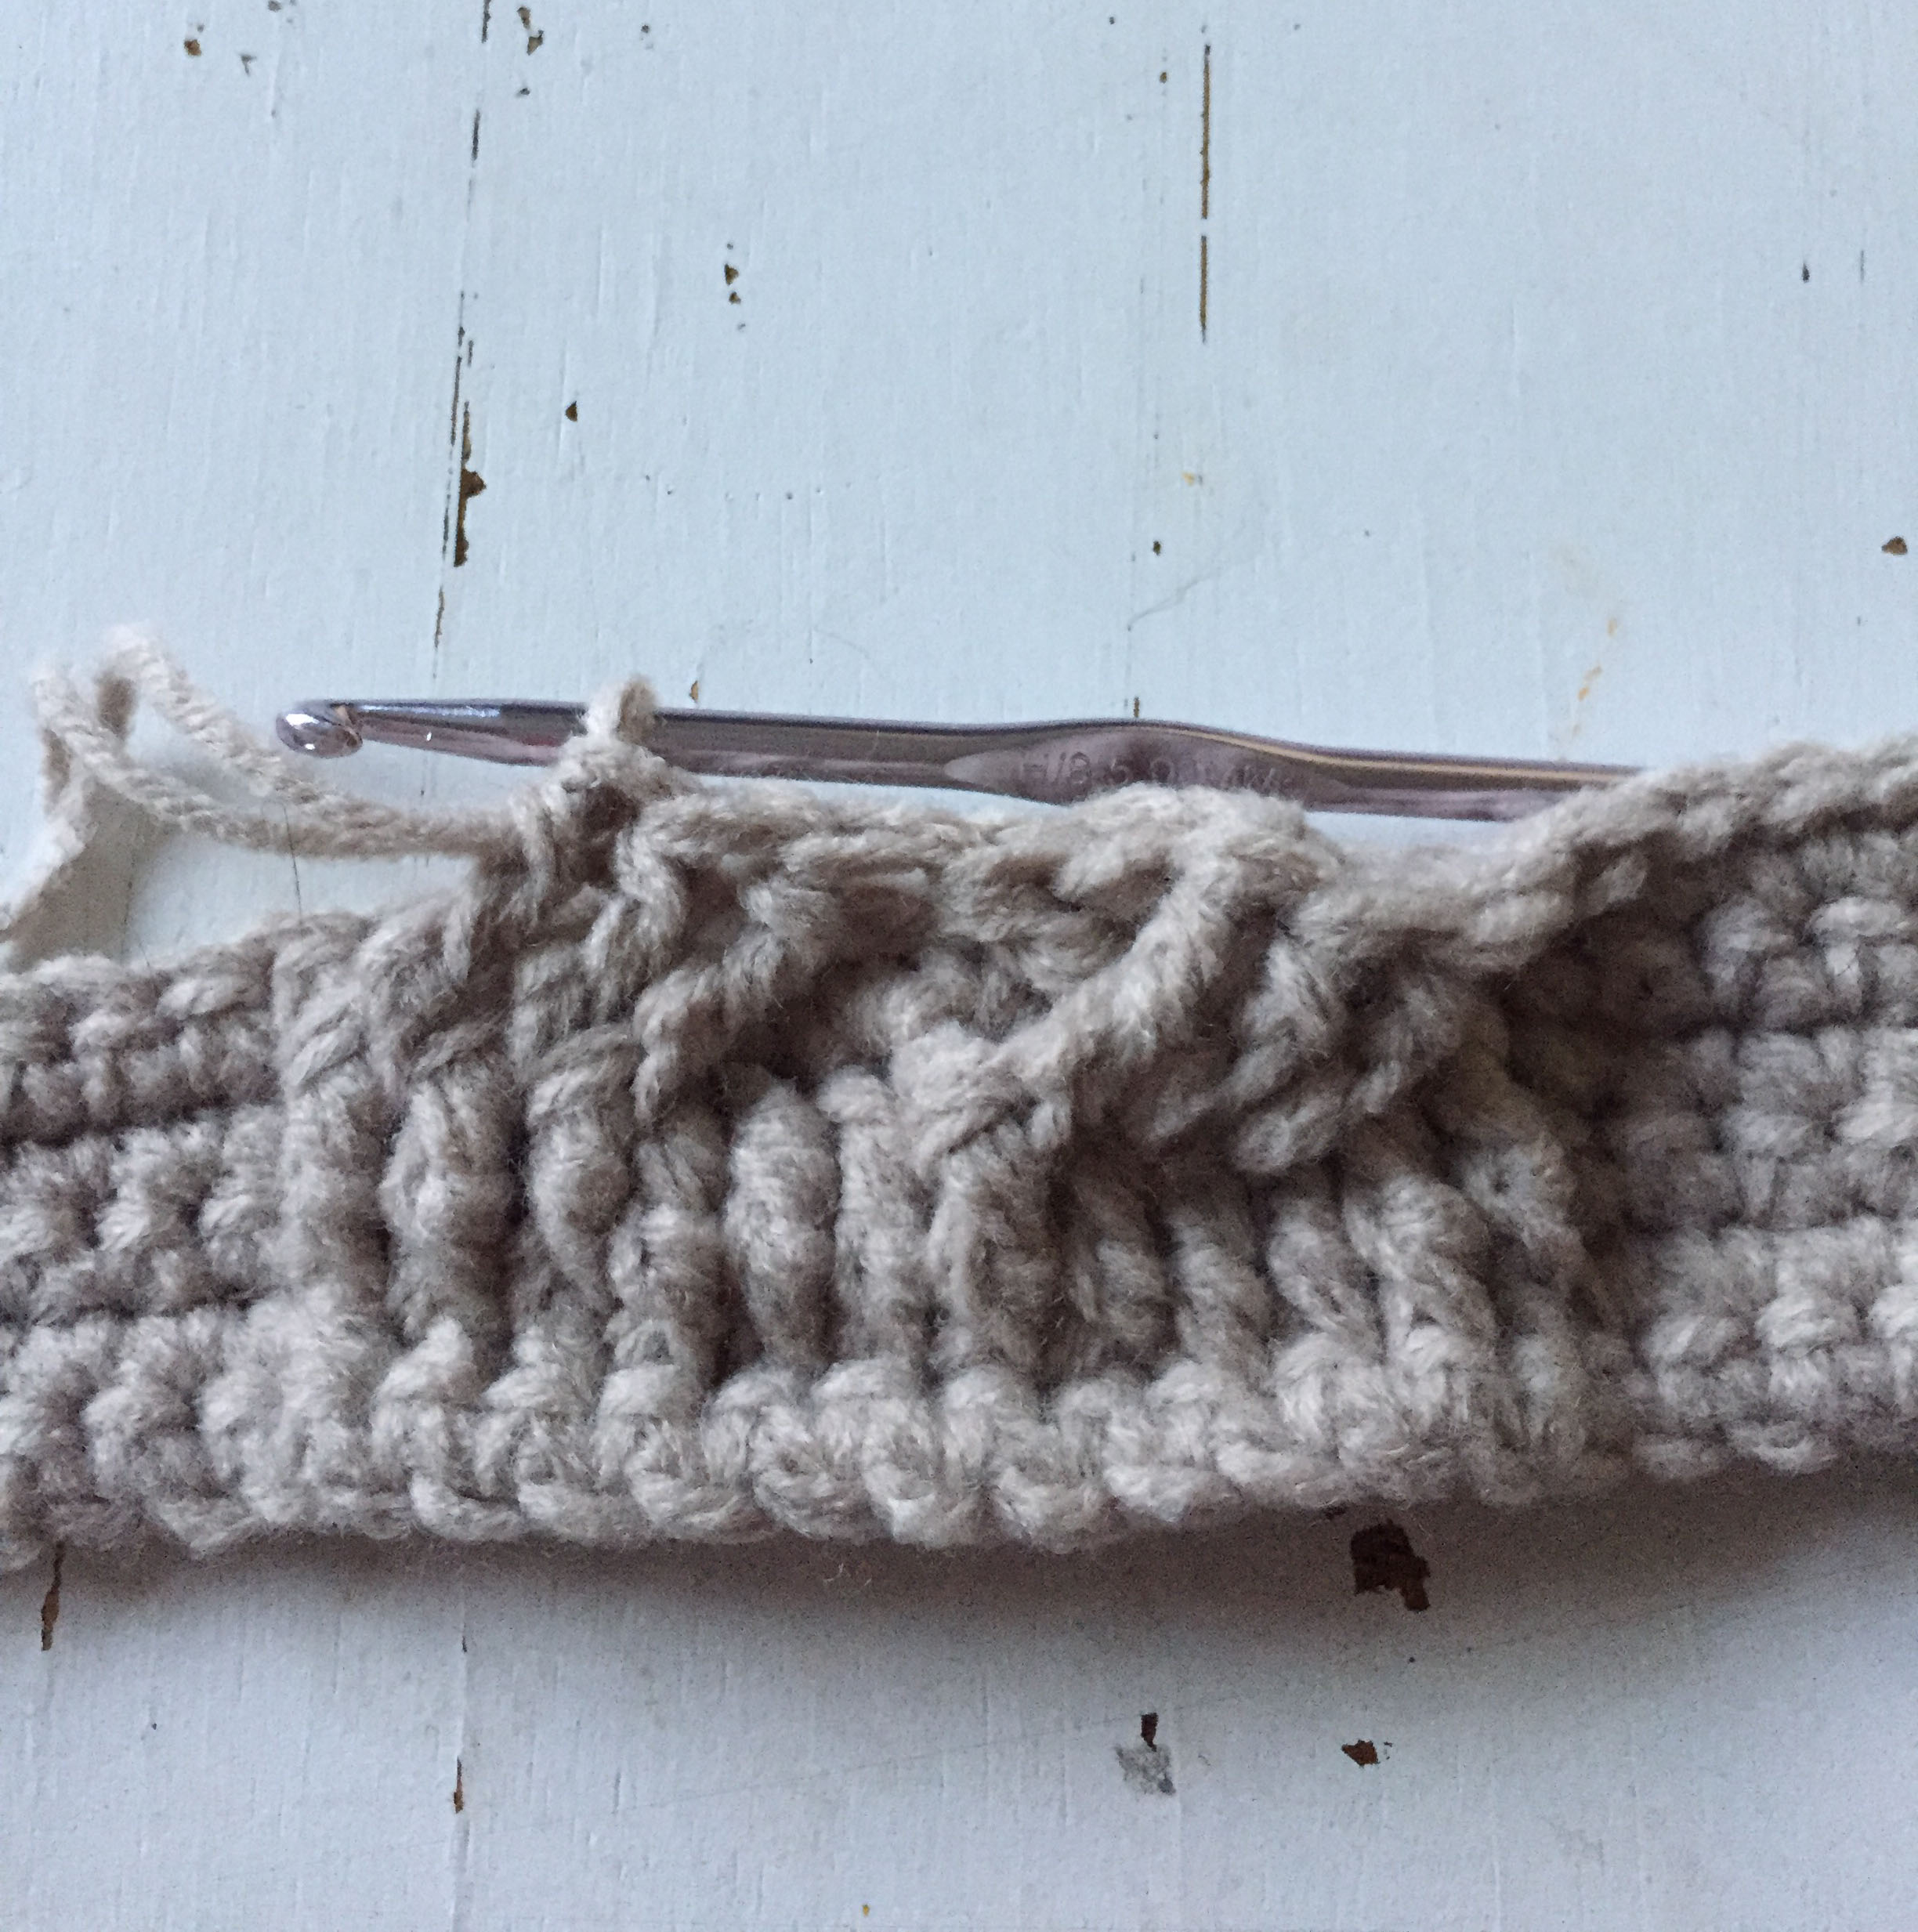

Whew! The middle cables done...
Row 7) ch 1, turn, sc across (52 total sts)
Row 8) Repeat instructions from row 4, there are also photos below for assistance because it's a bit tricky working with the cables that were worked in front of/behind others... (52 total sts)


Youu will do the same thing with the other small cable to the left of the big middle one


This photo shows all the fptr worked up in the middle big cables for row 8
Row 9) ch 1, turn, sc across (52 total sts)
Row 10-45) repeat rows 4-9 consecutively (you will repeat rows 4-9 six times, row 45 will be a sc across row)
To work the clasp part that's on top:
1) you will turn your work after row 45 and sl st across the top for 24 sts, ch 1, and work sc's into the next four sts (see pics below for assistance)


2) then you will ch 1, turn and sc across the four sc you just worked (4 total sts)
3-6) repeat the instructions from step 2 four more times (4 total sts)
7) ch 1, turn, sc, ch 2, sk 2 sts, sc in the last st (2 sc, 2 ch's)
8) ch 1, turn, work sc's across- even in the ch's (4 total sts)
Finish off and weave in ends

The clasp all finished up..
Back panel:
Row 1) ch 53, sc in 2nd ch from hook and across (52 total sts)
Rows 2-45) ch 1, turn, sc across (52 total sts)
Finish off and weave in ends
Long piece that goes around the sides and bottom:
Row 1) ch 13, sc in 2nd ch from hook and across (12 total sts)
Rows 2-143) ch 1, turn, sc across (12 total sts) **important-- you should double check this amount of rows fits around the two sides and the bottom of the panels exactly. The length should be about 41 inches. If it's short or long, adjust the amount of rows accordingly so it will fit.
Finish off and weave in ends

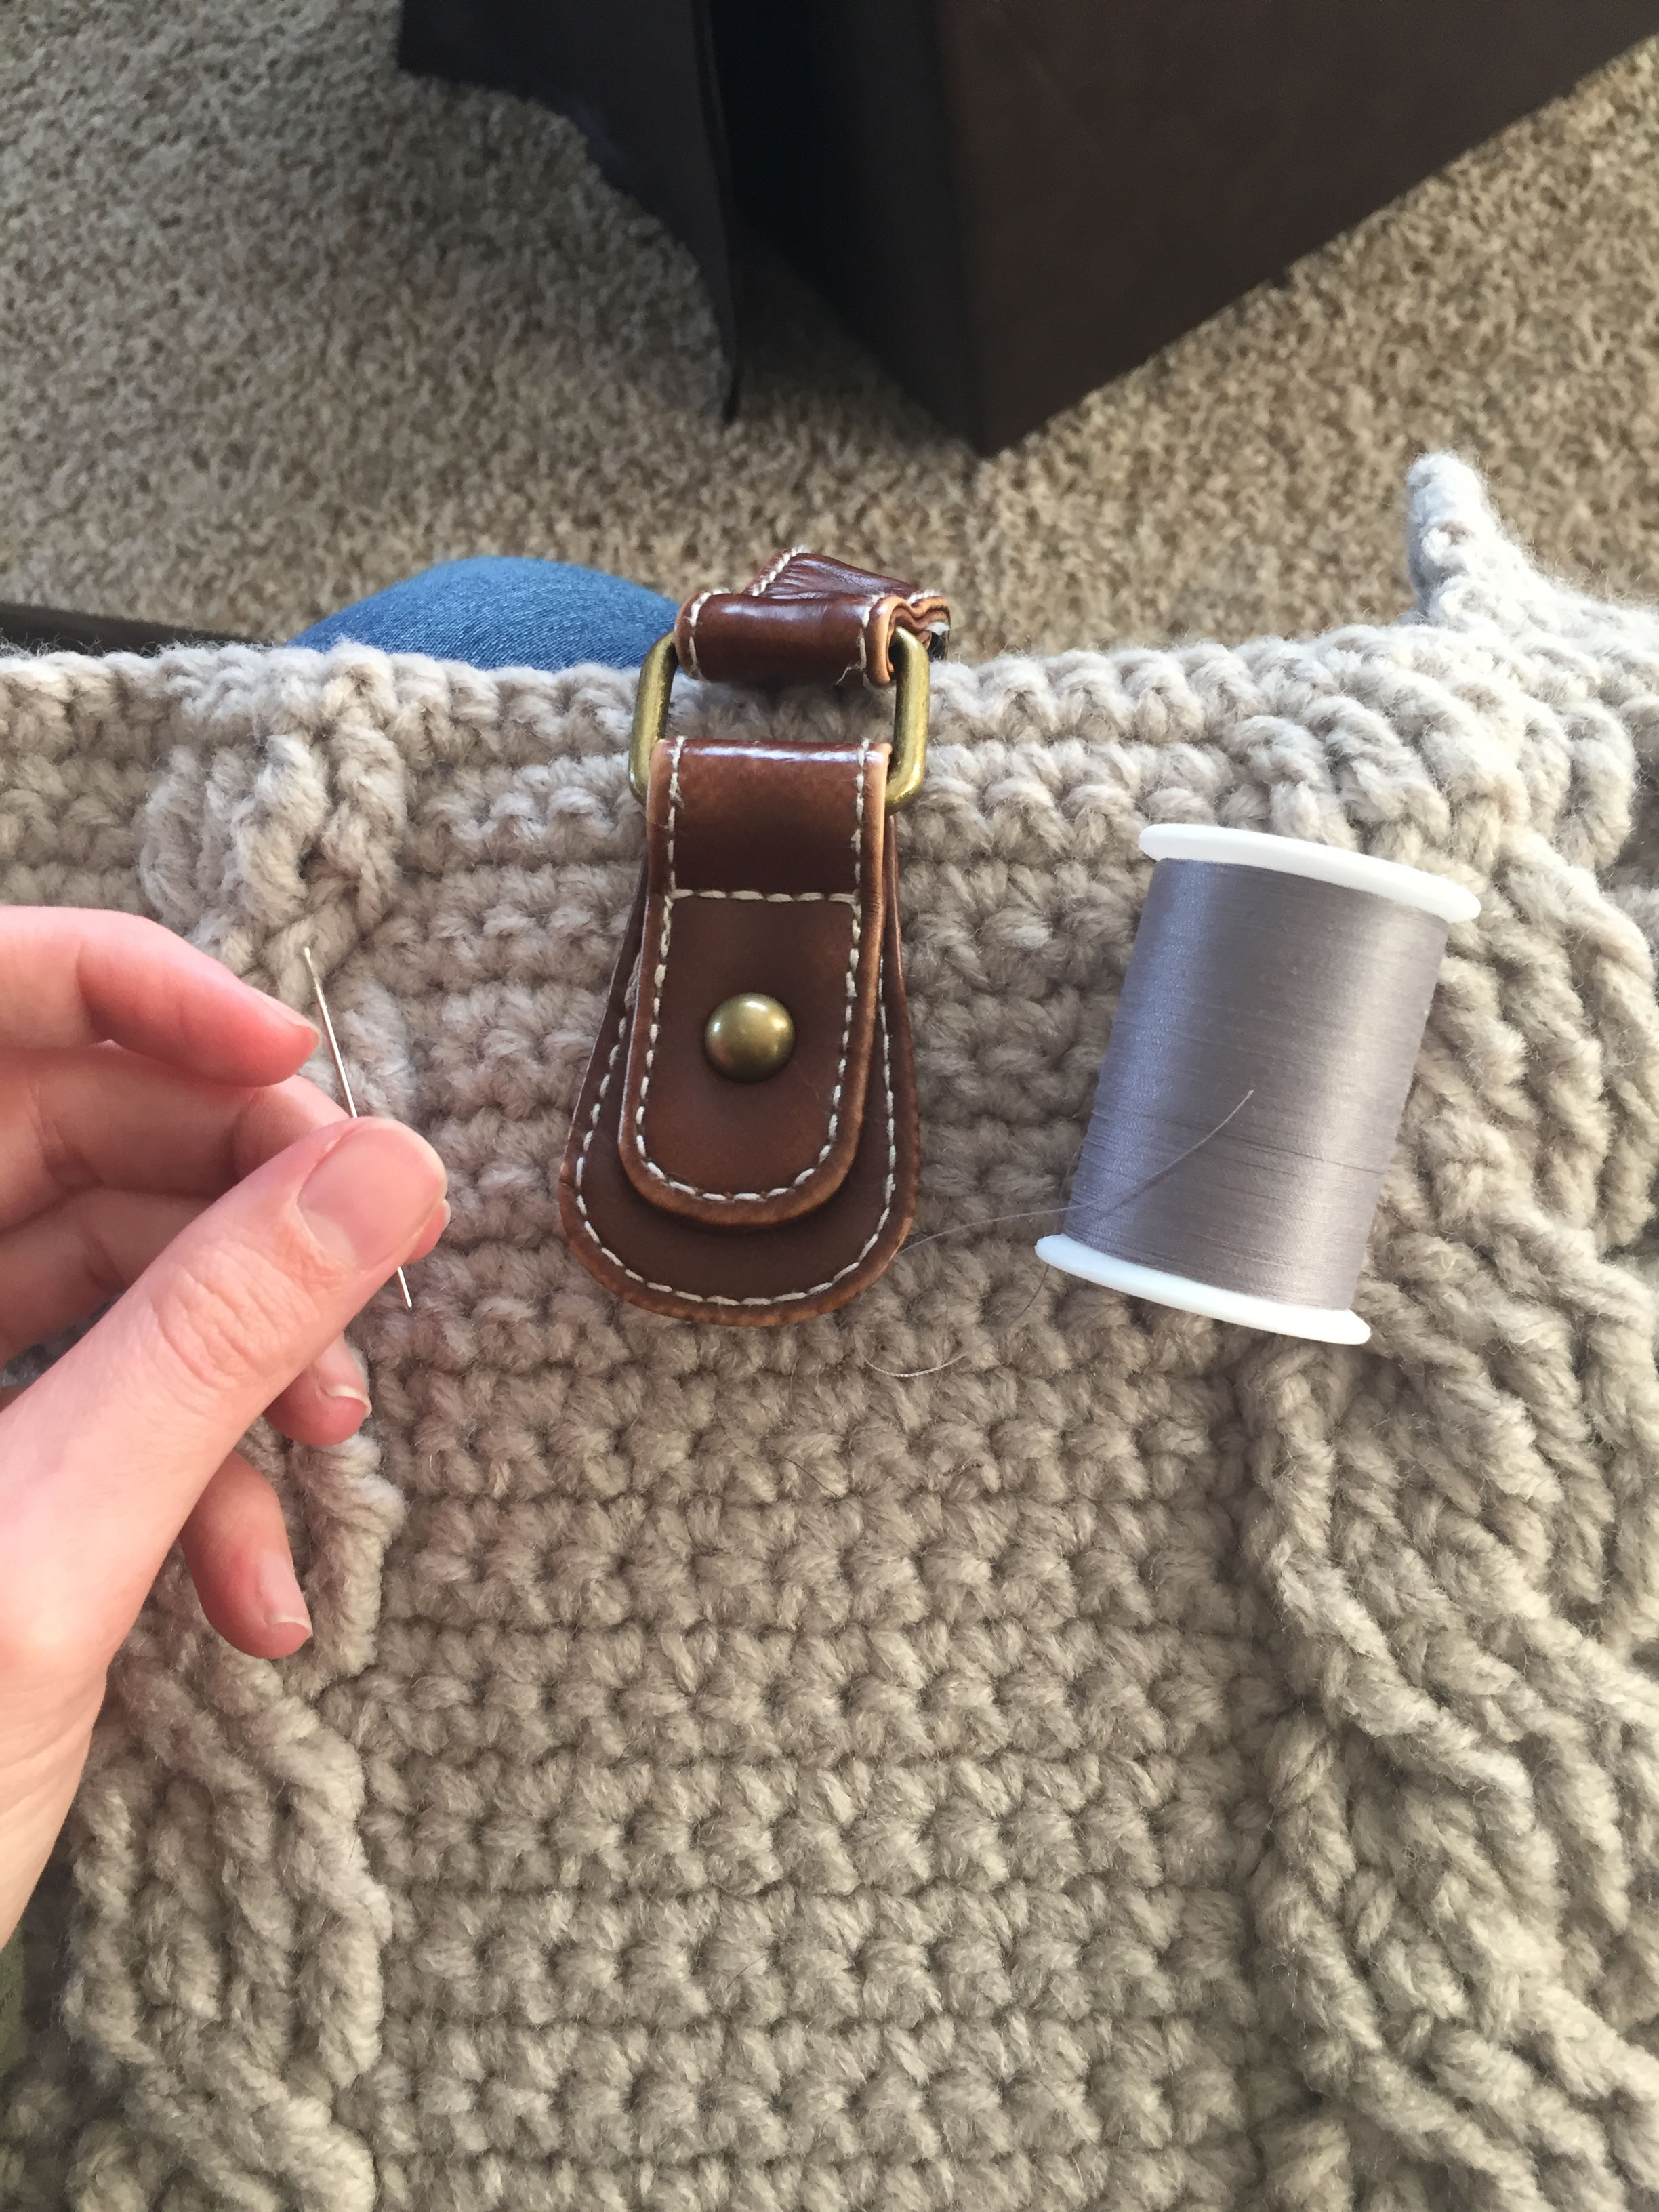
Next you'll want to sew on your button to the back panel (It's important to check the button fits through the button hole on the clasp before you sew it on!). This needs to be in the center of the piece. You can align the front and back panels and put the clasp over the top and onto the back piece to see where exactly it should line up and how far down. I just used the yarn and needle to sew it on.
*****At this point, if you are adding in the stabilizer to your tote you will need to do that first before you sew your bag together and add handles. The post that contains the information on lining the bag can be found by clicking HERE.*****

So if you're not adding the fabric/stabilizer, you are ready to sew your crochet pieces together! You can start with the front panel and the long piece that goes around the sides and bottom. Align the edges like in the photo above, and pin it together if you'd like. You will sew the pieces right side out.

Forgive the amount of dog hair in this shot. My hyper-shedding black lab is wreaking havoc on my tote.
Using a long strand of your yarn and a yarn needle, sew over the edge of the panel and the long side piece. I used a whip stitch to connect the pieces (a video tutorial can be found here). Sew along the entire edge, working the stitches pretty close together, yet not too tight. Once you've made it all the way around, you can attach the back piece to the other side using the same method. Remember to face the right side out on the back side also.

For my handles, I decided to snag them off a rather unsightly thrifted purse I found. I liked how they looked a bit worn so I decided to make it an experiment to see if I could make them work. I just cut them out with a good pair of scissors, and got rid of as much of the layers off the back as I could. I wanted the stitches to remain on them though.
***If you are adding the fabric lining, take into consideration how low the handles should be so you can sew the fabric in. If the handles are in the way, that will be an issue!***
Then following the stitches that were already on the handles from the thrifted purse, I hand sewed them into place, in between the cables. For the back panel, I just aligned the other handle to the one I sewed on the front.
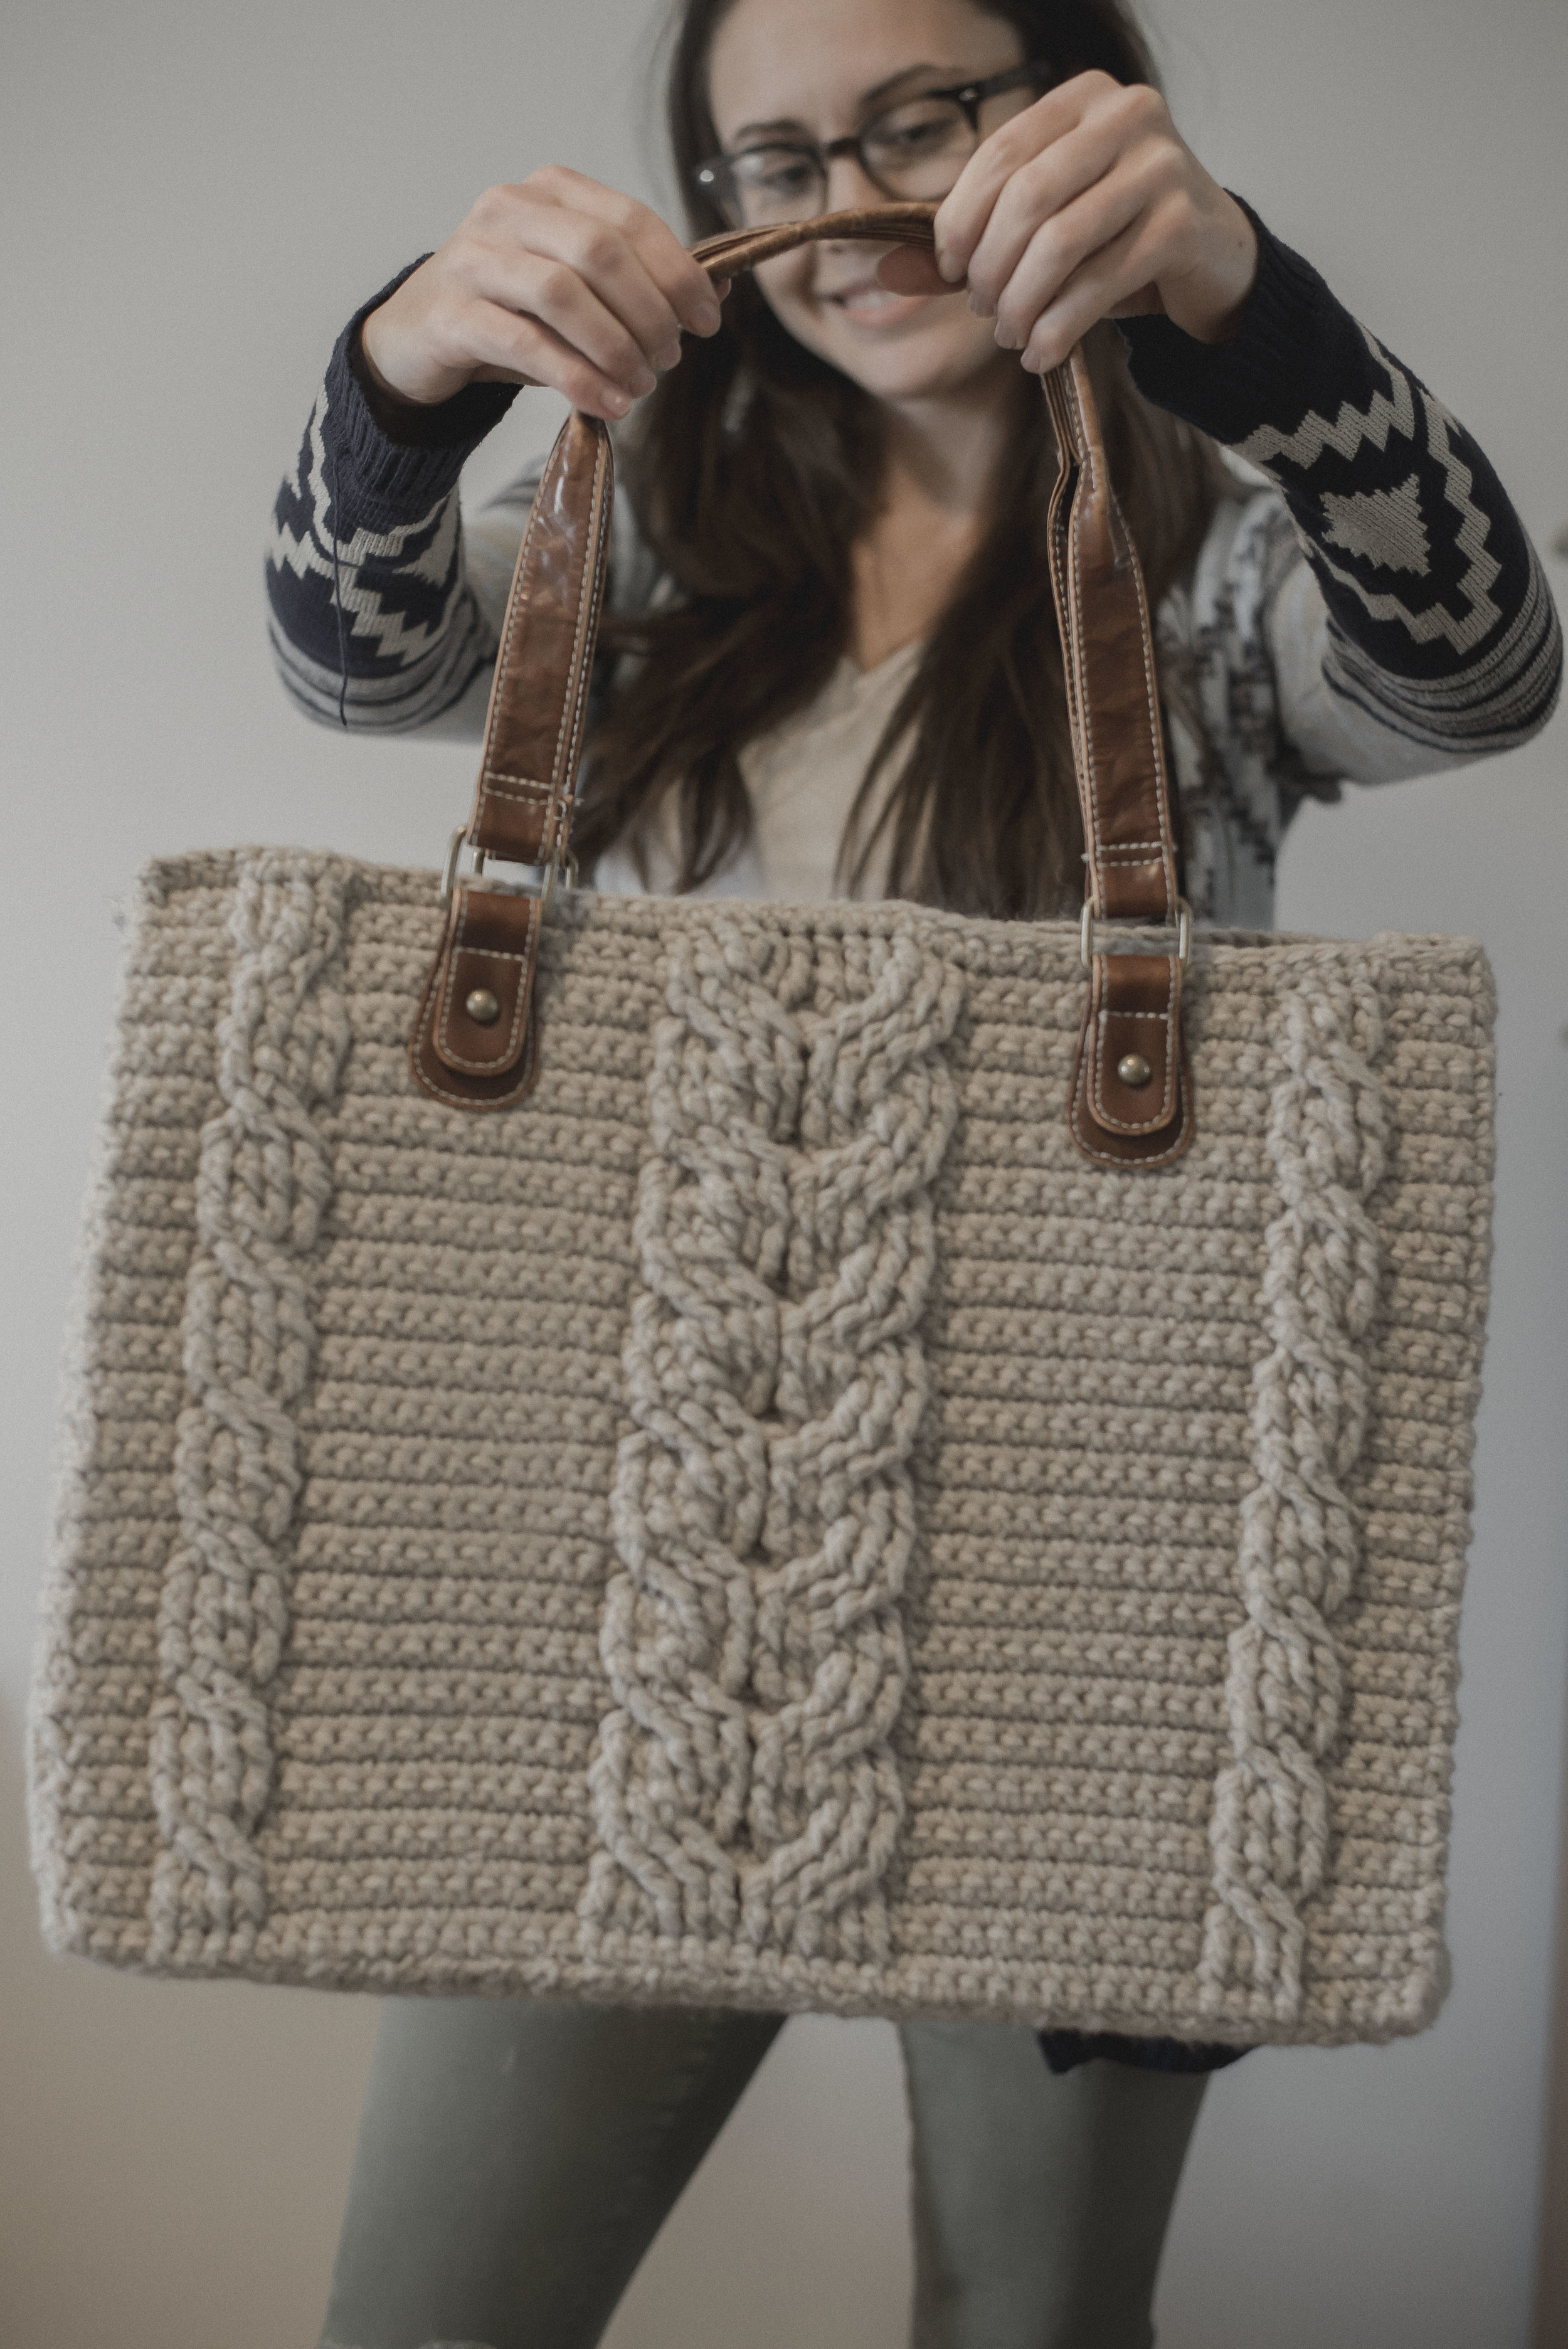
And.... If you've decided to not put the stabilizer and fabric in, your tote it totes complete! I hope you got as excited as I did when I finished this bad boy. It's so special to me. A true gem of a bag...
If you finish one of your own Matilda Totes do please share with me over on Instagram! I would love to admire your work. :)
And that's a wrap for the Matilda Tote pattern, I hope the cables weren't too intimidating and the instructions were easy to follow.
Take care and happy hooking,
Meg