


Free Crochet Pattern for The Homebody Sweater (Easy, Comfy and Cute!)
/
***You can find the PDF version of this pattern in my Etsy shop by clicking here. Great for easy printing!***
It's September now, and in my head... that. means. fall.
And fall equals comfy sweaters, warm yummy drinks and awesome weather. I'm pumped. And no, I don't care if it's 90 degrees outside. NOTHIN'S GONNA BREAK MY STRIDE. ...ha!

Today I have an incredibly special design for you...
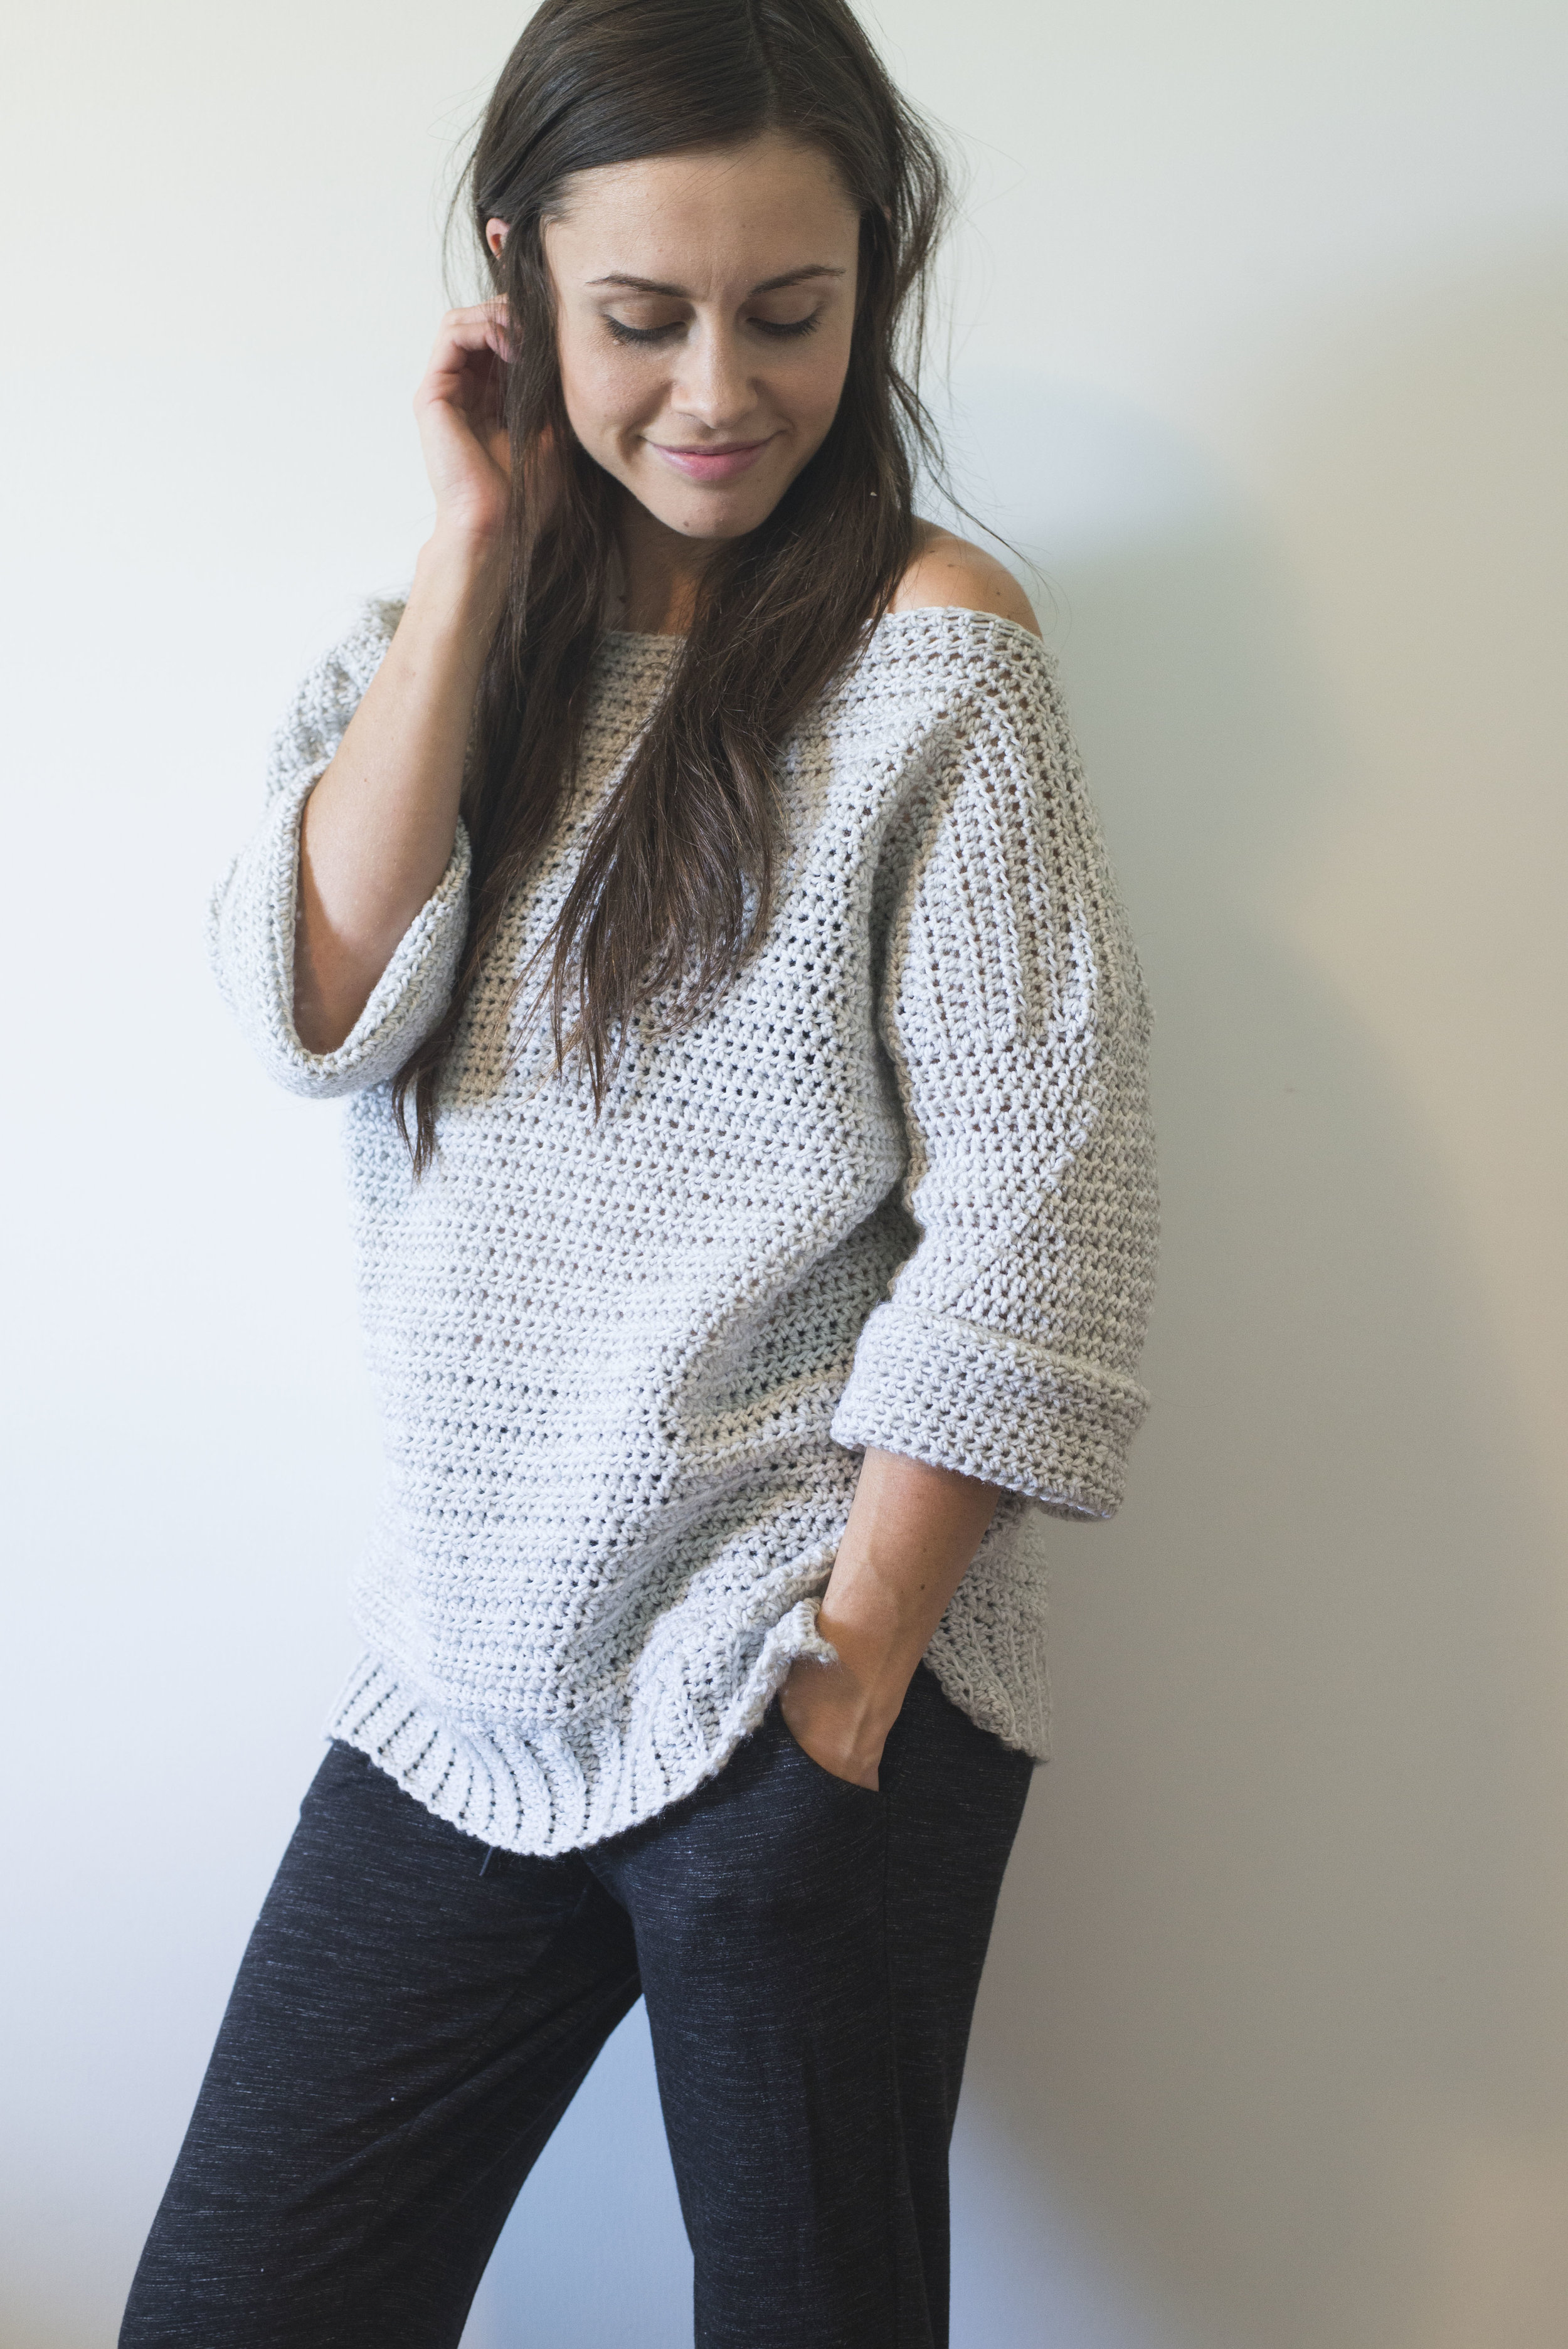
I've written my very first sweater pattern, and I've called it "The Homebody Sweater".
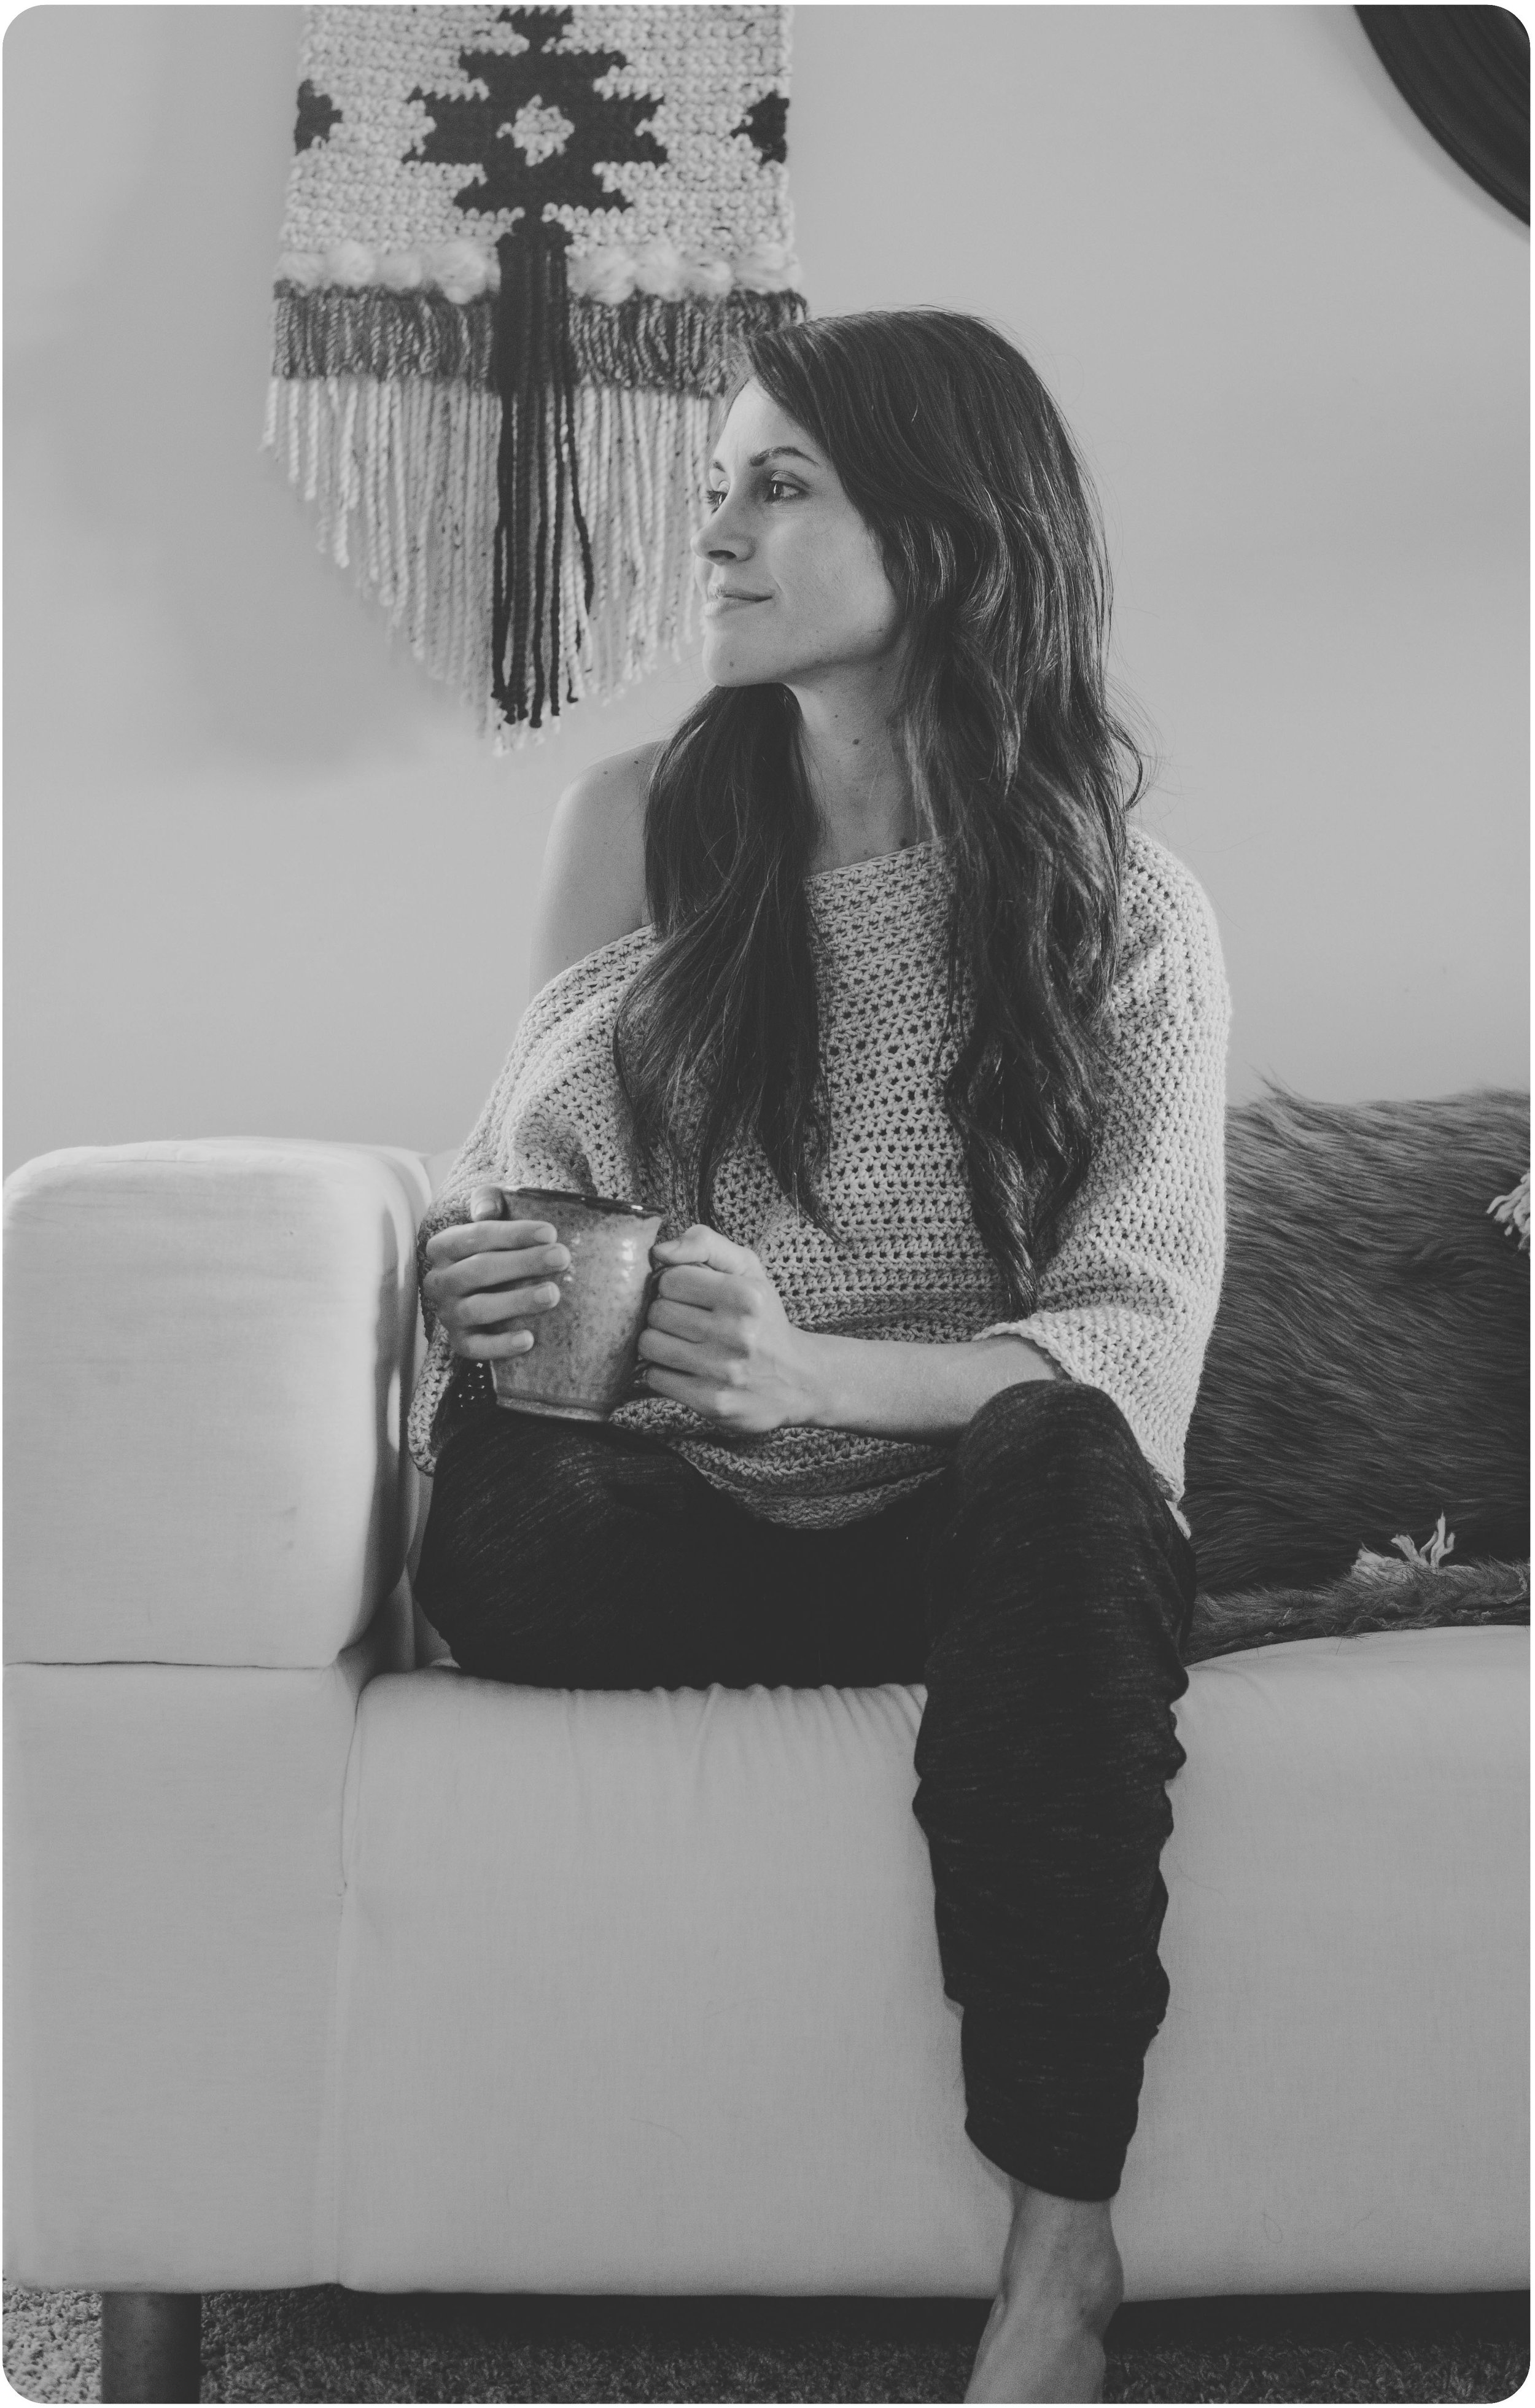
Let me tell ya, it's already gotten great use in my home. It's so so comfy. The drape and casual-ness of it is just, ugh... the best!!
It goes great with:
-bed head (lol)
-lazy Saturdays
-evenings spent watching Netflix and crocheting
-leggings
But of course, it wears great outside the house! Pair it with some jean shorts and converse for a cute, relaxed outfit. :)

This sweater makes a great "beginner sweater" for someone who hasn't made apparel yet. Trust me when I say-- it is so EASY! Basically the whole sweater is made up of hdc!
It's designed to fit "oversized", so you can feel extra comfy in it.
What you'll need:
-DK (Category 3) weight yarn (1,000-1,100 yards for small, 1,100-1,200 yards for medium, 1,200-1,300 yards for large-- varies about 100 yards per size if using custom notes for sizing) I used Baby Bee Soft Delight in Flannel Marled
-Size K Hook (6.5 mm)
-Yarn needle
-Sewing pins
Abbreviations:
ch=chain, st(s)=stitch(es), hdc=half double crochet, BLO=back loop only, 2hdc=work two half double crochet in one stitch, sp=space
Gauge:
13 hdc by 11 rows equals a four-inch square
Notes:
-I wrote the pattern for sizes small through large. I will also provide additional notes for customizing the sweater to your specific preferences or size.
Measurements for the sweater sizes:
(remember, the sweater is designed to be “oversized” and a little slouchy/big)
SMALL: 19.75” wide (on one side)
MEDIUM: 21.5” wide (on one side)
LARGE: 23.25” wide (on one side)
*All sizes are 23.5 inches long (from shoulder to bottom)
-If you wanted to customize the width of your sweater, you can add or take away about an inch to the width by adding or subtracting 2 rows on the bottom ribbing. This will obviously throw off stitch counts when you follow the pattern so be aware of that.
-If you wanted to add length to your sweater, you can simply add rows before you increase in row 35.
-If you wanted to add length to your sleeve, just add rows, or take away for shorter sleeves. I designed the sleeves to be cuffed & cozy, hitting a little below the elbow
-If you wanted to increase the width of your sleeve, you can sew up less rows on the sides when attaching the two pieces together- making a shorter seam.
**Size instructions in pattern will be (S, M, L)
***I updated the pattern for the size LARGE because I had miscalculated the amount of stitches being worked into the bottom ribbing. It should have been 78 stitches instead NOT 76. Please forgive me for this!! :(
-Chains at beginning of rows do not count as stitch
Pattern:
Body of the sweater (make two):
Ribbing:
1) ch 12, in 3rd ch from hook, hdc and across (10 total sts, and for the remaining rows of ribbing)
2) ch 2, turn, hdc in BLO across row
3) ch 2, turn, hdc across row
FOR SMALL: Repeat rows 2 & 3 alternately until you have 44 total rows total
FOR MEDIUM: Repeat rows 2 & 3 alternately until you have 48 rows total
FOR LARGE: Repeat rows 2 & 3 alternately until you have 52 rows total
Working the body:
**Now you will be working on the SIDE of your ribbing, going down the left side from where your hook left off on the last row of your ribbing. When I say “sp” I am meaning the end of one of the vertical rows of the ribbing. See the photo below for where those stitches will be worked**

1) ch 2, work 2hdc into first sp, hdc into next sp, {2hdc into next sp, hdc into next sp} repeat {} until the end of your row (66, 72, 78)
2-34) ch 2, turn, hdc across row (66, 72, 78)
35) ch 2, turn, 2hdc, hdc in 64, 70, 76 sts, 2hdc (68, 74, 80)
36) ch 2, turn, hdc across (68, 74, 80)
37) ch 2, turn, 2hdc, hdc in 66, 72, 78 sts, 2hdc (70, 76, 82)
38) ch 2, turn, hdc across (70, 76, 82)
39) ch 2, turn, 2hdc, hdc in 68, 74, 80 sts, 2hdc (72, 78, 84)
40) ch 2, turn, hdc across (72, 78, 84)
41) ch 2, turn, 2hdc, hdc in 70, 76, 82 sts, 2hdc (74, 80, 86)
42) ch 2, turn, hdc across (74, 80, 86)
43) ch 2, turn, 2hdc, hdc in 72, 78, 84 sts, 2hdc (76, 82, 88)
44-56) ch 2, hdc across (76, 82, 88)
Fasten off
Sewing the pieces together:
After you’ve made two body pieces, you will lay them both right sides together, and sew with yarn needle and yarn. You can pin them together with sewing pins for assistance. You will be sewing on the very edges of your pieces.

For the top, sew the pieces together starting on the outside edge. I sewed along the top coming in 20 sts (I counted using the last row). this was about 7 inches in. You could customize how big of a neck opening you would like by taking away or adding to your sewing.
Then sew the sides, starting on the bottom at row 1 of the body, above the ribbing (the ribbing is not included in the seam).
For SMALL sew up through row 34.
For MEDIUM sew up through row 33.
For LARGE sew up through row 32.
(For additional assistance on when to stop sewing, use a st marker for what row you should stop sewing at.)

For the sleeves, you will begin by drawing your yarn right on the top seam, then ch 2. (follow the same instructions for both sides)
For SMALL:
1) work a hdc into the same sp you drew up your yarn (the seam), then work one hdc into the end space of each row of your body piece until you reach the side seam. Now, since you sewed up through the 34th row, you will have 22 rows for the sleeve on each body piece. So you will have 22 hdc, plus the one you put in the top seam. After you made 22 hdc into all the end spaces, work a hdc into the side seam sp, and then 22 more hdc into the other side of your sleeve hole, then join to your first hdc with a sl st. (46 total sts)
2-30) ch 2, hdc around, join to first hdc (46) Finish off and weave in ends! You’ve got yourself a new comfy sweater!
For MEDIUM:
1) work one hdc into the same sp you drew up your yarn (the seam), then work one hdc into the end space of each row of your body piece until you reach the side seam. Now, since you sewed up through the 33rd row, you will have 23 rows for the sleeve on each body piece. So you will have 23 hdc, plus the one you put in the top seam. After you made 23 hdc into all the end spaces, work a hdc into the side seam sp, and then 23 more hdc into the other side of your sleeve hole, then join to your first hdc with a sl st. (48 total sts)
2-30) ch 2, hdc around, join to first hdc (48) Finish off and weave in ends! You’ve got yourself a new comfy sweater!
For LARGE:
1) work one hdc into the same sp you drew up your yarn (the seam), then work one hdc into the end space of each row of your body piece until you reach the side seam (Now, since you sewed up through the 32nd row, you will have 24 rows for the sleeve on each body piece. So you will have 24 hdc, plus the one you put in the top seam). After you made 24 hdc into all the end spaces, work a hdc into the side seam sp, and then 24 more hdc into the other side of your sleeve hole, then join to your first hdc with a sl st. (50 total sts)
2-30) ch 2, hdc around, join to first hdc (50) Finish off and weave in ends! You’ve got yourself a new comfy sweater!
And that's it! I just know you're going to love this sweater. I hope you LOVE it! And if you have any questions whatsoever with it, feel free to ask in the comments below.
If you complete your sweater... tag me over on Instagram. I would so love to see it!
As always, happy making,
Meg


