Mudcloth Crochet Pumpkin - Free Crochet Pattern

Free Crochet Pattern for a Mudcloth Crochet Pumpkin - Megmade with Love

****You can find the PDF version of this pumpkin pattern by clicking HERE. It’s ad-free and great for printing! For the free pattern, scroll down into the blog post****

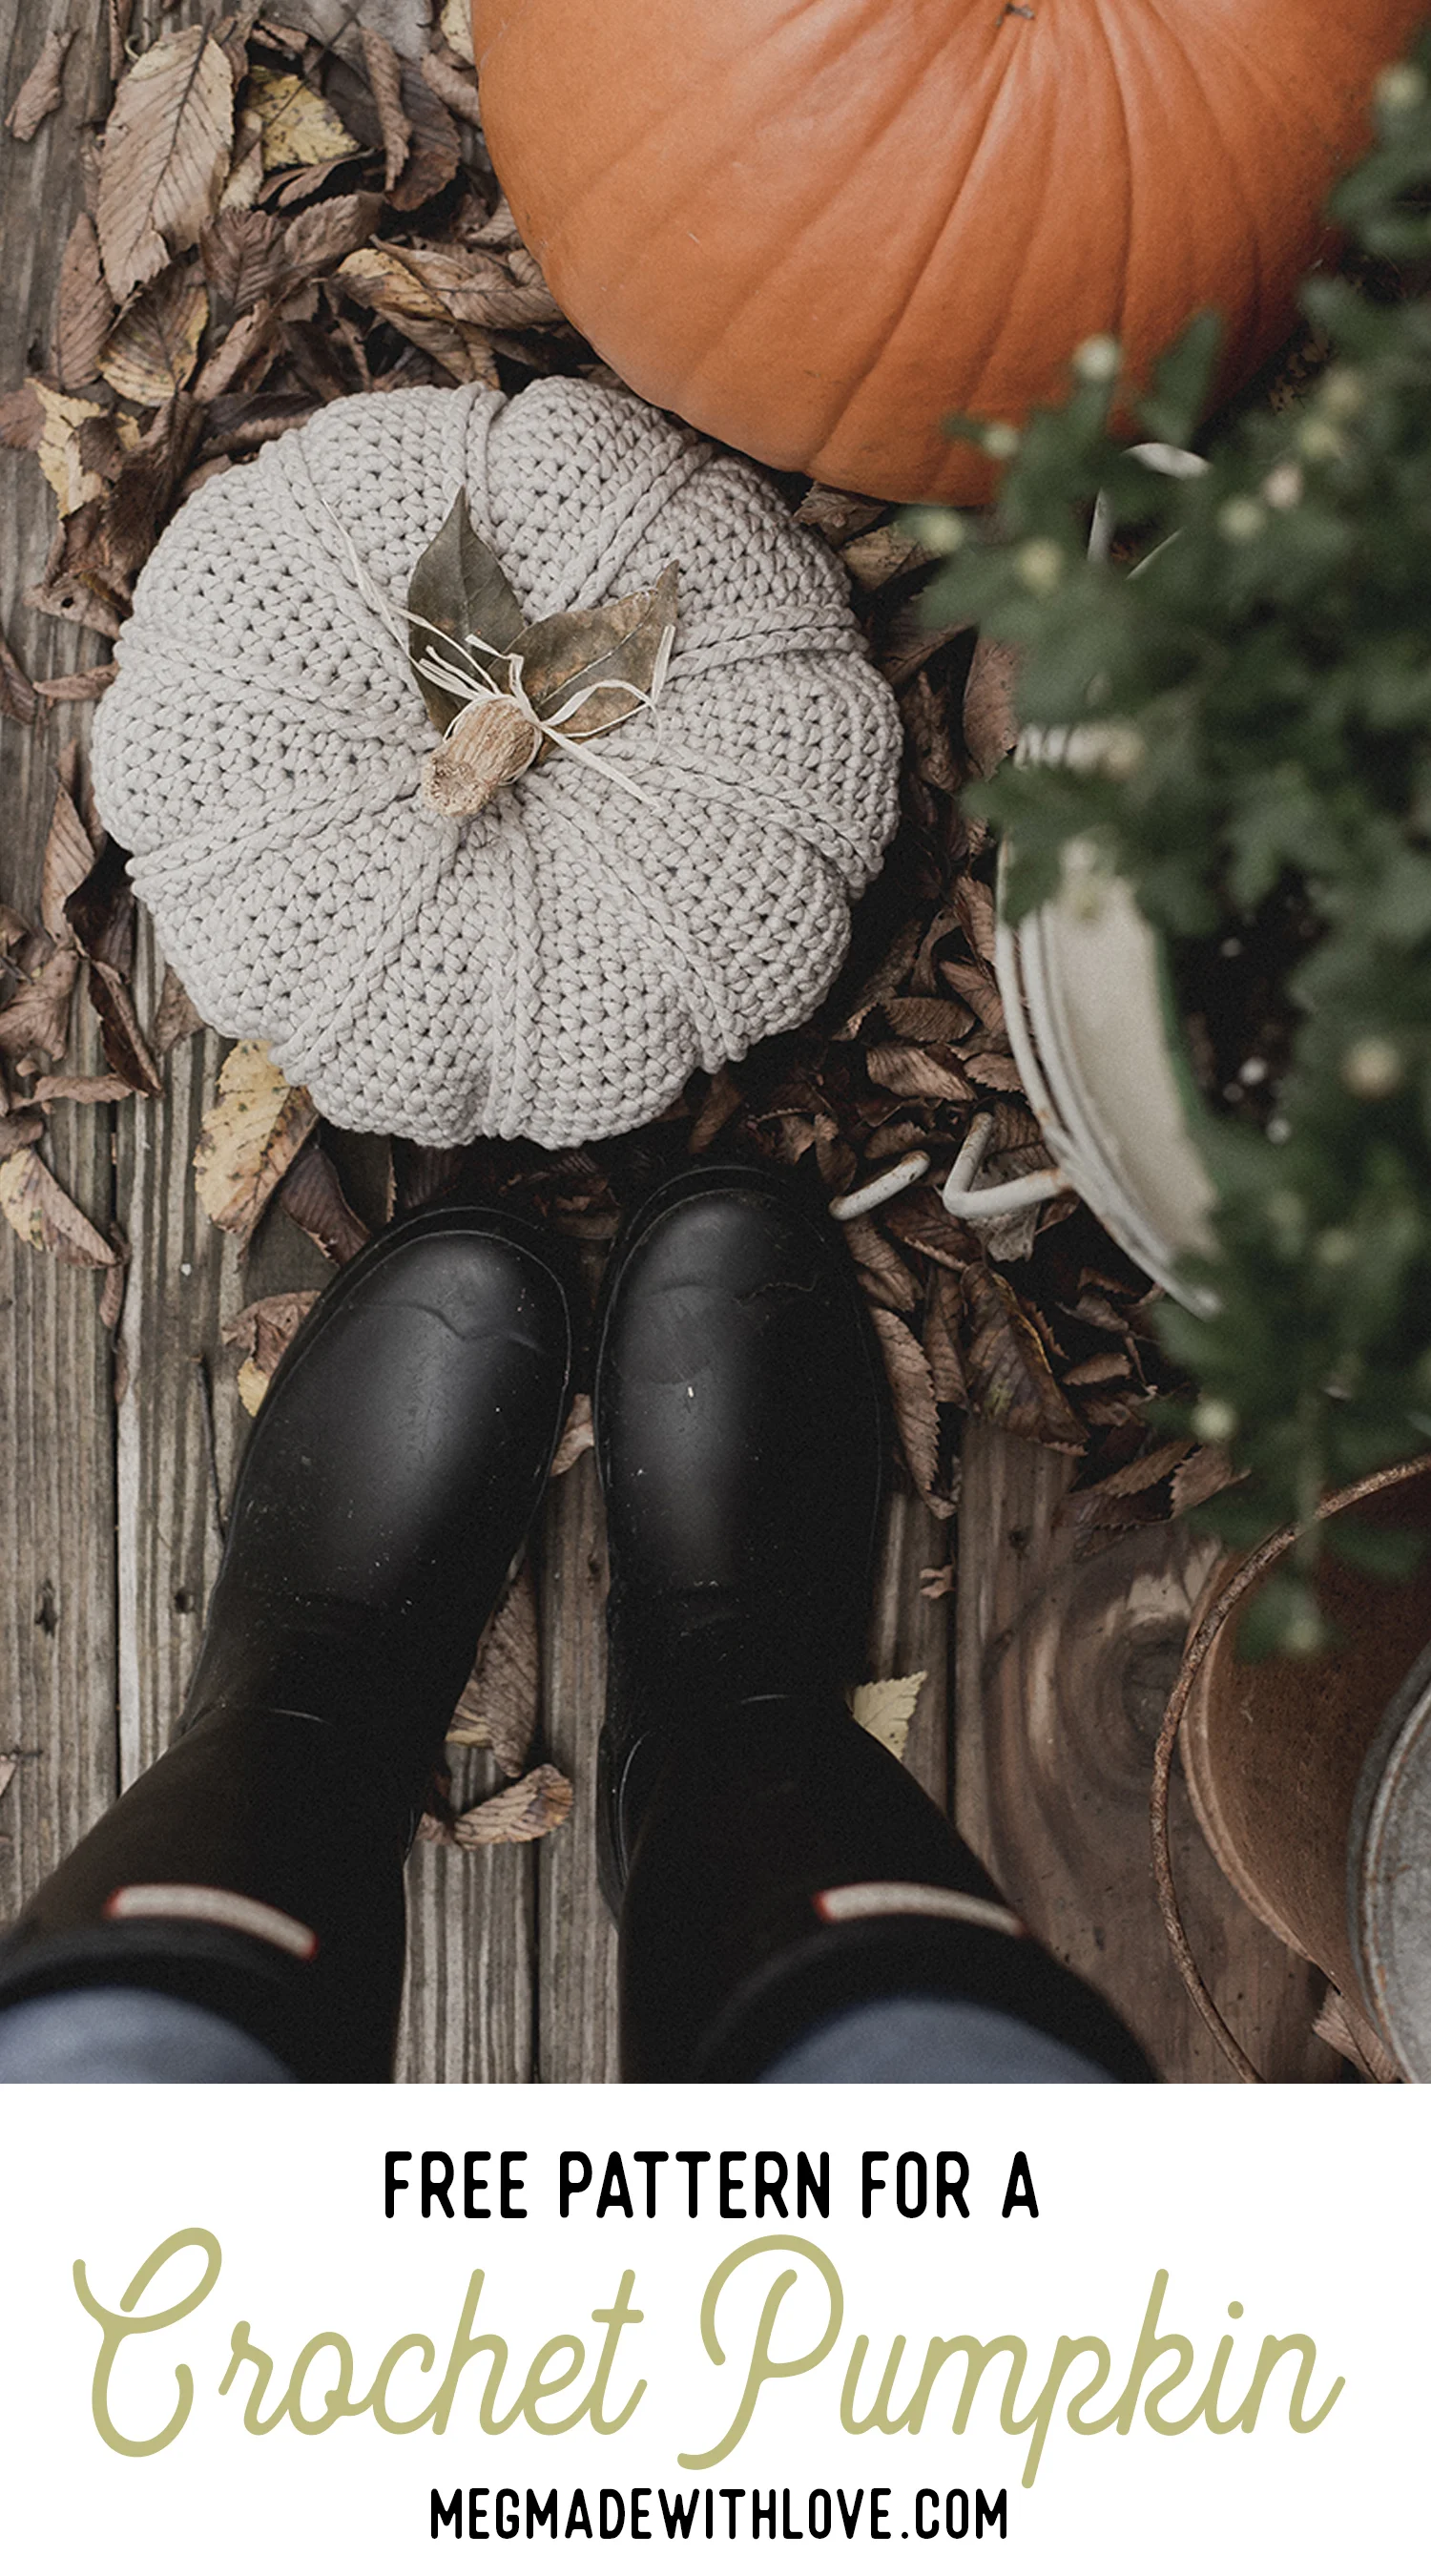
Okay, so here’s the deal. I wasn’t planning on doing another pumpkin pattern this year. But then, I got this idea, and one thing led to another and I was at Hobby Lobby picking out a yarn to make yet another. I’m happy I made the last-minute decision to create a new pumpkin pattern, and I hope you are too! This is a unique one that features a cool and simple mudcloth pattern that will surely add some interest to your pumpkin collection.

Free Crochet Pattern for a Mudcloth Crochet Pumpkin - Megmade with Love

Wanna know the best part about this here pumpkin? It’s a great candidate for a weekend project. I mean it won’t even take up your whole weekend, just a few hours (made with super bulky yarn, score!). That’s my kinda project.

Free Crochet Pattern for a Mudcloth Crochet Pumpkin - Megmade with Love

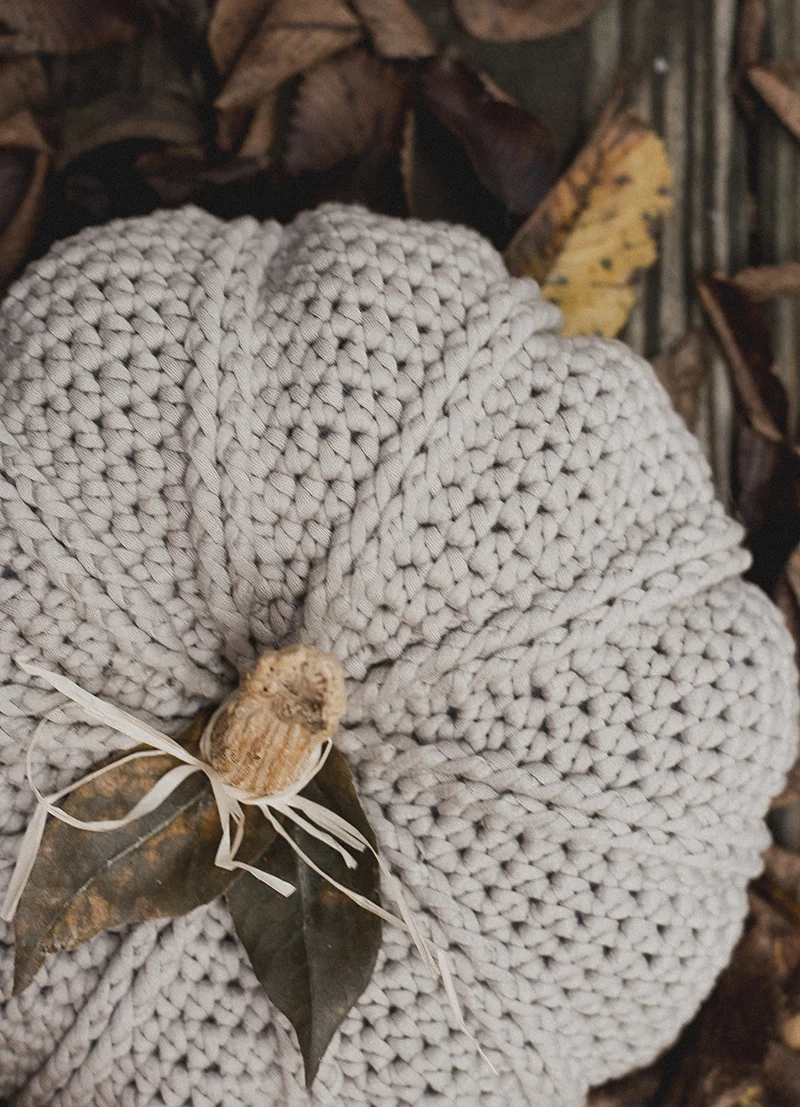
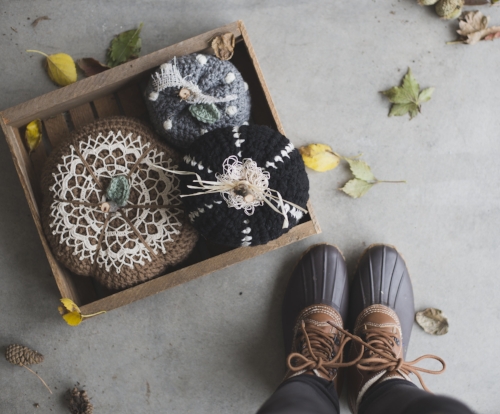
I added an actual pumpkin stem to the top, but you could totally add whatever your heart desires, I’ve seen wooden thread spools, cinnamon sticks, cut tree branches, even wine corks :)

Free Crochet Pattern for a Mudcloth Crochet Pumpkin - Megmade with Love

And for the mudcloth sewing portion, I’ve totally got your back on that. There’s plenty of pics included to help you along!

****You can find the PDF version of this pumpkin pattern by clicking HERE. It’s ad-free and great for printing! For the free pattern, scroll down****

Mudcloth Crochet Pumpkin

What you’ll need:

-approximately 80 yards of super bulky (category 6) yarn, I used Yarn Bee Cozy Occasion yarn in color Ivory
-8 mm crochet hook
-yarn needle
-worsted weight (category 4) yarn for sewing mudcloth pattern, I used Caron Simply Soft yarn in color Black
-polyester fiberfill
-pumpkin stem (or other item to be used as stem such as cut tree branch, wooden thread spool, cinnamon stick)
-hot glue & gun

Notes:

-ch’s at beginning of rounds do not count as sts
-for all rounds: you will work the first st into the st you joined into from previous round
-pumpkin is approximately 8 inches in diameter

Abbreviations:

sc=single crochet, sl=slip, st(s)=stitch(es), sc2tog=single crochet two together

Pattern:

make magic circle

Round 1) ch 1, work 8 sc into circle, join to first sc with sl st, and pull yarn tail to close circle up (8 total sts)

Round 2) ch 1, work 2 sc into each st around, join to first sc with sl st (16 total sts)

Round 3) ch 1, work [2 sc, sc into next st] around, join to first sc with sl st (24 total sts)

Round 4) ch 1, work [2 sc, sc into next two sts] around, join to first sc with sl st (32 total sts)

Round 5) ch 1, work [2 sc, sc into next three sts] around, join to first sc with sl st (40 total sts)

Round 6) ch 1, work [2 sc, sc in next four sts] around, join to first sc with sl st (48 total sts)

Rounds 7-14) ch 1, sc into each st around, join to first sc with sl st (48 total sts)

Round 15) ch 1, [sc2tog, sc into next four sts] around, join to first sc2tog st with sl st (40 total sts)

Round 16) ch 1, [sc2tog, sc into next three sts] around, join to first sc2tog st with sl st (32 total sts)

Round 17) ch 1, [sc2tog, sc into next two sts] around, join to first sc2tog st with sl st (24 total sts)

***at this point I stopped crocheting the pumpkin, and began to sew the mudcloth pattern (plus stuff with fiberfill).

Free Crochet Pattern for a Mudcloth Crochet Pumpkin - Megmade with Love

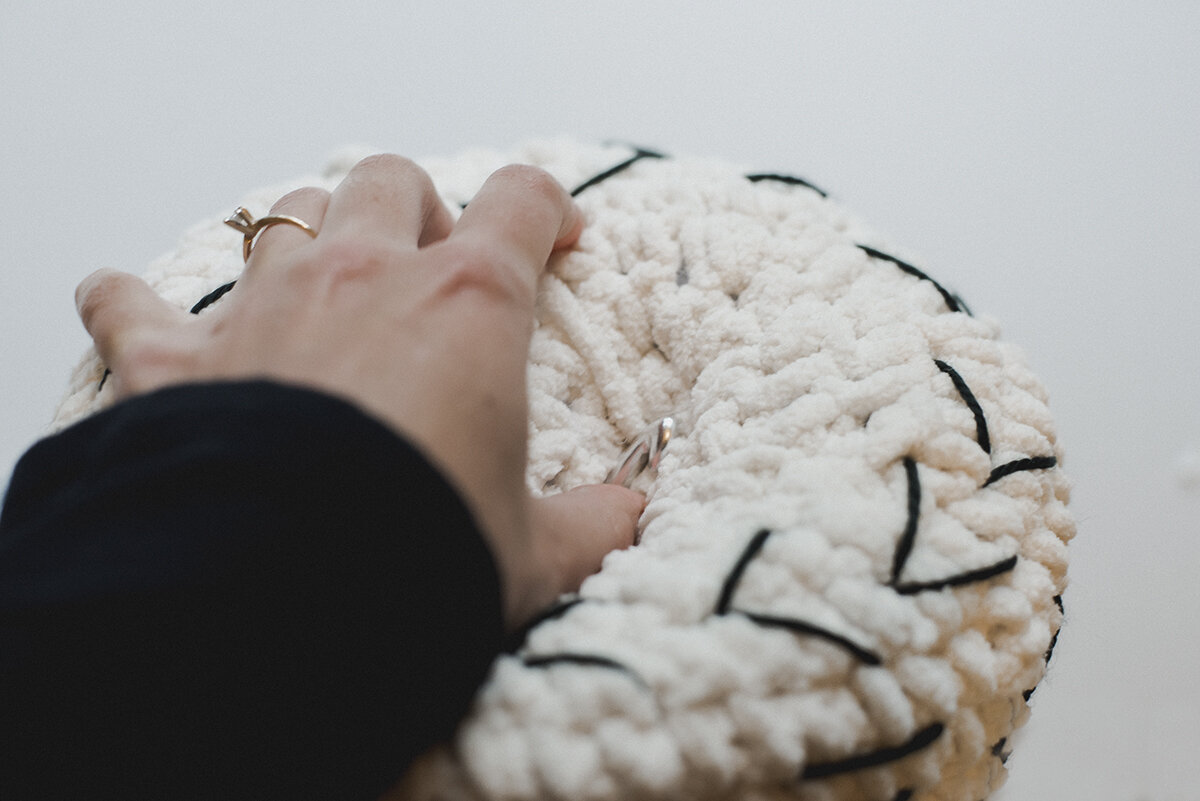
To start sewing, you’ll grab your yarn needle plus a very long strand of your worsted weight yarn. I began sewing on the underside— starting between round 2 and 3.

Free Crochet Pattern for a Mudcloth Crochet Pumpkin - Megmade with Love

For the first series of stitches, you’ll insert your needle from the inside between rounds 2 and 3. Then put your needle back through two rounds down, to create a dash. It’s important to not pull the yarn too tightly when sewing because it’ll bunch the pumpkin and also make the dashes not that visible.

Free Crochet Pattern for a Mudcloth Crochet Pumpkin - Megmade with Love

You’ll repeat that until there’s three vertical lines.

Free Crochet Pattern for a Mudcloth Crochet Pumpkin - Megmade with Love

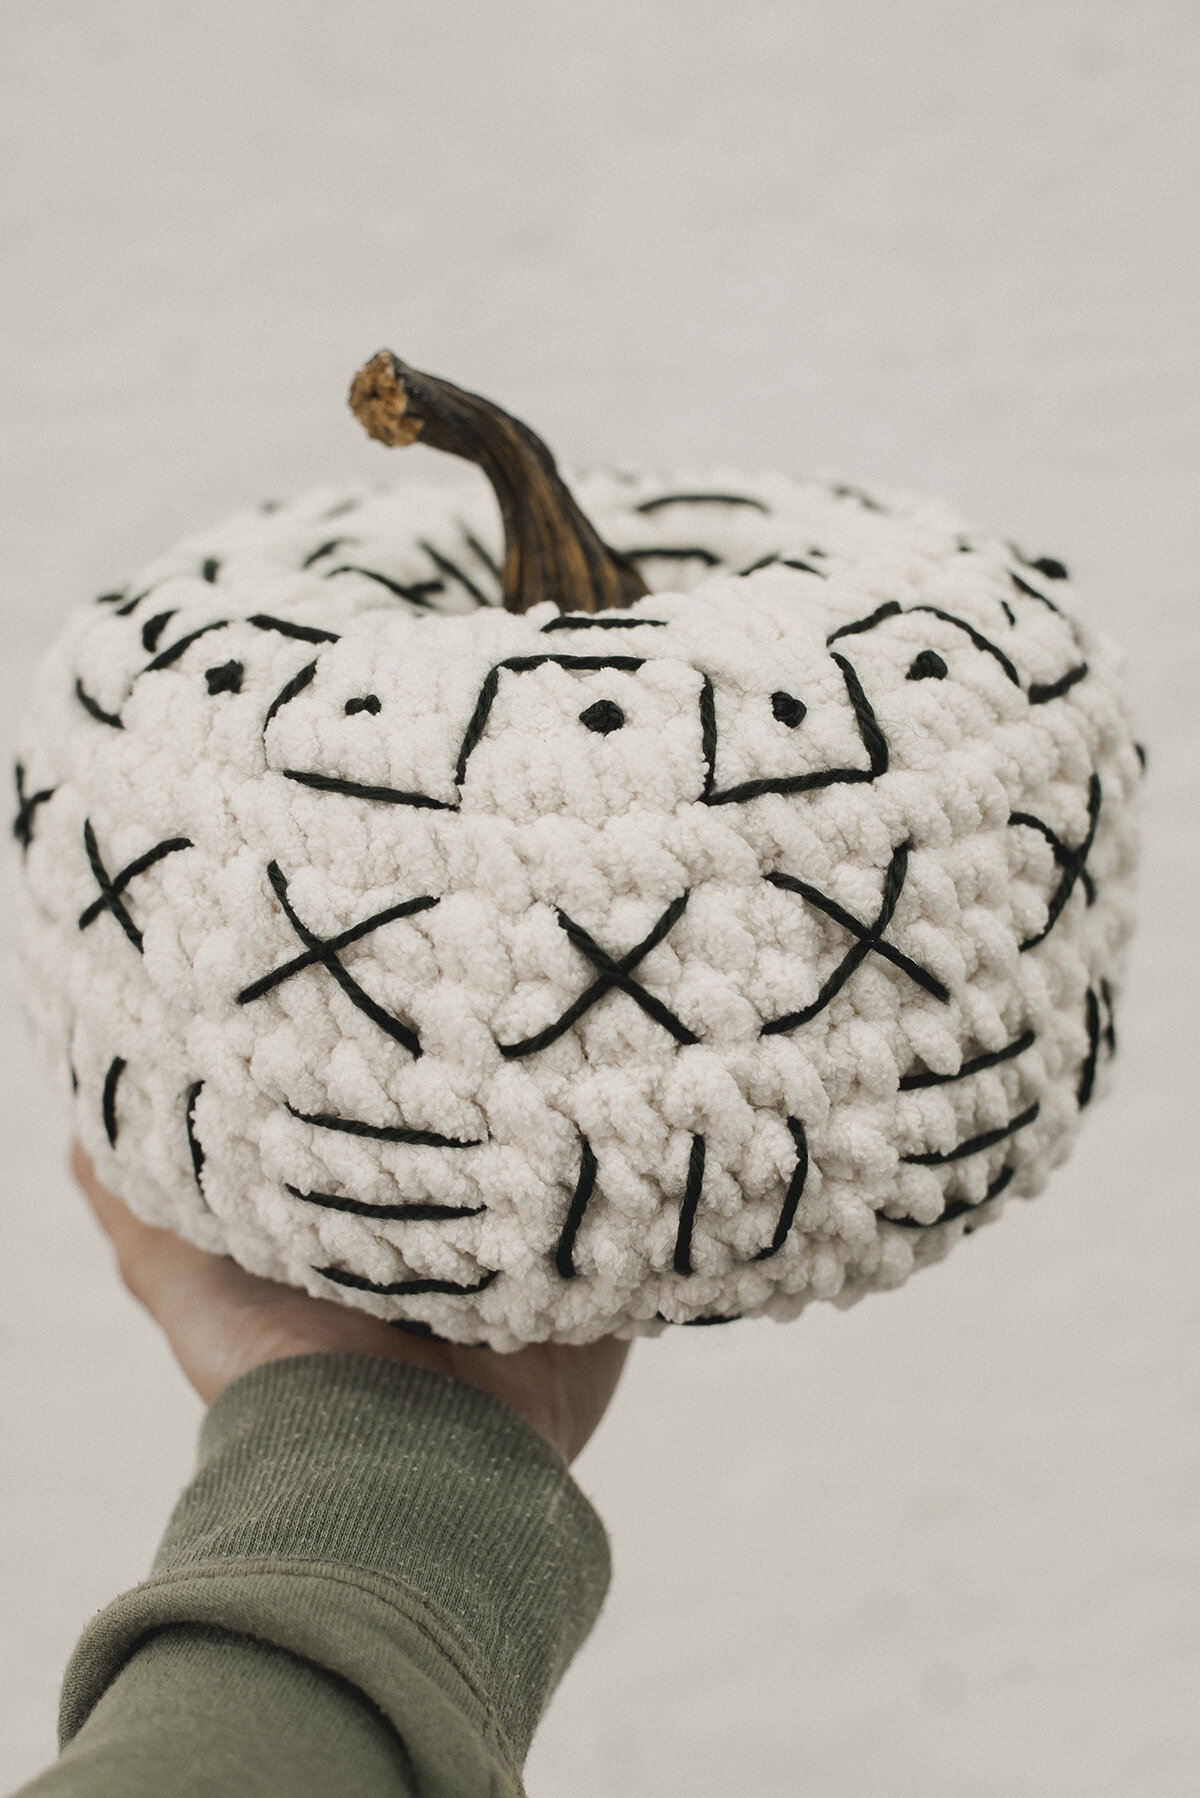
Then you’ll make horizontal lines about a stitch away from your vertical lines. I kind of eyeballed the size so the lines would match up in size. I didn’t worry about it looking too perfect… Repeat three vertical and three horizontal lines all the way around till you reach the first lines you made.

Free Crochet Pattern for a Mudcloth Crochet Pumpkin - Megmade with Love

For the next stitch series, I did a sort of boxy zig zag pattern. It kinda reminded me of that old snake game you could play on Nokia phones-ha! I just inserted the needle from the inside, skipping a round between the dashes you just sewed. You’ll make dashes again that are two rounds tall and then go about three stitches to the right. I always inserted my needle one step ahead then brought it back to make the line (you can see in the photo above). Go all the way around with this pattern.

Free Crochet Pattern for a Mudcloth Crochet Pumpkin - Megmade with Love

Once done, I decided to put little dots in each of the little “boxes”. I did this by making a french knot. To make a french knot you’ll bring your needle through from the inside of the pumpkin, and draw your yarn through. Then wrap your yarn around the needle 3-4 times (shown in photo above), and insert your needle in a spot that is very close to where you brought the needle through. It’s important not to insert in the same spot because the knot won’t work.

Free Crochet Pattern for a Mudcloth Crochet Pumpkin - Megmade with Love

Repeat french knots around in each of the “boxes”.

Free Crochet Pattern for a Mudcloth Crochet Pumpkin - Megmade with Love

Skip another round for the next series of stitches. I decided to do “X’s” next. I made diagonal dashes spanning about 2-3 stitches, crossing over each other. I spaced the “X’s” out so there was a stitch in between each of them. Continue the “X” stitch pattern all the way around.

Free Crochet Pattern for a Mudcloth Crochet Pumpkin - Megmade with Love

Then I repeated the 3 vertical, 3 horizontal dashes for the next series. And last I did little sideways v’s or arrows. Same concept, just one diagonal dash spanning only one round, about 3 sts wide, then another right below it. Once I went all the way around with the sideways v’s I knotted off my black yarn.

Free Crochet Pattern for a Mudcloth Crochet Pumpkin - Megmade with Love

Then, before finishing up crocheting the pumpkin, I stuffed it full of polyester fiberfill. Now to continue crocheting…

Round 18) ch 1, [sc2tog, sc into next st] around, join to first sc2tog st with sl st (16 total sts)

Round 19) ch 1, sc2tog around, join to first sc2tog st with sl st (8 total sts)

Round 20) ch 1, sc2tog around, join to first sc2tog st with sl st (4 total sts)

Free Crochet Pattern for a Mudcloth Crochet Pumpkin - Megmade with Love

After Round 20 you will draw your hook through the two sides of the opening hole remaining in the pumpkin and sl st to close. Finish off and leave a extra long tail to compress the center of the pumpkin.

Free Crochet Pattern for a Mudcloth Crochet Pumpkin - Megmade with Love

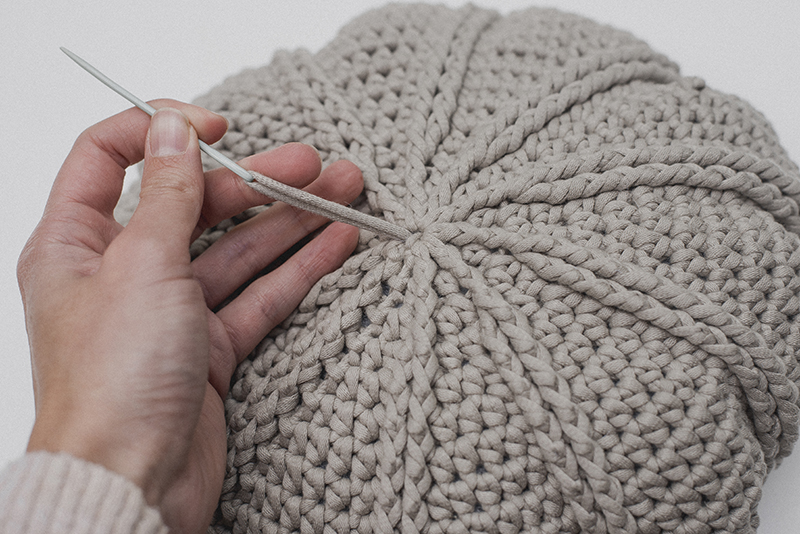
To compress the center of the pumpkin, you will take your hook and insert it from the bottom center hole up through the top of the pumpkin. You will draw your yarn with your hook through the pumpkin, back through the bottom center.

Free Crochet Pattern for a Mudcloth Crochet Pumpkin - Megmade with Love

Pull tightly on your yarn to smoosh the center of the pumpkin down. Then draw your yarn through a close-by stitch and then tie a couple of knots to secure. Then you’ll weave your yarn end in a bit inside the pumpkin, and cut to hide.

Lastly you will get your stem and hot glue it onto the top of the pumpkin. I used quite a big glob of hot glue to make sure it was firm. You can also add other little adornments to it also if you’d like. For example— moss, ribbon, a leaf.


And that concludes the mudcloth pumpkin! What a fun little autumn project—and quick too. Share with me over on Insta if you make one yourself!

Take care + happy hooking!

Meg

Free Crochet Pattern for a Mudcloth Crochet Pumpkin - Megmade with Love

A New Free Crochet Pumpkin Pattern

Free Crochet Pumpkin Pattern - Megmade with Love

(You can find the PDF version of this free pattern in the shop by clicking HERE. Great for easy printing!)

Autumn is officially upon us my friends. I can’t get enough of this season, and all that it brings. I love going to fall markets with my mom, pumpkin patches, cozying up with a blanket, sippin’ on yummy lattes. And are you even human if you don’t love all the pumpkins?? So in the spirit of the season, I’ve brought a new crochet pumpkin to the blog— it’s a short and squat little punkin that has cool ridges that make a simple texture effect.

PS: you can see the first set of free pumpkin patterns featured on the blog by clicking HERE, there’s also an elegant pumpkin collection you can view HERE.

Free Crochet Pumpkin Pattern - Megmade with Love

I had a skein of the cool Bernat Maker Home Dec yarn that I actually bought this past summer without any plans on what it would become, but when I was thinking about making a new pumpkin— it was the first thing that came to mind. It’s such a unique yarn that’s got a poly-fil center, which makes it so plushy… and the stitch definition! It’s out of this world.

Free Crochet Pumpkin Pattern - Megmade with Love

When working on the pumpkin I actually realized that the texture of the post stitches was creating a sort of indentation, kinda like a real pumpkin would have— so when working it you may decide the inside looks like even better and have it inside out?!

Free Crochet Pumpkin Pattern - Megmade with Love

I could see this pumpkin on an entry way table or even in the center piece with other fall items and pumpkins. I think it’d be the perfect decor piece this fall… And you can top it with so many different things to make it look unique. Use sticks or cinnamon sticks for the stem, and pair it with all sorts of adornments—leaves, raffia, fabric, ribbon, moss. I hope you’ll enjoy making this pumpkin!

(You can find the PDF version of this free pattern in the shop by clicking HERE. Great for easy printing!)

What you’ll need:

-One skein of Bernat Maker Home Dec yarn, (linked HERE, I used color “Clay”, you could also use a different “5” bulky weight yarn)
-size J (6 mm) crochet hook (or hook needed to obtain gauge)
-poly fiber fill
-yarn needle
-hot glue gun
-items of choice to top pumpkin with— sticks, leaves, moss, raffia, ribbon

Gauge:

13 hdc by 10 rows equals a four-inch square

Abbreviations:

ch=chain, dc=double crochet, sl=slip, st(s)=stitch(es), hdc=half double crochet, fpdc=front post double crochet, 2fpdc=work two front post double crochet in designated st, 2hdc=work two half double crochets in designated st, hdc2tog=half double crochet two sts together, fpdc2tog=front post double crochet two sts together

Notes:

-finished pumpkin measures 10” x 3”, it makes a short and wide pumpkin

-ch’s at beginning of each round do not count as sts

-to help make the decreases (hdc2tog) less noticeable, you could work them in the front loop only

-pumpkin looks cool both inside and out… The post stitches create indentations on the opposite side that have a interesting effect, so you could rock it inside out too!

Pattern:

1) make magic circle, ch 2, work 10 dc in circle, join to 1st st with sl st (10 total sts)

2) ch 1, [hdc, fpdc] around, join to 1st st with sl st (20 total sts)

3) ch 1, [2hdc, fpdc] around, join to 1st st with sl st (30 total sts)

4) ch 1, [hdc in 2 sts, 2fpdc] around, join to 1st with sl st (40 total sts)

5) ch 1, [hdc, 2hdc, fpdc in 2 sts] around, join to 1st st with sl st (50 total sts)

6) ch 1, [hdc in 2 sts, 2hdc, fpdc in 2 sts] around, join to 1st st with sl st (60 total sts)

7) ch 1, [hdc in 3 sts, 2hdc, fpdc in 2 sts] around, join to 1st st with sl st (70 total sts)

8) ch 1, [hdc in 4 sts, 2hdc, fpdc in 2 sts] around, join to 1st st with sl st (80 total sts)

9) ch 1, [hdc in 5 sts, 2hdc, fpdc in 2 sts] around, join to 1st st with sl st (90 total sts)

10) ch 1, [hdc in 6 sts, 2hdc, fpdc in 2 sts] around, join to 1st st with sl st (100 total sts)

11) ch 1, [hdc in 7 sts, 2hdc, fpdc in 2 sts] around, join to 1st st with sl st (110 total sts)

12) ch 1, [hdc in 8 sts, 2hdc, fpdc in 2 sts] around, join to 1st st with sl st (120 total sts)

13-15) ch 1, [hdc in 10 sts, fpdc in 2 sts] around, join to 1st st with sl st (120 total sts)

16) ch 1, [hdc2tog, hdc in 8 sts, fpdc in 2 sts] around, join to 1st st with sl st (110 total sts)

17) ch 1, [hdc2tog, hdc in 7 sts, fpdc in 2 sts] around, join to 1st st with sl st (100 total sts)

18) ch 1, [hdc2tog, hdc in 6 sts, fpdc in 2 sts] around, join to 1st st with sl st (90 total sts)

19) ch 1, [hdc2tog, hdc in 5 sts, fpdc in 2 sts] around, join to 1st st with sl st (80 total sts)

20) ch 1, [hdc2tog, hdc in 4 sts, fpdc in 2 sts] around, join to 1st st with sl st (70 total sts)

21) ch 1, [hdc2tog, hdc in 3 sts, fpdc in 2 sts] around, join to 1st st with sl st (60 total sts)

22) ch 1, [hdc2tog, hdc in 2 sts, fpdc in 2 sts] around, join to 1st st with sl st (50 total sts)

23) ch 1, [hdc2tog, hdc, fpdc in 2 sts] around, join to 1st st with sl st (40 total sts)

24) ch 1, [hdc in 2 sts, fpdc2tog] around, join to 1st st with sl st (30 total sts)

**at this point you can fill your pumpkin with fiber fill

25) ch 1, [hdc2tog, fpdc] around, join to 1st st with sl st (20 total sts)

26) ch 1, [hdc, fpdc] around, join to 1st with sl st (20 total sts)

27) ch 1, fpdc2tog around (working hdc’s and fpdc’s together), join to 1st st with sl st (10 total sts)

28) ch 1, fpdc2tog around, join to 1st st with sl st (5 total sts)

-finish off, leave extra long tail to cinch the center

Crochet Pumpkin

Next you’ll cinch the middle of the pumpkin. Using your tail end of yarn and yarn needle, poke your needle through the center of the pumpkin to the other side and pull the yarn through tight.

Crochet Pumpkin

Then you’ll poke the needle back through the center again to the other side, just insert the needle a centimeter or so away from where it came up from. You’ll repeat that process multiple times, pulling tight to cinch until it looks the way you'd like it to. Then knot the yarn and weave in the ends.

Crochet Pumpkin Pattern - Megmade with Love

Then you’ll hot glue on your stem and other adornments to complete your pumpkin. And she’s donnnnnneeeee! I hope you enjoy making these little seasonal projects like I do.. they’re so fun and I love seeing them around my house.

Take care and happy hooking my friend!

Meg

Crochet Pumpkin Pattern - Megmade with Love