


A New Free Crochet Pumpkin Pattern
/
(You can find the PDF version of this free pattern in the shop by clicking HERE. Great for easy printing!)
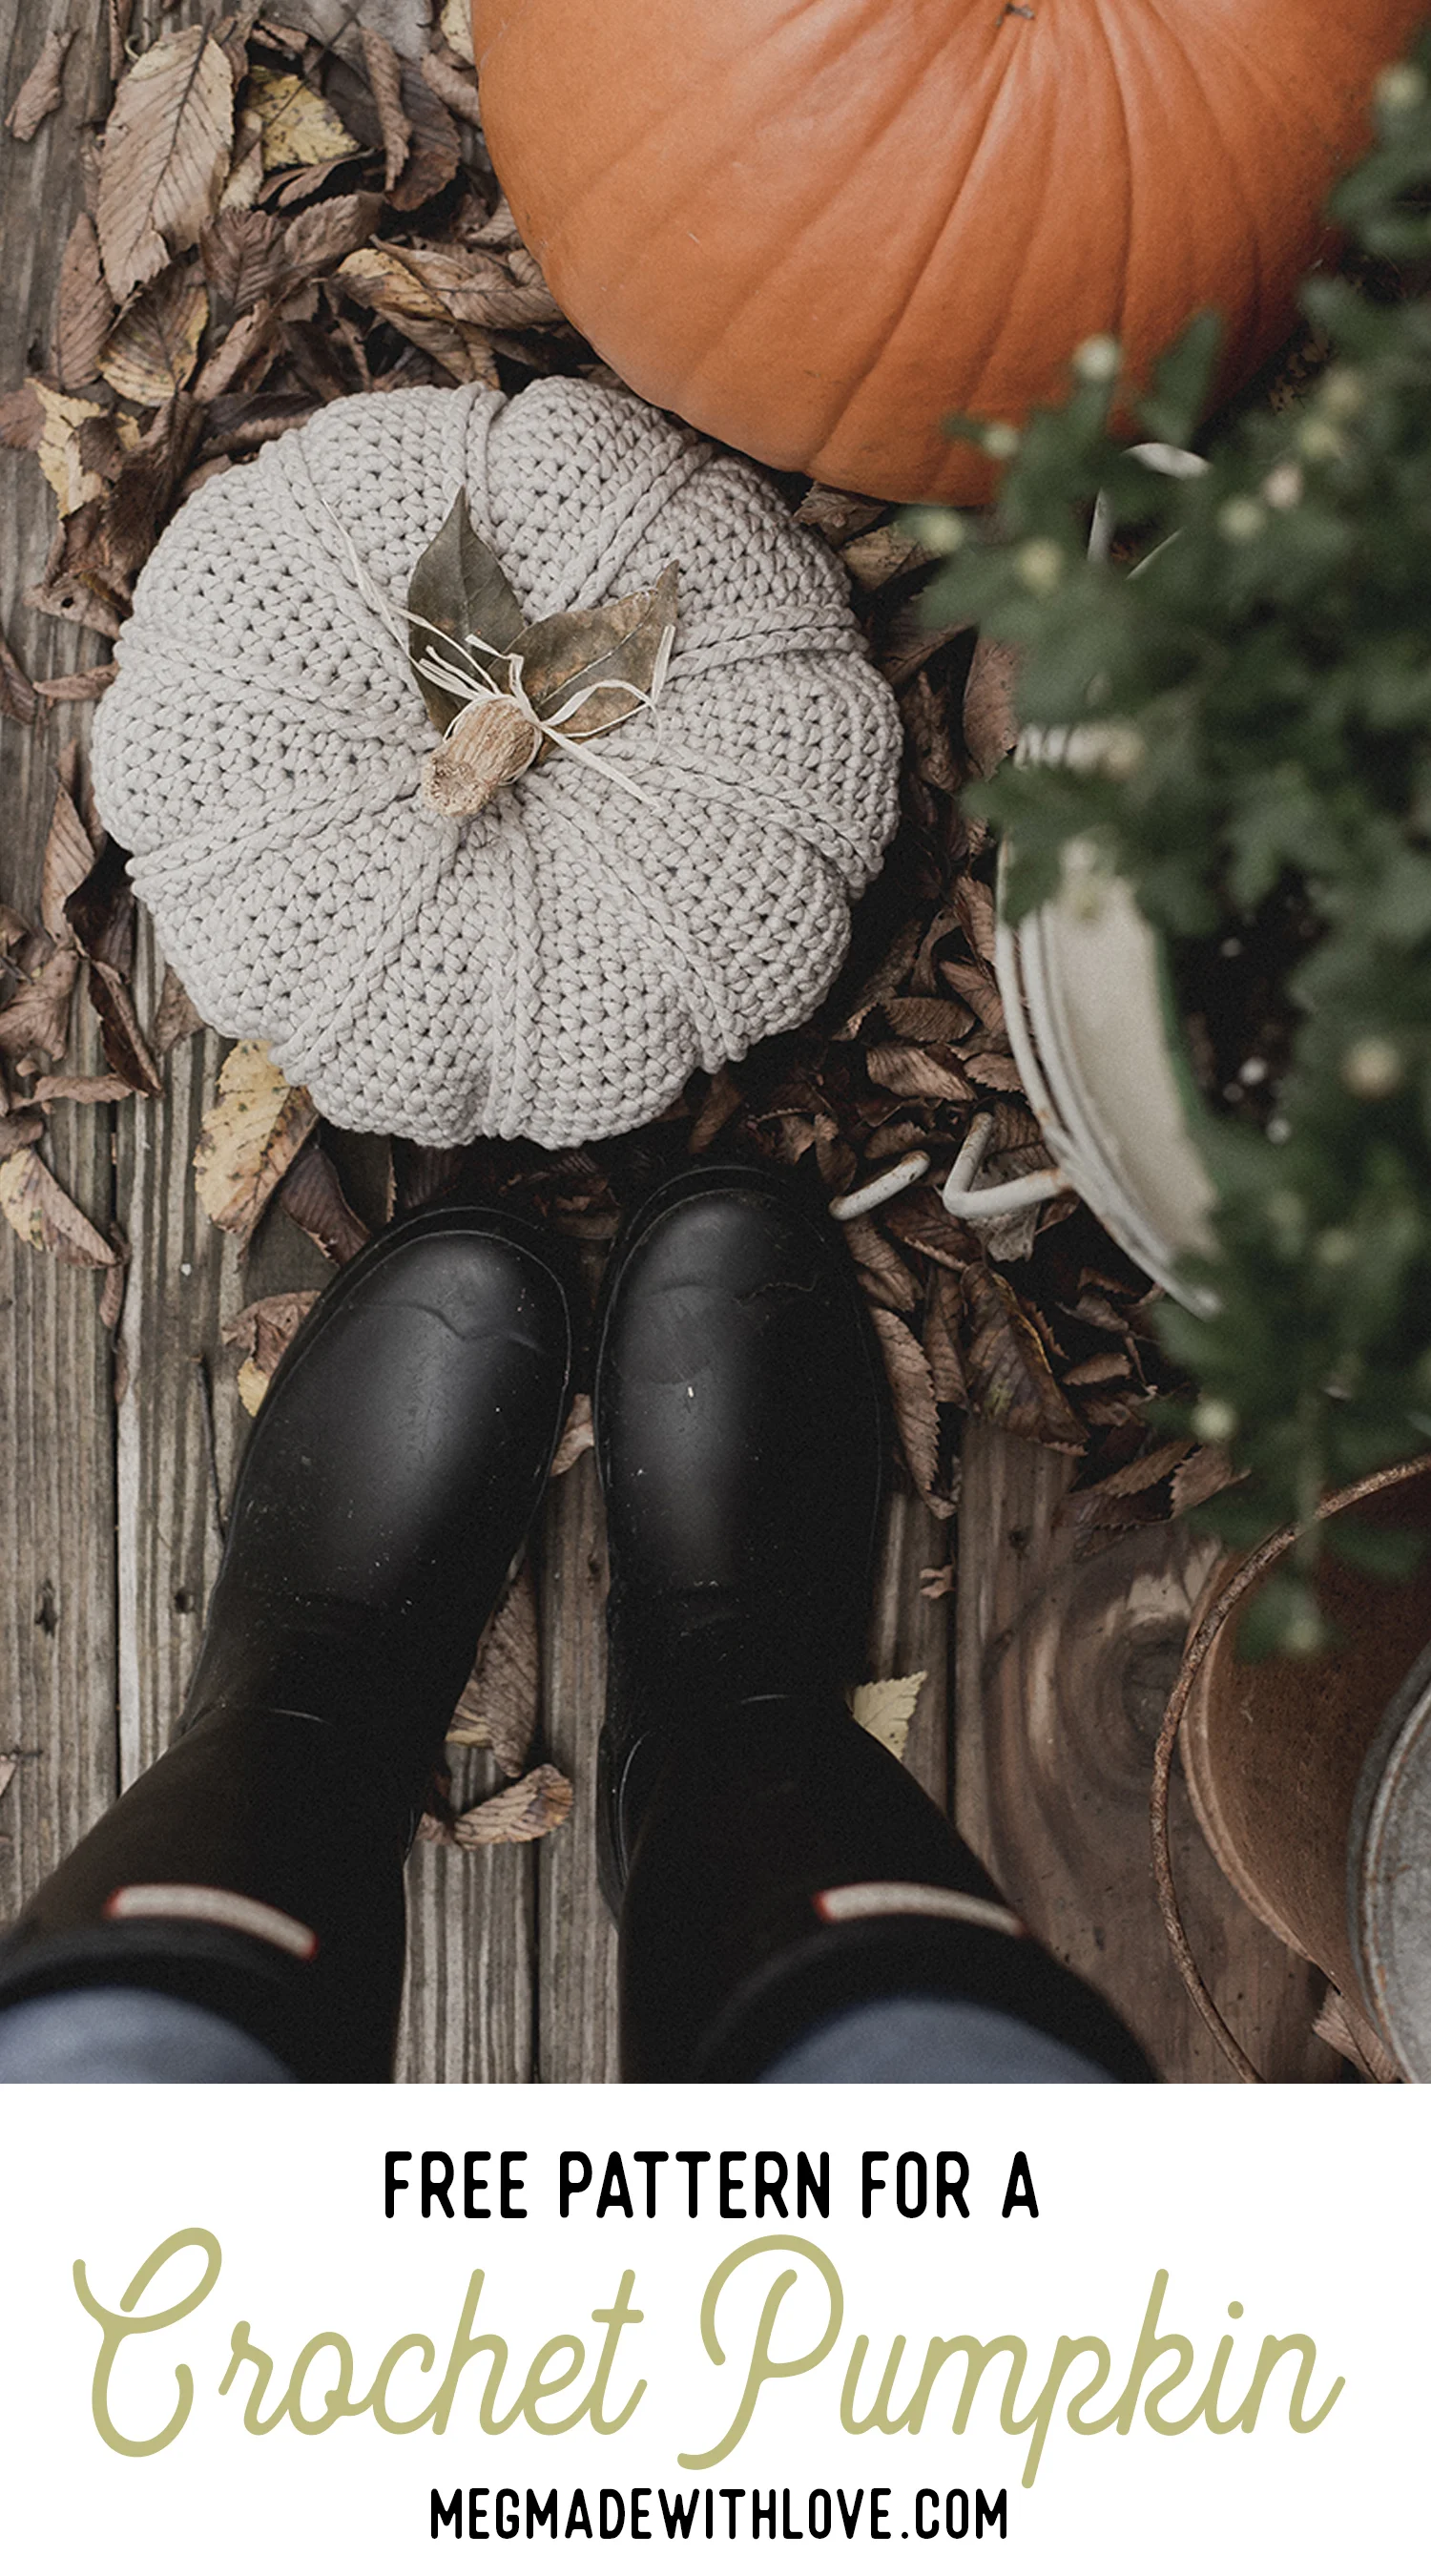
Autumn is officially upon us my friends. I can’t get enough of this season, and all that it brings. I love going to fall markets with my mom, pumpkin patches, cozying up with a blanket, sippin’ on yummy lattes. And are you even human if you don’t love all the pumpkins?? So in the spirit of the season, I’ve brought a new crochet pumpkin to the blog— it’s a short and squat little punkin that has cool ridges that make a simple texture effect.
PS: you can see the first set of free pumpkin patterns featured on the blog by clicking HERE, there’s also an elegant pumpkin collection you can view HERE.

I had a skein of the cool Bernat Maker Home Dec yarn that I actually bought this past summer without any plans on what it would become, but when I was thinking about making a new pumpkin— it was the first thing that came to mind. It’s such a unique yarn that’s got a poly-fil center, which makes it so plushy… and the stitch definition! It’s out of this world.

When working on the pumpkin I actually realized that the texture of the post stitches was creating a sort of indentation, kinda like a real pumpkin would have— so when working it you may decide the inside looks like even better and have it inside out?!
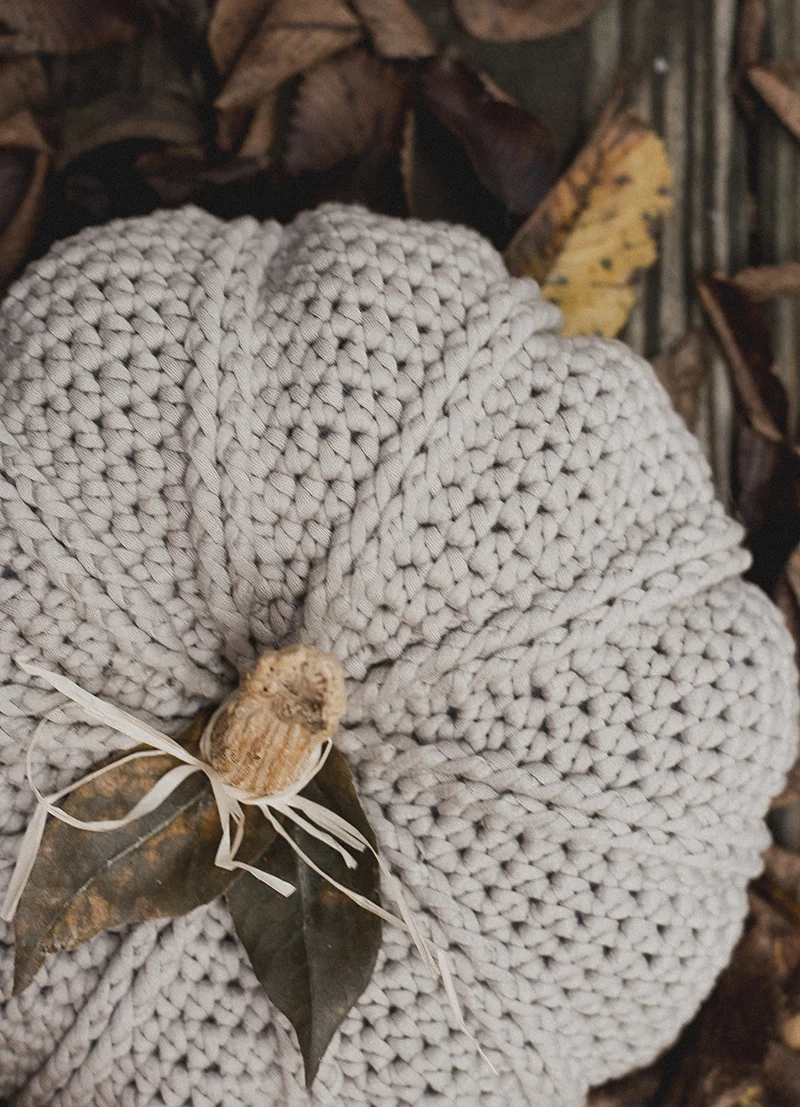
I could see this pumpkin on an entry way table or even in the center piece with other fall items and pumpkins. I think it’d be the perfect decor piece this fall… And you can top it with so many different things to make it look unique. Use sticks or cinnamon sticks for the stem, and pair it with all sorts of adornments—leaves, raffia, fabric, ribbon, moss. I hope you’ll enjoy making this pumpkin!
(You can find the PDF version of this free pattern in the shop by clicking HERE. Great for easy printing!)
What you’ll need:
-One skein of Bernat Maker Home Dec yarn, (linked HERE, I used color “Clay”, you could also use a different “5” bulky weight yarn)
-size J (6 mm) crochet hook (or hook needed to obtain gauge)
-poly fiber fill
-yarn needle
-hot glue gun
-items of choice to top pumpkin with— sticks, leaves, moss, raffia, ribbon
Gauge:
13 hdc by 10 rows equals a four-inch square
Abbreviations:
ch=chain, dc=double crochet, sl=slip, st(s)=stitch(es), hdc=half double crochet, fpdc=front post double crochet, 2fpdc=work two front post double crochet in designated st, 2hdc=work two half double crochets in designated st, hdc2tog=half double crochet two sts together, fpdc2tog=front post double crochet two sts together
Notes:
-finished pumpkin measures 10” x 3”, it makes a short and wide pumpkin
-ch’s at beginning of each round do not count as sts
-to help make the decreases (hdc2tog) less noticeable, you could work them in the front loop only
-pumpkin looks cool both inside and out… The post stitches create indentations on the opposite side that have a interesting effect, so you could rock it inside out too!
Pattern:
1) make magic circle, ch 2, work 10 dc in circle, join to 1st st with sl st (10 total sts)
2) ch 1, [hdc, fpdc] around, join to 1st st with sl st (20 total sts)
3) ch 1, [2hdc, fpdc] around, join to 1st st with sl st (30 total sts)
4) ch 1, [hdc in 2 sts, 2fpdc] around, join to 1st with sl st (40 total sts)
5) ch 1, [hdc, 2hdc, fpdc in 2 sts] around, join to 1st st with sl st (50 total sts)
6) ch 1, [hdc in 2 sts, 2hdc, fpdc in 2 sts] around, join to 1st st with sl st (60 total sts)
7) ch 1, [hdc in 3 sts, 2hdc, fpdc in 2 sts] around, join to 1st st with sl st (70 total sts)
8) ch 1, [hdc in 4 sts, 2hdc, fpdc in 2 sts] around, join to 1st st with sl st (80 total sts)
9) ch 1, [hdc in 5 sts, 2hdc, fpdc in 2 sts] around, join to 1st st with sl st (90 total sts)
10) ch 1, [hdc in 6 sts, 2hdc, fpdc in 2 sts] around, join to 1st st with sl st (100 total sts)
11) ch 1, [hdc in 7 sts, 2hdc, fpdc in 2 sts] around, join to 1st st with sl st (110 total sts)
12) ch 1, [hdc in 8 sts, 2hdc, fpdc in 2 sts] around, join to 1st st with sl st (120 total sts)
13-15) ch 1, [hdc in 10 sts, fpdc in 2 sts] around, join to 1st st with sl st (120 total sts)
16) ch 1, [hdc2tog, hdc in 8 sts, fpdc in 2 sts] around, join to 1st st with sl st (110 total sts)
17) ch 1, [hdc2tog, hdc in 7 sts, fpdc in 2 sts] around, join to 1st st with sl st (100 total sts)
18) ch 1, [hdc2tog, hdc in 6 sts, fpdc in 2 sts] around, join to 1st st with sl st (90 total sts)
19) ch 1, [hdc2tog, hdc in 5 sts, fpdc in 2 sts] around, join to 1st st with sl st (80 total sts)
20) ch 1, [hdc2tog, hdc in 4 sts, fpdc in 2 sts] around, join to 1st st with sl st (70 total sts)
21) ch 1, [hdc2tog, hdc in 3 sts, fpdc in 2 sts] around, join to 1st st with sl st (60 total sts)
22) ch 1, [hdc2tog, hdc in 2 sts, fpdc in 2 sts] around, join to 1st st with sl st (50 total sts)
23) ch 1, [hdc2tog, hdc, fpdc in 2 sts] around, join to 1st st with sl st (40 total sts)
24) ch 1, [hdc in 2 sts, fpdc2tog] around, join to 1st st with sl st (30 total sts)
**at this point you can fill your pumpkin with fiber fill
25) ch 1, [hdc2tog, fpdc] around, join to 1st st with sl st (20 total sts)
26) ch 1, [hdc, fpdc] around, join to 1st with sl st (20 total sts)
27) ch 1, fpdc2tog around (working hdc’s and fpdc’s together), join to 1st st with sl st (10 total sts)
28) ch 1, fpdc2tog around, join to 1st st with sl st (5 total sts)
-finish off, leave extra long tail to cinch the center
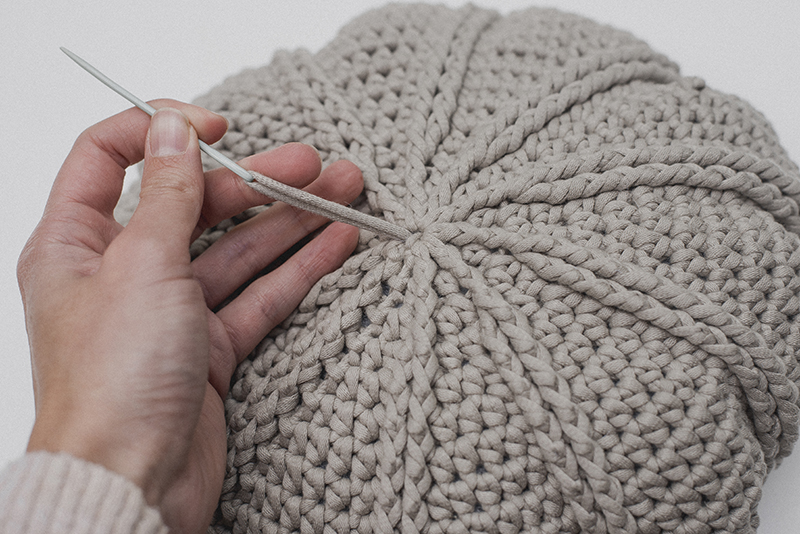
Next you’ll cinch the middle of the pumpkin. Using your tail end of yarn and yarn needle, poke your needle through the center of the pumpkin to the other side and pull the yarn through tight.

Then you’ll poke the needle back through the center again to the other side, just insert the needle a centimeter or so away from where it came up from. You’ll repeat that process multiple times, pulling tight to cinch until it looks the way you'd like it to. Then knot the yarn and weave in the ends.

Then you’ll hot glue on your stem and other adornments to complete your pumpkin. And she’s donnnnnneeeee! I hope you enjoy making these little seasonal projects like I do.. they’re so fun and I love seeing them around my house.
Take care and happy hooking my friend!
Meg


