Grande Chevron Blanket - Free Crochet Pattern

Grande Chevron Blanket - Free Crochet Pattern - Megmade with Love

***If you’d like the printable, PDF version of this pattern, click HERE. For the free version scroll down into the post***

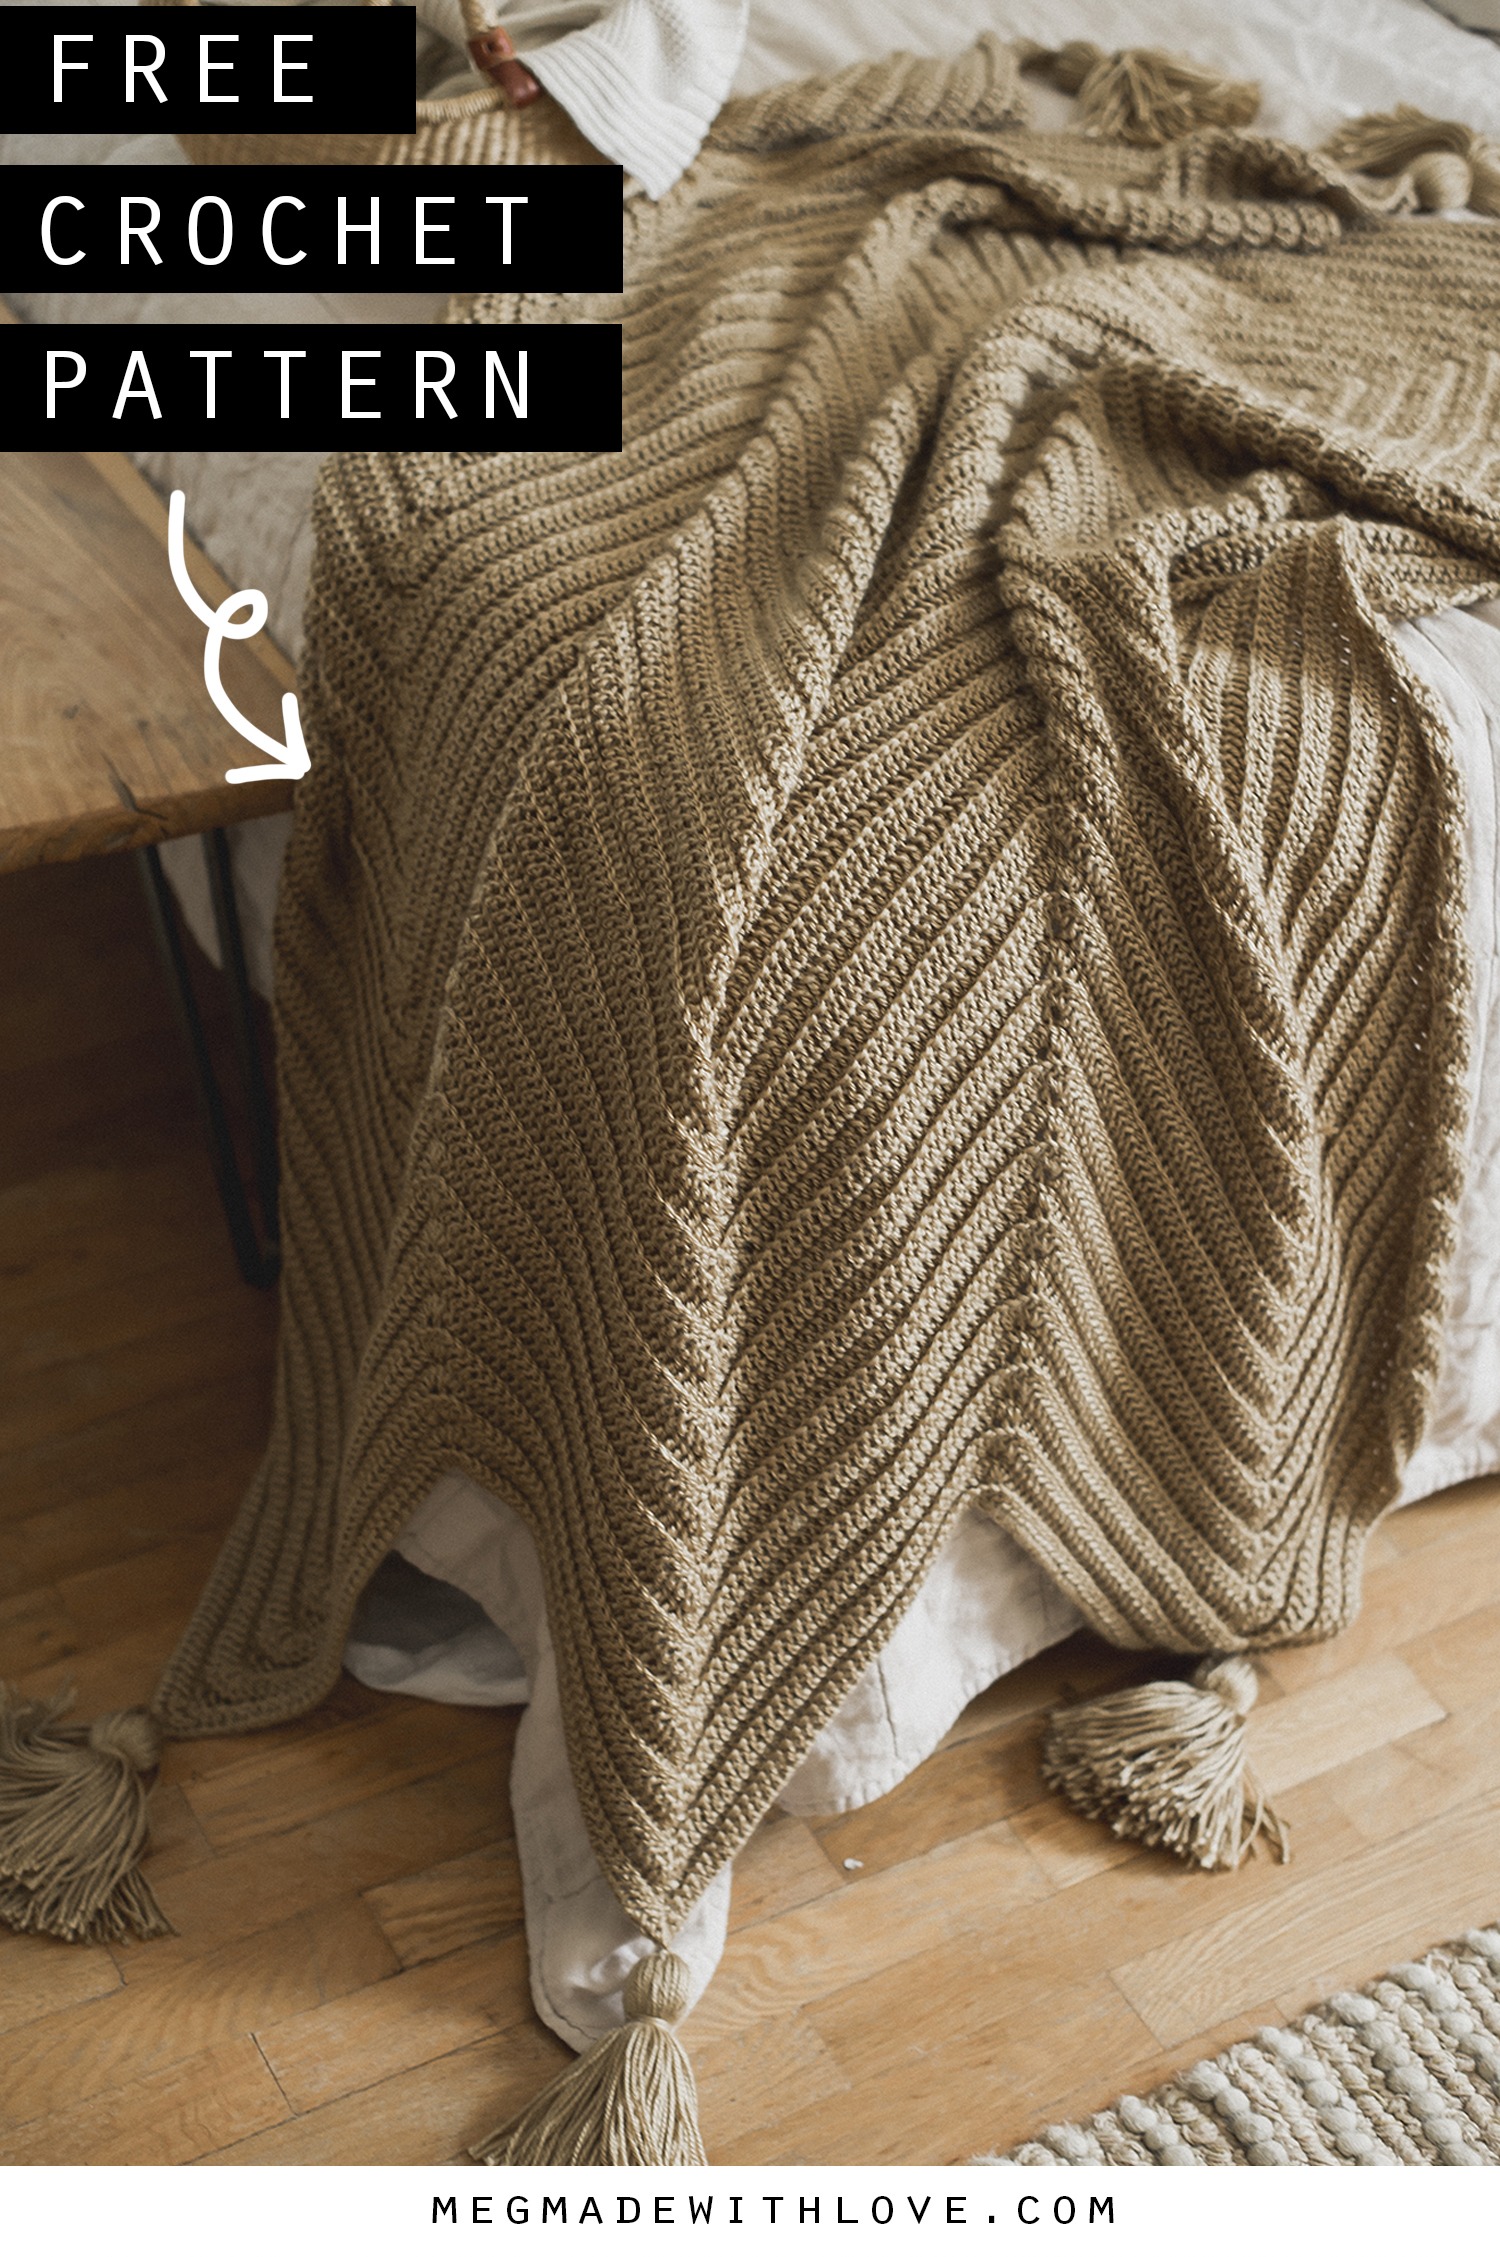
So not trying to freak out too much but I FINISHED MY VERY FIRST BLANKET. In over 15 years of crocheting I never, not once, had the desire to complete a blanket. They seemed like way too much time, plus I get bored easy. But I did it. And I’m here to share the pattern with YOU. Hope you like this one, I’m not going to lie I think it’s the dopest blanket in all the land.

Grande Chevron Blanket - Free Crochet Pattern - Megmade with Love

I thought it’d be super cool if I put a spin on the traditional chevron blanket, to make it oversized—and with some trial and error it came to life! I think the chevron aspect is what kept me interested in finishing this blanket… It’s a lil somethin’ special without being over the top.

Grande Chevron Blanket - Free Crochet Pattern - Megmade with Love

I found that after I did a row, I didn’t need to even follow the pattern or count , you just kinda learn where you need to put the increase and decrease stitches. So if you’re wondering, YES this is the perfect project to work on while you watch that new series you’ve been eyeing on Netflix (I watched “In the Dark” while making this).

Grande Chevron Blanket - Free Crochet Pattern - Megmade with Love

The size of the blanket I made was a “throw” size, measuring about 65”x48”. I did include in the notes section instructions for making different sizes. Plus I think you’ll be really pleased with the feel of this blanket. Especially if you use the yarn I did, Yarn Bee Soft Secret. It’s so unbelievably soft, and that sheen it’s got…. woo-wee!

Grande Chevron Blanket - Free Crochet Pattern - Megmade with Love

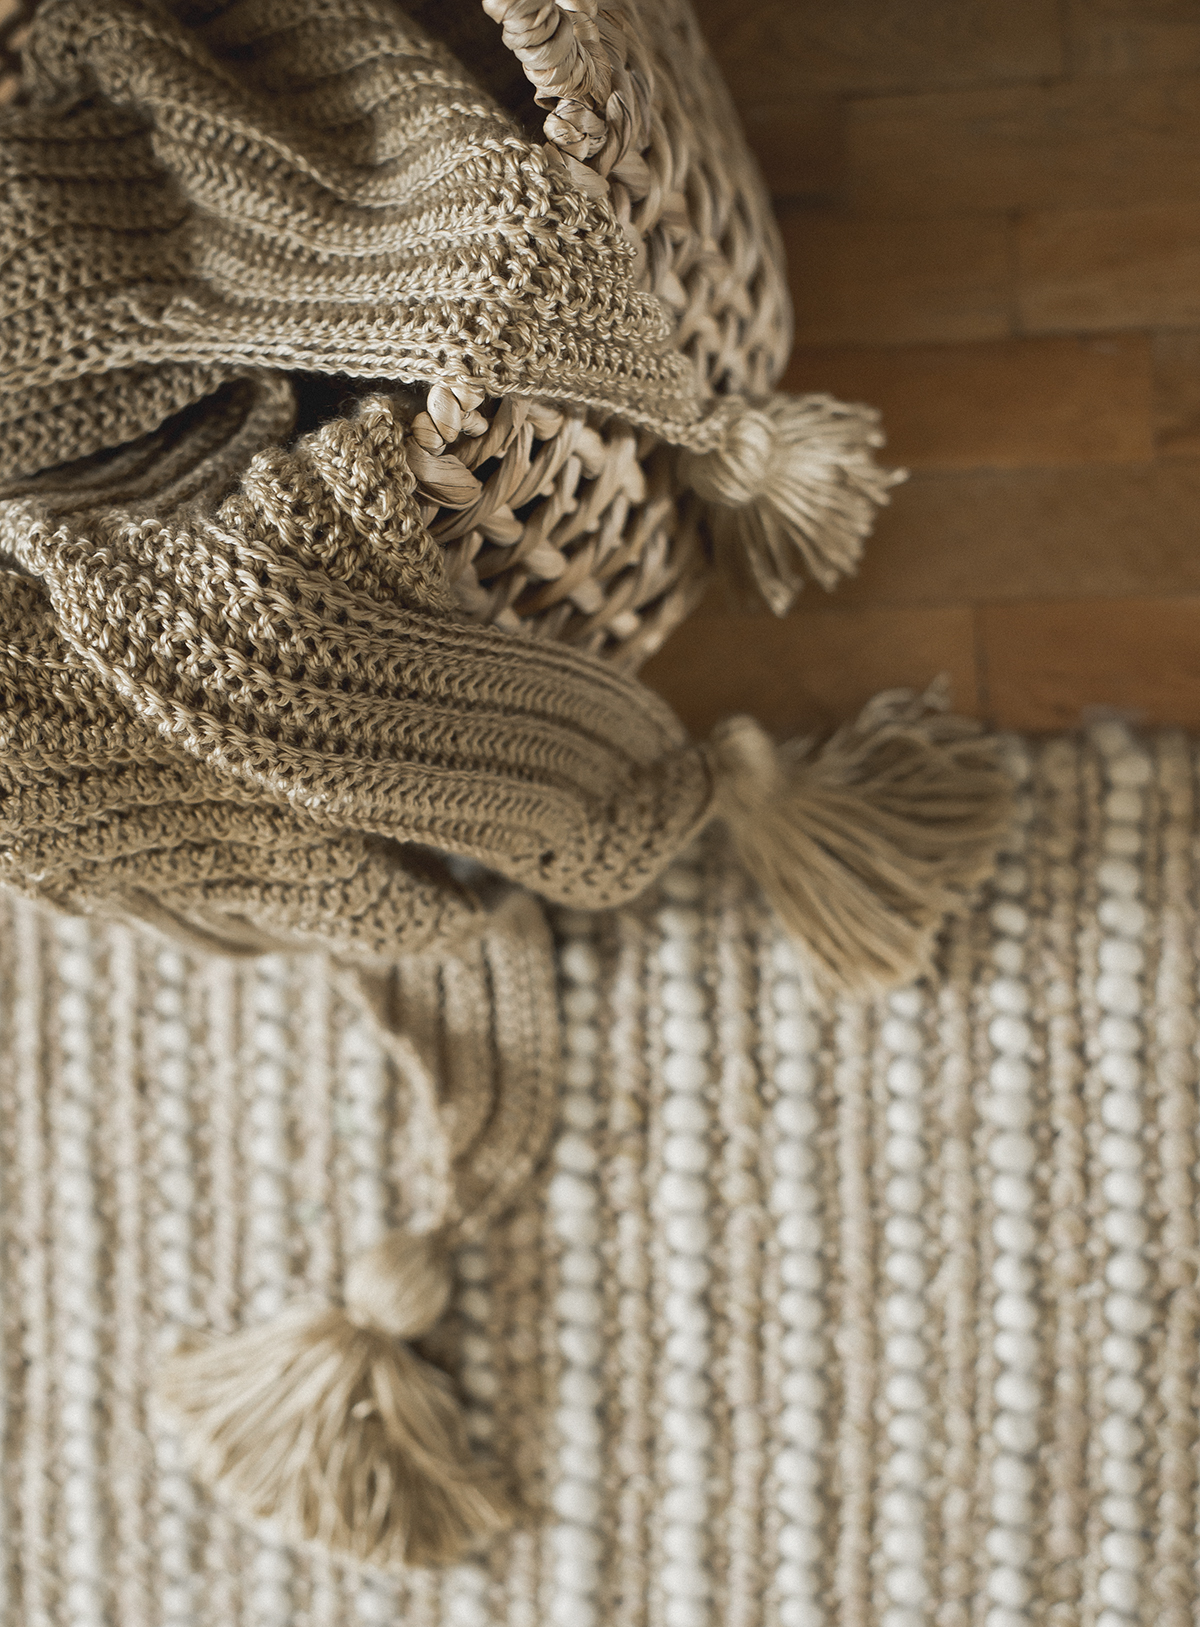
There’s also a tutorial included in the pattern, showing how I made and attached the monstrous tassels. It may or may not involve one of my son’s books. ;)

Grande Chevron Blanket - Free Crochet Pattern - Megmade with Love

I hope if you’re anything like me, and feel leery of taking on a blanket, that you give this one a try. It’s simple enough to be a beginner blanket, and also has enough texture and interest to not be boring.

Grande Chevron Blanket - Free Crochet Pattern - Megmade with Love

***If you’d like the printable, PDF version of this pattern, click HERE. For the free version scroll down***

Grande Chevron Blanket

What you’ll need:

-2,100 yards of category 4 (worsted) weight yarn, 300 extra yards for big tassels (7-8 skeins of Yarn Bee Soft Secret in color “Mushroom”)
-size k (6.5 mm) hook, or size needed to obtain gauge
-yarn needle
-book, or 6” flat object to make tassel
-hot glue gun
-scissors

Gauge:

15 dc in BLO by 7 rows equals a four inch square

Abbreviations:

ch=chain, dc=double crochet, st(s)=stitch(es), BLO=back loop only, dc3tog=double crochet three together

Notes:

ch’s at the beginning of rows do not count as sts

the pattern for this blanket measures 48” x 65”. You can customize the width by adding or taking away multiples of 80. Each multiple of 80 equals about 16 inches. And to customize the length all you need to do is add or take away rows. Below is a handy chart from Good Knit Kisses to give you the average measurements of each blanket size.

Blanket Sizes - Good Knit Kisses

Pattern:

ch 242

Row 1) work 3 dc in 3rd ch from hook, [dc in next 36 ch, 3dctog, 3dctog, dc in next 36 ch, work 3 dc in next two ch] repeat [ ] one time, dc in next 36 ch, dc3tog, dc3tog, dc in next 36 ch, work 3 dc in last ch (240 total sts)

Rows 2-68) *ALL STS WORKED IN BLO: ch 2, turn, work 3 dc in first st, [dc in next 36 sts, dc3tog, dc3tog, dc in next 36 sts, work 3 dc in next two sts] repeat [ ] one time, dc in next 36 sts, dc3tog, dc3tog, dc in next 36 sts, work 3 dc in last st (240 total sts)

finish off, weave in ends

Making and attaching the tassels:

Grande Chevron Blanket - Free Crochet Pattern - Megmade with Love

To make the jumbo tassels, I grabbed a book of my son’s to wrap yarn around. It measured about 6 inches wide. You could cut a 6” wide piece of cardboard also. I wrapped the yarn around, (not too tight) spanning a couple of inches wide.

Grande Chevron Blanket - Free Crochet Pattern - Megmade with Love

To prevent the tassel from shedding I used hot glue. So every now and then I’d line the top with a thin line of hot glue, then wrap it over it before it cooled. I did it a couple more times each tassel, making sure the hot glue was covered before finishing wrapping the yarn.

Grande Chevron Blanket - Free Crochet Pattern - Megmade with Love

Once the tassel was my desired thickness, I cut off the yarn and slid a long piece under, through the middle of the wrapped yarn (like shown in the photo), and tied a knot. You’ll use this piece of yarn to attach the tassel to the blanket.

Grande Chevron Blanket - Free Crochet Pattern - Megmade with Love

Then I slid the yarn off the book, and tied the knot tighter on top so it’d be secure.

Grande Chevron Blanket - Free Crochet Pattern - Megmade with Love

Then I took another long strand of yarn and tied it around the outside of the tassel, about an inch down. I made sure it was extra tight. Then I wrapped it around the tassel a couple more times and tied another tight knot.

Grande Chevron Blanket - Free Crochet Pattern - Megmade with Love

Then to finish the tassel, you will cut the bottom loops, and trim it up to be even.

Grande Chevron Blanket - Free Crochet Pattern - Megmade with Love

I created 7 tassels for the blanket, one for each point on both ends.

Grande Chevron Blanket - Free Crochet Pattern - Megmade with Love

Using the top piece of yarn on the tassel, thread through your yarn needle and sew to each point on the blanket. You’ll pass through the very end of the blanket…

Grande Chevron Blanket - Free Crochet Pattern - Megmade with Love

Then insert the needle through the top of the tassel. Pass through the blanket and tassel as many times as it takes for a secure join. Once it was secure, I tied a double knot to the other strand of yarn from the tassel then weaved them into the blanket. Repeat for each tassel, then your beautiful blankie is complete!

Chevron Crochet Blanket - Megmade with Love

And cheers to finishing blankets! I hope this one converts you like it did me. You may have to look out for more blanket patterns in the future, because I’m hooked. Hehe pun intended.

Happy hooking,
Meg

Grande Chevron Blanket - Free Crochet Pattern - Megmade with Love

A New Free Crochet Pumpkin Pattern

Free Crochet Pumpkin Pattern - Megmade with Love

(You can find the PDF version of this free pattern in the shop by clicking HERE. Great for easy printing!)

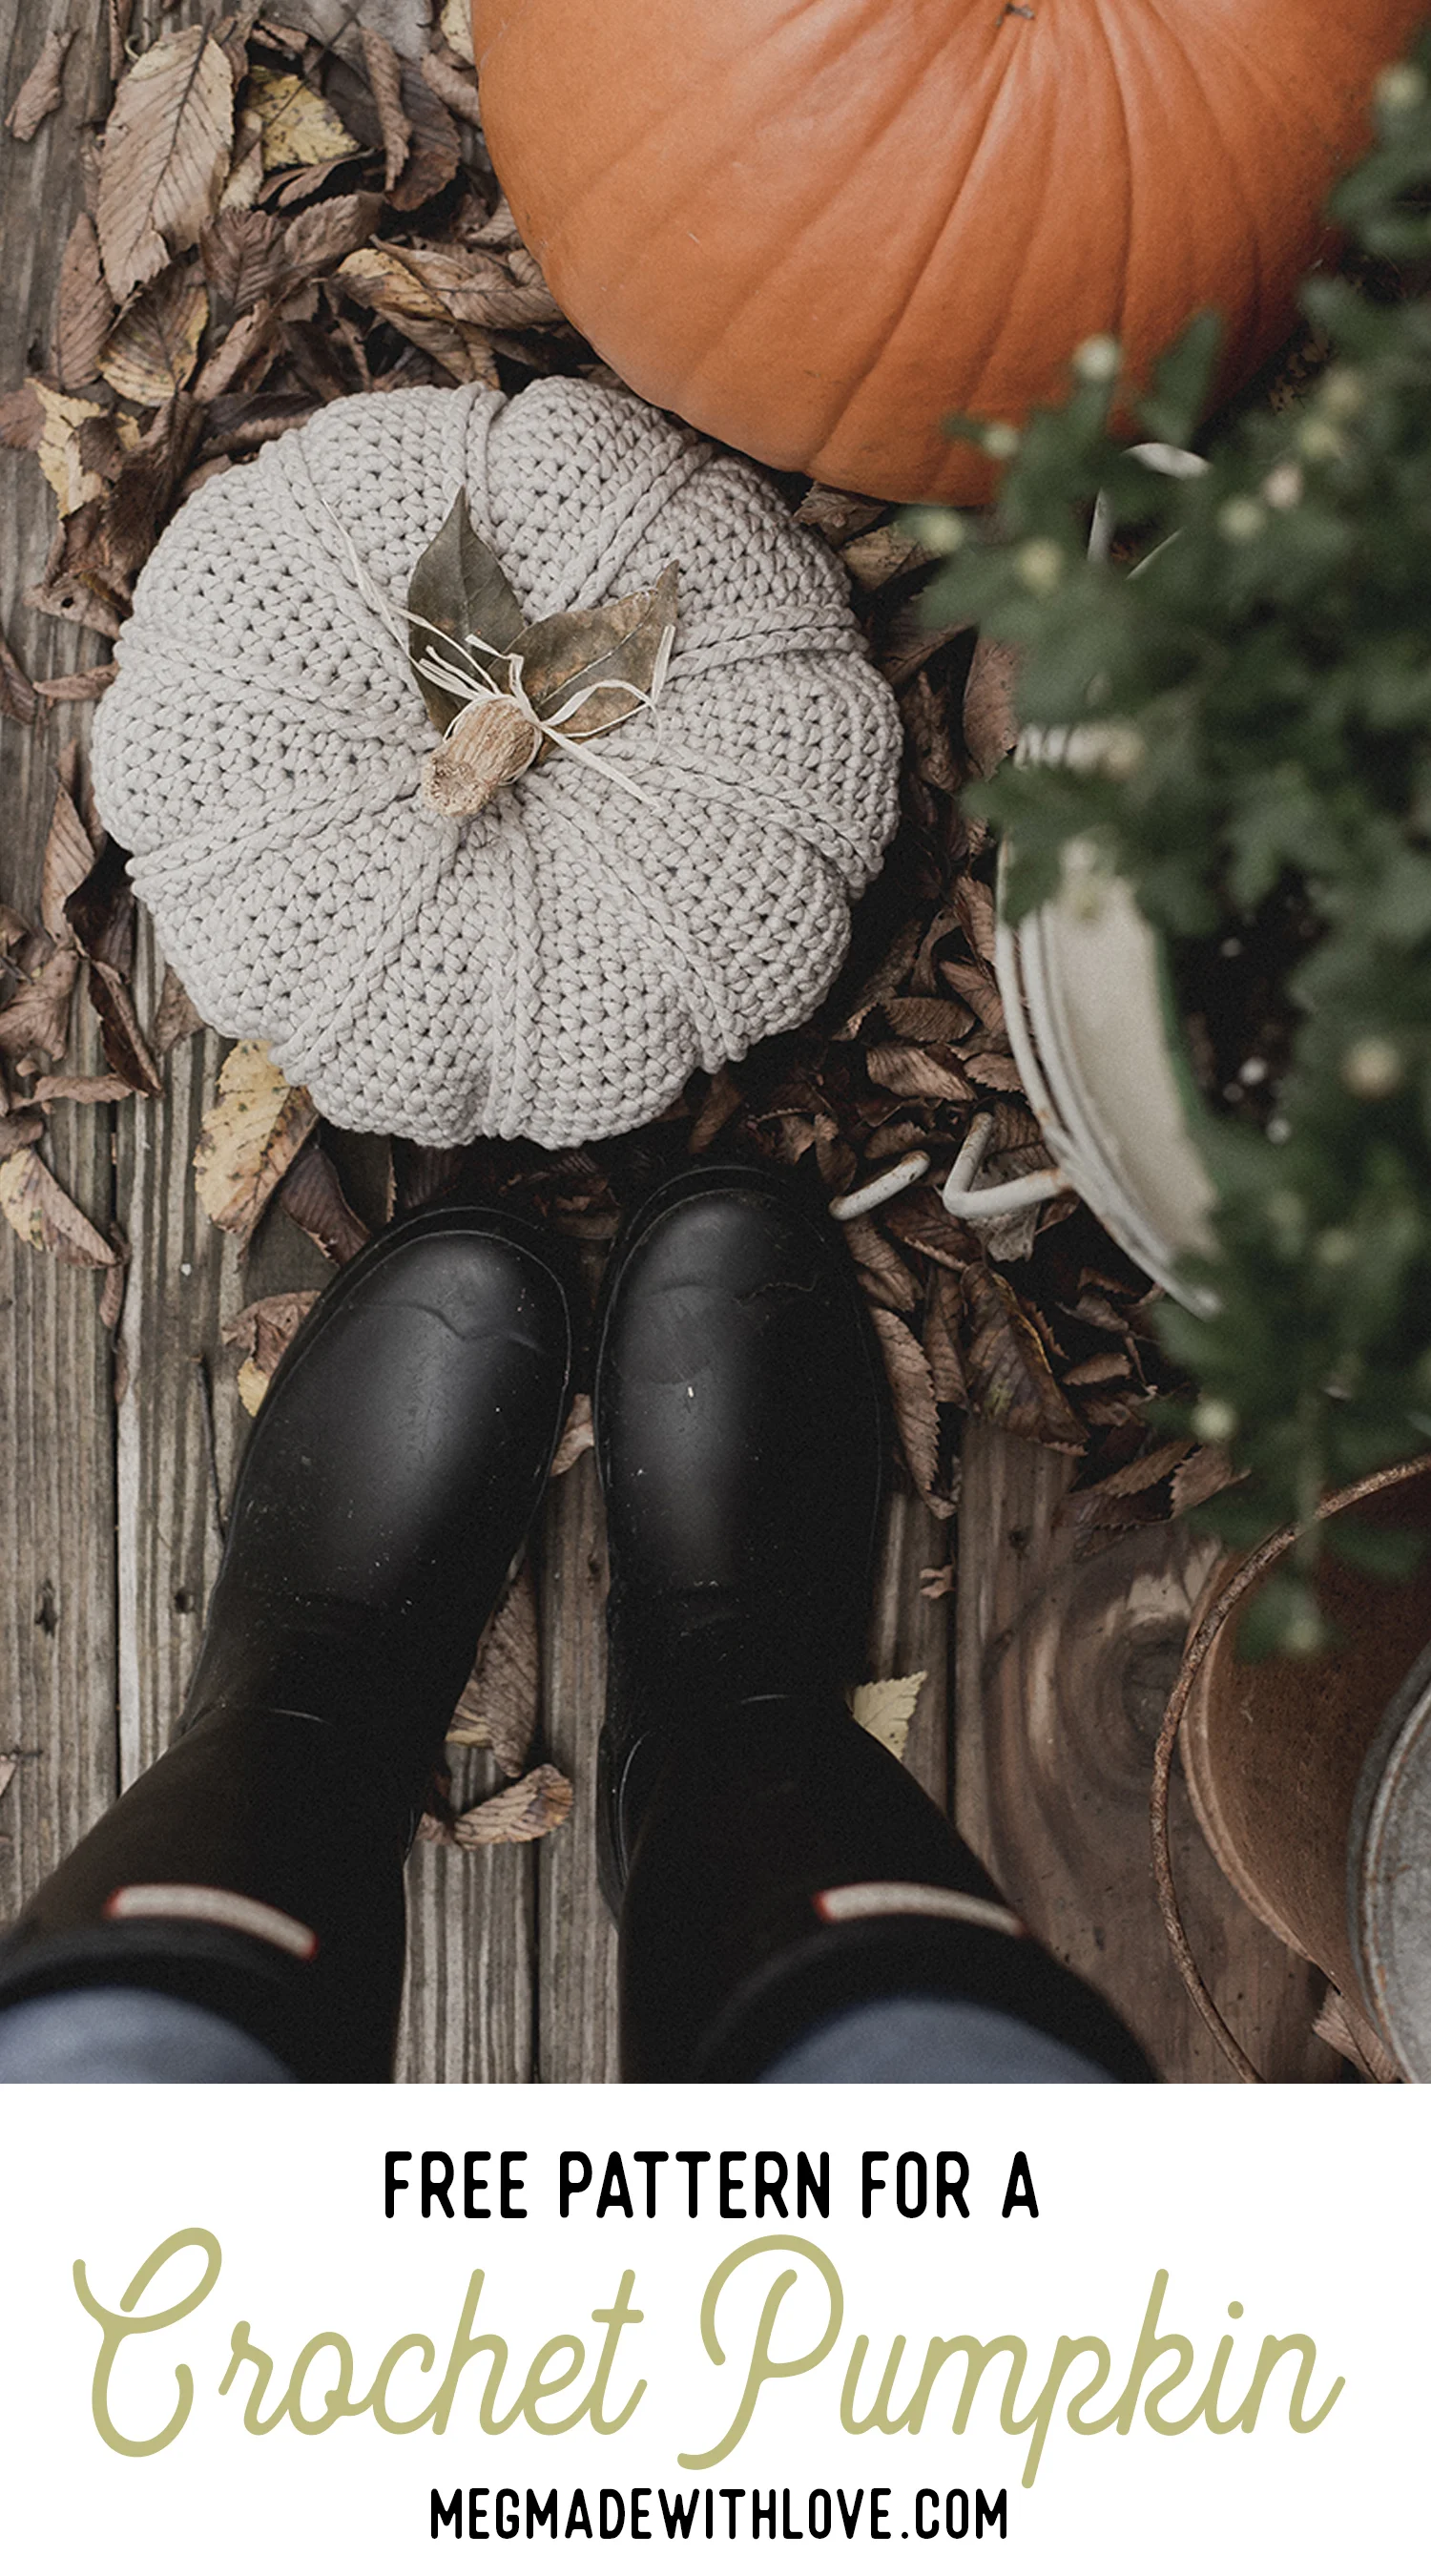
Autumn is officially upon us my friends. I can’t get enough of this season, and all that it brings. I love going to fall markets with my mom, pumpkin patches, cozying up with a blanket, sippin’ on yummy lattes. And are you even human if you don’t love all the pumpkins?? So in the spirit of the season, I’ve brought a new crochet pumpkin to the blog— it’s a short and squat little punkin that has cool ridges that make a simple texture effect.

PS: you can see the first set of free pumpkin patterns featured on the blog by clicking HERE, there’s also an elegant pumpkin collection you can view HERE.

Free Crochet Pumpkin Pattern - Megmade with Love

I had a skein of the cool Bernat Maker Home Dec yarn that I actually bought this past summer without any plans on what it would become, but when I was thinking about making a new pumpkin— it was the first thing that came to mind. It’s such a unique yarn that’s got a poly-fil center, which makes it so plushy… and the stitch definition! It’s out of this world.

Free Crochet Pumpkin Pattern - Megmade with Love

When working on the pumpkin I actually realized that the texture of the post stitches was creating a sort of indentation, kinda like a real pumpkin would have— so when working it you may decide the inside looks like even better and have it inside out?!

Free Crochet Pumpkin Pattern - Megmade with Love

I could see this pumpkin on an entry way table or even in the center piece with other fall items and pumpkins. I think it’d be the perfect decor piece this fall… And you can top it with so many different things to make it look unique. Use sticks or cinnamon sticks for the stem, and pair it with all sorts of adornments—leaves, raffia, fabric, ribbon, moss. I hope you’ll enjoy making this pumpkin!

(You can find the PDF version of this free pattern in the shop by clicking HERE. Great for easy printing!)

What you’ll need:

-One skein of Bernat Maker Home Dec yarn, (linked HERE, I used color “Clay”, you could also use a different “5” bulky weight yarn)
-size J (6 mm) crochet hook (or hook needed to obtain gauge)
-poly fiber fill
-yarn needle
-hot glue gun
-items of choice to top pumpkin with— sticks, leaves, moss, raffia, ribbon

Gauge:

13 hdc by 10 rows equals a four-inch square

Abbreviations:

ch=chain, dc=double crochet, sl=slip, st(s)=stitch(es), hdc=half double crochet, fpdc=front post double crochet, 2fpdc=work two front post double crochet in designated st, 2hdc=work two half double crochets in designated st, hdc2tog=half double crochet two sts together, fpdc2tog=front post double crochet two sts together

Notes:

-finished pumpkin measures 10” x 3”, it makes a short and wide pumpkin

-ch’s at beginning of each round do not count as sts

-to help make the decreases (hdc2tog) less noticeable, you could work them in the front loop only

-pumpkin looks cool both inside and out… The post stitches create indentations on the opposite side that have a interesting effect, so you could rock it inside out too!

Pattern:

1) make magic circle, ch 2, work 10 dc in circle, join to 1st st with sl st (10 total sts)

2) ch 1, [hdc, fpdc] around, join to 1st st with sl st (20 total sts)

3) ch 1, [2hdc, fpdc] around, join to 1st st with sl st (30 total sts)

4) ch 1, [hdc in 2 sts, 2fpdc] around, join to 1st with sl st (40 total sts)

5) ch 1, [hdc, 2hdc, fpdc in 2 sts] around, join to 1st st with sl st (50 total sts)

6) ch 1, [hdc in 2 sts, 2hdc, fpdc in 2 sts] around, join to 1st st with sl st (60 total sts)

7) ch 1, [hdc in 3 sts, 2hdc, fpdc in 2 sts] around, join to 1st st with sl st (70 total sts)

8) ch 1, [hdc in 4 sts, 2hdc, fpdc in 2 sts] around, join to 1st st with sl st (80 total sts)

9) ch 1, [hdc in 5 sts, 2hdc, fpdc in 2 sts] around, join to 1st st with sl st (90 total sts)

10) ch 1, [hdc in 6 sts, 2hdc, fpdc in 2 sts] around, join to 1st st with sl st (100 total sts)

11) ch 1, [hdc in 7 sts, 2hdc, fpdc in 2 sts] around, join to 1st st with sl st (110 total sts)

12) ch 1, [hdc in 8 sts, 2hdc, fpdc in 2 sts] around, join to 1st st with sl st (120 total sts)

13-15) ch 1, [hdc in 10 sts, fpdc in 2 sts] around, join to 1st st with sl st (120 total sts)

16) ch 1, [hdc2tog, hdc in 8 sts, fpdc in 2 sts] around, join to 1st st with sl st (110 total sts)

17) ch 1, [hdc2tog, hdc in 7 sts, fpdc in 2 sts] around, join to 1st st with sl st (100 total sts)

18) ch 1, [hdc2tog, hdc in 6 sts, fpdc in 2 sts] around, join to 1st st with sl st (90 total sts)

19) ch 1, [hdc2tog, hdc in 5 sts, fpdc in 2 sts] around, join to 1st st with sl st (80 total sts)

20) ch 1, [hdc2tog, hdc in 4 sts, fpdc in 2 sts] around, join to 1st st with sl st (70 total sts)

21) ch 1, [hdc2tog, hdc in 3 sts, fpdc in 2 sts] around, join to 1st st with sl st (60 total sts)

22) ch 1, [hdc2tog, hdc in 2 sts, fpdc in 2 sts] around, join to 1st st with sl st (50 total sts)

23) ch 1, [hdc2tog, hdc, fpdc in 2 sts] around, join to 1st st with sl st (40 total sts)

24) ch 1, [hdc in 2 sts, fpdc2tog] around, join to 1st st with sl st (30 total sts)

**at this point you can fill your pumpkin with fiber fill

25) ch 1, [hdc2tog, fpdc] around, join to 1st st with sl st (20 total sts)

26) ch 1, [hdc, fpdc] around, join to 1st with sl st (20 total sts)

27) ch 1, fpdc2tog around (working hdc’s and fpdc’s together), join to 1st st with sl st (10 total sts)

28) ch 1, fpdc2tog around, join to 1st st with sl st (5 total sts)

-finish off, leave extra long tail to cinch the center

Crochet Pumpkin

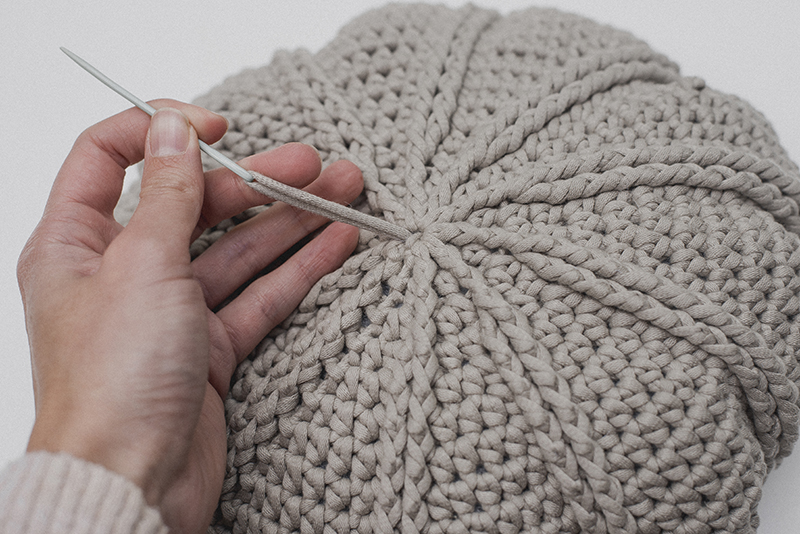
Next you’ll cinch the middle of the pumpkin. Using your tail end of yarn and yarn needle, poke your needle through the center of the pumpkin to the other side and pull the yarn through tight.

Crochet Pumpkin

Then you’ll poke the needle back through the center again to the other side, just insert the needle a centimeter or so away from where it came up from. You’ll repeat that process multiple times, pulling tight to cinch until it looks the way you'd like it to. Then knot the yarn and weave in the ends.

Crochet Pumpkin Pattern - Megmade with Love

Then you’ll hot glue on your stem and other adornments to complete your pumpkin. And she’s donnnnnneeeee! I hope you enjoy making these little seasonal projects like I do.. they’re so fun and I love seeing them around my house.

Take care and happy hooking my friend!

Meg

Crochet Pumpkin Pattern - Megmade with Love