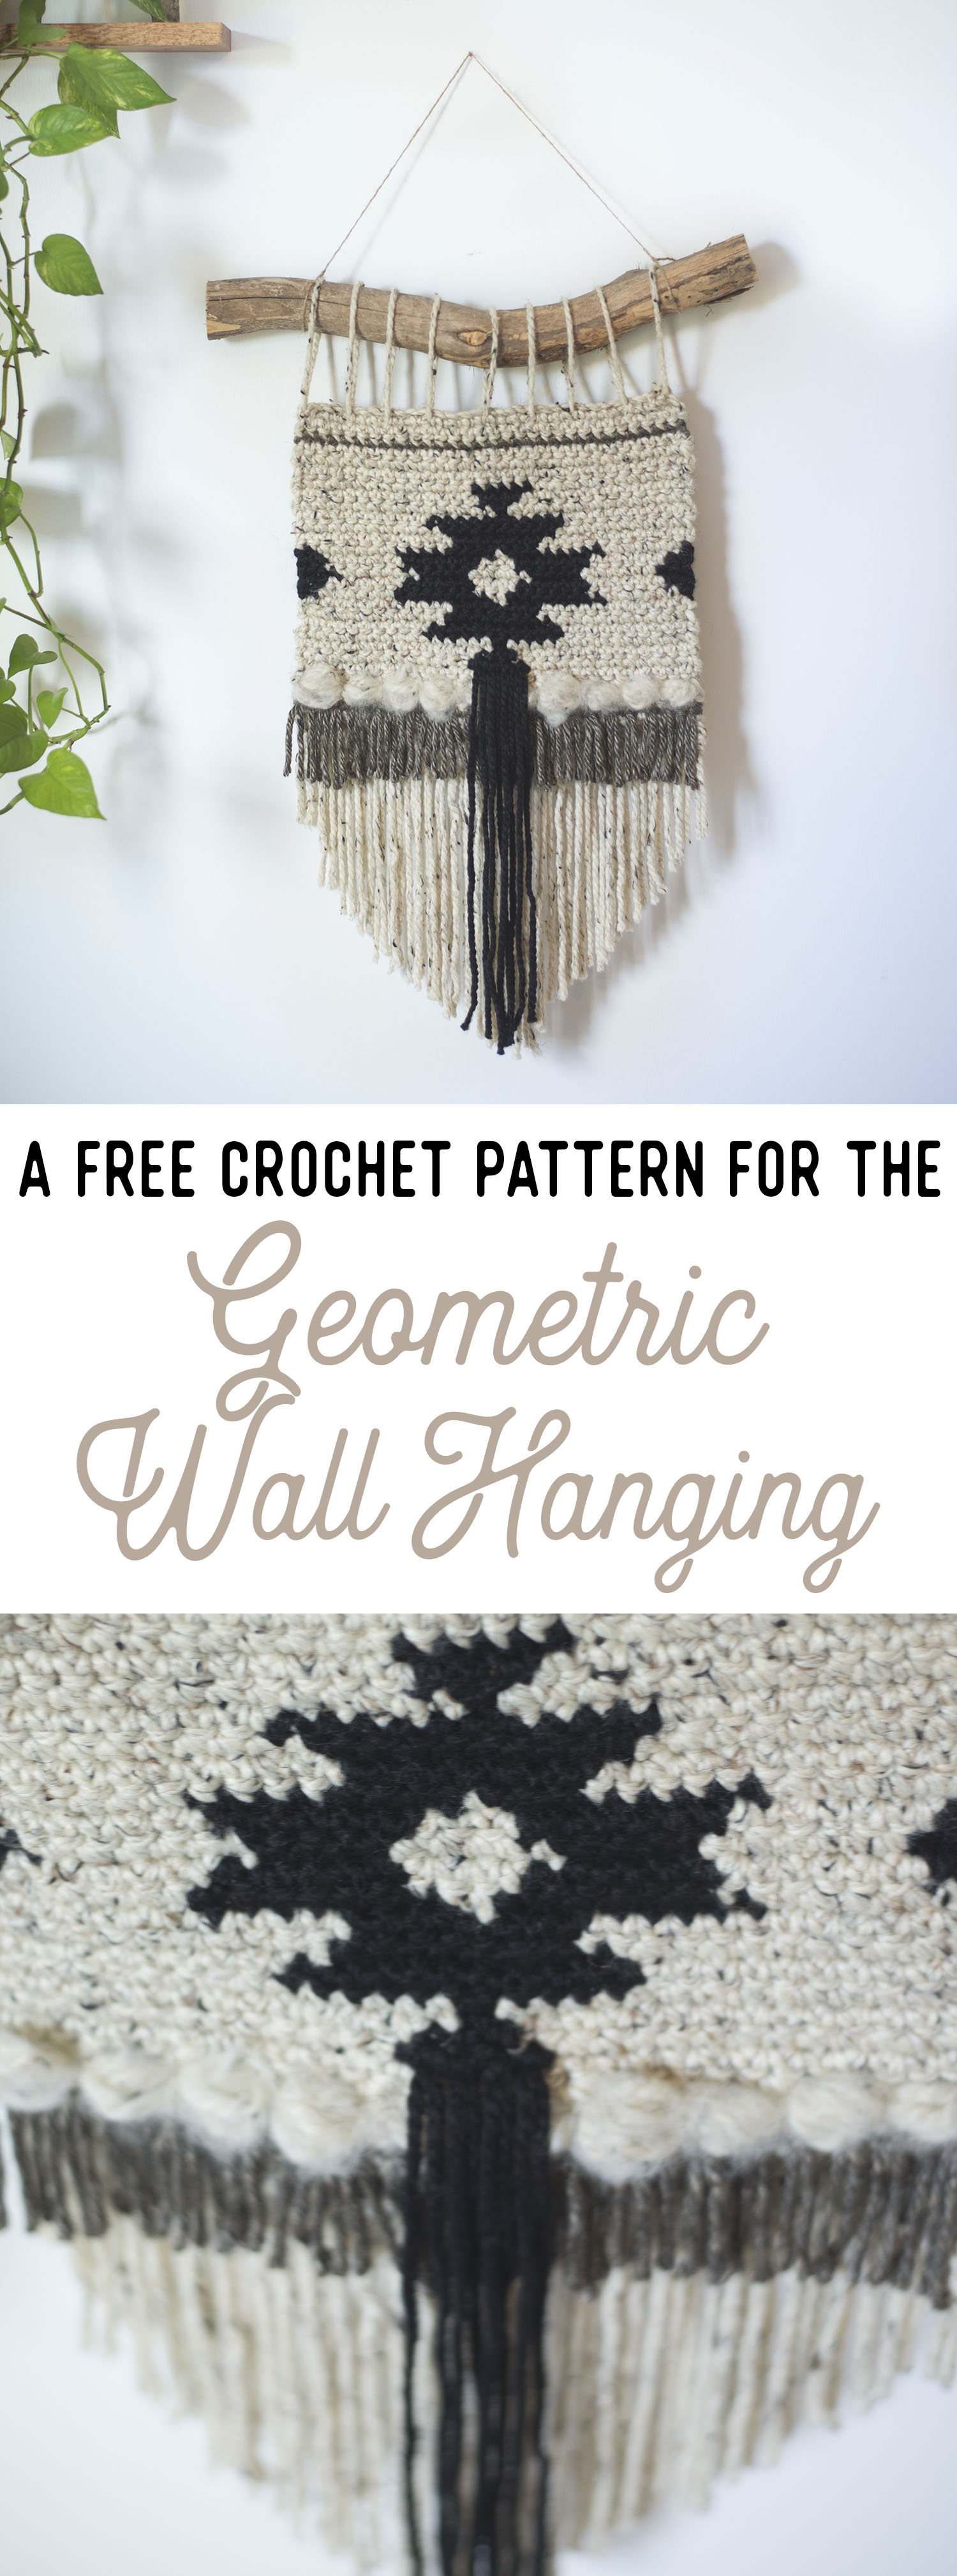
Free Crochet Pattern for the Geometric Wall Hanging
/
***You can find the PDF version of this pattern in my shop by clicking here. Great for easy printing!***
This week, I'm bringing yet another wall hanging with me to the blog.
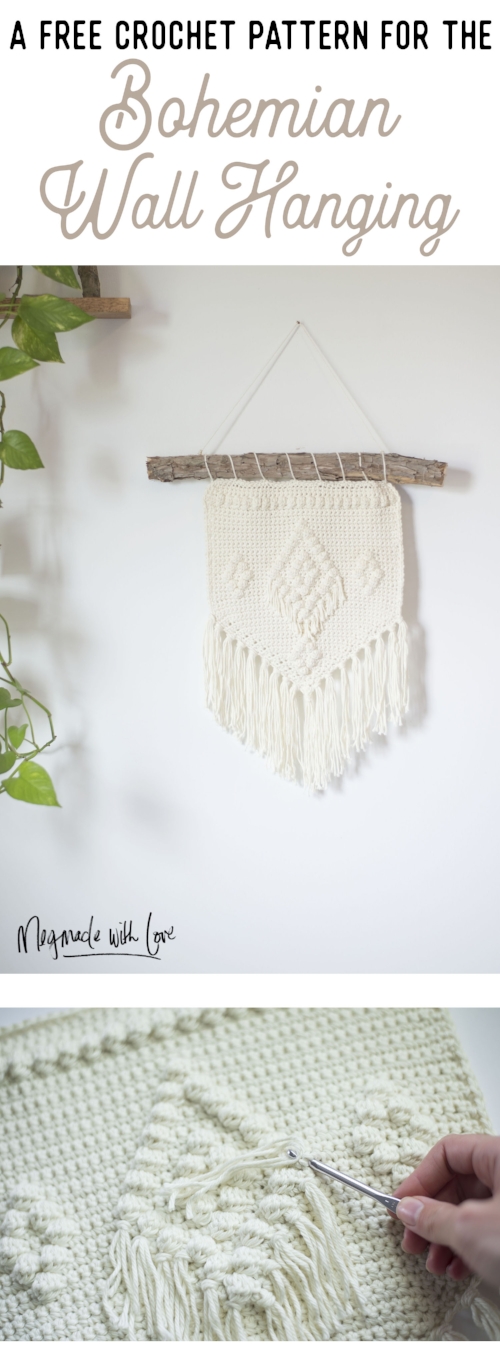
(You can find my other free wall hanging pattern here)
It uses Lion Brand Wool-Ease and Hometown USA-- very chunky yarns, so it makes for a quick project. I love how cozy it looks! Plus the colors look awesome in my home. :)

For this project, I also created my own "roving" using the yarn I already had. I've just seen so many beautiful wall hangings that feature roving, and thought it'd be a cool feature to add to this piece. I show you how to create the roving below.

This one features a cool geometric pattern using only single crochets! So easy! I've also included a graph below if you may need more of a visual of how the shapes are worked.

What you'll need:
- Lion Brand Yarn Wool Ease Thick & Quick yarn in Black (B) and Oatmeal (O), Lion Brand Hometown USA in Little Rock Granite (G) (one skein each)
- size 9.0 MM hook or size to obtain gauge
- 16-18 inch stick, branch or wooden dowel
- large tapestry needle
- fine-toothed comb or pet brush (optional, for roving)
Gauge:
9 sc and 10 rows equals a 4 inch square
Dimensions:
Excluding fringe- 14x13 inches
Abbreviations:
ch=chain, sc=single crochet, st(s)=stitch(es)
Notes:
-ch 1 at the beginning of rows does not count as stitch
-I carried the yarn on the BACK side of the piece for a majority of the work. This means that you will carry BEHIND the piece on some rows, and in FRONT of the piece on other rows as you turn your work

Pattern:
**continue using color color until it indicates a color change**
1) using O: ch 32, sc into 2nd ch from hook and across (31 total sts & from here on out)
2) ch 1, turn, sc across
3) change to G: ch1, turn, sc across
4-6) change to O: ch 1, turn, sc across
7) ch 1, turn, sc 13, change to B: sc 5, change to O: sc 13
8) ch 1, turn, sc 14, change to B: sc 3, change to O: sc 14
9) ch 1, turn, sc 15, change to B: sc 1, change to O: sc 15
10) ch 1, turn, sc 10, change to B: sc 11, change to O: sc 10
11) ch 1, turn, sc 11, change to B: sc 9, change to O: sc 11
12) ch 1, turn, sc 12, change to B: sc 7, change to O: sc 12
13) change to B: ch 1, turn, sc, change to O: sc 6, change to B: sc 8, change to O: sc, change to B: sc 8, change to O: sc 6, change to B: sc
14) ch 1, turn, sc 2, change to O: sc 6, change to B: sc 6, change to O: sc 3, change to B: sc 6, change to O: sc 6, change to B: sc 2
15) ch 1, turn, sc 3, change to O: sc 6, change to B: sc 4, change to O: sc 5, change to B: sc 4, change to O: sc 6, change to B: sc 3
16) repeat row 14
17) repeat row 13
18) repeat row 12
19) repeat row 11
20) repeat row 10
21) repeat row 9
22) repeat row 8
23) repeat row 7
24-26) repeat rows 4-6
27) repeat row 3
28-30) change to O: ch 1, turn, sc across
Assembly
for the bottom fringe, cut 31 pieces of “O” ranging in size from 10-24 inches long --so they will taper down into the longest piece, which is 24 inches, in the middle
cut 31 pieces of “G” about 8 inches long
cut 4 pieces of “B” about 32 inches long
Next you will knot these pieces you cut onto the crocheted piece
To tie on the fringe pieces, fold your piece of yarn in half, and insert the folded side into the desired space on the crocheted piece, not pulling it all the way through (see pic below).

Then you take your two ends and pull them through your “loop” aka the folded end and pull tight.

For the “O” pieces, tie them onto the bottom row, tie the “G” pieces onto the bottom “G” row, and tie the “B” pieces onto under side of the bottom triangle in the middle.

Once all your pieces are knotted on, you can iron, steam or block the pieces to lay straight. Then cut the ends to clean them up and make them look uniform.

For the roving, you will take 5 pieces of “O” cut at 32 inches long, and you will tie a knot at one end. Separate the strands in each piece of yarn then GENTLY brush all the pieces together, starting at the opposite end of your knot (the ends), be careful not to brush too hard or the pieces will break. After the “roving” is complete, weave it in and out of the row above the bottom “G” row, going over two stitches at a time. Then you can untie your knot you made, and sew on the roving onto the back.

Last you will attach your piece to your stick or dowel. Using a long strand of “O” and tapestry needle, start by going in through the back of one side then over the stick, and back into the same spot you came through first. Then travel over about 5 stitches with your yarn and needle through the top row of the piece, and go over the stick again and come back through the same place you left off. Repeat this across the top of the piece to the other end.
After you’ve woven in your ends, your project is complete!
And that.... is how you make a super cool geo-wall hanging. Cozy and unique... and just awesome.
Hope you enjoyed this pattern, and if you make it feel free to tag me over on Instagram. I'd love to see!
Have a beautiful day :)
-Meg