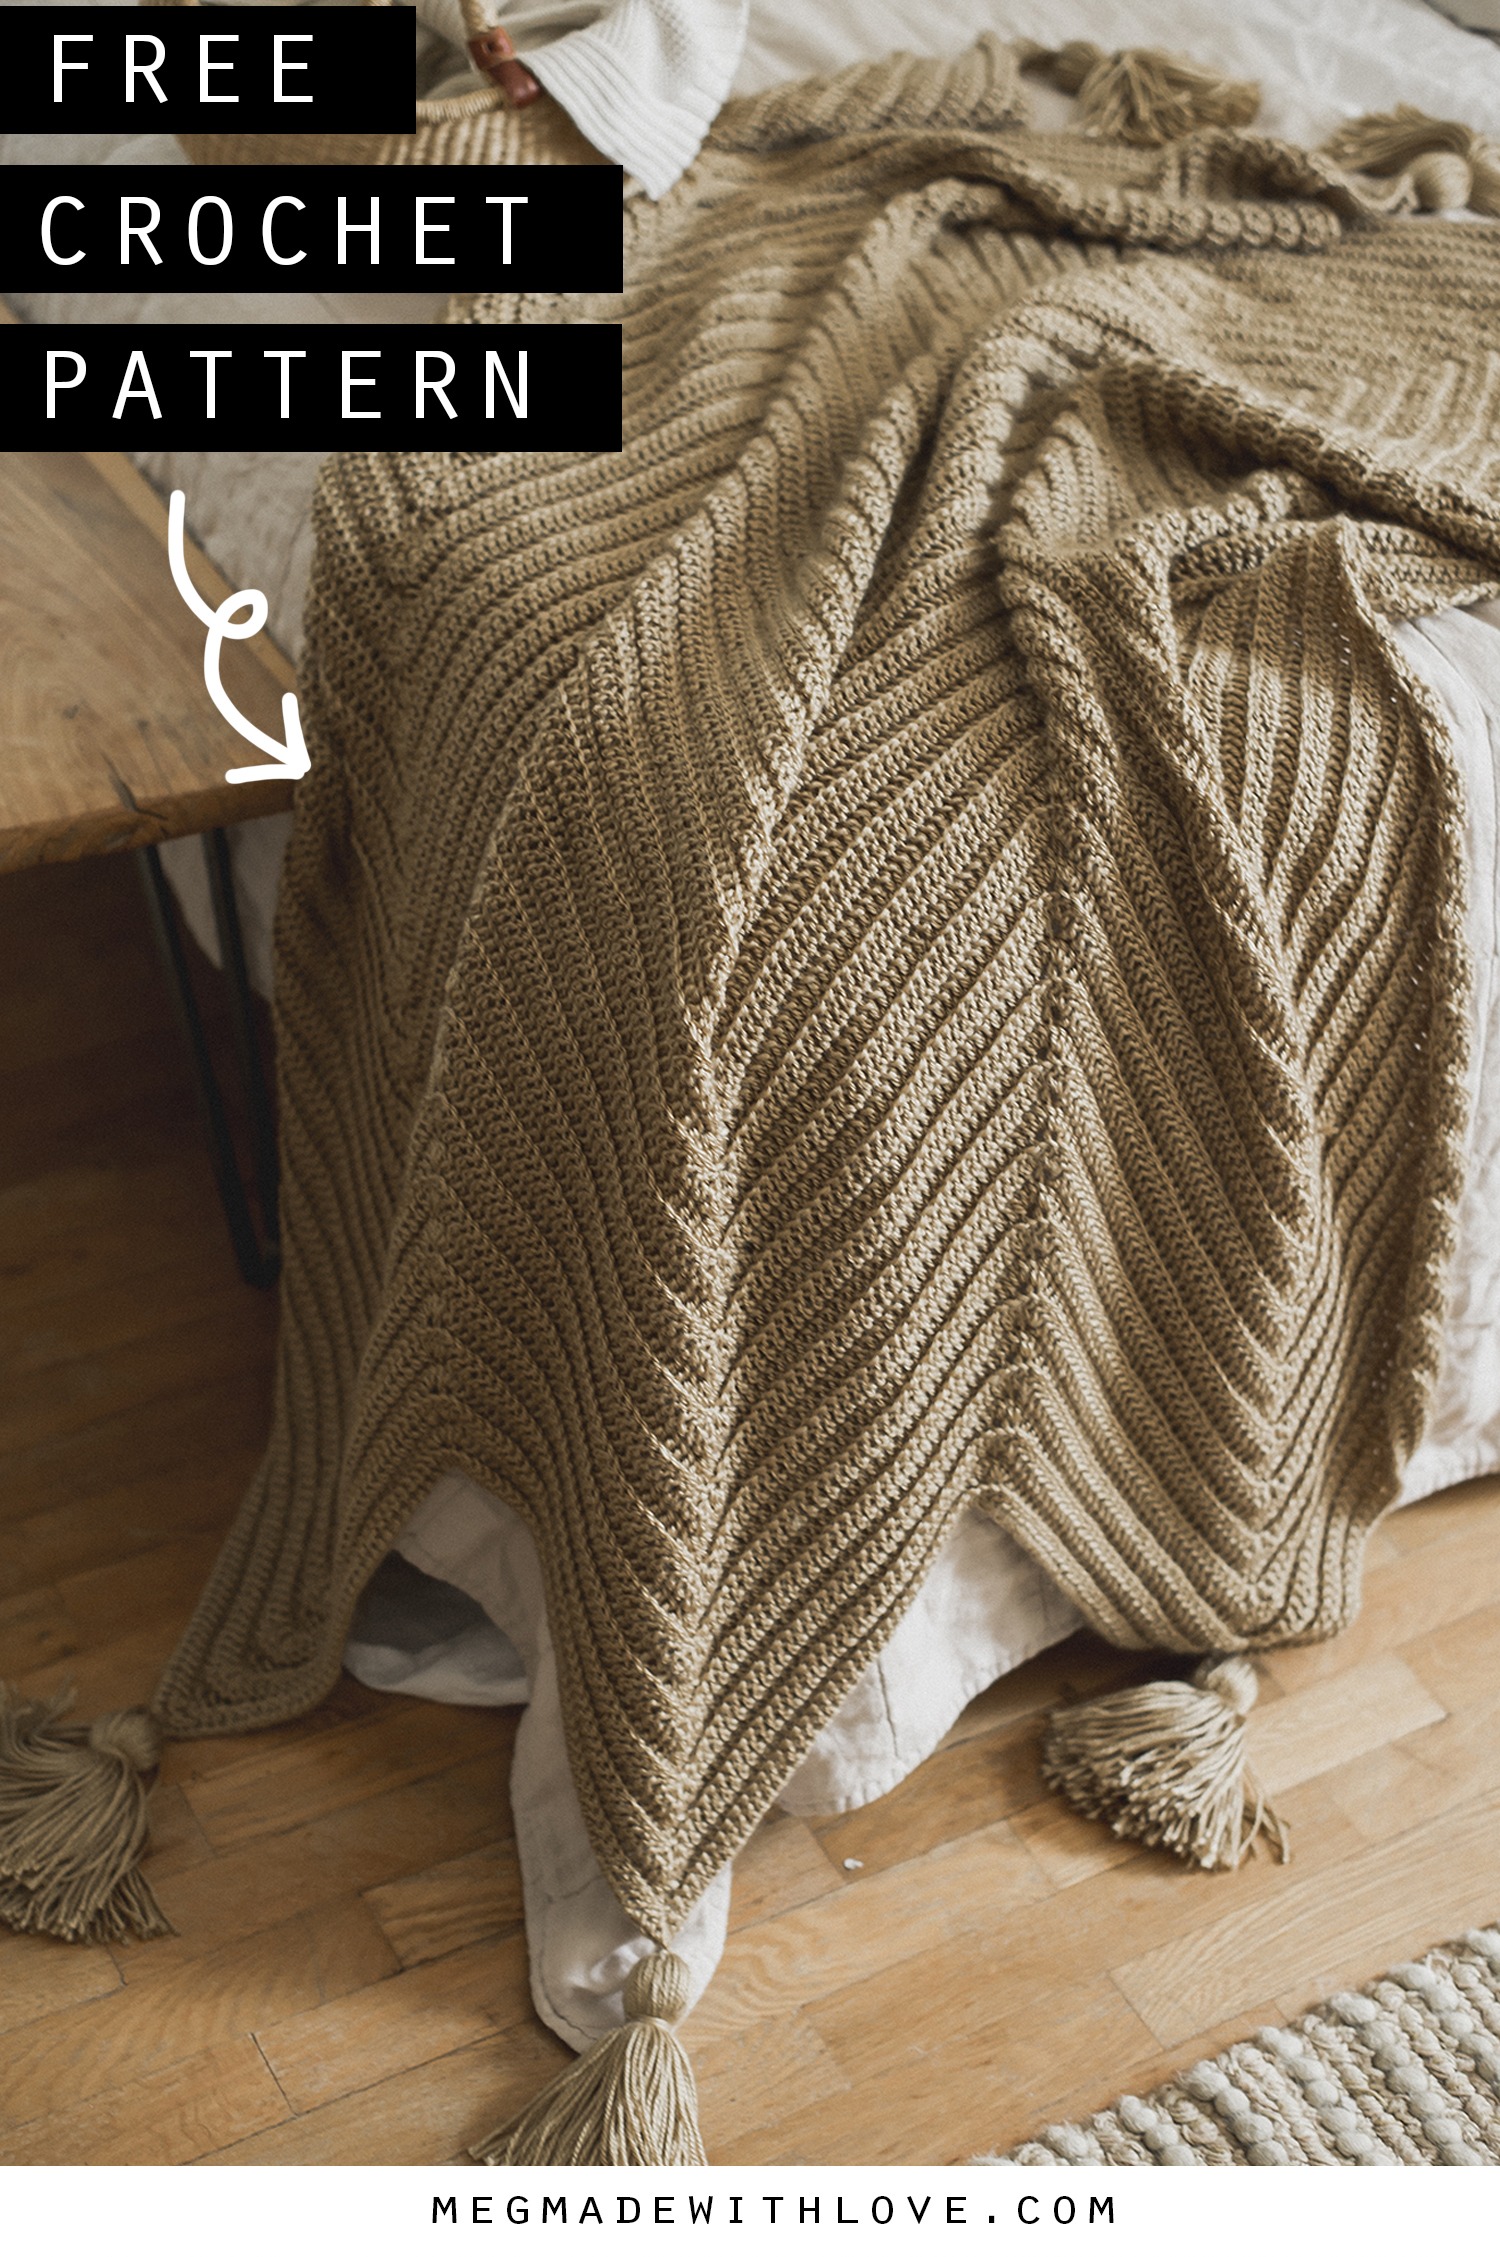
Grande Chevron Blanket - Free Crochet Pattern

Grande Chevron Blanket - Free Crochet Pattern - Megmade with Love

***If you’d like the printable, PDF version of this pattern, click HERE. For the free version scroll down into the post***

So not trying to freak out too much but I FINISHED MY VERY FIRST BLANKET. In over 15 years of crocheting I never, not once, had the desire to complete a blanket. They seemed like way too much time, plus I get bored easy. But I did it. And I’m here to share the pattern with YOU. Hope you like this one, I’m not going to lie I think it’s the dopest blanket in all the land.

Grande Chevron Blanket - Free Crochet Pattern - Megmade with Love

I thought it’d be super cool if I put a spin on the traditional chevron blanket, to make it oversized—and with some trial and error it came to life! I think the chevron aspect is what kept me interested in finishing this blanket… It’s a lil somethin’ special without being over the top.

Grande Chevron Blanket - Free Crochet Pattern - Megmade with Love

I found that after I did a row, I didn’t need to even follow the pattern or count , you just kinda learn where you need to put the increase and decrease stitches. So if you’re wondering, YES this is the perfect project to work on while you watch that new series you’ve been eyeing on Netflix (I watched “In the Dark” while making this).

Grande Chevron Blanket - Free Crochet Pattern - Megmade with Love

The size of the blanket I made was a “throw” size, measuring about 65”x48”. I did include in the notes section instructions for making different sizes. Plus I think you’ll be really pleased with the feel of this blanket. Especially if you use the yarn I did, Yarn Bee Soft Secret. It’s so unbelievably soft, and that sheen it’s got…. woo-wee!

Grande Chevron Blanket - Free Crochet Pattern - Megmade with Love

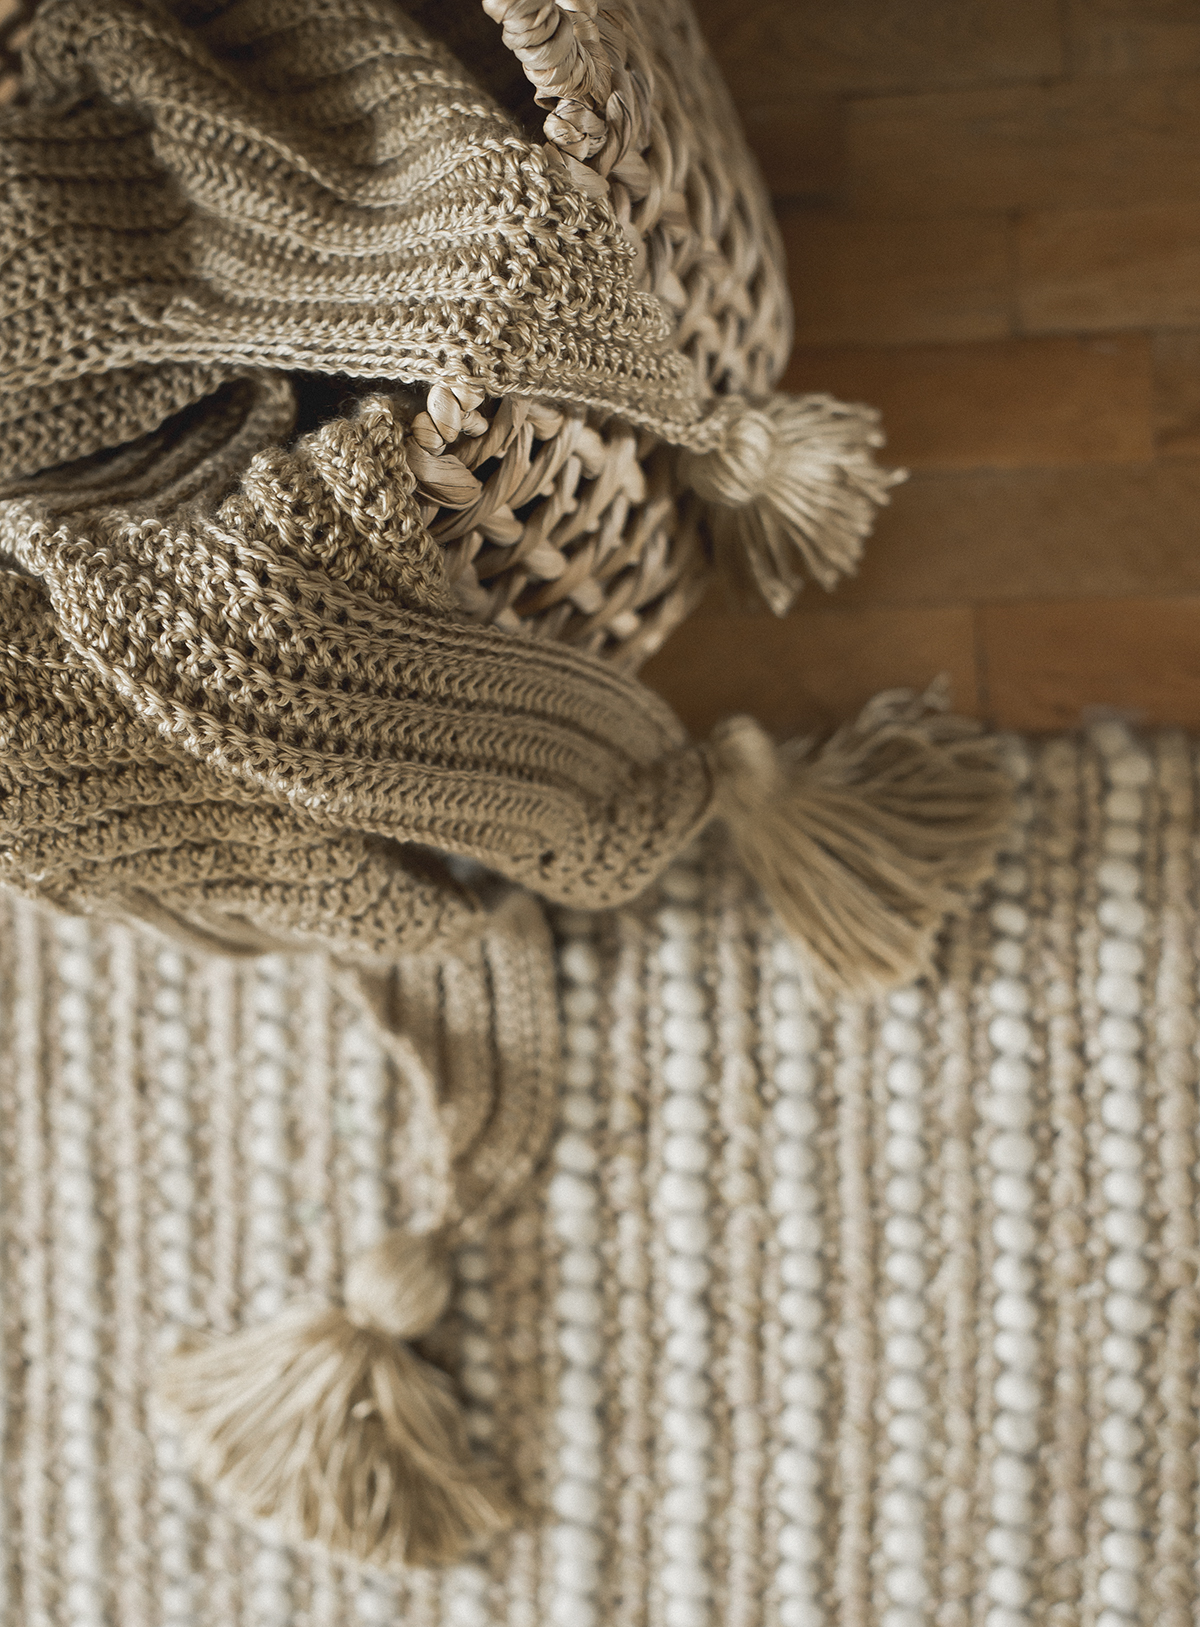
There’s also a tutorial included in the pattern, showing how I made and attached the monstrous tassels. It may or may not involve one of my son’s books. ;)

Grande Chevron Blanket - Free Crochet Pattern - Megmade with Love

I hope if you’re anything like me, and feel leery of taking on a blanket, that you give this one a try. It’s simple enough to be a beginner blanket, and also has enough texture and interest to not be boring.

Grande Chevron Blanket - Free Crochet Pattern - Megmade with Love

***If you’d like the printable, PDF version of this pattern, click HERE. For the free version scroll down***

Grande Chevron Blanket

What you’ll need:

-2,100 yards of category 4 (worsted) weight yarn, 300 extra yards for big tassels (7-8 skeins of Yarn Bee Soft Secret in color “Mushroom”)
-size k (6.5 mm) hook, or size needed to obtain gauge
-yarn needle
-book, or 6” flat object to make tassel
-hot glue gun
-scissors

Gauge:

15 dc in BLO by 7 rows equals a four inch square

Abbreviations:

ch=chain, dc=double crochet, st(s)=stitch(es), BLO=back loop only, dc3tog=double crochet three together

Notes:

ch’s at the beginning of rows do not count as sts

the pattern for this blanket measures 48” x 65”. You can customize the width by adding or taking away multiples of 80. Each multiple of 80 equals about 16 inches. And to customize the length all you need to do is add or take away rows. Below is a handy chart from Good Knit Kisses to give you the average measurements of each blanket size.

Blanket Sizes - Good Knit Kisses

Pattern:

ch 242

Row 1) work 3 dc in 3rd ch from hook, [dc in next 36 ch, 3dctog, 3dctog, dc in next 36 ch, work 3 dc in next two ch] repeat [ ] one time, dc in next 36 ch, dc3tog, dc3tog, dc in next 36 ch, work 3 dc in last ch (240 total sts)

Rows 2-68) *ALL STS WORKED IN BLO: ch 2, turn, work 3 dc in first st, [dc in next 36 sts, dc3tog, dc3tog, dc in next 36 sts, work 3 dc in next two sts] repeat [ ] one time, dc in next 36 sts, dc3tog, dc3tog, dc in next 36 sts, work 3 dc in last st (240 total sts)

finish off, weave in ends

Making and attaching the tassels:

Grande Chevron Blanket - Free Crochet Pattern - Megmade with Love

To make the jumbo tassels, I grabbed a book of my son’s to wrap yarn around. It measured about 6 inches wide. You could cut a 6” wide piece of cardboard also. I wrapped the yarn around, (not too tight) spanning a couple of inches wide.

Grande Chevron Blanket - Free Crochet Pattern - Megmade with Love

To prevent the tassel from shedding I used hot glue. So every now and then I’d line the top with a thin line of hot glue, then wrap it over it before it cooled. I did it a couple more times each tassel, making sure the hot glue was covered before finishing wrapping the yarn.

Grande Chevron Blanket - Free Crochet Pattern - Megmade with Love

Once the tassel was my desired thickness, I cut off the yarn and slid a long piece under, through the middle of the wrapped yarn (like shown in the photo), and tied a knot. You’ll use this piece of yarn to attach the tassel to the blanket.

Grande Chevron Blanket - Free Crochet Pattern - Megmade with Love

Then I slid the yarn off the book, and tied the knot tighter on top so it’d be secure.

Grande Chevron Blanket - Free Crochet Pattern - Megmade with Love

Then I took another long strand of yarn and tied it around the outside of the tassel, about an inch down. I made sure it was extra tight. Then I wrapped it around the tassel a couple more times and tied another tight knot.

Grande Chevron Blanket - Free Crochet Pattern - Megmade with Love

Then to finish the tassel, you will cut the bottom loops, and trim it up to be even.

Grande Chevron Blanket - Free Crochet Pattern - Megmade with Love

I created 7 tassels for the blanket, one for each point on both ends.

Grande Chevron Blanket - Free Crochet Pattern - Megmade with Love

Using the top piece of yarn on the tassel, thread through your yarn needle and sew to each point on the blanket. You’ll pass through the very end of the blanket…

Grande Chevron Blanket - Free Crochet Pattern - Megmade with Love

Then insert the needle through the top of the tassel. Pass through the blanket and tassel as many times as it takes for a secure join. Once it was secure, I tied a double knot to the other strand of yarn from the tassel then weaved them into the blanket. Repeat for each tassel, then your beautiful blankie is complete!

Chevron Crochet Blanket - Megmade with Love

And cheers to finishing blankets! I hope this one converts you like it did me. You may have to look out for more blanket patterns in the future, because I’m hooked. Hehe pun intended.

Happy hooking,
Meg

Grande Chevron Blanket - Free Crochet Pattern - Megmade with Love

Crochet Designing: Where in the world should you start?

Megmade with Love - Crochet Designing

Have you ever thought it’d be super cool if you could make a sweater, hat, or blanket all on your own? Not following a pattern or anything, just letting your mind work it’s magic and create something unique and all your own? Or maybe you’ve seen other designers come up with such cool pieces that you admire and think to yourself man, I wish I had that kind of talent! Then you start to think about it, and wonder where in the heck do you even begin? I get it. Jumping into a whole new project can be incredibly overwhelming. I’m sharing about how I got started, and how you, too, can take the first steps towards designing something all your own.

Megmade with Love - Crochet Design

When I first entertained the idea of seriously becoming a crochet designer, I actually had a bit of history with design already. I had started a blog a couple years back, mostly me just dabbling with crochet patterns and sewing projects. While that first venture wasn’t serious, I did learn I had a knack for turning yarn into something my mind dreamt up. So when it came time to get serious with it and start up Megmade with Love, I had at least a tad bit of experience designing.

Megmade with Love - Crochet Design

Something you should know, though, is that when I did start back up again— I didn’t know everything. My stitch knowledge was minimal, and if I’m bein’ real… I can recall not even knowing what a decrease was (gasp!). I just made projects work by simply experimenting. I studied lots of other patterns already published, got a gist of certain techniques, then went to the races with my new ideas. I’d take note of how someone else did it, then think now how can I do this my way? Or how can I make this better? Is there a different variation of stitches that I could put together to create a unique piece all my own?

Megmade with Love

I’d learn the stitch patterns for creating different sized hats, then try to throw in my own variation of stitches to create a hat all my own. Or I’d play around with different stitch combinations and textures, and that’s actually how the Textured Boho Cowl was created. And when I designed my first sweater, The Homebody Sweater, I experimented for hours with yarn, hook sizes and stitches to create the perfect simple and stylish sweater.

Megmade with Love - Crochet Design

I’ve learned so much since first taking the plunge to designing, and I’d like to share what info I’ve gathered while on this journey. Below are some ideas I’ve brainstormed to help you get the ball rollin’ on your own design dreams…

Start with what’s familiar

it may be easiest when first trying to scheme up your own design when it’s something you have confidence and experience with. So if you’re the queen of crocheting beanies then designing a new hat would be a great place to start. Same goes if you’re into making amigurumi, clothes, blankets, etc. Because if you’ve been making these things, chances are you know the basics of how they are made— if there are stitches that are common for the types of thing you make or how the different shapes are formed. Plus it won’t seem as daunting when you won’t have to learn a complete new type of project along with designing it. And once you’ve conquered that first design that came to you like second nature, you’ll have confidence in the future to tackle more complex designs. While it’s easier to start with something you know, it’s certainly not bad to venture out into new ground though! Great things can happen by experimenting with new areas of the crochet realm. Plus you’ll learn what you like/are good at.

Make a sketch/plan

This isn’t always necessary, but it’s nice to give yourself a visual on paper of what you’re about to bring to life. Start by what it would look like completed (and I wouldn’t worry about it looking super pretty— my sketches are usually wack, definitely not blessed in the 2D area), then sketch out each of the different pieces would look like (if applicable). Mapping out the stitch sequence would also greatly aid you when planning out the design. You can also plan out color schemes, what stitch(es?) you’d like to include, what sort of yarn you want to use and any other materials you’d need.

Experiment

This is maybe my favorite part of the prep before jumping into your design. Experimenting with your yarn and different hooks is where the magic will happen. Decide what sort of drape you want your project to have— loose and flowy or sturdy and structured. Changing out the hook size will give you different amounts of drape. Play around with different stitch combinations—grab a stitch book or browse online for interesting stitches and swatch different ones up. You can play with texture and figure out what looks good with the type of yarn you’re using, plus the result you’re going for. And in this phase, you may find your plan for your design goes a completely different way! That happens to me all the time. That’s why this part is so fun to me!

Study

If you’re planning on designing something you’re familiar with making, you may have all the knowledge and “studying” done for your piece, but if not, you may need to take note of how certain things are created. To do so, you can look to other designers who have made similar items. For example, if you’re making a beanie, you’ll have to do a certain sequence of stitches to make a hat. So it’d be wise to study how others before you have done it and apply it to your experimentation. I’d look for multiple inspiration sources, and find the commonalities then play around with your own unique idea applying what you learned. I will say there is a big difference between looking for inspiration and copying, I would never condone copying another’s tactics— it’s just a groundwork for your own designs!


I think these couple of tactics will be a great start for your first design venture! Really, the thing is to just go for it. Creating stuff from absolute scratch is so rewarding… it fulfills such a creative desire for me personally and kinda sorta brings me life. I want you to feel that too!! If you’ve got some ideas swirling in your head, and you haven’t been sure where to start, pleeaaasse consider trying some of the tips above. The world needs your unique creations :)

Happy hooking (and maybe designing?)
Meg