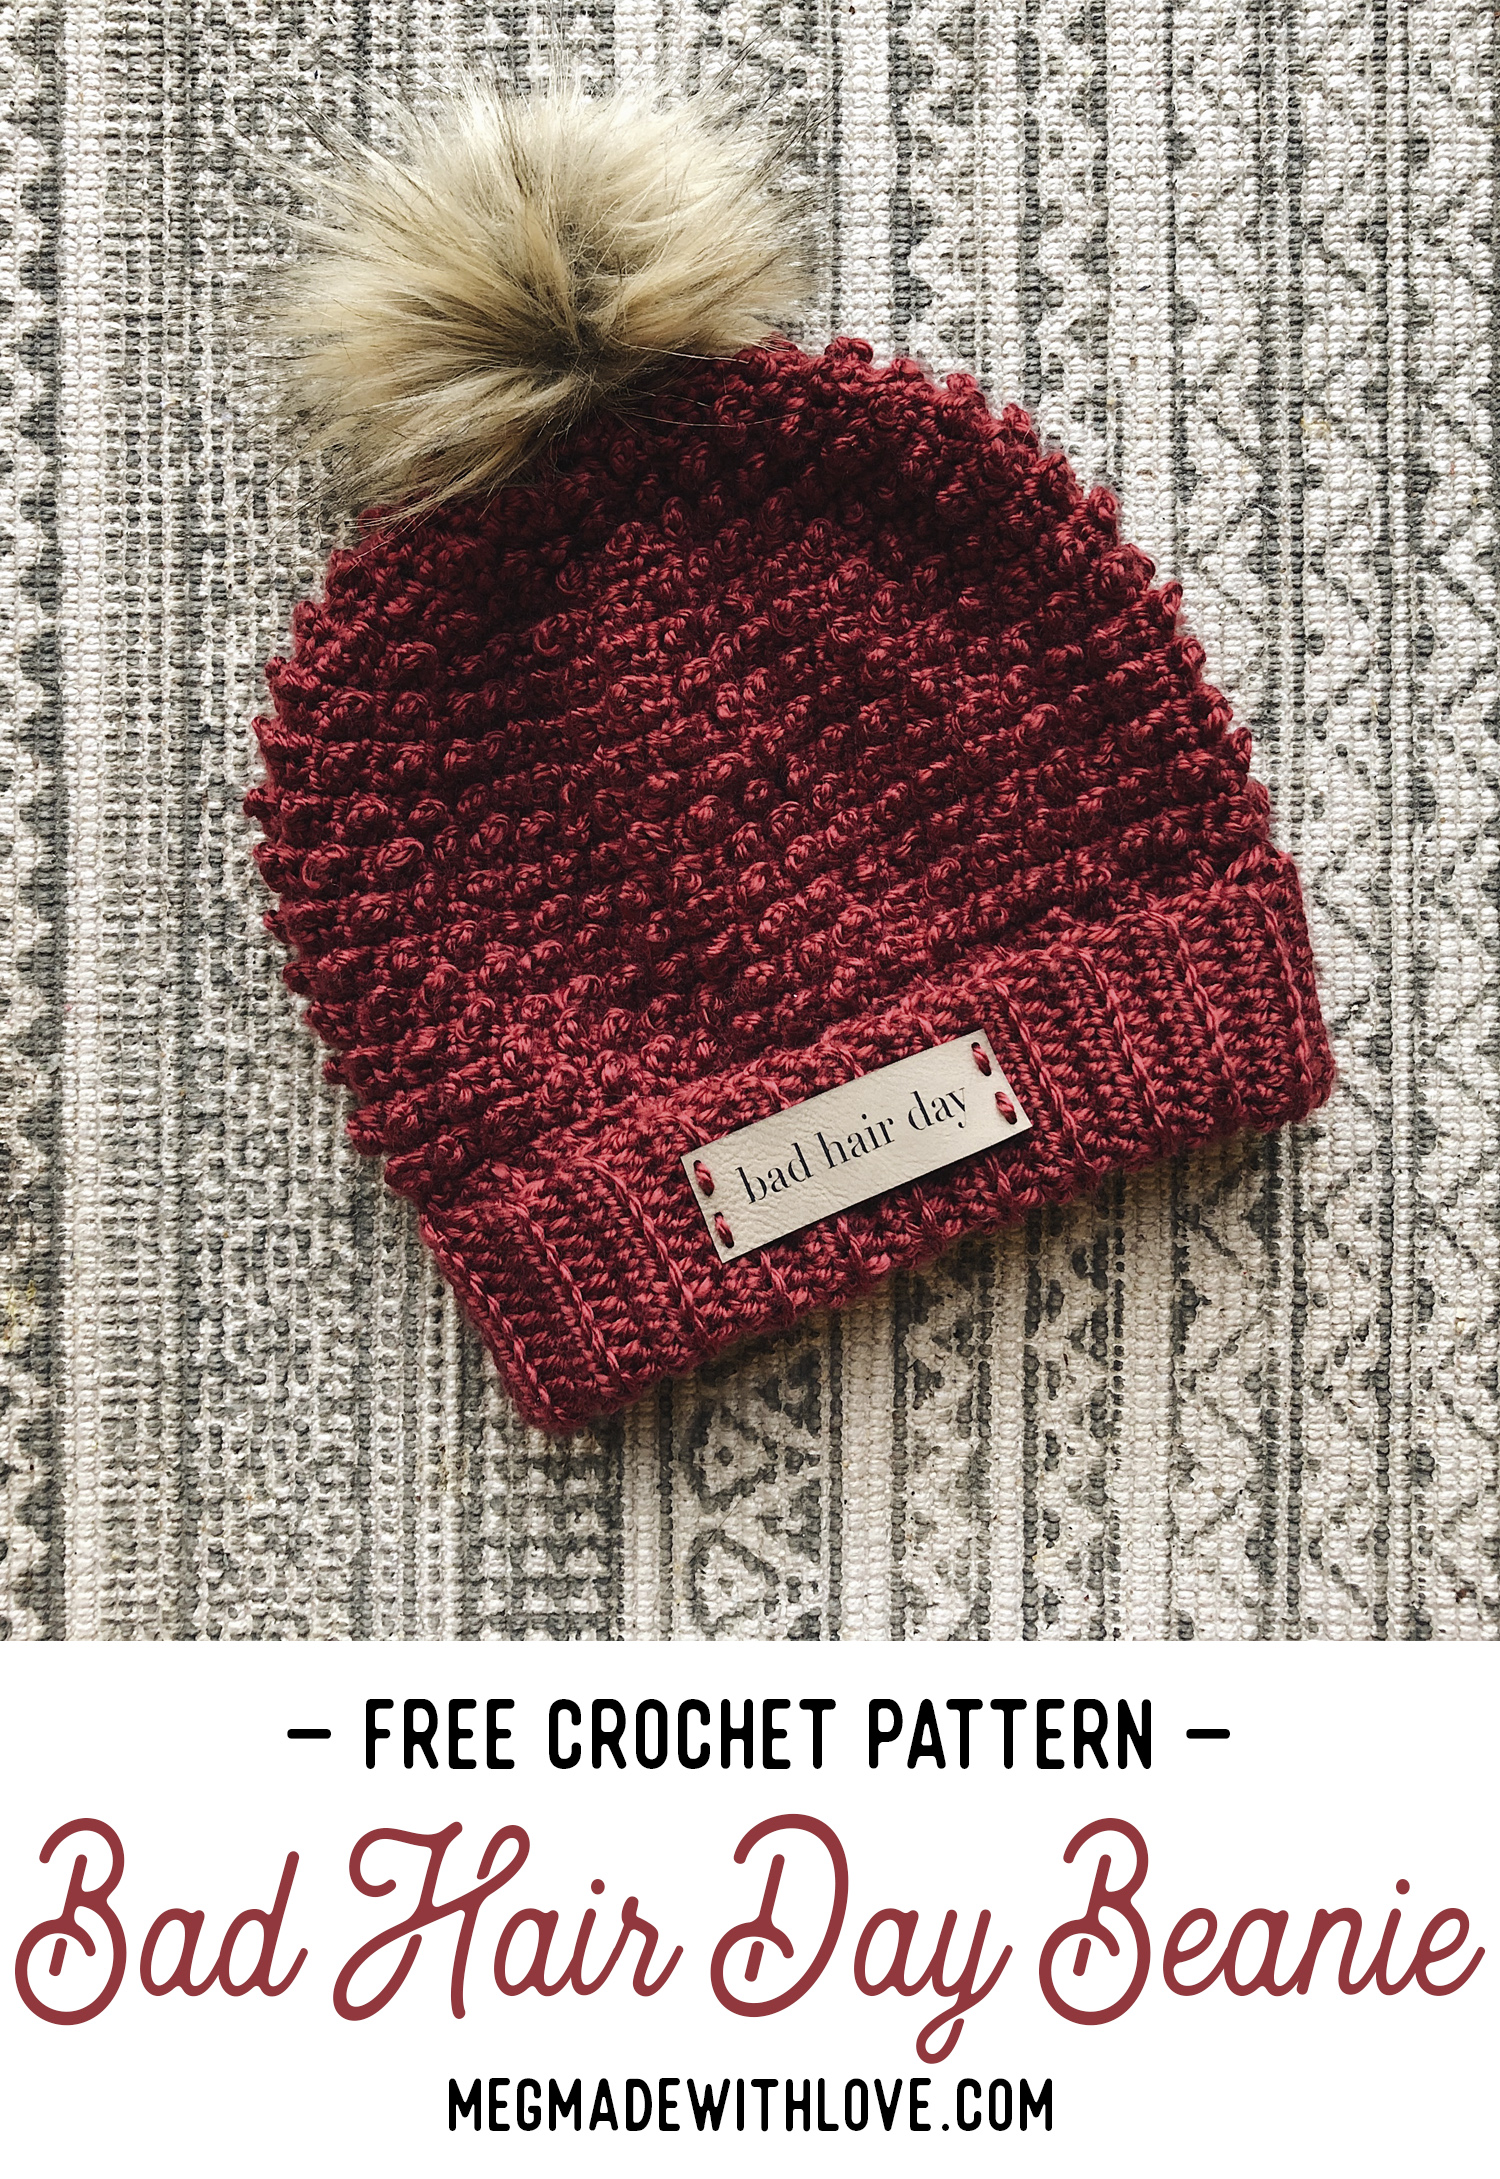
Free Crochet Pattern for the Bad Hair Day Beanie
/
***You can find the PDF version of this pattern in the shop by clicking HERE, great for easy printing! For the free pattern, scroll down into the post****
I’m just pleased as punch to bring you the Bad Hair Day Beanie pattern! This hat, designed with the idea of a crochet kit in mind, is quickly becoming my “ohcrapmyhairlookshorriblebetterthrowsomethingoveritbeforeigo” beanie. Unfortunately that was way too long of a name for this hat.. so let’s just go with the Bad Hair Day Beanie. It features the ever-so-lovely berry stitch that offers oogles (sure, that’s a word) of texture, and is actually worked up in rows rather than rounds. I think you’re gonna dig this beanie!

For my hat, I added a faux fur pom (see the tutorial for how to make your own HERE) and the coolest ever faux leather label made by All This Wood. I personally love the finishing touch a label makes on handmade piece, and the fact that it says bad hair day makes it all the better. If you’re in the market for some labels for your biz, I’d certainly check out All This Wood. They were a pleasure to work with and were very prompt with getting the product to me— I was impressed :)

Like mentioned above, this hat was designed with a kit in mind (psst still a few left in the shop HERE). I thought it’d be so fun to put together all the materials to make this beanie, including the pom makings and the label.. and I did, indeed, have a fun time with it! I’m thinking you’ll see more kits this year from Megmade with Love.

I really hope you enjoy this pattern… it’s made unlike any other hat I’ve designed before. It’s surprisingly simple, and would make the perfect weekend project.
***You can find the PDF version of this pattern in the shop by clicking HERE, great for easy printing!****
What you’ll need:
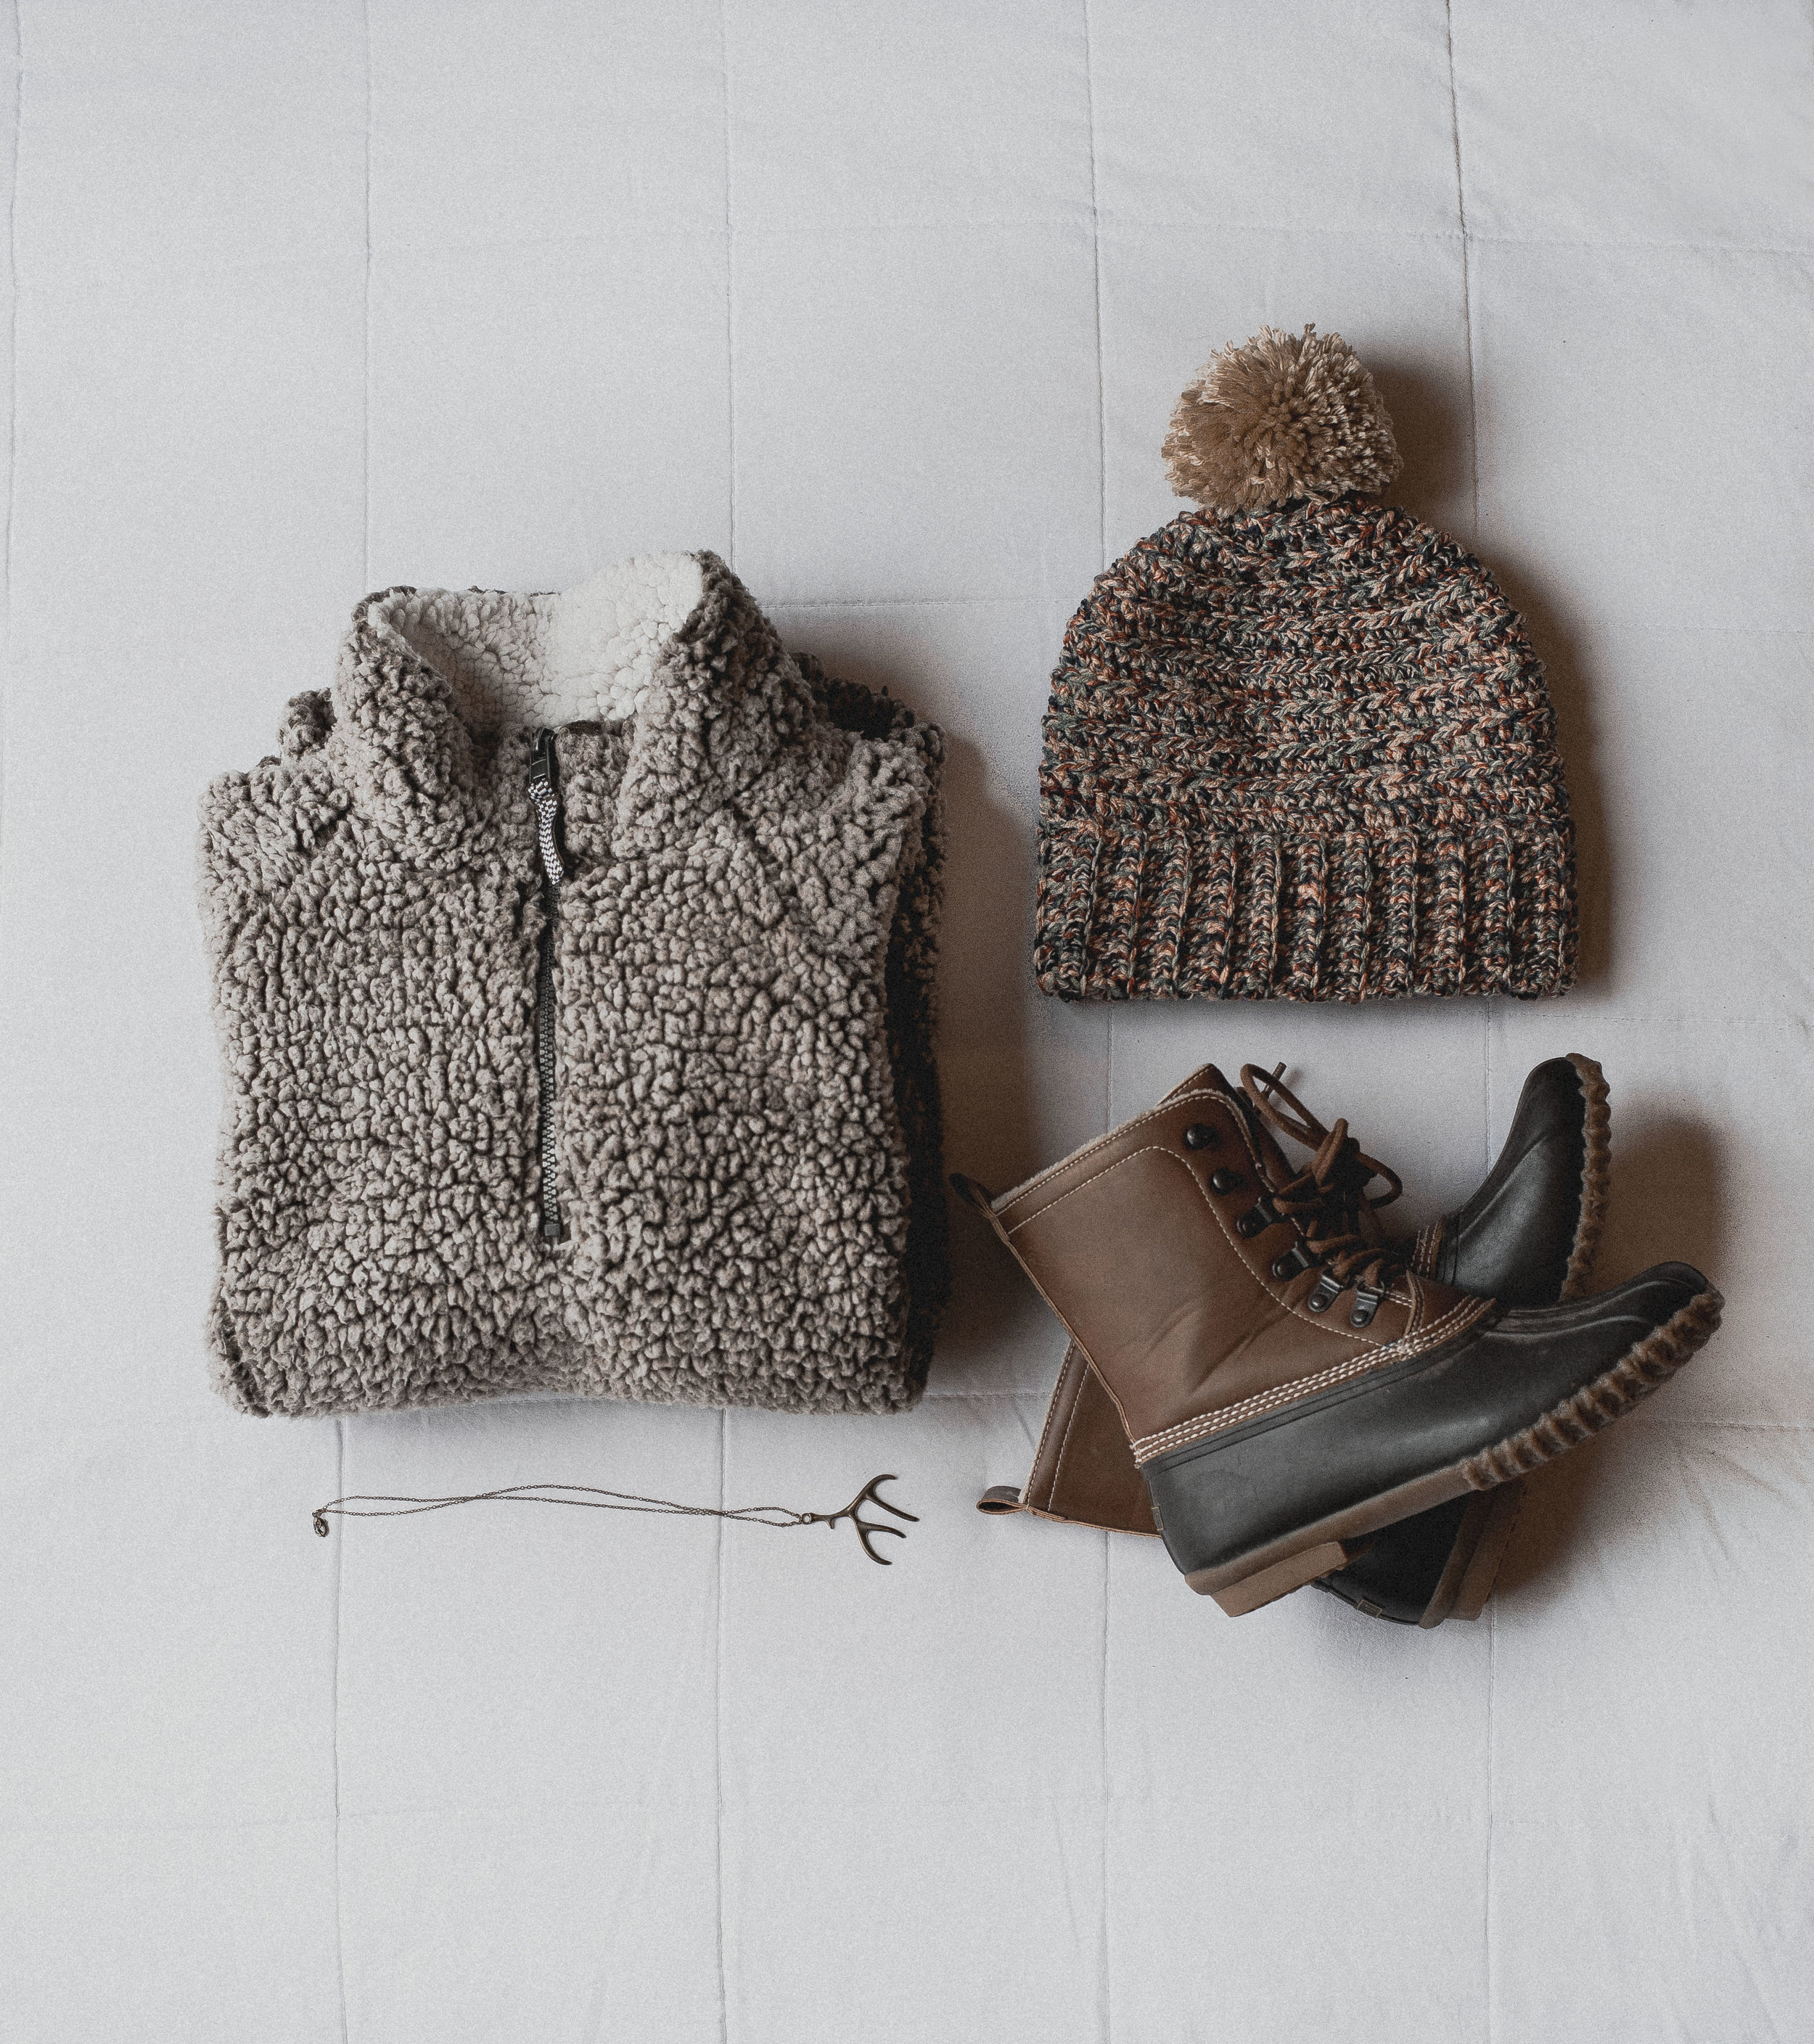
-approximately 275 yards of worsted weight (4) yarn (I used Yarn Bee Soft Secret in “Garnet” found HERE)
-size h (5 mm) hook, or size needed to obtain gauge
-yarn needle
-other desired add-ons.. pom, label
Gauge:
15 hdc by 12 rows equals a four-inch square
Notes:
-hat is designed to fit a woman’s head, and is double brimmed
-hat is worked from the brim-up and is worked in rows rather than rounds
-ch’s at the beginning of rounds do not count as sts
HOW TO BERRY STITCH:
insert hook into specified st, draw yarn back through, ch 3, yo and draw through two loops on hook.
Pattern:
Brim:
Row 1) ch 21, hdc in 2nd ch from hook and across (20 total sts)
Rows 2-52) ch 1, turn, hdc in BLO across row (20 total sts)
-do not finish off
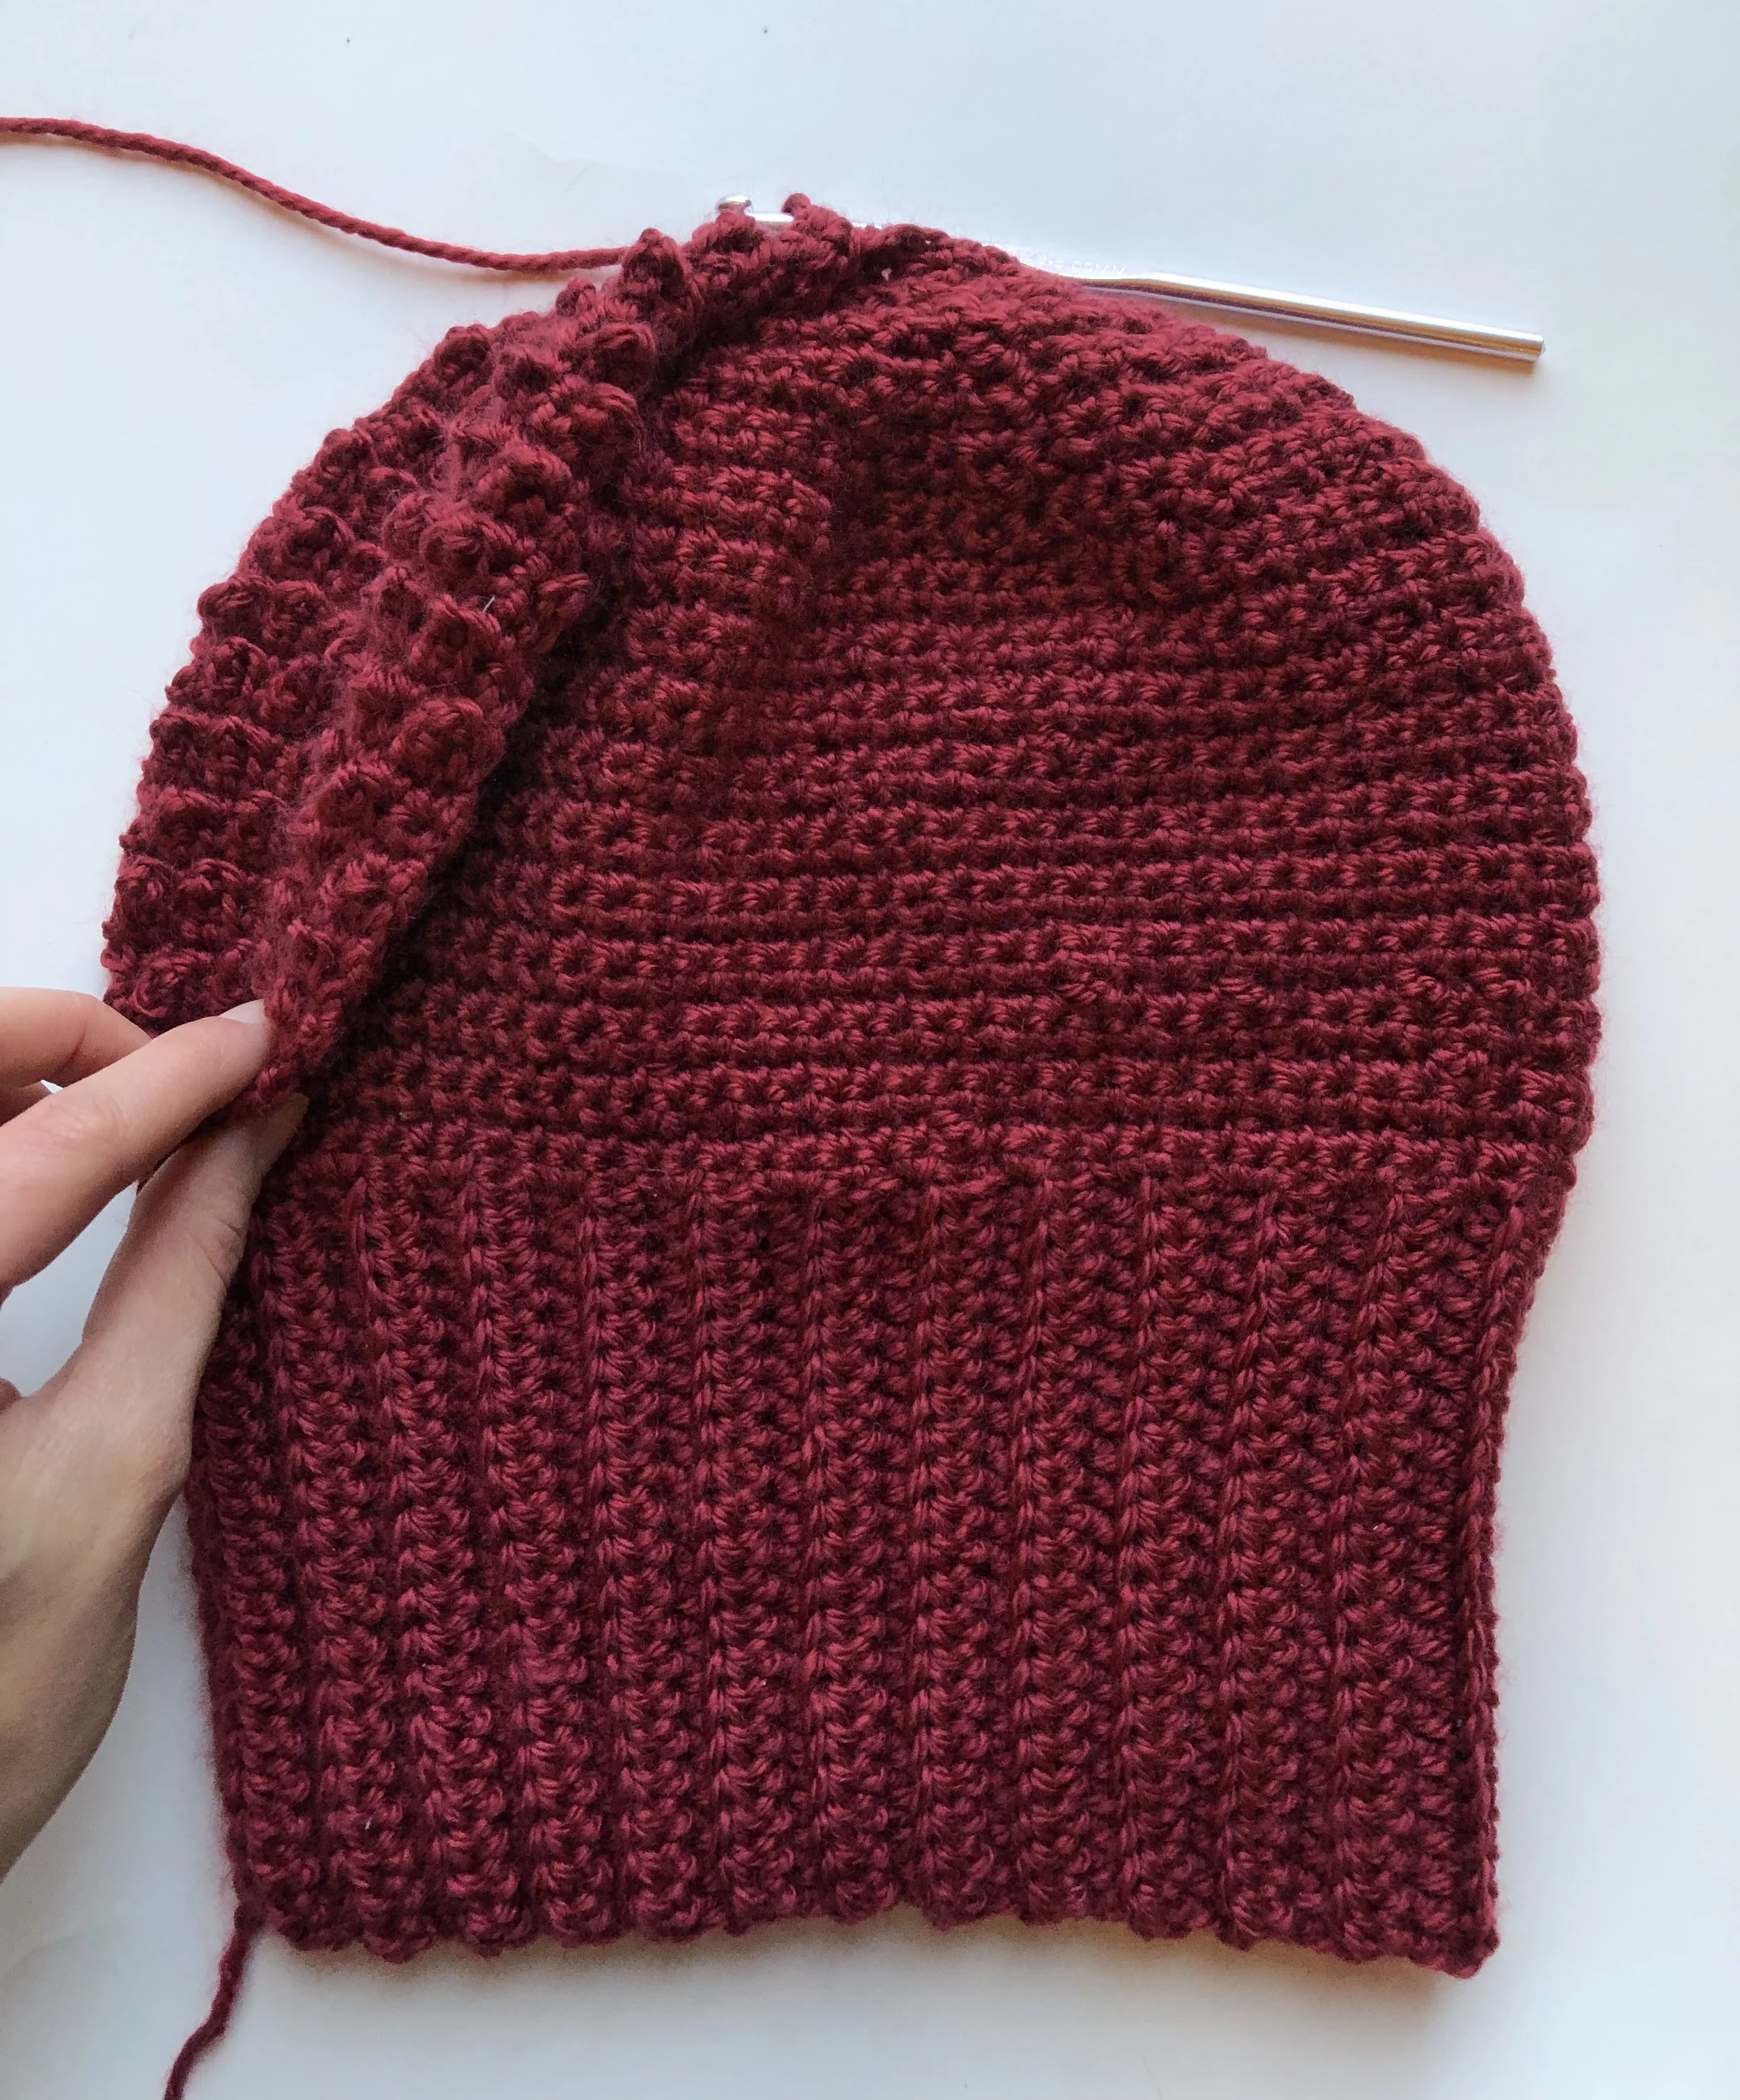
Body of hat:

Row 1) picking up where you left off on the brim: ch 1, then begin working down the long side of your brim. You will work a sequence of [sc, 2 sc] into the very edges of each row of the ribbed brim. Work all the way across. See photo above for assistance. (78 total sts)
Row 2) ch 1, turn, [berry st, sc] across row. last st is a sc (78 total sts)
Row 3) ch 1, turn, sc across row (78 total sts)
Row 4) ch 1, turn, [sc, berry st] across-- sc in last 2 sts (78 total sts)
Row 5) ch 1, turn, sc across row (78 total sts)
Rows 6-20) repeat rows 2-5 in sequence. Row 20 will be a repeat of row 4.
Row 21) ch 1, turn, [sc2tog, sc in next 4 sts] across row (65 total sts)
Row 22) ch 1, turn, [berry st, sc] across row-- sc in last 2 sts (65 total sts)
Row 23) ch 1, turn, [sc2tog, sc in next 3 sts) across row (52 total sts)
Row 24) ch 1, turn, [sc, berry st] across row-- sc in last 2 sts (52 total sts)
Row 25) ch 1, turn, [sc2tog, sc in next 2 sts] across row (39 total sts)
Row 26) ch 1, turn, [berry st, sc] across row-- sc in last 2 sts (39 total sts)
Row 27) ch 1, turn, [sc2tog, sc] across row (26 total sts)
Row 28) ch 1, turn, [sc, berry st] across row-- sc in last 2 sts (26 total sts)
Row 29) ch 1, turn, sc2tog across row (13 total sts)
Row 30) ch 1, turn, [berry st, sc] sc in last 2 sts (13 total sts)
Row 31) ch 1, turn, sc across row (13 total sts)
-do not finish off
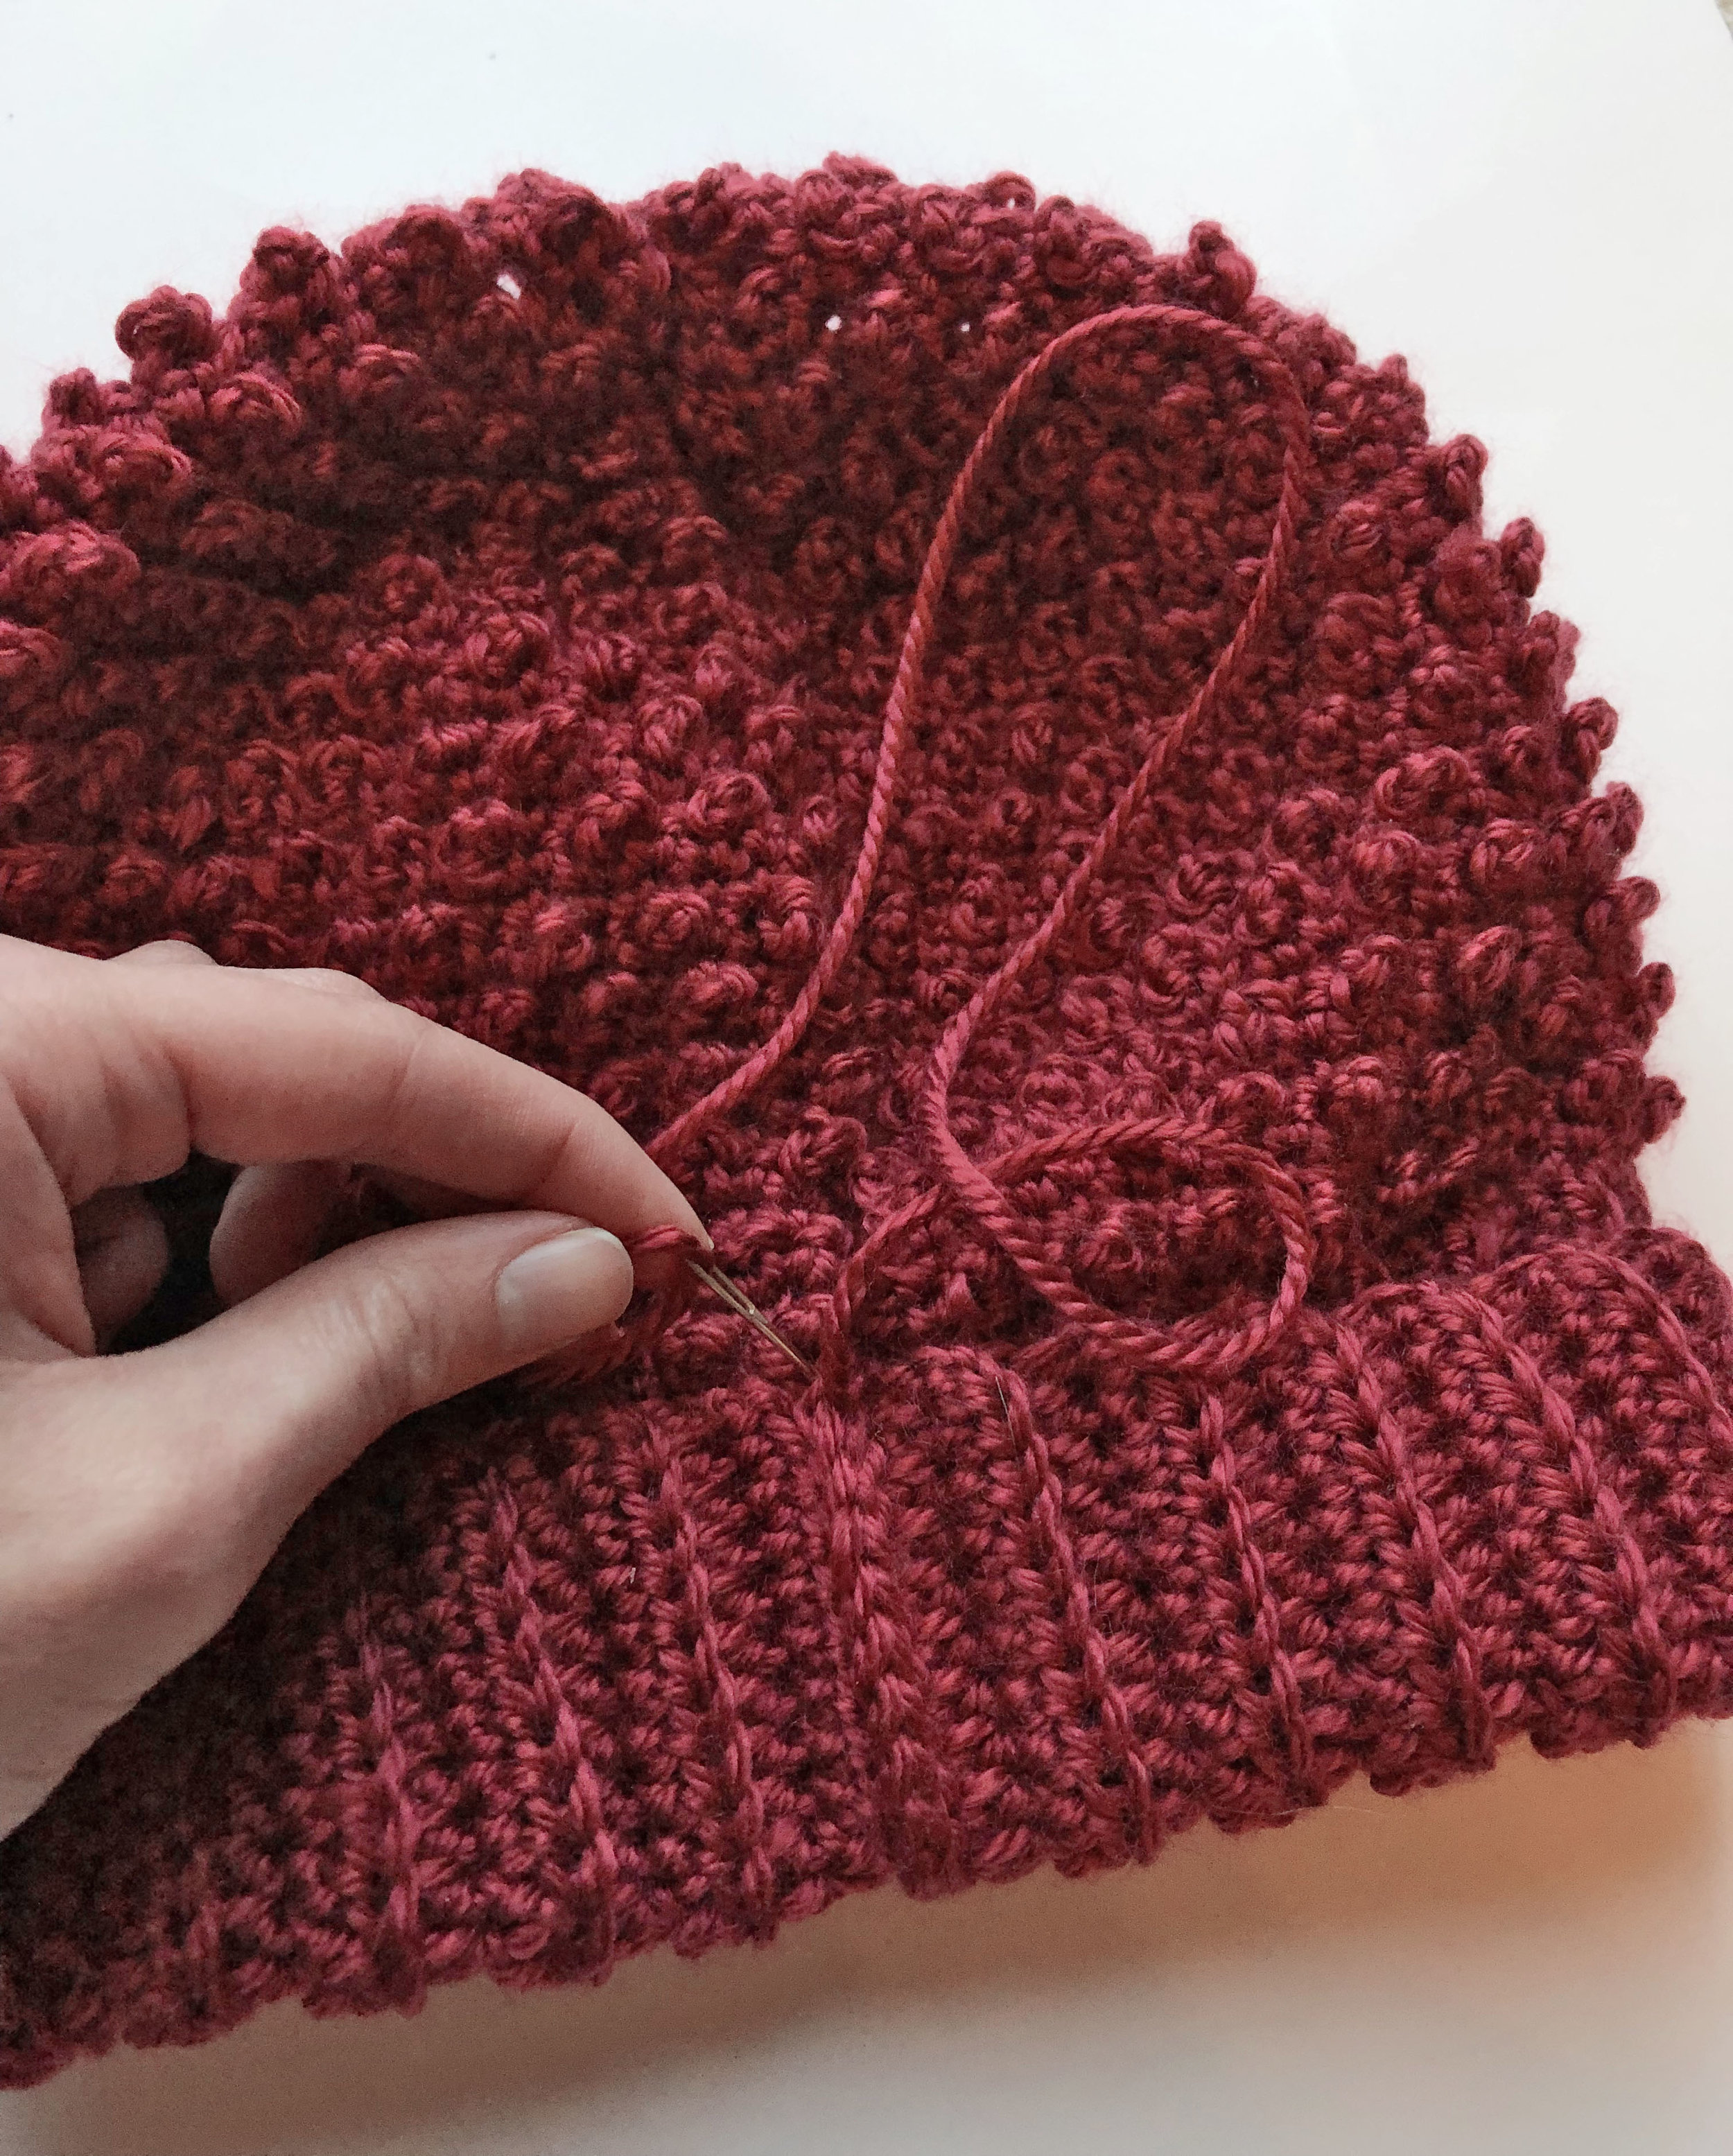
Fold the hat in half, like shown in the photo above(textured side is on the inside). And picking up where you left off in row 31, sl st the two open sides together, working all the way down.


Next you’ll close up the hole on the top of the hat. Turn the hat right side out, and using yarn needle and a piece of yarn, make a loose running stitch along the very last row and pull tight to close, then tie a couple of knots to secure on the inside.
Then you’ll fold up the brim, and sew it so it’ll stay in place. I tacked it down in five different spots along the very edge by making a couple of passes with a piece of yarn and needle then tying a few knots to secure.
Once all your ends are tucked away + all your special adornments are added on… your bad hair day beanie is finito!

Hope you thought this beanie was a DELIGHT! I don’t even know why, but the fact that it’s made in rows makes me like this hat even more. If you make one yourself, do share with me over on Insta, I’d kinda sorta love to admire it :)
Take care and happy hookin’
Meg