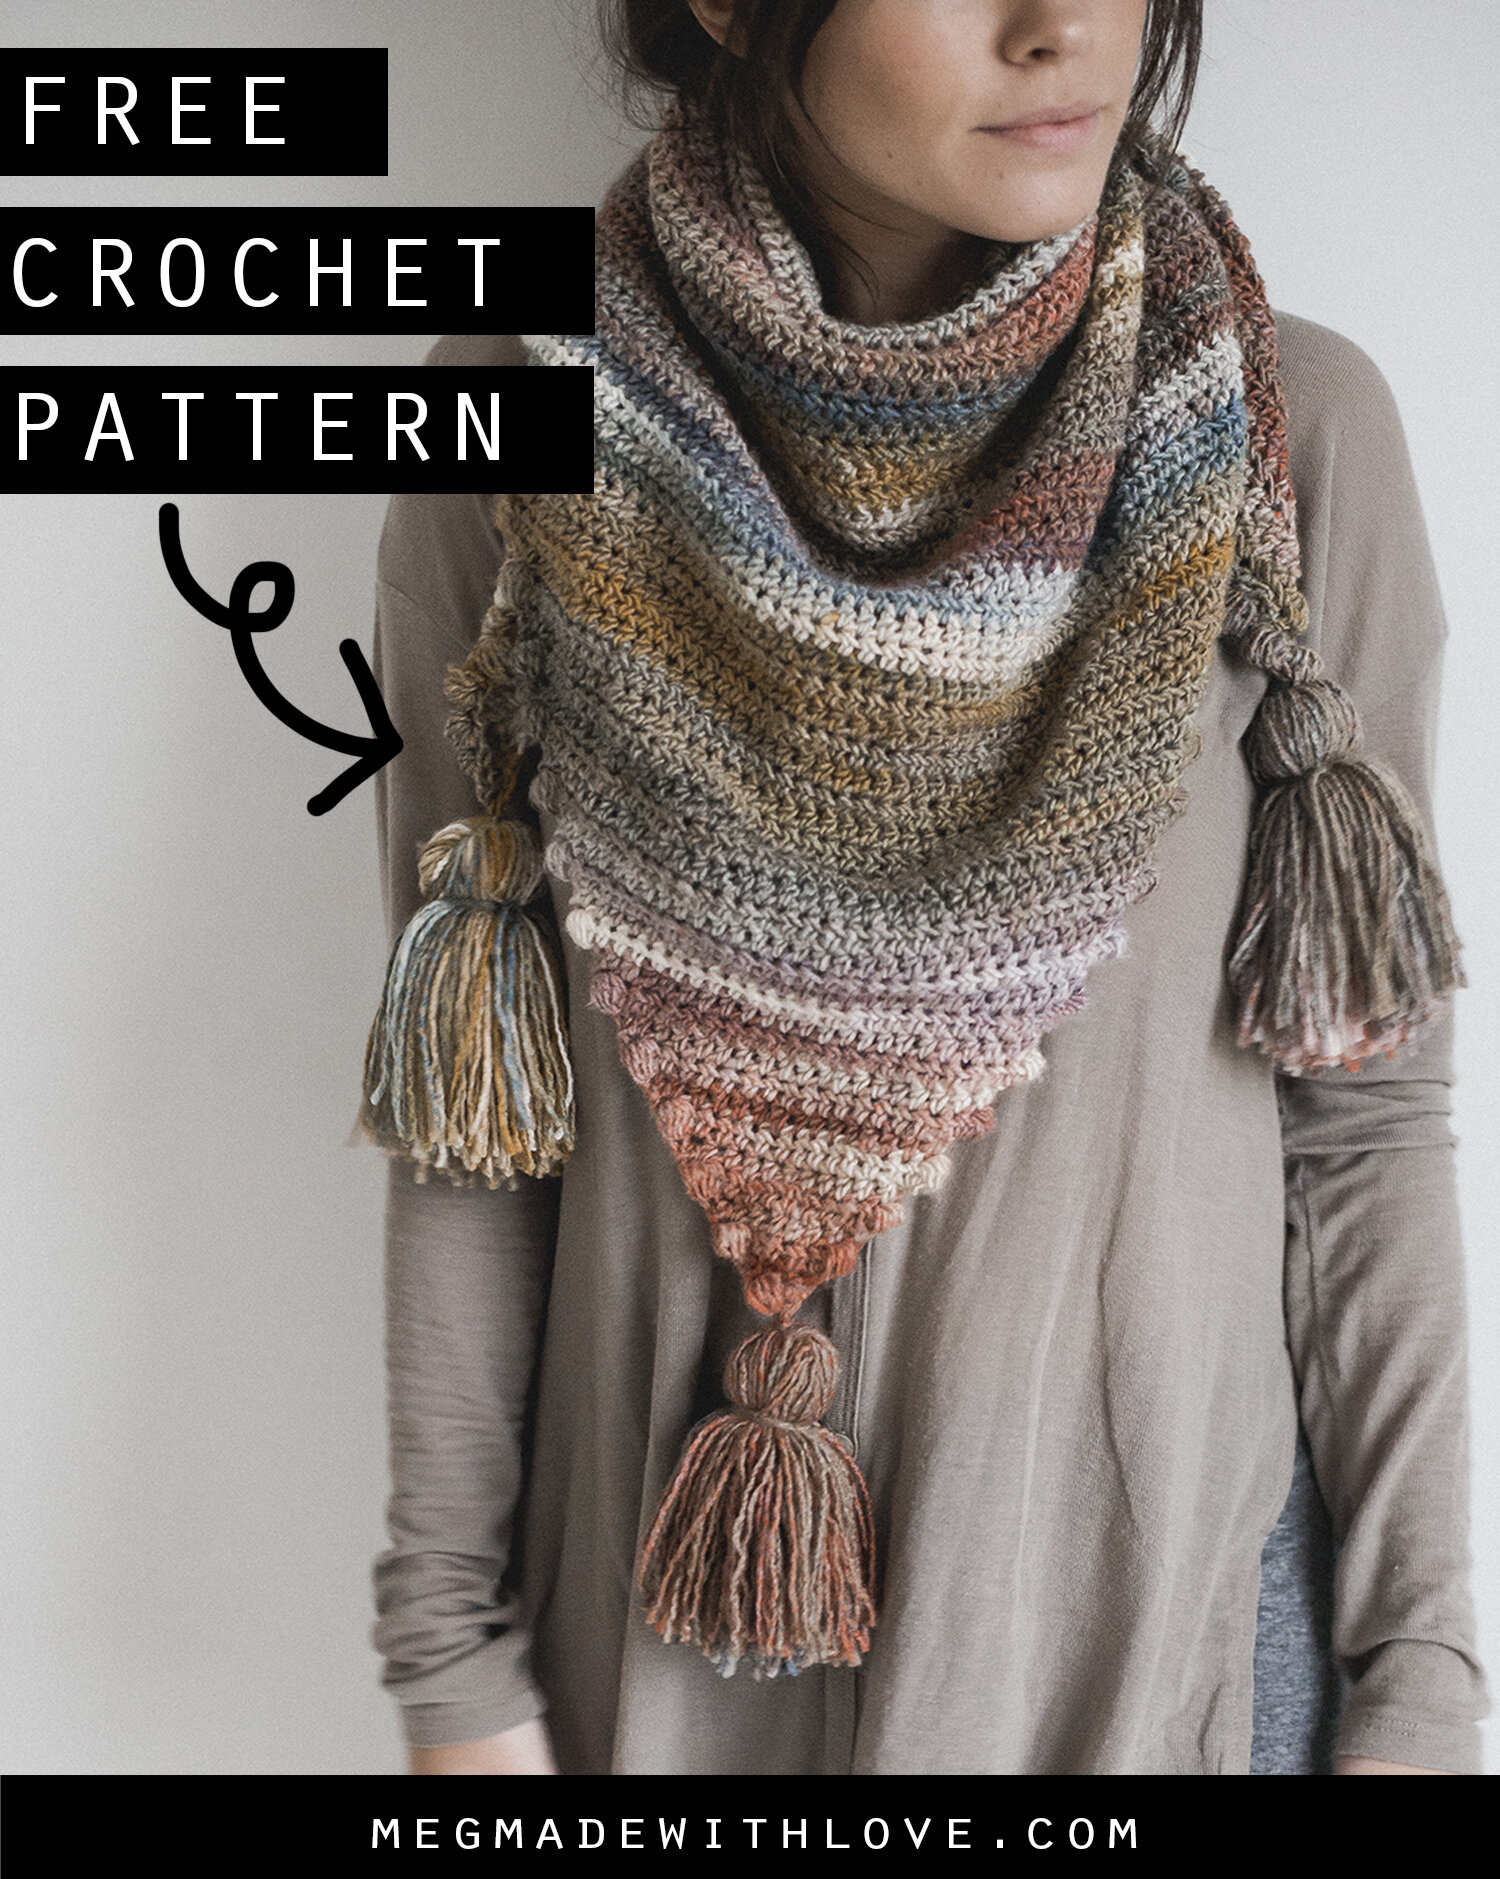
The Snuggle Puff Scarf - Free Crochet Pattern
/
***You can find the PDF version of this pattern by clicking HERE. Ad-free, and printer-friendly! For the free version, scroll down within this post.***
Sitting here thinking about it, I haven’t designed a scarf in ages it seems like! I can’t think of a better design to bring back the Megmade scarf game, than the new Snuggle Puff scarf. It’s a simple triangle scarf that features puff stitch edges and XL tassels at each corner. It’ll surely keep you snug (and cute!) this winter.
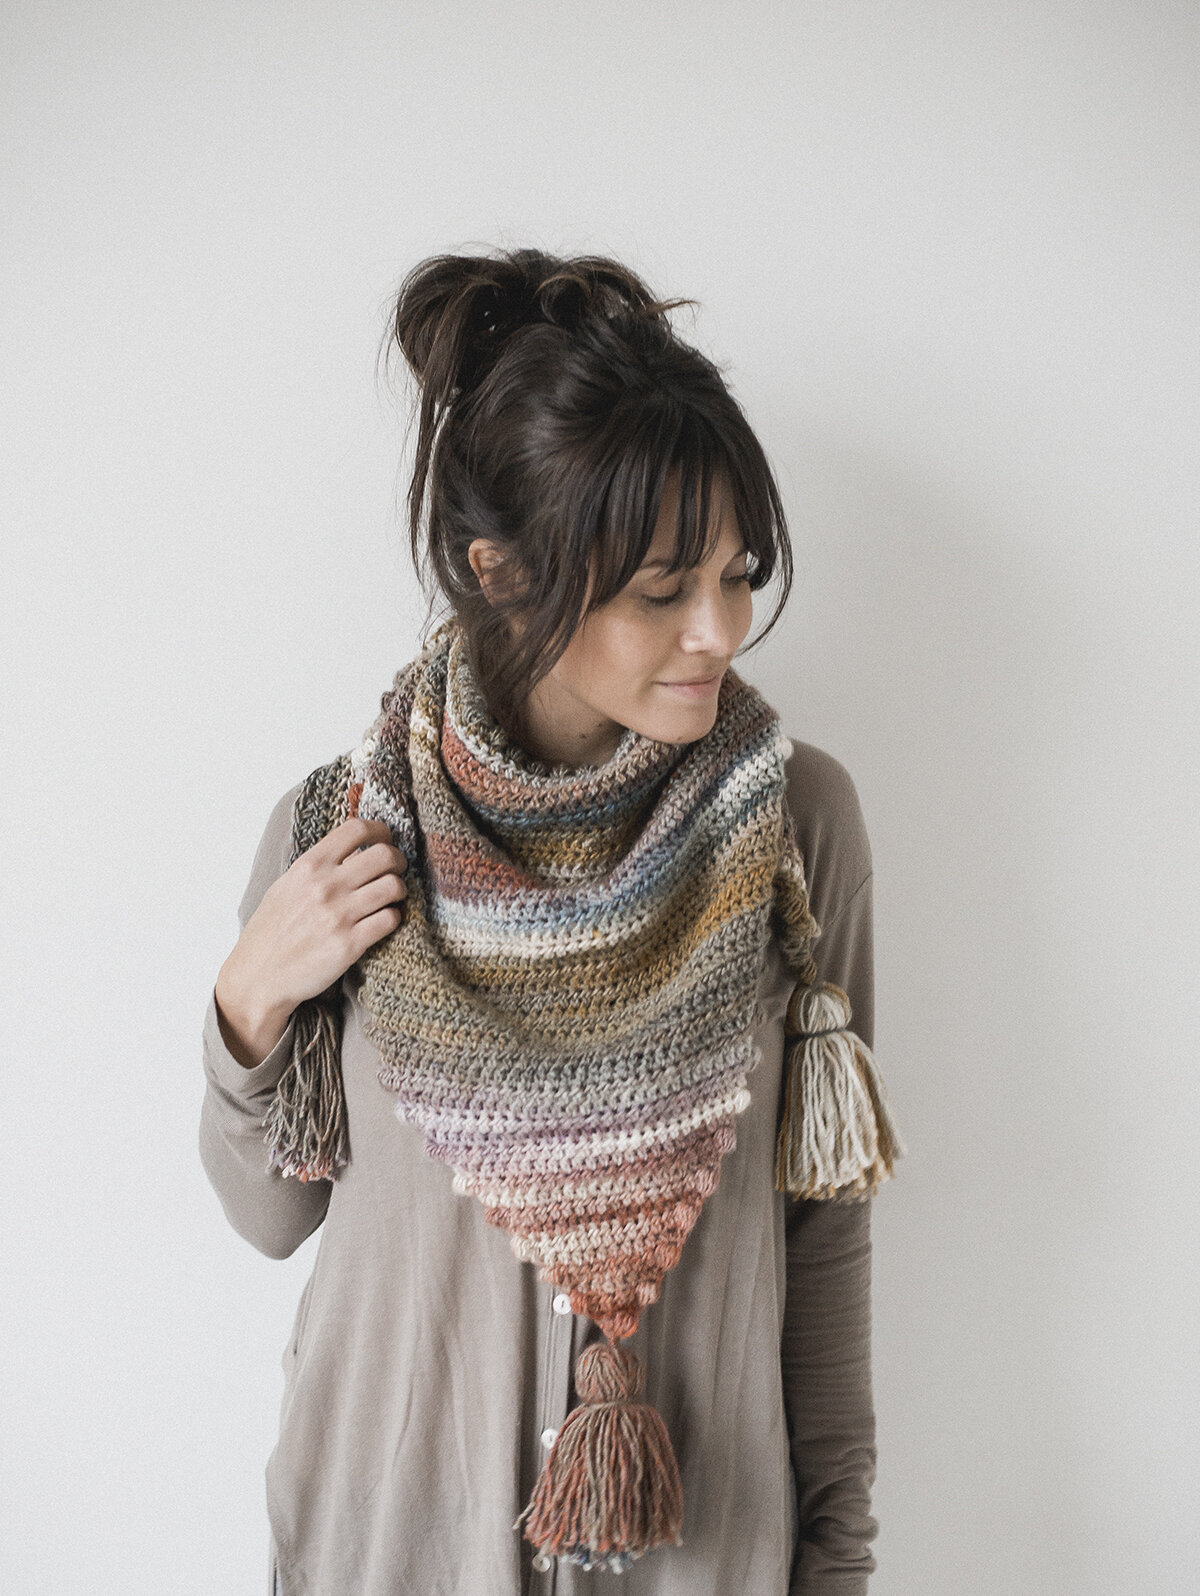
I really think the yarn makes this design. I fell in love with the “Theater” color scheme of Red Heart’s Roll with It Melange when I first came across it in stores, the muted , yet rich tones would be perfect for an accessory this Fall, I thought. And I believe I was right! It pairs well with any color, without being too much, ya know?

The yarn is ultra soft, and looks almost home-spun and dyed, and I think that’s another factor that drew me to it. I did struggle a bit with the yarn twisting for me as I crocheted, but have read that can be resolved if you unwind into your own ball/skein. It took two skeins (with tassels), so it makes for a very affordable project— one to possibly make as a gift this Christmas?!
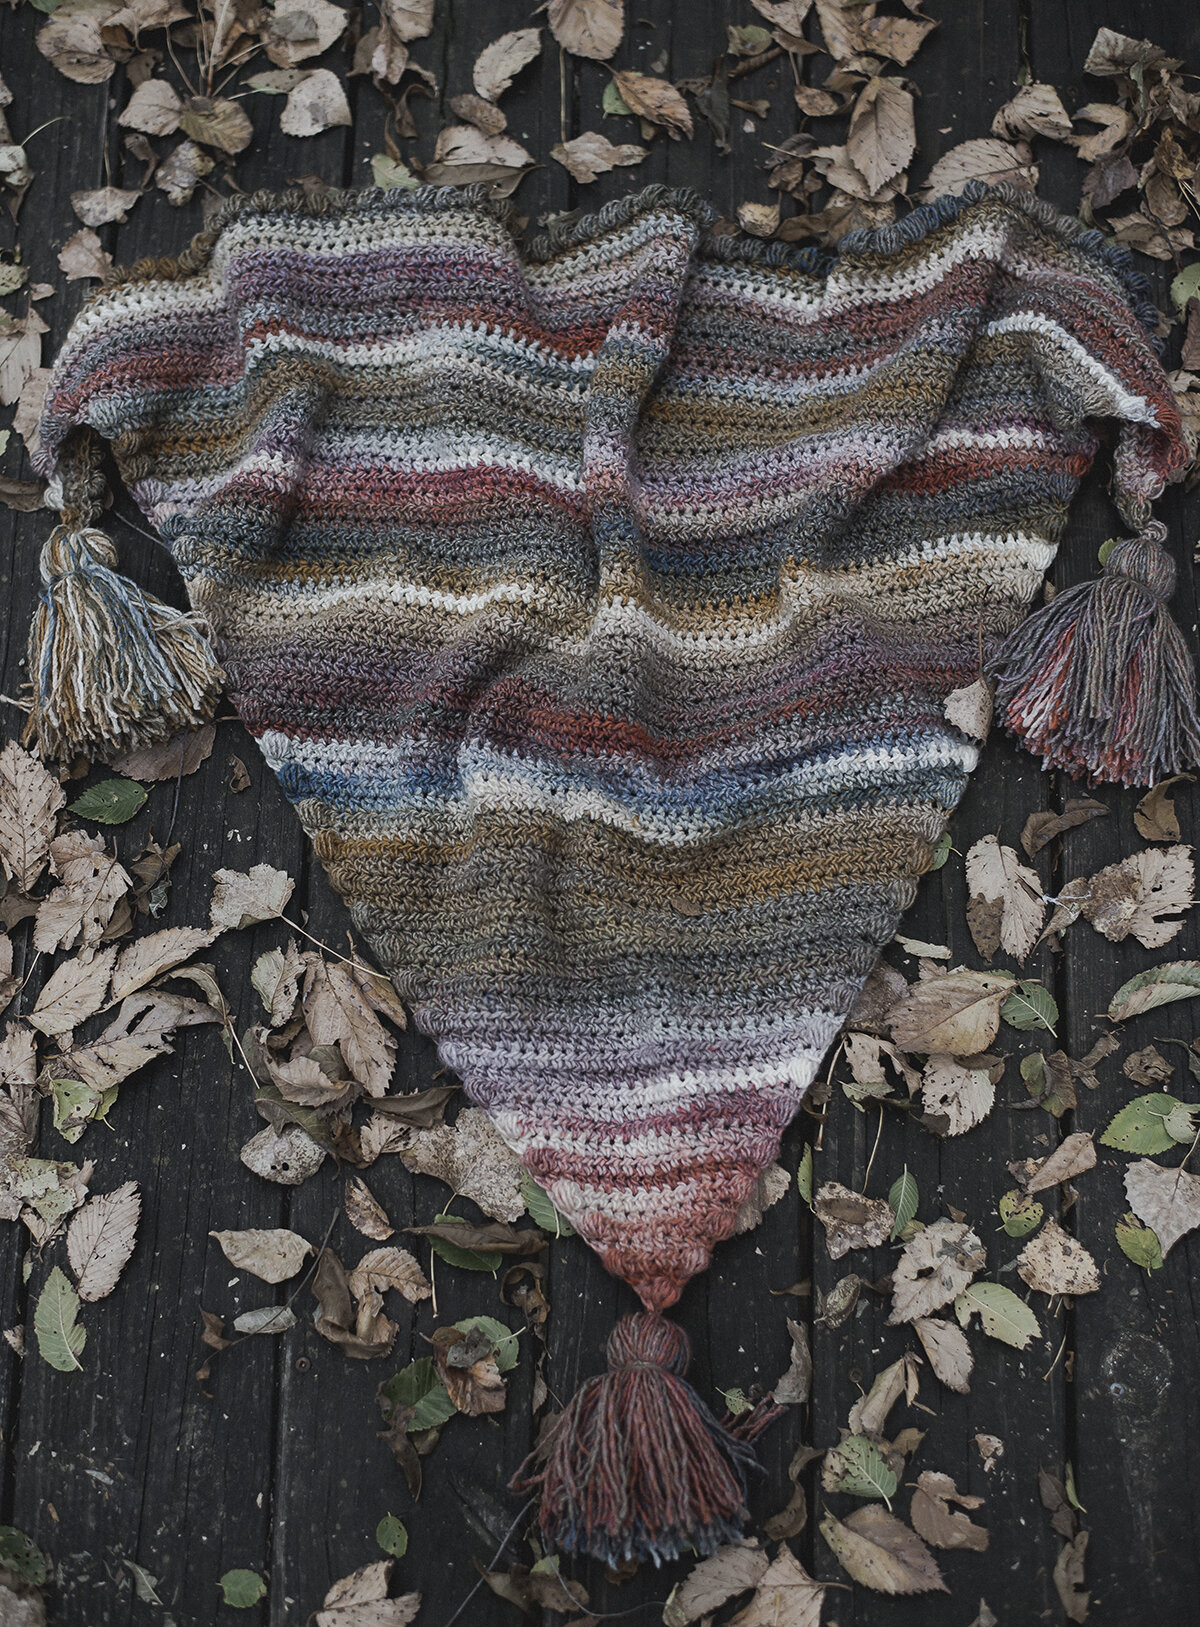
I love how the little puffs line the edges of the entire scarf, it’s the perfect, yet simple detail. I decided to make a bit of a larger puff for this design, so it’d be more pronounced, since the rest of the scarf is made of half double crochets.

It really is a simple and lovely pattern to work up. Once you get the hang of it, it’ll be one of those projects you get to mindlessly work on as you watch your favorite show— aka the best kinds of projects. :) Hope you like this gem!
The Snuggle Puff Scarf
***You can find the PDF version of this pattern by clicking HERE. Ad-free, and printer-friendly!***
What you’ll need:
-approximately 480-500 yards of worsted (4) weight yarn, plus 150 yards for large tassels. I used Red Heart’s Roll with It Melange in color “Theater”
-size k (6.5 mm) hook, or size needed to obtain gauge
-yarn needle
-device to make tassels (I used a piece of cardboard about 6 inches long)
Abbreviations:
ch=chain, hdc=half double crochet, st(s)=stitch(es), puff st= puff stitch
Gauge:
13 hdc by 10 rows equals a four-inch square
Notes:
-IMPORTANT: I yarn over extra times for the puff st in this pattern, so it’d stand out more. Here’s how I did the puff st for this scarf:
Yarn over and insert hook into specified st. Yarn over again and pull through long loop. (Yarn over and insert your hook into the same st. Yarn over again and pull through long loop) FOUR more times. Yarn over and pull through all 11 loops on your hook. (You will not ch 1 at the end of the puff st to close, like some call for in other patterns)
-ch’s at beginning of each row do not count as sts
-this scarf is worked from the bottom point - up. It’s simple to get the hang of, always increasing on each of the outside sts of each row.
-you could always add or take away rows to make the scarf a custom size
Pattern:
Row 1) ch 2, hdc in 2nd ch from hook (1 total st)
Row 2) ch 1, turn, work hdc, puff st (see notes on how I did puff st for this scarf), hdc into the 1 st (3 total sts)
Row 3) ch 1, turn, work 2 hdc in 1st st, hdc, work 2 hdc in last st (5 total sts)
Row 4) ch 1, turn, work puff st, hdc into 1st st, hdc across until last st, work puff st, hdc in last st (7 total sts)
Row 5) ch 1, turn, work 2 hdc in 1st st, hdc across until last st, work 2 hdc in last st (9 total sts)
***from here until the last row (row 70), you will be repeating instructions from rows 4 and 5, and your st count will increase 2 sts with each row
Row 6) repeat instructions from row 4 (11 total sts)
Row 7) repeat instructions from row 5 (13 total sts)
Row 8) repeat instructions from row 4 (15 total sts)
Row 9) repeat instructions from row 5 (17 total sts)
Row 10) repeat instructions from row 4 (19 total sts)
Row 11) repeat instructions from row 5 (21 total sts)
Row 12) repeat instructions from row 4 (23 total sts)
Row 13) repeat instructions from row 5 (25 total sts)
Row 14) repeat instructions from row 4 (27 total sts)
Row 15) repeat instructions from row 5 (29 total sts)
Row 16) repeat instructions from row 4 (31 total sts)
Row 17) repeat instructions from row 5 (33 total sts)
Row 18) repeat instructions from row 4 (35 total sts)
Row 19) repeat instructions from row 5 (37 total sts)
Row 20) repeat instructions from row 4 (39 total sts)
Row 21) repeat instructions from row 5 (41 total sts)
Row 22) repeat instructions from row 4 (43 total sts)
Row 23) repeat instructions from row 5 (45 total sts)
Row 24) repeat instructions from row 4 (47 total sts)
Row 25) repeat instructions from row 5 (49 total sts)
Row 26) repeat instructions from row 4 (51 total sts)
Row 27) repeat instructions from row 5 (53 total sts)
Row 28) repeat instructions from row 4 (55 total sts)
Row 29) repeat instructions from row 5 (57 total sts)
Row 30) repeat instructions from row 4 (59 total sts)
Row 31) repeat instructions from row 5 (61 total sts)
Row 32) repeat instructions from row 4 (63 total sts)
Row 33) repeat instructions from row 5 (65 total sts)
Row 34) repeat instructions from row 4 (67 total sts)
Row 35) repeat instructions from row 5 (69 total sts)
Row 36) repeat instructions from row 4 (71 total sts)
Row 37) repeat instructions from row 5 (73 total sts)
Row 38) repeat instructions from row 4 (75 total sts)
Row 39) repeat instructions from row 5 (77 total sts)
Row 40) repeat instructions from row 4 (79 total sts)
Row 41) repeat instructions from row 5 (81 total sts)
Row 42) repeat instructions from row 4 (83 total sts)
Row 43) repeat instructions from row 5 (85 total sts)
Row 44) repeat instructions from row 4 (87total sts)
Row 45) repeat instructions from row 5 (89 total sts)
Row 46) repeat instructions from row 4 (91 total sts)
Row 47) repeat instructions from row 5 (93 total sts)
Row 48) repeat instructions from row 4 (95 total sts)
Row 49) repeat instructions from row 5 (97 total sts)
Row 50) repeat instructions from row 4 (99 total sts)
Row 51) repeat instructions from row 5 (101 total sts)
Row 52) repeat instructions from row 4 (103 total sts)
Row 53) repeat instructions from row 5 (105 total sts)
Row 54) repeat instructions from row 4 (107 total sts)
Row 55) repeat instructions from row 5 (109 total sts)
Row 56) repeat instructions from row 4 (111 total sts)
Row 57) repeat instructions from row 5 (113 total sts)
Row 58) repeat instructions from row 4 (115 total sts)
Row 59) repeat instructions from row 5 (117 total sts)
Row 60) repeat instructions from row 4 (119 total sts)
Row 61) repeat instructions from row 5 (121 total sts)
Row 62) repeat instructions from row 4 (123 total sts)
Row 63) repeat instructions from row 5 (125 total sts)
Row 64) repeat instructions from row 4 (127 total sts)
Row 65) repeat instructions from row 5 (129 total sts)
Row 66) repeat instructions from row 4 (131 total sts)
Row 67) repeat instructions from row 5 (133 total sts)
Row 68) repeat instructions from row 4 (135 total sts)
Row 69) repeat instructions from row 5 (137 total sts)
Row 70) ch 1, turn, work puff st, hdc into 1st st, then [puff st, hdc] across row until last st, work puff st, hdc in last st (139 total sts)
finish off, weave in ends
How to make tassels:

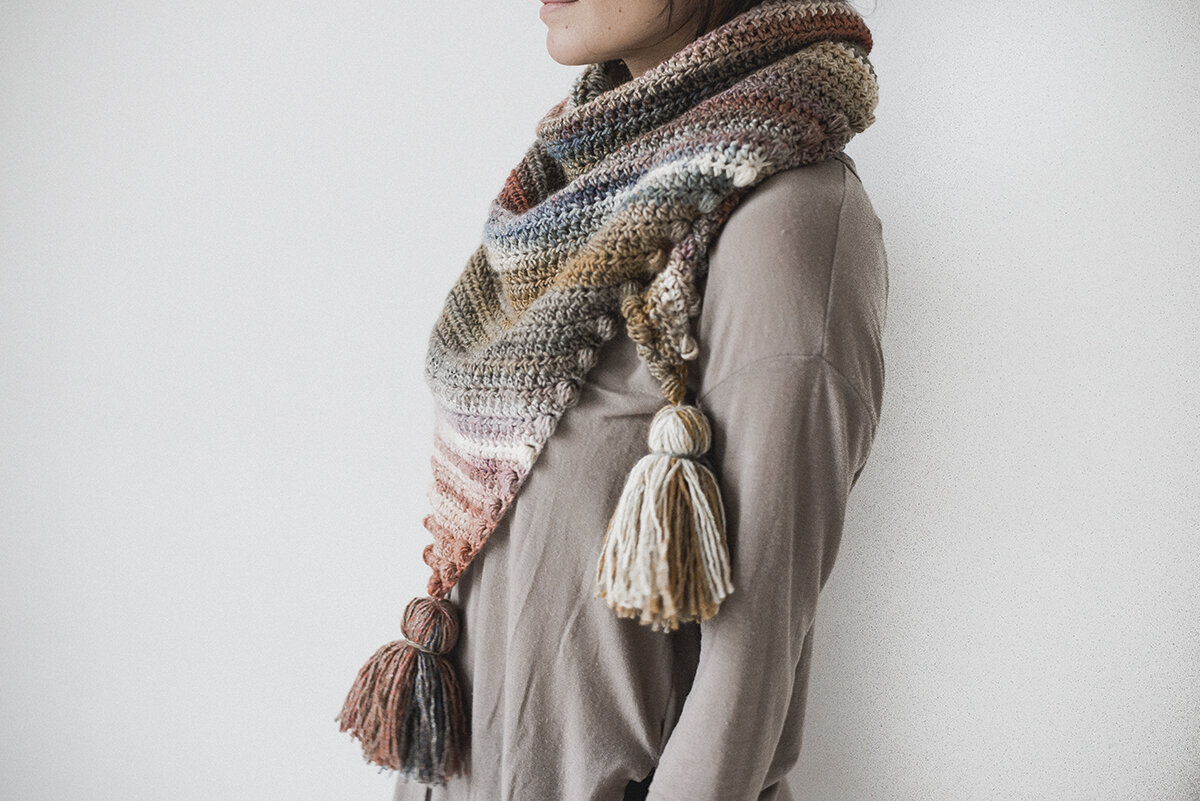
To make my tassels, I used a 3” x 6” (approximately) piece of cardboard, and wrapped my yarn around length-wise. I wanted the tassels to be pretty bulky, so I wrapped around quite a bit.

Once the tassel was my desired thickness, I cut my yarn from the skein, and slid it off the cardboard. I slipped a 20 inch or so piece of yarn through the middle of the top of the tassel and tied a loose knot (this is for attaching to the scarf). Then I used another 20 inch piece of yarn and wrapped it around the outside of the tassel, about an inch or so down from the top (see above photo). I tied a couple of knots, then wrapped it around again, then a couple more knots.

To finish the tassel, I chopped the ends of it, trimming it up to make it nice and even. Then I tied a tighter double-knot with the top strand of yarn (that ran through the middle of the tassel), and attached it to one of the corners of my scarf. I chose to tie multiple knots using the strands of yarn, making sure it was extra secure.
Make two more tassels and attach to the other two corners. Then weave in your ends. After that, you are doneeeee!!
What a fun and simple little accessory to make for these cooler months! I love how this yarn’s color changes really make the scarf. Hope you enjoy this pattern, and look forward to seeing it on Insta! (Tag me @megmadewithlove so I can looksie)
Happy hooking!
Meg