Free Crochet Pattern for The Funky Fringe Pillow
/
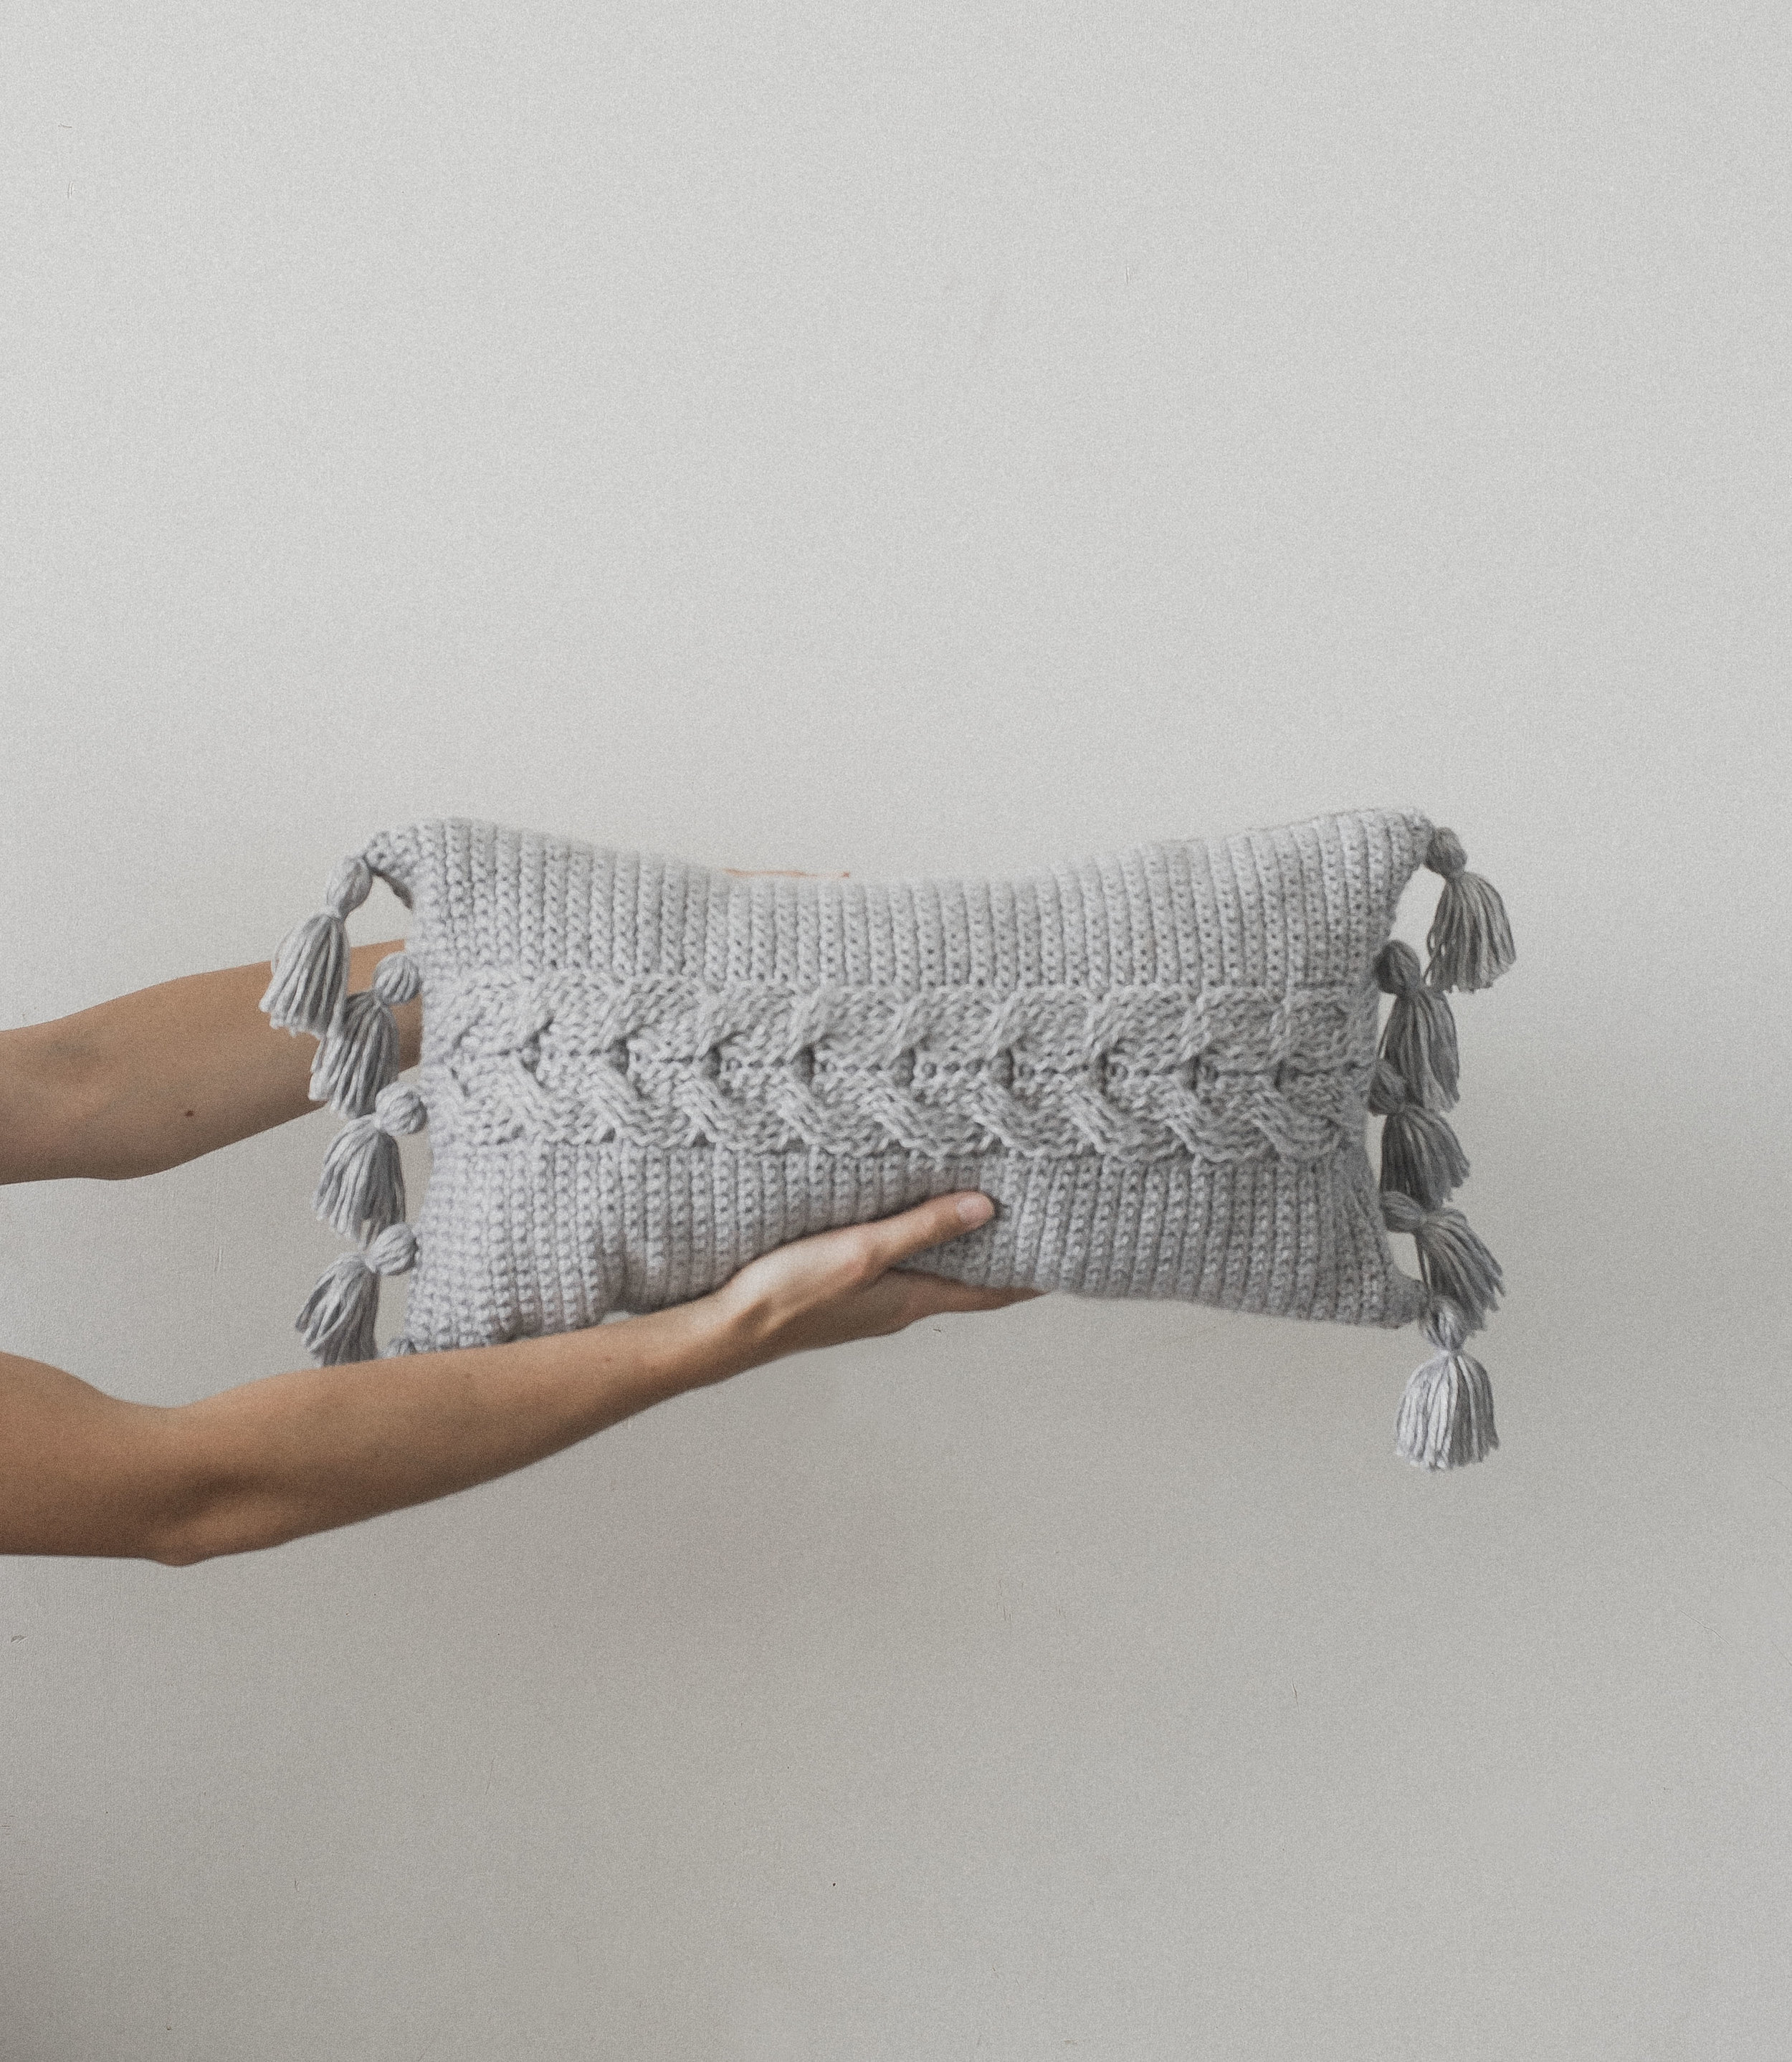
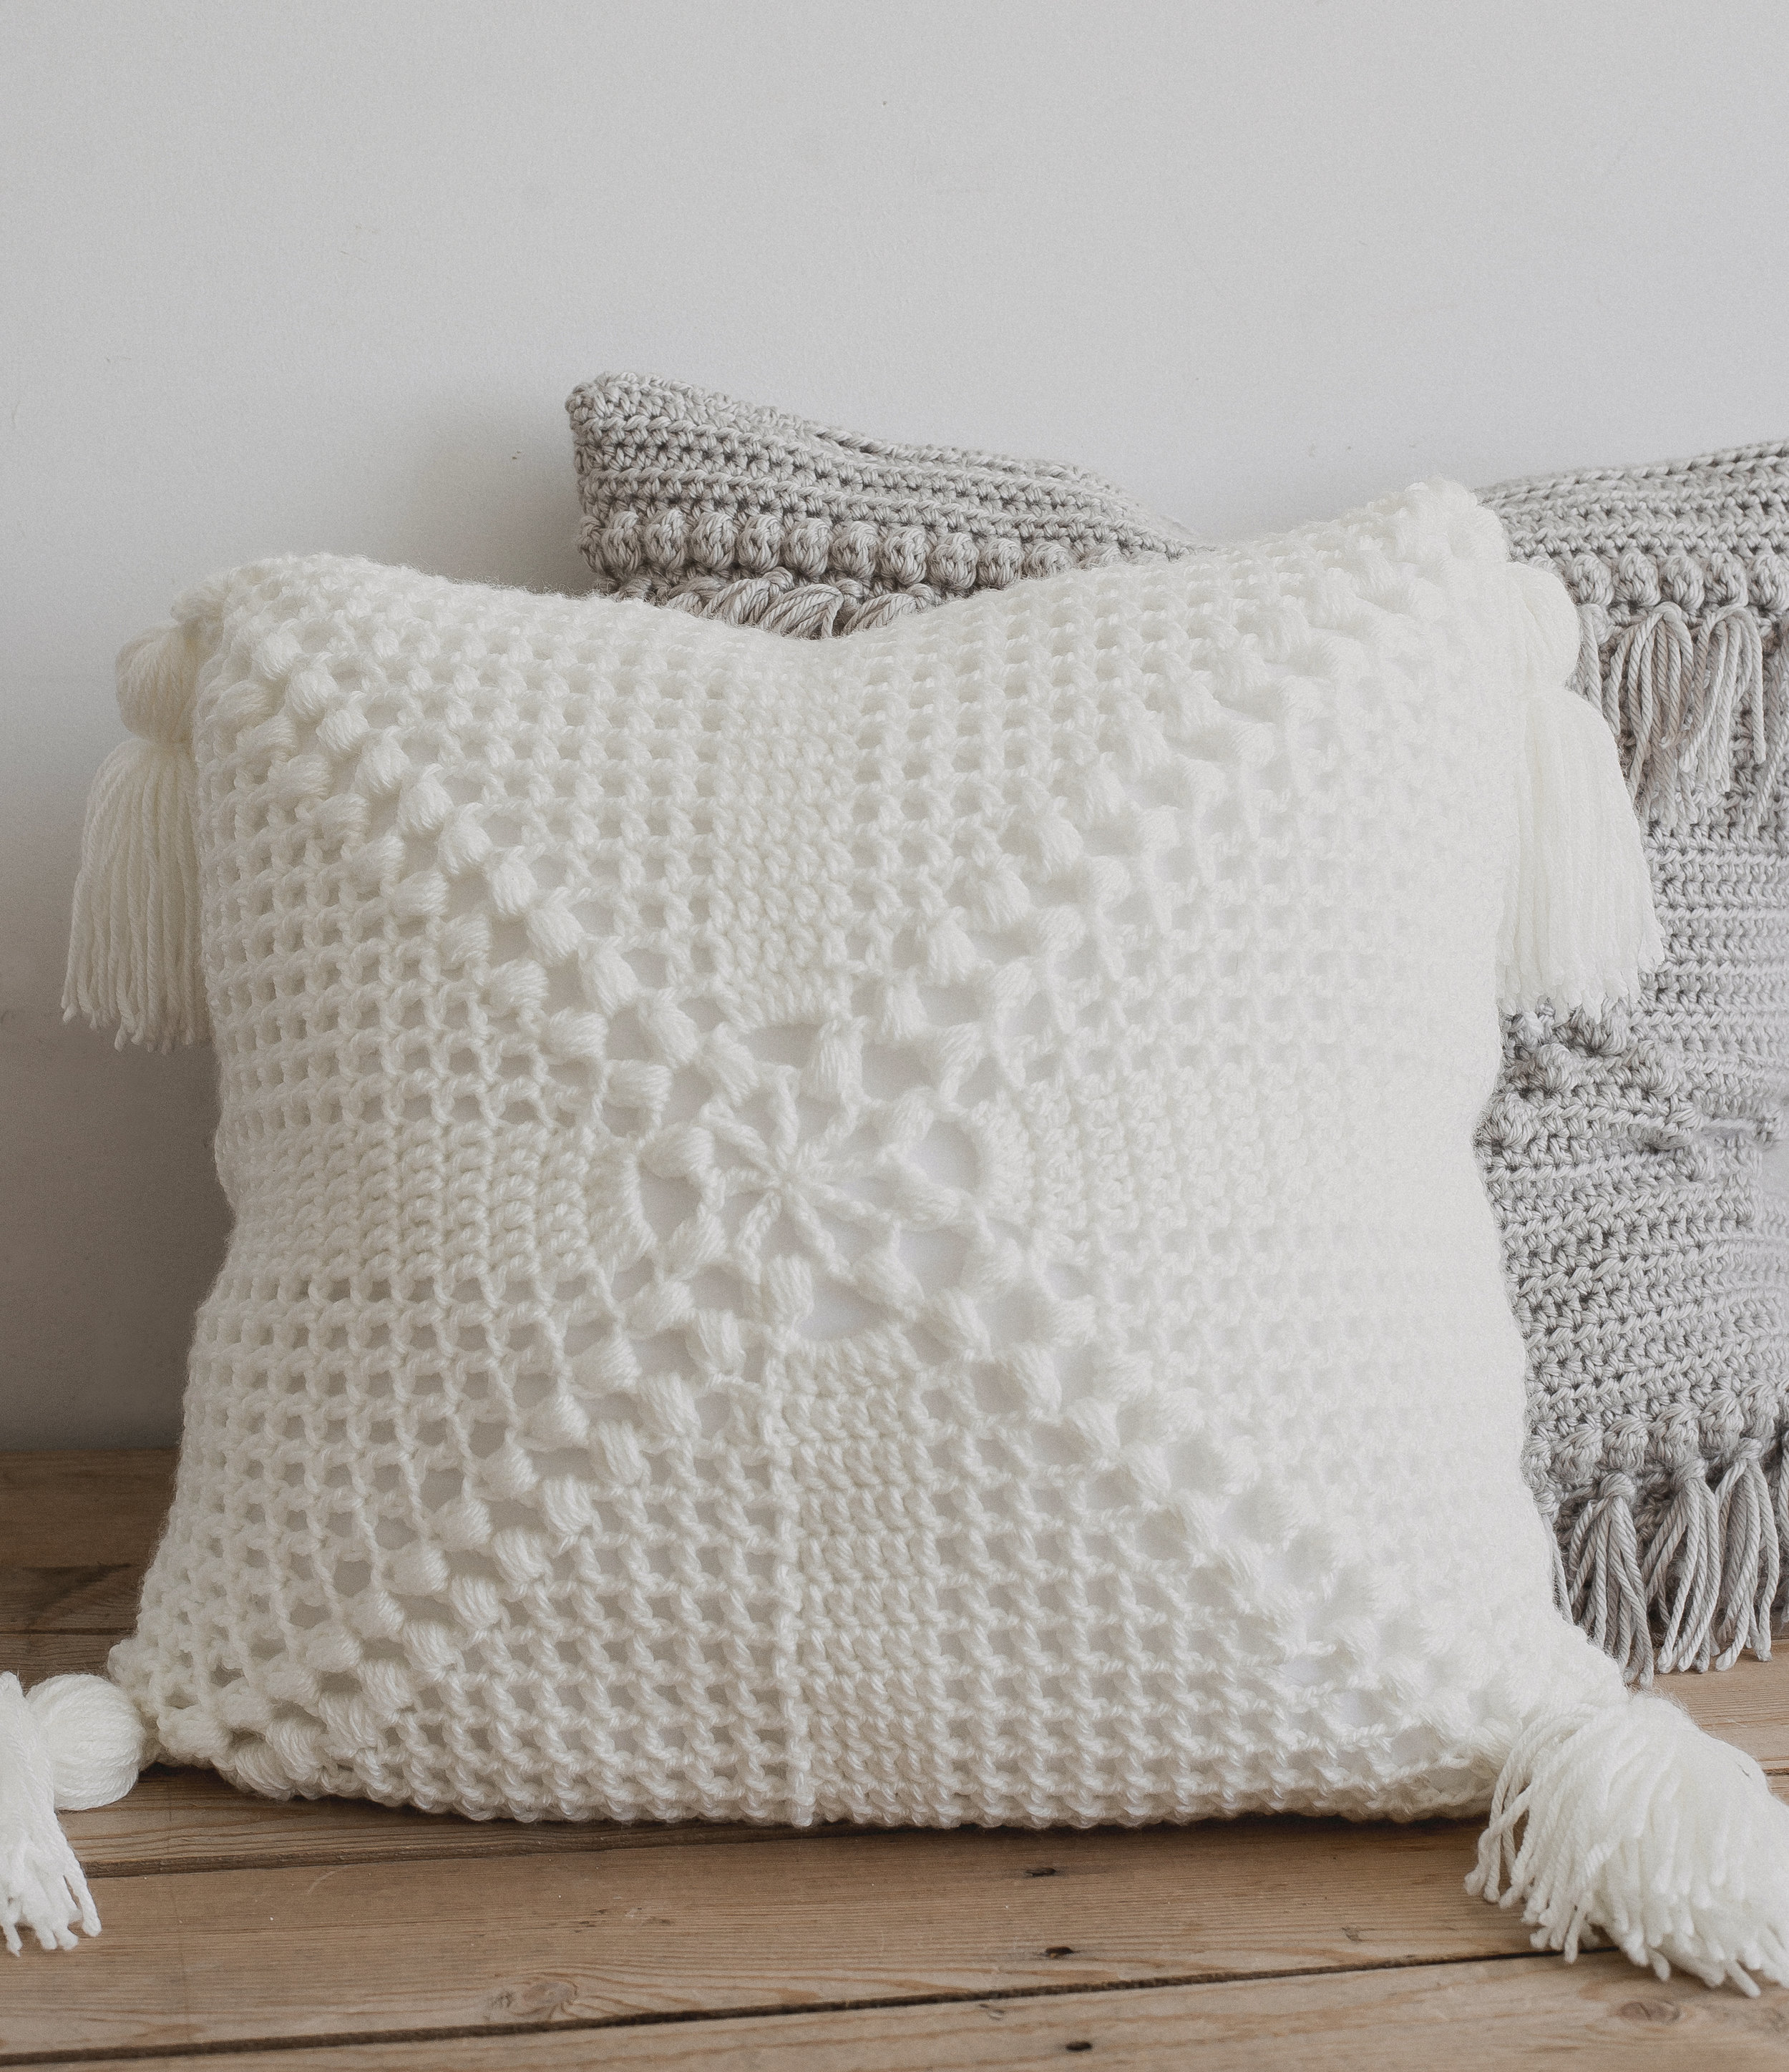
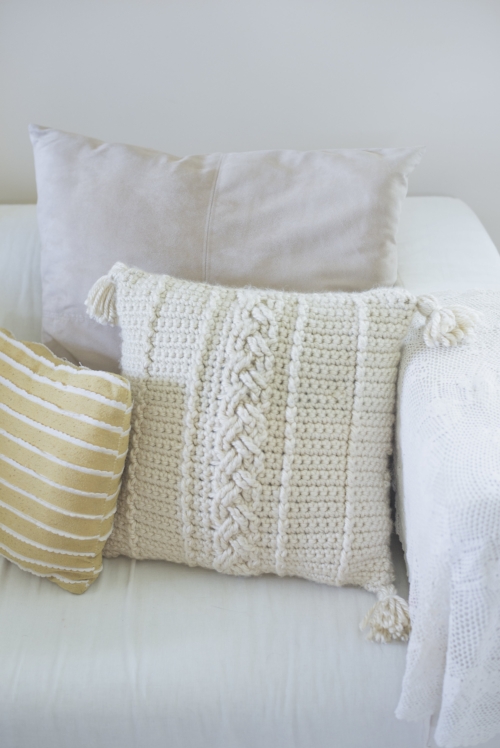
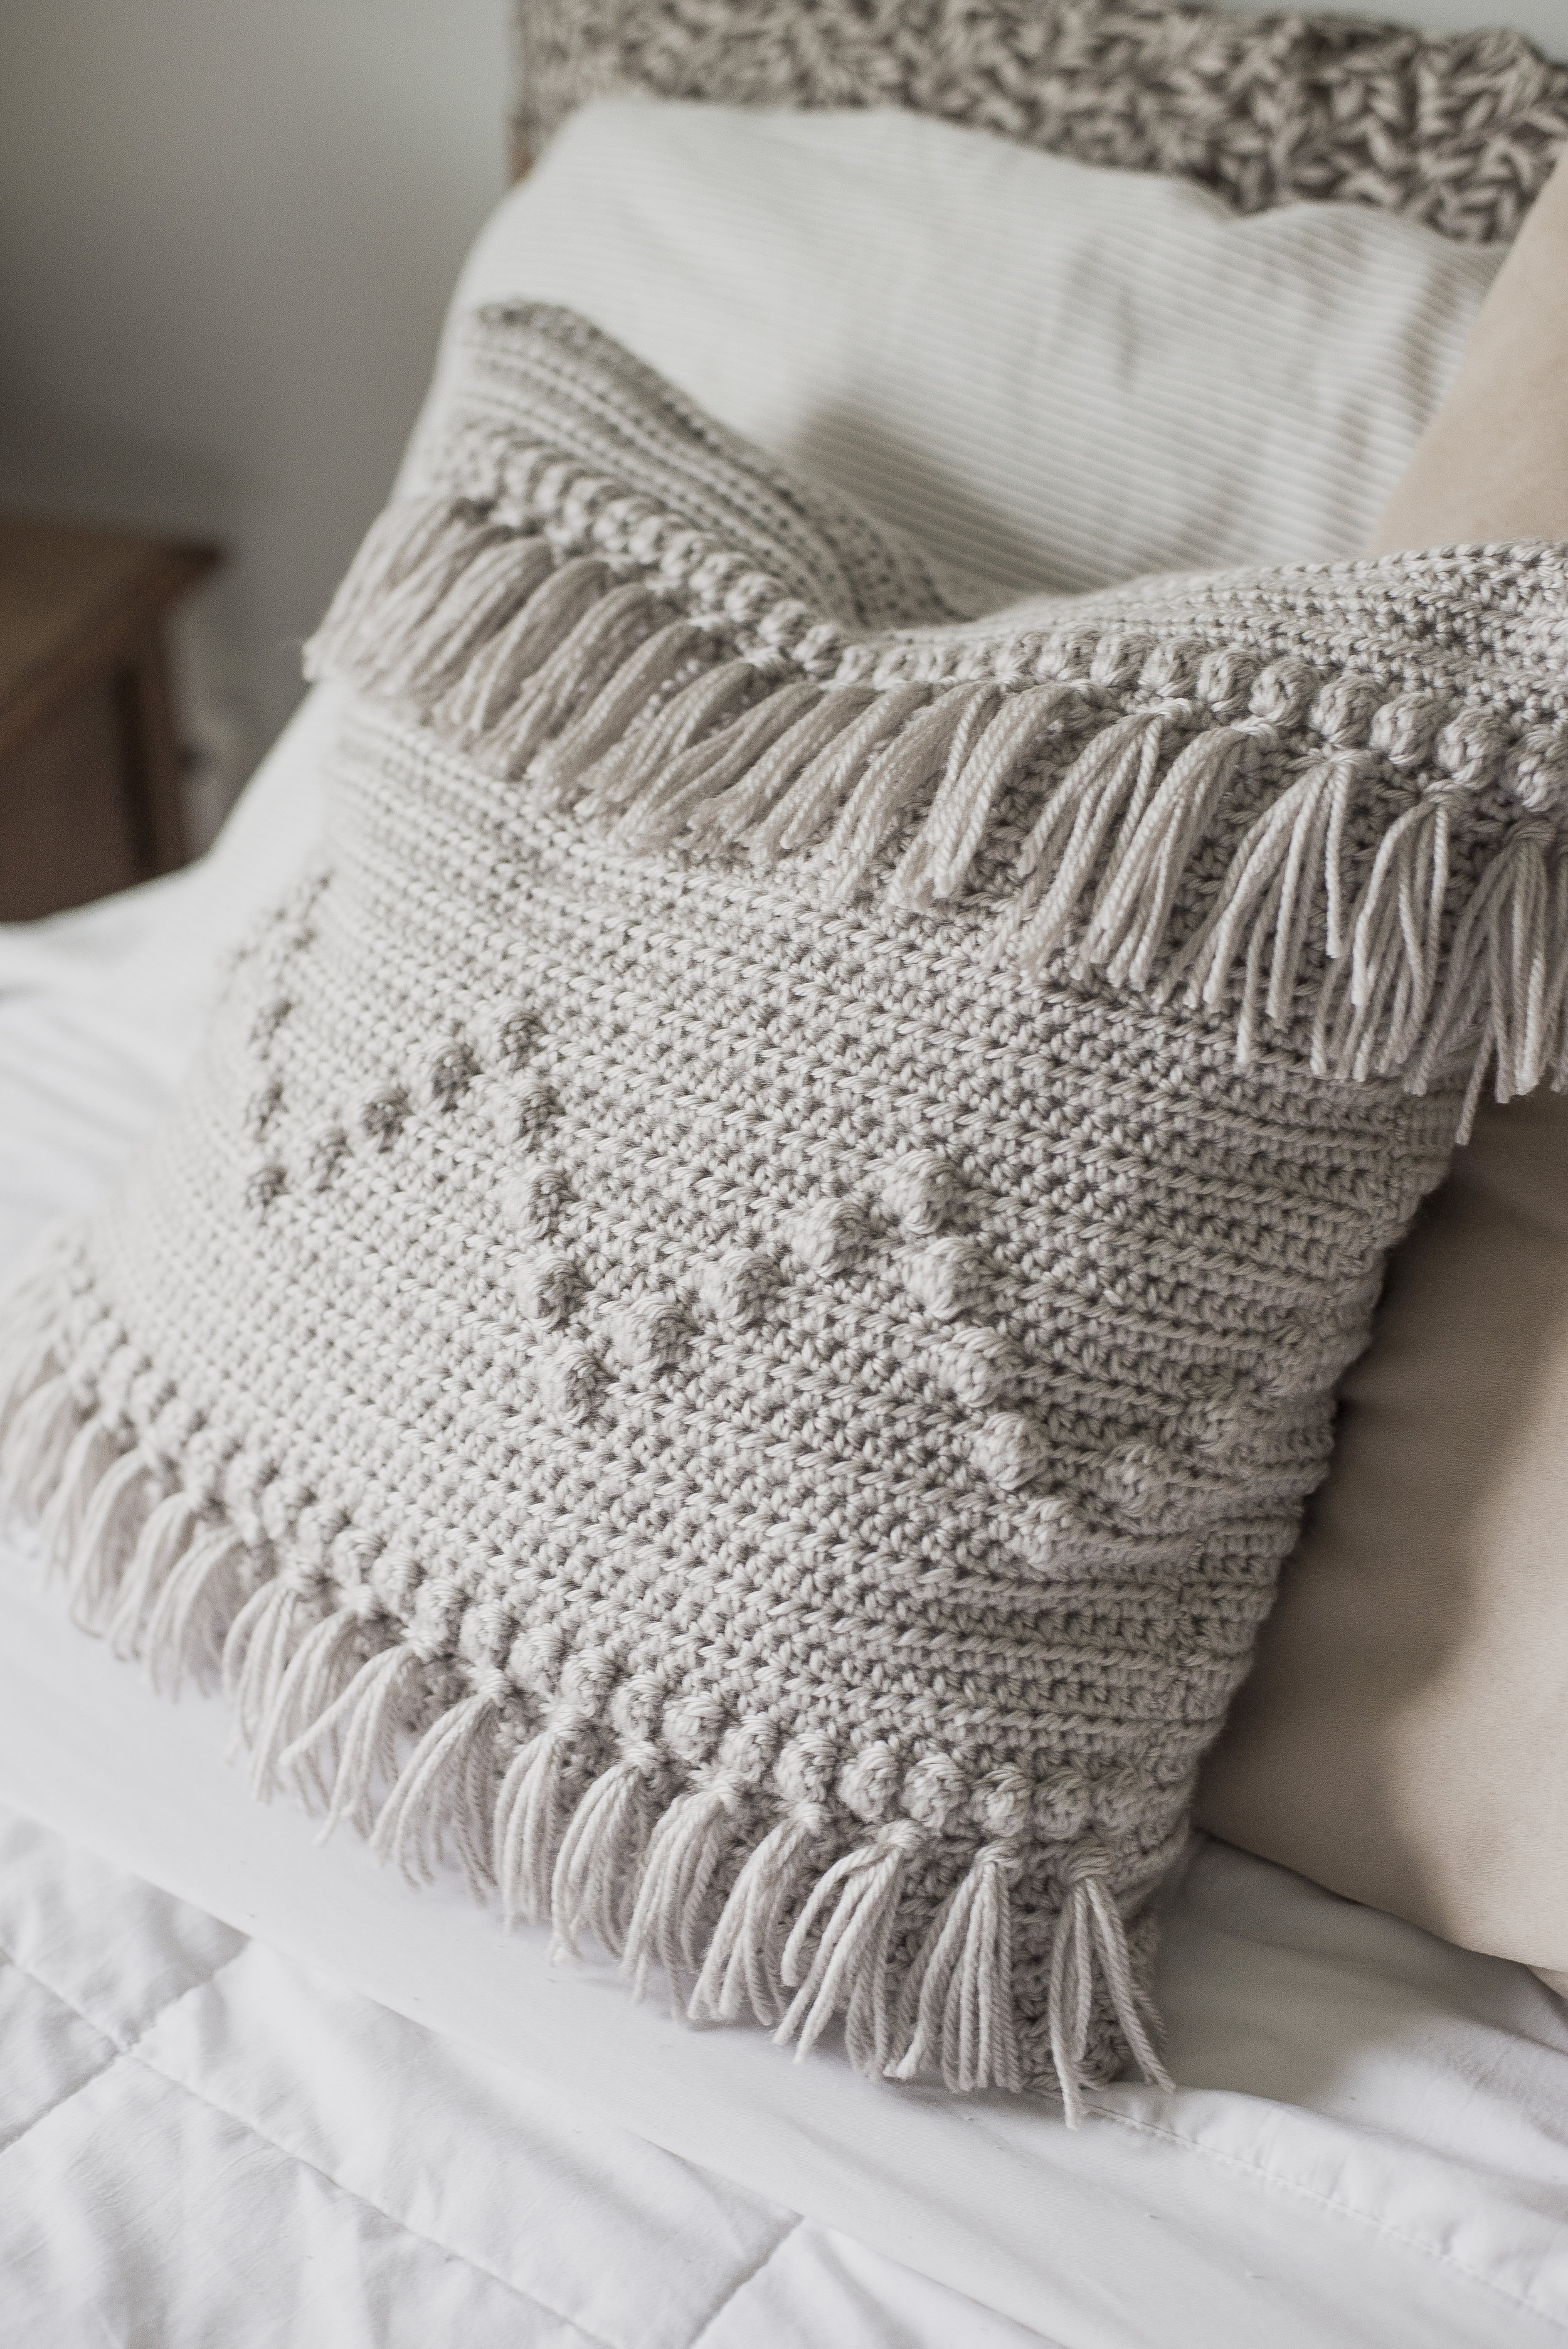
I'm so happy to bring you this pillow pattern today! It's got the perfect amount of spunk, while still sporting some laid-back simple vibes. It makes the perfect home decor accessory-- plop it on your couch or use it as a sham on your bed. I reallllly hope you get to make one :)

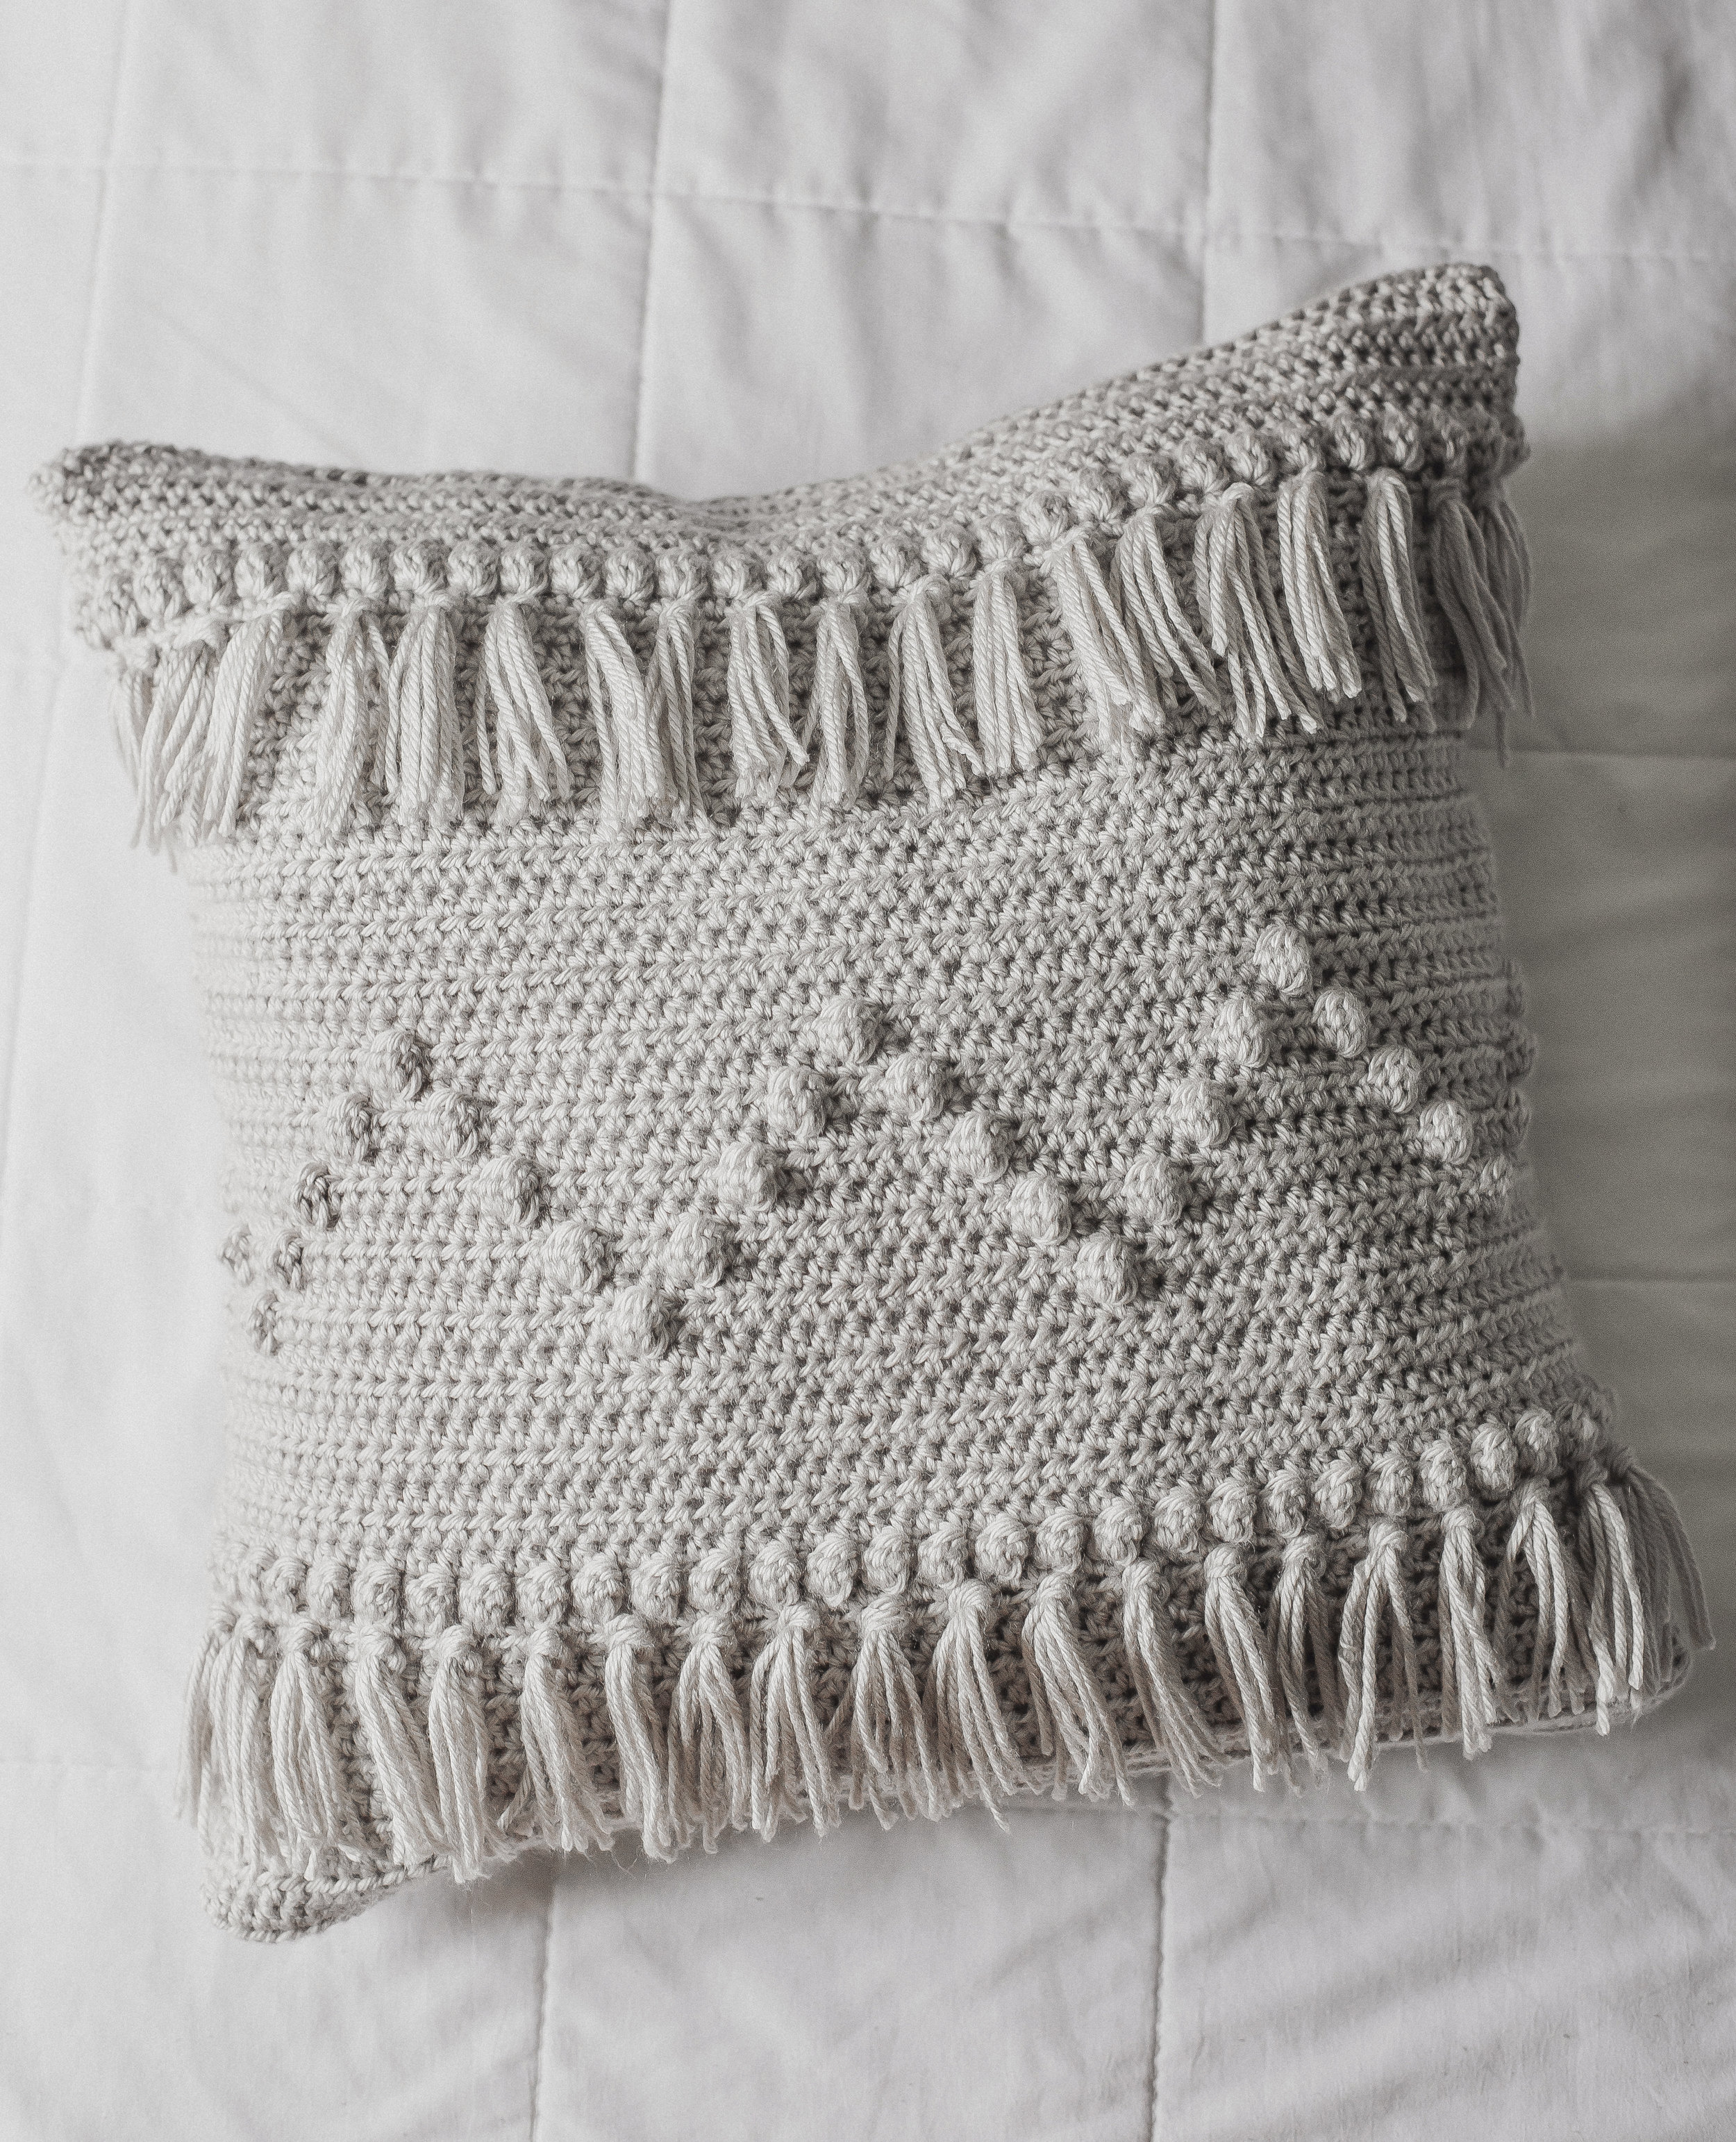
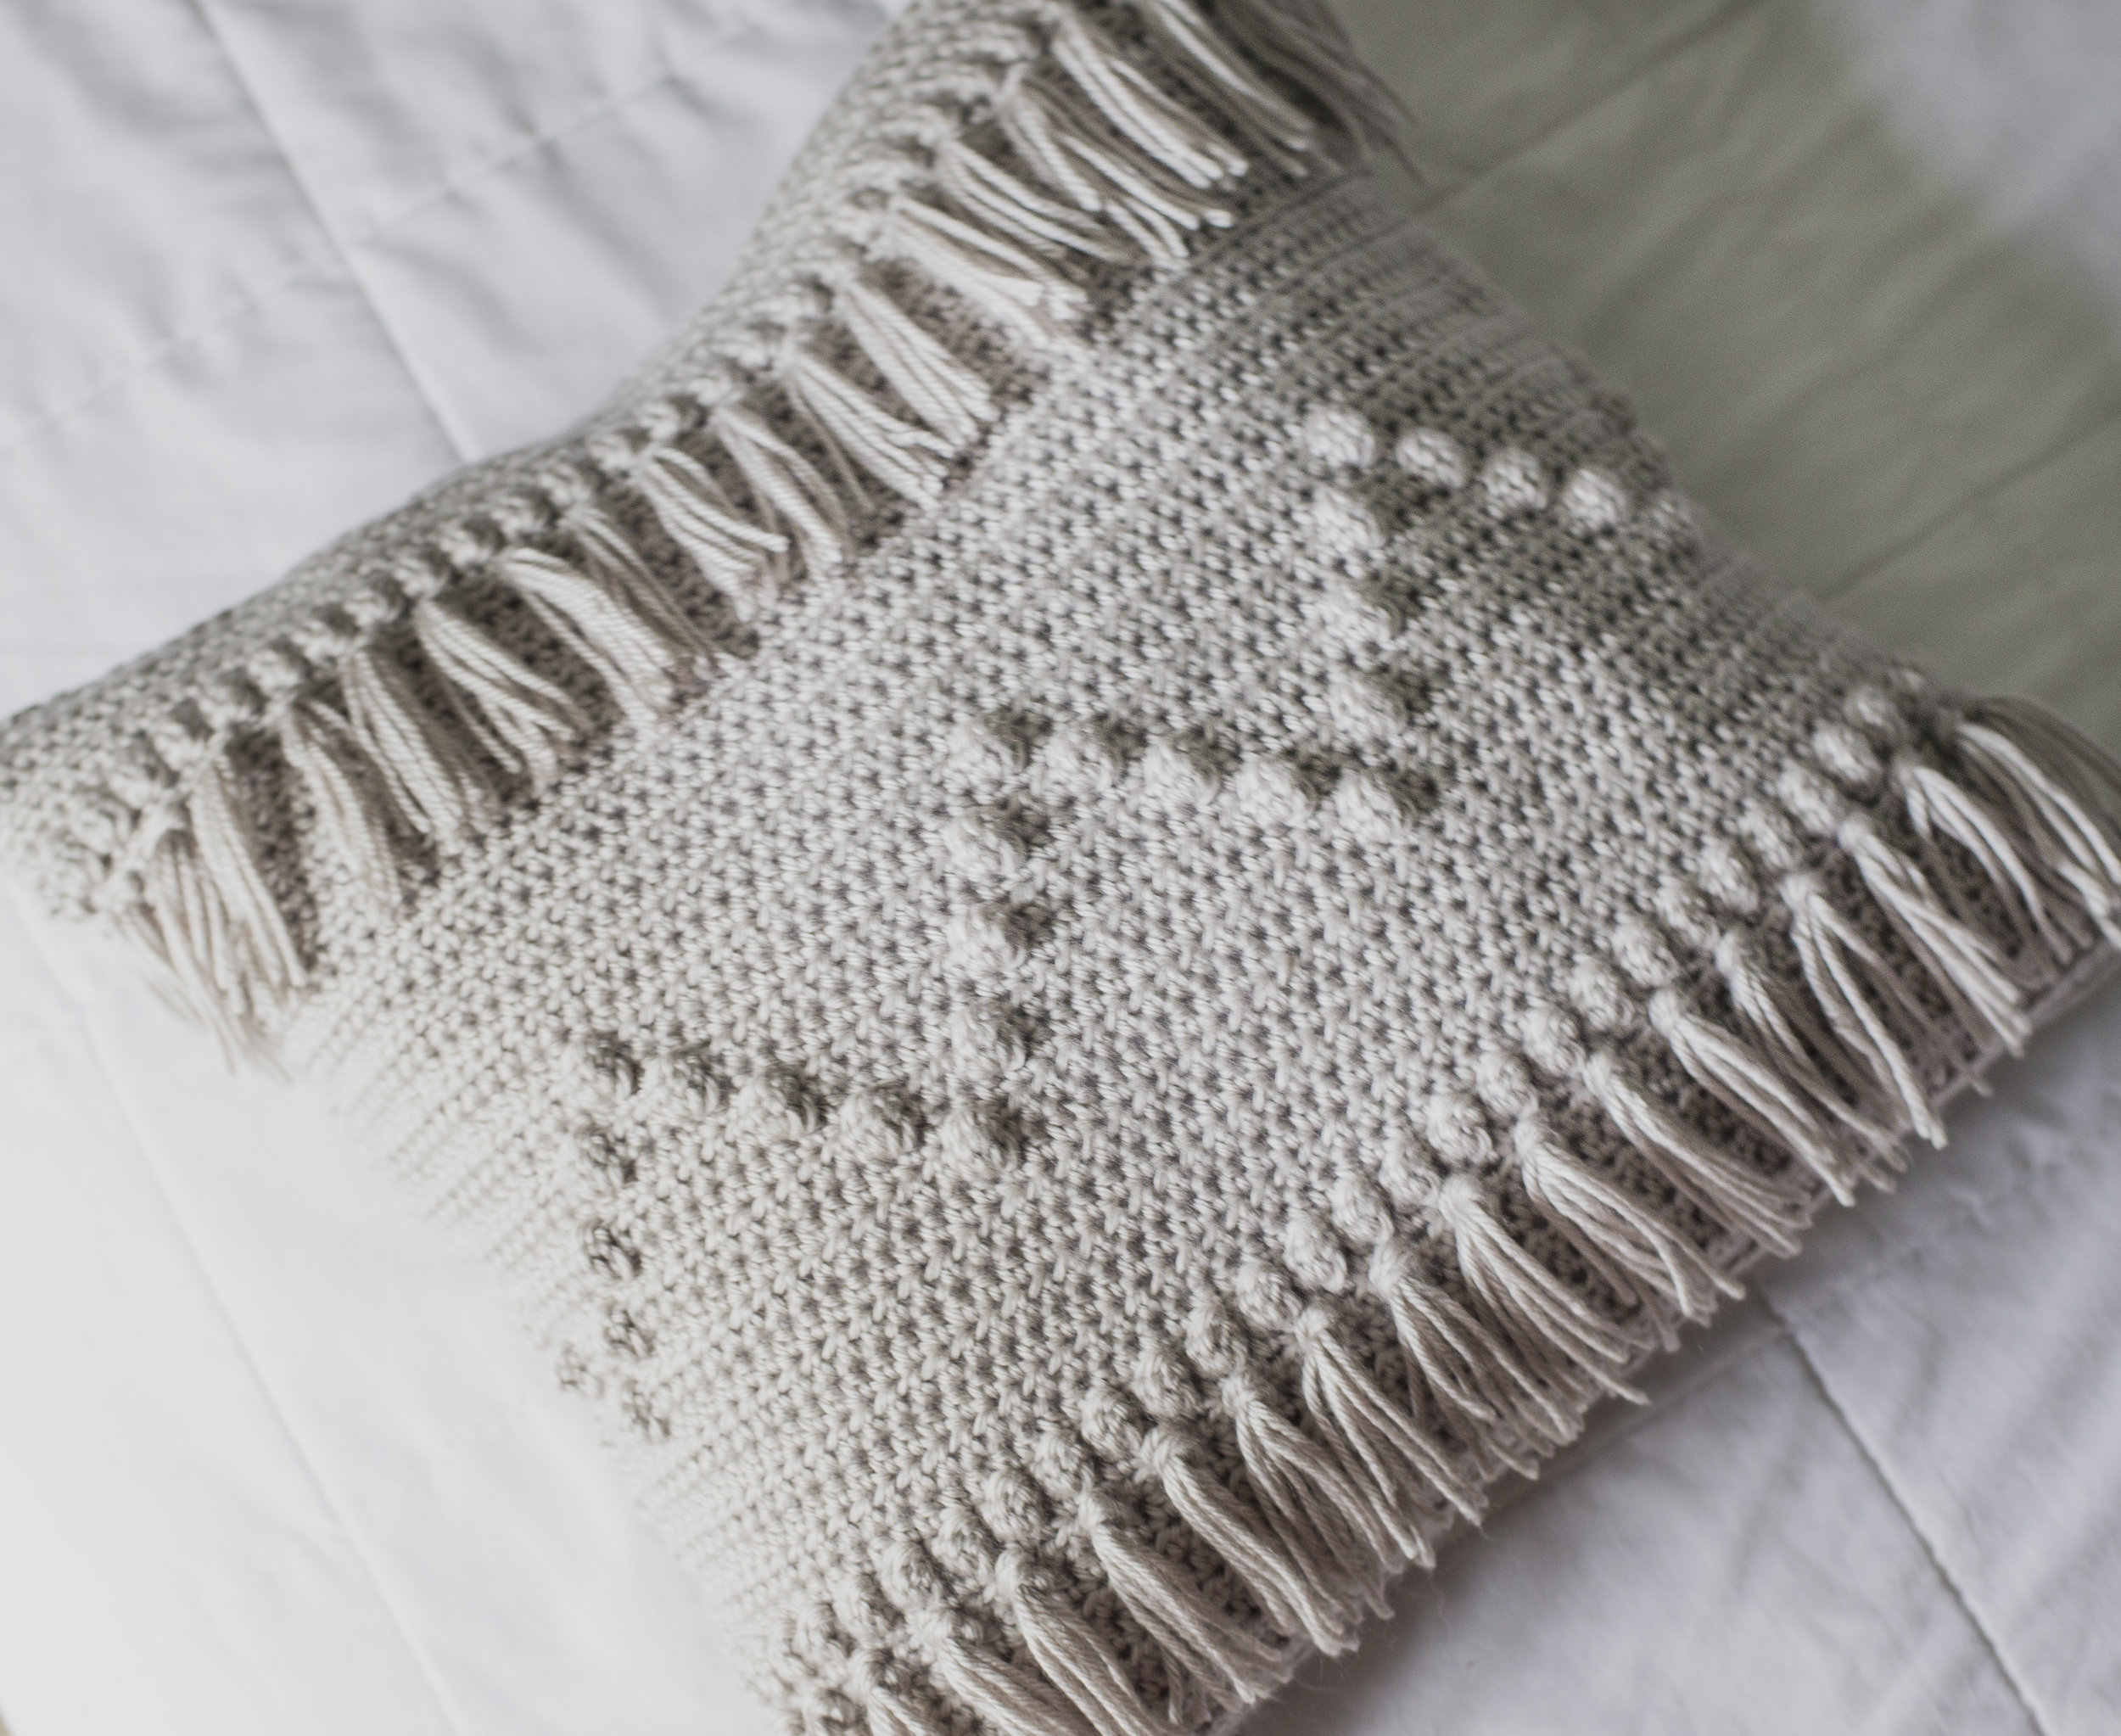
The pillow is made up of half double crochets and bobbles. It's actually quite simple. And the fringe makes the perfect finishing touch if ya ask me.
For this project I used Main Street Yarn, Shiny + Soft found over on loveknitting.com.. This is a newer yarn of theirs, and lemme tell ya, I am a fan. I actually have a series of pillow designs using this yarn set to be released this month, so get pumped! (or sick and tired of seeing pillows on here?? haha)

This pillow is closed in the back using little half-inch buttons, which make the cutest little details in my opinion.
I hope you approve of the Funky Fringe Pillow, and get to make one of your own! Gather all your stuff and get started... I took lots of pics of the assembly to make things a bit easier for you :)
What you'll need:
-Approximately 550 yards of worsted weight (4) yarn (I used two skeins of Main Street Yarn Shiny + Soft in Light Grey, linked HERE - I totally recommend this yarn, I love it)
-size h (5 mm) hook, or hook size to obtain gauge
-18" x 18" pillow, you could easily make your own or I just bought a two-pack of the pre-made pillows at Walmart
- 4-8 half-inch buttons
-yarn needle
-needle and thread (for buttons)
-sewing pins, optional
Measurements:
Finished pillow cover measures approximately 18" by 18"
Gauge:
13 hdc by 11 rows equals a four-inch square
Abbreviations:
ch=chain, st(s)=stitch(es), hdc=half double crochet, dc=double crochet, bo=bobble stitch (see notes for explanation)
Notes:
-chains at the beginning of rows do not count as stitches
-this is a pillow cover that is worked in three pieces: one full front and two back pieces that are connected using buttons. This pattern calls for 1/2 inch buttons because this size fits through the natural holes of the crochet. Which means you could use any amount of buttons you'd like.
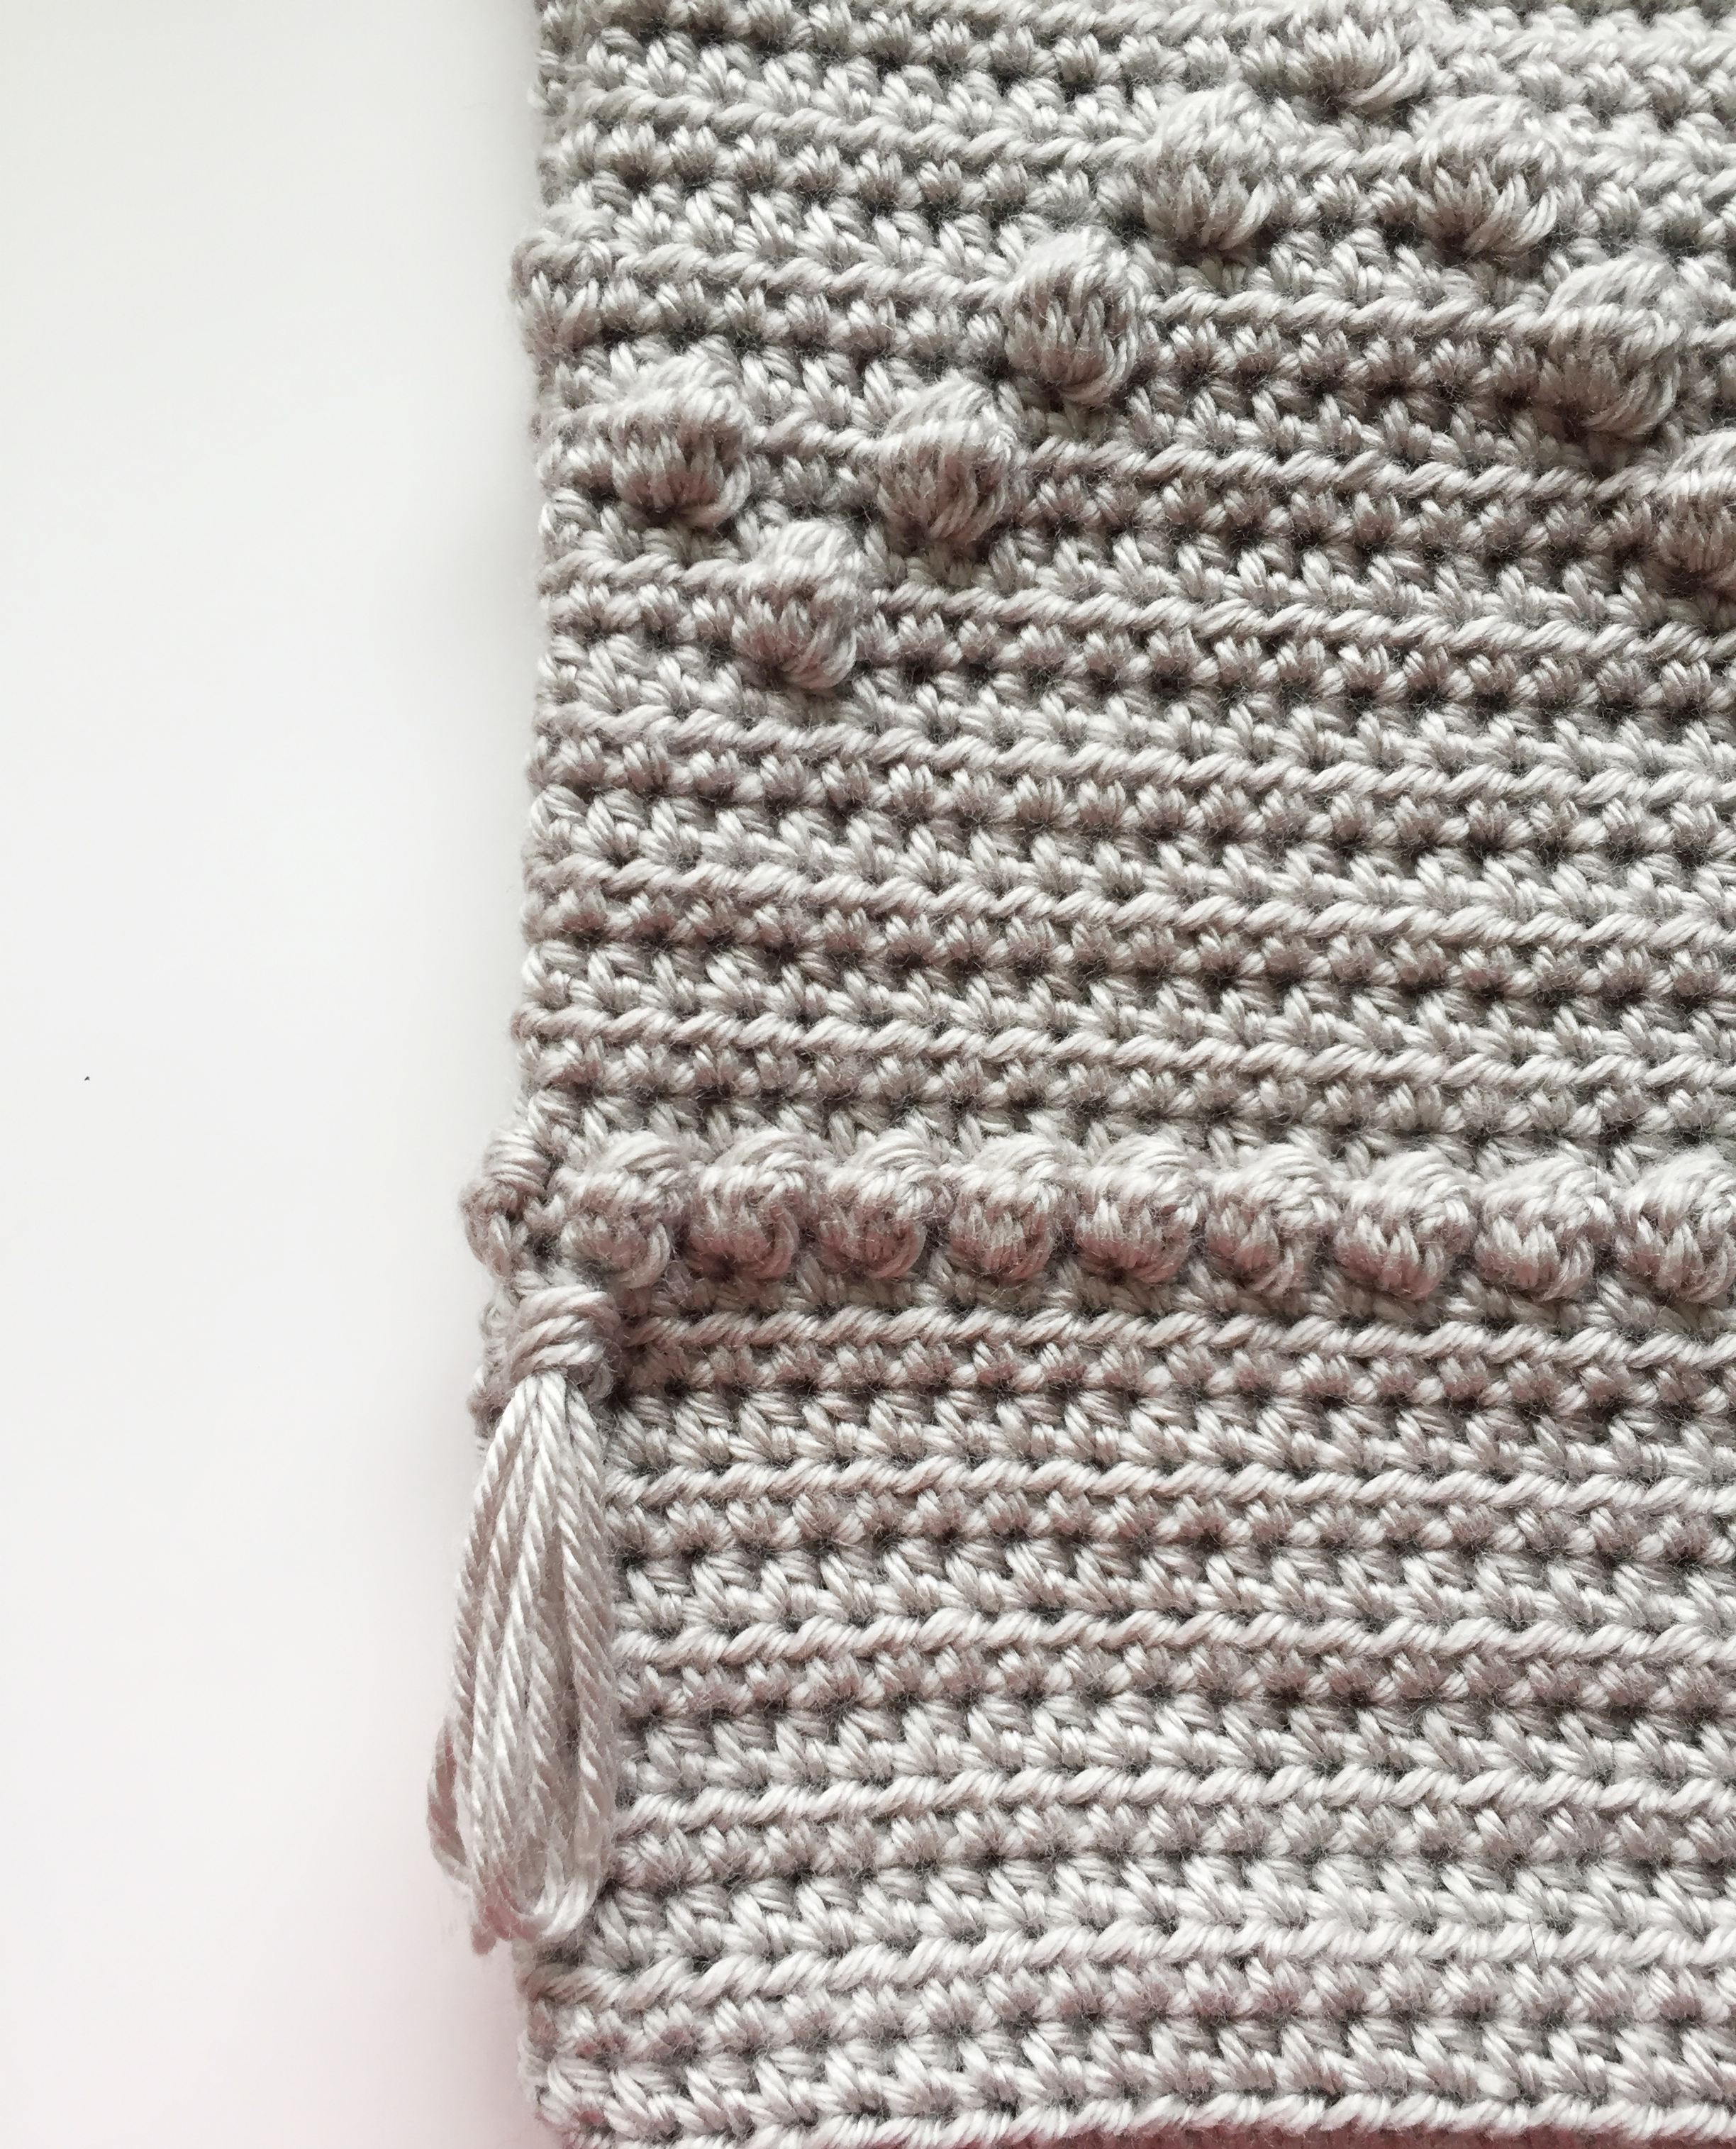
-**important: the bobbles for this pillow are four-dc bobbles. Meaning you will be working four partial dc's before you complete the bobble stitch. Below is a description of the bobble stitch I'm using for this pillow:
bo: yo, insert hook into designated stitch, draw loop back through, yo, draw through first two loops on your hook, [yo, insert hook into the same stitch, draw loop back through, yo, draw through first two loops on your hook], repeat [ ] two more times, you will end up with five loops on your hook, yo, and pull through all five loops to complete the bobble stitch
-pattern is written in US terms
Pattern:
Front side of pillow:
Row 1) ch 61, hdc in 2nd ch from hook and across (60 total sts-- and for the remainder of piece)
Rows 2 - 12) ch 1, turn, hdc across row
Row 13) ch 1, turn, [bo, hdc] across row
Rows 14 - 20) ch 1, turn, hdc across row
Row 21) ch 1, turn, hdc in 4 sts, bo, [hdc in 15 sts, bo] 3 times, hdc in last 7 sts
Row 22) ch 1, turn, hdc across row
Row 23) ch 1, turn, hdc in 2 sts, [bo, hdc in 3 sts, bo, hdc in 11 sts] 3 times, bo, hdc in 3 sts, bo, hdc in last 5 sts
Row 24) ch 1, turn, hdc across row
Row 25) ch 1, turn, bo, [hdc in 7 sts, bo] 7 times, hdc in last 3 sts
Row 26) ch 1, turn, hdc across row
Row 27) ch 1, turn, hdc in 10 sts, [bo, hdc in 3 sts, bo, hdc in 11 sts] 3 times, bo, hdc in last st
Row 28) ch 1, turn, hdc across row
Row 29) ch 1, turn, hdc in 12 sts, [bo, hdc in 15 sts] 3 times
Rows 30 - 44) ch 1, turn, hdc across row
Row 45) ch 1, turn, [bo, hdc] across row
Rows 46 - 50) ch 1, turn, hdc across row
Finish off (you can leave an extra long tail for sewing the pillow together)
Back pieces (make 2):
Row 1) ch 61, hdc into 2nd ch from hook and across (60 total sts, and for remainder of piece)
Rows 2 - 28) ch 1, turn, hdc across row
Finish off
Assembly:

To sew the pillow together, you will layer the front side facing in (or right side up) and layer the two back pieces on top of it. You will align all the outside edges, then let the middle overlap- this is where your buttons will be sewn on.

The above photo shows the two back pieces overlapping over the front piece.
At this point you can pin the pieces together, and using your yarn needle and long yarn tail, sew around the entire perimeter of the pillow. Be sure when you're working on the overlapped parts that you get all the edges when sewing-- you will be working through all 3 pieces (2 back and front). I used a whip stitch over the very edge of the pillow, making sure not to sew too tightly.
Once you make it all the way around, you will weave in ends and turn right side out.

To sew on the buttons, first you'll want to arrange them out to get them all spaced evenly. I used four because that's all I had of this type of button, I wouldn't have minded having more buttons. Make sure before you sew them on though that they fit through your crochet. Half-inch buttons should fit through the natural holes of your pieces.

When you've figured out where your buttons will go, you will then sew them onto the under side, the bottom back piece using needle and thread. I sewed mine on at the second row down, as seen in the photo above.

The top piece will come down over your button and you'll slip it through on of the holes in your crochet piece to close it. After your buttons are done, you're ready for the fringe...

For the fringe, I cut pieces of yarn measuring 26 inches in length then wrapped them around my hand like in the photo above. You could also use a piece of cardboard about 3 inches wide. It ended up being wrapped 4 times. Then I slid it off my hand...

And took the side that had all the loops on it, and was ready to attach it to the front side of my pillow. I used a crochet hook to draw the fringe through and I put fringe below each of the straight bobble rows.
Side note: the bottom of the pillow is "row 1"

Pull the loops through with your hook, but not all the way through...

Then you'll take the side with the two spare ends and pull it through your looped end-- using your crochet hook. You're essentially just tying the bunch of yarn onto your pillow.
Then you'll just pull the ends through and adjust your knot to your liking. Repeat that all the way across on both the top and bottom of the pillow. I put fringe every couple of stitches on the pillow. To secure the fringe even more, you could sew along the knots using yarn needle and piece of yarn. I actually plan on doing this, so I can wash it without worrying the fringe will fall out.
Once all my fringe pieces were on the pillow, then I cut all the ends, and made sure they were all even.
And then, my friend, once the funky fringe is on... your pillow is complete! What a fun and textured piece, right?! I could see this looking great in so many colors. I'm pretty sure a matching one is in order for my house. Hope you liked this pattern! If you end up completing one, do please snap a pic and share with me over on Instagram, I'd love to admire it :)
Take care and happy hooking!
Meg