Free Crochet Pattern for the Cabled Throw Pillow
/
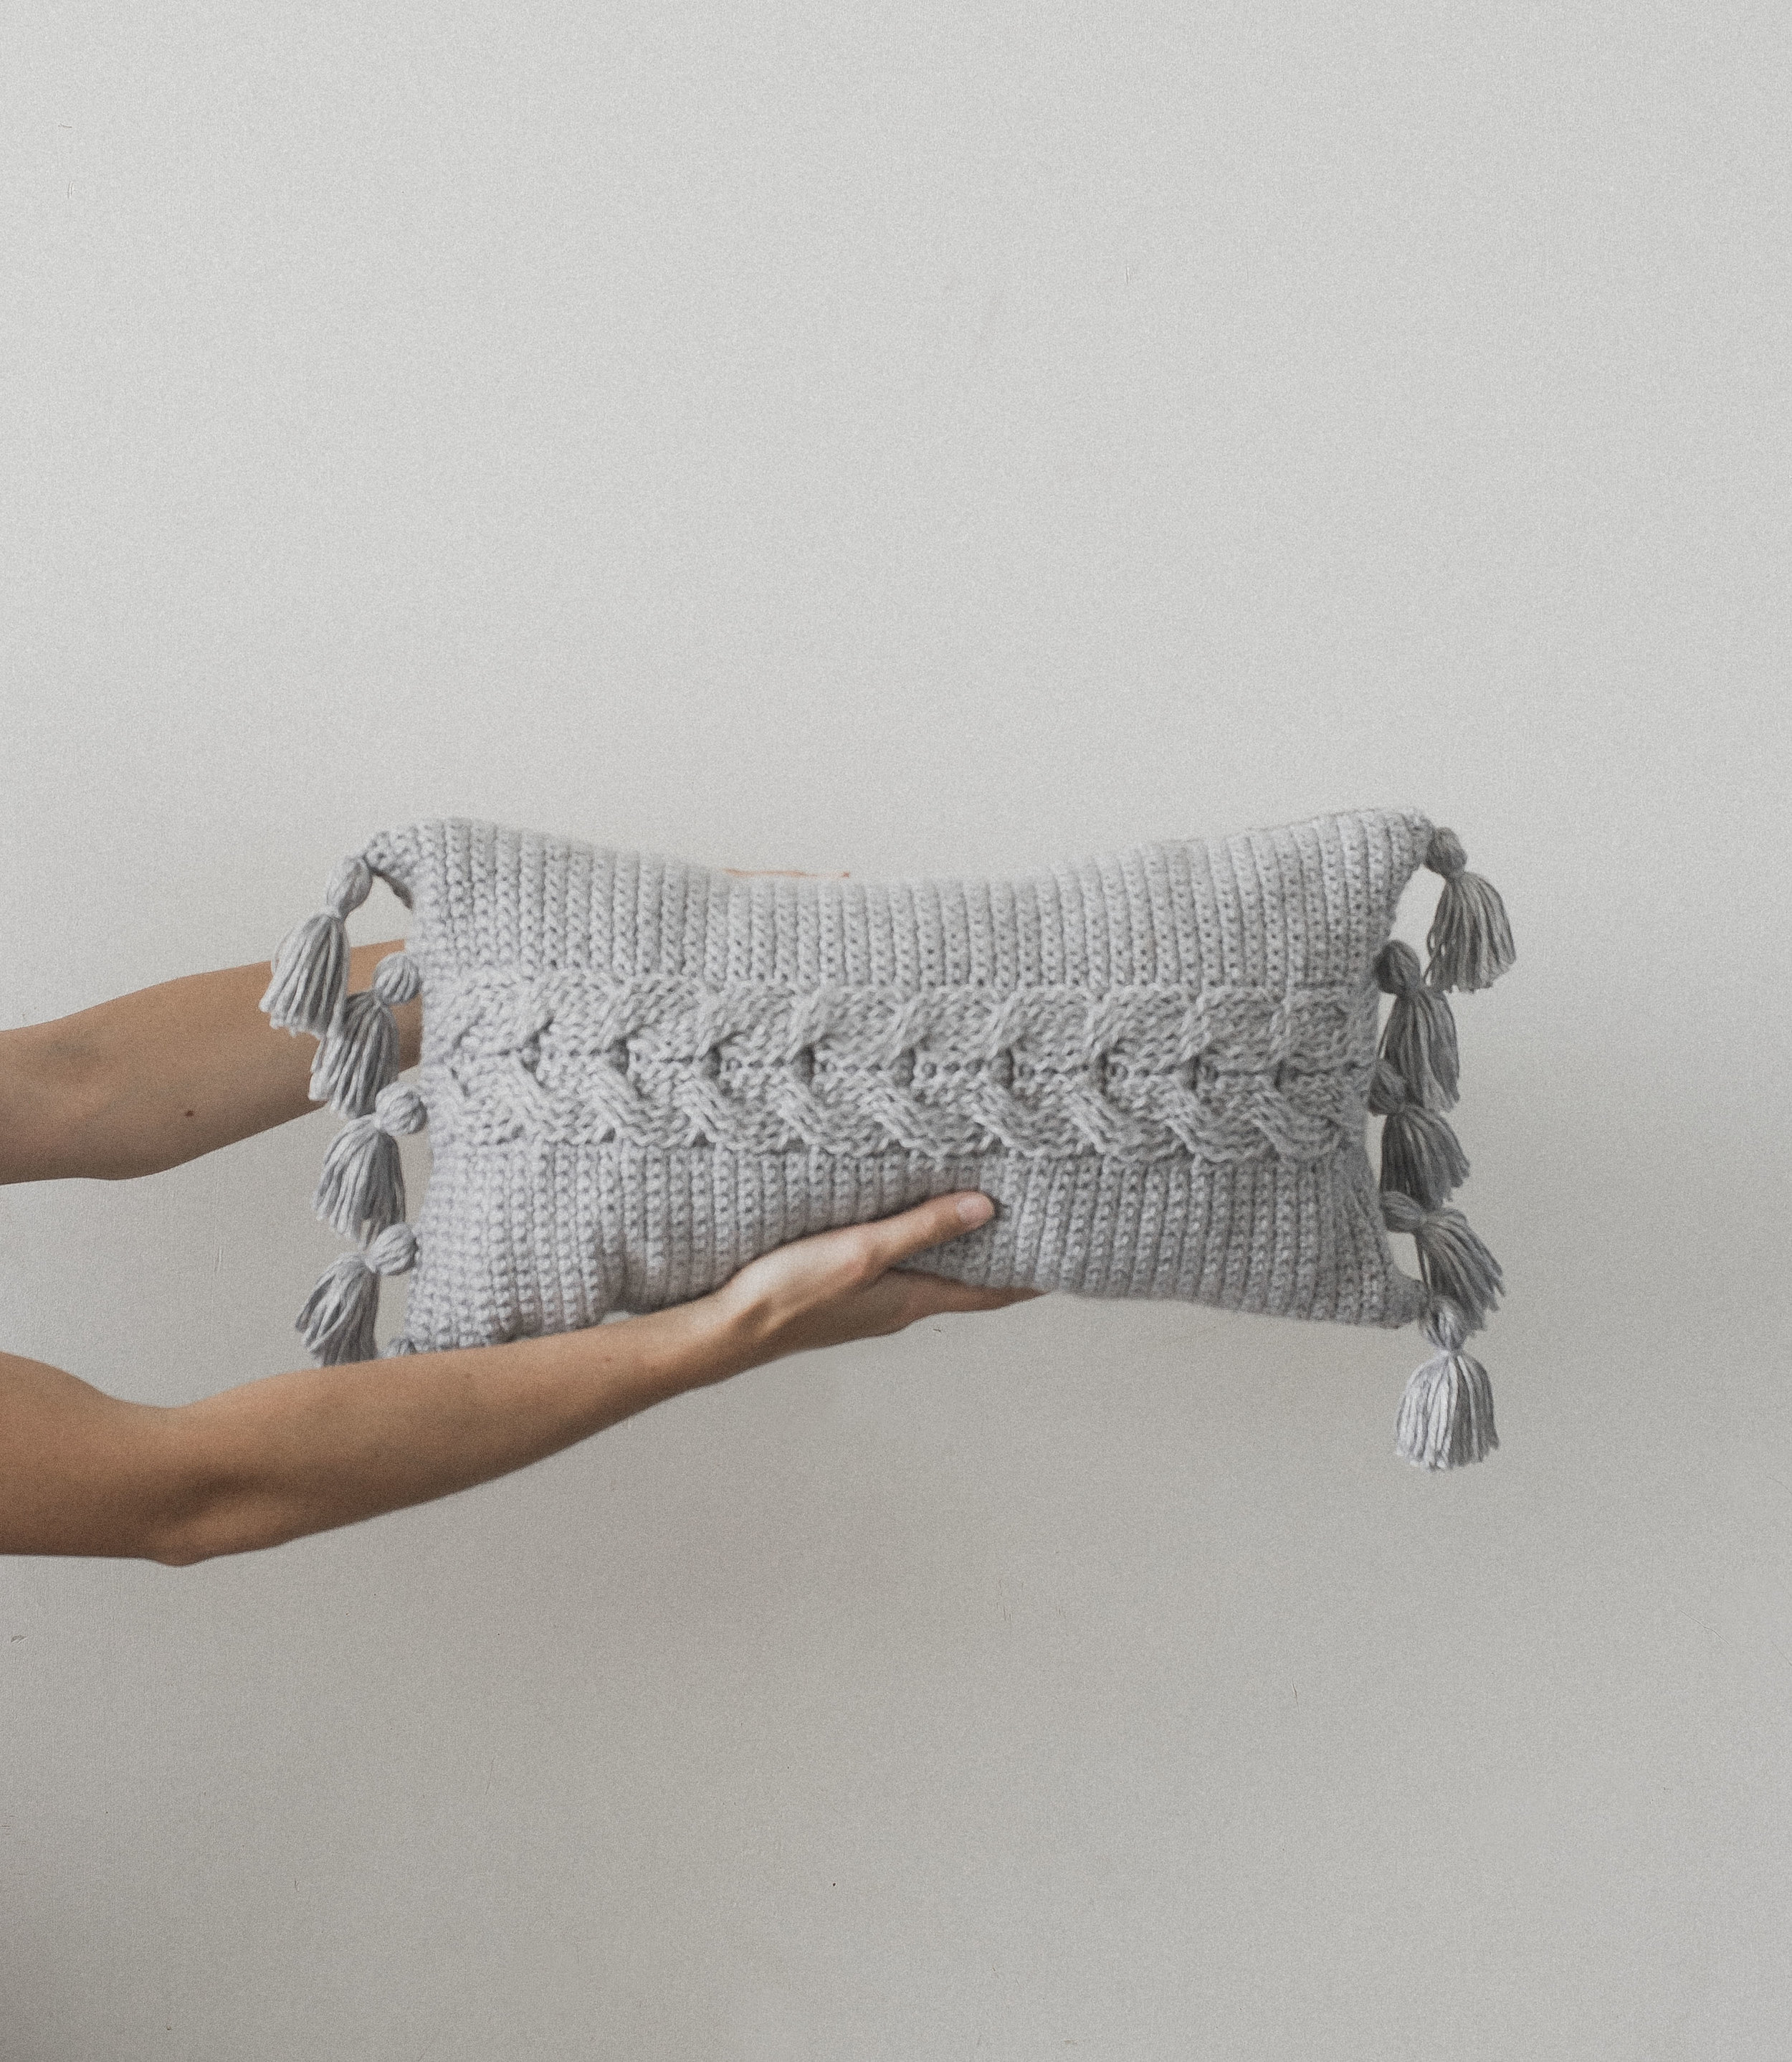
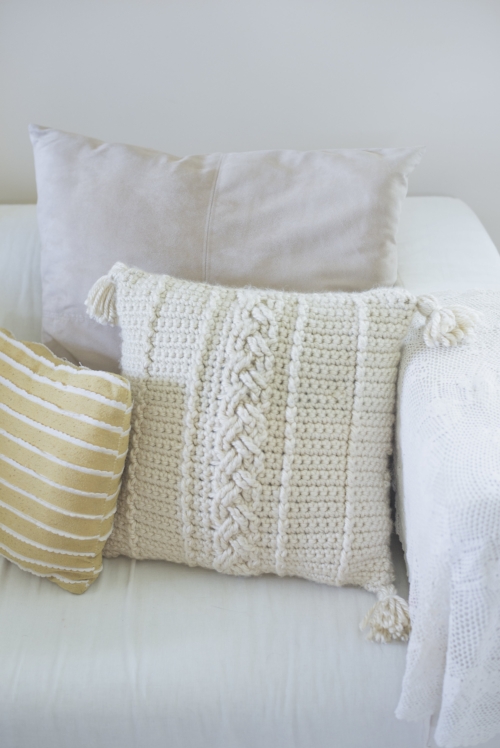
Are you sick of seeing pillows yet?! 😂 Cuz lemme tell ya, I feel like I could design pillows for daysssss (don't fret, this is the last one for a bit, ha!). Today I've got the last design of the pillow series, and it's a cute one. I love the simplicity of this little throw that features a line of cables going down the middle-- I think it'd make the perfect finishing touch to any bedding set!

Speaking of bed sets... the pillow that goes inside this crocheted cover was actually from a previous set I had, and I really just didn't like the look of it.. it had some embroidered flowers on it that were just, blegh. Now, me being the thrifty gal I am I took it as a challenge to see what I could come up with to be able to reuse it. And then comes the idea of doing a cabled throw pillow!

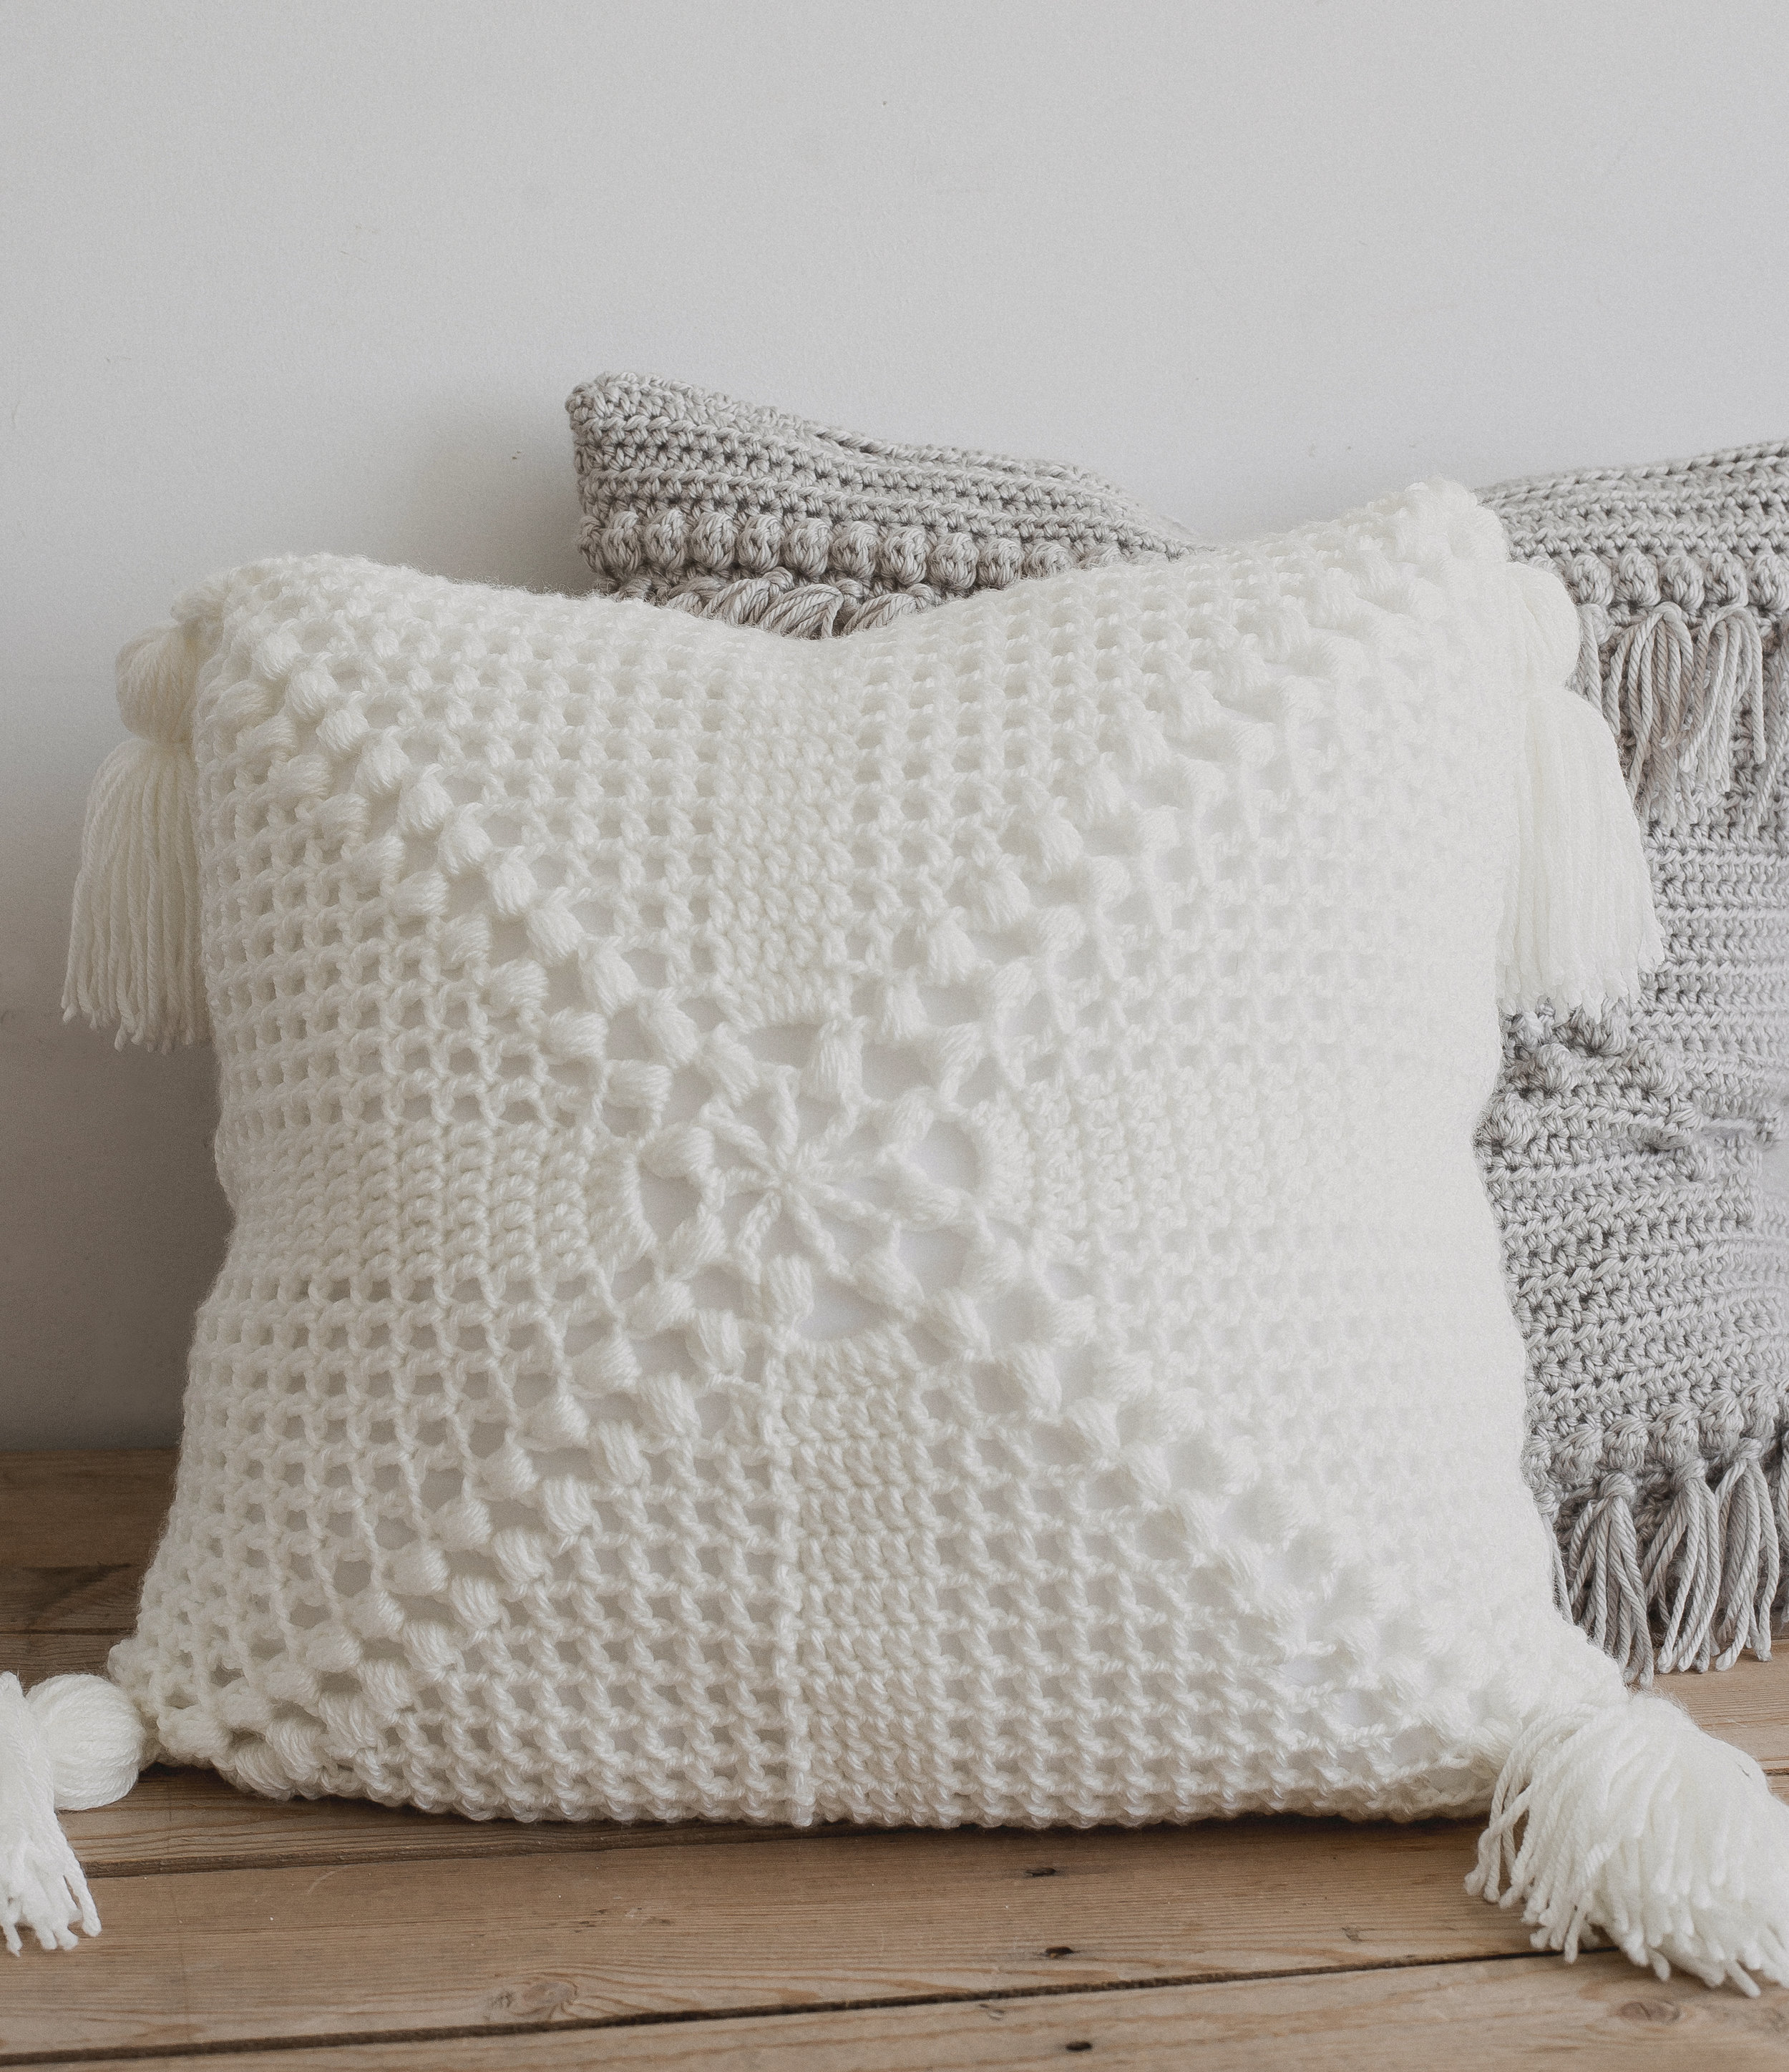
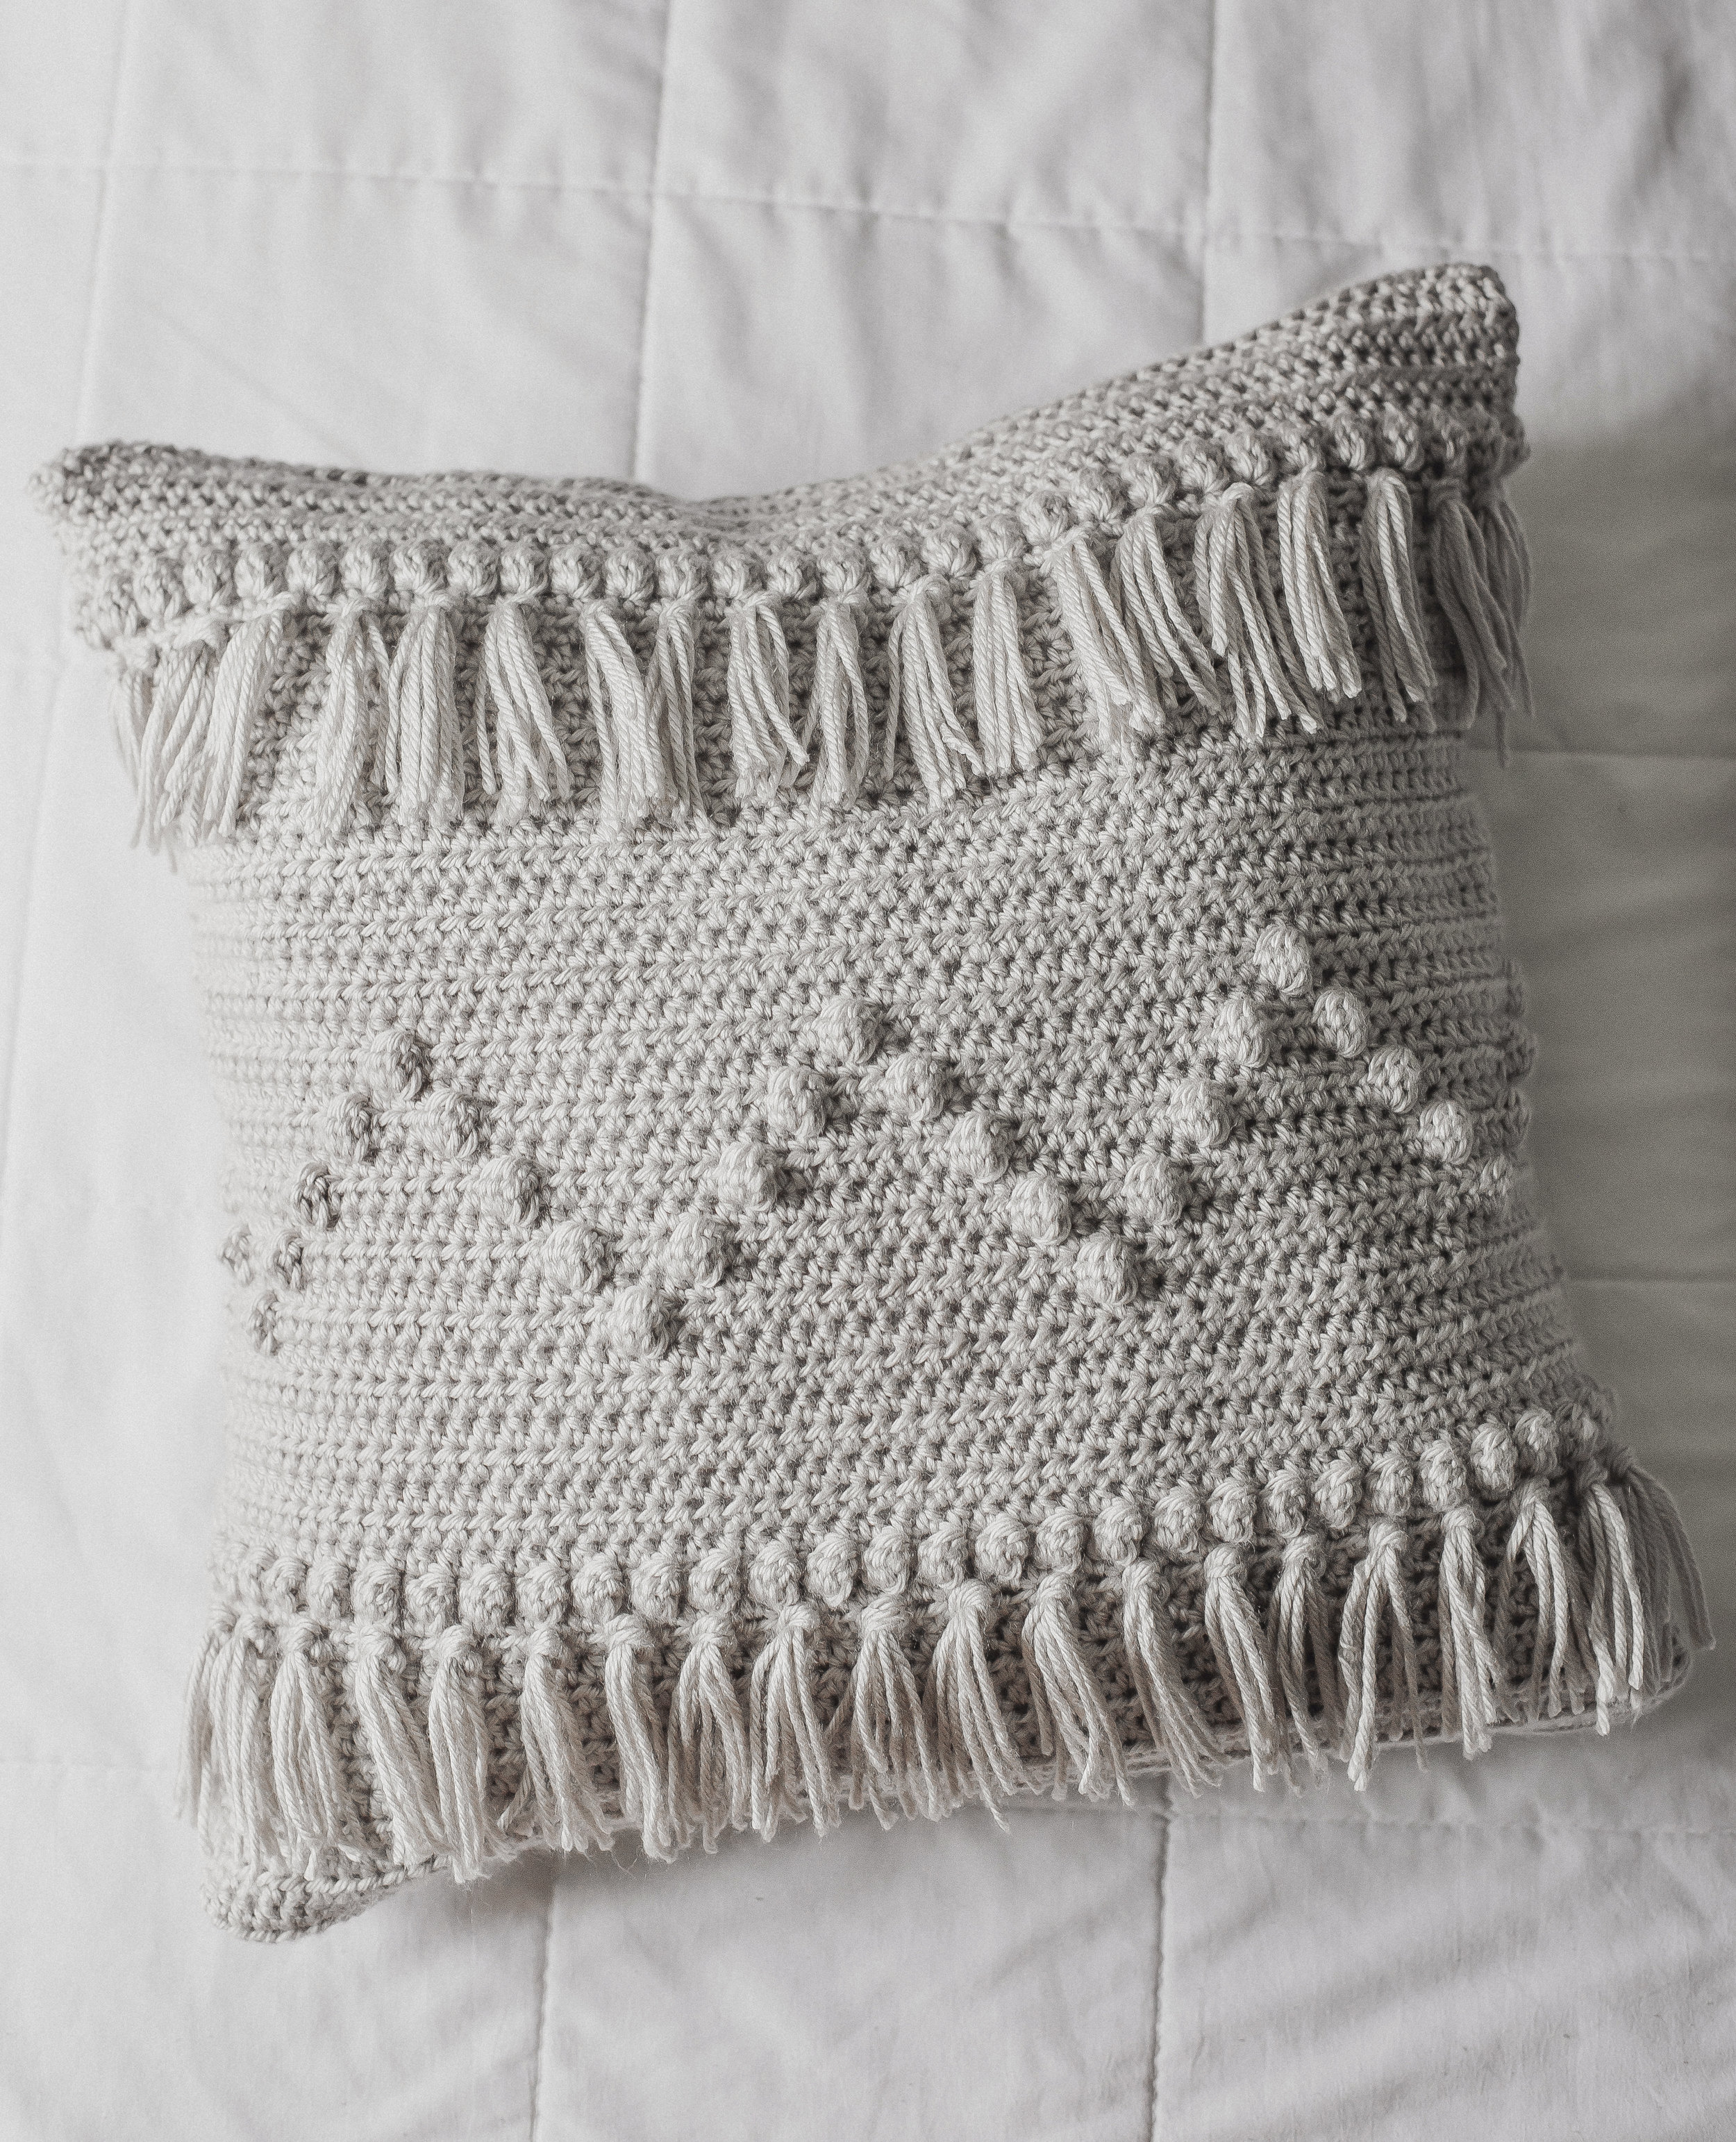
I think it fits in perfectly with the two previous pillows (see the Funky Fringe Pillow here and the Cottage Pillow here). All were made with Main Street Yarns Shiny + Soft, and the color scheme is perfect for my home! (they've got lots of good colors to choose from)

I'd like to think the cables on this puppy are actually quite simple... They may look intricate but it's actually a very easy repeat of rows! I took plenty of photos for assistance too.


I was a bit doubtful about the tassels when I was putting them on, but ended up really liking this addition! It ties in with the tassels of the Crochet Cottage Pillow really well. It'd even look good with some fringe too! The back side of the pillow is designed with three buttons & button holes, mostly to make washing easier. You could even rock the back side-out too, I think it looks nice too!
What you'll need:
-Approx. 450 yards of worsted weight yarn (I used two skeins of Main Street Yarns Shiny + Soft in Tweed Grey, linked HERE.. I loved working with this yarn! I also used this yarn for the other pillows of the series this month-- I'm a fan)
-size H hook (5 mm) or size needed to obtain gauge
-10x18 pre-made pillow
-yarn needle
-sewing pins
-needle and thread (for buttons)
-3 one-inch buttons
Gauge:
16 sc by 19 rows equals a four-inch square
Abbreviations:
ch('s)=chain(s), sc=single crochet, st(s)=stitch(es), fpdc=front post double crochet, sk=skip, fptr=front post treble crochet
Notes:
-ch's at beginning of rows do not count as stitches
-pattern is written in US terms
-the pillow is worked in 3 panels: one front panel containing the cables, and two back panels-- one with button holes. This is so it can be removed to wash. You could always make two front panels if you wanted and just sew it closed around the pillow.
-I write it out in the pattern, but I thought a helpful note would be that all the odd rows of the front panel are "sc across" rows.
-when you're working the post stitches (fpdc, fptr) you are working into the post stitches from two rows back, in other words you are skipping past the sc row you just did and working a row below it into the previous row's post stitches.
-below are photos I reference in the pattern:
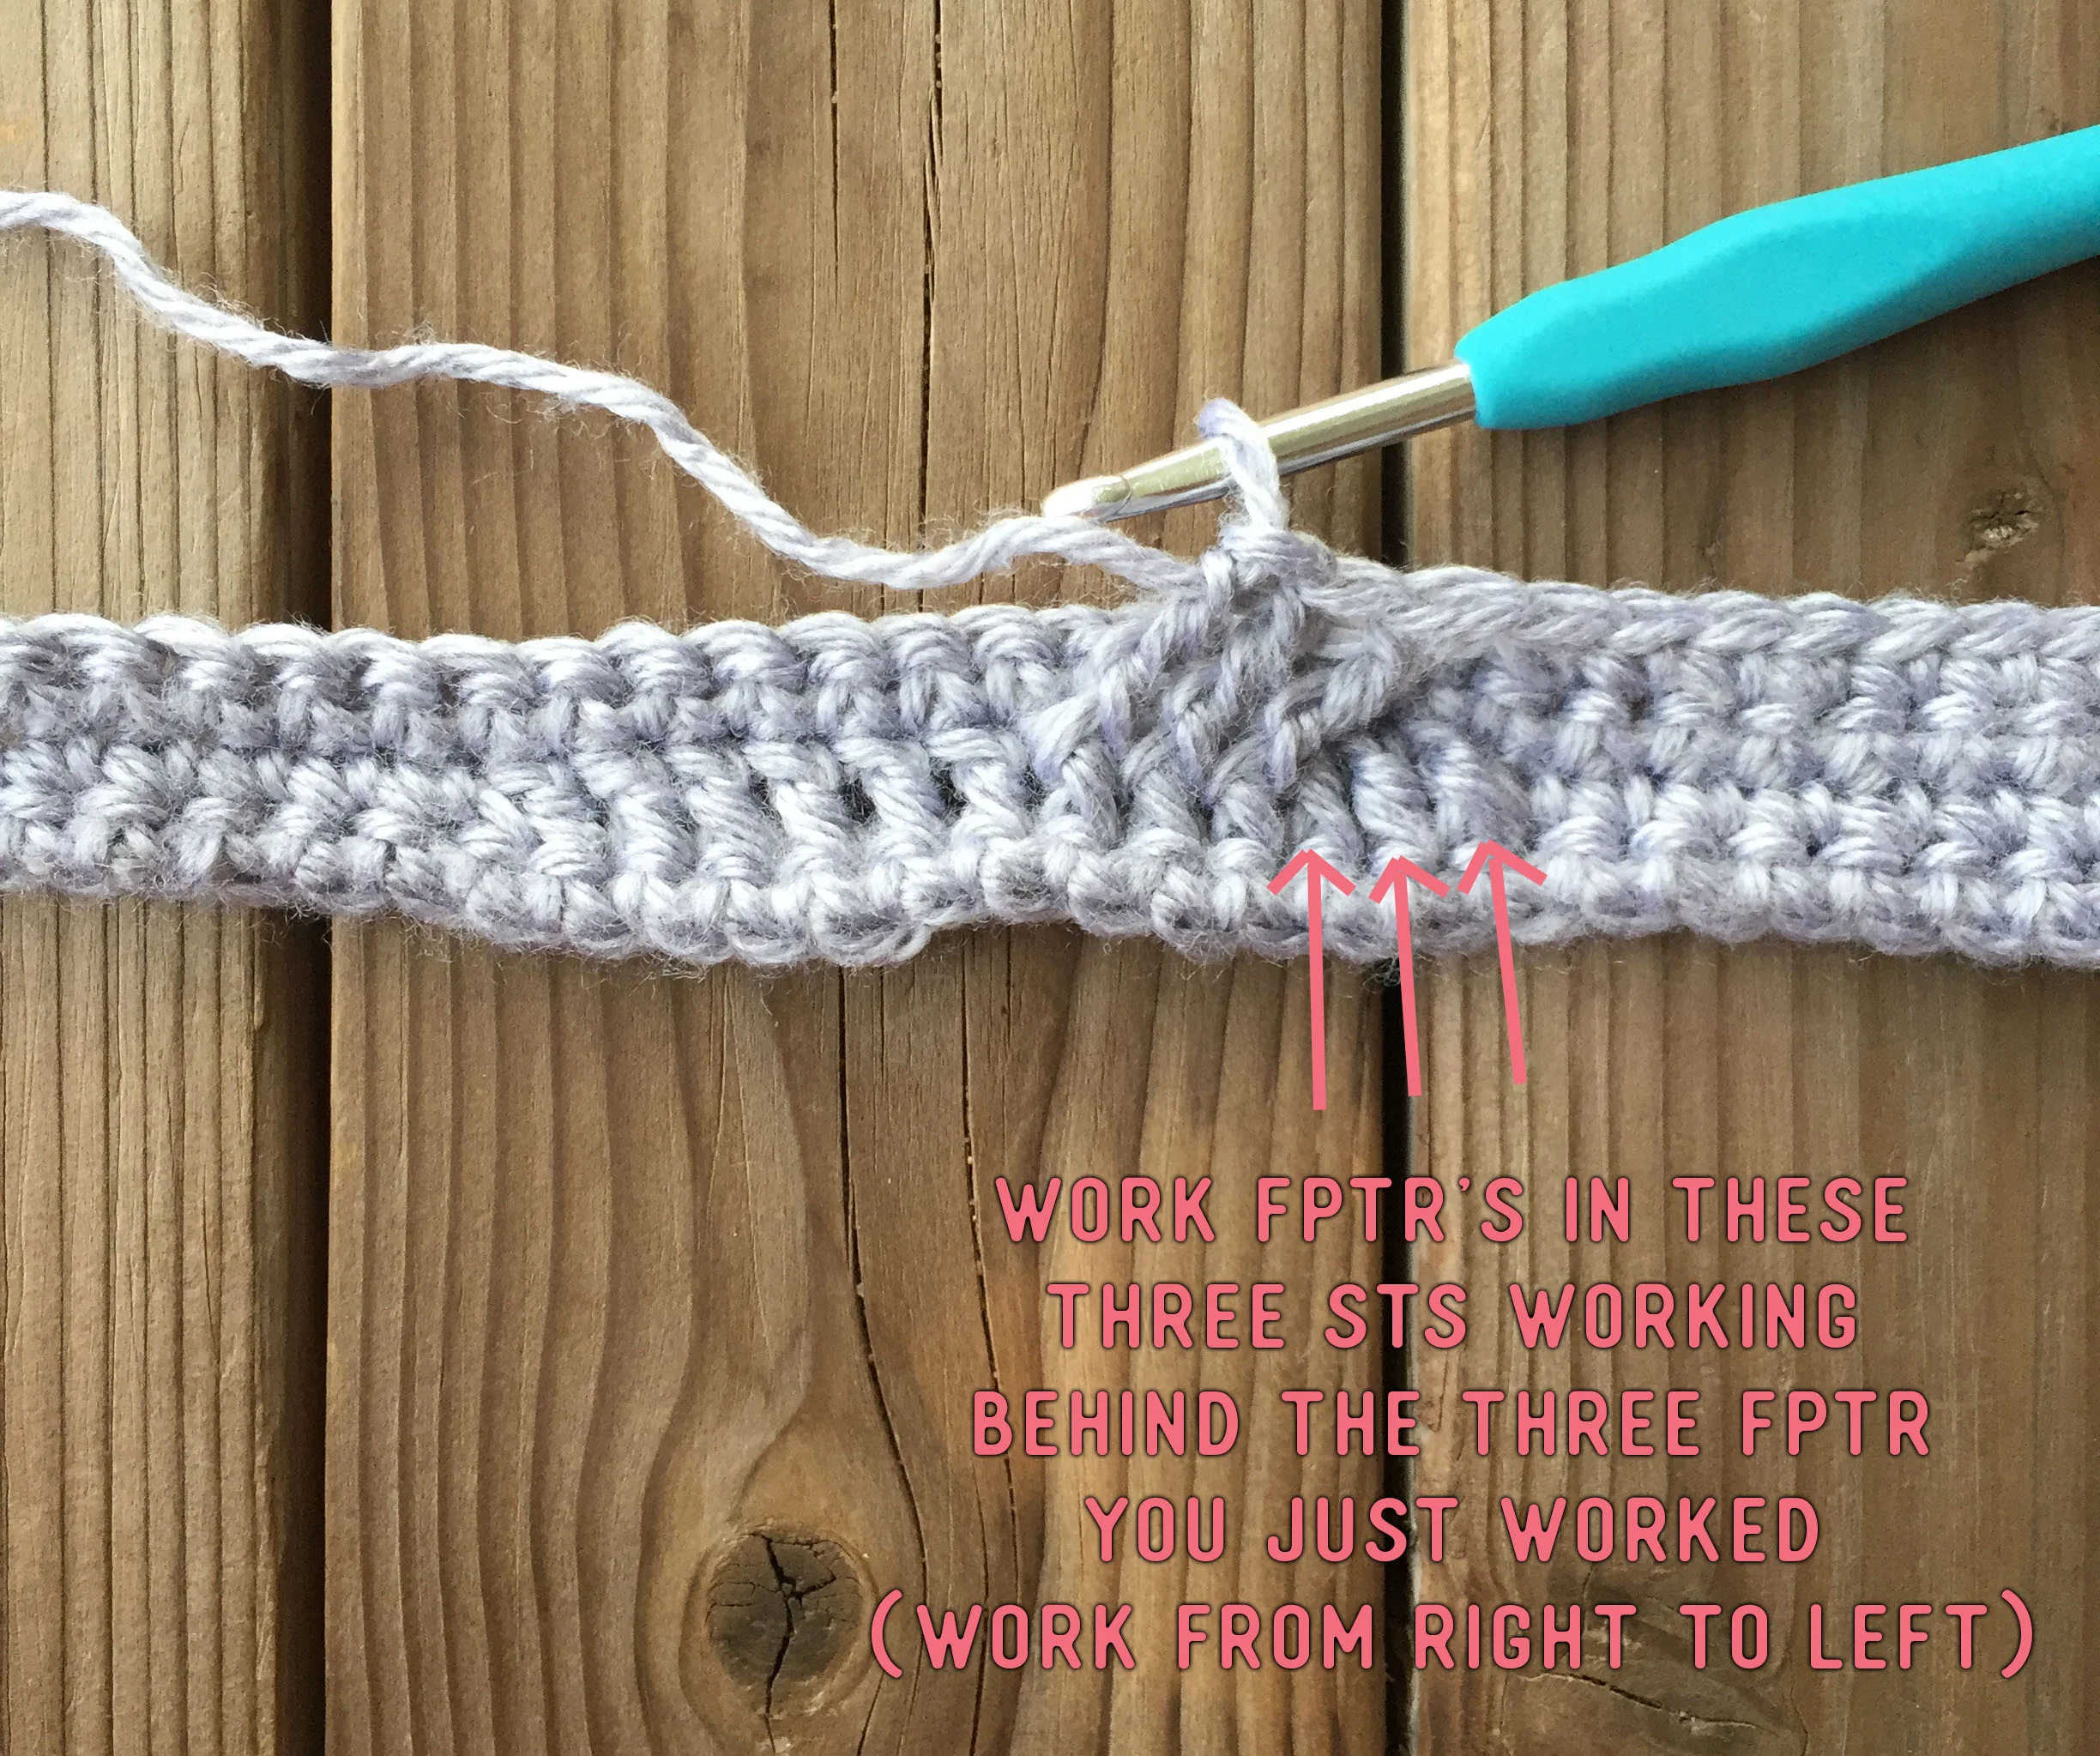
PHOTO A

PHOTO B

PHOTO C
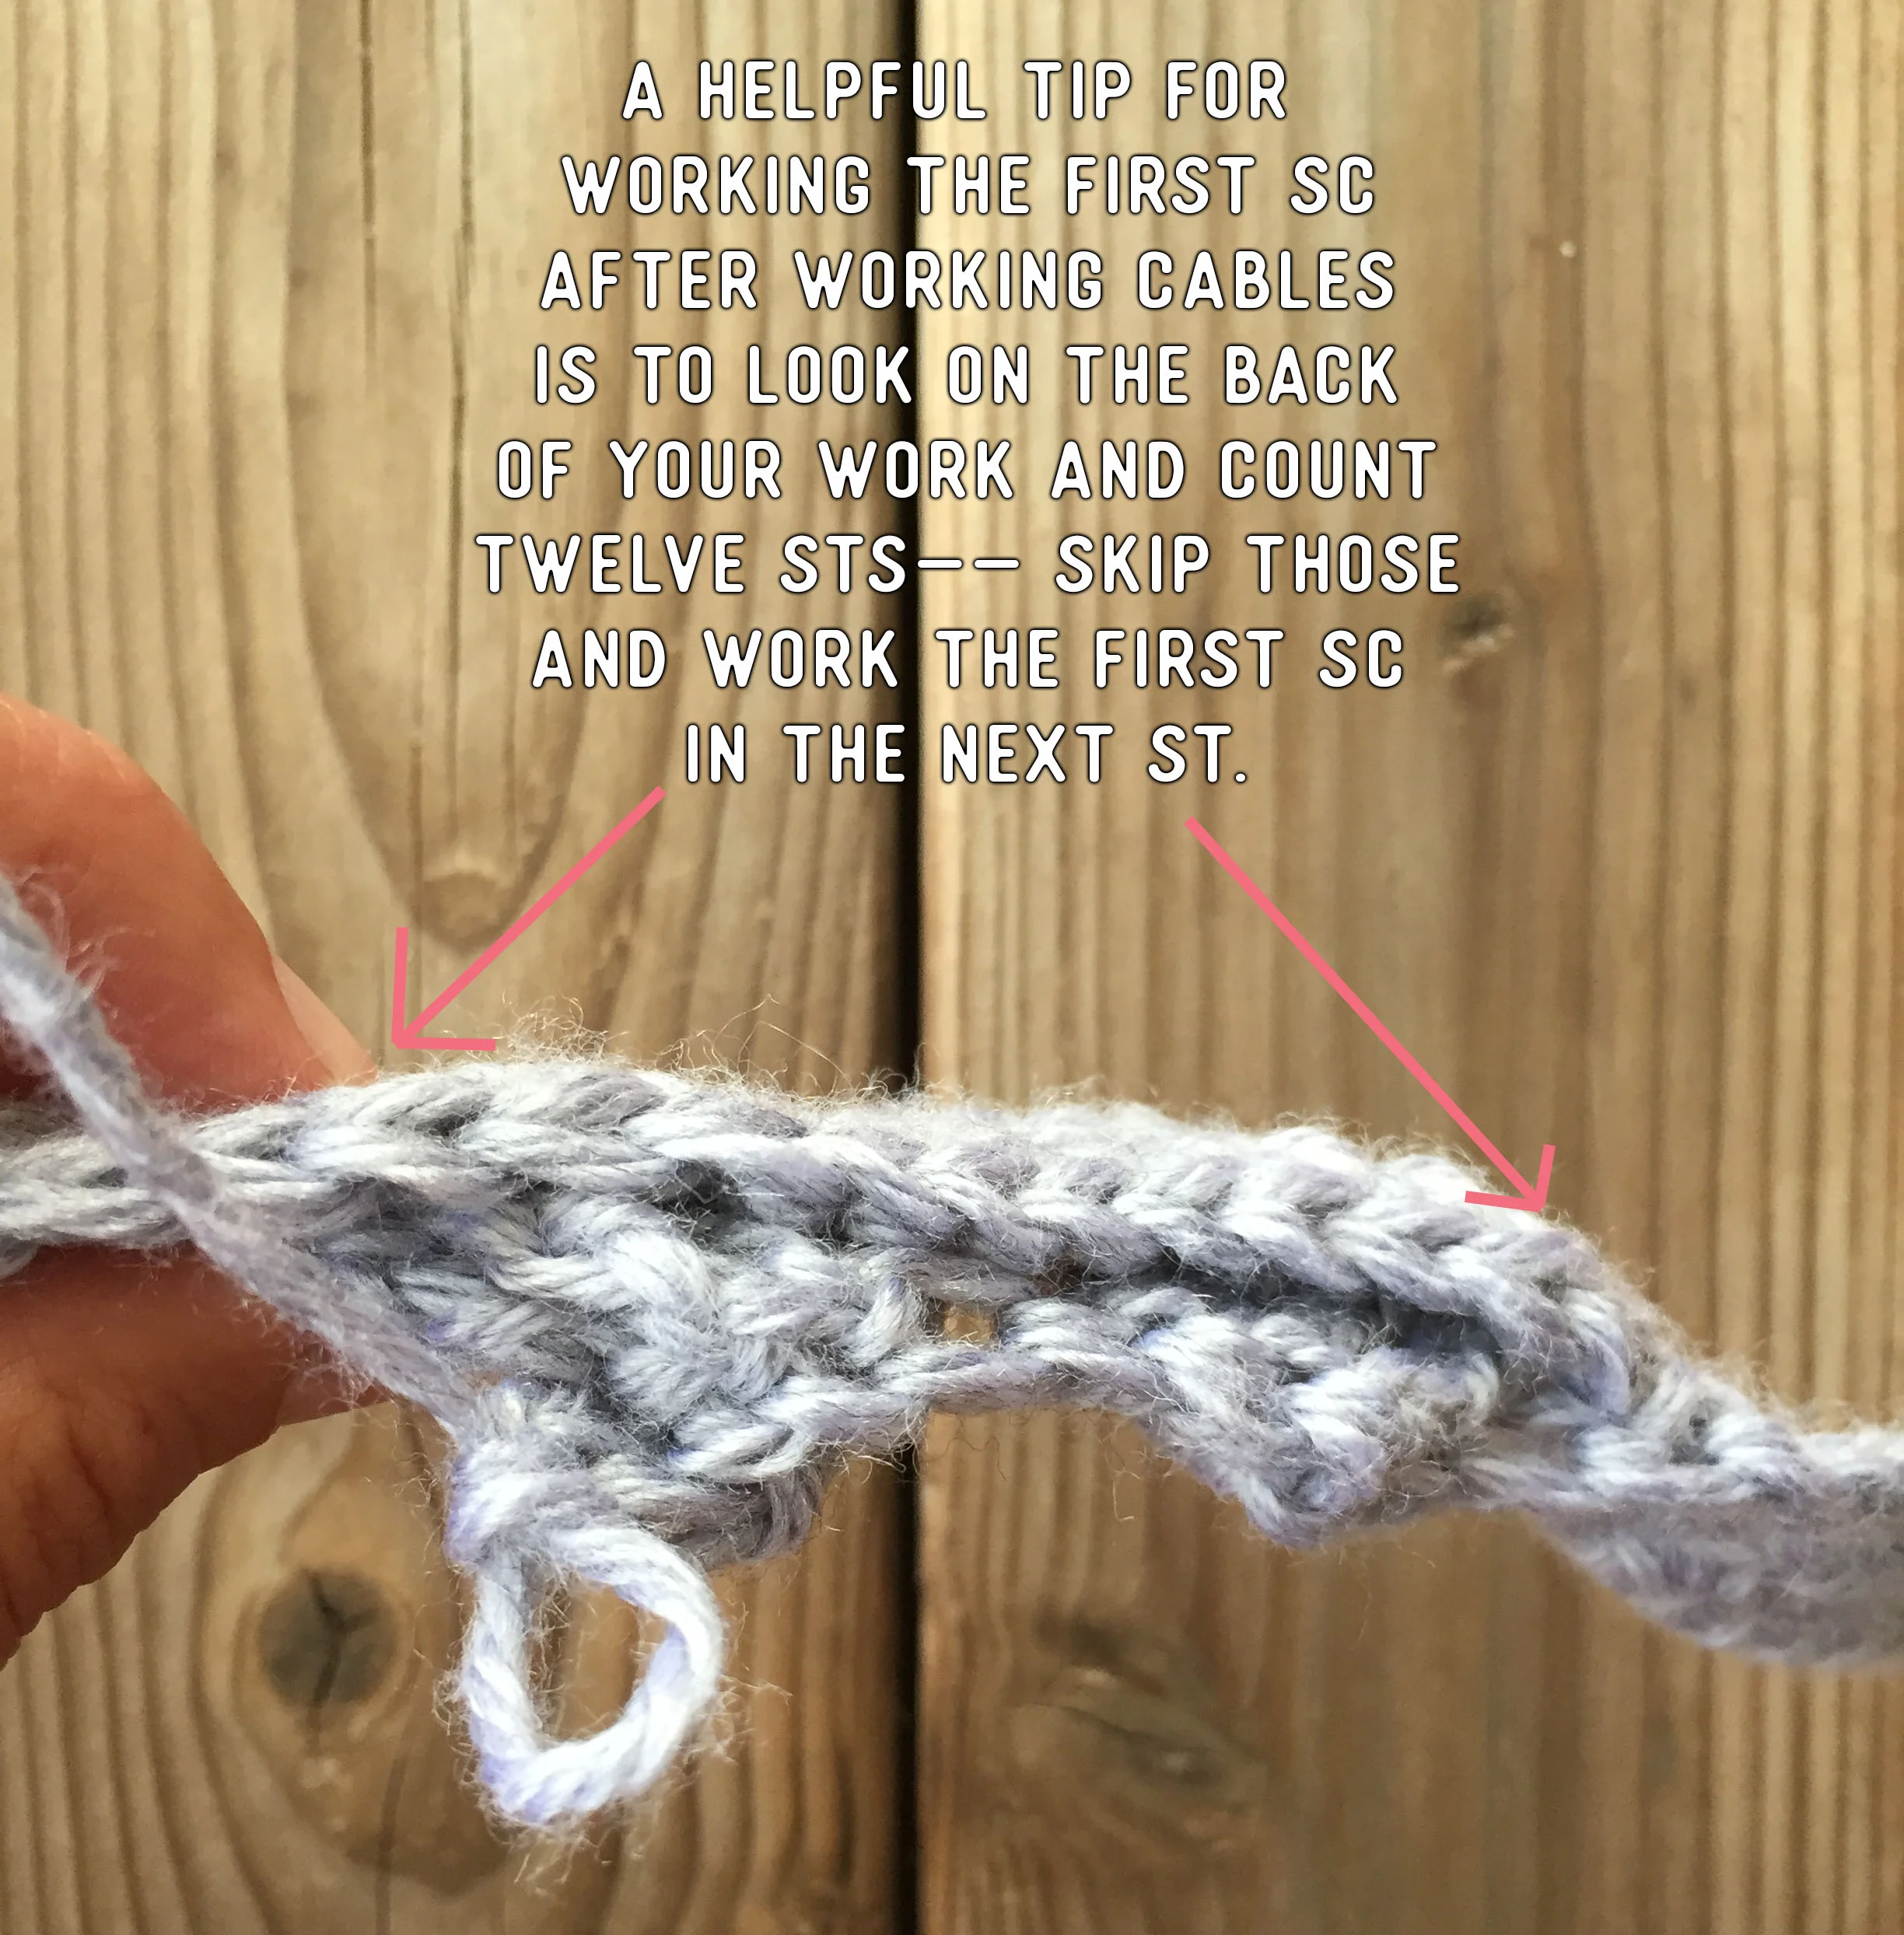
PHOTO D

PHOTO E
Pattern:
Front Cabled Panel:
Row 1) ch 39, sc into 2nd ch from hook, and across (38 total sts, and for remainder of panel)
Row 2) ch 1, turn, sc into first 13 sts, fpdc into next 12 sts, sc into last 13 sts
Row 3) ch 1, turn, sc across row
Row 4) (**remember you are working the fptr's of this row into the fpdc's from two rows back**) ch 1, turn, sc into first 13 sts, sk the first 3 fpdc, then fptr into next 3 sts, working BEHIND the 3 fptr you just worked: fptr into the 3 skipped fpdc's (see PHOTO A in notes), sk the next 3 unworked fpdc's, then fptr into last 3 fpdc (PHOTO B), working IN FRONT of 3 fptr's you just worked: fptr into the 3 skipped fpdc's (PHOTO C), ***at this point, to know where to work the next stitch, you can turn your work over and count the st's you skipped to see where the first sc should go-- you will have skipped 12 total sts, see PHOTO D for assistance*** sc in last 13 sts
Row 5) ch 1, turn sc across row
Row 6) ch 1, turn, sc into first 13 sts, fpdc into next 12 post sts from two rows back (working right to left, see PHOTO E for assistance), sc in last 13 sts
Row 7) ch 1, turn, sc across row
Row 8) repeat row 6
Row 9) ch 1, turn, sc across row
Row 10) repeat row 6
Row 11) ch 1, turn, sc across row
Rows 12-91) repeat rows 4-11 ten times
Finish off, and leave an extra long tail for sewing the pillow together
Back Panel 1 (with button holes):
Row 1) ch 39, sc in 2nd ch from hook and across (38 total sts, and for remainder of panel)
Rows 2-44) ch 1, turn, sc across row
Row 45) ch 1, turn, (sc into 7 sts, ch 3, sk 3 sts) 3 times, sc into last 8 sts
Row 46) ch 1, turn, sc across (working sc's into ch's from previous row)
Rows 47-48) ch 1, turn, sc across row
Finish off
Back Panel 2:
Row 1) ch 39, sc in 2nd ch from hook and across (38 total sts, and for remainder of panel)
Rows 2-48) ch 1, turn, sc across row
Finish off
Assembly:

To start the assembly of your pillow, lay out your front panel, right side facing up. Then you'll place the two back panels on top of the front panel, putting the back panel that has button holes BELOW the other. You'll align all the outside edges, and let the two back panels overlap in the center.

You'll align all the outside edges, and let the two back panels overlap in the center. Then you can pin all your pieces together so they don't shift around while sewing.
Using your yarn needle and the extra long tail of yarn, sew around the entire perimeter of the panels. I used a whip stitch along the very edge. Also be sure to go through all three panels in the center where they all overlap.

Once your pillow is sewn all the way around, you can weave in your ends then turn it right-side out. Then it's onto adding the buttons. You'll sew your three buttons onto the back panel under the one with the button holes in it. I just placed them in alignment with where each button hole was and sewed them on with needle and thread.
After all buttons are attached, the pillow is complete! You may choose to add fringe or tassels to the ends. Or it even looks nice without any extra stuff :)

What a fun pillow series this was... feel free to tag me over on Insta if you make any of these pillows for yourself! They add the perfect amount of cozy to any room if ya ask me :)
Take care and happy hookin'!
Meg