6+ Ways to Make Your Own Labels for Your Crochet Projects

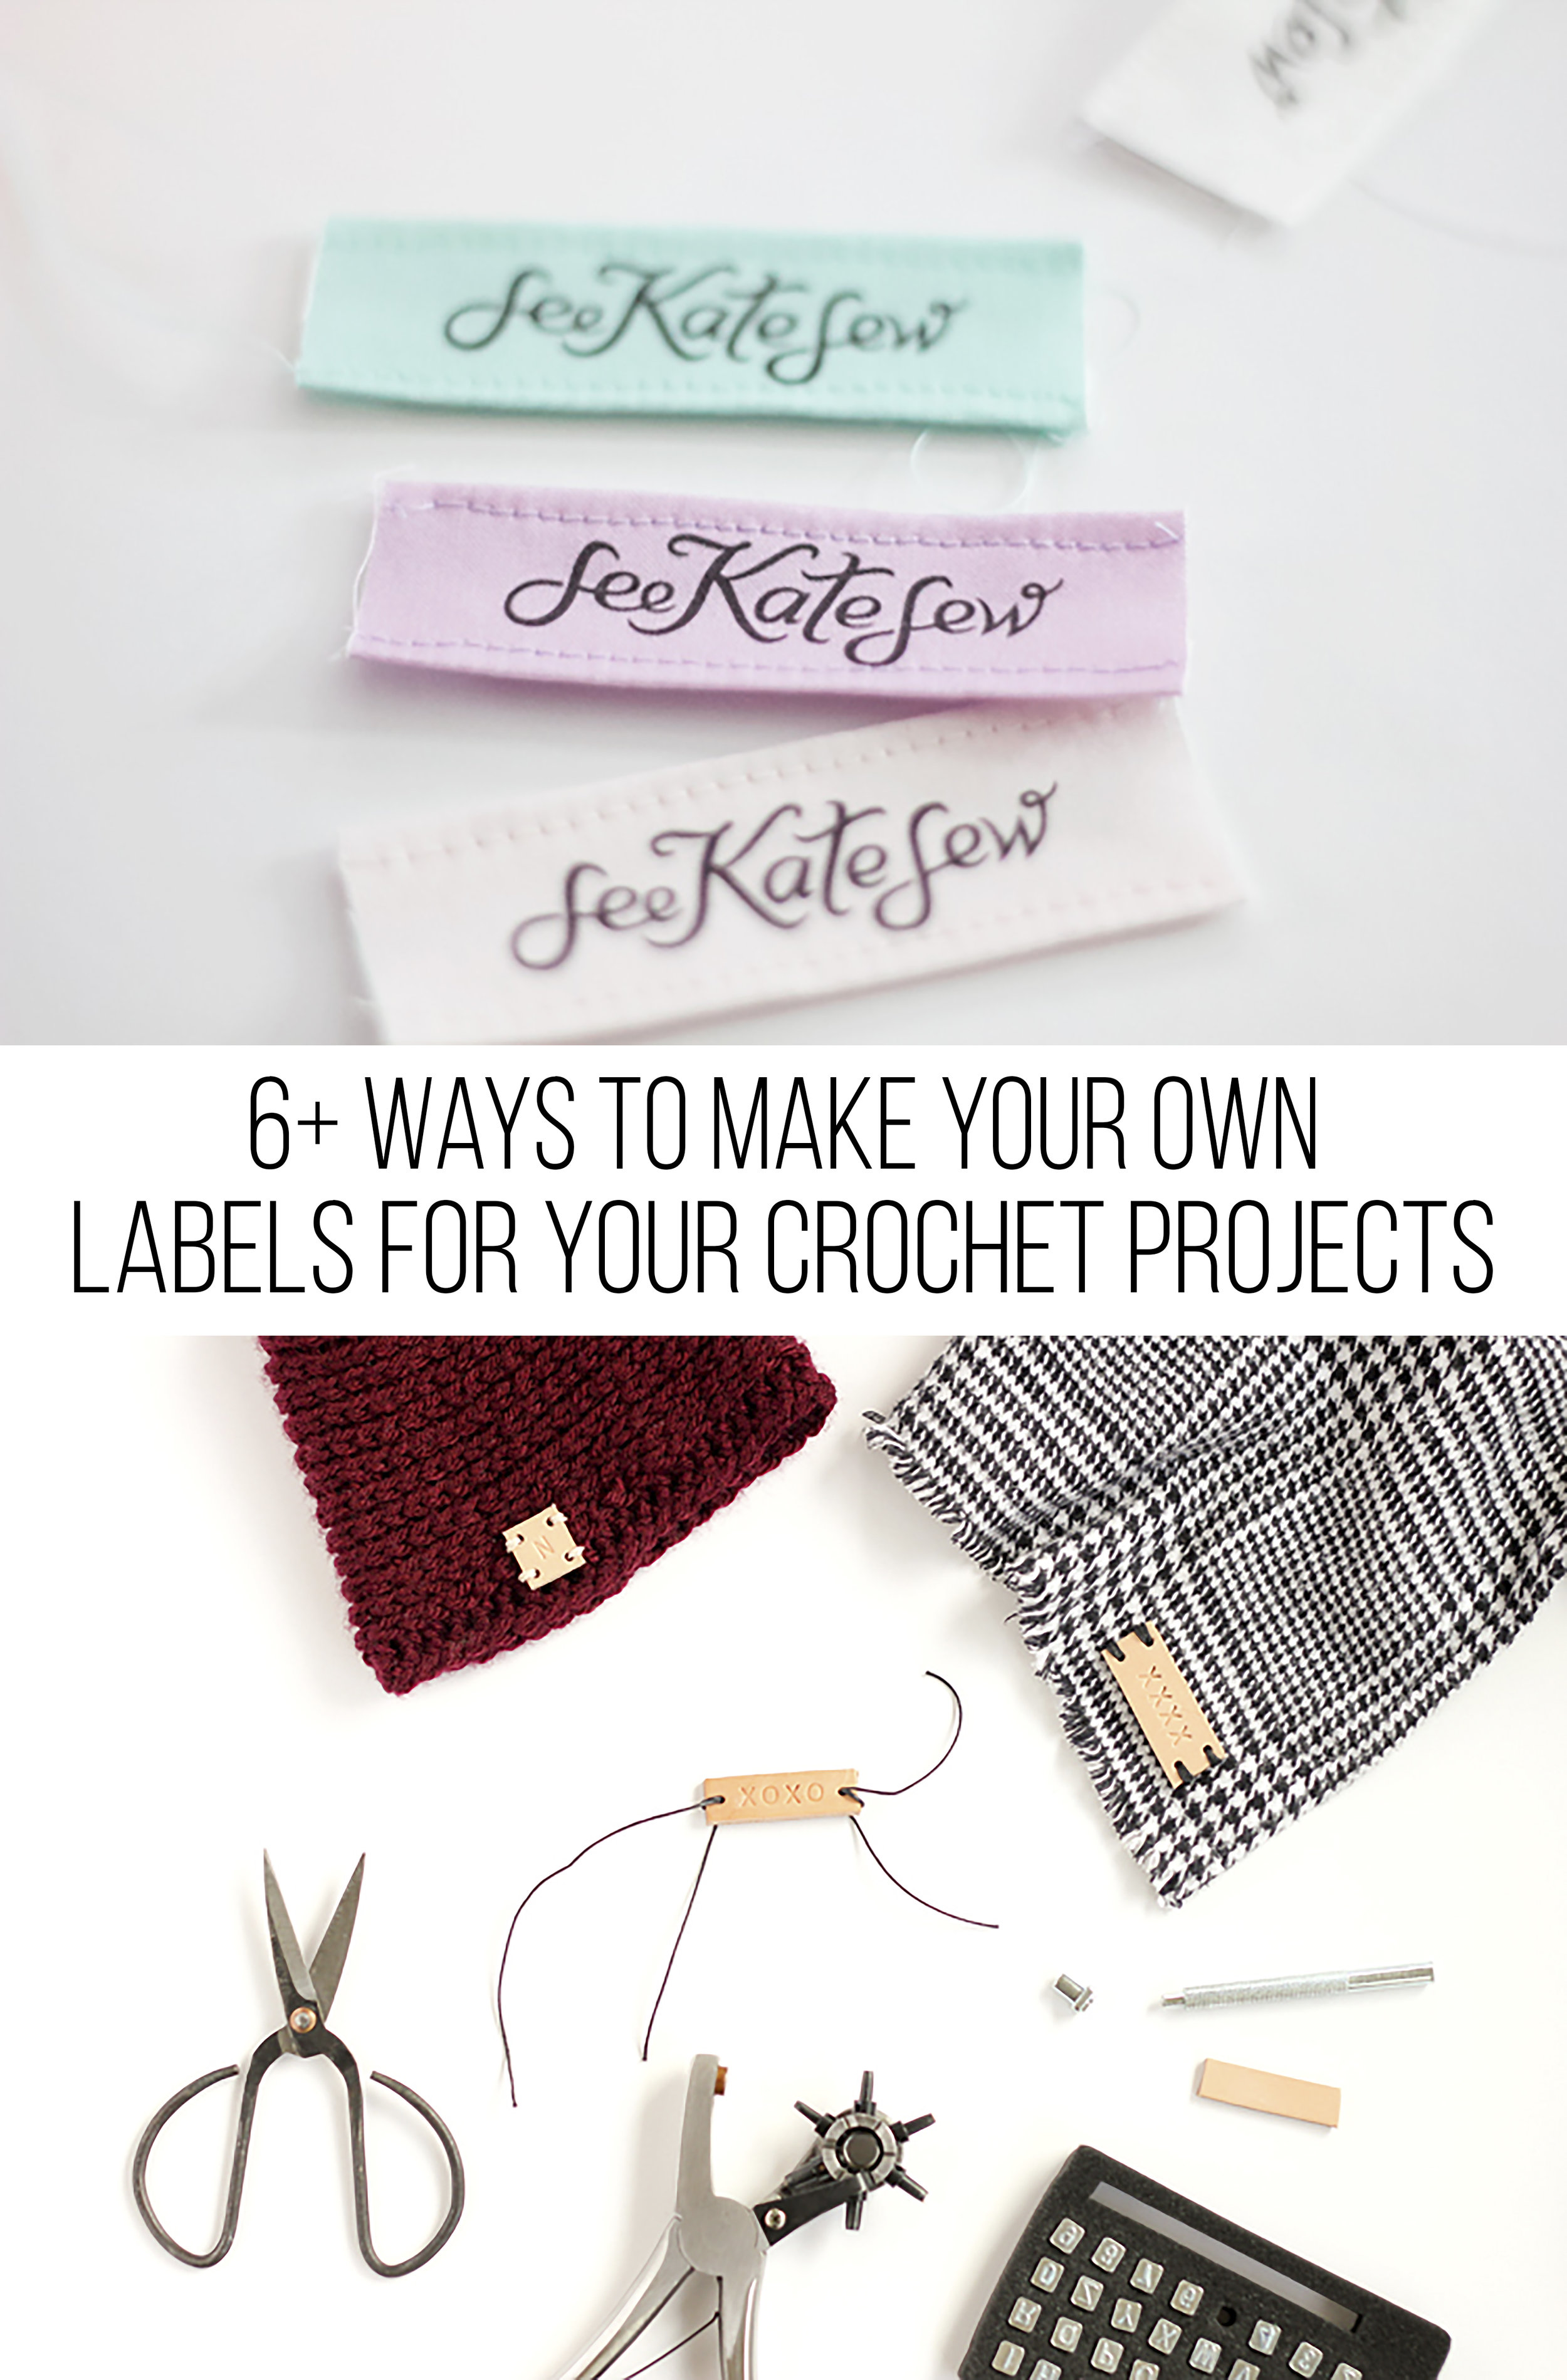
I've gathered some of the coolest and most unique ways to make your own labels for your crochet projects today! 

If you're anything like me, you jump on an opportunity to make something yourself rather than buy it, and I think this is a great example. It can get expensive to buy your own custom tags. Of course, you don't need tags for your projects, but in my opinion they make it look so much more polished and professional. 

Below you'll find some of my favorite tutorials and inspiration for labels. The list covers anything from stamping your own fabric to embroidering ribbon. I think you'll find something that will fit your unique style! 

P.S. You'll find the link for each example under the photo by clicking the word "here"

I like these simple hand-stamped labels on twill tape. Also, no sewing until you put them on your product-- a plus! Find the tutorial here.

label03.JPG

Unfortunately there is no tutorial for this example, I just happened to come across these tags and thought they were adorable. I think it would be rather easy to stitch a little simple design on a piece of ribbon and sew them on your project. How lovely! I found this photo here.

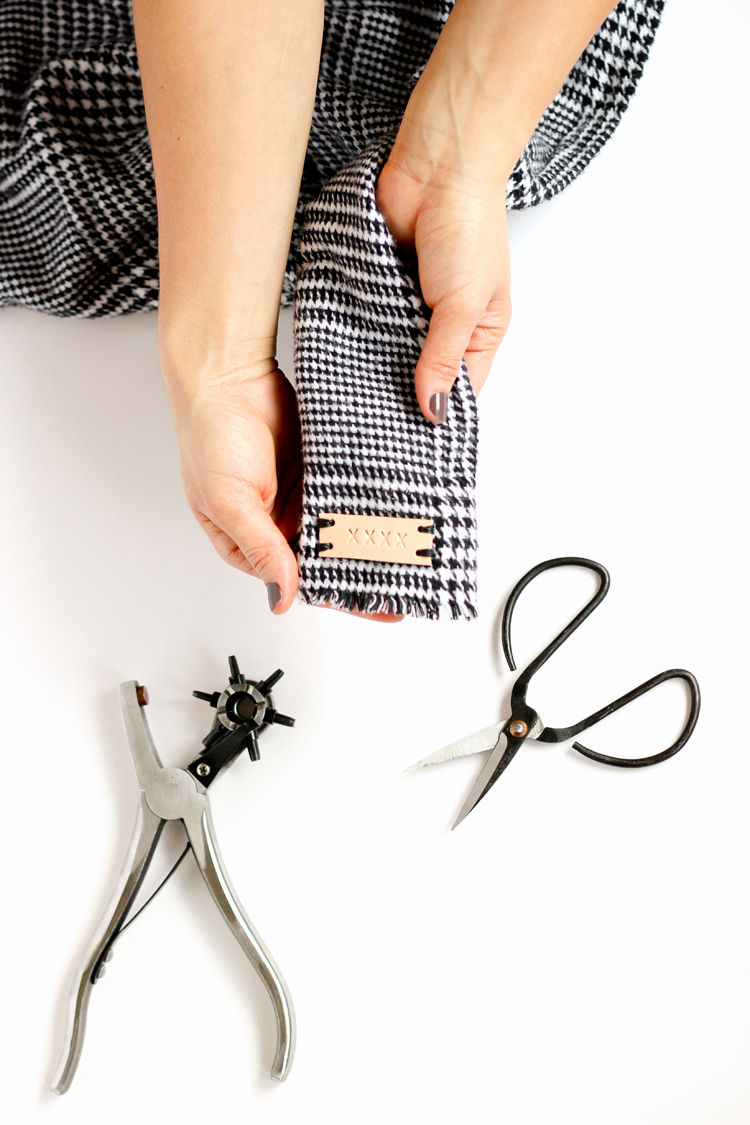
I liked this idea. Leather tags are all the rage, and if you can make your own- even better! I like the simplicity and overall look of leather as a tag. Find the tutorial here.

This isn't a tutorial for the tag, but I thought it would be worth the mention. This is along the lines of the little embroidered tags above. Just a simple stitched tag attached in the corner of a blanket (By the way check out the super cool tutorial for this blanket while you're there, it's awesome!). Find it here.

label01.jpg

I really liked this tutorial for these labels over at Lovely and Enough. They're printed directly on the fabric at home with the help of good ol' freezer paper. Find these here.

Over on See Kate Sew, she explains FOUR ways to make your own tags. One being designing your logo, then sending it to a fabric printing company also screen printing! This was my favorite resource. Find it here.

I hope this collection of DIY labels was helpful! It totally inspired me to want to make some of my own. 

Happy making!
Meg

Crochet Pattern for Barefoot Sandals

***You can find the PDF version of this pattern in my shop by clicking here. Great for easy printing!***

I've got a super simple and cute crochet pattern for ya today! You've probably seen barefoot sandals before, and maybe even crochet barefoot sandals. They're pretty cool, even COOLER when you can make them yourself though, right? 

The pattern for these sandals is seriously easy. I would bet you could get these puppies done in less than an hour! Just in time before you head to the beach! <3 And I think they even look great with flip flops..

You could make these with or without beads. I really liked how the wooden beads looked with the yarn I used. You'll just need beads that have big enough holes in them to fit on your yarn (I show you how to crochet with beads below).

I also want to mention that this pattern is most definitely beginner-friendly. You basically only need to know how to chain stitch, and single crochet. Along with weaving in ends nice and good. These sandals are seriously a piece of cake!

What you'll need:
fingering-weight yarn (I used  KnitPicks Comfy Fingering in "Doe"-- I really love this yarn, so soft! You can find this yarn here)
size B crochet hook (2.25 mm)
yarn needle
beads (optional)

Abbreviations:
ch=chain, st(s)=stitch(es), sc=single crochet, sl= slip

Notes:
I wrote this pattern for my foot size- a size 8. Although these will fit most feet. You can customize if you wish by adding or taking away chains on the "toe" piece, or even on the beginning chains after you worked the toe piece. 

You can either add beads onto your yarn BEFORE you work your sandals, and just crochet with them as you go, or you can add beads individually by putting them on your hook as you go (I show you how to do this below).

There is quite a bit of weaving in ends. I wove in on the back side of the sandal, going back and forth a few times so the ends wouldn't come free.

Pattern:
TOE PIECE:
ch 25, join to 1st ch with sl st

BODY OF THE SANDAL:
ch 11
sl st into 8th ch from hook (this will form the first circle)
sl st into the circle, ch 1, work 12 sc into the circle, then join to ch 1 with sl st
fasten off, leaving a long tail to weave in

ch 8, join to 1st ch with sl st (to form second circle)
sl st into the circle, ch 1, work 12 sc into the circle, join to ch 1 with sl st, ch 2, then join to the the 6th sc from the first circle you already made with a sl st
fasten off, leaving a long tail to weave in

ch 8, join to 1st ch with sl st (to form third circle)
sl st into the circle, ch 1, work 12 sc into the circle, join to ch 1 with sl st, ch 2, then join to the the 6th sc from the second circle you already made with a sl st
fasten off, leaving a long tail to weave in

TIES FOR THE SANDAL:
ch 120, join to the 6th sc of the last circle you made with a sl st, ch 120
fasten off and leave long tail to weave in

If you plan on making the sandals without the beads, then all you need to do is make two sandals, weave in your ends, and you're done!

If you'd like to add beads, follow these instructions:

(I added beads in between circles, and did not work 2 chains in between the circles, because my beads were long. I also added beads in the ties by adding three beads at the beginning, ch 105, adding a bead, ch 5, adding a bead, ch 5, adding a bead, ch 5 then joining to the last circle, ch 5, adding a bead, ch 5, adding a bead, ch 5, add a bead, then ch 105, then adding 3 more beads.)

To add the beads as you go, you'll need to find beads that have a big enough hole for your hook to go through. If your bead holes aren't big enough you could always either use a smaller hook to add them or you could add the beads all before you start to crochet.

So you'll put the bead onto your crochet hook (like above) then you will take the loop, and thread it through your bead with your hook.

Above is what it will look like once you've drawn the loop through your hook. 

And then you just make another chain like you would if there wasn't a bead there. This will make a "line" on the bead with your yarn. I was fine with it because I just made that side the under side of the sandal that.


Then you just continue on crocheting like usual!

And there you have it! Some cute barefoot sandals, with our without beads! Rock em' with flip flops, or don't. They're pretty awesome. And EASY.

Enjoy :)
-Meg