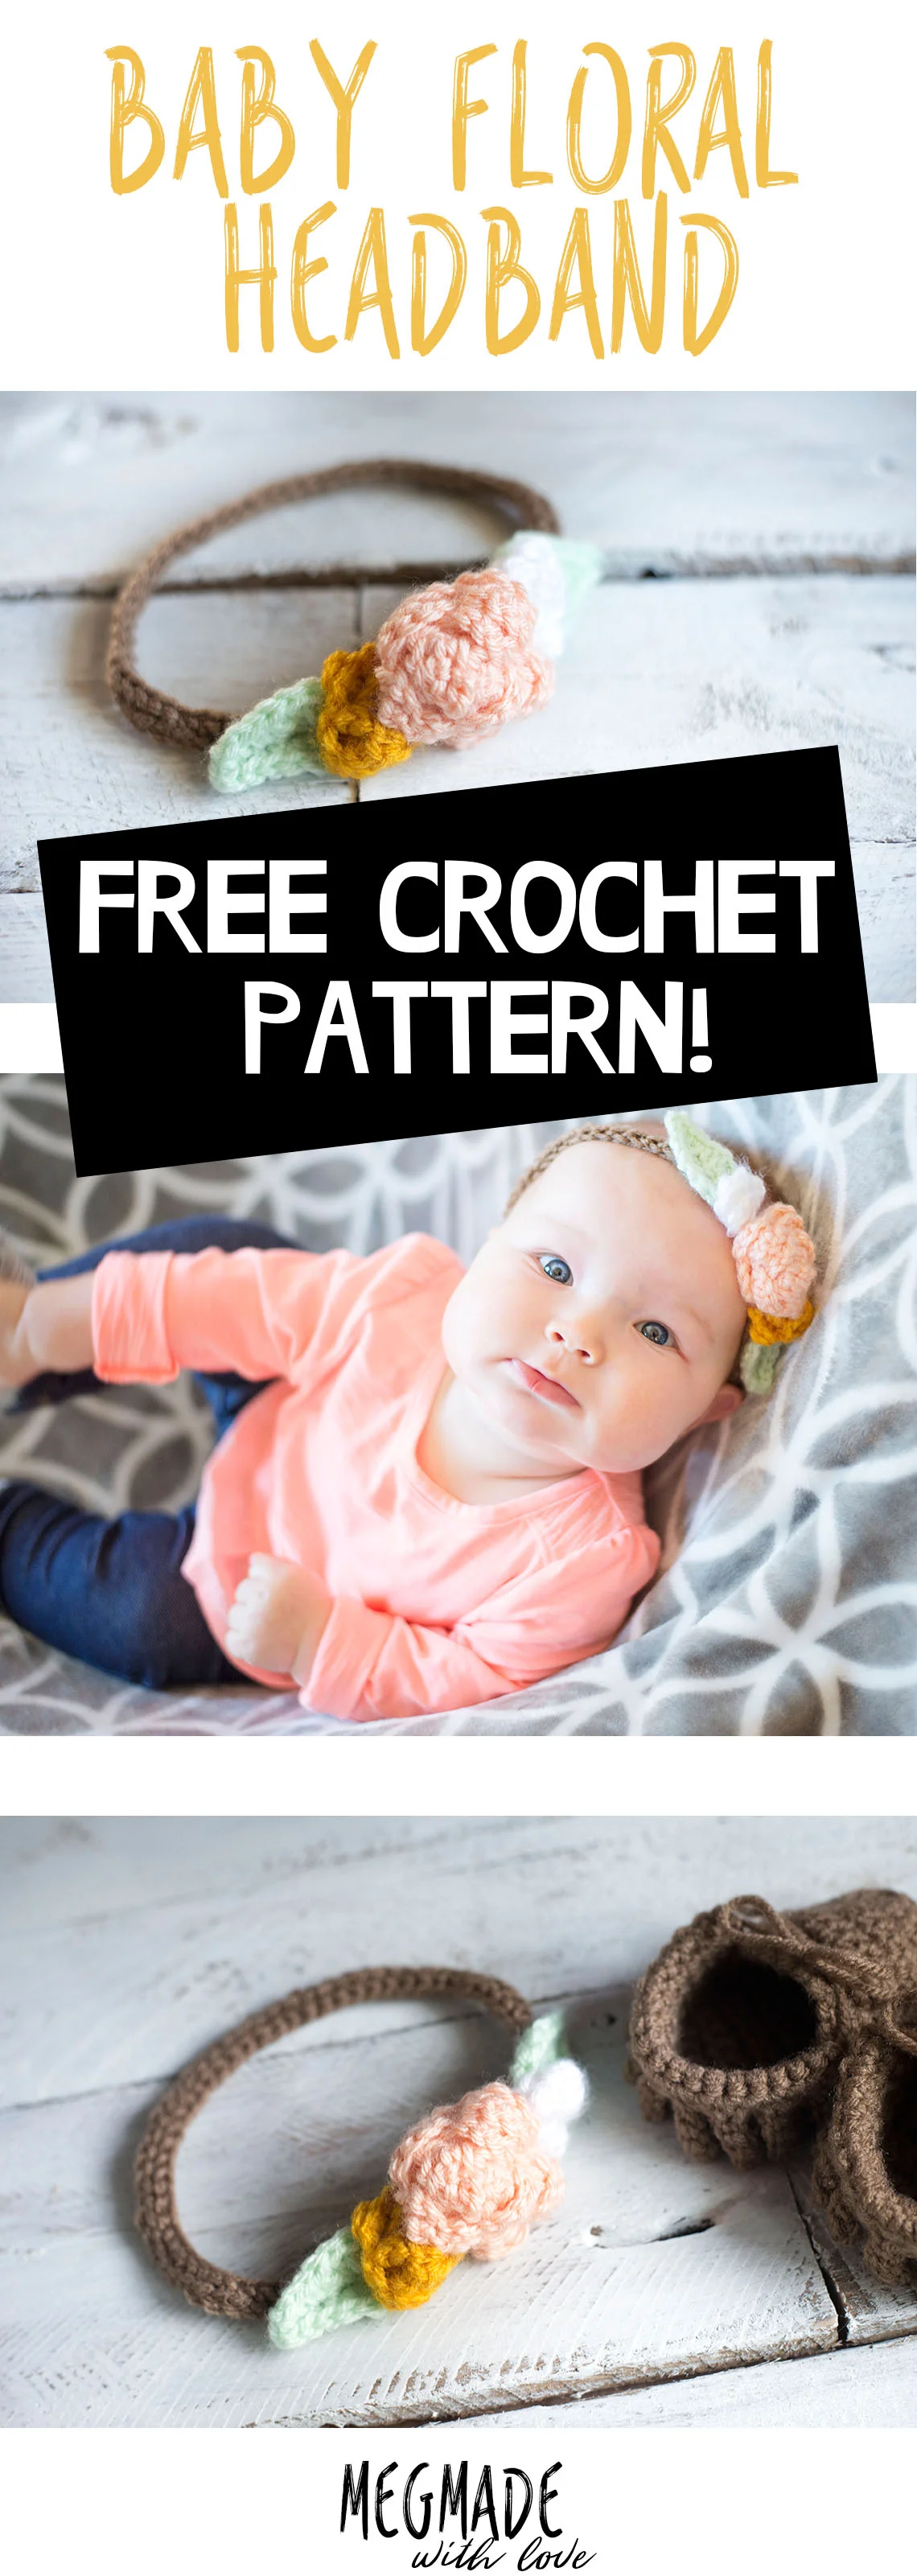
Floral Baby Headband Crochet Pattern
/
This last year, we welcomed our son Sawyer into the world. And life is awesome with him. I had no idea how much I'd love the job of "mom". When we first found out we were having a boy, my husband was elated! He had a little guy to teach all his "guy" stuff to like working on cars and... whatever else guys do. haha. But I, on the other hand, was honestly a little upset because I just knew it was a girl!
Because I just love girl baby things!!! Girl stuff is just so cute. The dresses. The headbands. The bows. The everything.
I mean, that's not the only reason I was wanting a girl, of course. I just dreamed of having a strong bond and relationship with a daughter
I had no idea I'd really love being the mom to a boy though. Sawyer is great, and I love the bond I have with him, it's so unique-- and I just think it's the best gift!
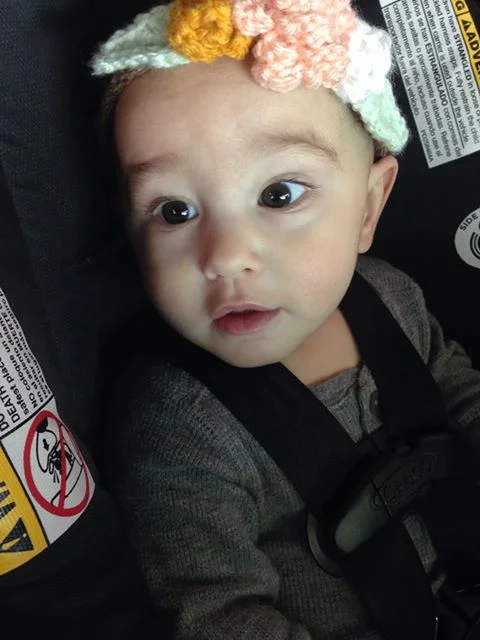
So I say all of this because here lately I've had the hankerin' to create little girl things! And no baby girl to model them, just my son. ha! This is him in the headband (he's gonna hate me one day...):
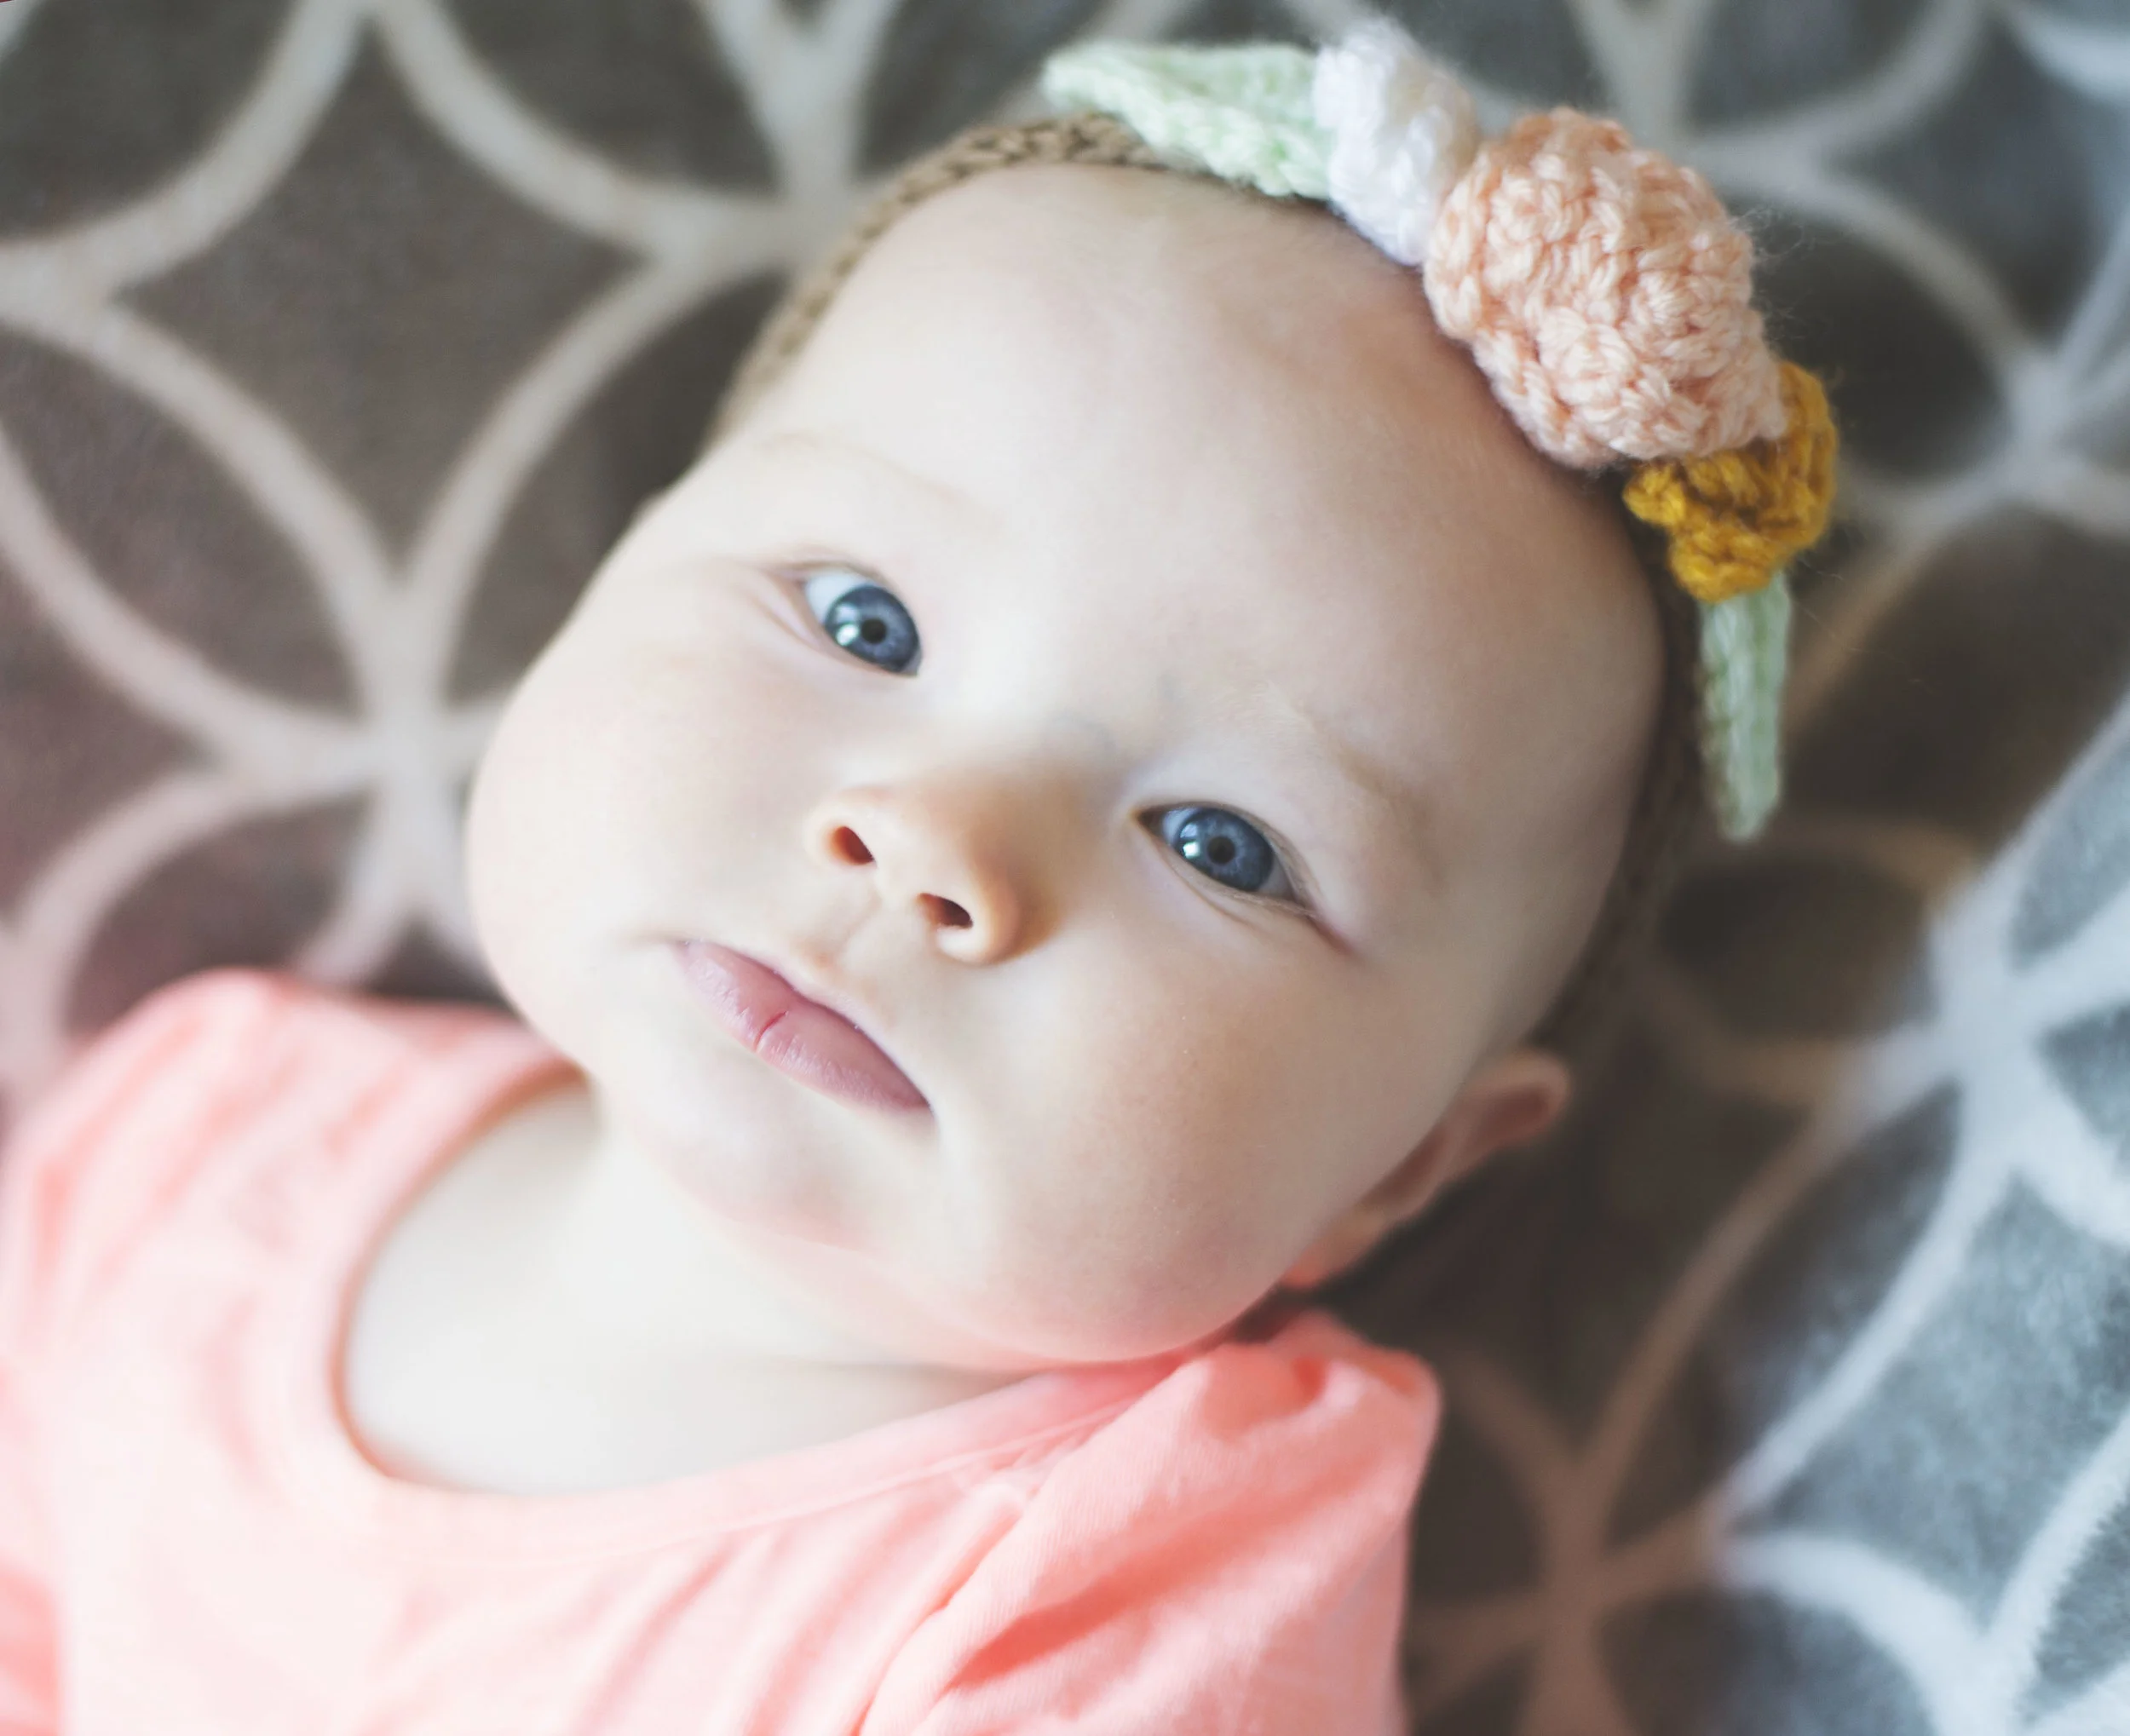
I did get the chance to put the cute headband on my cousin's baby, Rory. And she rocked it! She's too precious. And those blue eyes!
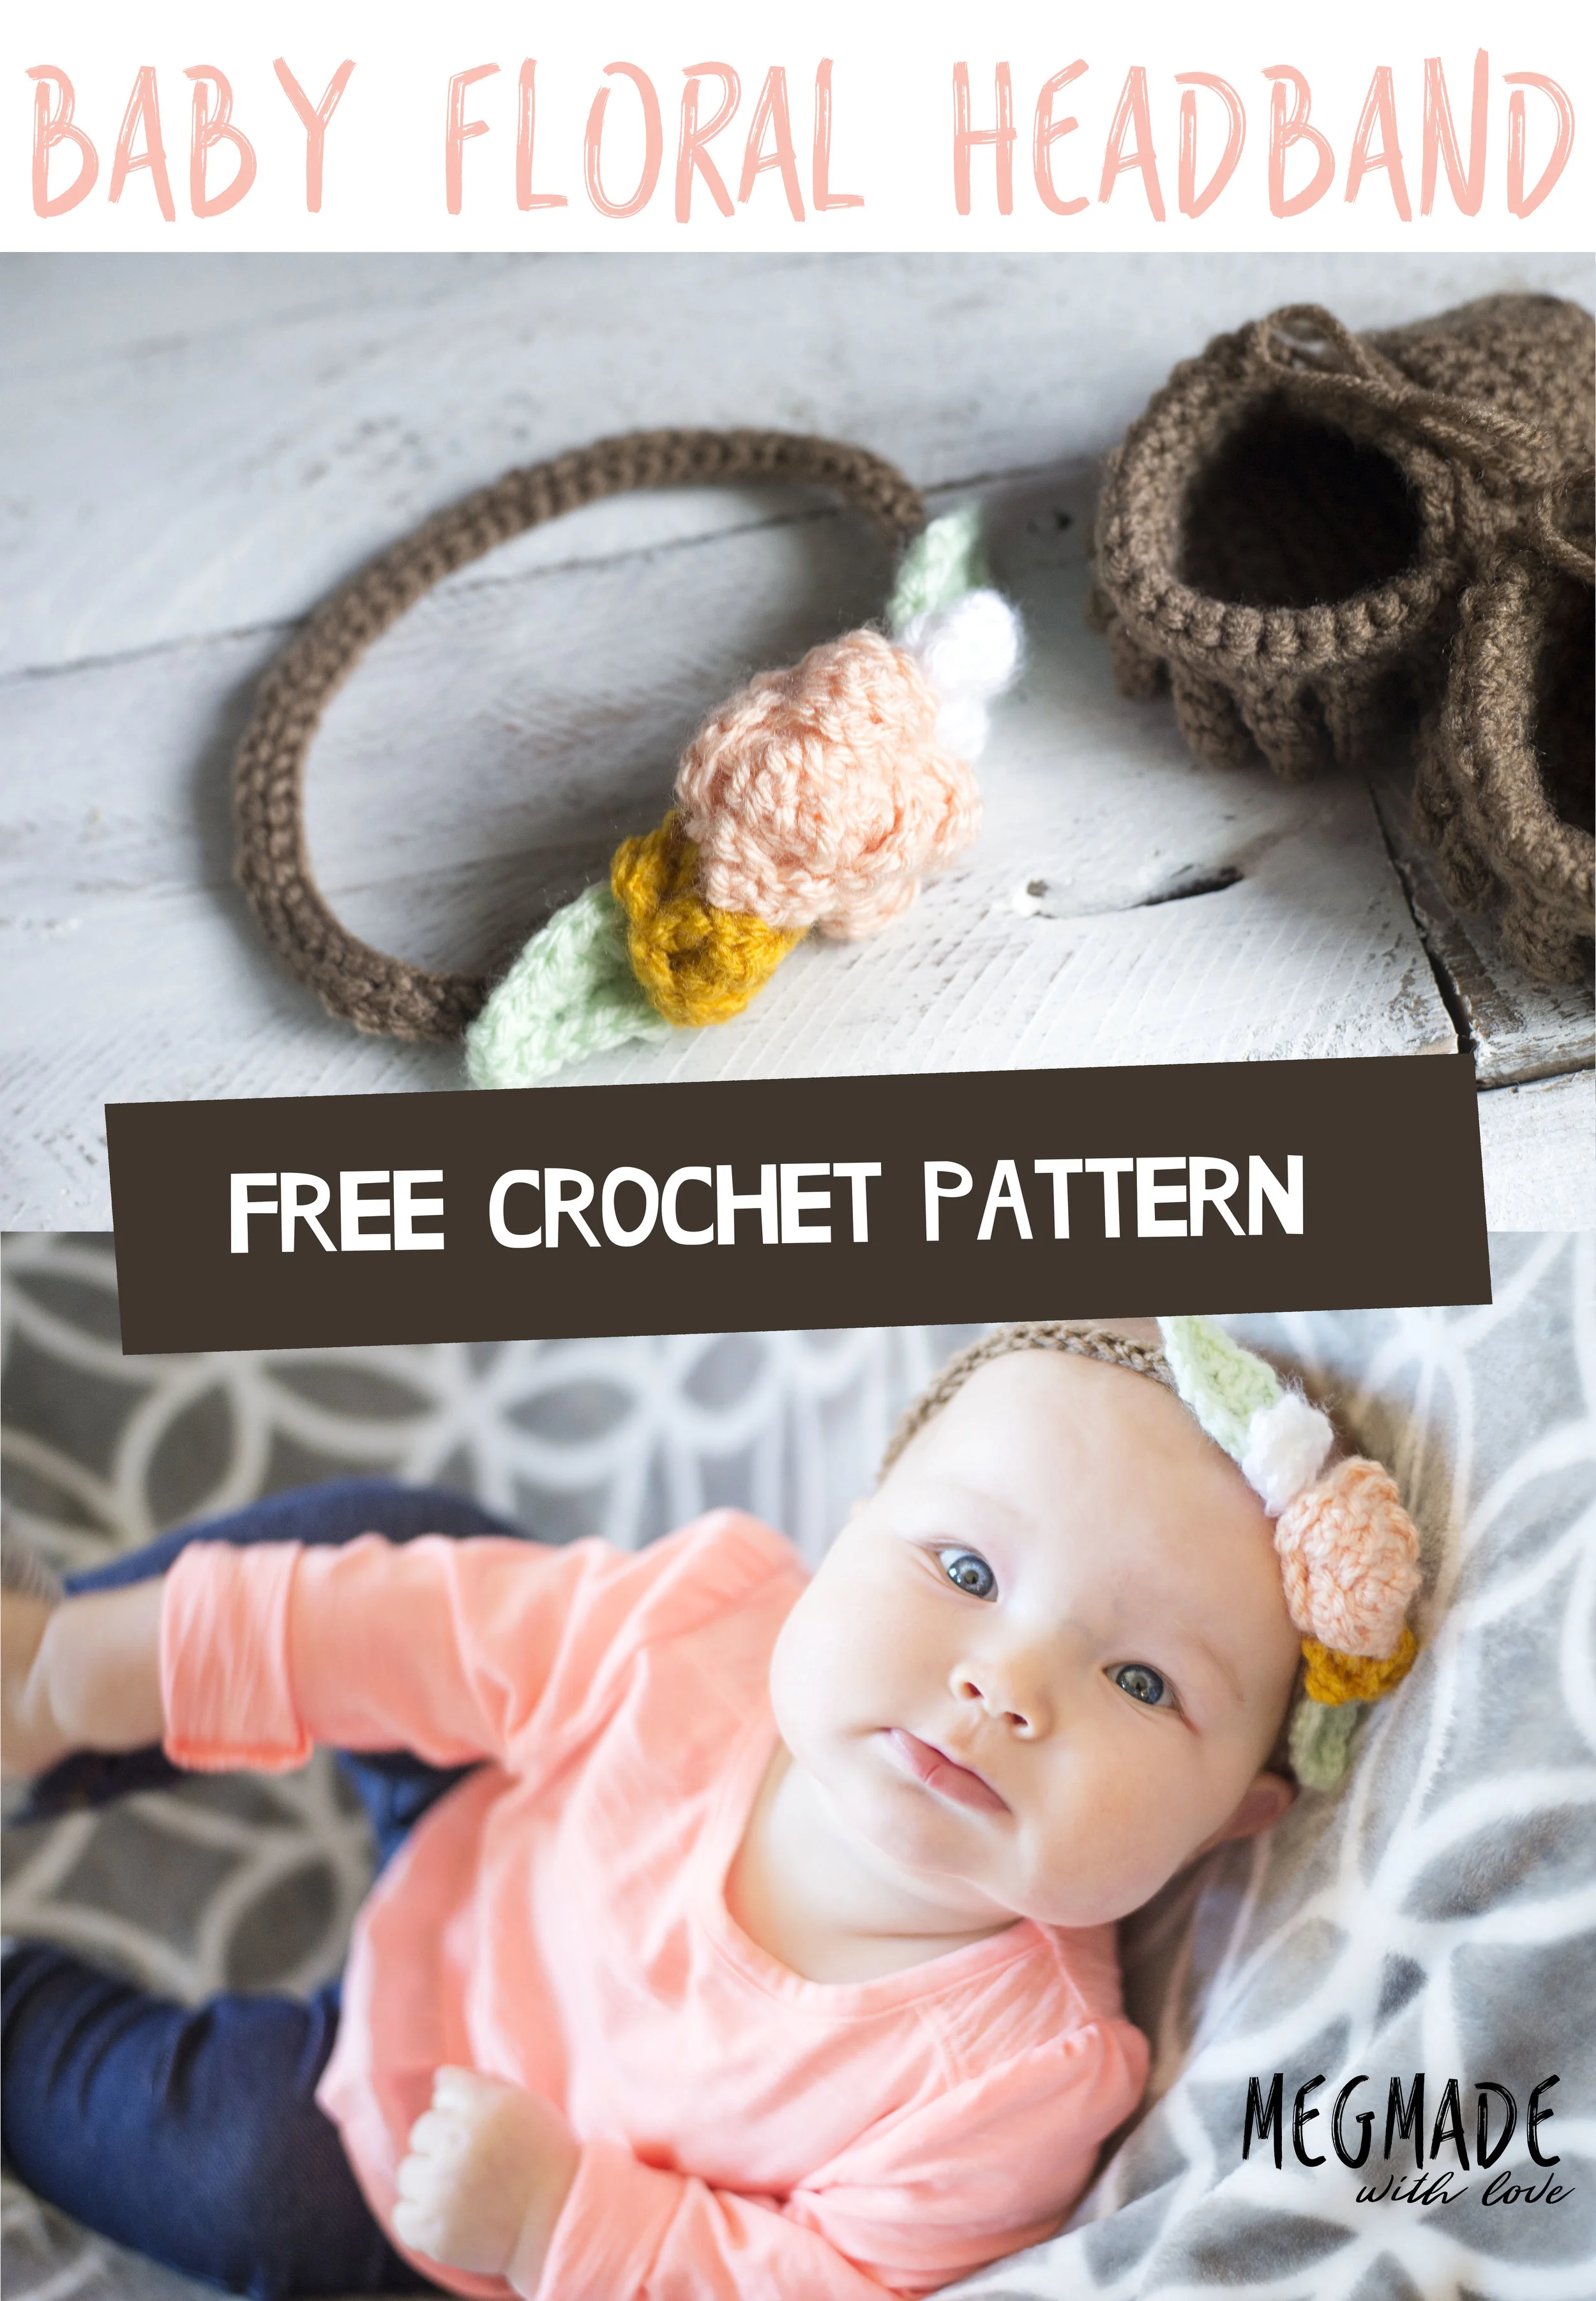
This headband is pretty darn simple. And you can easily put it together in less than an hour. It's definitely beginner friendly! And not to mention the perfect photo prop for your baby photos :)
What you'll need:
Size F (3.75 mm) Hook (a set like this would be perfect for a beginner)
Worsted weight yarn of choice (I used Red Heart Super Saver in White, Cafe Latte, Honeydew and Gold and I Love This Yarn in Soft Pink)
Tapestry needle
Abbreviations:
st=stitch sc=single crochet ch=chain fsc=foundation single crochet dc=double crochet tr=treble
Pattern:
HEADBAND (use Cafe Latte)
*For additional help with sizing check out this cool and handy graph for hat sizes on Tot Toppers)
Newborn: work 52 fsc
3 Month: work 58 fsc
6 Month: work 62 fsc
12 Month: work 66 fsc
24 Month: work 70 fsc
After working the fsc, finish off and leave a long tail for sewing the ends together. Using your needle, connect the headband at each end with a few stitches to make sure its secure. Weave in the ends.
LARGE FLOWER (use Soft Pink):
ch 45
in 4th ch from hook, work 2 tr
sk st
sl st in next st
*ch 3
work 2 tr in next st
sk st
sl st in next st
repeat from * to the end of the ch, you will have 14 "petals" total
finish off, leave extra long tail for sewing. starting with your first petal, roll the petals up to form the flower (see photo below -- also note I used a different color for the flower in the photos below).
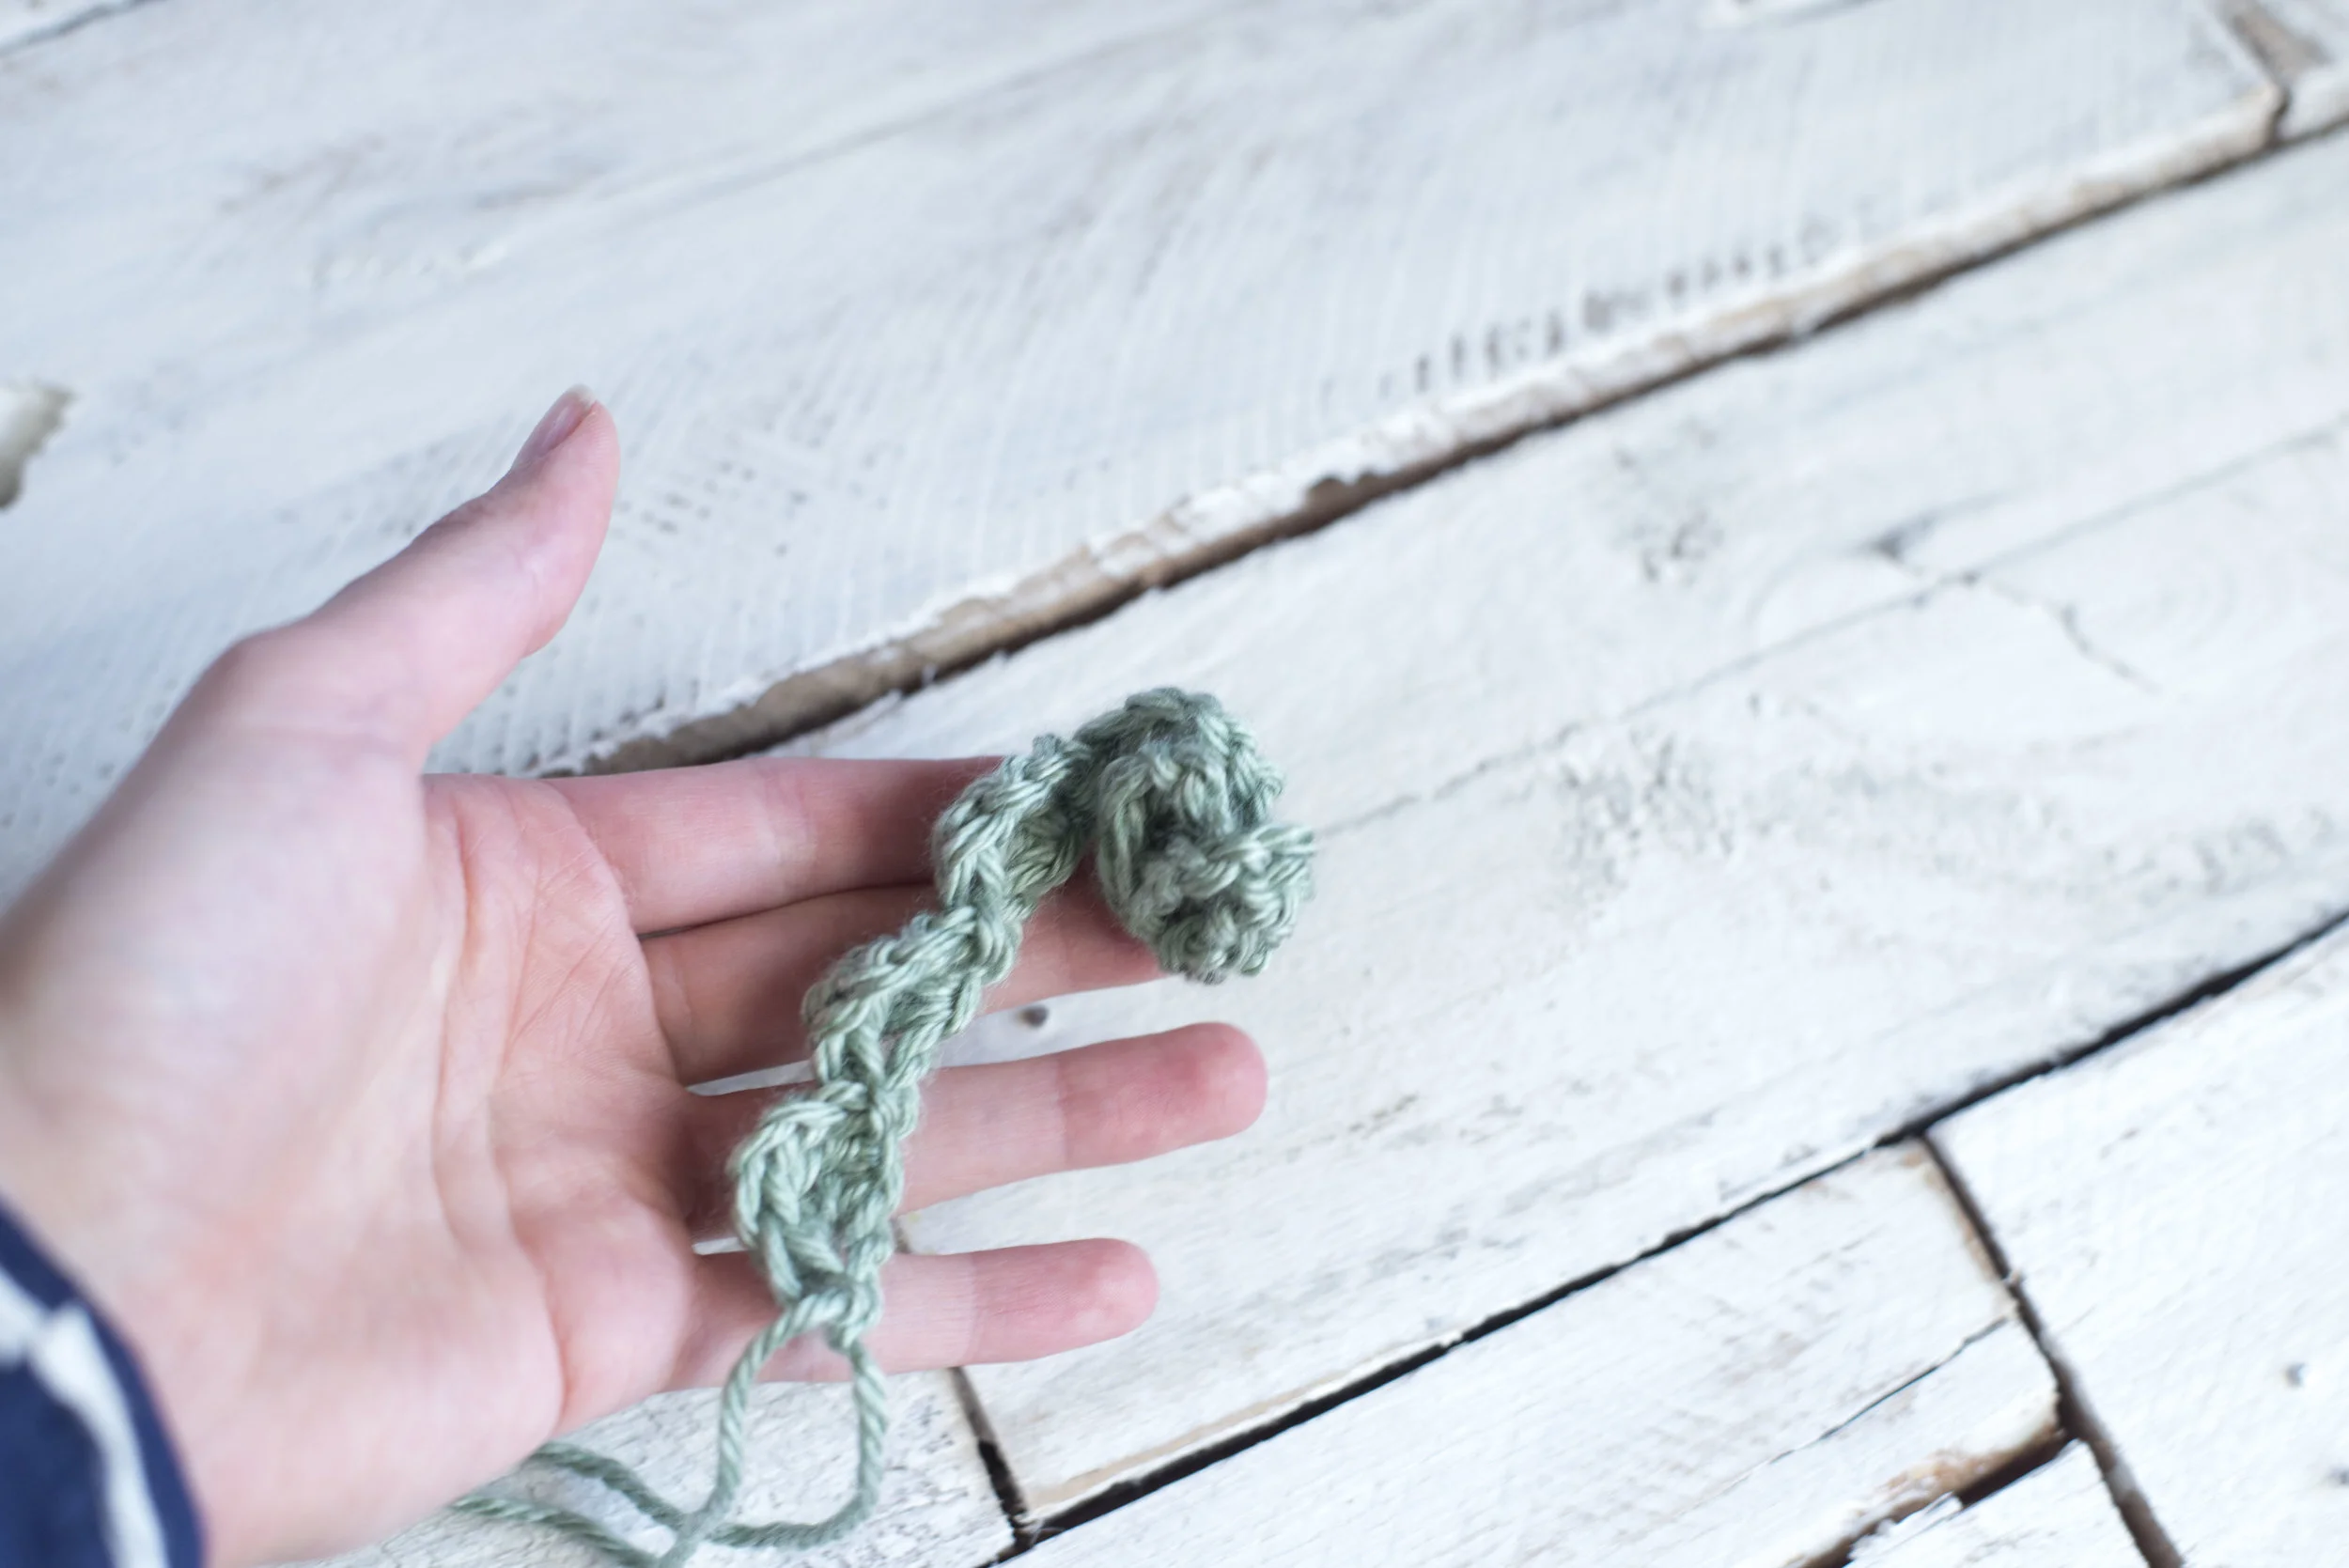
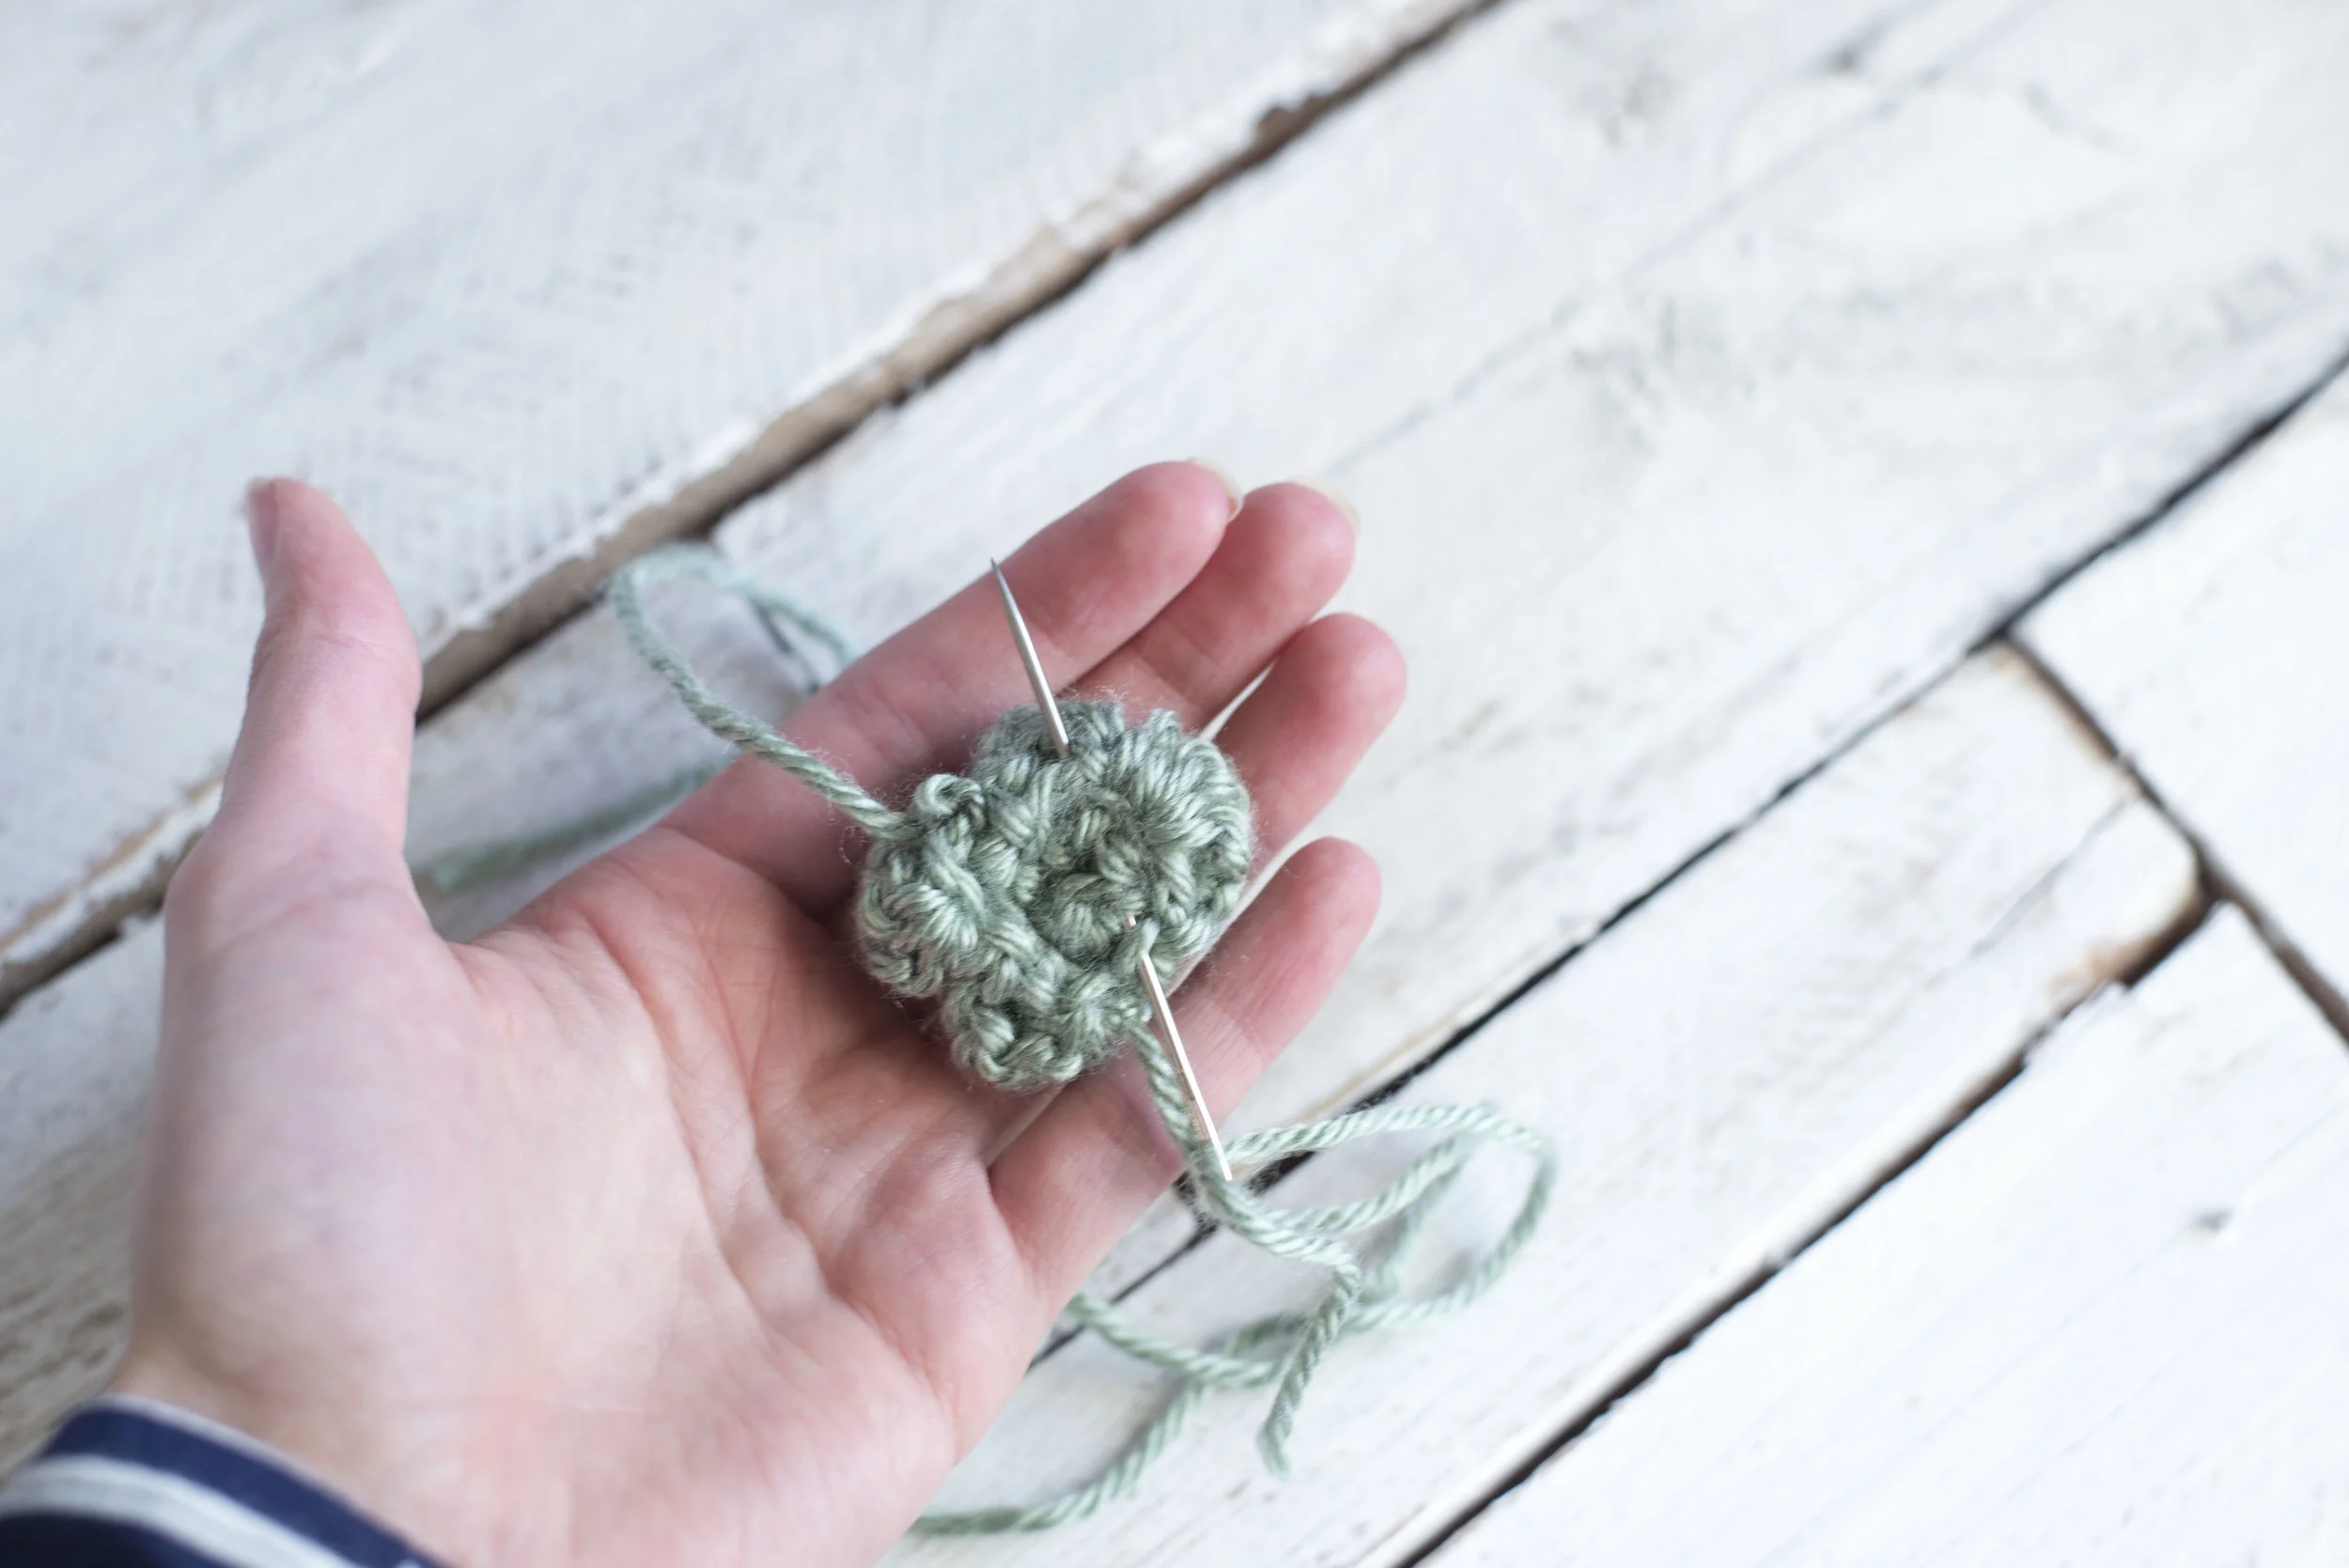
using your needle and long tail, sew the bottom of the flower together making a few passes back and forth. Don't weave in end yet, you will use the remaining tail to sew to the headband
SMALL FLOWER (use white and gold) *make two
ch 21
in 4th ch from hook, work 2 tr
sk st
sl st in next st
*ch 3
work 2 tr in next st
sk st
sl st in next st
repeat from * to the end of the ch, you will have 6 "petals" total
finish off, leave extra long tail and repeat the same steps as the large flower to assemble
LEAVES (use Honeydew) *make two
ch 6
in 2nd ch from hook, in back loop only: sl st, sc, sc, dc, 3 dc in last st.
then working on the other side of the original ch 6: 3 dc into first st, dc, sc, sc, sl st into last st
fasten off, leave long tail to sew to headband
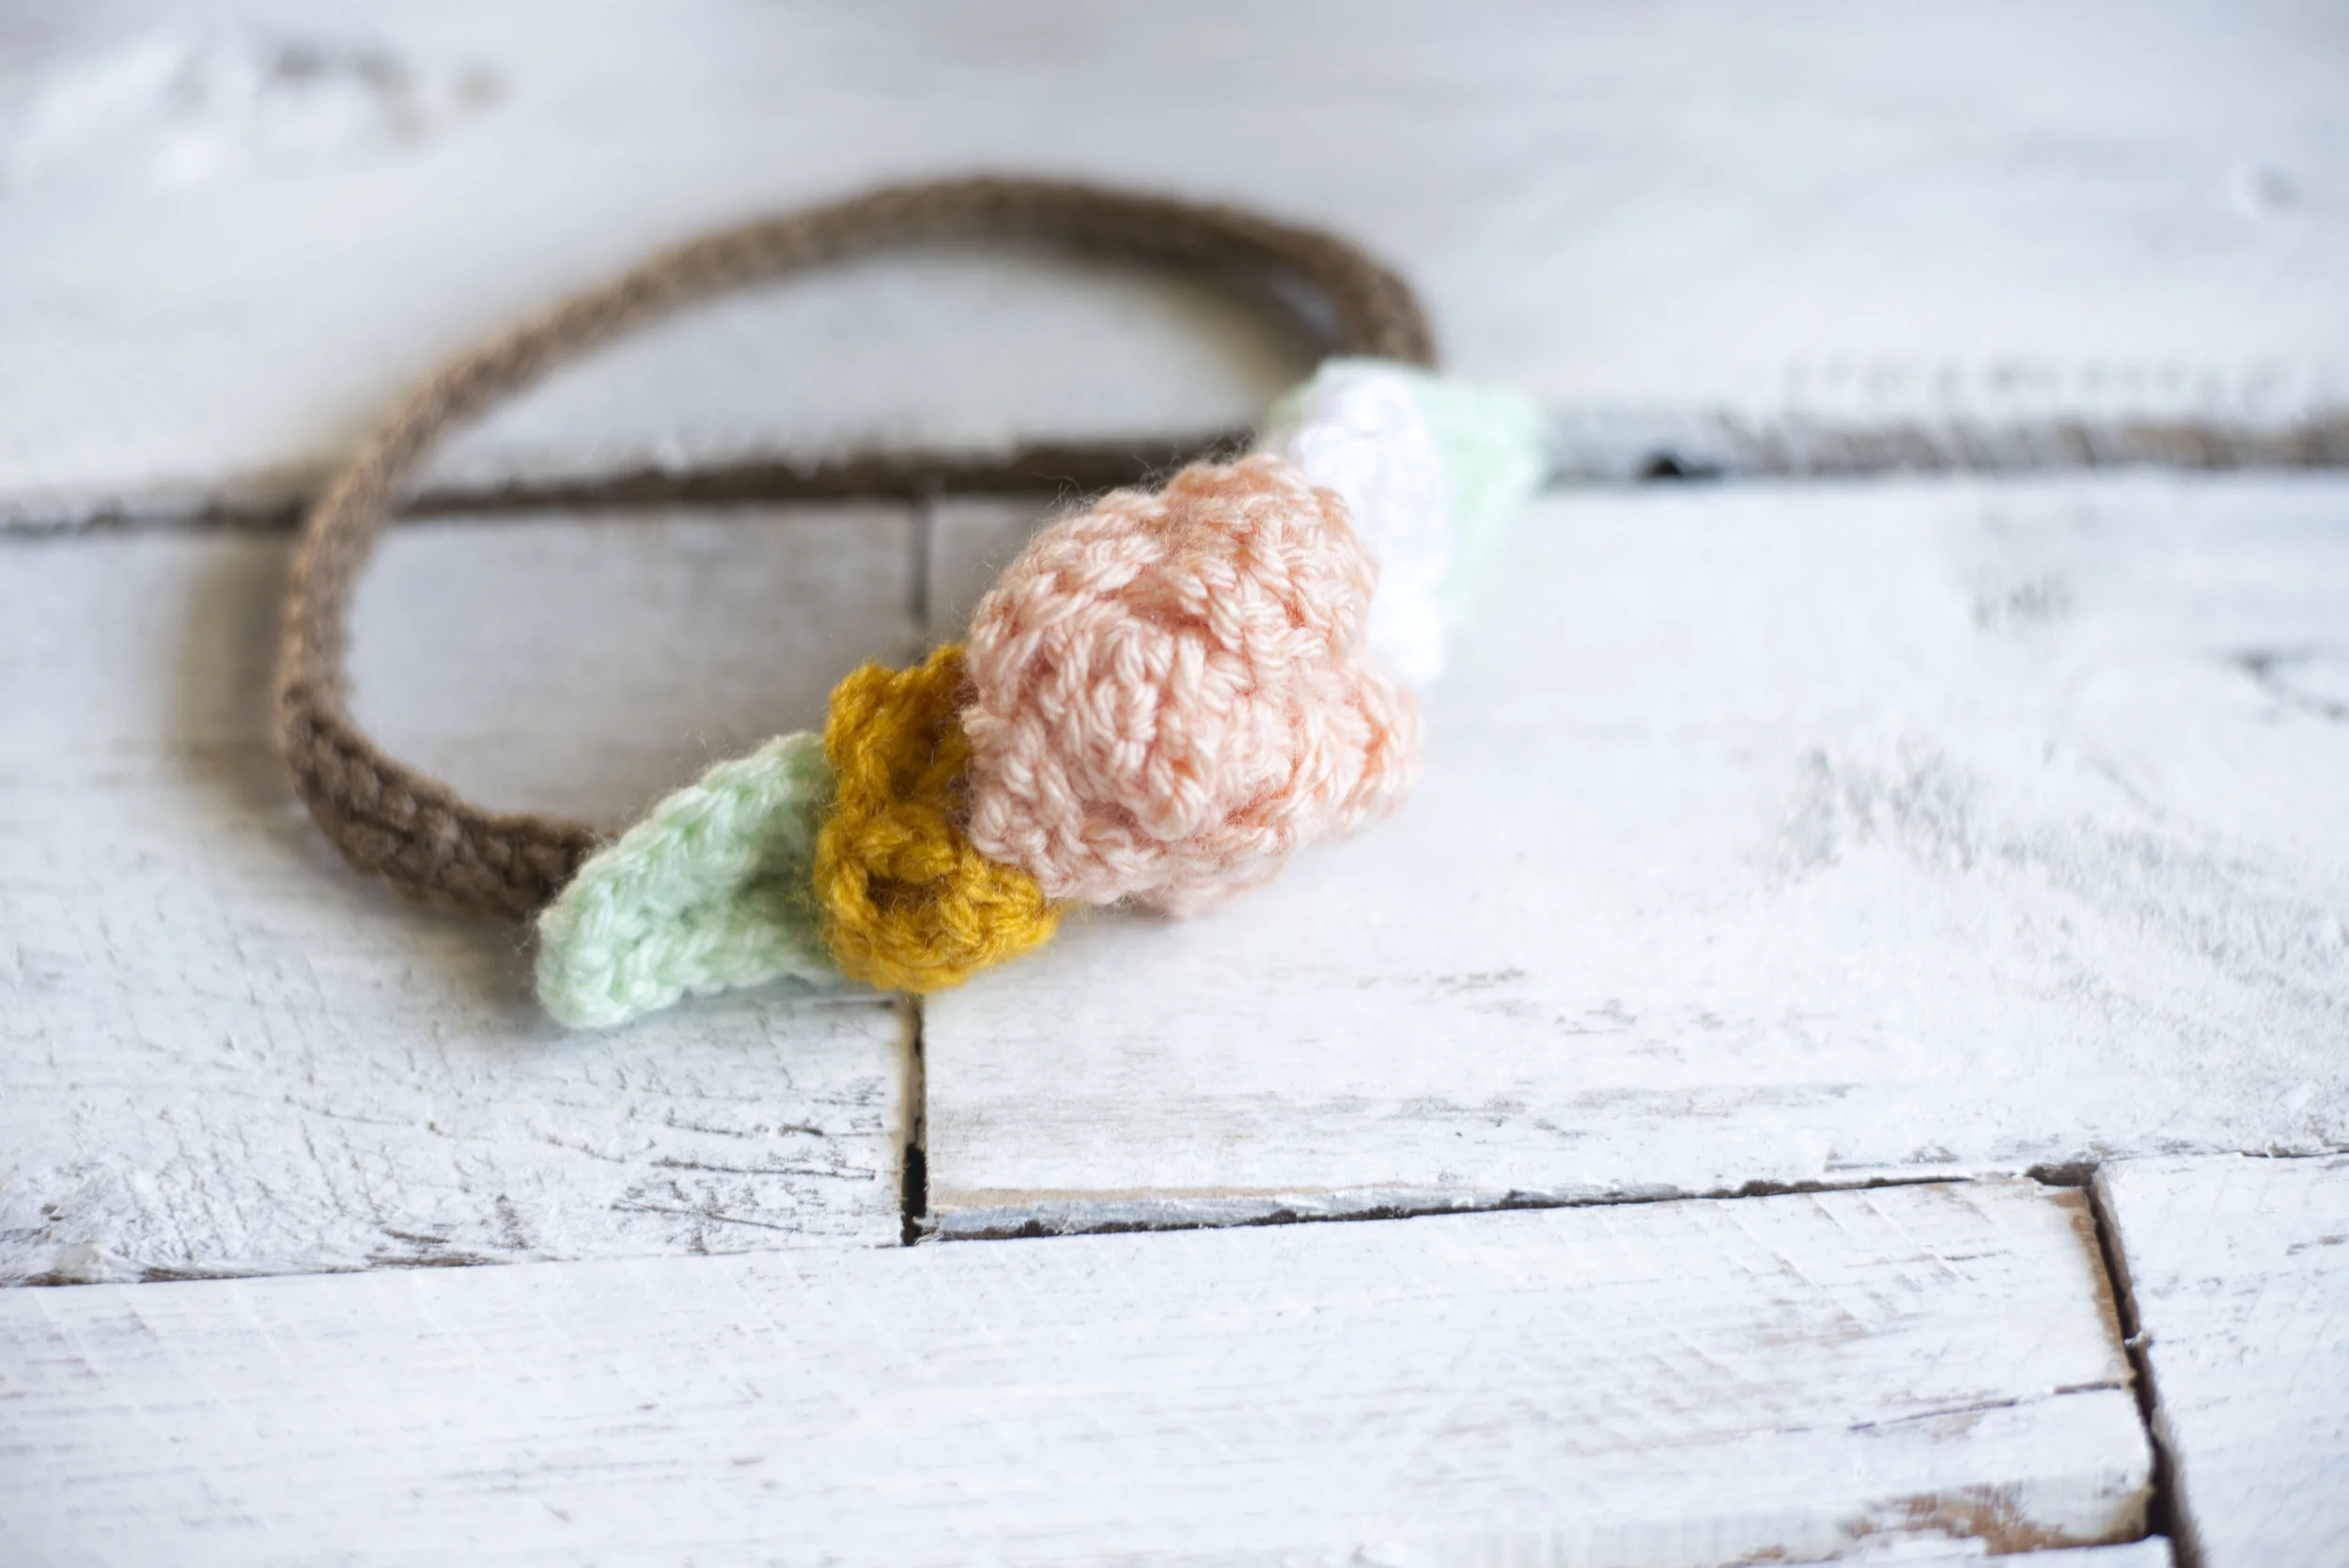
To attach the flowers/leaves to the headband, sew the large flower to the headband first on seam of the headband using needle and tail of the flower. Arrange one leaf on the side of the large flower, then you'll sew one of the smaller flowers on top of the leaf. Then secure the leaf to the headband. Do the same process for the other side of the large flower, then weave in the ends.
Now you've got a super cute baby accessory!
Enjoy,
Meg
P.S. This headband goes GREAT with my baby moccasins pattern you can find here.