George the Goose Crochet Pattern
/
Hey-o!!!
This beautiful Saturday, I'm bringing you a pattern for George the Goose.
George came about because a) I've been really wanting to create a toy for my son b) his nickname is goose and c) I've never created a toy in my 15 plus years of crocheting!
For some reason I've just never amused making toys, I guess I didn't really see the need. That and they do kind of intimidate me for some reason...
Which by the way, making George wasn't bad at all! I decided to make him more two-dimensional, which I think is what made him easier to create. Plus, I think that is what would make this pattern perfect for a person who is hesitant to create toys, or hasn't done so yet.
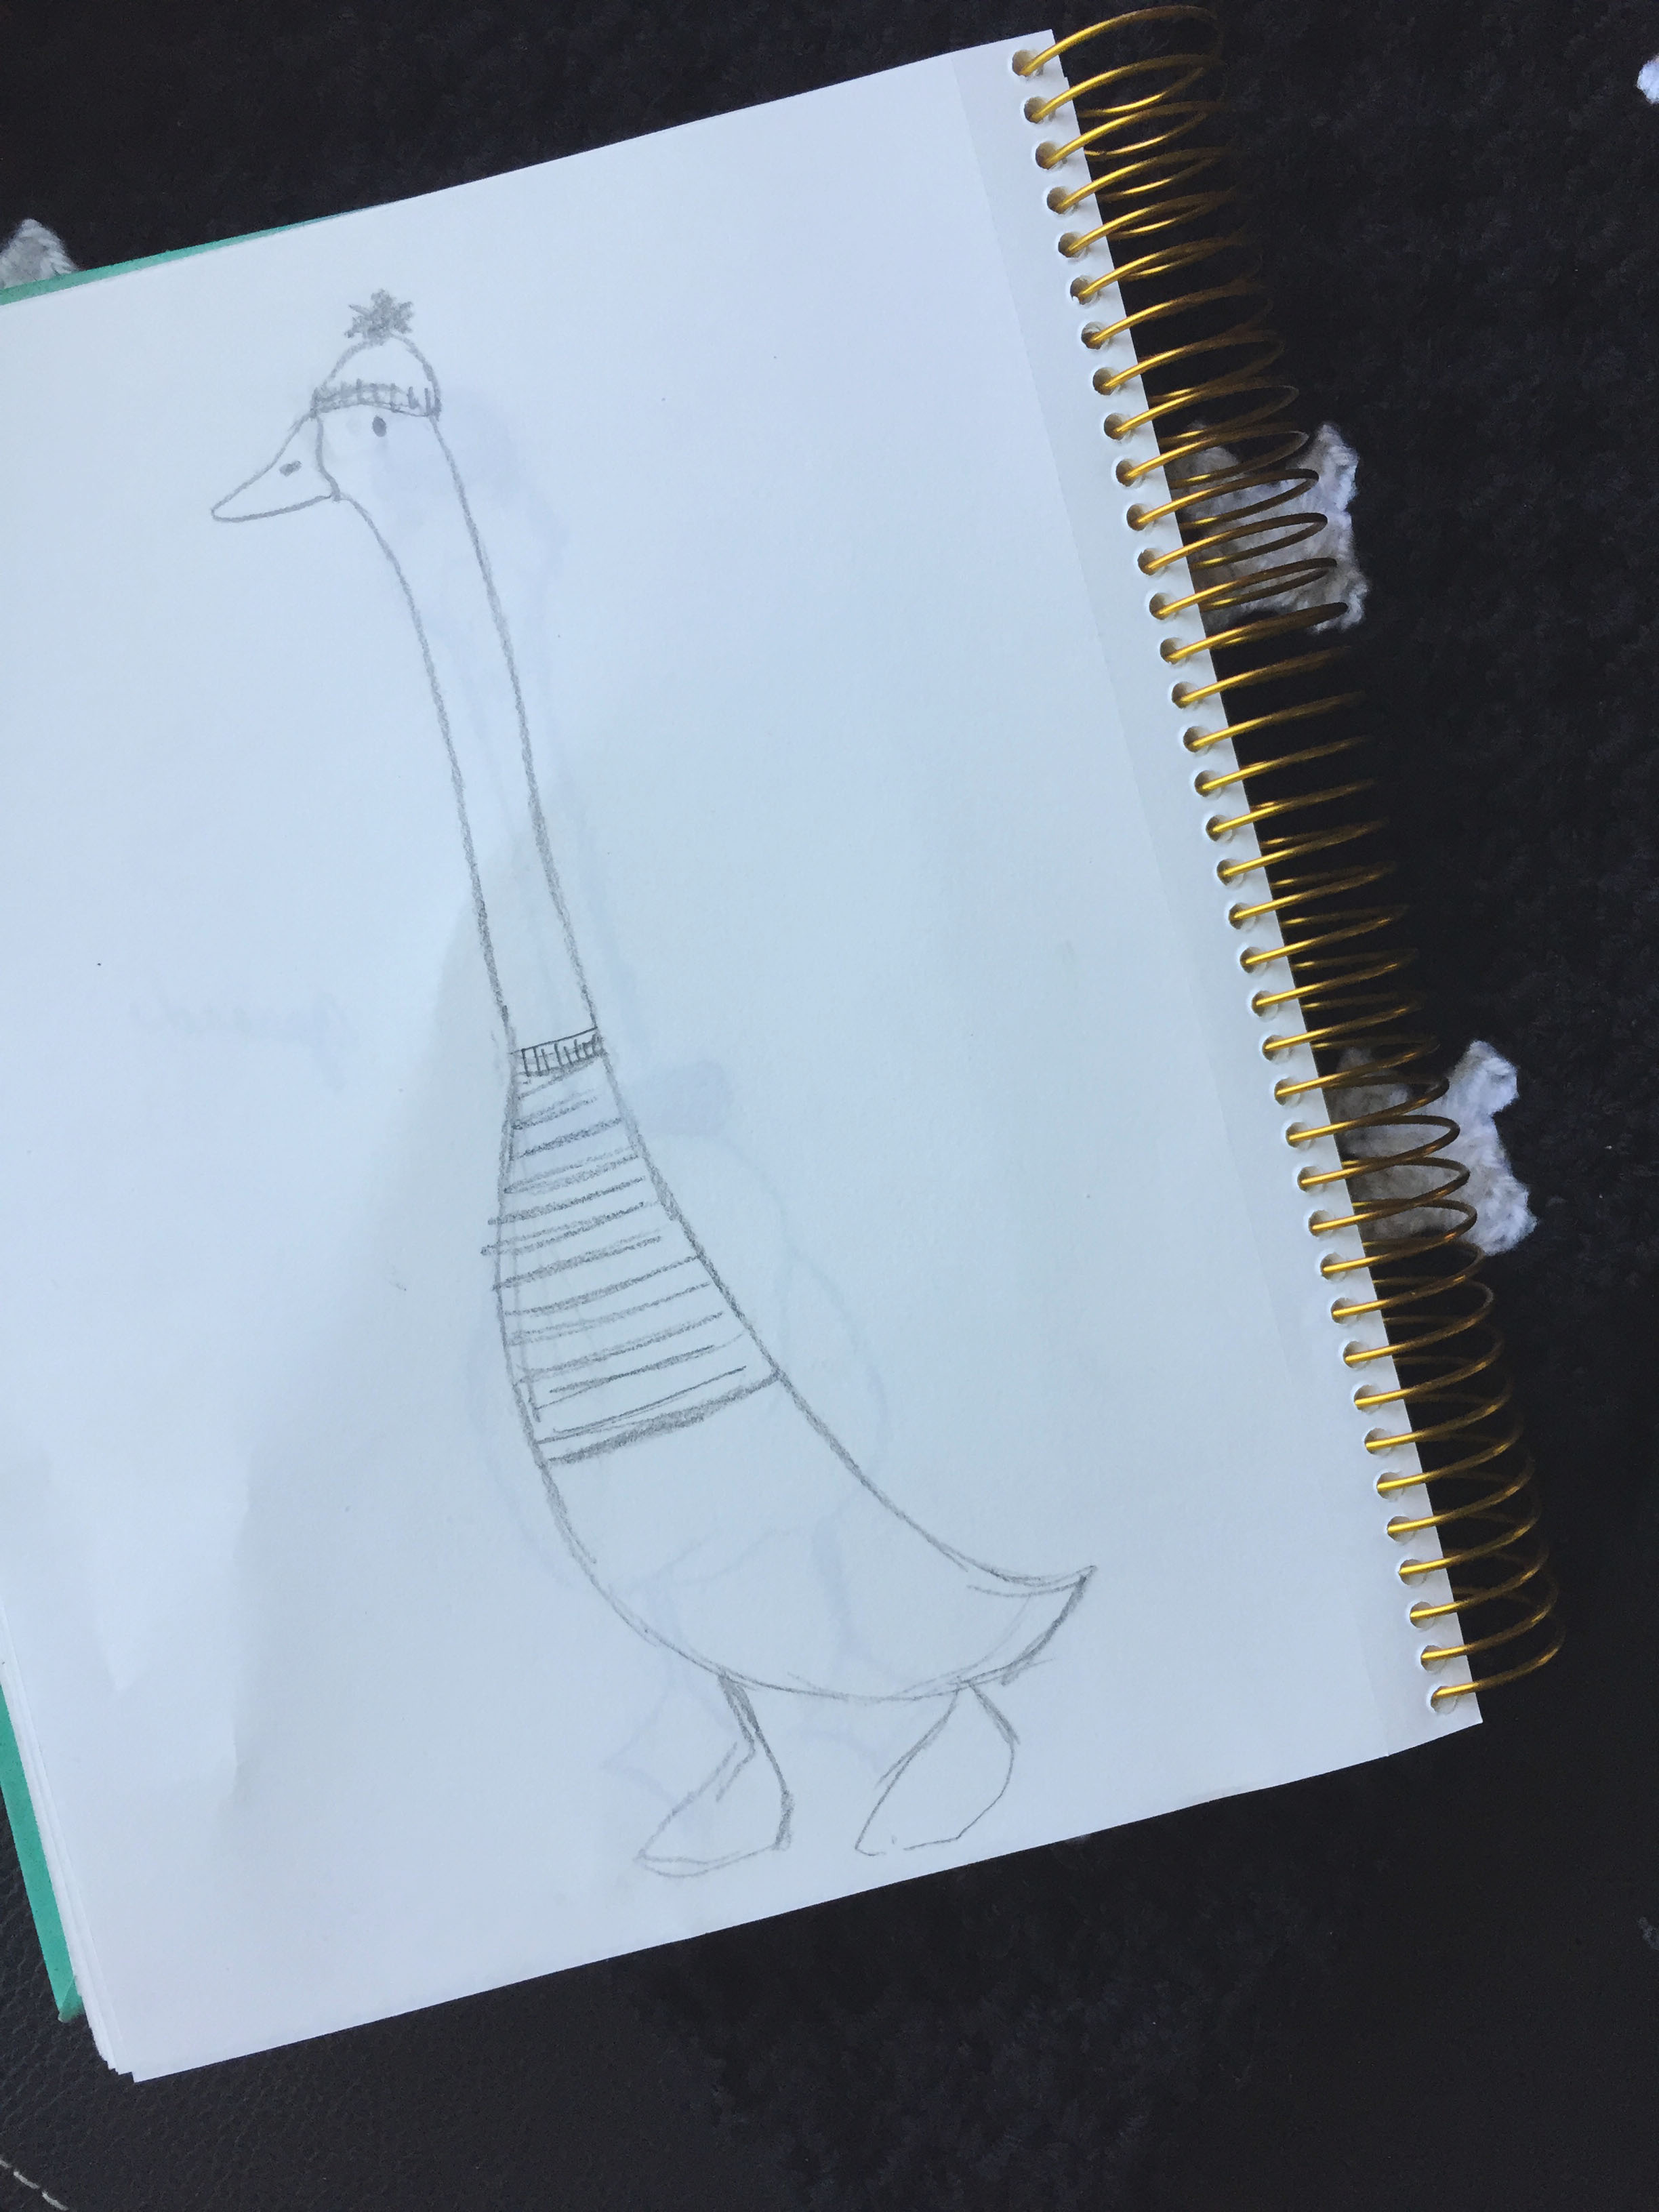
I started out by sketching how George was going to look (see below). And he actually ended up being very similar to my drawing! Success.
When I first posted George on my Instagram, I explained George to be "a simple goose, who enjoys simple things like garage sales, great conversation, goulash and the color gray". George is truly a great addition to the family--ha!
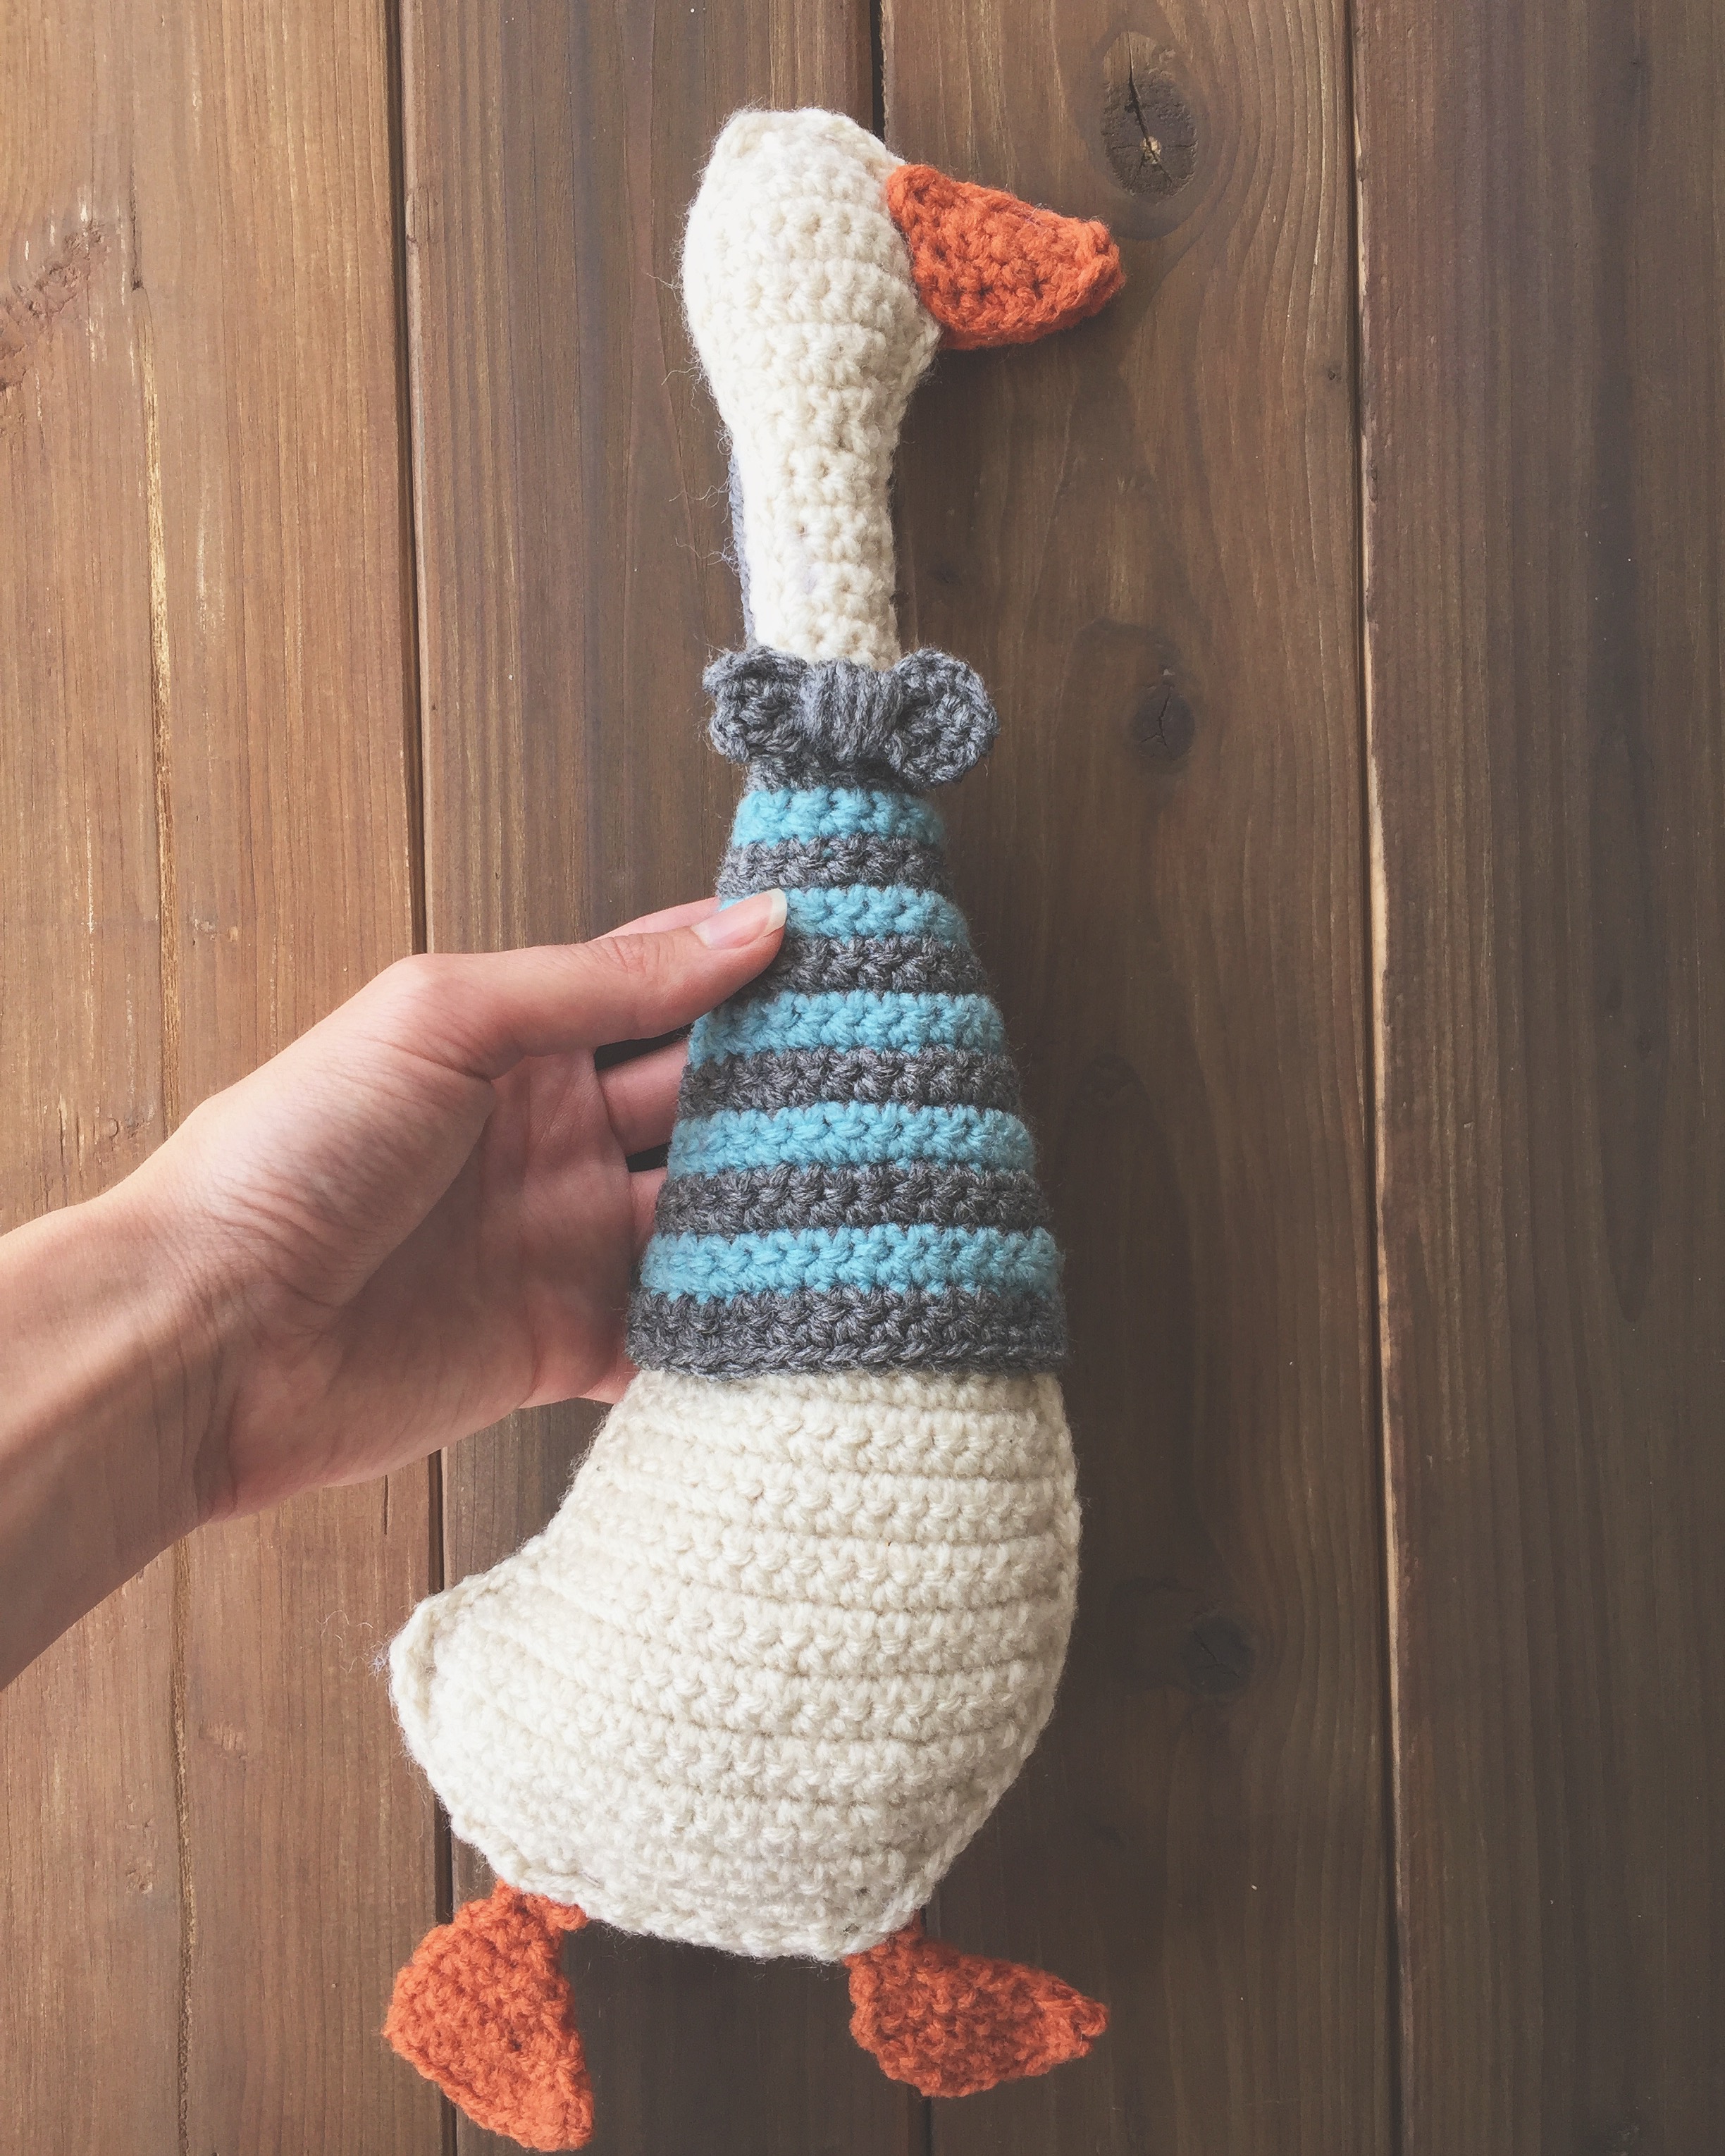
P.S. I decided not to give George eyes, which he doesn't seem to care too much. But you could most certainly add them, I would use a drizzle stitch (see how to do it here).
Also, I couldn't decide if I liked George with his hat, so I haven't attached it yet. But I definitely included it in the pattern!

My (almost) one-year-old son approves of George. :)
What you'll need:
Size D hook (3.25 mm)
Red Heart Super Saver yarn in Aran, Carrot, Grey Heather and Red Heart with Love in Iced Aqua
Big handful of Poly Fill
Large tapestry needle
Dimensions:
From head to foot- approximately 14 inches and 5 inches at his widest
Abbreviations:
ch=chain, st(s)=stitch(es), sc=single crochet, sl=slip, sp=space, yo=yarn over, sk=skip, sc2tog= single crochet two together, 2sc= work two single crochet in one stitch
Notes:
ch's at the beginning of the row do not count as stitches
Pattern:
Body (make two):
*using Aran*
1) ch 5, sc in 2nd ch from hook, and across (4)
2) ch 1, turn, 2 sc, sc, sc, 2sc (6)
3) ch 1, turn, sc across (6)
4) ch 1, turn, 2sc, sc in the next 4 sts, 2sc (8)
5-7) ch 1, turn, sc across (8)
8) ch 1, turn, sc in 6 sts, sc2tog (7)
9) ch 1, turn, sc2tog, sc in next 5 sts (6)
10) ch 1, turn, sc in 4 sts, sc2tog (5)
11) ch 1, turn, sc in 3 sts, sc2tog (4)
12) ch 1, turn, sc in 2 sts, sc2tog (3)
13-26) ch 1, turn, sc across (3)
27) ch 1, turn, 2sc, sc, 2sc (5)
28) ch 1, turn, sc across (5)
29) ch 1, turn, 2sc, sc in next 3 sts, 2 sc (7)
30 ) ch 1, turn, sc across (7)
31) ch 1, turn, 2sc, sc in next 5 sts, 2sc (9)
32) ch 1, turn, sc across (9)
33) ch 1, turn, sc in 8 sts, 2sc (10)
34) ch 1, turn, sc across (10)
35) ch 1, turn, sc in 9 sts, 2sc (11)
36) ch 1, turn, sc across (11)
37) ch 1, turn, sc in 10 sts, 2sc (12)
38) ch 1, turn, sc across (12)
39) ch 1, turn, 2sc, sc in next 10 sts, 2sc (14)
40) ch 1, turn, sc across (14)
41) ch 1, turn, 2sc, sc in next 13 sts (15)
42) ch 1, turn, sc across (15)
43) ch 1, turn, 2sc, sc in next 14 sts (16)
44) ch 1, turn, 2sc, sc in next 15 sts (17)
45) ch 1, turn, sc across (17)
46) ch 1, turn, 2sc, sc in next 16 sts (18)
47) ch 1, turn, sc across (18)
48) ch 1, turn, 2 sc, sc in next 17 sts (19)
49) ch 1, turn, sc across (19)
50) ch 1, turn, 2sc, sc in next 18 sts (20)
51) ch 1, turn, sc in 19 sts, 2sc (21)
52) ch 1, turn, 2sc, sc in next 18 sts, 2sctog (21)
53) ch 1, turn, sc in 20 sts, 2sc (22)
54) ch 1, turn, 2sc, sc in next 19 sts, sc2tog (22)
55) ch 1, turn, sc2tog, sc in next 17 sts, sc2tog, sk last st (19)
56) ch 1, turn, sc2tog, sc in next 15 sts, sc2tog (17)
57) ch 1, turn, sc2tog, sc in next 13 sts, sc2tog (15)
58) ch 1, turn, sc2tog, sc in next 11 sts, sc2tog (13)
59) ch 1, turn, sc2tog, sc in next 9 sts, sc2tog (11)
60) ch 1, turn, sc2tog, sc in next 7 sts, sc2tog (9)
ch 1, then sc around the entire edge of the body (I did this to make the edges look more polished)
Beak (make two):
*using Carrot
1) ch 2, sc in 2nd ch from hook (1)
2) ch 1, turn, 2sc (2)
3) ch 1, turn, 2sc, 2sc (4)
4) ch 1, turn, sc across (4)
5) ch 1, turn, sc in 3 sts, 2sc (5)
6-7) ch 1, turn, sc, sl st in next 3 sts, sc
ch 1, and sc around the edges (just like on the body), except sl st into the sl sts
Leg (make two):
*using Carrot*
1) ch 3, sc in 2nd ch from hook, and across (2)
2-4) ch 1, turn, sc across (2)
5) ch 1, turn, 2sc, 2sc (4)
6) ch 1, turn, 2sc, sc in next 3 sts (5)
7) ch 1, turn, sc in next 4 sts, 2sc (6)
8) ch 1, turn, 2sc, sc in next 5 sts (7)
9) ch 1, turn, sc in 6 sts, 2sc (8)
10) ch 1, turn, 2sc, sc in next 7 sts (9)
11) ch 1, turn, sl st in 3 sts, sc in next 2 sts, sl st in next 4 sts (9)
Shirt:
*alternate between Gray and Blue every two rows*
1) ch 13, sc in 2nd ch from hook, across (12)
2) ch 1, turn, 2sc, sc in next 10 sts, 2sc (14)
3) ch 1, turn, 2sc, sc in next 12 sts, 2sc (16)
4) ch 1, turn, sc across (16)
5) ch 1, turn, 2sc, sc in next 14 sts, 2sc (18)
6) ch 1, turn, sc across (18)
7) ch 1, turn, 2sc, sc in next 16 sts, 2sc (20)
8) ch 1, turn, sc across (20)
9) ch 1, turn, 2sc, sc in next 18 sts, 2sc (22)
10) ch 1, turn, sc across (22)
11) ch 1, turn, 2sc, sc in next 20 sts, 2sc (24)
12) ch 1, turn, sc across (24)
13) ch 1, turn, 2sc, sc in next 22 sts, 2sc (26)
14) ch 1, turn, sc across (26)
15) ch 1, turn, 2sc, sc in next 24 sts, 2sc (28)
16) ch 1, turn, sc across (28)
17) ch 1, turn, 2sc, sc in next 26 sts, 2sc (30)
18) ch 1, turn, sc across (30)
19) ch 1, turn, 2sc, sc in next 28 sts, 2sc (32)
20) ch 1, turn, sc across (32)
21) ch 1, turn, 2sc, sc in next 30 sts, 2sc (34)
22) ch 1, turn, sc across (34)
Bowtie:
*using Gray
1) ch 8, sc in 2nd ch from hook, across (7)
2-3) ch 1, turn, sc across (7)
to finish the bow, cinch the middle with your fingers, and wrap yarn around it tightly
Hat:
*using gray (I worked in back loop only to make it easier on me)
make magic circle
1) ch 1, work 6 sc in circle, join to ch 1 with sl st (6)
2) ch 1, work 2sc in each st around, join to ch 1 with sl st (12)
3) ch 1, (2sc, sc) around, join to ch 1 with sl st (18)
4) ch 1, sc around (18)
Pom for hat:
*using blue (I worked in back loop only to make it easier on me)
make magic circle
1) ch 1, work 4 sc in circle
2) *working in the continuous round, starting with the 1st sc from the previous round: 2 sc in each st around (8)
3) sc2tog, sc2tog, then sk the next st and sl st into the next st
finish off, leave a long tail and sew to the top of the hat
Assembling George:
First, set up the two body pieces, along with the two feet. I placed the feet where I wanted them to be, in between the two body pieces. You can pin them if you'd like to keep them in place.

Then I sewed the two body pieces together using a running stitch just inside of the outside stitches (using tapestry needle and long strand of yarn-- I had to use regular thread because I ran out of yarn, oops!). I started at the bottom and went over the legs/feet-- going over them a couple times so they're super secure. I stuffed the poly fill as I went, using my crochet hook to stuff into the neck. Make sure not to overfill or the shirt won't fit George! ha!

After George is stuffed, it's time to sew on the beak. I took the two pieces and sewed them on overlapping the larger side a little onto the body piece (see photo below). Then I sewed around the rest of the beak to connect the two pieces.

Then I sewed on George's shirt. I simply wrapped it around him, and sewed it on the back using a mattress stitch (you can see how to do the mattress stitch here). Once it was all sewed close, I sewed it to the body in a couple of places to make sure it's secure.
After that, you can sew on the bow tie at the top of his shirt as well as his hat on the top of his head! And then add on those eyes if you choose to do so!
After you've woven in your ends, (which always sucks, lets be honest) you've got your own George the Goose!!

Enjoy!
-Meg