Free Crochet Pattern for the Textured Boho Cowl
/I'm bringing back an oldie - the Textured Boho Cowl to the blog this week.
This cowl was one of the very first patterns I created when I started Megmade with Love. So it's pretty special to me. It's only been available for sale in my shop, but I've decided to add it to the blog!
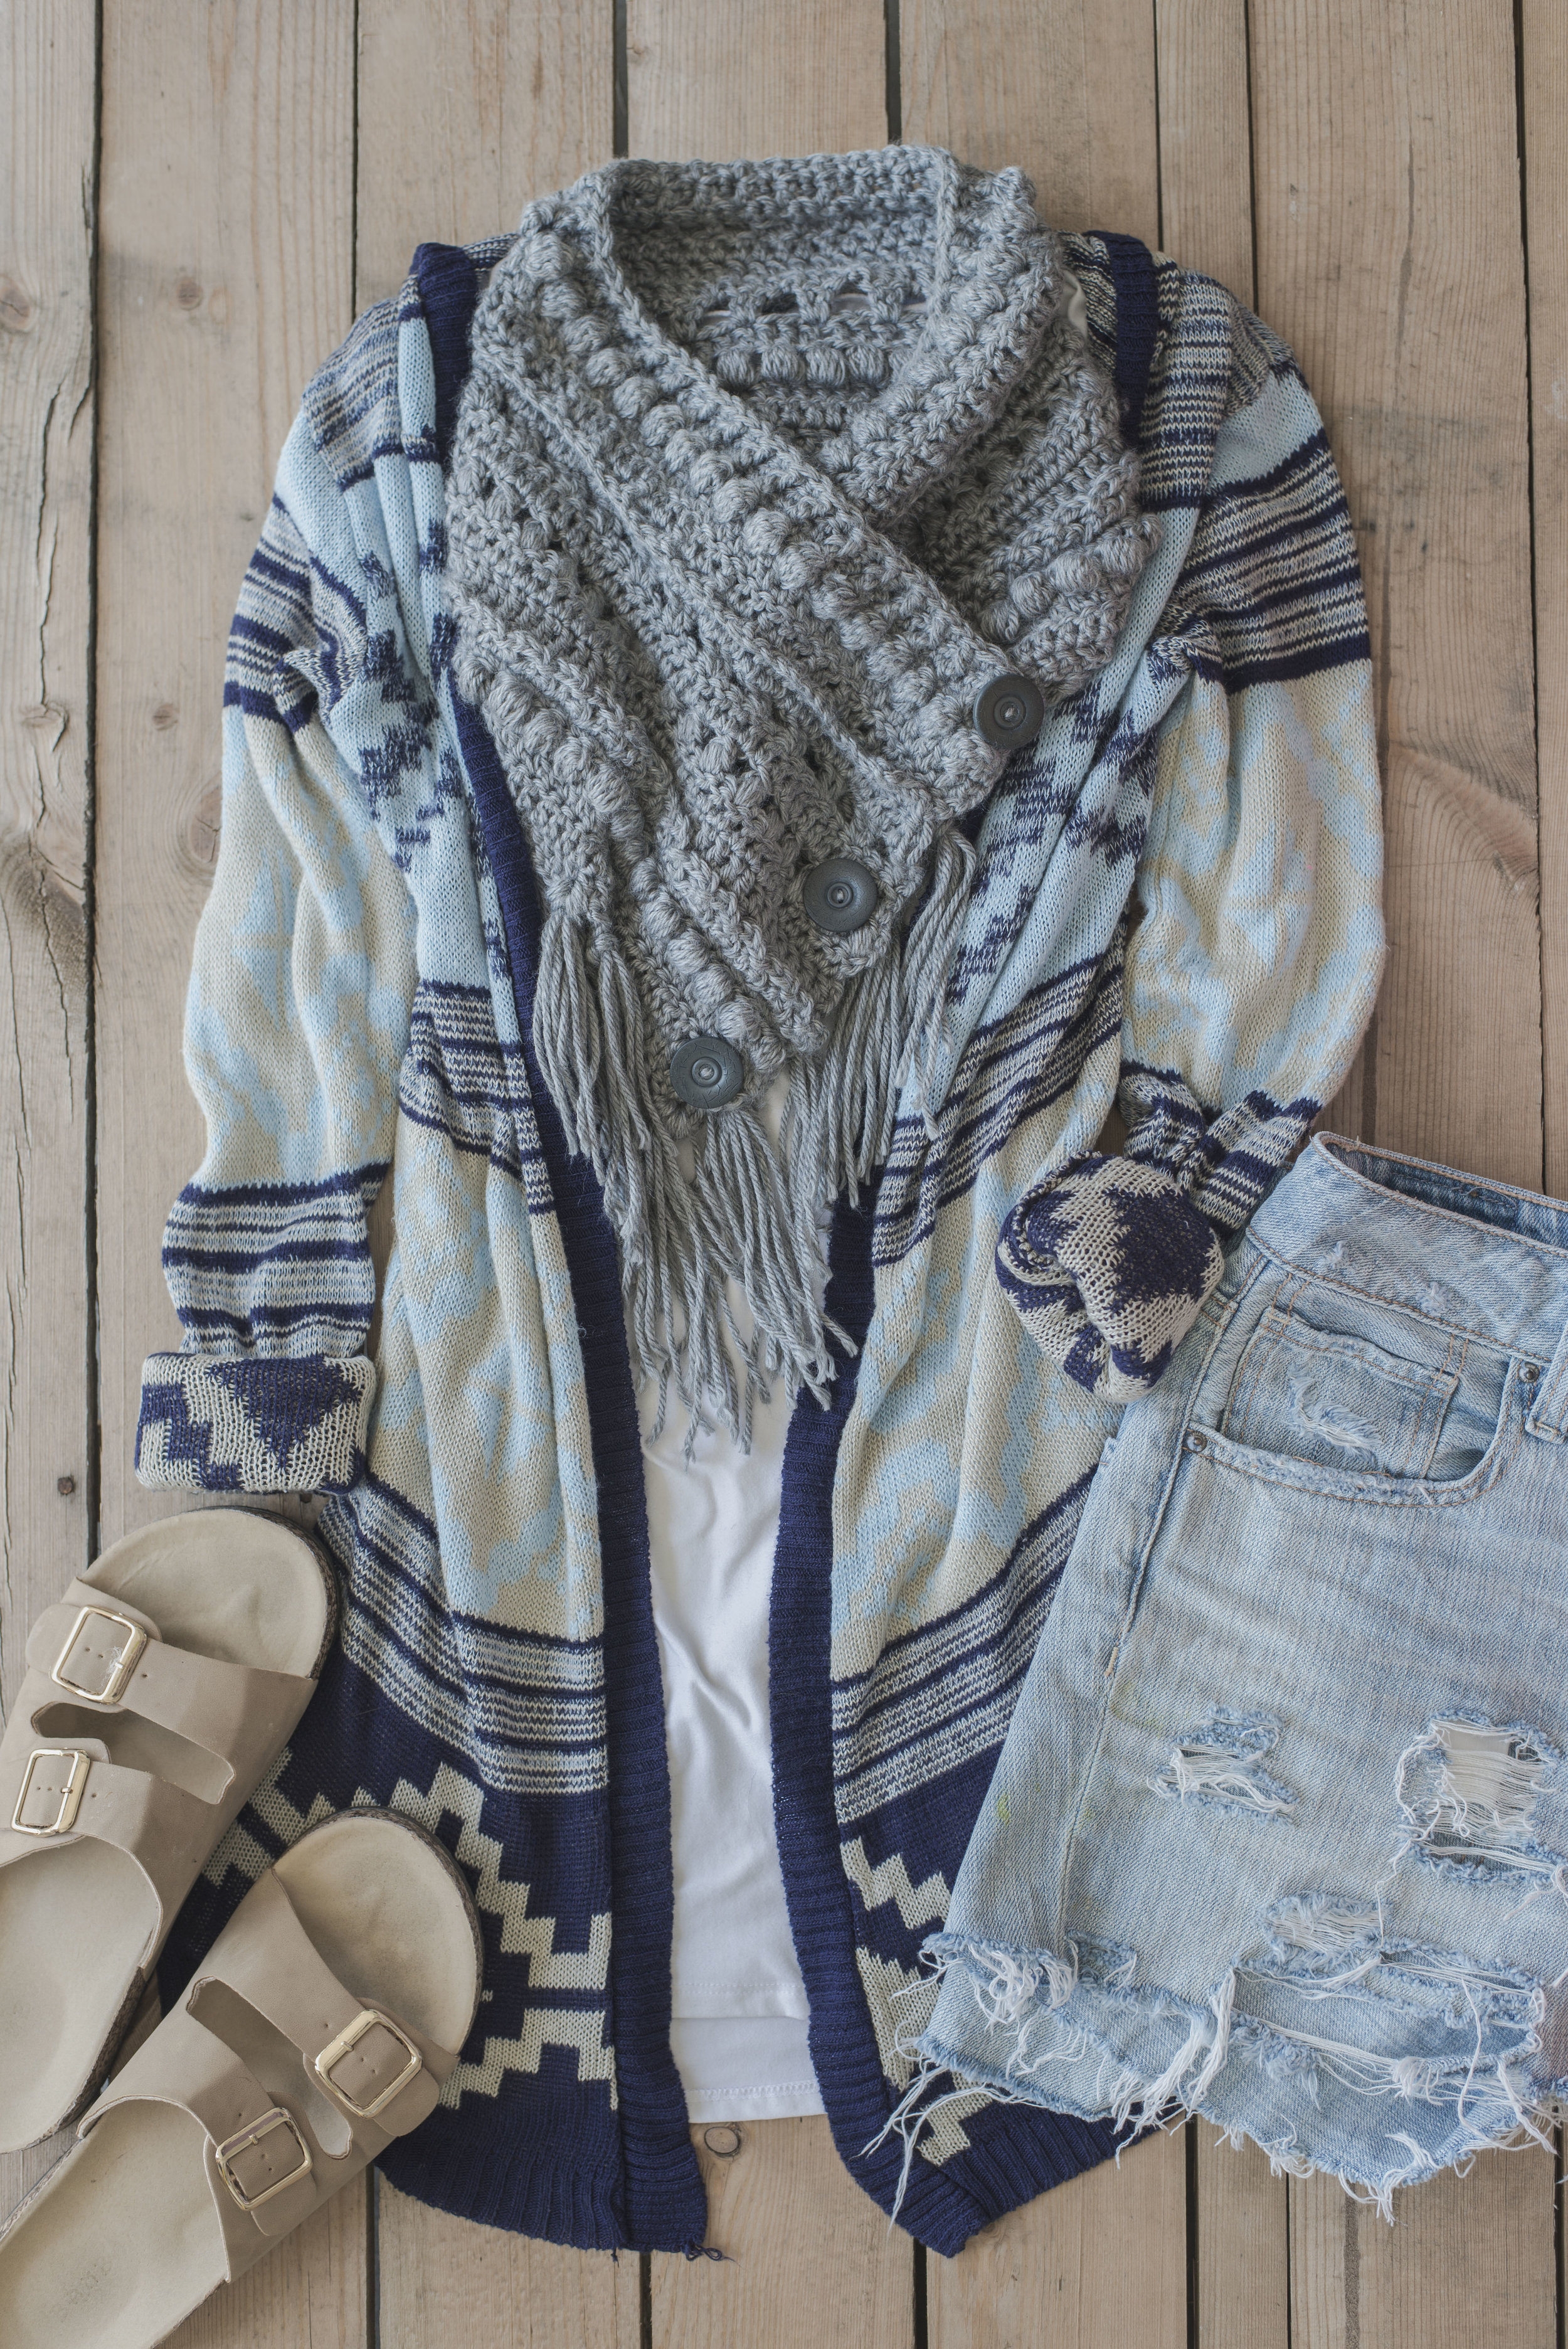
This cowl can be dressed up or down. It's just so great! I love the way it pairs with this comfy cardi and distressed shorts.
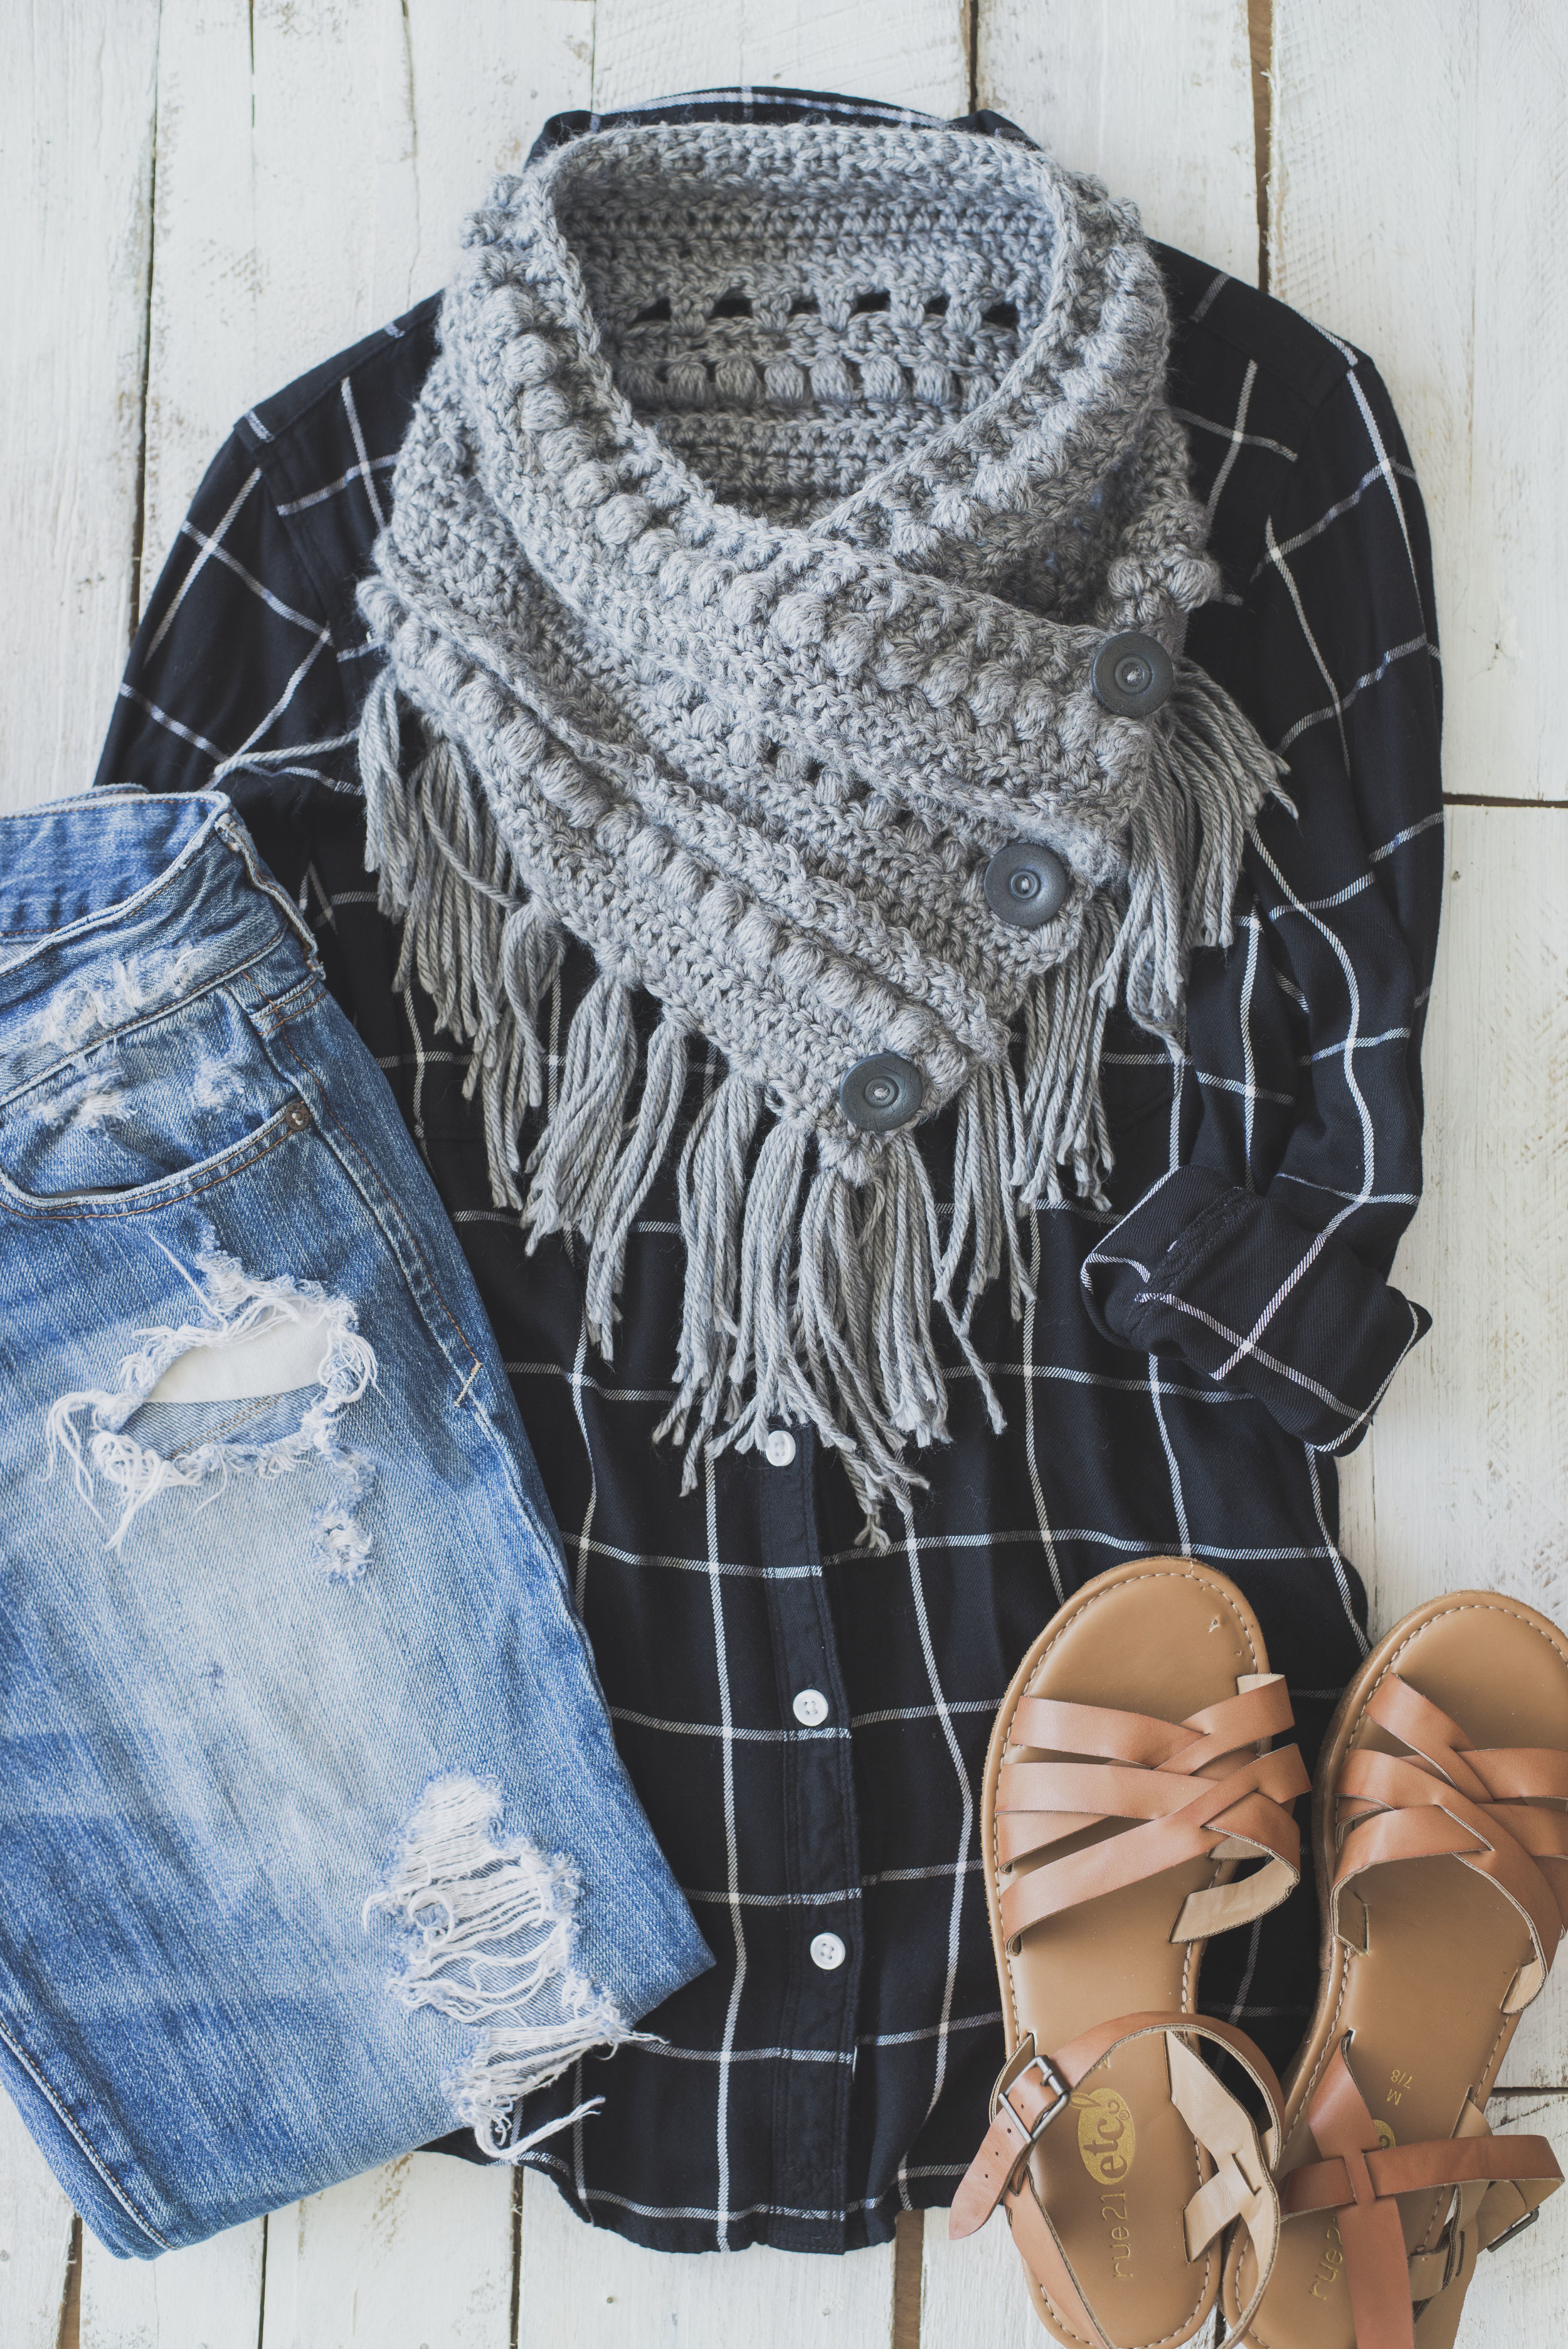
Or even a nice button-up and heels! Love love it.
I even made the cowl using scraps of yarn I had leftover!
What you'll need:
-one 250 yard skein of worsted weight yarn (I used Caron Simply Soft)
-size US H hook
-large tapestry needle
-three large buttons (3/4 - 1 inch)
-sewing thread and needle to sew buttons
Dimensions:
Finished cowl, un-sewed is approximately 30 x 8 inches
Gauge:
15 stitches and 8 rows equals a 4 inch square in double crochet
Abbreviations:
ch=chain, fdc=foundation double crochet, dc=double crochet, fpdc=front post double crochet, bpdc=back post double crochet, sc=single crochet, bo=bobble stitch ps=puff stitch st(s)=stitches rep=repeat yo=yarn over
Stitch Explanations:
bobble stitch: 1)yarn over, insert the hook in the stitch, yarn over, draw the yarn through the stitch, yarn over, and draw the yarn through the 2 loops on the hook. 2) In the same stitch repeat the previous step three times, you should have five loops on the hook. 3) Yarn over and pull through all five loops
puff stitch: 1) yarn over, insert hook in the stitch, yarn over, draw the yarn through the stitch 2)Repeat the previous step three times- you will have nine loops on the hook. 3) Yarn over and pull through all nine loops
Notes:
ch's at the beginning of the rows do not count as sts
Pattern:
1) work 103 fdc (I did this because it's quicker! You could always chain 105, then dc into 3rd ch from hook and across) (103 total sts)
2) ch 1, turn, *sc in first fdc, fpdc in next st, rep from * across the row, ending with a sc
3) ch 1, turn, *sc in first st, bpdc in next st, rep from * across the row, ending with a sc
4) ch 1, turn, sc across row
5) ch 3, turn, *bo st, sc in next st, rep from * across row ending with a bo st
6) ch 2, turn, dc across row
7) turn, *ch 4, sk 2 sts, sl st in next st, rep from * across row
8) turn, *ch 3, sl st into 3rd ch from previous row, rep from * across row
9) ch 3, turn, *dc into the sts(dc sts) in row 6 (working all dc into row 6 - this creates a raised texture out of rows 7 & 8. Rows 7 & 8 will not be worked into- they are "decorative")
10) ch 2, turn, dc across row
11) Rep step 10
12) ch 3, turn, *ps, ch 1, sk next st, rep from * to end
13) ch 2, turn, dc across row
14) ch 2, turn, dc in first stitch, *ch 1, sk the next two stitches, work 2 dc into next stitch, rep from * across, work ONE dc into the last st
15) ch 2, turn, dc, *dc into “hole” from previous row created by chain, dc into next two stitches, repeat from * across, working one dc in the last dc from previous row
16) ch 1, turn, sc across row
17) ch 5, turn, sk two sts, dc in next st, *ch 2, sk next two sts, dc in next st, rep from * across
18) ch 2, turn, dc into the sts (sc sts) from step 16, across (you are creating the raised texture like in row 9, this means that row 17 will not be worked into)
19) rep step 5
20-21) ch 2, turn, dc across row
Finish off and weave in ends
Fringe: for each fringe group piece, cut four 8-inch pieces of yarn. Fold them in half.
Every inch or so, on the long edge of the cowl: draw the group of yarn pieces through the last row with your crochet hook, but not all the way through.
Then put all the end pieces through the loop to make a knot then pull tightly to finish.
Another option for the edging would be to add tassels. You can see how to make tassels by clicking here.
To finish and join the cowl, you will begin by folding the scarf one side over the other, aligning the short side of with the bottom of the long side. See above and below photos.
Then you will secure the two ends (I did this with my crochet hook- you could also use pins) I also mapped out where the buttons would go and double-checked if they would fit into my stitches.
Then you will sew your buttons onto the BOTTOM side of your cowl (underneath the top fold).
Something I decided to do with the other side of the cowl was to join the top and bottom parts at the spot specified in the above photo by sewing back and forth a couple of times. This was so it would shift around. But if you'd like to be able to unbutton and unfold the cowl, you shouldn't join.
At last, you've got a cozy new cowl. Texture-y goodness and all.
Hope you enjoyed this pattern! If you end up making one of your own, I'd love to see! Tag me over on Instagram. :)
Happy making,
Meg


